
ultimateone
-
Posts
431 -
Joined
-
Last visited
Content Type
Profiles
Forums
Events
Gallery
Posts posted by ultimateone
-
-
Lots of goodies there...

-
Interested in one of each as well, that goes for all the rest that you cast.

-
Please commit me to one kit. Between the holiday pay I'll get and the imaginative gift my father gives me every year for x-mas (cash), I'll have enough for this AND the cap's next offering.
TheGunny, I'll let you explain to the wife!!

-
If there's money to be made by doing something, regardless of what it is, some one will be there to do it. You can call it speculating, or you can just say it's providing a service. If I want Kit X, and you had the foresight, capital and space to buy and store the kit for however many years, then I will gladly pay you for your time and effort for the chance to own something I really want. If your price is unfair, then I will sit patiently until another comes up for sale, or an alternative is produced.
-
From yamato website on 11/19:
That's pretty cool...
-
Hey it's only money and remember one of the most important things:
He who dies with the most toys wins!
hmmmmm
 True!! Bring it on!!!!
-
I'm seriously giddy thinking about the next Capt project. I missed out on the Glaug due to some other obligations, but I have wanted the Cat since I first got back into Macross.
Woo-Hoo!!
-
Man, between this and the possible Capt release in the next few months...

-
See Mike's post - just 8 posts up from yours!
I have no idea how I missed that...
Thanks!! -
Awesome job on the weathering. Nice find!
-
I was hoping one of the owners of this kit could clue me in on the dimensions of it built? Or perhaps take a photo with something next to it to get a feel for the size? Thanks!!
-
Mind boggling Epic WIN.
-
If I hadn't been lucky enough to score a Scout, I'd be all over this. I am officially in on the Ka-Tsai since the 1/2000 SDF1 went to "Ludicrous Speed" on the price, I got the beginnings of cash in reserve...
Although, this thing looks amazing.
-
I dunno if this is the right place, but is there any place in North America that sells replacement parts for non-Gundam Bandai kits? I want to repair my VF-25 kit.
I would fish for an answer everywhere... fugit, one of these guys can fix it. do your best to research, when all else fails, shop around
-
I just got my first 1/60 last night. vf-1s and yes, the shoulder is cracked.
That sucks...
-
then you're just going to hate me...
I love my 'hawk...
Pushed me right over the edge. I'll tell my wife it was your fault.

-
Well, I picked up my Destroid this morning and spent a few hours today applying decals. I used a mixture of styles, using both decal sheets. I'm actually surprised at how many more a Destroid comes with compared to a Valkyrie. I love the color scheme on this mecha...it looks like something a real military would use. Here are a few shots of the finished product...
Dude, nice job on the decals. They really make it pop! That helped the "Pros" column as to whether or not to delve into the 1/60 armor mecha...
Not sure if I should curse your name or thank you.
-
Sigh, that's what I was afraid of. I feel bad cause the wifey is distraught about the breakage. I told her not to worry, it was an easy fix. Looks like I'm heading to OverDrive, then possibly the wanted ads.
Thanks for everyone's help, Made this alot easier!!
So, in case anyone is wondering, I fixed this with a bottle of Loctite 416 Instant Adhesive and gap filler.
First I applied the adhesive to both pieces, then set them together and pinched for about 30 seconds.
I gave that about an hour to dry, then liberally applied more to the cracks and gaps.
After allowing that to dry over night, I cut a few squares of thin styrene and glued them to act as a bonding plate across the 2 pieces. Then I filled any additional gaps under the styrene and any other spots I may have missed.
It appears to be pretty damn solid, as I had to put the legs on and remove twice becuase I put them on the wrong sides, twice
I've since posed the legs and put it from Gerwalk to Fighter and back... -
Yes i can imagine this, i'd even do up a battle scene SDF-1 VS SDF-1! who would win??
Somebody commission Glane21, that would make an awesome alternate reality realization on paper... Evil vs Good maybe? Sorry, Pumpkin Ale has the mind wandering
http://macrossworld.com/mwf/index.php?show...mp;#entry558164 - (Shameless plug for Glane's awesome work since I brought him up.)
-
Is there anyone here mad enough to collect a 2nd or multples of this??

Could you imagine having both versions (should they make them) nose to nose on a shelf??
My God, it's full of WIN!!!!
-
Okay, I don't know where else to post this so here goes:
I just assembled my 1/48 woodland low camo vf-1a with it's matching gbp armor set. However, the hands that come with the armor set won't fit into the sockets where the vf-1a's hands are plugged in. is there something obvious i'm missing or what?
please help, cause I'd like to use the larger hands with the gbp armor as the original hands look way too disproportionate.
I've had to take a pice of fine grit sand paper to resin cast hands before, maybe you can try to grind a bit off? Obviously go a little at a time so as not to make it loose.
/If you do go to far, there's a putty called quake proof that I've used to keep the hands in place, and guns in hands.
-
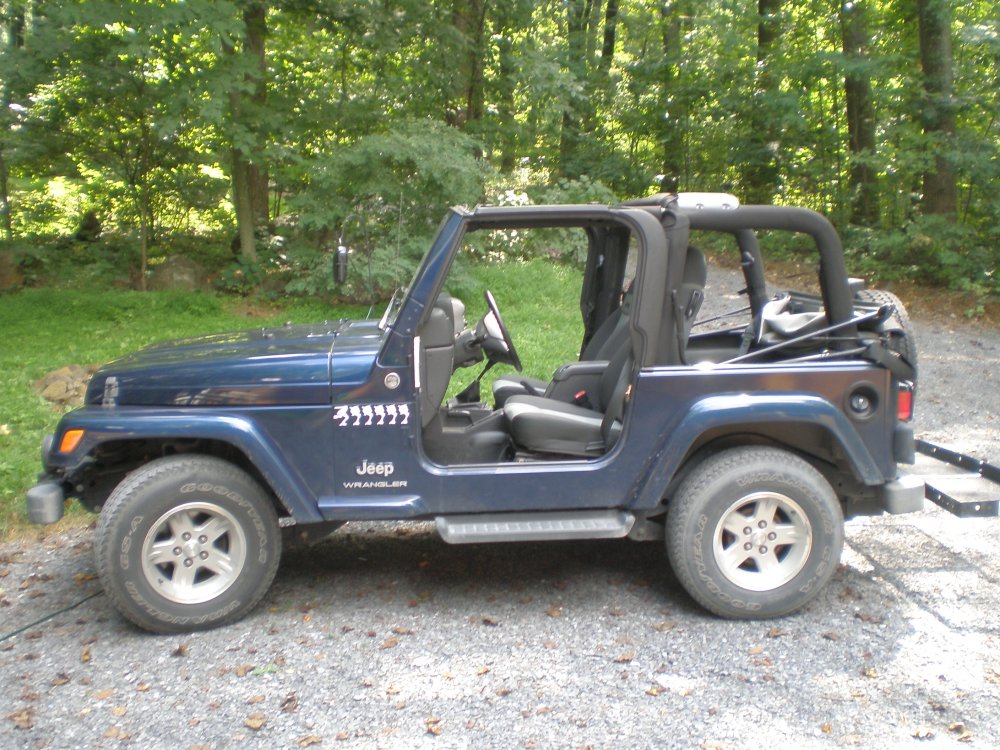
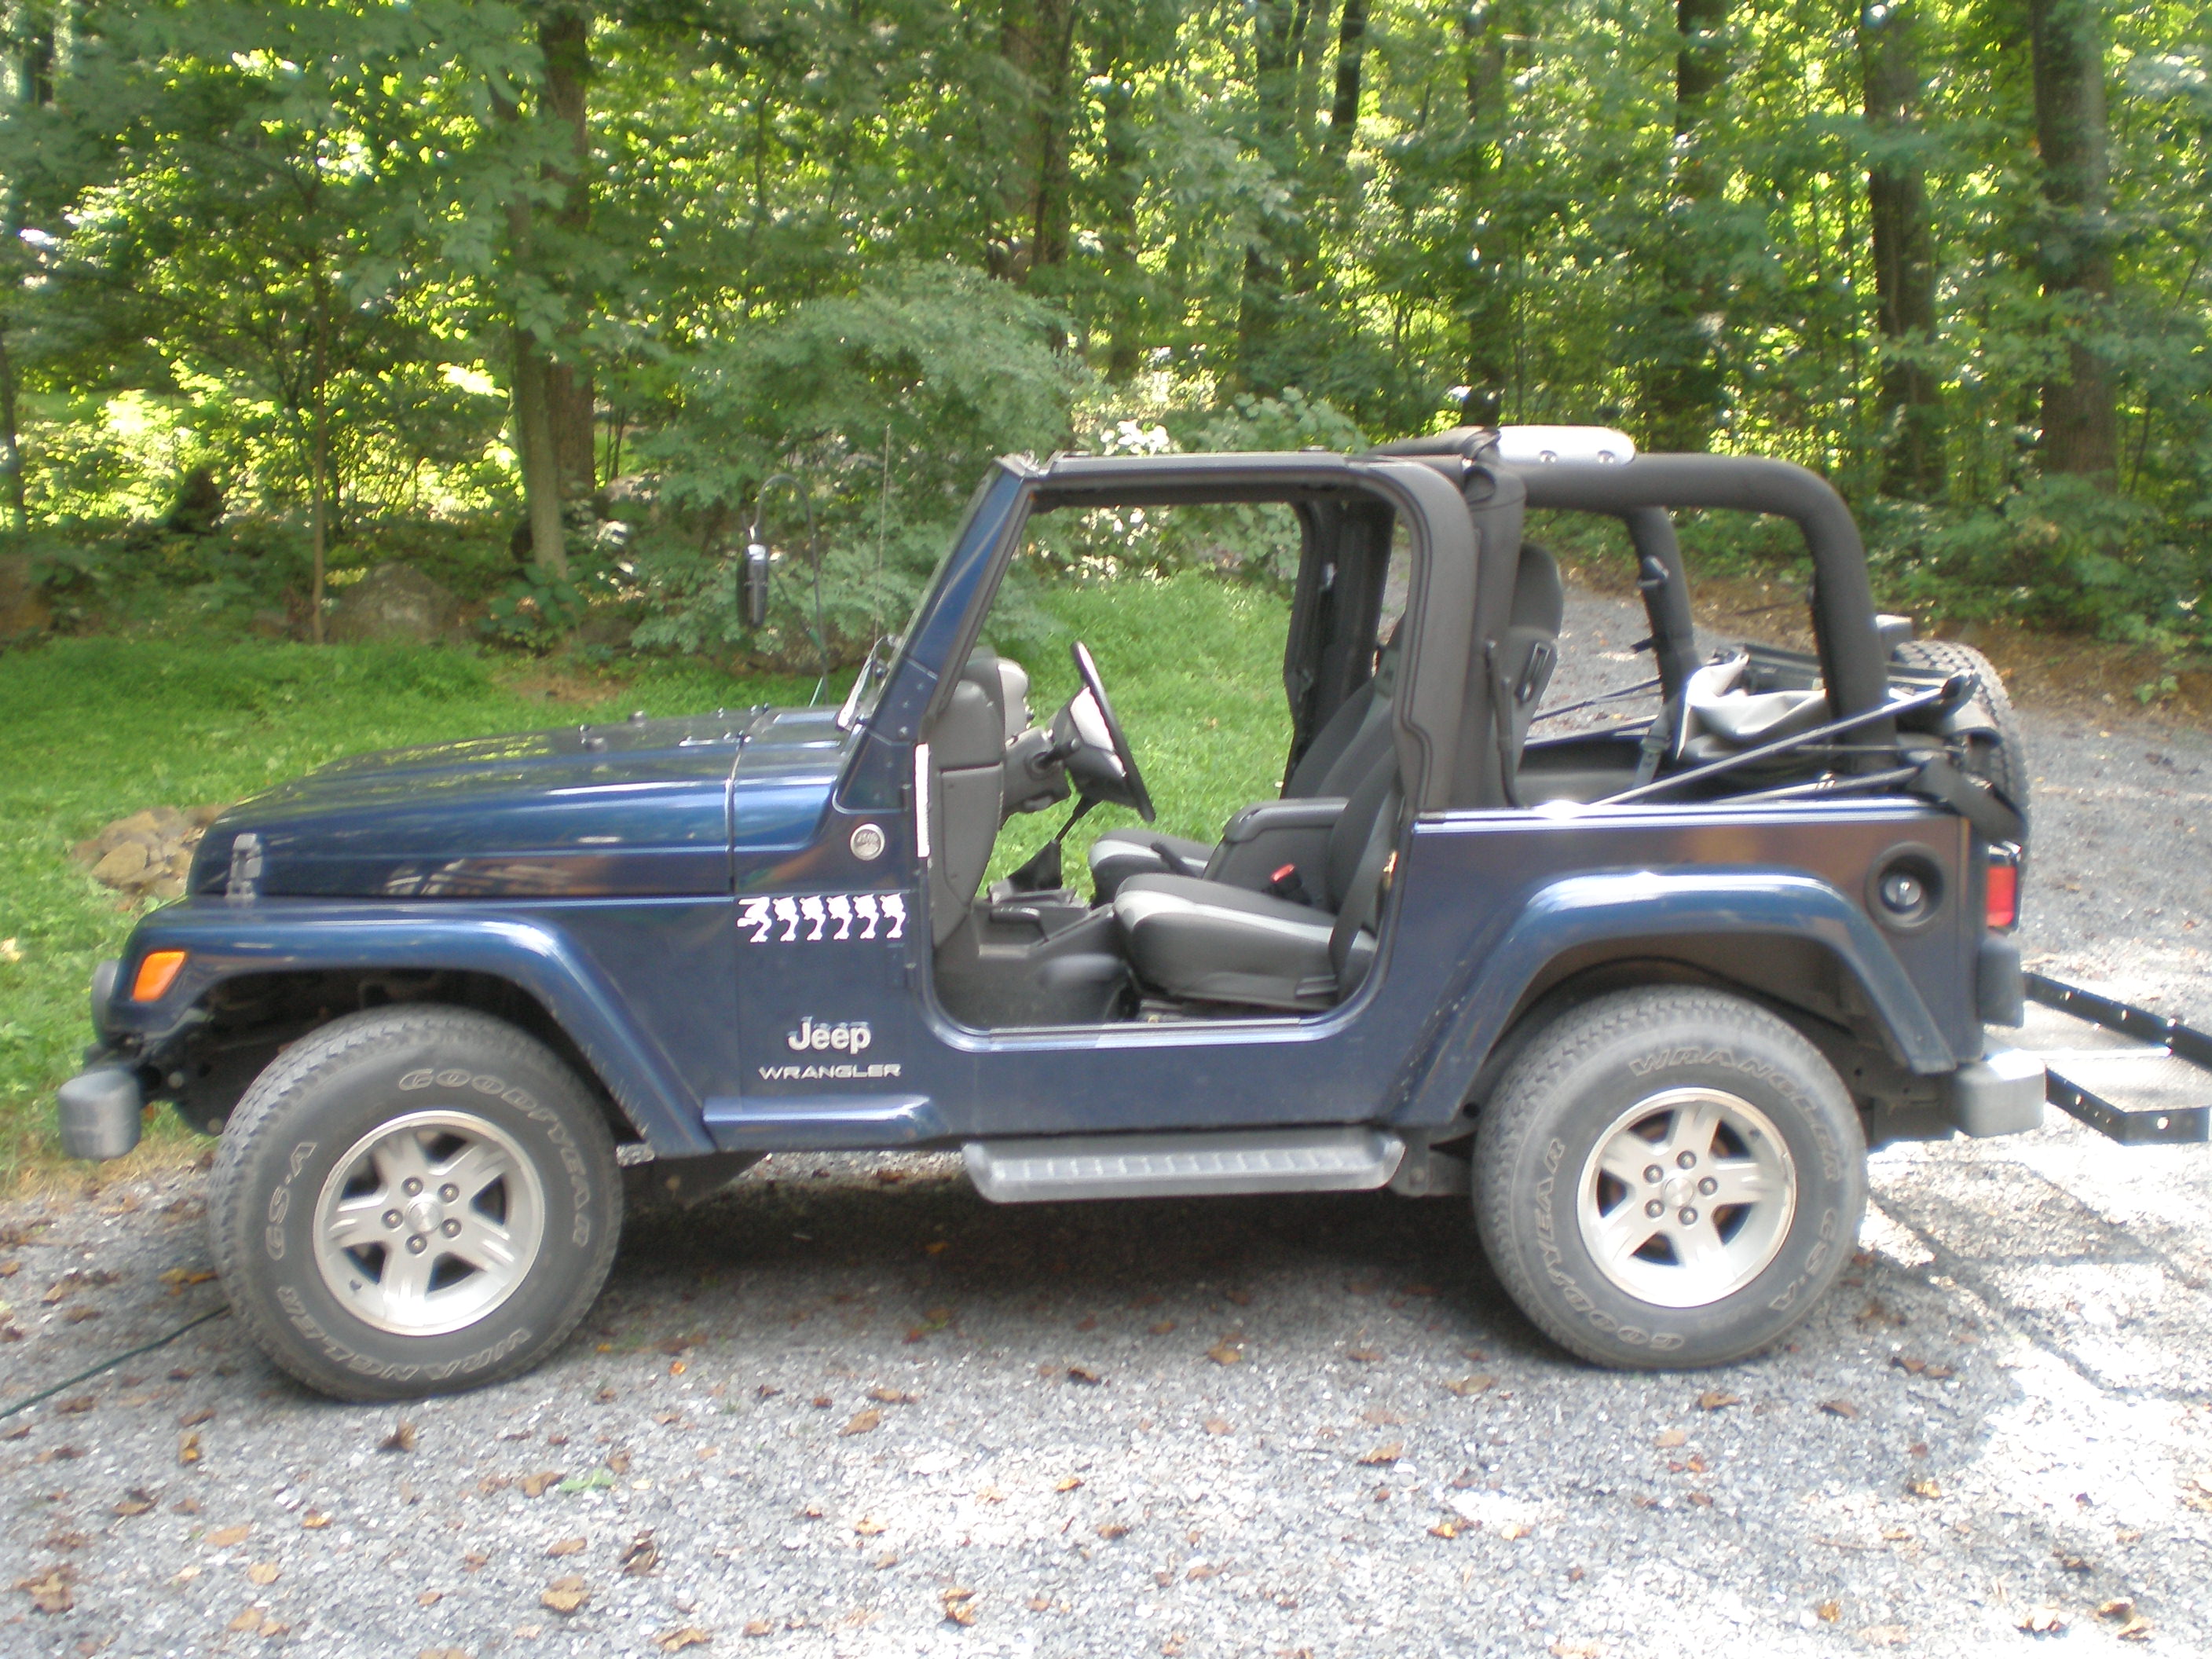
So, is that your kill count or something?
Yup. Other side has cats.
-
Here's my Jeep, with a small dash of fandom...
I'd like to see this truck though!!
-
John my dream from you is the Cats Eye. My Favorite of all. I have the original, but man that puppy from you would be awsome.
Yeah, the Cat's Eye would be an awesome addition.
/1200 bucks, holy cow!! OK, I think I could live without it.
1/72nd scale monster V2.0....any interest????
in Model kits
Posted
I've been building this in my head... I'm thinking a non-canon paint scheme, heavily weathered, with some cool nose art.
Keep my dreams moving, post more pictures!!