

Lt. Z0mBe
-
Posts
159 -
Joined
-
Last visited
Content Type
Profiles
Forums
Events
Gallery
Posts posted by Lt. Z0mBe
-
-
I appreciate the kind words! Praise from masters, indeed.
@MechTech Thanks for noticing the flora’s common theme. I figured on that planet, for whatever reason, evolution followed “tubes” as a building method instead of “stems” as the driving factor. I had lots of tubes lying around. Maybe the greater surface area allows certain gases to be absorbed better while giving more strength to the plants But thanks again for noticing.
Kenny
-
Long overdue update on this one.
Here's a recap of the description:
The idea for this comes from the variety of limited versions of ground vehicles produced and/or field modified for special operations troops on real battlefields. I figure in the Star Wars universe the Empire would have operators whose support vehicles were a little different than the standard fare. As such, I added extra stowage, equipment, cable cutters, spaced applique armor, antennas, sensors and slightly different weapons, much in the same vein as modern Humvees, ATV's and buggies are produced/modified to meet the needs of special operations troops.
I added a bit of a dioramatic base, just for fun. The figures have been replaced with 1/48 Tamiya figures and their poses have been custom formed and sculpted. I vacuformed armor for the Scout Troopers from sheet styrene. Other accessories were sculpted from Aves and cyanoacrylate-varnished masking tape. The groundwork is made from tea grounds, sculpted Aves plants, and thermoformed drinking straws among other things. I titled the scene "'200 meters that way, Sergeant!' - AT-SOT in action on Tiolp III."
The model is based on the 1/48 Bandai kit.
Here's the full album:
https://www.facebook.com/media/set/?set=a.1866371406831564&type=3
I took pictures with and without the flash, as my camera seems to wash things out with its flash. I apologize that the images are not better.
Comments and criticisms welcome.
Kenny


-
I've still got a little ways to go on this one. The wide and I have been spending a lot of time with the 1/1 scale baby human, who is way more fun to work with. Build time is therefore at a premium.
The idea for this comes from the variety of limited versions of ground vehicles produced and/or field modified for special operations troops on real battlefields. I figure in the Star Wars universe the Empire would have operators whose support vehicles were a little different than the standard fare. As such, I added extra stowage, spaced applique armor, antennas, sensors and slightly different weapons, much in the same vein as modern Humvees, ATV's and buggies are produced/modified to meet the needs of special operations troops.
I am also adding a bit of a dioramatic base, just for fun. The figures have been replaced with 1/48 Tamiya figures and their poses have been custom formed and sculpted. I vacuformed armor for the Scout Troopers from sheet styrene. Other accessories were sculpted from Aves and cyanoacrylate-varnished masking tape. The groundwork is made from tea grounds, hand-sculpted Aves plants, and thermoformed drinking straws among other things.
The model is based on the 1/48 Bandai kit. I am going with a moderately-weathered look, having given it a decent amount of chipping and scratching thus far. But, I still have more weathering to do, having just completed basic washing.
Here's a few images of the beginning of the build as well as a few snapped a few minutes ago.


The full album is here: AT-SOT Album.
Comments and criticisms welcome.
Kenny
-
My Mk I Viper - First Cylon War is FINALLY finished. I finished it at 0900 on 1 June and had it on the Wonderfest table at 1130. Needless to say, I was cutting it close. It was all worth it, as the model took a Silver!
Check the album out to see all the images but here you'll see some preshading and the finished images.
Comments and criticisms welcome.
Kenny


-
Finished all the scribing and got some primer on the Mk I Viper. There's actually only a few surface problems needing cleanup and then I can preshade and color coat. The engines will get a coat of black before Alclad. Now it's off to the races to see if I can make Wonderfest.
Comments and criticisms welcome.
Kenny


-
It's starting to really look like a Viper now. I finished the cockpit and aircrew and closed the fuselage. Then I assembled the various subcomponents. I've also added a grill to the front intake as well as some Avesing to the fuselage-canopy joint to get a better sealed look. Since these pictures were taken, I was also able to precisely blend the fuselage joints and intake joints in order to get a much "tighter" look in those areas. I've also started on the cannon painting, giving the "accordion" detail on them an olive drab/green color instead of the red-orange seen on some shots of the MkII's cannons.
I am working on some filling with Aves, Bondo, Mr. Surfacer and Gorilla rubberized CA. The wings' leading edges also need a little bit more work to tighten up that faceted look I am going for.
That's all I have for now. Comments and criticisms welcome.
Kenny


-
I feel like we're finally making some progress here.
The cannons are finished. I sculpted some styrene blocks to match the contours/ledges of the ammunition feeds that already existed on the Mk II cannons. Then, I fared them in with a bit of Bondo and Gorilla rubberized CA. I also added a ejection port because I figured even caseless ammunition would need to be cleared in the event of a misfeed:


The cockpit preshaded and basecoated:


Aircrew basecoated:

Aircrew highlighted and shaded. I also did some additional gold and green glazes until I got that First Cylon War color for the flightsuit. Sorry, but the camera flash washes that out a bit:

Finally the cockpit received an oil wash, drybrushing and some light chipping to make it look a little lived in. It is curing a bit right now but it will receive a flat coat and have the MFD, DRADIS and instrumentation masks removed:

That's all I have for now. Comments and criticisms welcome.
Kenny
-
Love the VF-4 ideas. They're one of my favorite Macross designs.
Small update for today on the Mk I Viper.
The engine exhausts are all trimmed up and in place. Also, the vertical stabilizer is attached and Aves'd in. I added two little F-14/VF-1-ish air brakes in the gap between the engines, trimming the piece that awkwardly jutted back past the engines. Finally, getting a good looking joint between the added exhaust nozzle detail, the kit nozzles and the engine nacelles is taking forever. It's taking Aves, Mr. Surfacer and Bondo, along with very creative and precise sanding and sculpting, to get things done and looking natural, instead of just filled. I am almost finished with them (until priming) but I think you can tell where we'll end up once that's completed.
I also started work on the armament. I am using the MkII's cannons but I will be modifying the ammo feed a bit to make them fit where they'll be mounted on the Mk I. I'm also going to make some minor changes to the barrel, with the aim (no pun intended :)) being to make them look like slightly older versions of what we see on the Mk II. I figure just like the M61 is almost ubiquitous on american fighter and attack aircraft, armament at that time would probably be the same across some marks of Vipers.


Comments and criticisms welcome.
Kenny
-
Thanks for the kind words, everyone.
On 12/4/2018 at 2:10 PM, Chronocidal said:Looks like an awesome remodel, can't wait to see it painted up.
")
One thing I noticed though, is the top engine missing that inner 6-toothed ring the other two engines have?
Thanks for asking. Yeah, the top engine is slightly different. It was a conscious decision because I figured the (dorsal?) top engine would have a slightly different configuration, given it's further from the CoM than the other two. The opening is also "shallower" from the lip of the exhaust nozzle to the ring in the center than the other two are. Make sense?
Kenny
-
Here's an update for today. Basically, I deleted a lot of the greeblies between the engines as well as removed the rails from the underside since they're not needed in the nu-BSG universe based on what I see in the Mk II. The exhaust nozzle detail is finished and the vertical stabilizer details are more-or-less where I want them. You can see how the exhause nozzles should look once installed. Finally, the leading edge wing beveling is complete.
Comments and criticisms welcome.
Kenny


-
The thinking behind this build is to give the Mk. I Viper the same treatment some original designs received in the 2003 SyFy series. Specifically, I am referring to treatment given the 1977 Cylon Raider and Centurion and how they were "tweaked" a bit before appearing in Razor and Blood and Chrome. We see a Mk I in the background of the BSG miniseries in Galactica's launch bay museum, but never anything of it close enough to discern detail or see it in action. Among other things, I am adding a more realistic nu-BSG feel to the engines, aircrew, cockpit and other areas. I am also removing a LOT of greeblie detail in order to make this build look more like a predecessor to the Mk II and Mk III. This is based on the 1977 1/32 scale Monogram kit and it will not be lit.
I've tweaked the wing shape/size, intake "bear claw" looking things, the aircrew, ejection seat, exhaust nozzles and simplified the panel lines, among other things. When I am done, this thing should look more like a predecessor to the Mk II and maintain that nu-BSG realism. Perhaps this was Saul Tigh's mount in the first years of the war...
Comments and criticisms welcome.
Kenny


The full album can be seen here:
https://www.facebook.com/thisis.forreadingstuff/media_set?set=a.1375353999266643&type=3 -
18 hours ago, arbit said:
It's a work of art. I would say it's perfect.
I grew up as a fan of the Black Tigers in the original series.
They stole every scene with their slick black and yellow uniforms.
Thank you, Sir! You're very kind.
Kenny
-
I'm calling this one finished. Is it perfect? No. Am I happy with it, sure.


Comments and criticisms welcome.
Kenny
-
Those of you following the World Championships of Decaling no doubt heard about this. But for the uninitiated, I just set a world record for number of decals applied to a 1/100 scale aerospace fighter.
")


Next is washes and glazes and some filters before a bit of weathering. Comments and criticisms welcome.
Kenny
-
We're getting close on this one but it is taking a long time.
I had a lot of problems after laying down the preshading. The first was I used some Createx Wicked Black airbrush paint for the preshading over a Mr. Surfacer primer. I shot this unthinned at about 25 psi. EVERY SINGLE PLACE on the model where Tamiya tape was used, the %$#@%$#@$ Wicked Black would lift away from the primer - taking the color coat too - when Tamiya tape was pulled up. Yes, I know masking and used all the usual tricks for masking to prevent this kind of stuff but it didn't matter. This left "steps" in the color coat I had to either polish out or "level" with Future. I had no problems with subsequent re-preshading and color coats when I preshaded with Vallejo Model Color black thinned with Vallejo airbrush thinner and a bit of Future for strength. The color scheme I went with was substantially simpler to cut down on masking (paranoia!) than what was used in the first attempt.
The other issue was I used Model Master Acryl Camouflage Gray for the light color. I thinned with distilled water and strained it as usual. I also added Future and Liquitex Slow Dri for toughness...and to try to mitigate the absolute worst airbrush experience I've ever had. Basically, if I didn't clean the airbrush nozzle every 15 seconds (I had to count, lol), I would get "white boogers" shooting out on the build (Thinning with Acryl Thinner - yes, the correct formula - wouldn't let me airbrush for more than 10 seconds without boogers). This happened at 12 psi up to 22 psi or so. Again, this was strained paint, with Future and retarder. Shooting through my Iwata HP-CR or my HP-CH didn't seem to make much of a difference. So, I would have to paint, fix the boogers with cotton swabs or a micro chisel, paint the fixes, fix the mistakes from painting the fixes, and on and on, ad infinitum.
All of this got us here:


Comments and criticisms welcome.
Kenny
-
On 2/4/2018 at 2:00 PM, MechTech said:
The paint is looking good Zombie. The colors on the ordinance will make it look more realistic.
Derex, you scored on that one! The lining will help it stand out nicely.
Brett, I didn't realize how small the Elysium kit is, but you're making it look great!
505, the natural light makes it look much better! I'm actually picking times of the day to do certain things because I find the natural light makes certain things stand out better.
The Tequila Gunner's gun barrels were both horrible. The smaller, auxiliary cannon had a ejection mark right into the barrel. So the easiest thing was to lathe a new one. It has a 1/16" bore that I rammed a smaller Dremmel bit into to create rifling. Same thing with the main gun. It was actually squarish or oval depending on what part of it you looked at. So I machined a new one for it too. I also made it a little longer. Likewise, I also made rifling marks inside of it too. Nearly done with the construction parts now. - MT


The barrels look incredible. Thanks for the kind words on my build. Glad somebody "got it" with regards to the ordnance.
-
So I primed and filled and sanded ad nauseum until I was happy enough with the build to proceed.
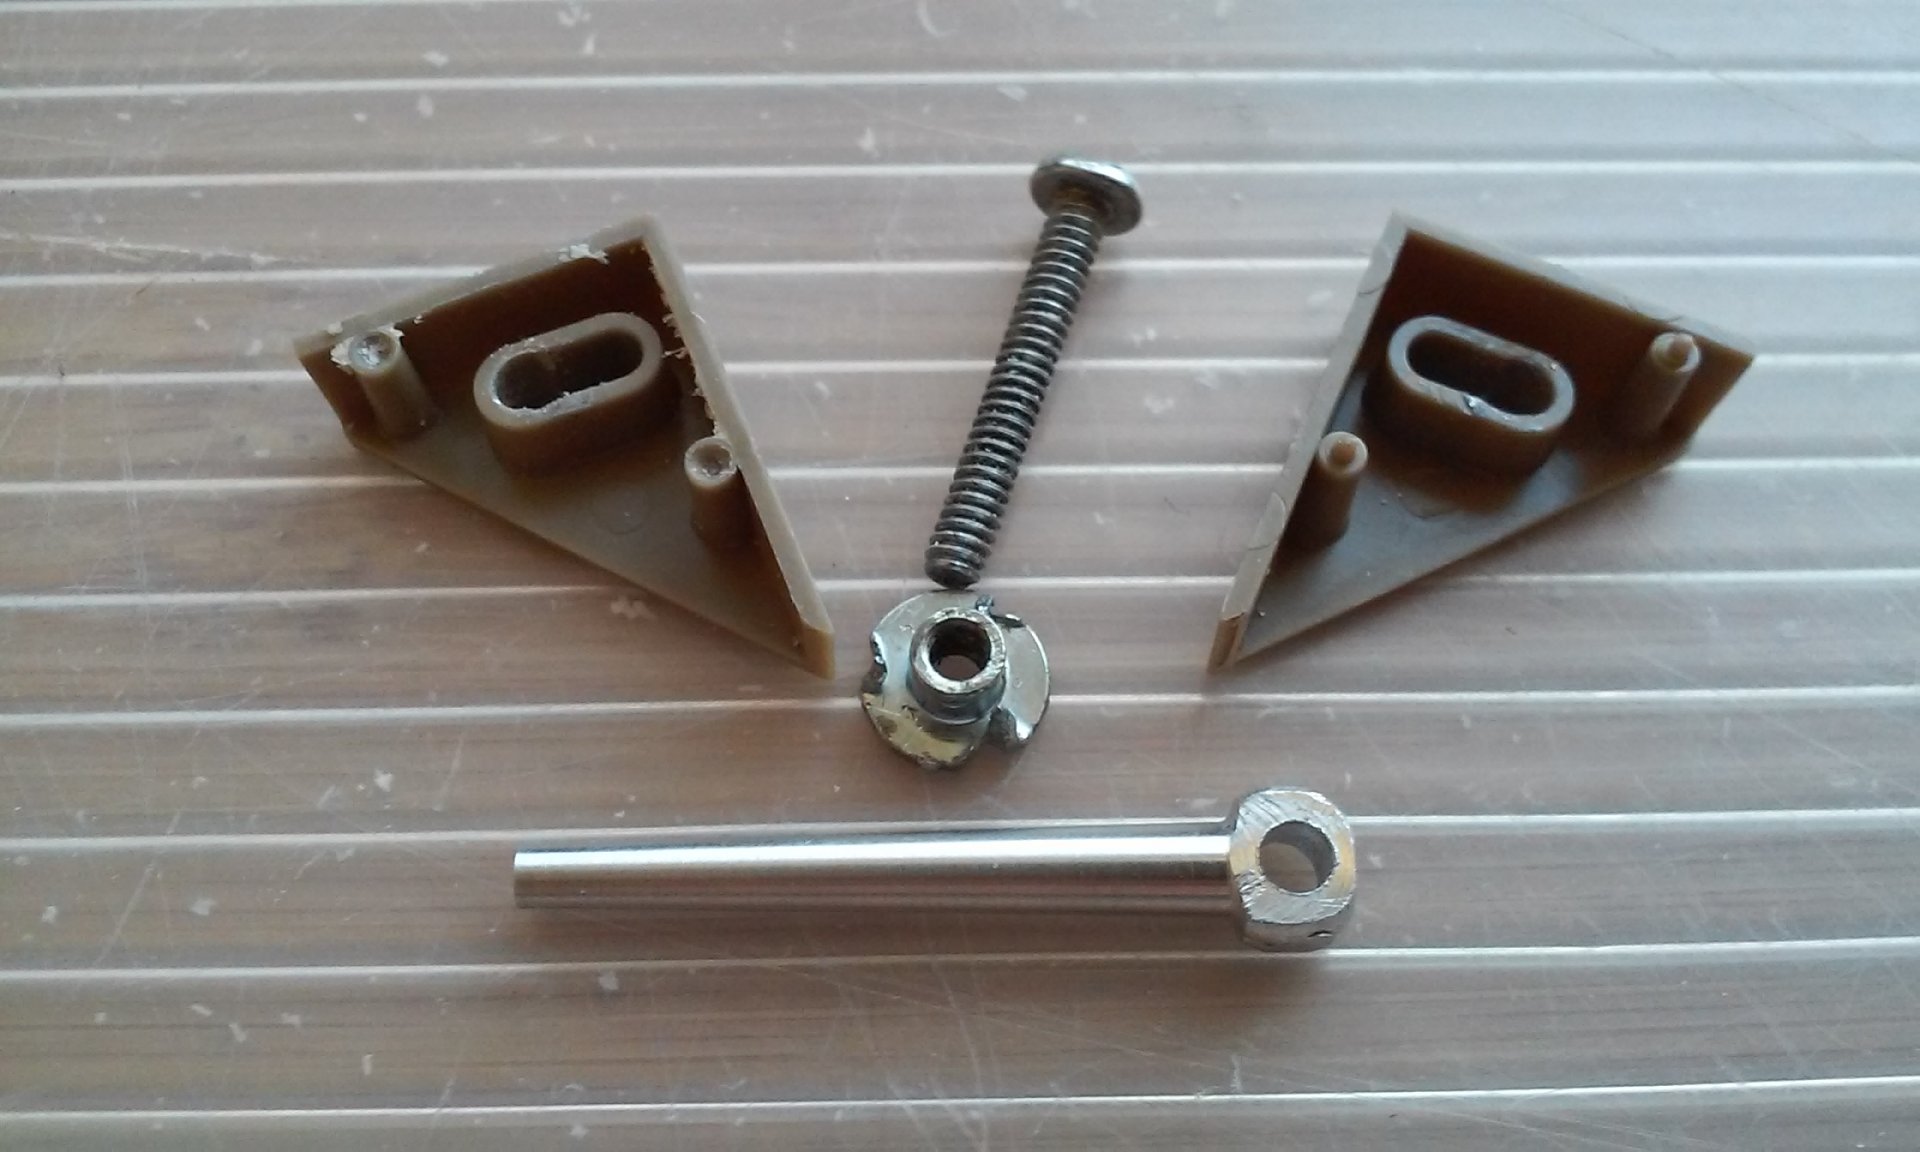
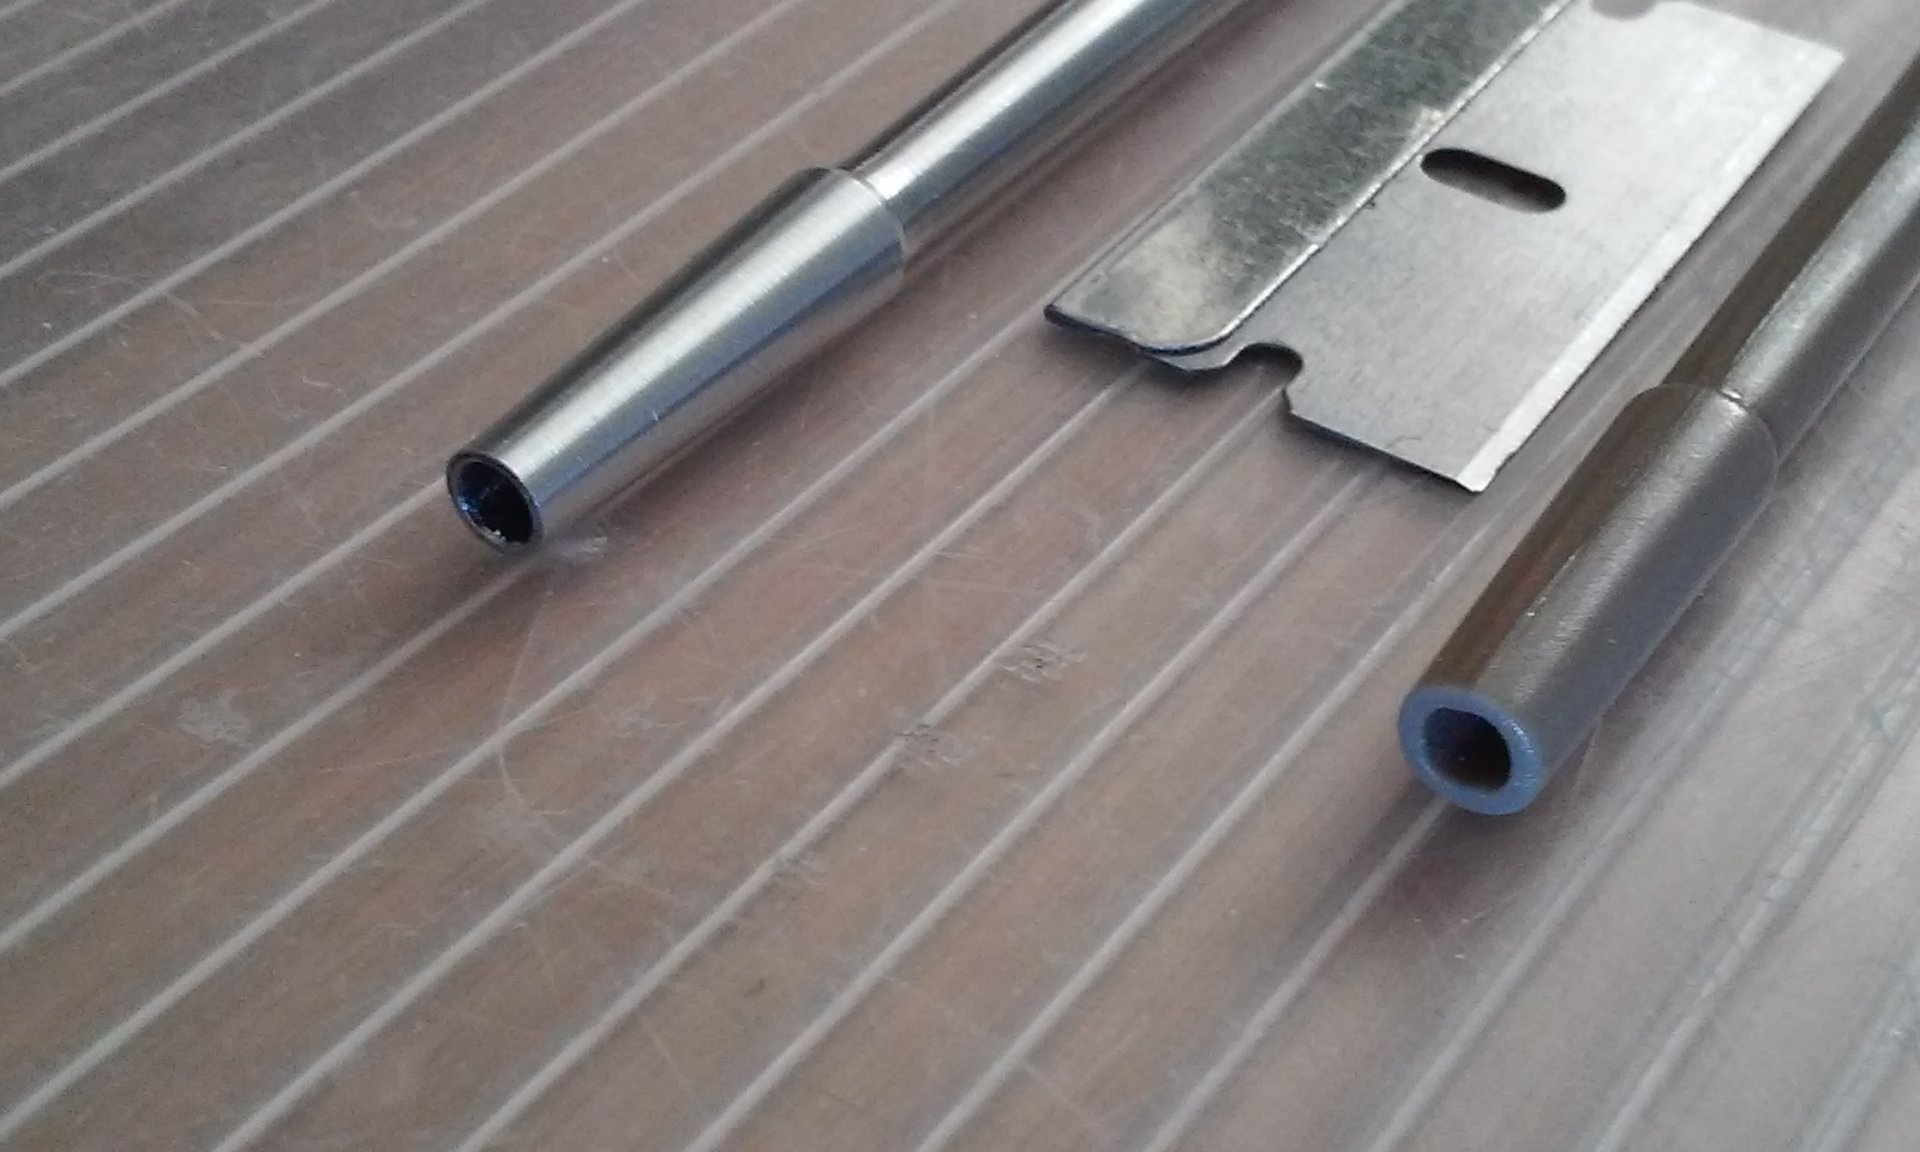
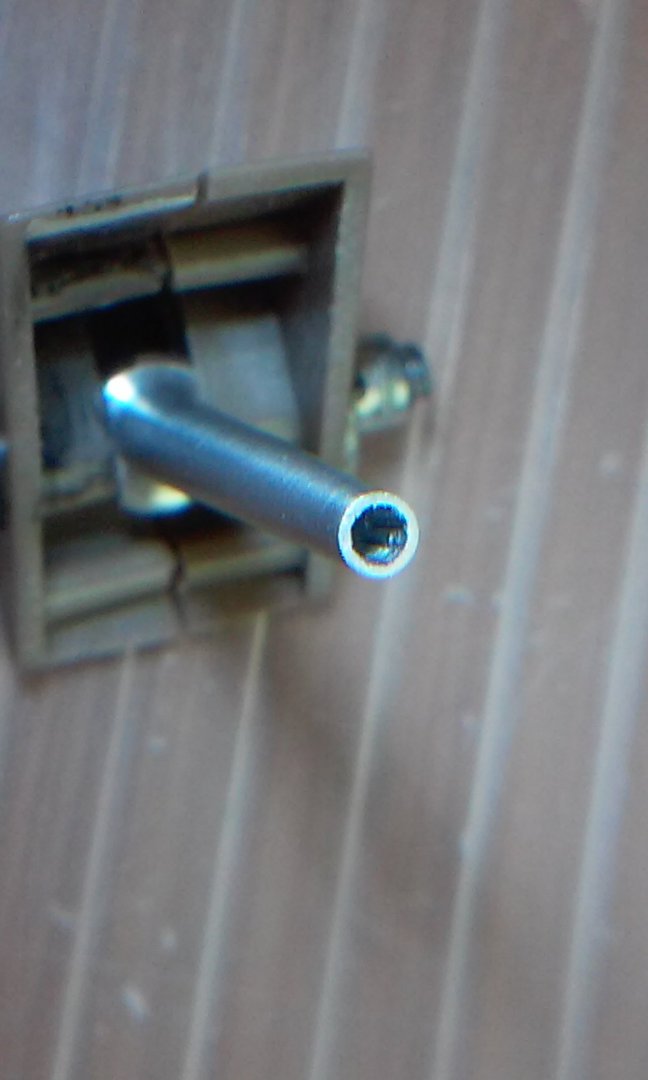
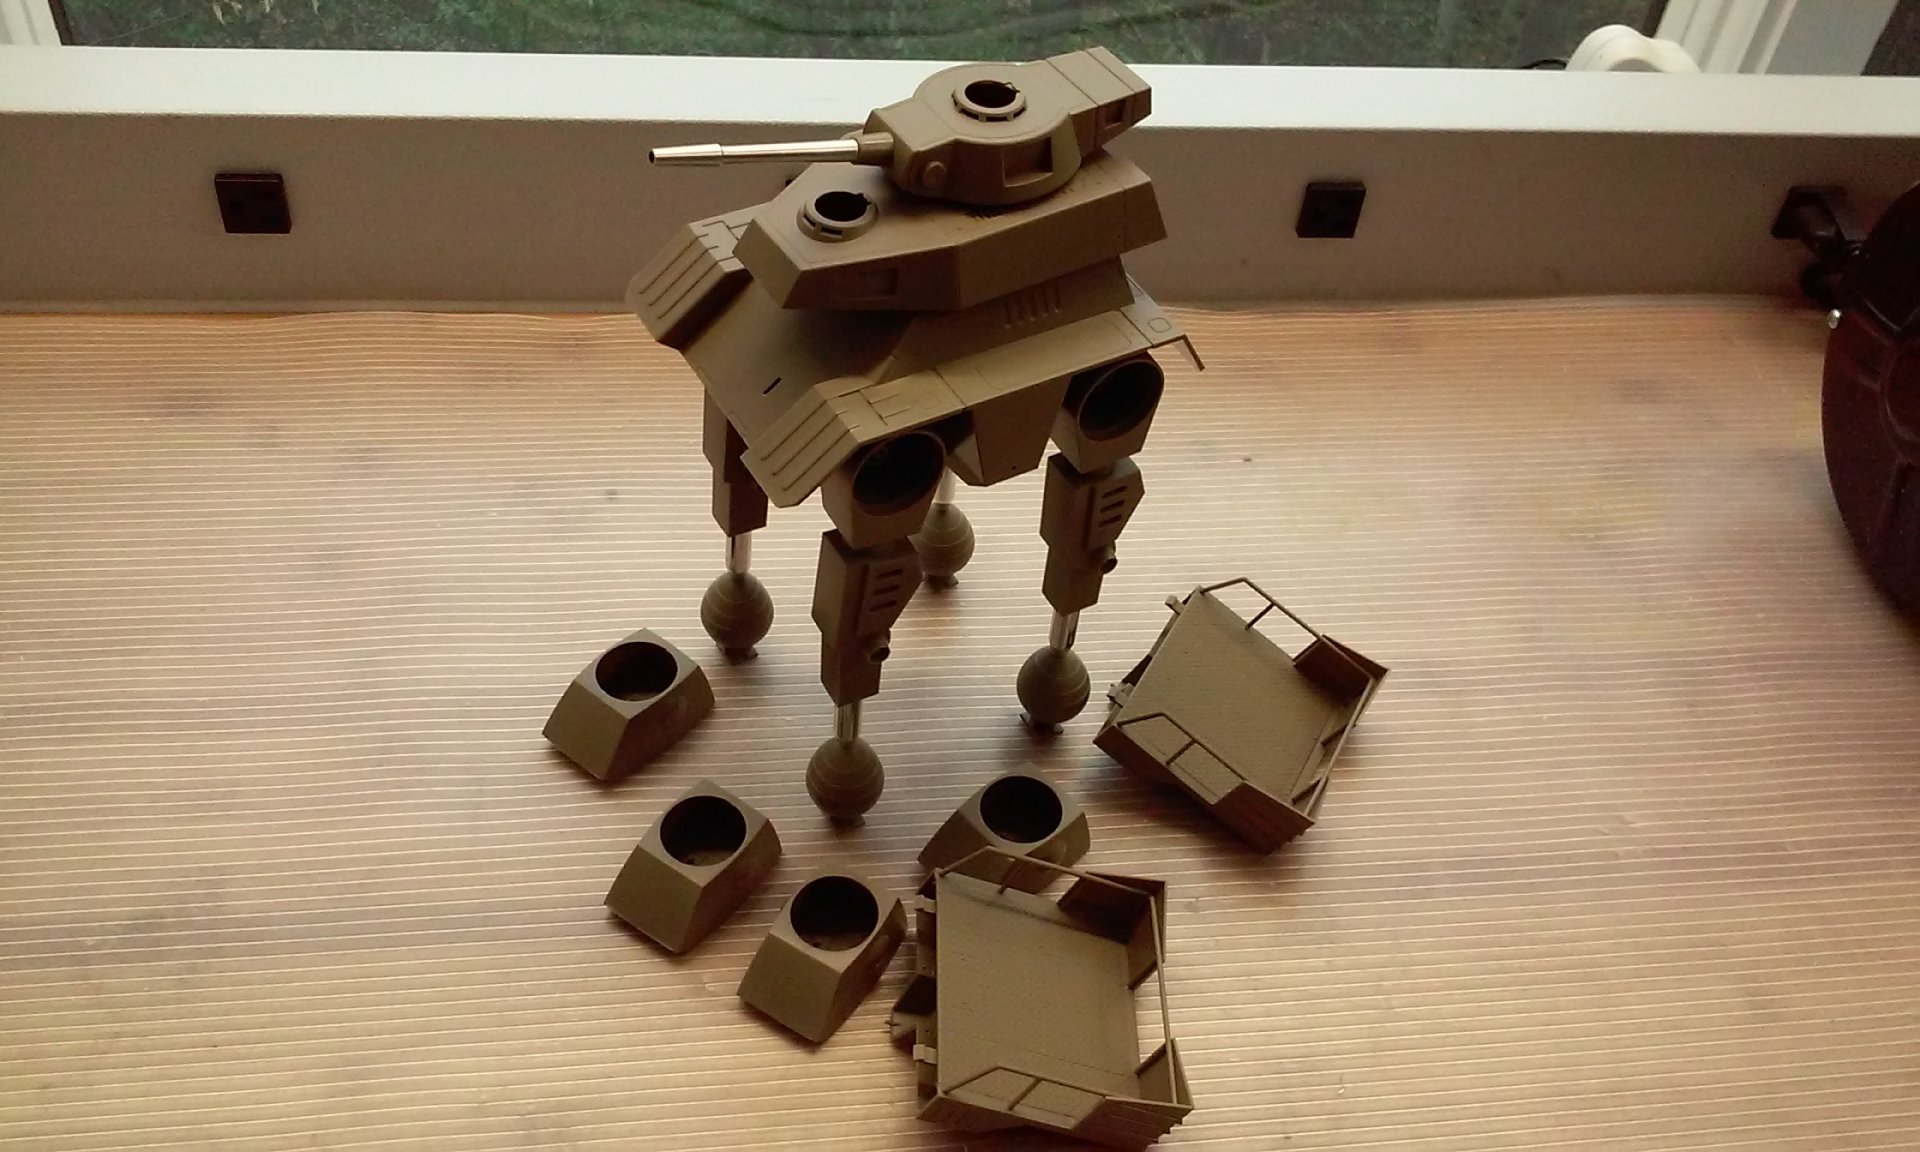
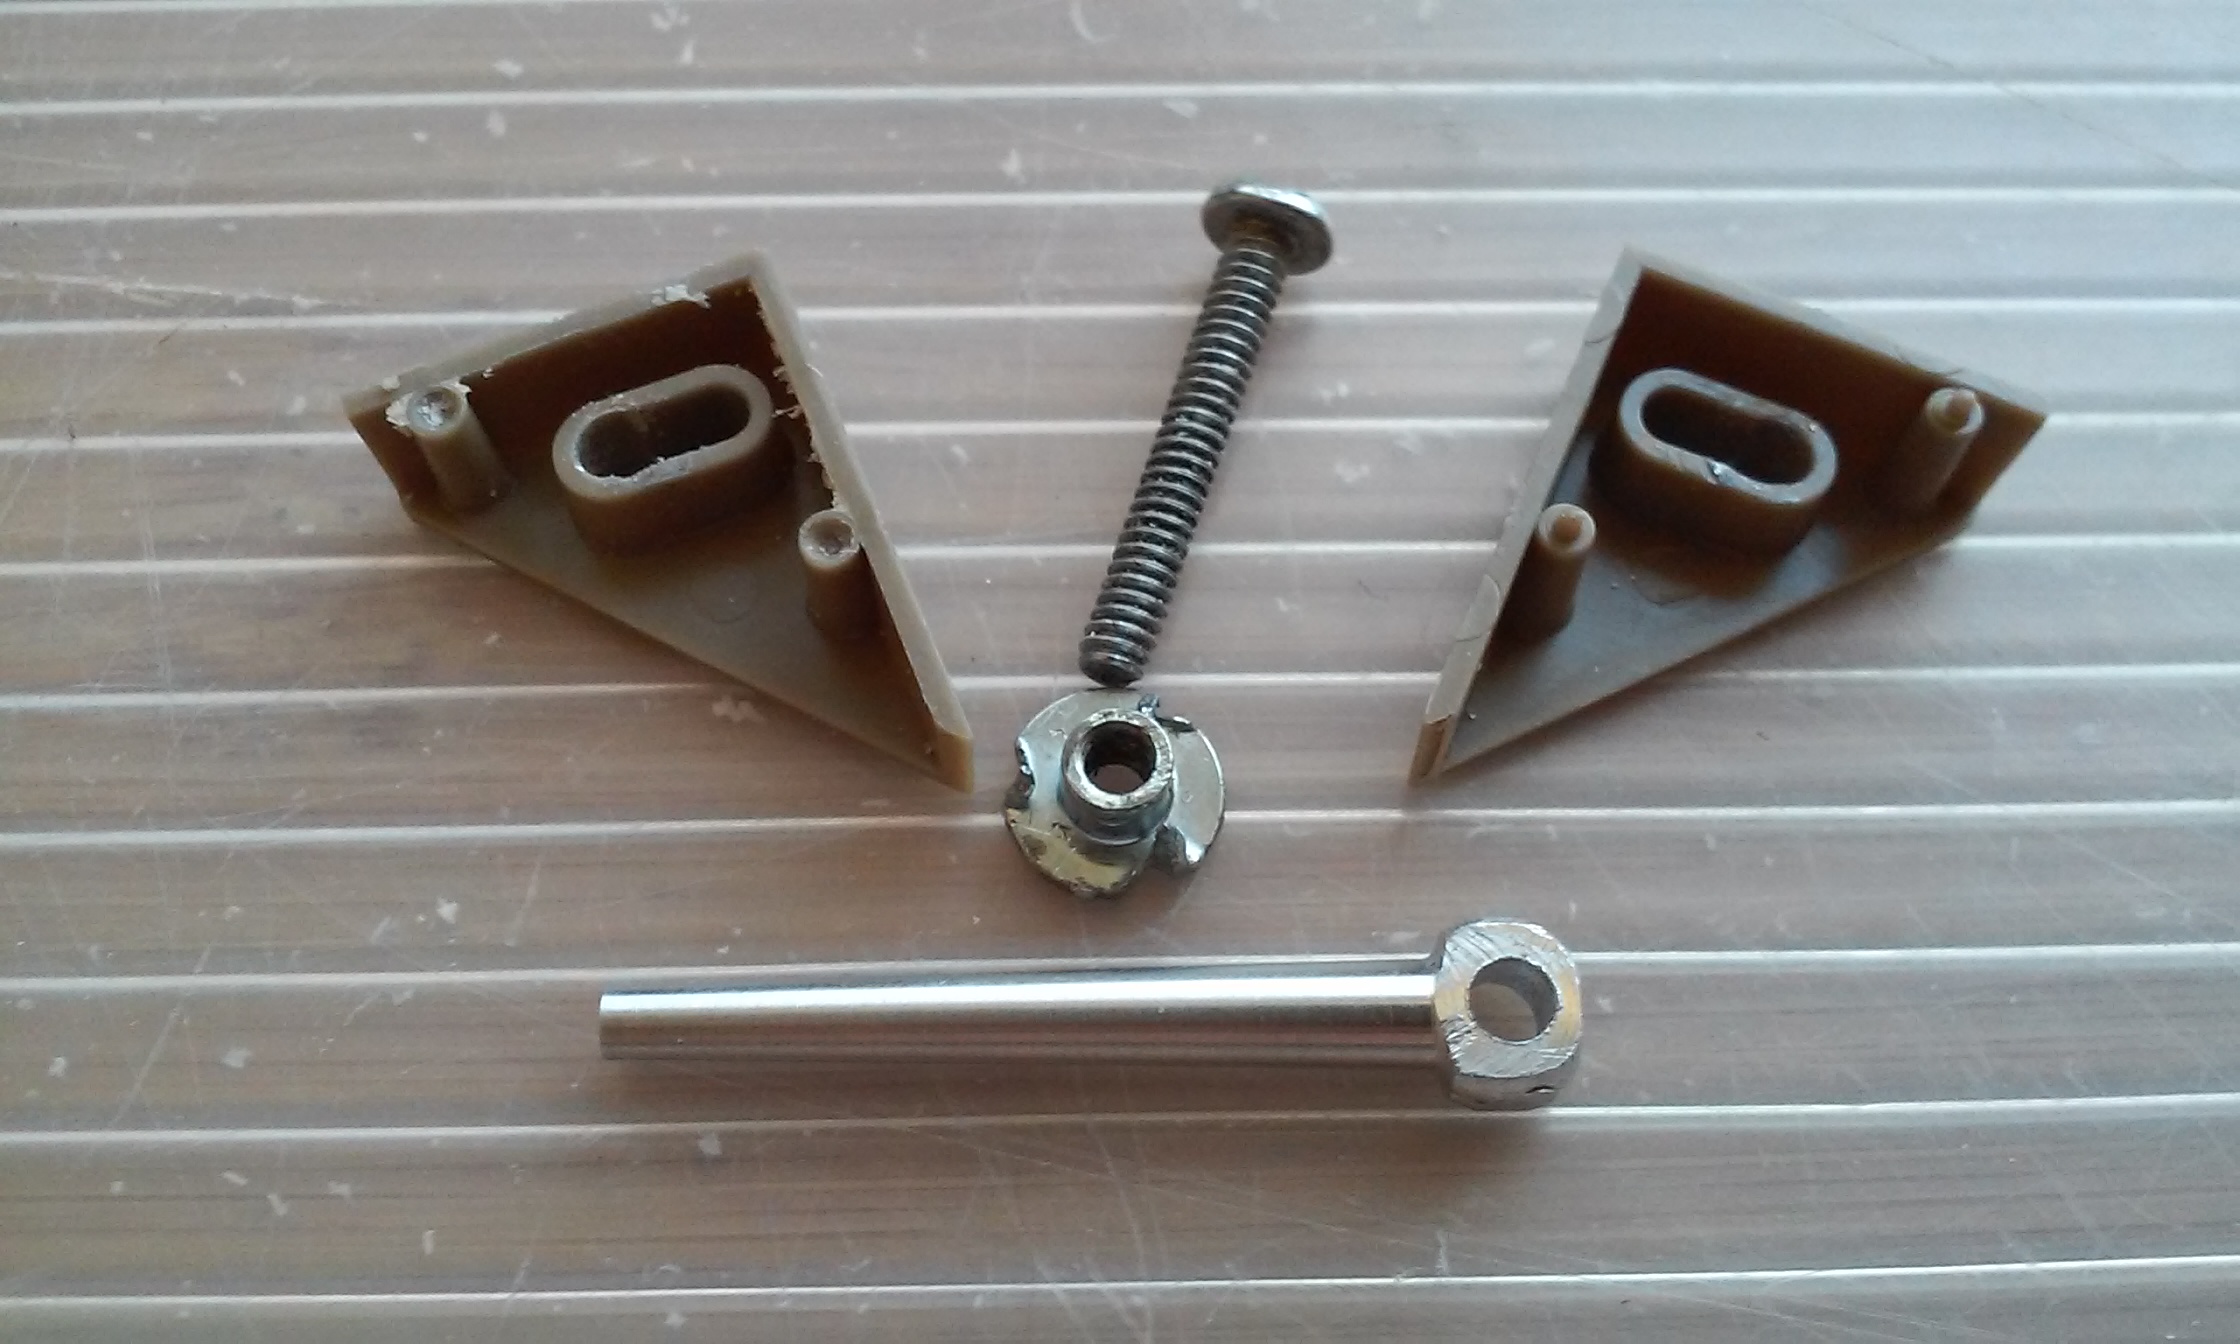
Not sure what's going on in the image below. Anyone have a guess?

Preshading is complete. I did the usual black preshading with some white panels picked out here and there. The upper panels I picked out where made more "stark" whereas the underside panels where just lightened a bit. I also whitened the area in the fuselage just in front of the vertical stabilizer as well as the top of said stabilizer. I think this will give a bit of depth or weight like any pseudo-zenithal painting.


Next up will be some work on the engine exhaust, more masking and some work on the ordnance. Comments and criticisms welcome.
Kenny
-
I managed to get the Black Tiger - Block 43 cleaned up and primed. I decided to leave off the canards I had planned. I could not get them to look right and decided discretion was the better part of valor. I filled the canard mounts and re-scribed them.
The underwing pylons with drop tanks have been mounted. I figured that this way, given this scale I could get a good fitting attachment underwing whose gaps will be in scale. The ordnance on the underwing pylons and wingtip rails will be added later.

The canopy was demasked, polished and re-masked after I realized some of the tape had peeled away during handling. The same was true for some areas on the exhaust assembly. I also polished, colored and Futured the navigation lights on the wingtip pylons. Here's a beauty shot:

Business end and underside:


That is all I have for now. Comments and criticisms welcome.
Kenny
-
Delicate sewing to be sure. Also, Thom your scribing looks wonderful (I have scribing on the brain, lately lol) and the flight deck looks like the real thing.
Thanks for the kind words, everyone.
Kenny
-
This one grinds inexorably onward. It seems like a lot of work for such a small update. I scribed in the main undercarriage doors, filled in some details and added others; for example, there are now panels behind the wing root cannon ports (armament bays?) but removed the venting behind the sensor boom. I also filled the areas where the wing root cannon covers connect to the fuselage and then re-scribed them. I did this to make that area less "bubbly" and more streamlined. I hollowed out the two little air intakes I scratchbuilt from sheet styrene so they look like, well, intakes.
RCS thruster blisters visible, one intake and new scribing at wing root and wingtip visible and antenna fairings/vanes/blisters shaped:

Other side view, slightly blurry but you get the idea:

Underside. You can see lots of RCS blisters, new scribing at wing roots, the other intake, Aves undercarriage doors and the new exhaust assembly with its gaps filled:

Sensor boom and cannon fairing with their scribing. They were a bitch to scribe:

Engine nozzle and masked off areas that have been sanded, polished and preshaded/painted black:

That's all I have for now. Comments and criticisms welcome, as always.
Kenny
-
That is seriously cool. I certainly consider myself a serious builder but I have not (yet) made the jump to machining stuff. Projects like that certainly make it more inviting.
Kenny
-
Amazing work, Mechtech! I look forward to seeing it painted and part of a build.
Kenny
-
That's an impressive video. I half expected it to go from fighter-to-battroid!
I've got an update on my Black Tiger - Block 43. Here's my post from SSM:
It seems like there's been a lot of work for such a small update.
Finished scribing on the underwing pylons and drop tanks:
I had a problem trying to add the exhaust nozzle assembly. I tried to add the assembled and preshaded assembly so that masking would be a bit easier later. However, the ventral stabilizers cracked and when I tried to back the assembly off, one completely snapped off and took half of the nozzle with it:
Here you can see I've got it all re-assembled, trimmed a bit for installation and back to its old self:
The wingtip rails were a lot of trouble to get their seams filled properly as well as their panel lines scribed. But, they're nicely in place along with their antennae and sensors:
Got a lot of re-scribing done on the bottom of the wings. Some lines had to be re-scribed following filling of the wing-fuselage seam and the wingtip rail seam:
That's all I've got for now. Next up is a bit of preshading on the exhaust nozzle and scrbing in the undercarriage doors and RCS thrusters. Comments and criticisms welcome.
Kenny -
So much good work here. I've been away for two weeks and missed so much!
The concept behind this model was pretty simple - it's a late Mark (block 43) "Black Tiger" from the Space Battleship: Yamato universe. It's along the lines of the late model F-16s and Spitfires, who have the same basic resemblance to their earlier versions but more "warts" and different/fewer weapons. Similar to the Cosmo Zero build, I'm aiming to also make it a little less whimsical, for lack of a better term. It will also get proper American markings, not that U.N. garbage. It is based on the Bandai 1/100 EX-model kit.
I got rid of the "swoopy" vertical stabilizer and wingtips and added some antenna warts and auxiliary intakes:

Added a sensor boom and new armament bay:


Deleted some cannons and filled in the main undercarriage bays (this will be an in-flight build):

New drop tanks, some canards, scratchbuilt pylons and wingtip rails and two types of scratchbuilt missiles:


Comments and criticisms welcome.
Kenny


Whats Lying on your Workbench MK IV
in The Workshop!
Posted
Thanks! I appreciate it. If you check out the link to the album in the post, you can see a lot of the build progress.
Kenny