

Jung
-
Posts
381 -
Joined
-
Last visited
Content Type
Profiles
Forums
Events
Gallery
Posts posted by Jung
-
-
Great job Jung! May I know where I can get a set of the custom decals you put on the model?
By the way, I believe there is another version of Minmay Guard decals (for 1/72 model), do you know where I can get that set of decals too?
Thanks.
yep the other version is "Moon Act", let's keep our fingers crossed that Devin will produce this set of decals aswell

-
Anyone have artwork of this thing? Particulary coloured ones?
-
Wow, nice work as always, Jung. What types/brands/colors of paint did you use for the blue and purple sections normally covered by the decals?
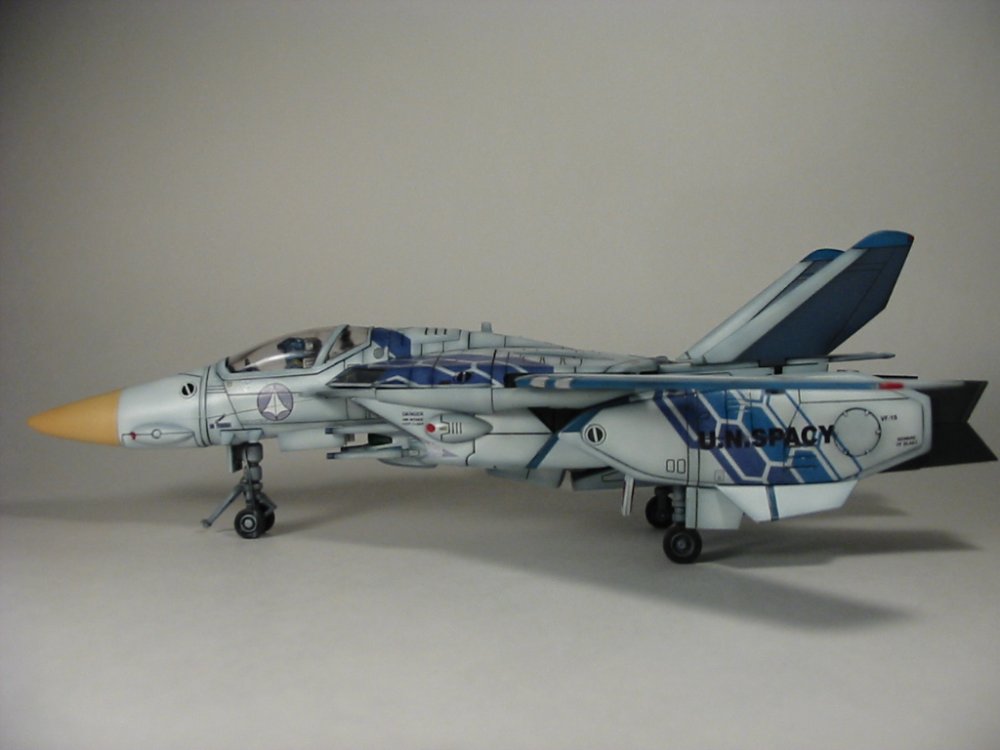
The light blue was khrylon Sky Blue, it matched straight out of the bottle, but darkened when I sprayed it over the dark grey undercoat.
The darker blue, I mixed navy blue + a bit of red to give it a purplish hue. I added flat black or white to darker or lighten it up. I can't give you the ratios, I just mixed as I went along. The match was close but not perfect.
-
Other than the too dark overall color (could be the camera, the lighting, my monitor, or just my own preferrences), words simply fail to give adequate praise and admiration for this beautiful custom. A thousand bravos.
Yeah it's greyish more than white. Normally when you airbrush white, you'll need to apply several coats cuz white when thinned is pretty translucent. I did 1-2 coats of white, and I liked the greyish look, so I left it at that. I did a more solid white for the legs, cuz I wanted to bring out the minmay decal

I think the pics also makes it darker, I didn't use enough lighting.
-
I tried to read as much of this long thread as possible. Unless I've missed something, there's no set price, so I take it this list is for those interested, so put me down for 1 Monster kit. I'm aware of the price range. thanks
-
From people's customs, i realise that they customise their pilot's hands. How do you move them hands? I manage to pluck one of them out...but I can't imagine how i'm gonna glue them back, repositioned.
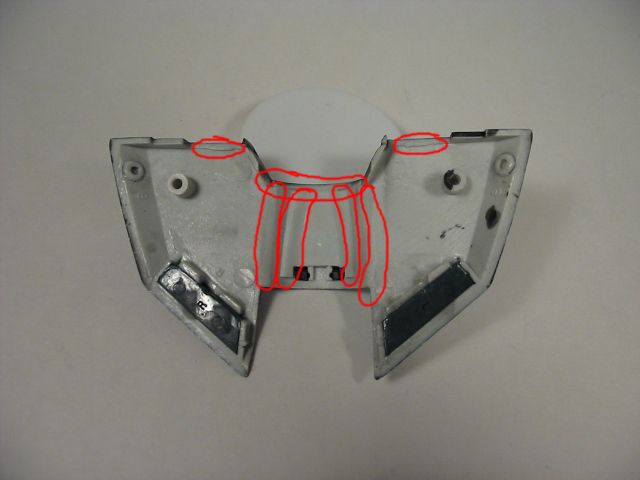
For the older plastic pilots I cut the sections apart and repositioned, using putty to fill in the gaps.
For the newer rubbery pilot, I just cut slits and repositioned, again putty to fill in the gaps.
-
yes I was refering to a wash on bare plastic. Acrylics are easy to use, it wipes off cleanly and easily, that's why I mentioned you can "overpaint". The rubbing alchohol or windex, are weak solvents, they shouldn't damage the plastic.
-
This time I painted and decaled the heatshield on the outside. To avoid paint chipping when you slide the heatshield in and out, I rounded the sharp corners under the chest plate. This worked fine and also allowed the heatshield to slide a lot smoother and easier. Just don't sand too deep or you'll sand through the chest plate

I also sanded off the two tabs that locks the "shoulder lights" in fighter mode. THis doesn't cause any noticeable difference in transformation or looseness in fighter/gerwalk mode.

-
What did you use to fill the seams in the legs/thighs?
crazy glue first than epoxy putty
-
I believe you need text to add pics, so this is a shortcut.BTW, what does "asdf" stand for?Humbled again, Jung. Great Job.

Man, is the bar getting higher and higher around here, or what!!?!?!?
As a silly question from someone who has a hard time with snap-togethers and crayons
,you must have coated Devin's decals repeatedly to allow your wash/panel techniques to be used over them, right?
Was wondering how to get the lines after decals are applied without tearing them.

For the MG decal set, you should use decal softener/solvent solution. This is used for waterslide decals, it softens the decals to allow you to conform it to curves and panels.
I used testors brand, I read Microsol is best, cuz it was the only brand available at my local hobby shop.
basically, after you cut the decal and let it soak in water for about 30 secs, apply some of the softening solution onto the surface where the decal is to be applied. Apply the decal, than brush some more softening solution onto the decal. Let the softening solution work for 30 mins to an hour. After this time, the decal should start conforming to details underneath. However the 1/48s have really deep panels, so you'll need to help the decal out. Wet your thumb to conform it to curves. For the panels, I dipped a toothpick in water and pressing + sliding gently.
here's a good link for tips on applying decals (the "Stonger Stuff" section covers this)
http://www.aircraftresourcecenter.com/tnt1...Pino/tnt065.htm
I did seal the decals with a future coat before the wash, but if you don't do the above, your wash would be disastrous. Your decals would be "floating" above the panels, and when the wash gets underneath, it'll "stain" the decals.
So make sure the decals aren't "floating", otherwise do your wash before applying decals.
-
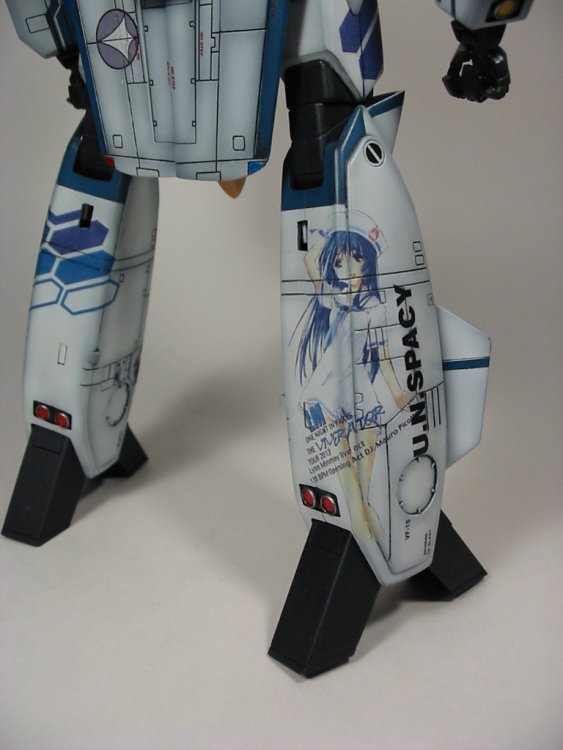
Incredible Minmay Guard! Where are the FPs?
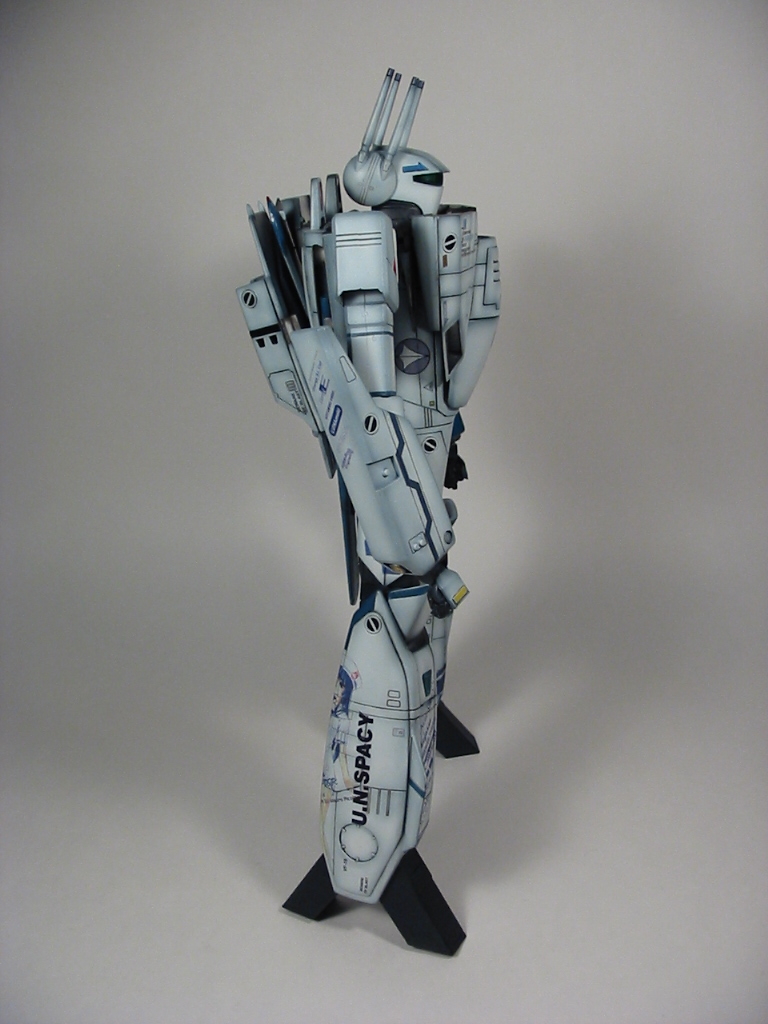
Gonna skip the FPs, don't want to damage the decals especially the large Minmay
-
wow that looks great!
-
last one
-
asdf

-
asdf
-
asdf

-
asdf
-
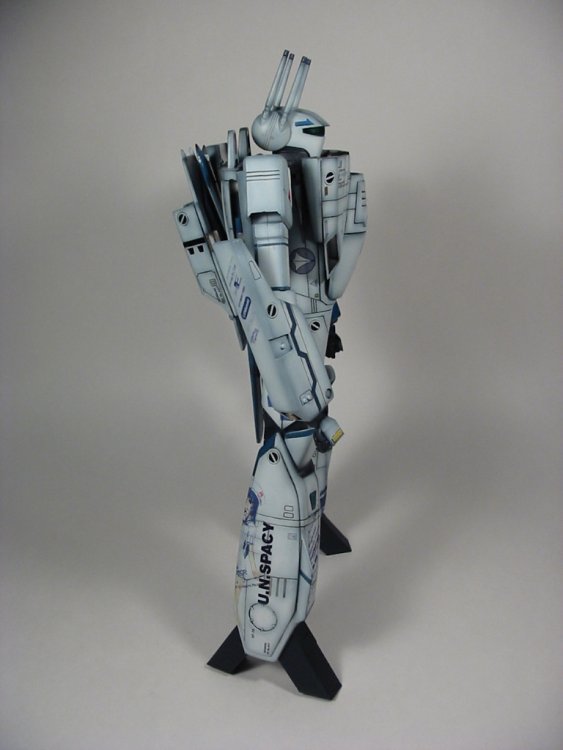
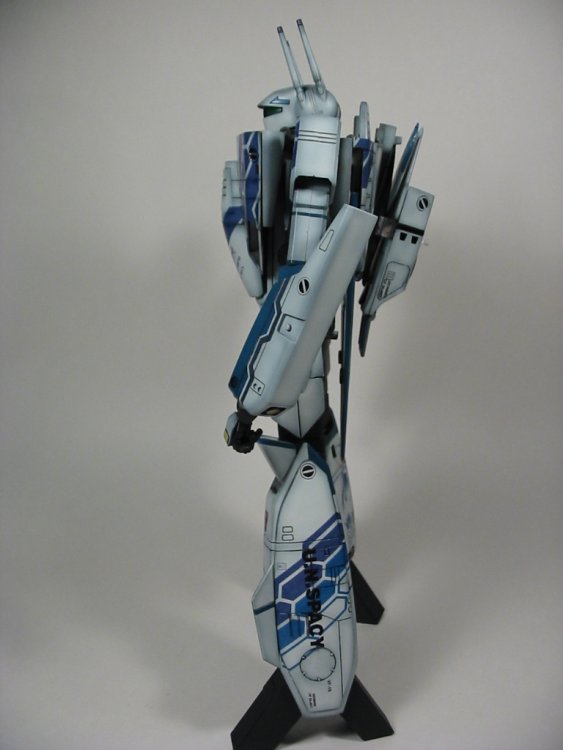
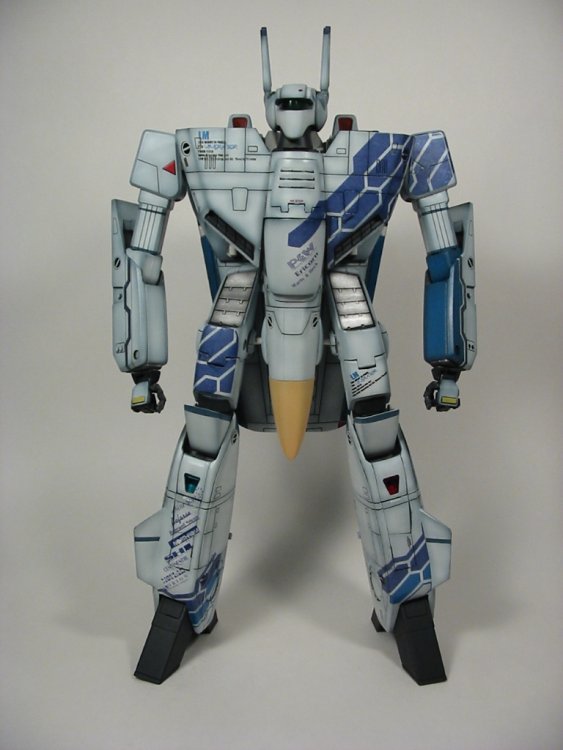
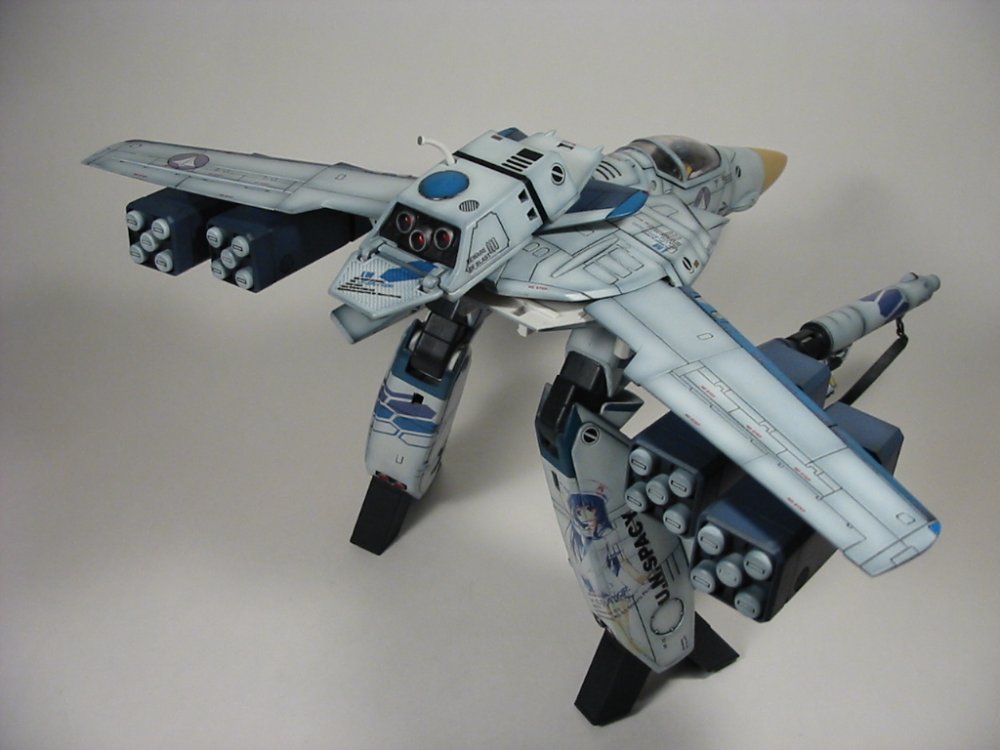
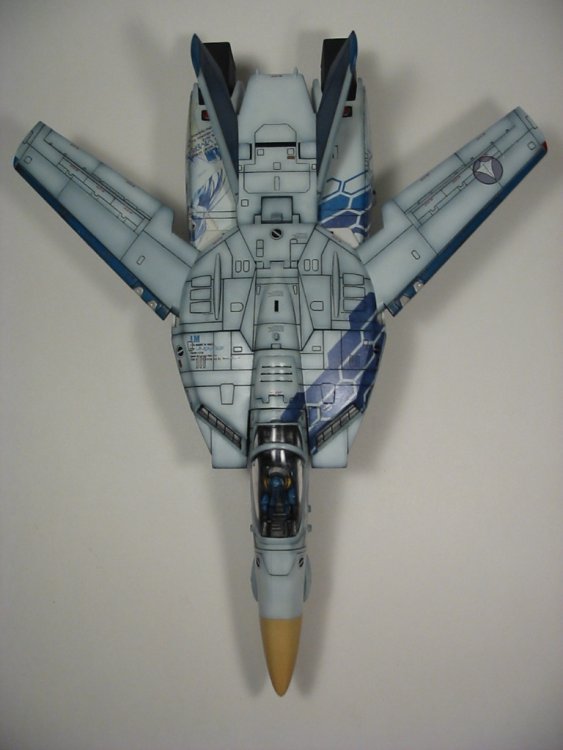
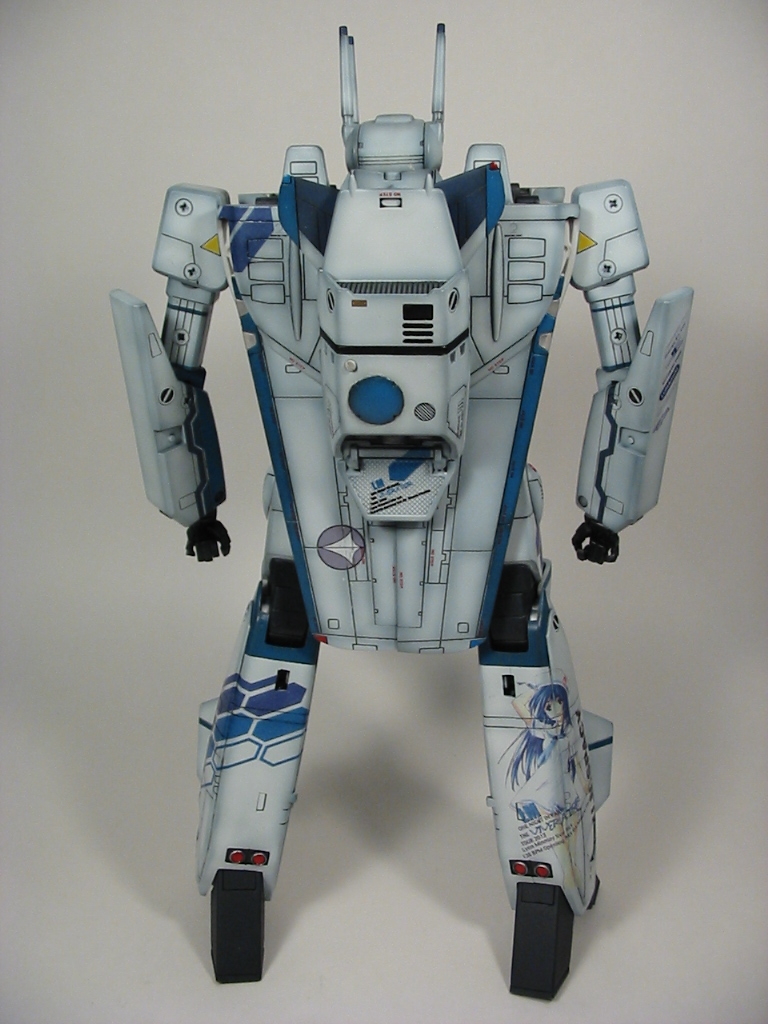
Battroid - imo best mode to show off the MG scheme
-
asdf
-
asd
-
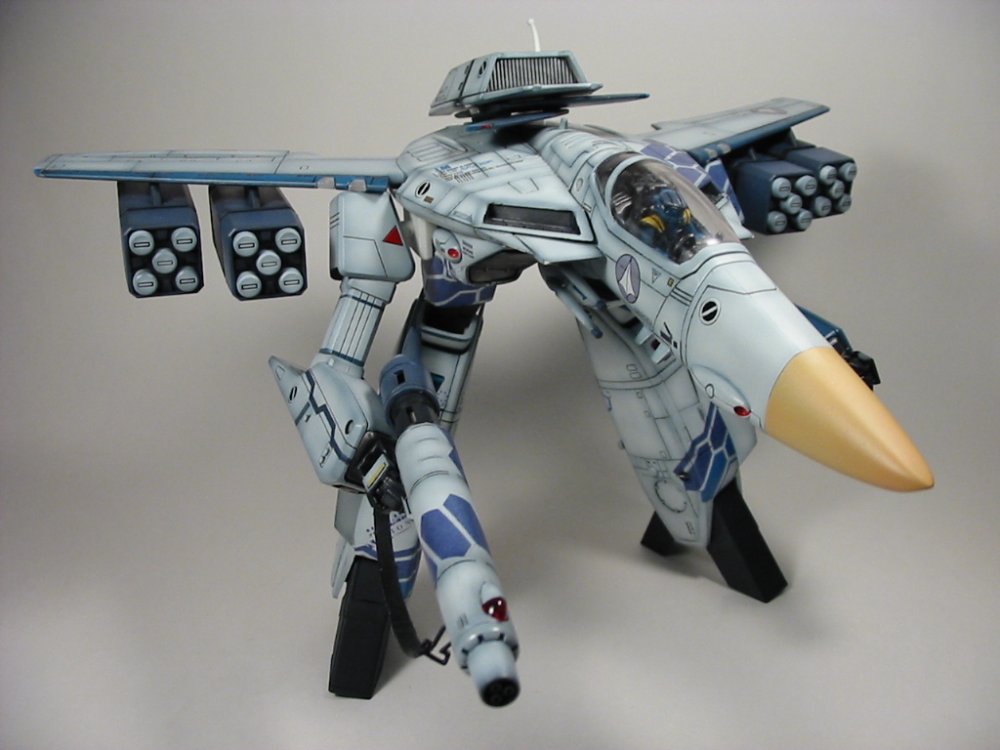
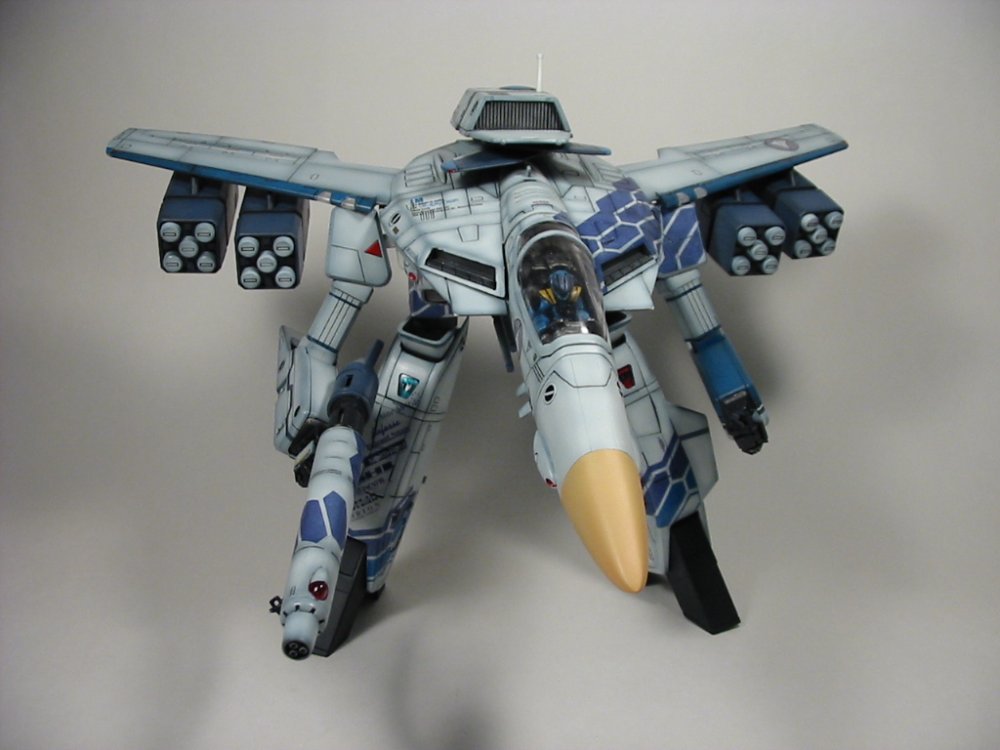
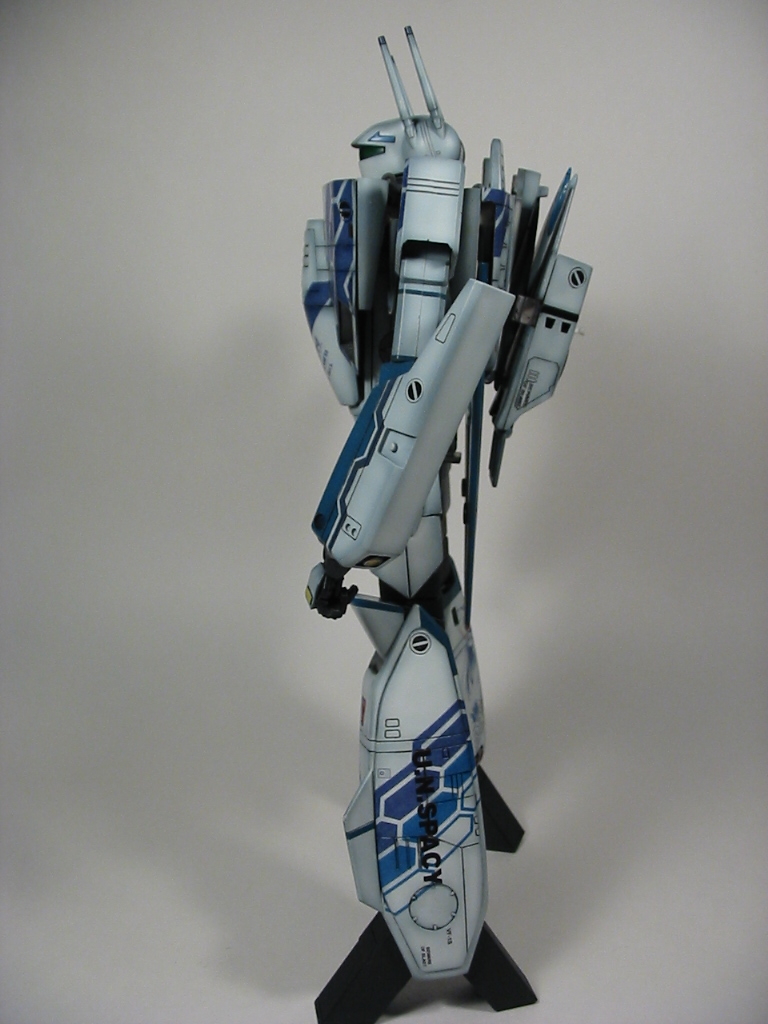
gerwalk
-
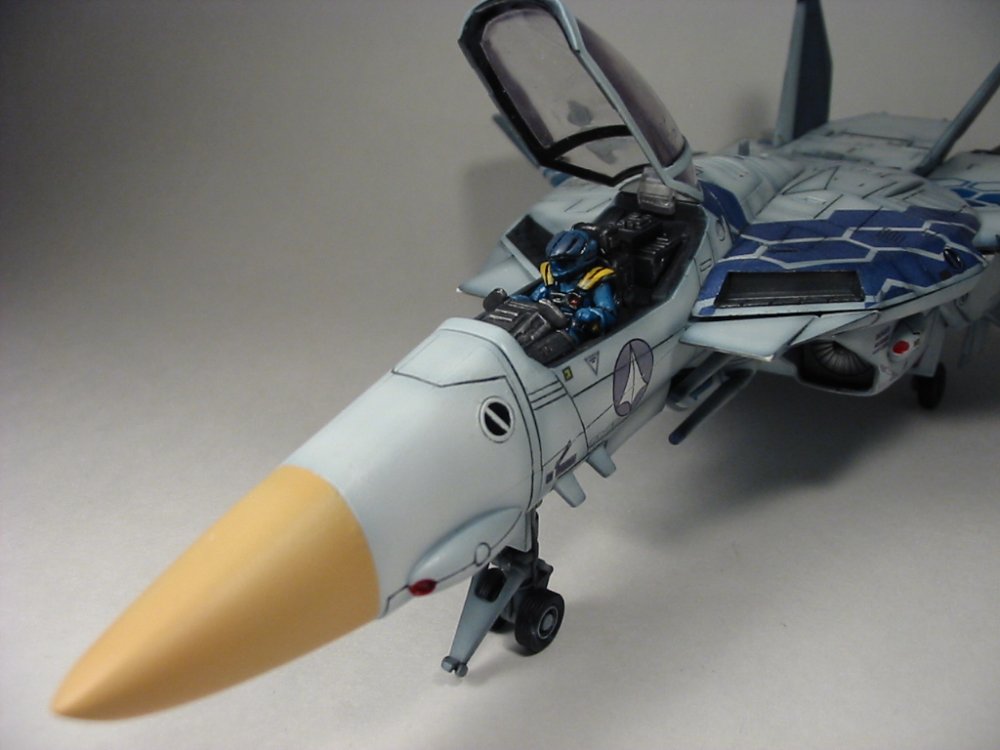
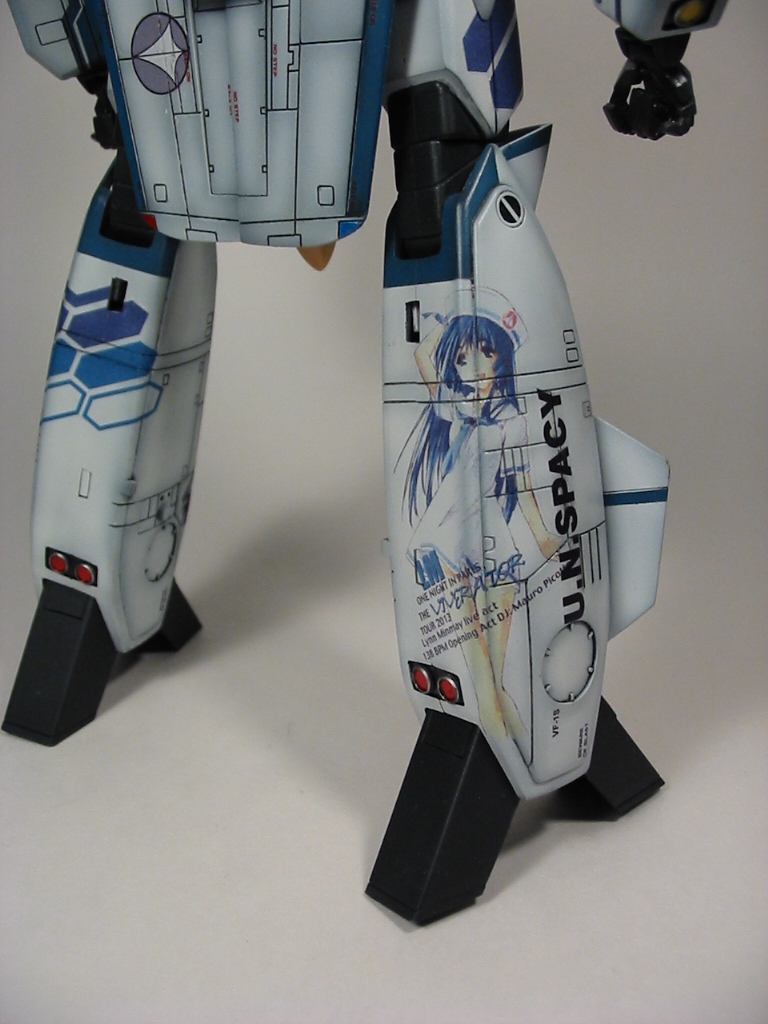
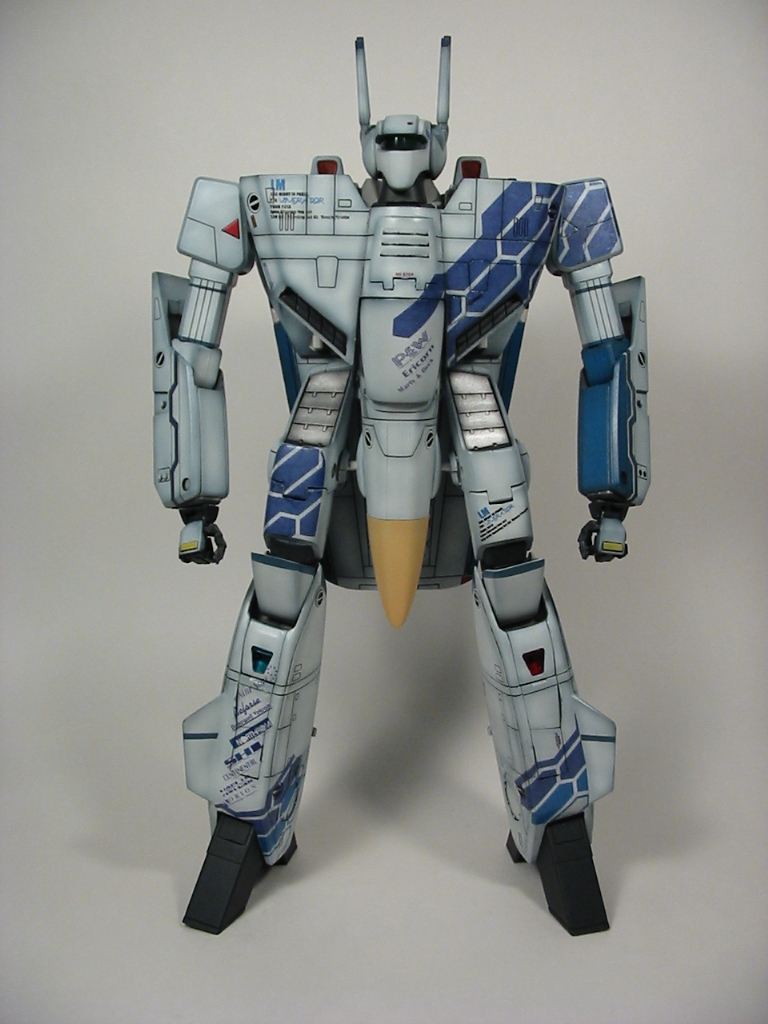
bored with the usual white pilot, so I decided to paint it blue. I should've used a lighter blue though, this blue makes the pilot stand out too much..ohwell
-
asdfd
-
asdf


IHP VB-6 Koenig Monster Re-cast Project
in Model kits
Posted
Excellent, thanks!