

Myersjessee
-
Posts
2416 -
Joined
-
Last visited
Content Type
Profiles
Forums
Events
Gallery
Posts posted by Myersjessee
-
-
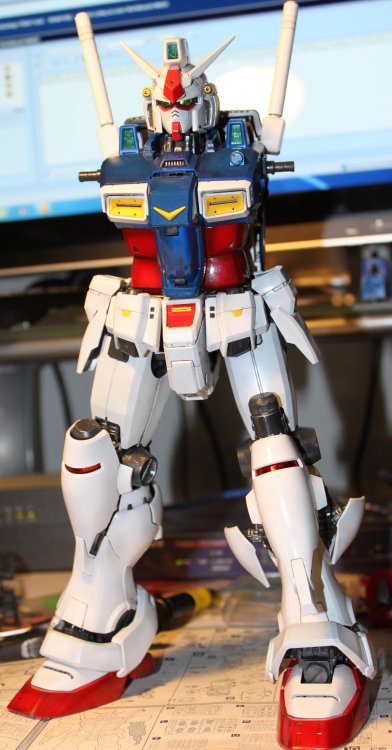
Looking for a bit more help if anyone has some knowledge. I'm finishing up my PG GP-01FB (okay...70%...not really "finishing"
 ) I'm starting to work on the display and I'm realizing I'm going to want to build a bit of a diorama around it. I've got a few 1/60 figs that came with it, but I could use some more...I'm not finding any large amount of 1/60 detail kits to go with the PG's (which seems suprising with all the Yamato 1/60 stuff and Gundams) am I looking in the wrong places? I could use figures, vehicles...misc bits.
Thanks!
-
Yes! welcome to the New World.
May I inject some sober thought though, please... please use a real mask and have adequate ventilation. I CAN'T STRESS THIS ENOUGH - especially with lacquer metalizer paints. An airbrush "atomizes" the paint into such small particles that its easily inhaled and breathed more deeply into the lungs than just fumes from drying paint (which is also bad). This is especially bad when lacquers and metal particles are ingested. Any exposed soft tissues including eyes should be protected (as eyes also "breathes"). I use a 3M full mask with organic solvent filters (these mask have filter packs that must be changed every so often depending on your use). I want to get a full ventilation outside someday (fume hood) - but thats expensive. If at all possible, do it outside and don't expose other family members to it.
When I was young (high school), my best friend and I airbrushed into the wee hours - there was often a visible cloud hanging over our workbenches which would linger for hours. My parents kept complaining that it stunk up the whole house. Well, we were teenagers so nothing could harm us! He's dead now, died at the age of 35 of lung cancer and he never smoked a day in his life. It has completely changed my outlook on life. It may not have been the hobby, but I can't believe that it didn't make the situation worst.
So please enjoy the new delight, but PLEASE, PLEASE, everyone please practice safe airbrushing.
(OK, I'm off my soapbox now...)
Thank you for sharing that sobering story. I'm going to grab my mask now. Lesson learned.
-
Nice work! Love to see all the Tanmen stuff...someday I need to pull mine out and knock some out!
-
Keep up the good work man..
Quick question is there a difference between the following kits? Both are original but different color for some reason, one is white and one is resin color ish.


I believe they are the same. Both look like the Musasiya VF-2SS kit. Thats really then only 1/72 VF-2SS fighter kit thats available. The others are normally recasts of the original. I would guess one is either a rescast, or Musa used 2 different resins. My original and my recast are both tan I believe.
-
Very Nice! Great ideas!
-
I think this is my favorite posting. Never know what I'm going to see!
-
Sorry, not trying to trade the Tanmen, just wanted to add the Yamato.
-
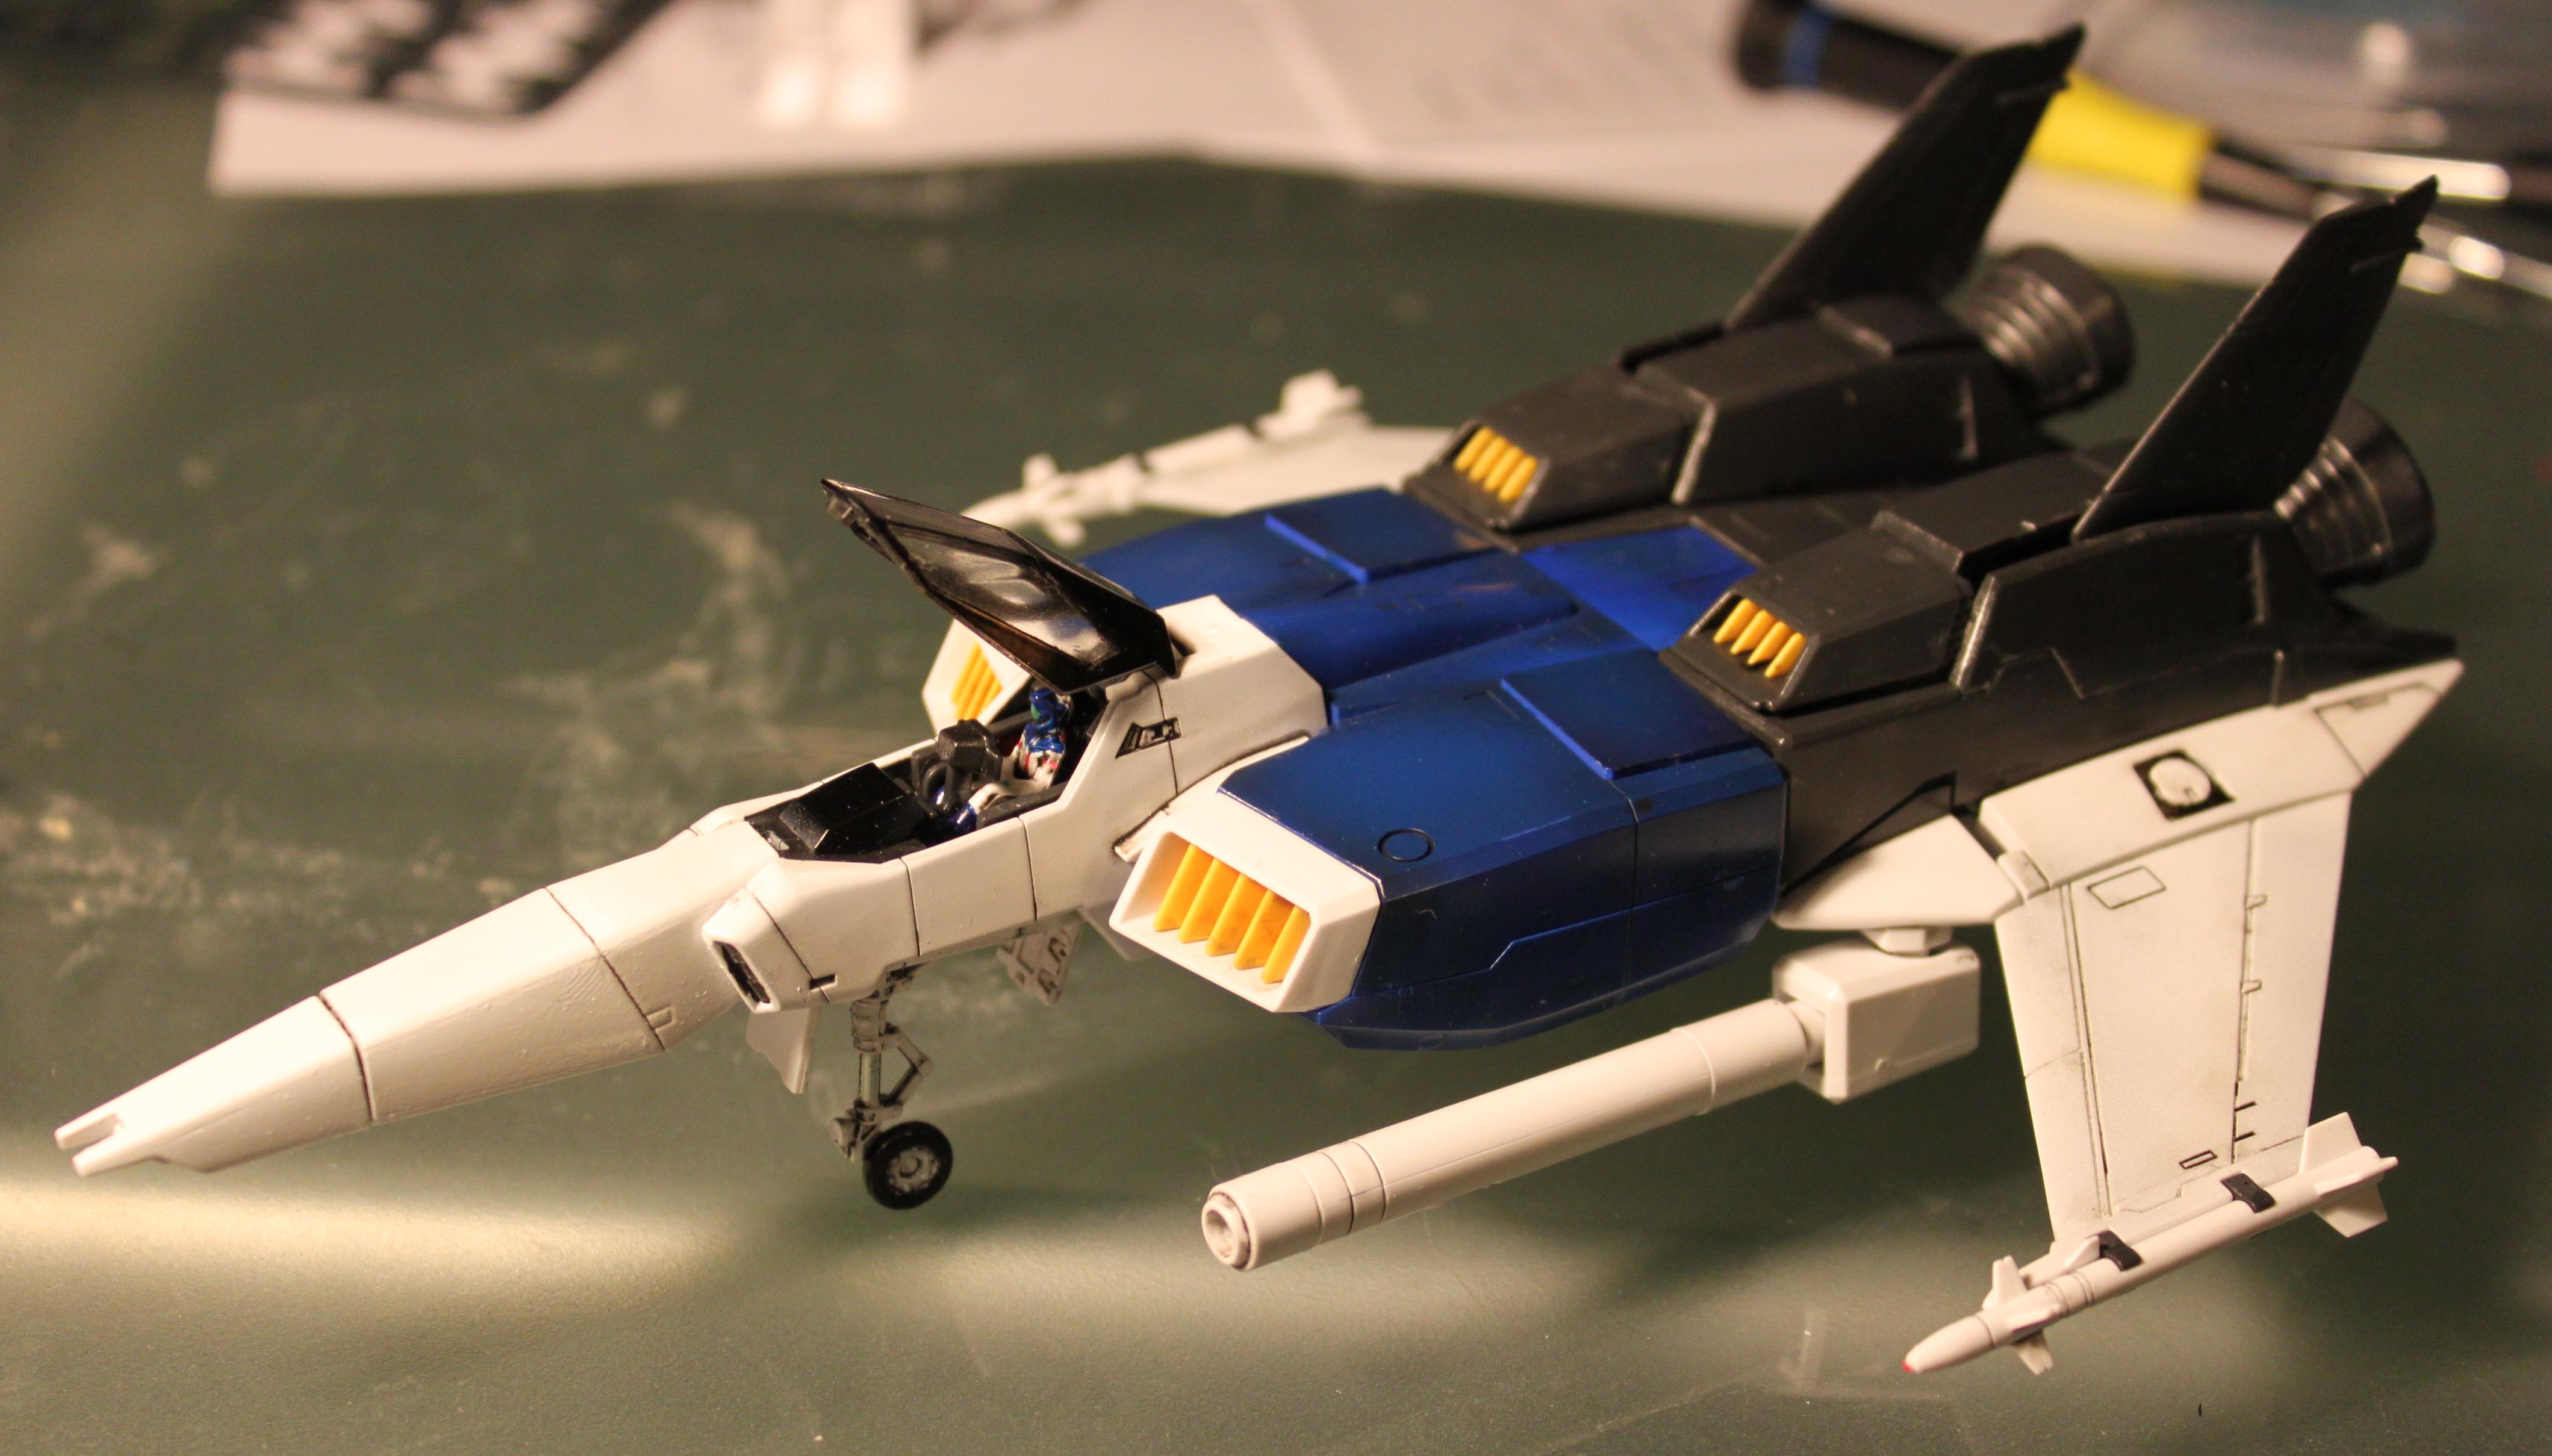
It's a great snap fit kit, some consider it to be expensive since it lacks landing gears. This kit is better than none at all, at least in my book

Paint and putty make it a nice display piece with the other 1/60 planes!!!
Yeah, I believe the Tanmen 1/72 I have has landing gear....but this looks like a nice quick addition to my other 1/60 Valks. I always liked this little bird. (Now I need to again consider a 1/60 Angel Birds though...as I think it would be neat to have them both going vertical! )
-
If HLJ put it on backorder with a yellow square then it's a given they contacted Yamato and they should be receiving more stock. You have to be patient.
Out of stock with a grey square means no one has ordered it. The worst scenario is when they mark it as discontinued with the skull

I can be patient....(right now I'm repeating that to myself over and over while bobbing my head like rainman...if I say it enough it's true, right?!)


-
Crap! Okay..so I have the 1/72 Tanmen Racer...but I always loved the racer...so now I need a 1/60. I see it on HLJ on backorder...I put my name in...anyone know if I am SOL (Sh*t Outta Luck) or if HLJ should get more in? I definitly want the one with Hikaru. (Need a 1/60 Minmei also!
) -
Checking daily hoping for updates.

-
Good luck!
-
Maybe a status update from me will help you decide. I decided to buy an Iwata HP-SB+. The thing that attracted me to it was the option to use it as a gravity feed, side feed, or suction feed. I just couldn't get out of my head I might want suction. Well, my pretty new airbrush sits unusued. I kind of decided before I risked breaking it I wanted to get some more practice. So, I cleaned my Iwata HP-C and my Badger 200 and forced myself to use them. Based on the feedback here I tried really hard to get used to gravity..and it's really grown on me. I'm getting quicker at measuring and cleaning. I bought some eyedroppers, and honestly, the ability to use literally a drop of pain for some detailing is wonderful. Also, through all my reading I decided that part of my issues were based on not having the right supplies. Foremost amongst those..good cleaners...so I bought some real cleaning solution, and an ultrasonic cleaner. Both of those helped a lot. I also bought an airbrush holder. $20 add on for a 2 brush model, but I know the reason I broke my HP-C in the first place is I balanced and dropped it. Being able to set the brush down in a proper stand while adjusting my target helps me a lot.
Finally, your question...double or single action. My opinion is either will be fine. My Badger is single action. I think of it as a quality can of spray paint. It handles volume nicely, lets me control where I am putting things, and is a cheap purchase. (base setup kit with a compressed air can is like $50) The dual action is not more complex, but does give you a lot more control. Since you can have air flowing without paint in dual action you can get a nice even spray of air going...lightly add in paint, and then go back to air to help dry a spot. As I got better with gravity from above I'm finding I use the Badger less and less. The Iwata HP-C lets me throw almost as much paint as the badger for say a primer coat, but then dial back to a pencil line for detailing.
Final recommendation...if you can afford it..get dual action...assuming your like me (I took a 12 year hiatus from building) you will be glad you have it...it's going to really help you add to your work. If you can't afford it...go for a starter single action with internal mix (like the badger 200) it's a great place to start.
Cheers
-
Raptor 2.0
Looking good!
-
On an aside...as I get closer to the 1/2 way mark on this GP01FB I am realizing that anyone aspiring to be an engineer, or just interested in how things work should have to build one of these. It's amazing how many intricate little pieces go into making this thing fully poseable and functional. If you have been tempted to by a PG Gundam, while they are pricey they sure are an interesting build.

-
Thanks guys. I actually just stumbled across Samueldecal, but their email is bouncing. I tried the other means of contact. Here's hoping they are still around.
-
Sorry to bother, but I just realized the "decals" with my Perfect Grade FB are actually stickers. I'm not a fan of stickers (but maybe I'm being to harsh....anyone use them have feedback?) I usually like decals as I can really set them down with solvents and make them look painted on. I worry stickers will peel over time and be to thick. I am assuming there must be aftermarket decals for the PG models, but I can't find any for the GP01FB. Anyone happen to have a lead for me?
Thanks
-
Gorgeous! I'm in. How do we order? eBay?
-
These have all been mailed. The buck is now ruined, so that's it, as far as VF-2SS canopies go, I'm afraid. Looking forwards to seeing some build-ups on the forum sooner or later! Thanks all.
Thanks Petar...sorry to hear about the buck failure.
-
That's the TAYLAND 1/72 kit Save mentioned in his first post.
Thats a really nice looking little kit. Any idea what it sold for? (I may have to start watching Yahoo Japan again!
) -
I hear there is a bigger version of the IPad due soon....
The MaxiIPad...
-
LOL... VF-4 fans finally get their toy and then cataclysm!!!
Would be just my luck that my delivery date would be the day after the end of days!
-
So it occurs to me that 2012 looms only 2 years away? Could the namesake year of Flashback finally bring us a VF-4 toy?
-
I bought the kit off of someone selling theirs and I can see how sagging could occur at the joint. I considered all four of your points, but I think #2 is one of the most difficult but with the greatest reward. These were my thoughts where it could be applied:
#1: The area in the legs that are covered by the fastpacks.
#2: Some of the area inside of the wing joints: at very least it could be replaced by styrene stock.
#3: The area in between where of the arms where they are side by side.
#4: Carrying RMSs instead of the UMM Boxes.
#5: A general thinning of the model's interior.
I think some areas can be completely replaced by card: The underside of the back boosters, the area behind the engine exhaust, the wingroot interiors, ect. Depending on how proactive one is with my #5 I think you can remove 25~40% of its weight, I'm just uncertain as to whether it would be enough to prevent sagging. This combined with some brass reinforcement on the joint might be sufficient.
This might be my project for the summer.
I think it's a fantastic idea! If you go after it please consider keeping us in the loop on your progress.

1/60 Model Details
in Anime or Science Fiction
Posted
You folks all ROCK! Thanks for all the information. Well, I guess I have my work cut out for me. I was hoping to browse through all the 1/60 stuff for inspiration....now I need to take a look at 1/72...S-Guage...and even consider if Macross figs would work. It's nice to have options!
Many thanks!