
Swoosh
-
Posts
829 -
Joined
-
Last visited
Content Type
Profiles
Forums
Events
Gallery
Posts posted by Swoosh
-
-
Thanks, it's a shame. would have been great as in the other models.

I am pretty sure it will be implemented in the next version, release in 2021.

-
Not if you have the nose cone properly transformed (i.e. you have that metal arm slid all the way forward along it's track). If you have the nose cone set right the belly plate will bridge between the nose cone and the waist just about perfectly even after you lock down the torso.
Just checked mine and yes!! You are right!!
The hinge on mine is stiff, I didn't know that the metal bar can actually slide towards the nose cone, after using some force, finally got it right!!
Thank you!!!
-
Not if you have the nose cone properly transformed (i.e. you have that metal arm slid all the way forward along it's track). If you have the nose cone set right the belly plate will bridge between the nose cone and the waist just about perfectly even after you lock down the torso.
Let me try again tonight, I hope I did it wrong

-
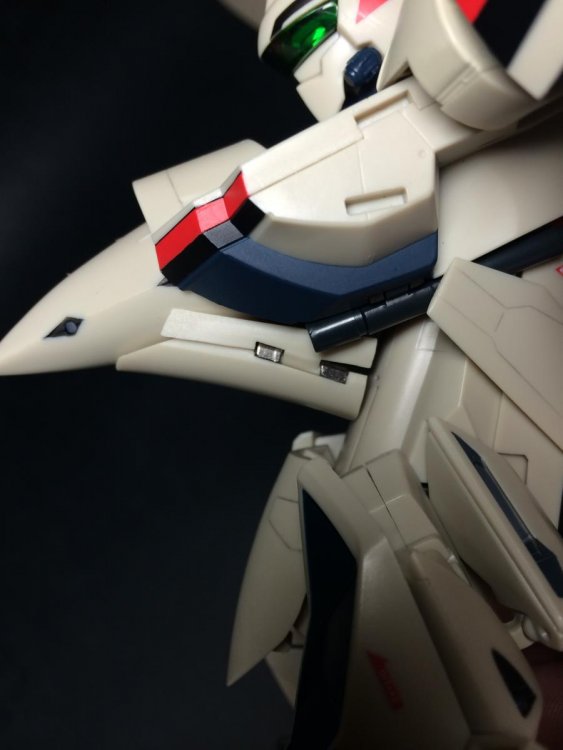
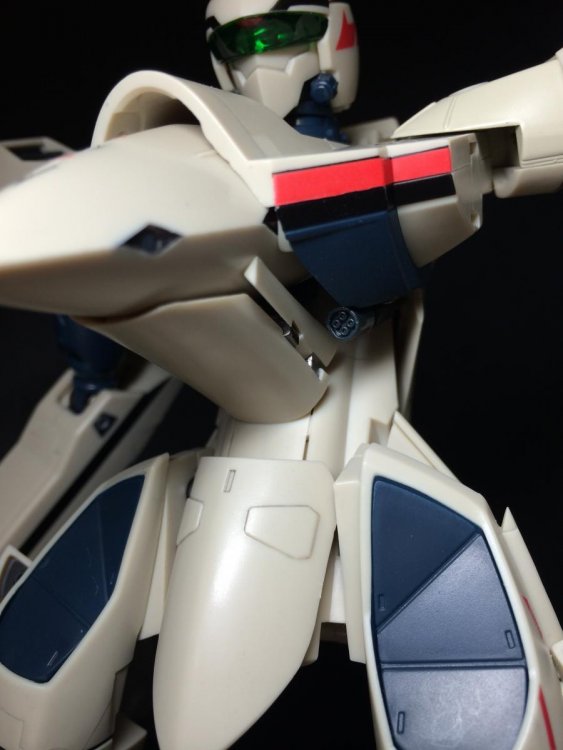
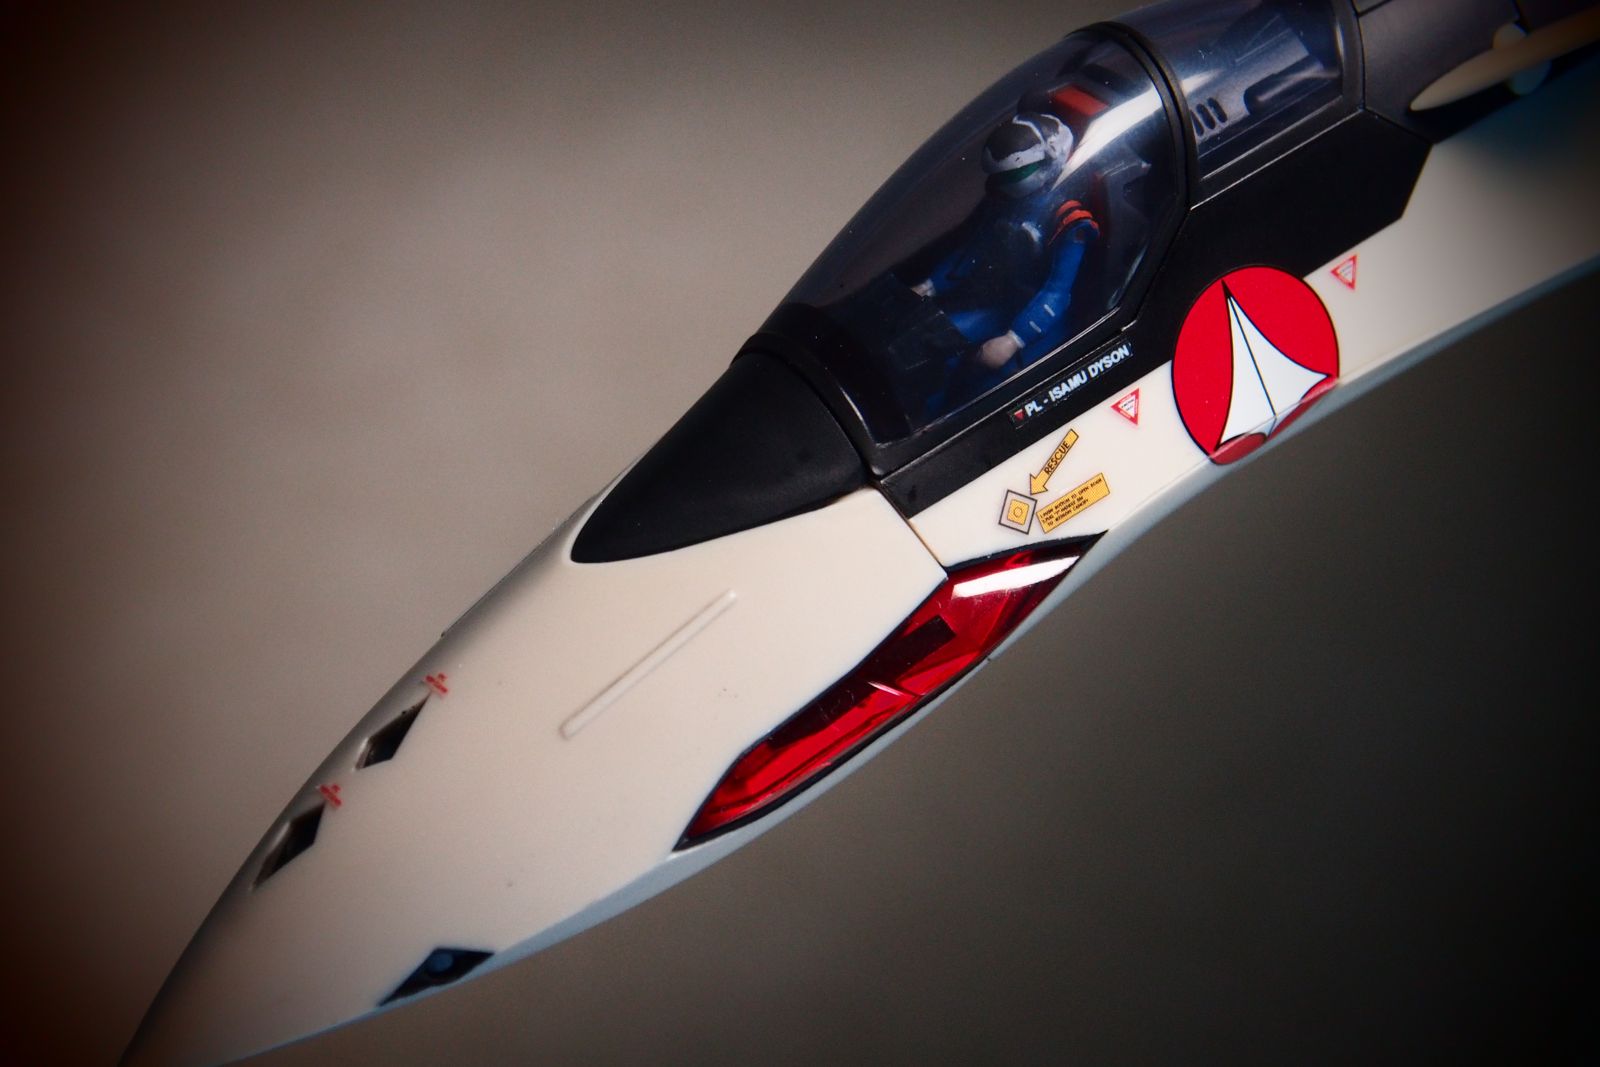
Ok, Now I understand what you're talking about. I had the exact same problem the first time I tried transforming mine, the problem is you don't have the nose cone transformed correctly. the metal arm that connects the nose cone to the underside of the cockpit slides along a track inside the nose cone. you have to make sure the metal arm is slid all the way forward (the bar moves in the direction of the red arrow).
you'll know you've got it all the way forward and properly transformed when the underside of the nose is touching the hinge on the underside of the cockpit section. (red box in the second picture)
But after locking the nose cone with the chest plate, the whole nose cone assembly will lifted up a bit and the "Armor Plate" cannot be touching both the nose cone and the waist at the same time....
-
Only thing I can think of is that people are not doing the second to last step in the instructions which involves pushing a detent and pivoting the hips/legs forward and up.
Pivoting the legs won't raise the crotch plate, the question is about the torso.
-
I can't make them close enough like what the official pics is showing, once the chest plate is locked, it lifts the torso... that dose not happens on the VF-19s...
-
In need of VF-1 V2 Decals!!!

-
Me too. Better pilots, hi-speed mode, no ugly pointy shoulders or ankle bracelets. It overall looks like a military weapon to fight with not a super robot for kids cartoon. If the wings just had some gimmick to hold them like the old 1/48 VF-1 wings, it would be better. 1/48 swing wings never got loose. They click into place. Also no magnets on this.
Please bring back the magnets for FAST packs like VF-11.I was talking about the material used and the build quality, not the original design, which I think YF-19 looks way better than any of the VF-19.
-
VF-25F Renewal, 1/60 V2 VF-1 Roy/Hikaru get re-release multiple times, may be that's the reason....
-
Play with the VF-19S last night, got to say I like the plastic they use on the VF more, the whole thing feels more solid, joints are tight but are still smooth to move at the same time, may be it is the gloss finishing helps parts to moves more freely?
-
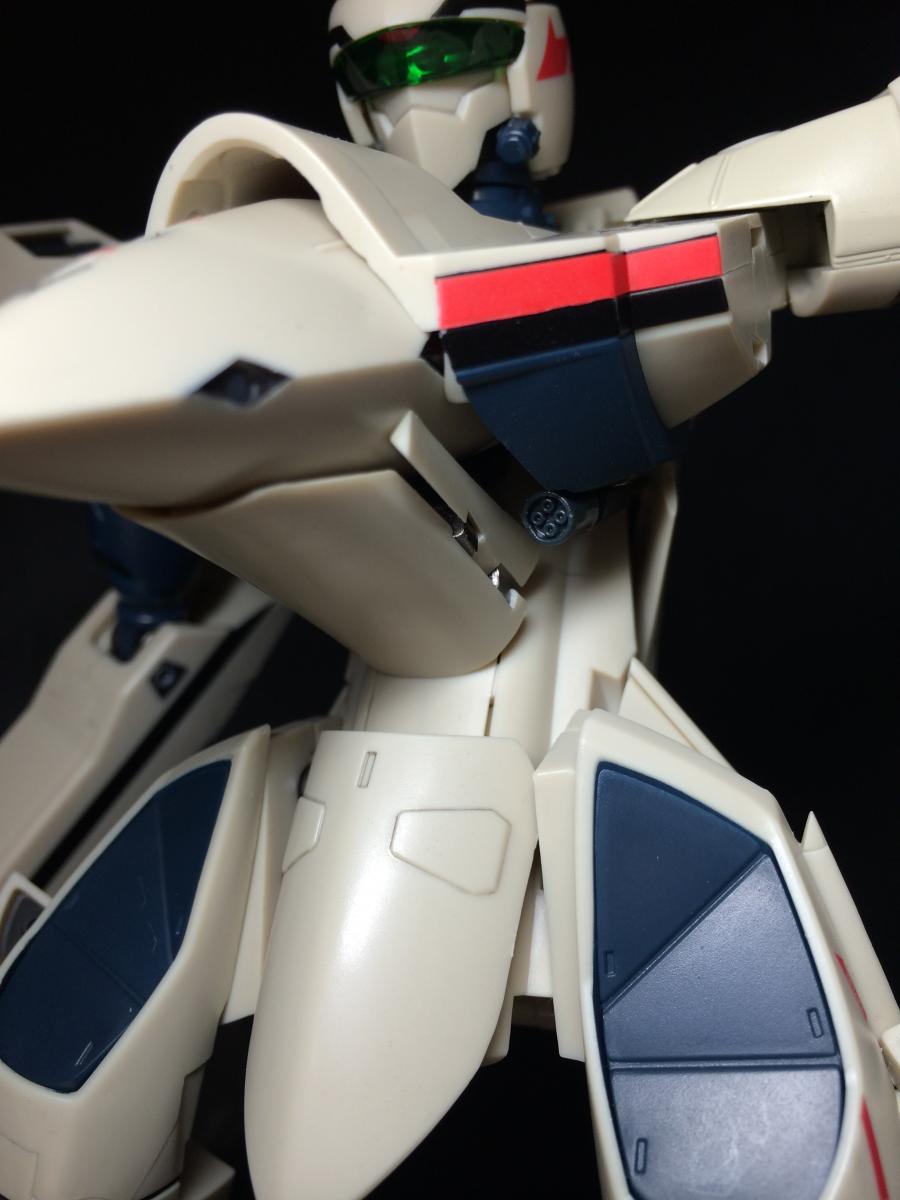
Well well well - look at those indents on the thighs....
Hint for armor?
-
Does this include the VF-11C? Hook a brutha' up!!!
Sadly no...
-
Looks huge!!!

-
So what's the Japanese market demanding right now?
I only said that because guessing is for free, but if that was the case Arcadia, as a different new company, would be offering the options you wanted but didn't have before

I don't understand M7 nor the Japanese market....
-
There's no way those black paint will not scratch at the back when it transformed. It tends to wiggle first while you transform it. But it will lock itself once the transforming is done. I'm assuming in order not to scratch those is we have to sand a little bit those contact parts from the back panel (along the back area of the nect/head where the cockpit rests), like the edges to make it smooth.
I already scratched mine unintentionally. It's not a major scratch though. At least it's just a small line when I checked it. Hope that helps.
Does anyone tried to pull the ankle joints a little bit more than what we see from the photos? I did it accidentally when I was trying to pull to expose the feet. It looks a little bit awkward since it really exposes the ankle joints. But is that how it is to extend the legs more? Good thing it didn't lock itself so I push it back again to normal extension.
*what a relief*
I sanded mine before I transform it, but it still scratched a very tiny spot, not very noticeable, average dusts is bigger than it.
-
I love that VF-19P, I think I need to repaint one just like that!!!
-
So nice!!! Any more pics of them?
-
Wow, amazing!!!
Is that a custom VF-19P in Roy's scheme?
-
I love cats and valks, just not safe to keep them in the same room.


-
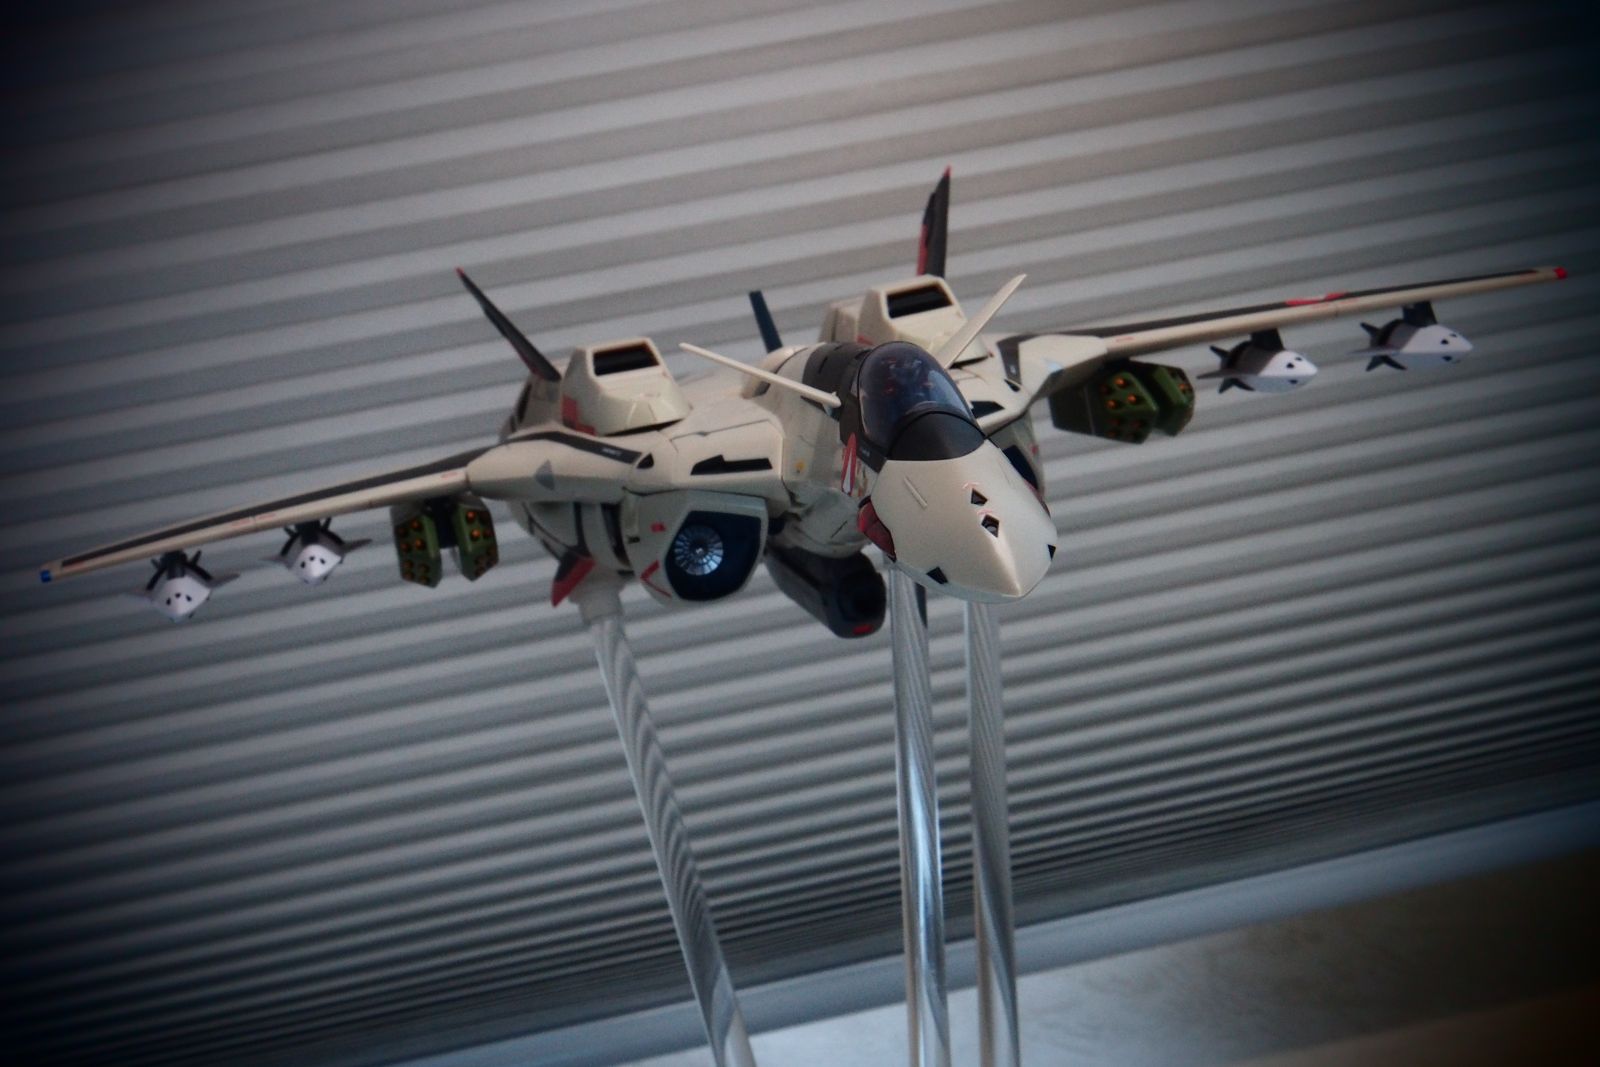
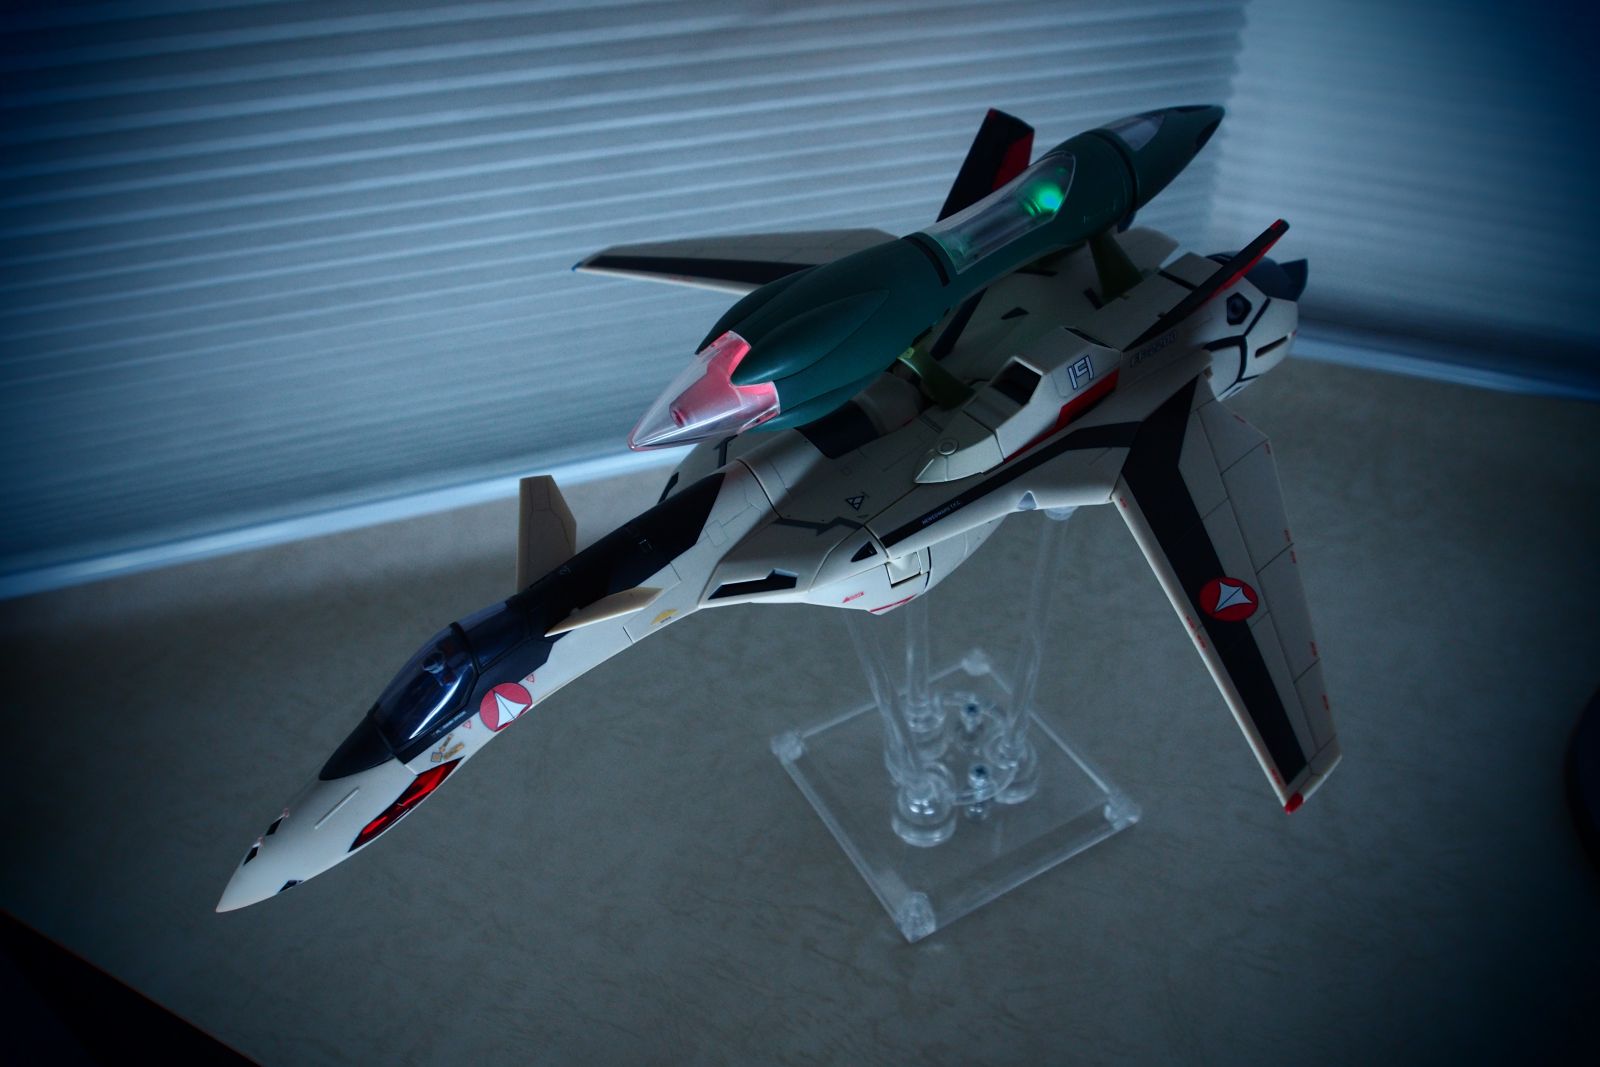
missile compatibility
Cool!!
-
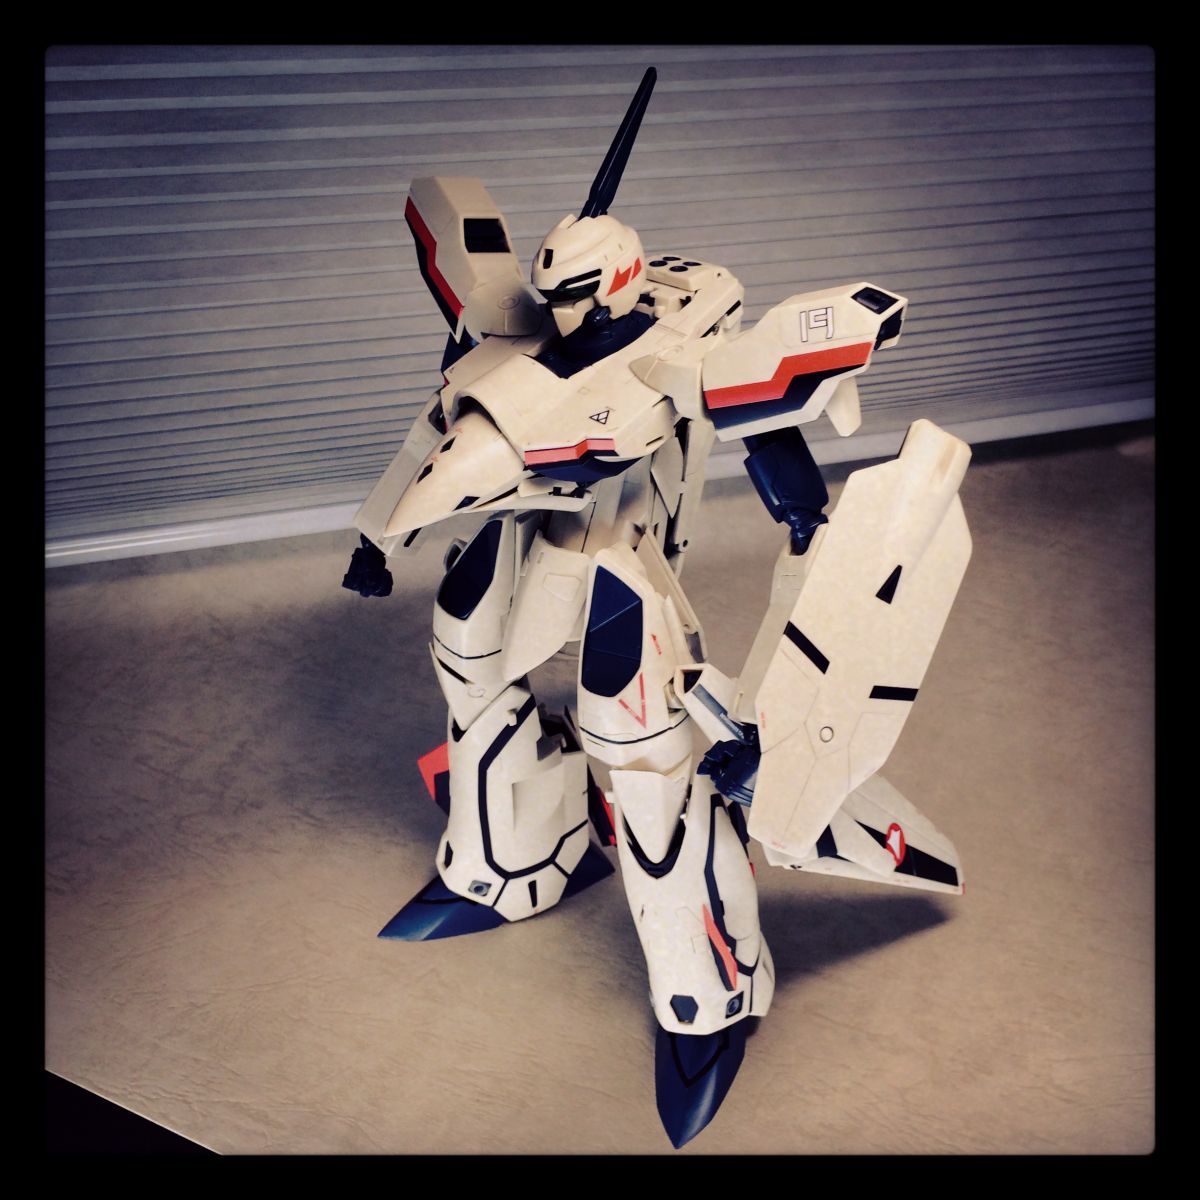
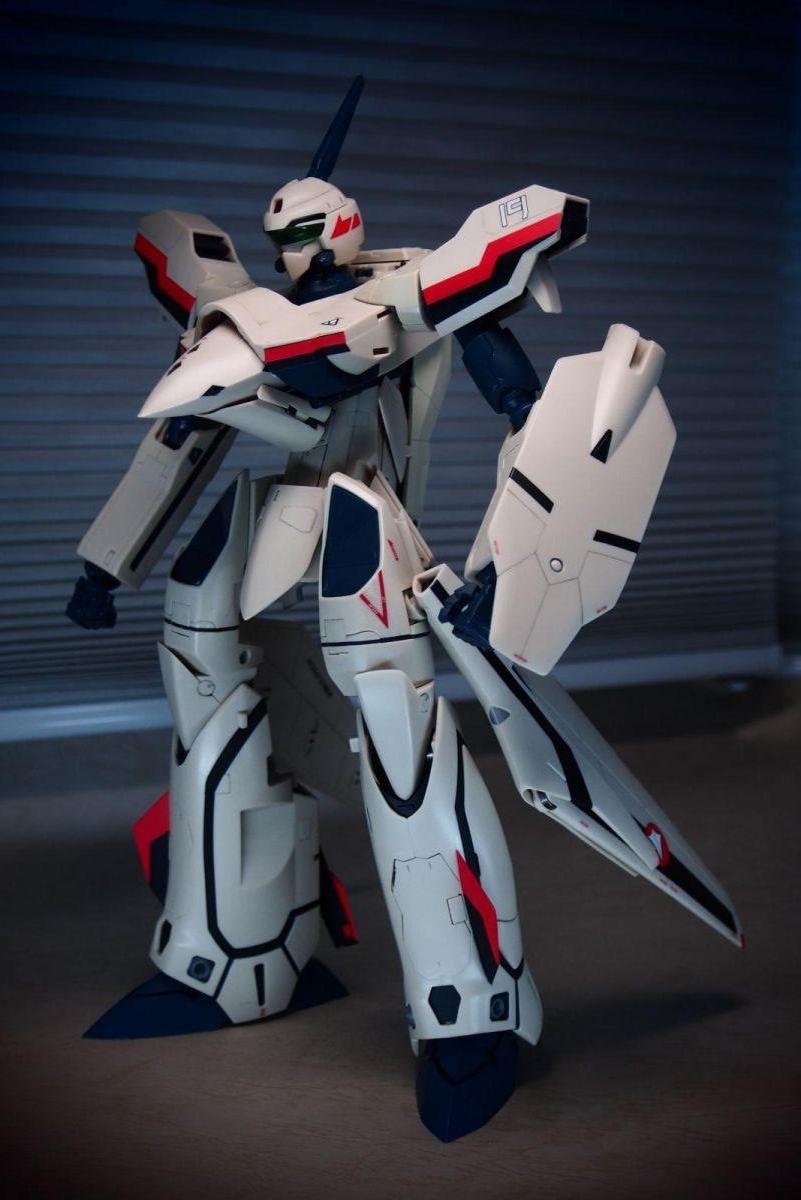
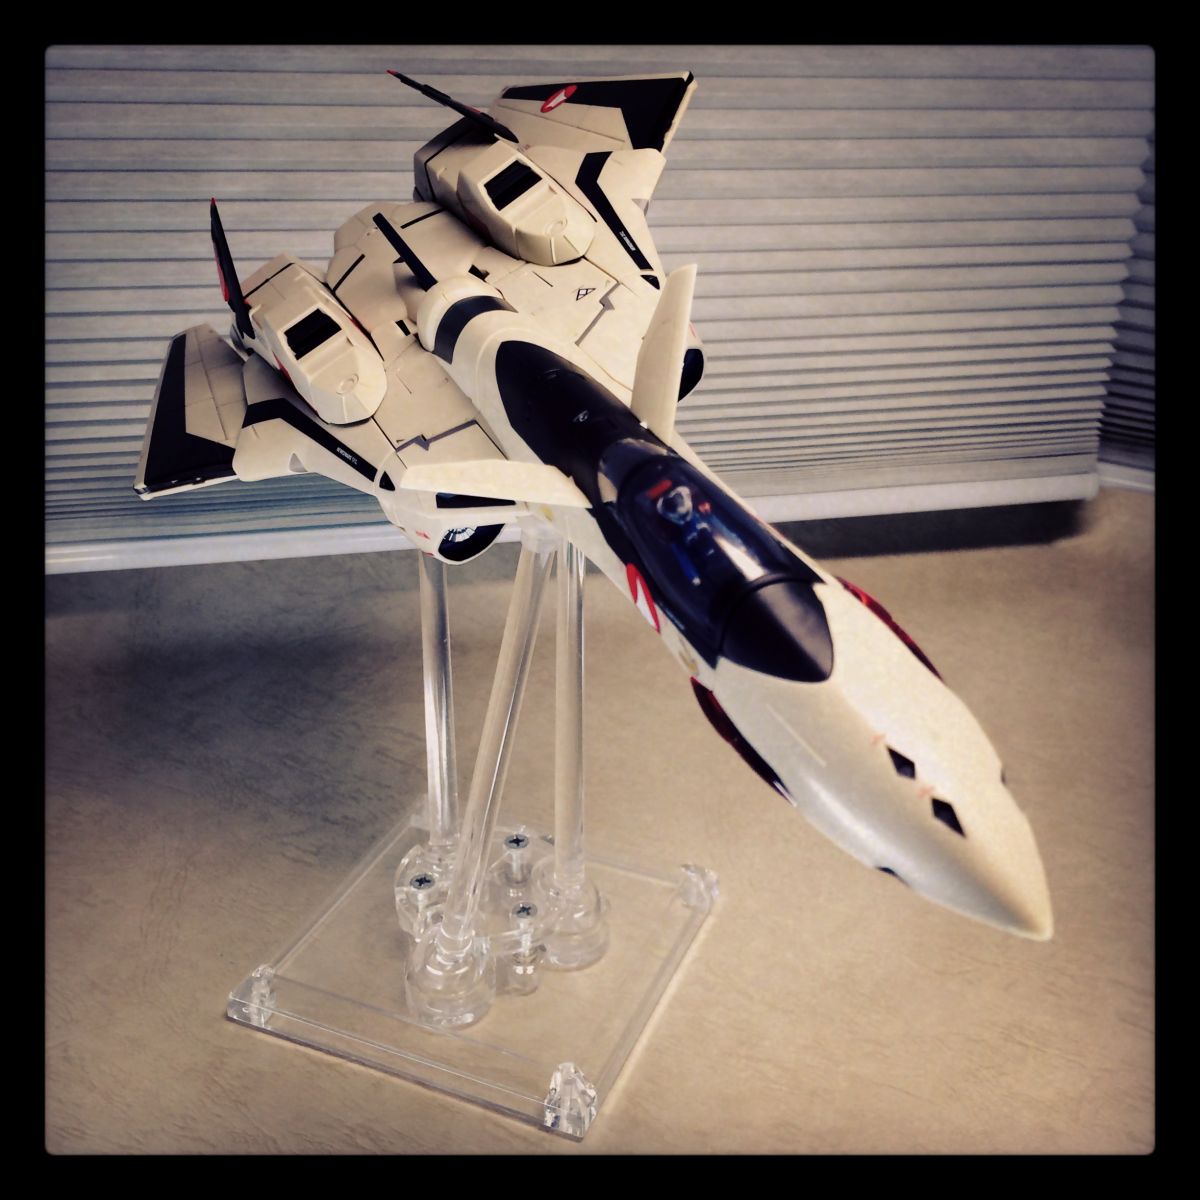
Battroid and High Speed Mode
-
That's a cool bit of info! I'm actually tempted to put those stickers on my old Yammie YF-19 now.
No wonder they looked almost perfect. Did you actually cut the yellow "rescue" sticker into 3 separate pieces and stick them on? Try as I might, I couldn't find a single clear border on them!
No I didn't, they are too close to each other, so I keep them in one piece.
That's criminal man. i remember your VF-0 and SV-51 pics from years ago. Hell I remember the 21 and 19 V2 pics as well! if you still have computer copies of all those pictures, you should set up an album somewhere ASAP.
I think I have them in one of my old PCs, there were also some people asked for the 1/48 M&M photos set, just I am too lazy to check....
-
Nice pics!
The borders on those stickers also look much narrower than the old ones that came with the Yammie Valks.
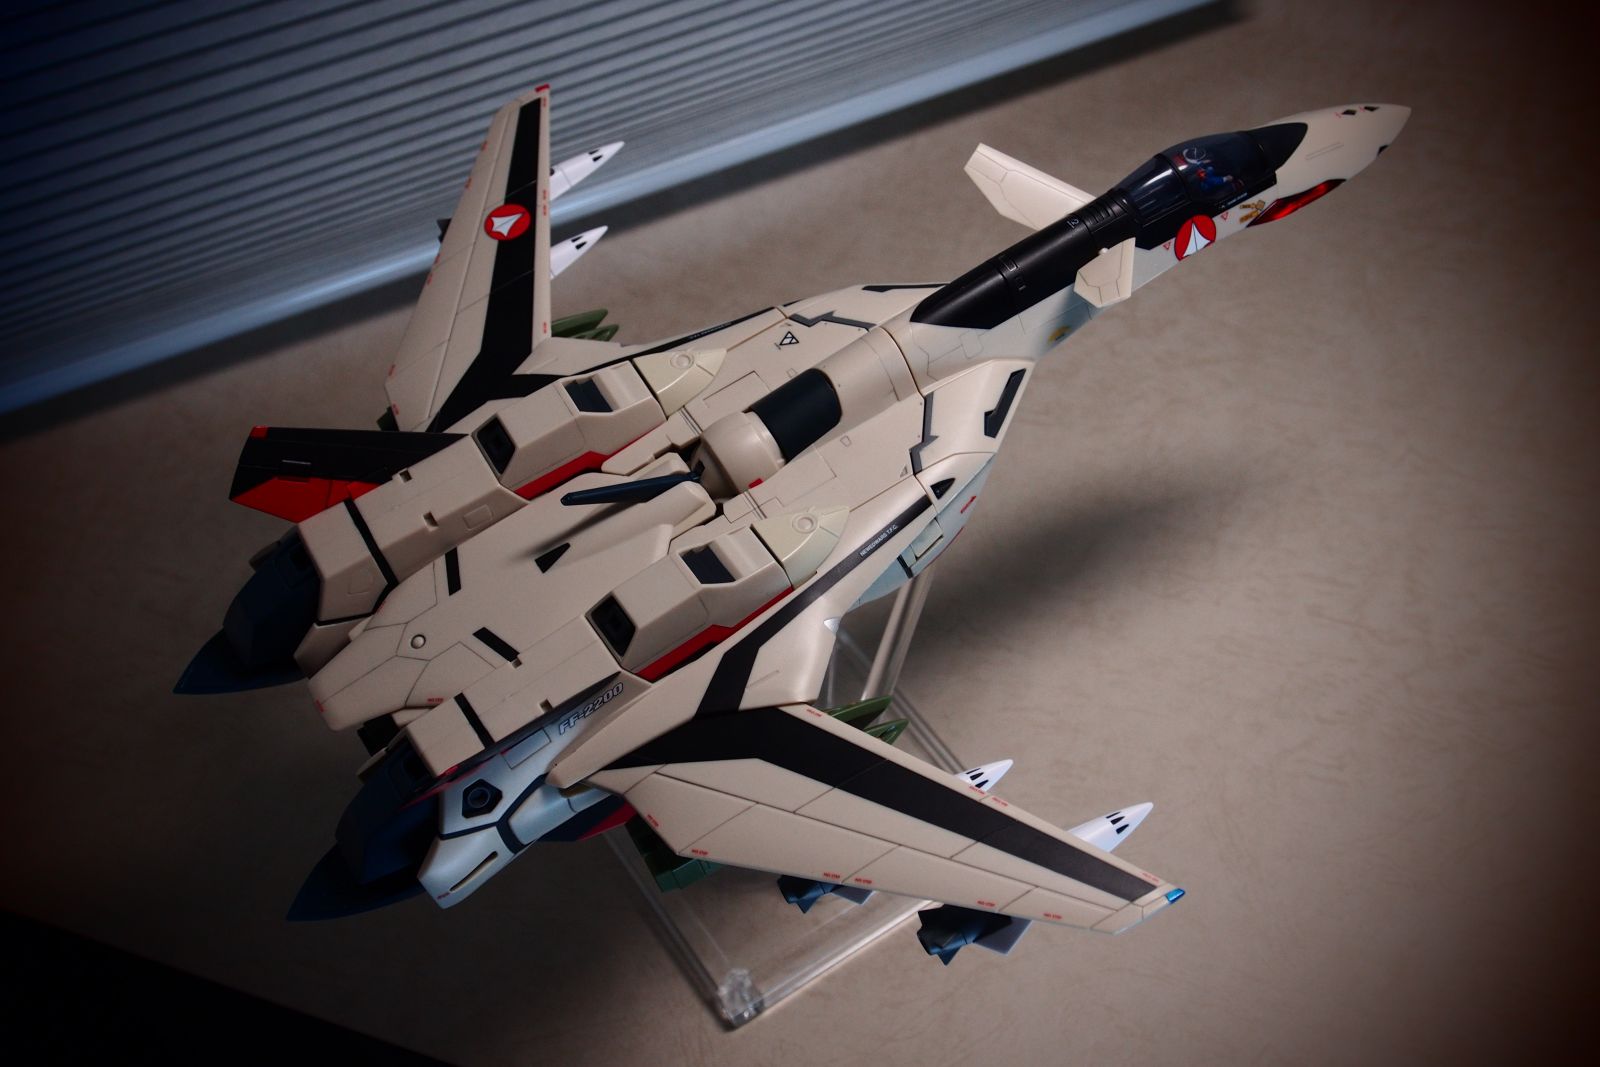
BTW, what does that FF-2200 sticker mean?
It didn't come like that, I have to trim it one by one....
-
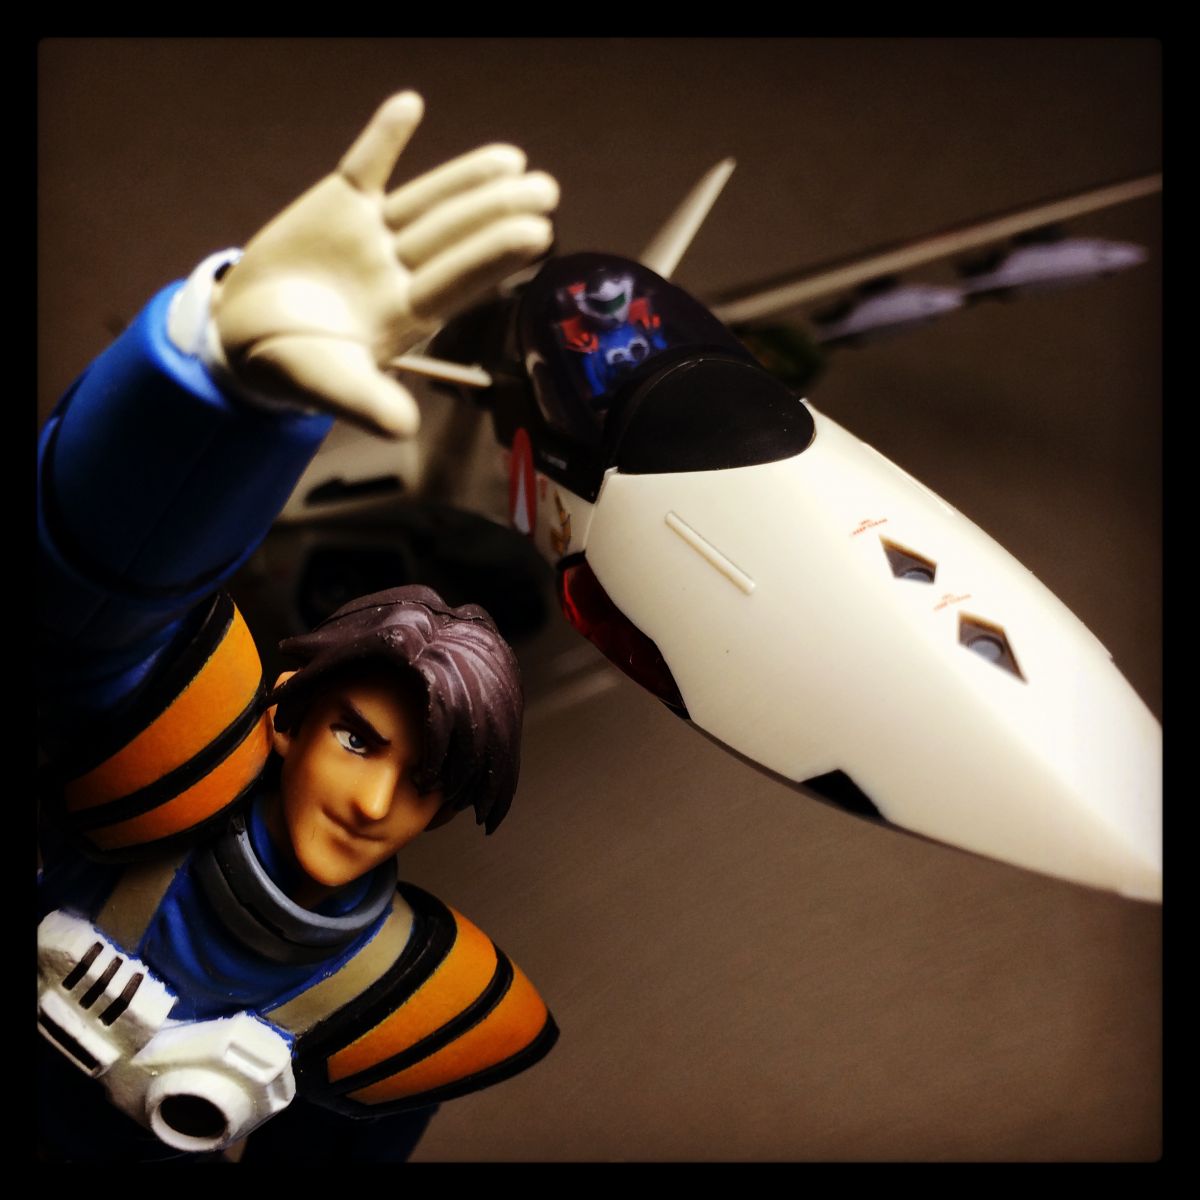
it opens without moving the wings on mine. Pull out at the bottom, angle out and down. no troubles. Its not square like int he anime, but then thats anime magic anyway
Dude, do u have an album or page somewhere of all your photos? I have always loved your pics of Macross stuff.
Thanks man, but I don't have a centralized album, I do have a few albums in my MW gallery, just recent stuff.
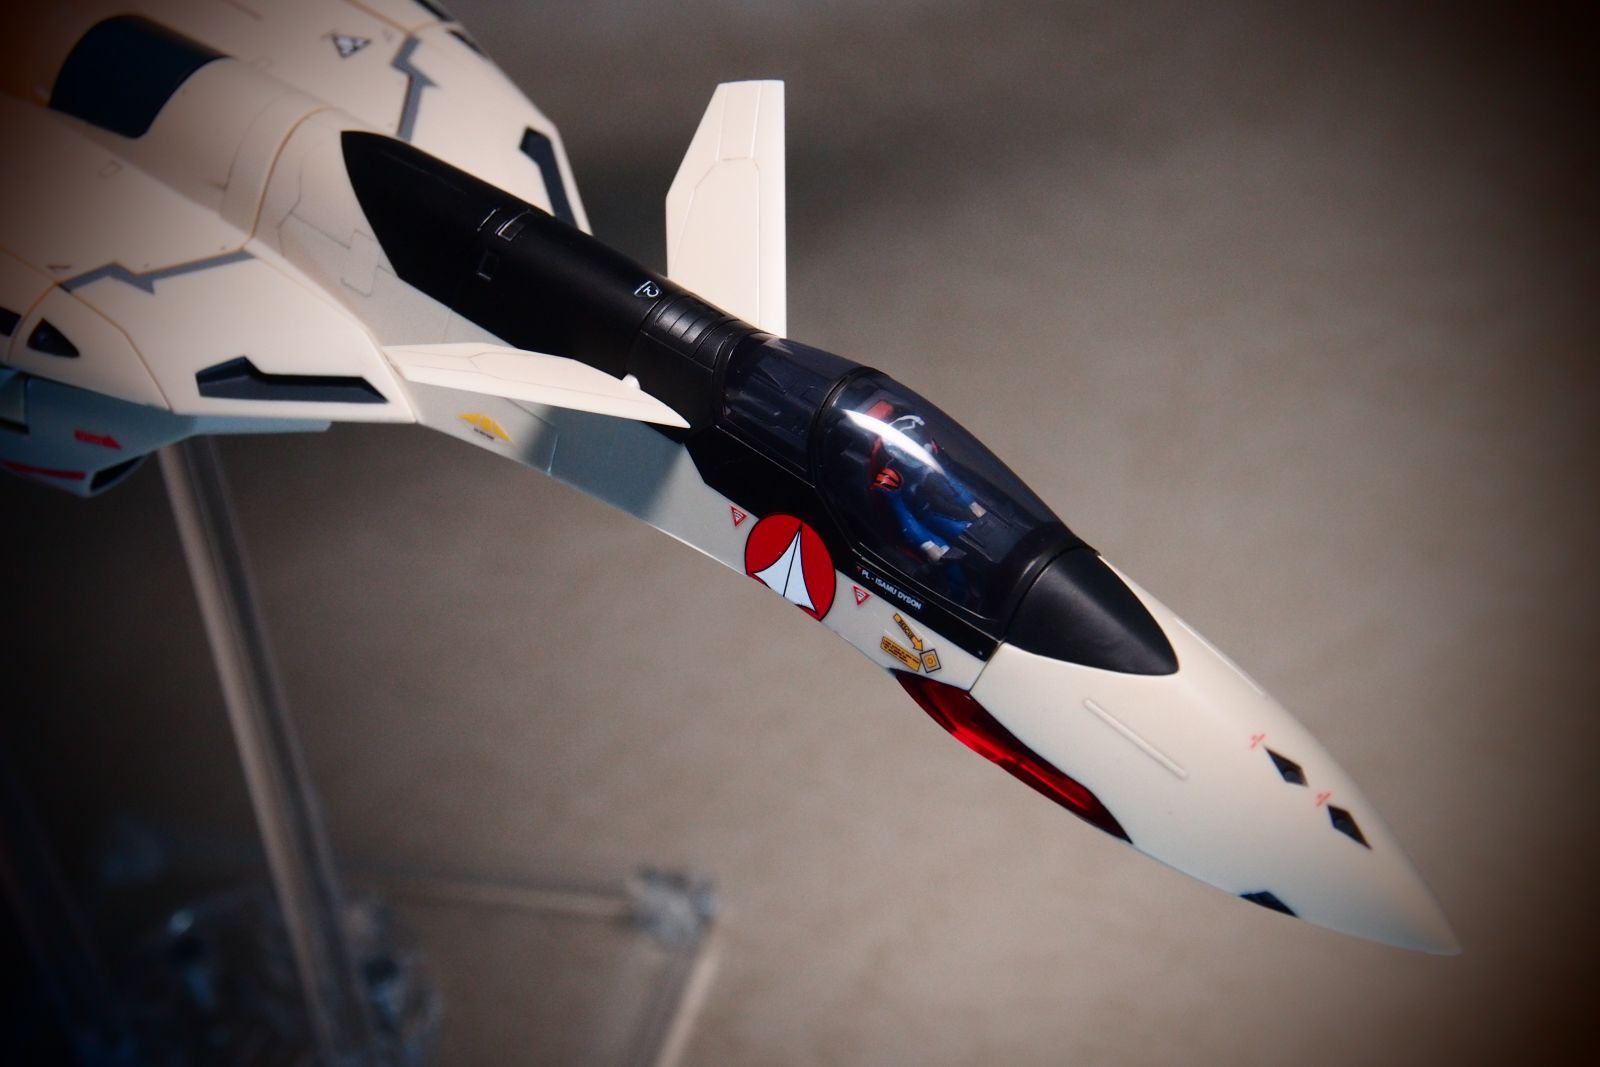
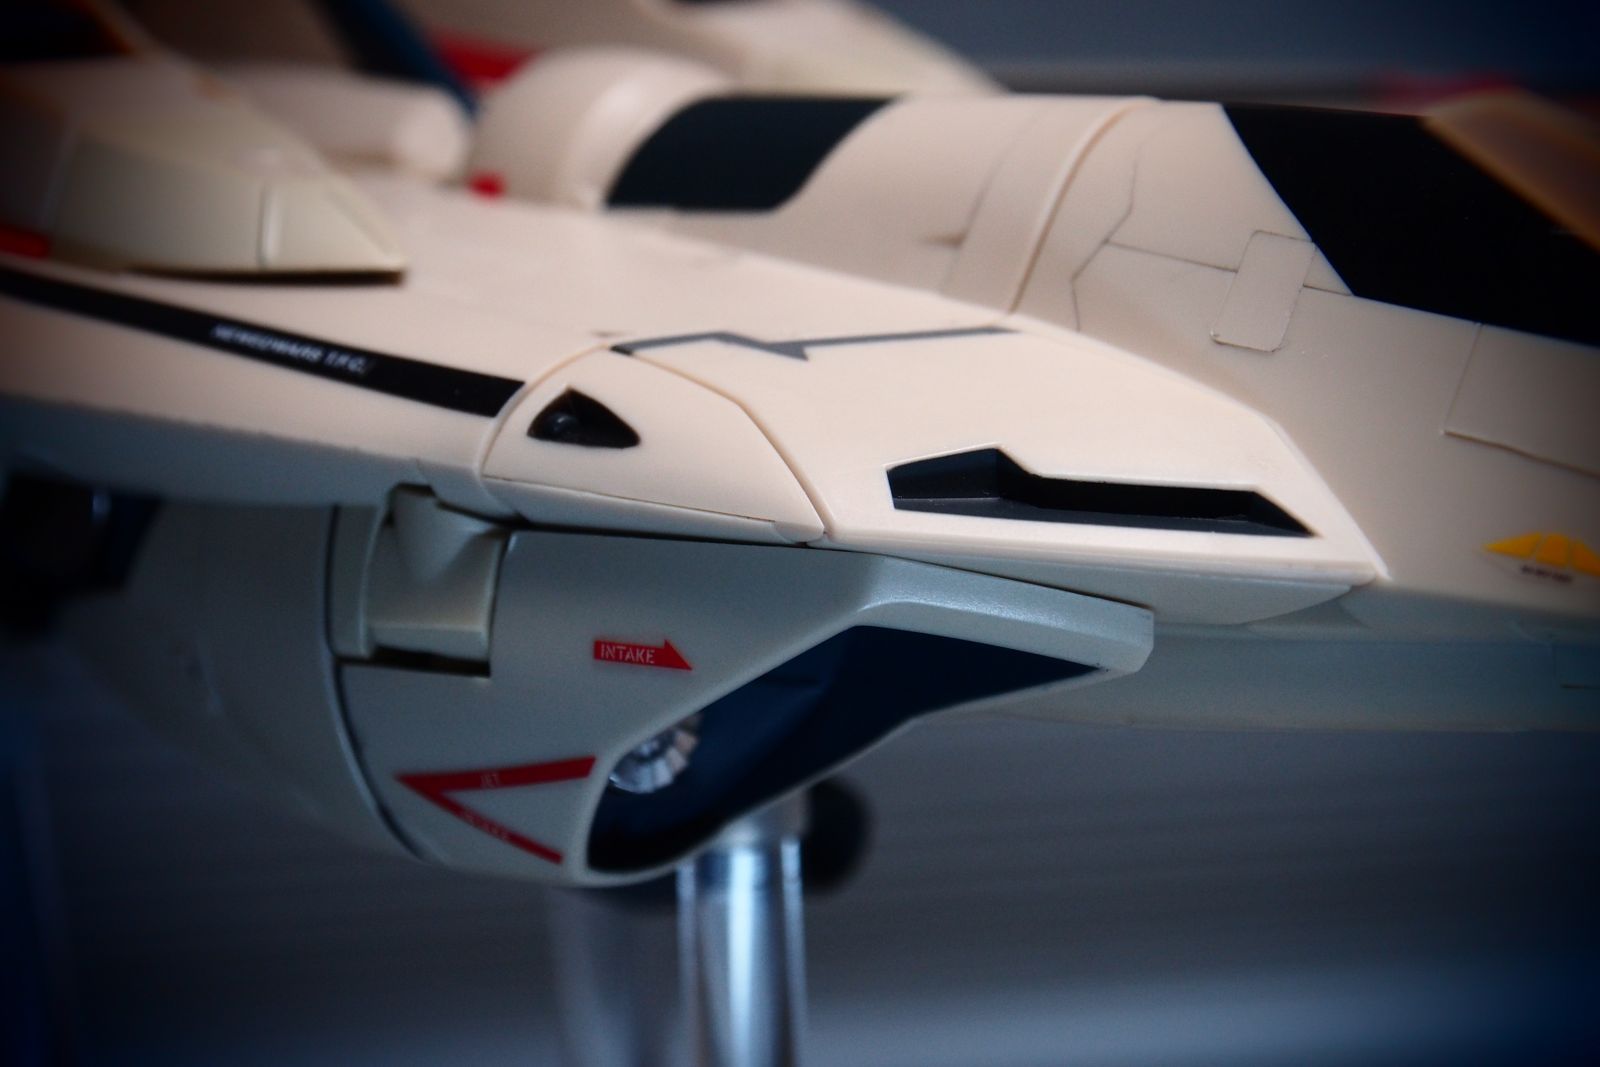
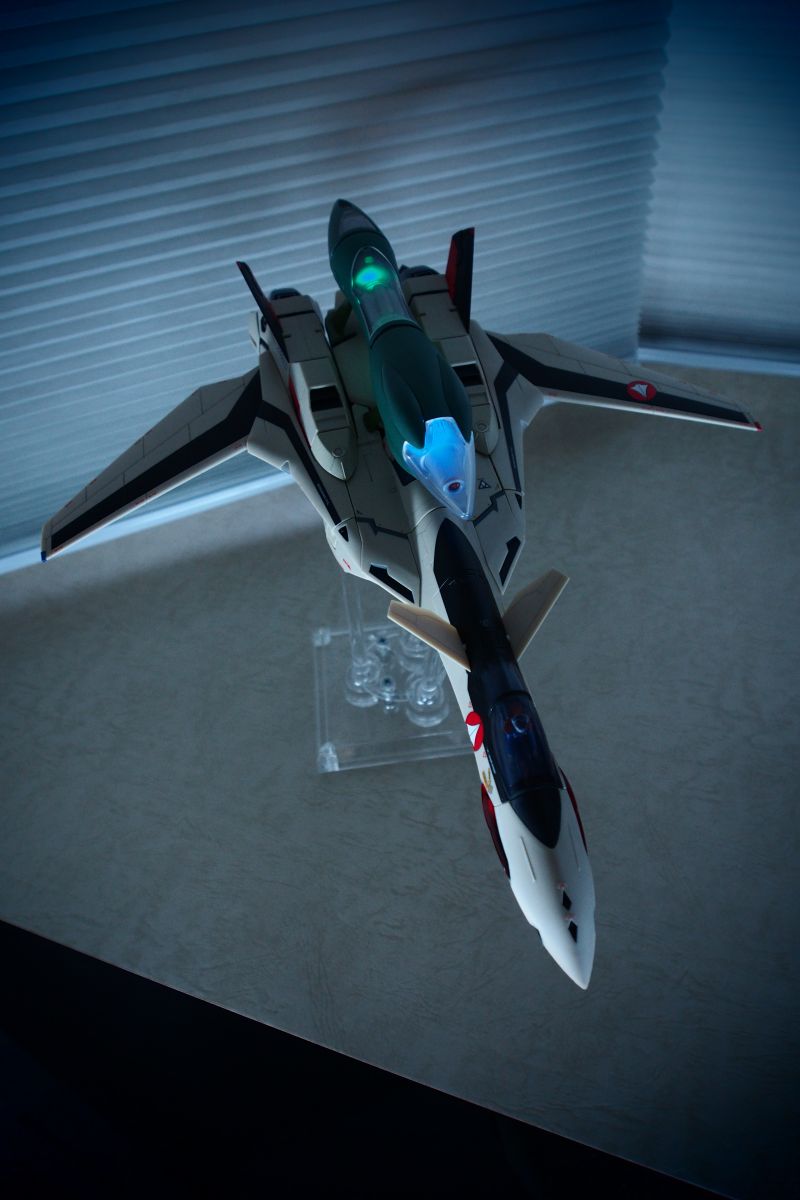
Here is a few more fighter mode pics:


Why is Gerwalk mode disliked?
in Toys
Posted
I like GERWALK mode, it is a great concept, looks cool in animations, but not easy to do many dynamic pose in toy form.