

MaveRick
-
Posts
327 -
Joined
-
Last visited
Content Type
Profiles
Forums
Events
Gallery
Posts posted by MaveRick
-
-
'grat's monster on getting Shin.. it's good to know my once shin valkyrie is in good hands.. here's mine... catching up with the version 2 1/60 VF-1 and the missing Macross plus valkyrie... btw i got the 1 VF-1D and 1 VF-11B from Monster..

i just love boxes..


-
eugimon: thanks.. at last i can finally get some decent sleep and prepare myself for another daring project... *cough sdf... *cough..
macrossman: yes, although i changed the lighting just to make the ambiance more of a factory rather than a concert/bar.. check the video link i posted just bellow the last picture of my post

-
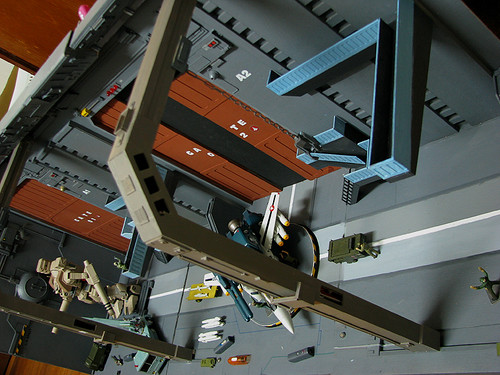
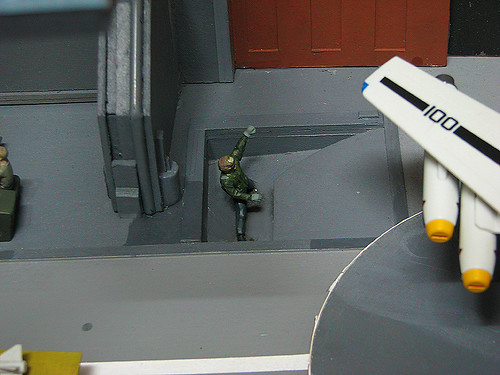
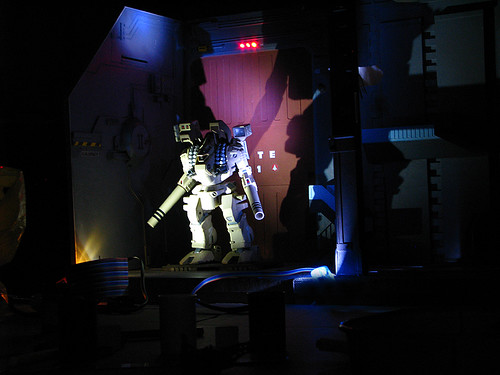
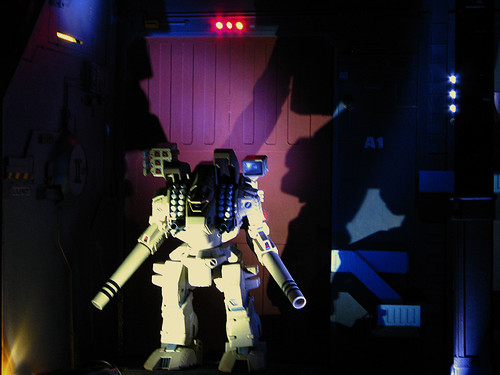
my Scratch-Build Macross Armored Factory and Maintenance Bay!!! ( just placed both 1/60 destroid and focker and a few crew figs.. i still have to make final arrangements on how i will place the yammies with the crew)

-
Spent the entire day working on..
- finishing the ceiling.. and installing it on all 3 partitions
- cable management
- final placement of LEDs and Rotating Platform..
so.. here's my Scratch-Build Macross Armored Factory and Maintenance Bay!!! ( just placed both 1/60 destroid and focker and a few crew figs.. i still have to make final arrangements on how i will place the yammies with the crew)
-
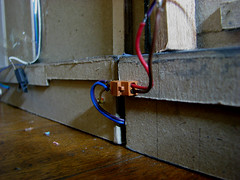
then came the part i hated most... cable management...
apparently the back portion still has to be covered.. but before that i need to organize all the wirings and sockets..
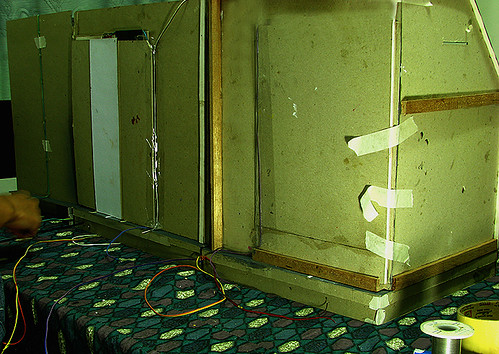
i used 3 separate power sources for the electrical components:
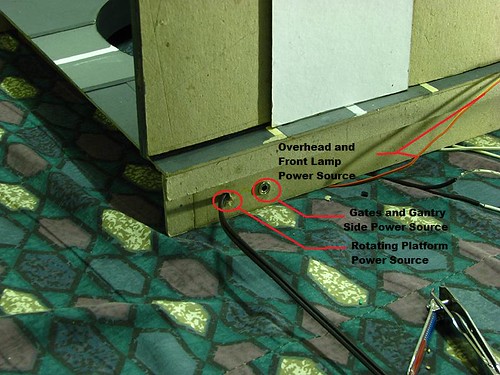
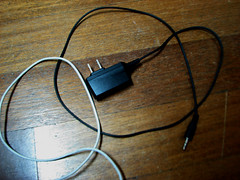
for the gate and gantry side lamps, i used my mom's spare cellphone charger as source
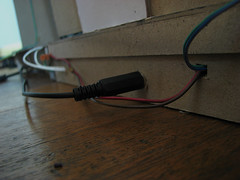
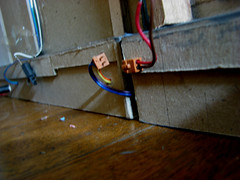
i used cable tie and headers as snap on connectors for all three partitions
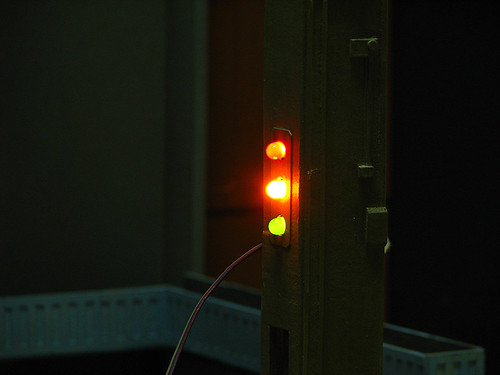
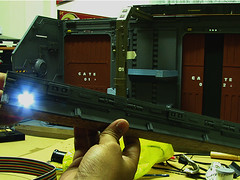
and so here's my second version of the lighting with a mock-up attachment of partition 1's ceiling.. (without the lights at the front section and some hidden parts.)
-
Got an advise that i'll be on field work starting this weekend.. so decided to devote my time for the past two days finishing this project..
First i made some changes on some parts:
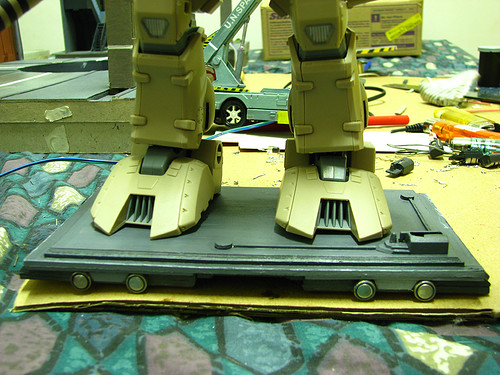
Change my first design of holder for the rotating platform and motor.. the second design didn't prove to be stable enough to hold heavier valkyries.. here's my modified case..
Also i didn't like how my lighting turned out.. it really looked like the mechas are in a club/concert thingy.. so i discarded my first set .. also opted to follow the colors of each lamps as show in the line-art.
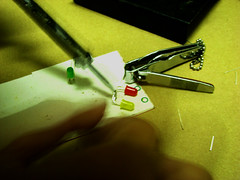
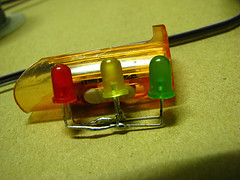
had a problem capturing its true colors.. but it's basically green, yellow and red
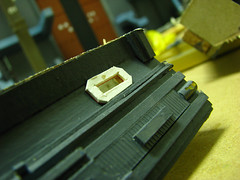
Then some additional parts.. i thought of putting a cut off ceiling just to give the entire factory some dept..
still for final colors.. and reinforcement at the back portion..
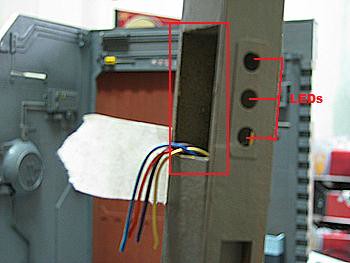
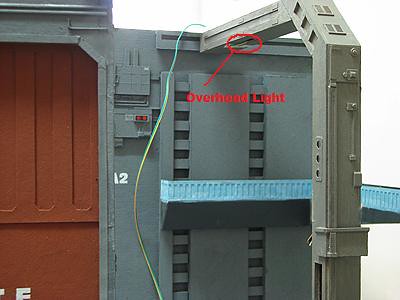
cut out a rectangular hole, where i will be putting additional ceiling lights..
-
thanks again guys... never really thought, it would somehow give that "in the club/concert" feel.. but nonetheless i enjoyed staring at it with the lights on before dozing off the other night
got home early today so i had a chance to continue working on this project..
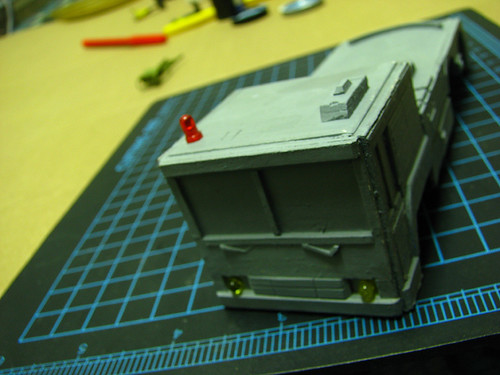
i started continuing on my boom lift truck s.build... salvaged my old tamiya mini 4wd racer's wheels and my spare 1/48 decals for the boom part
also opted not to follow color as show in reference pic and used lighter color instead. 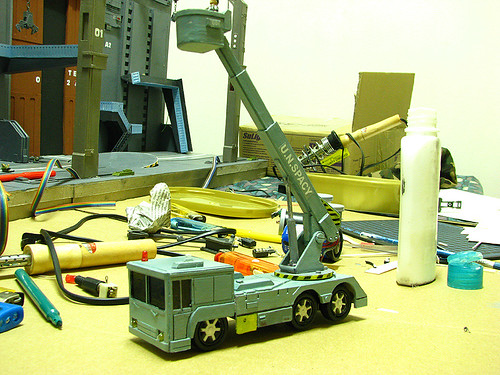
then wired up the LEDs for the headlights.. took some time before i figured out how to conceal the connection and place the batteries.. had to modify a part of it..
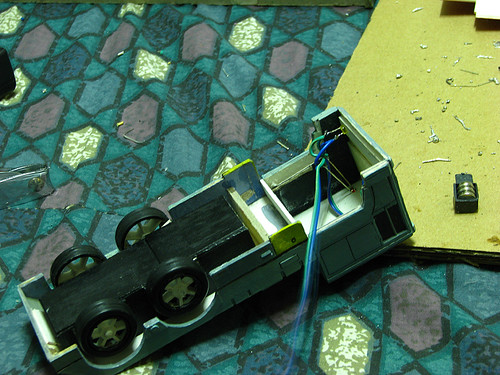
here's how it looks like with the headlights on.. im still trying to choose whether to make the LEDs light up steadily or not..
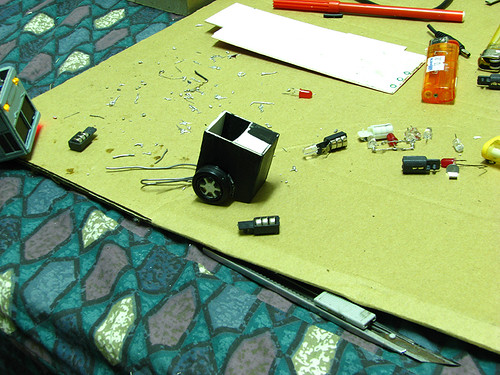
also trashed my first design of the destroid roller.. just didn't appear to be appealing to me at all.. started working on the second version just few hours earlier..
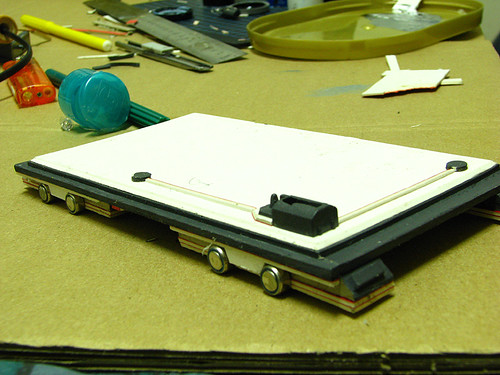
after applying base color..
-
monster and eugimon: very cool shots!! show us more!
-
eugimon: thanks.. hopefully i'll be able to take decent shots of it once it's completely done..
-
-
guys thank you for the kind words, i appreciate all the comments... it makes me even more eager at completing this project as soon as possible..
Macrossman: i still haven't gotten hold of the latest elint.. will try to see if there's a way to get the dish to rotate.. maybe a smaller rotary motor would do..

Miriya: i used a water based brown "acre color" paint.. from the previous build, i applied a gray base color, then used yellow for second coating then finally that paint (regular brown) for the finish.. i'm not sure though if there's a spray can for it. will try to check on it..
so here's another quick update.. i had 3 straight days off from regular work (idependence day last friday, and no sideline audit engagement since saturday) i was basically spending most of my time continuing the build..
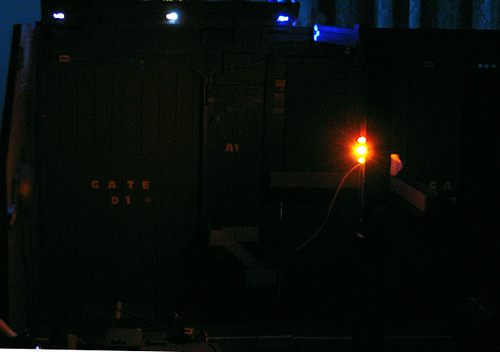
i already starting making final attachments on the wirings... so basically here's how it looks like with the lights installed:
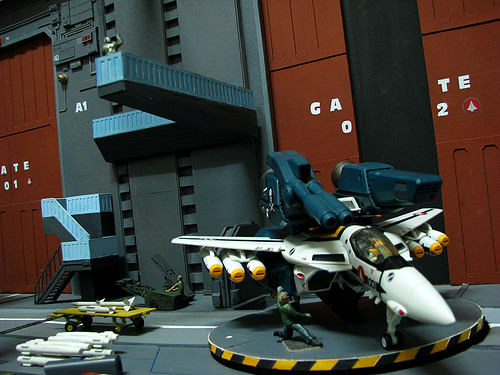
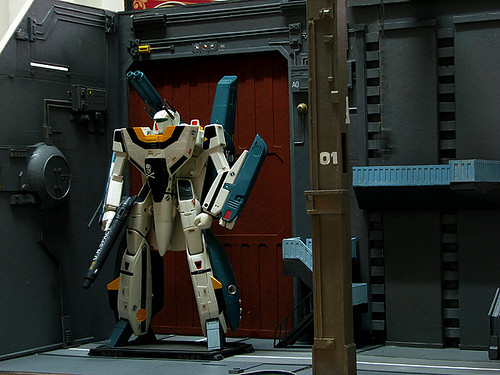
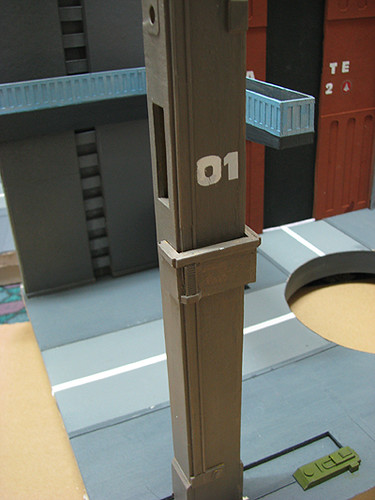
Gate 01/Partition 1 with 8 of 10 lights already installed... with the latest 1/60 yamato destroid..
Also been looking over some specialty/hobby shops and malls hoping to get something that would more likely resemble at "Boom Lift Truck" that's being used.. but only managed to see some heavy equipment trucks and construction type trucks.. nothing really decently as accurate as this one:

so after few hours of contemplating.. heck! i decided to scratch build it too!!!
so here's my update on this extra build so far: (note.. just applied base coating.. still have to put final colors and minute details once its completely build)
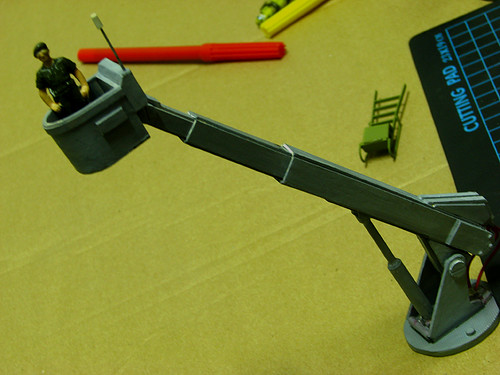
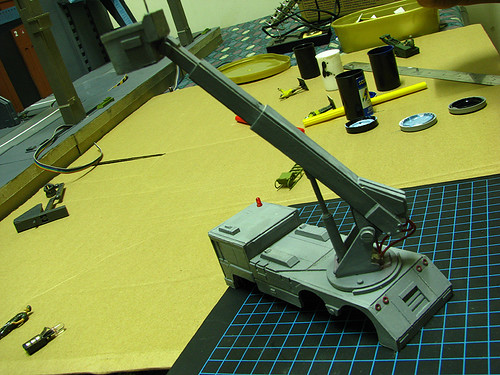
manage to finish this one the other night... (Boom Base, Boom, Hydraulic Cylinder, and Carriage)
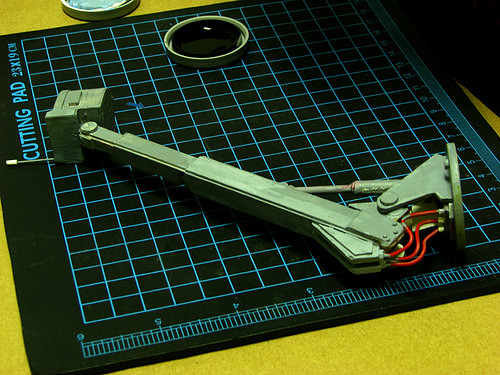
with Scale 1/72 Hasegawa ground crew kit figure inside carriage
then started working on the truck itself just early this morning.. here's how it looks like as of this posting
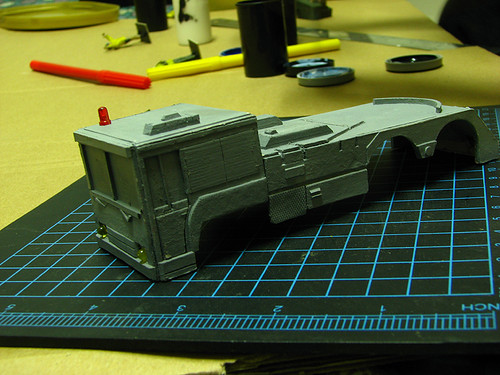

and just like the factory, i opted to put real working headlights for this build
other gimmicks: boom can be stretch.. boom base articulated as well..
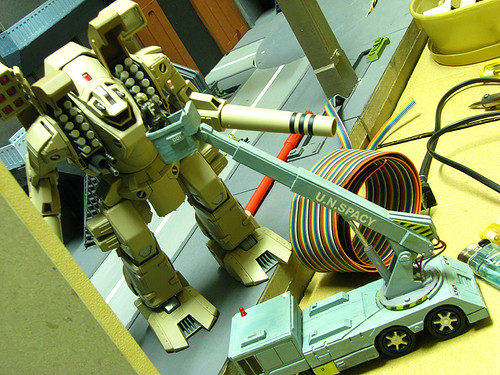
here's a mock up combination of the parts..
-
really enjoyed skimming over your threads here... man, i wish i have your talent/skill
-
vegas: well you've gotten really good with it.. might as well equip yourself with the top of the line gear
ruskie: just got out of hibernation.. pics? already posted some at the previous page.. and i'm not done yet! now that's how you post a valkyrie!
-
Maiden Japan: Ohhh... that is sick! great job.. i hope i could make one for myself soon!!
cobywan: very nice build... i love the details
-
vegas: so you're indirectly telling me that i'm partly to blame why you're weathered roy has to go? lolz..
shiroikaze: i'll get back at you.. i'll dig in my cam's memory card this weekend.. i know i still have a orig copy of it at a larger resolution..
really.. i wish i could also get a DSLR camera for myself.. but with current situation and with all these neat valkyries coming out, i guess i'll just have to be contented with my point and shoot camera for the moment

-
thanks guys... i may have to look for a permanent workbench since i just lost one of my sideline job (unfortunately).. so that means i'll have more free time to work on some upcoming projects i have in mind..
So what's next MaveRick? Maybe you should do a CMS scale SDF bridge...i'm contemplating of doing either of the two:
Launch Bay

or a second version of the launch arm.. this time fitted for the v2 1/60 valks and an entire section of the launch bay's opening

-
i hope this is big enough... that's the largest resolution i got from my flicker account

ohh.. and this i took earlier... pic is a bit noisy.. the limitation of a Point and Shoot Camera.. (wish i could fund enough money to buy a DSLR)
Vegas: i see, goodluck on your new hobby..
VFTF1: thanks.. i'll post more pics of it after i'm done installing the electrical components..
and just to stay on topic:
-
eugimon and honkhet: thanks..
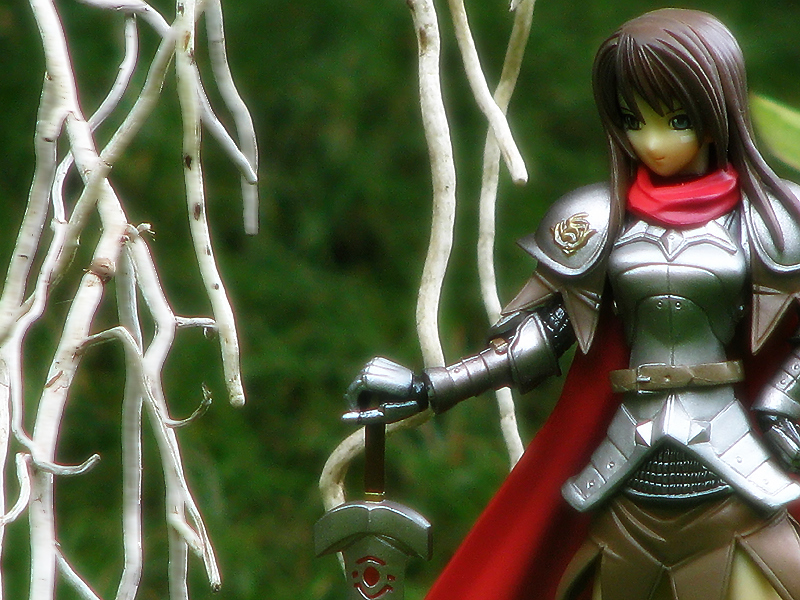
miriya: really now? well.. it took me a couple of months after finally scoring that Kureha fig!
Vegas: pre.. bakit mo pakakawalan? (why are you letting it go?)
anyway.. just a teaser of what's currently lying on my Bed (seriously i don't have a workbench!)
-
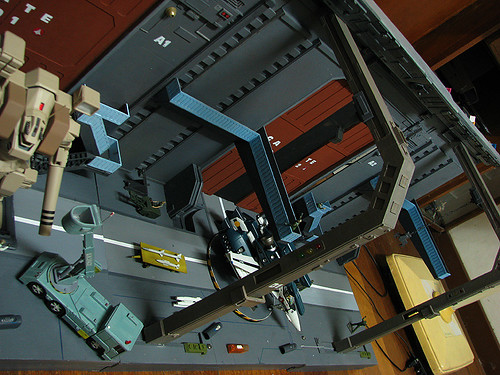
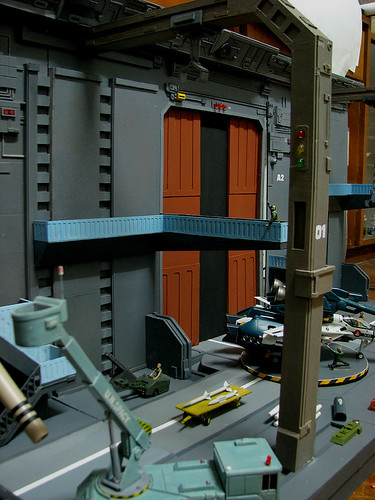
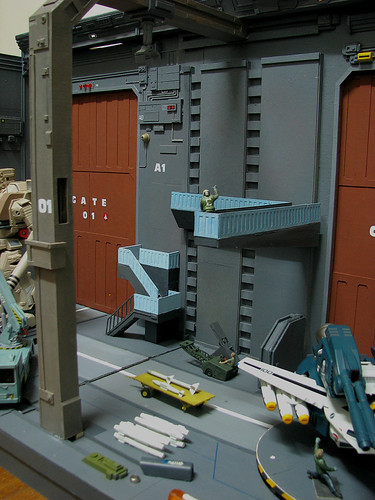
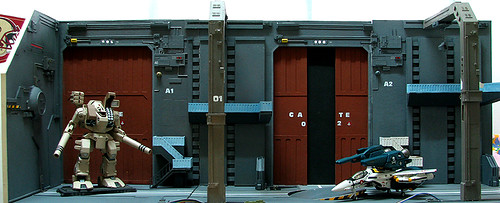
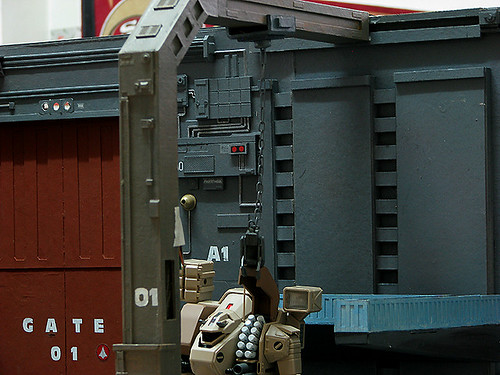
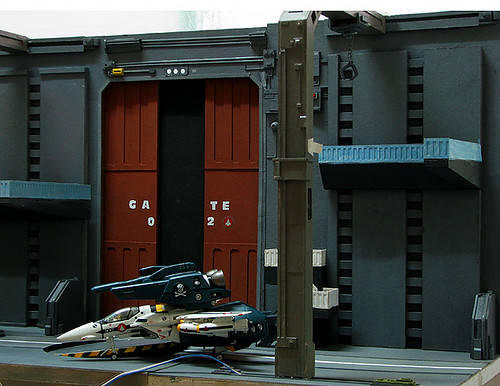
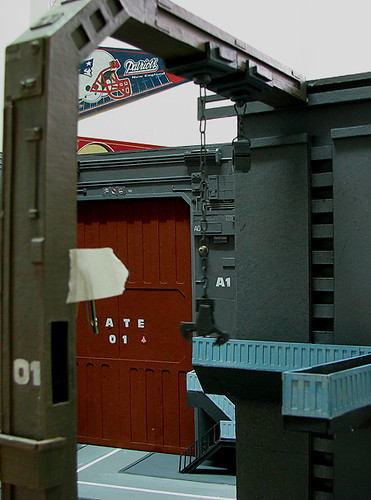
HERE'S HOW IT LOOKS LIKE WHEN PUT TOGETHER ( Just a mock up combination of all 3 parts).. it's about 95% Completed right now, just need to place more minute details on some part.. clean some paint smudges especially on the sides of Gate no 1., installing of LEDs and cleaning of wires.
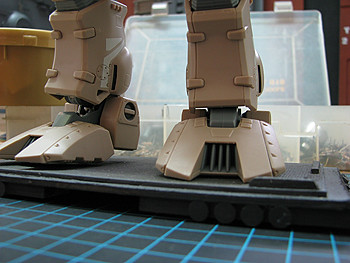
With Scale 1/48 Valkyries:
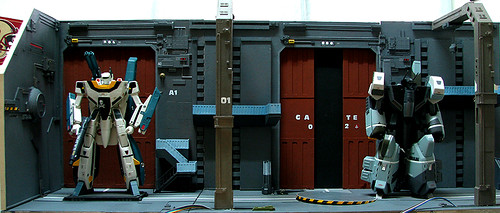
With Scale 1/60 Valkyrie and Destroid:
-
Started installing electrical wires on all three partitions the other night...
used "Ribbon wire type" for hooking up most of the electrical components..
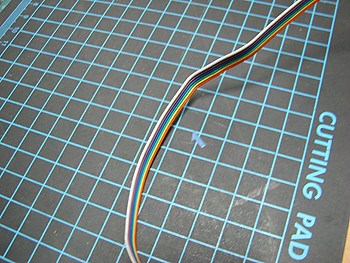
it's a cluster of 16 wires actually.. but could be split into a number of pairs..
then some sections where i hide them:
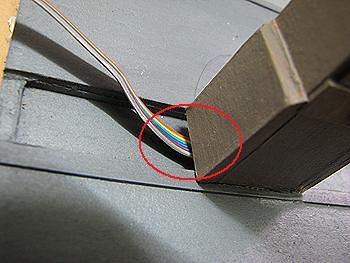
the rest of the wires are situated at the back of the wall.. so not much cable management is needed for it..
-
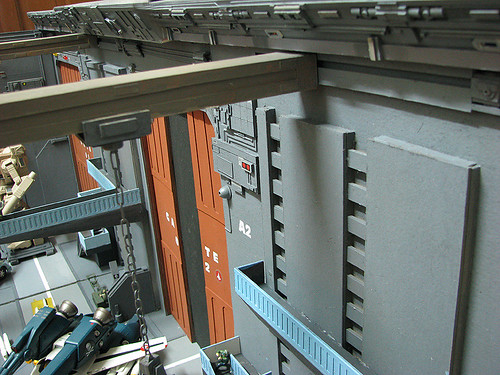
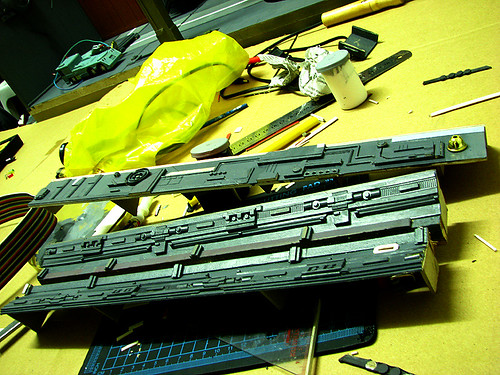
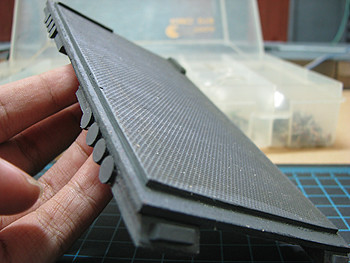
Finished installing of base for all 3 partitions.. I first thought of following the koto chain base (removable base and wall) but with the kind of material being used for this project, i thought it's a better idea to have the base permanently attached to the wall.. I also Decided to make a side wall for partition one of the factory.. i'll leave the other side open though..
Partition 1
Side Wall
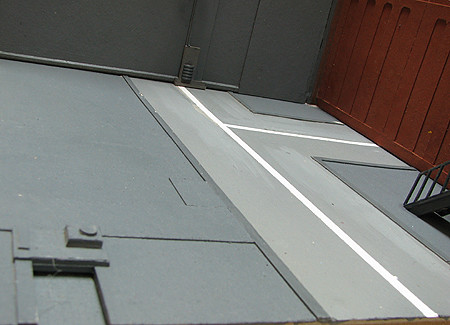
Partition 1's base
Partition 2
- widest of the three partitions.. most of the hard part of the build where done here.. had to ask for help at planning on how to design some of the section (sliding gantry, sliding gantry arm, space for the rotary)
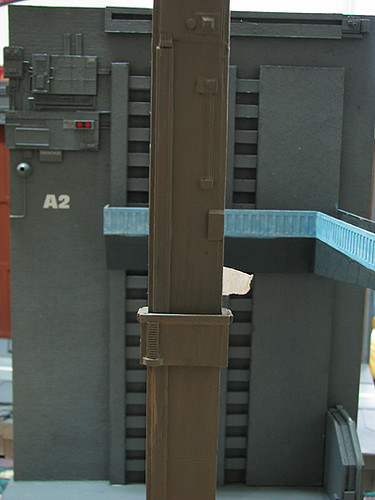
Gantry 01
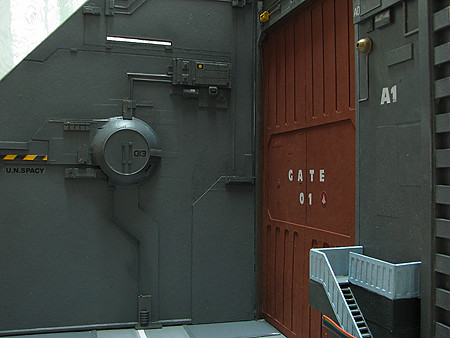
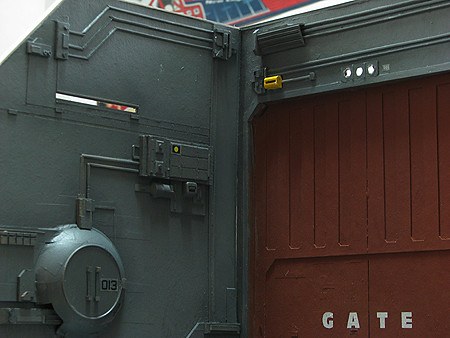
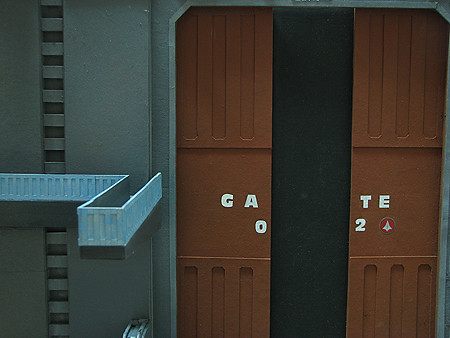
Gate No. 2
Base - with added detailing.. didn't really appeared on the line-art!
Partition 3
with Gantry 02 still needed some decals..
-
Thanks guys... so after about more than two weeks of work.. here's how far i am with it:
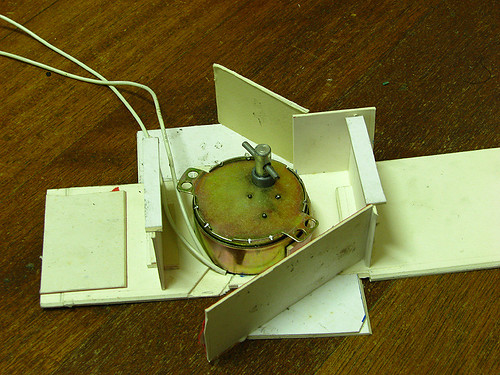
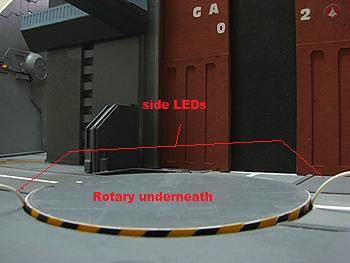
From the project planning, i already intended to animate some of the base section, one of them is the gantry platform section.. i intended to only use the those ready made rotating stands being sold at our local Malls, but unfortunately just when i needed it, i couldn't find it!! then few days ago, a friend who dropped by my place to check on my build gave me an idea of a good alternative.. so here's what i got:
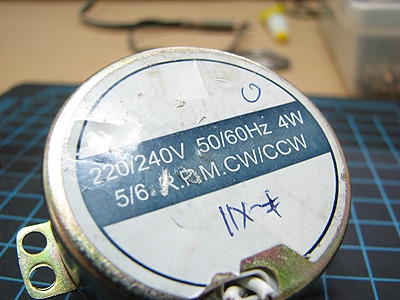
it's a rotary part for disco lights.. i chose the one with the slowest rpm..
then made the platform to be mounted on the motor..
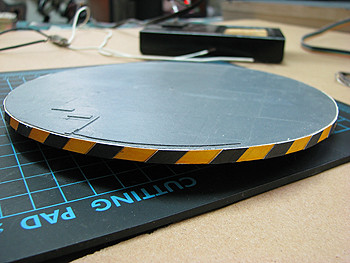
thought of using x-frame to support the entire weight of the valk, but i encountered problems with fitting it on the base..so i opted with a simple alternative..

so this is practically how it looks like with the valk/destroid (see video)
(sorry about the background sound) X))also made these last weekend...
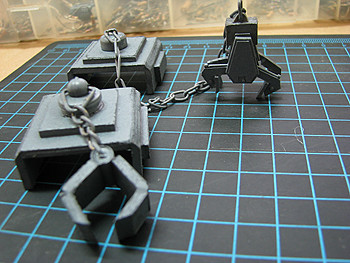
gantry arms... i salvaged my prototype scaled down dryl launch arm's clamp.. then made another one..
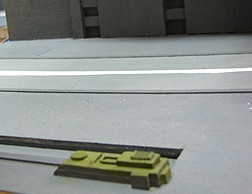
roller for destroid/armored valk.. i still have to make another one with higher clearance from the base.
-
i dunno if it fits here.. since i only have my bed, rather than a workbench..

working on the electrical components of my ongoing scratch build..
-
eugimon: work hasn't given me the luxury of time at taking pics.. and lately i've been busy with working on my scartch build0 1/48 / 1/60 Macross Armored Factory. I hope to finished it by weekend.. i would like to get back at this thread with something worthy of posting
i do have some new photos.. but on some non-mac toys..
this i took after taking my lunch the other day:


1/48+fp's, 1/60, And 1/72 Picture Gallery Pt 4
in Hall Of The Super Topics
Posted
monster: i'll probably let my wallet rest for a while.. 'til max and miriya comes out.. as much as possible im staying away from the DRYL valks
BoBe-Patt: opss my bad.. edited my post
vegas: sell your DSLR = more valkyries