
Xigfrid
-
Posts
2601 -
Joined
-
Last visited
Content Type
Profiles
Forums
Events
Gallery
Posts posted by Xigfrid
-
-
I am in for rather an 1J, just for the sake of making a custom and have less paint to remove.
But to be honest, having a PF with strike parts for just a little 37$ more, I would grab this one
-
I am also using this with my 31A!

-
Well your cad work looks top notch, if you are using your own printer I would say that this is very promising considering you will get more and more used to the printer performances and what to tweak next time
-
If I were you, I would give a try to Tamyia spray AS-9 (dark green) or AS-14 (olive green) on both front and back pylons. Just sand gently the acrylic paint before applying the spray can.
-
Hi guys,
I think that @R0P3-F15H meant the whole missile set that comes with the Arcadia / Yamato regular VF-1 releases.
The hardpoint is just the attachment point on the wings
-
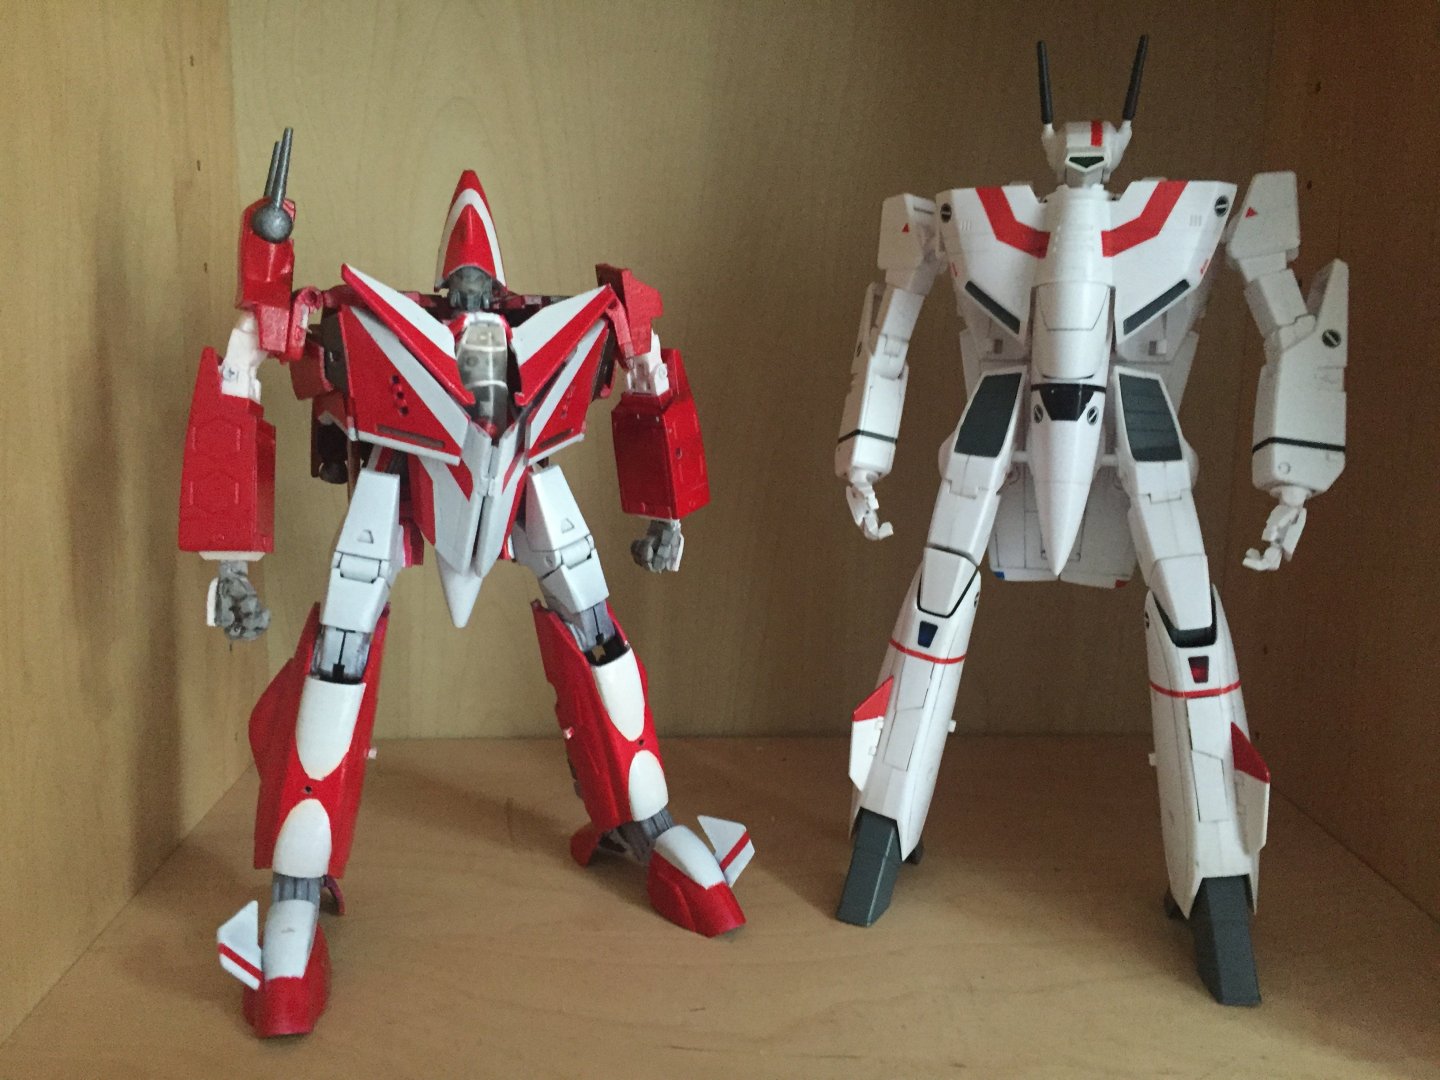
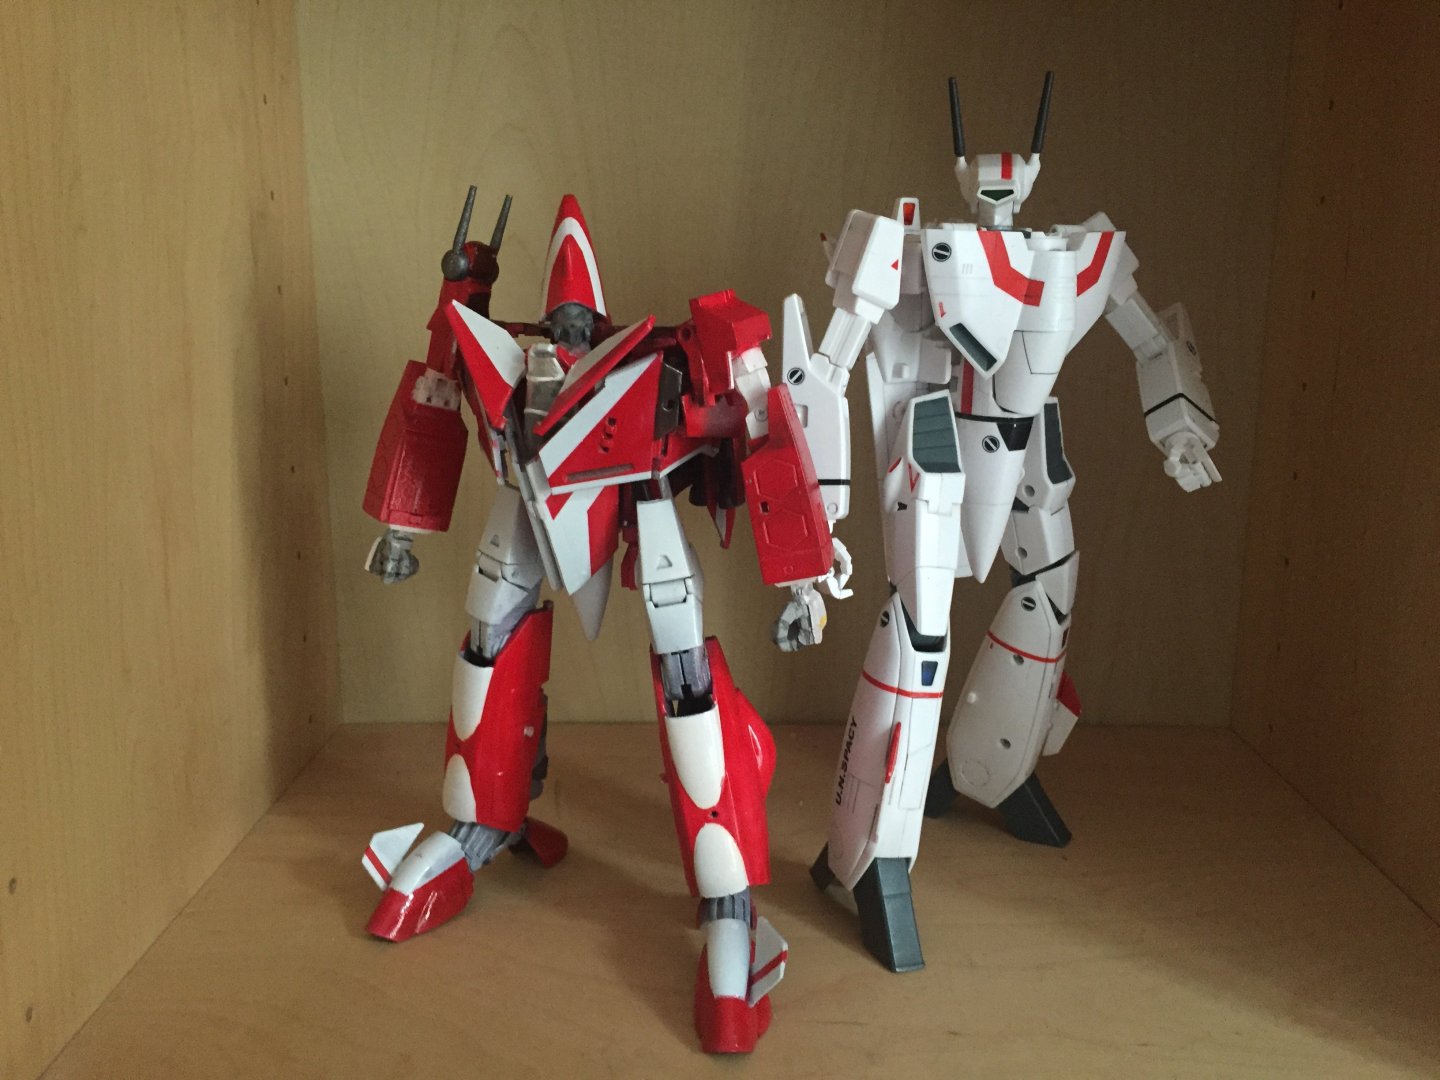
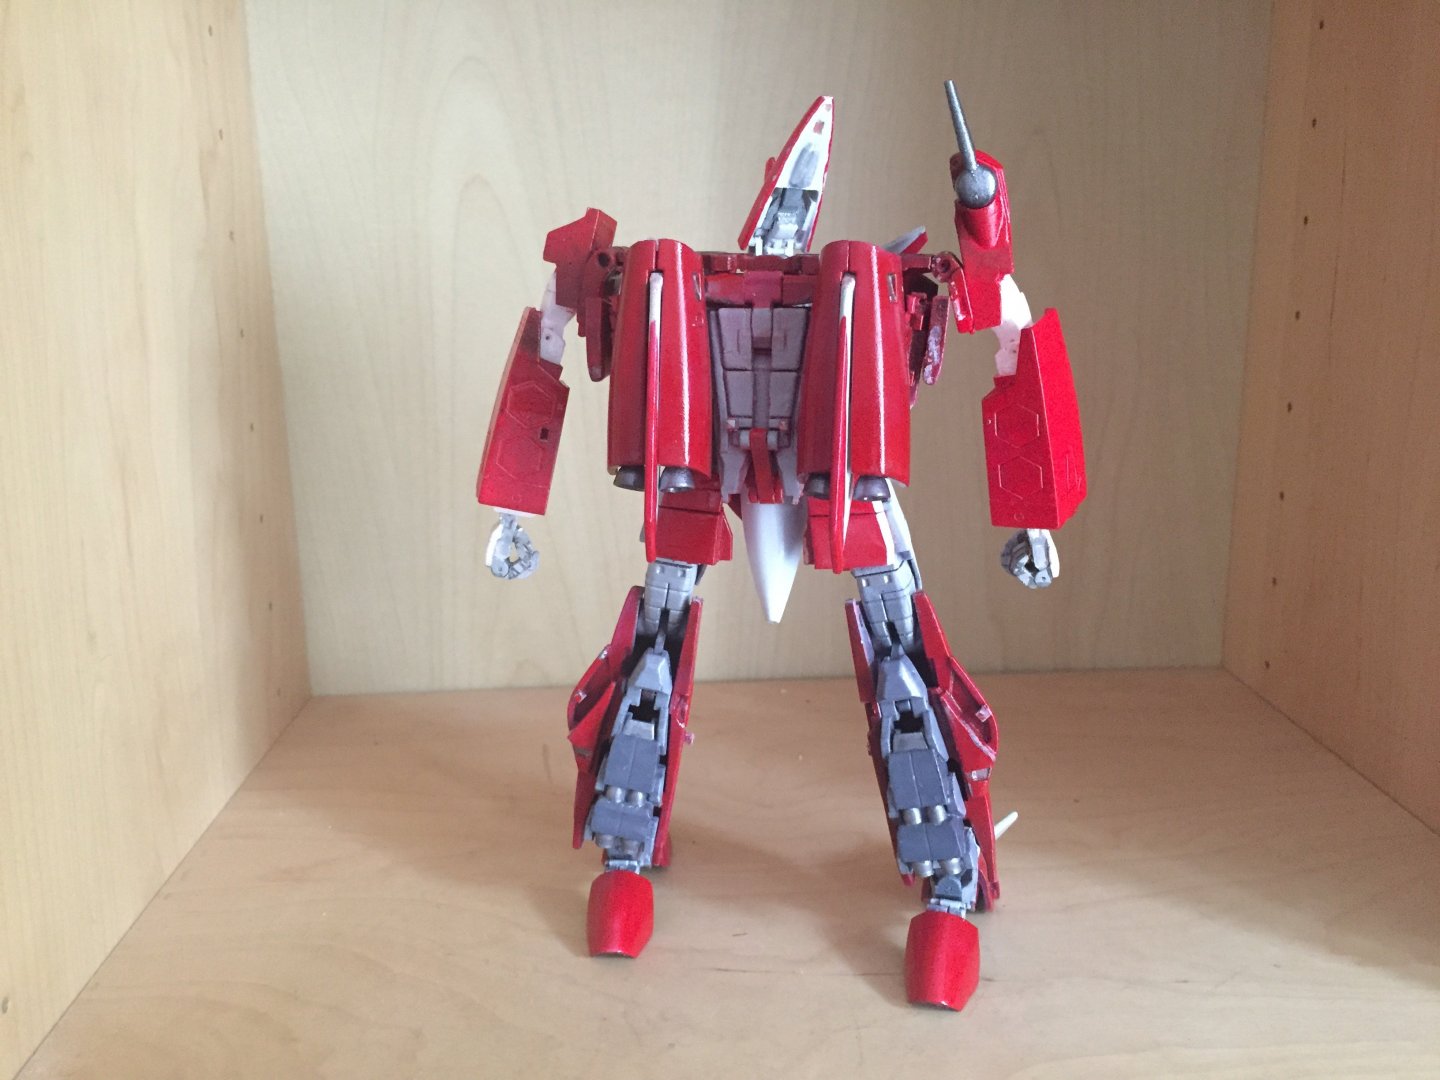
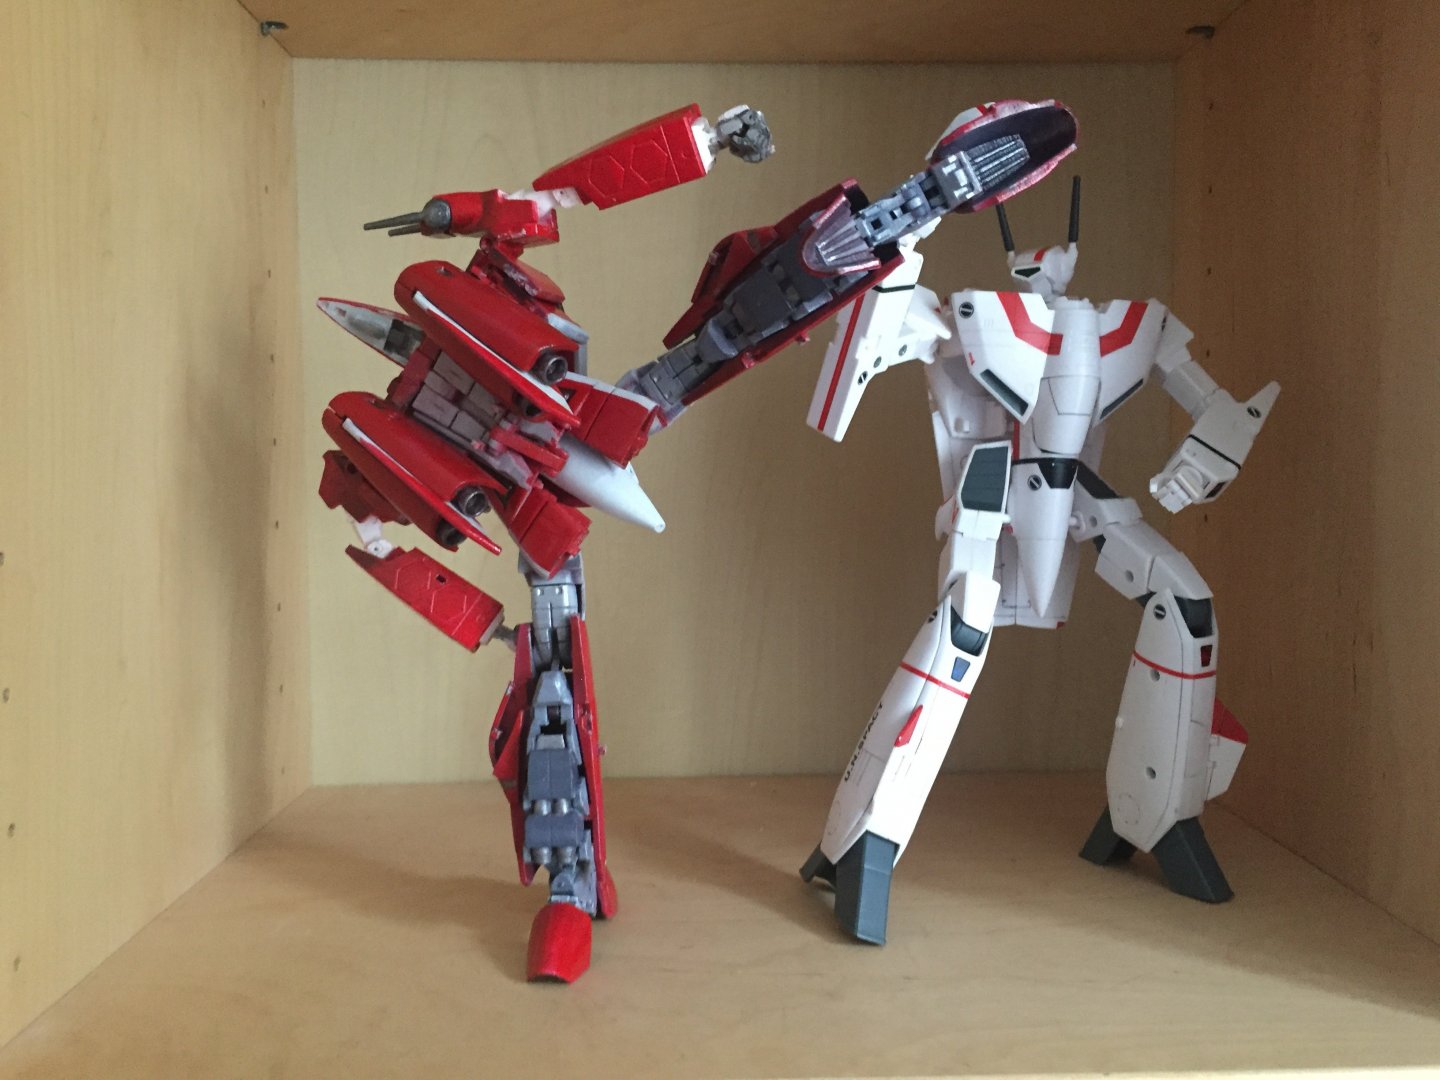
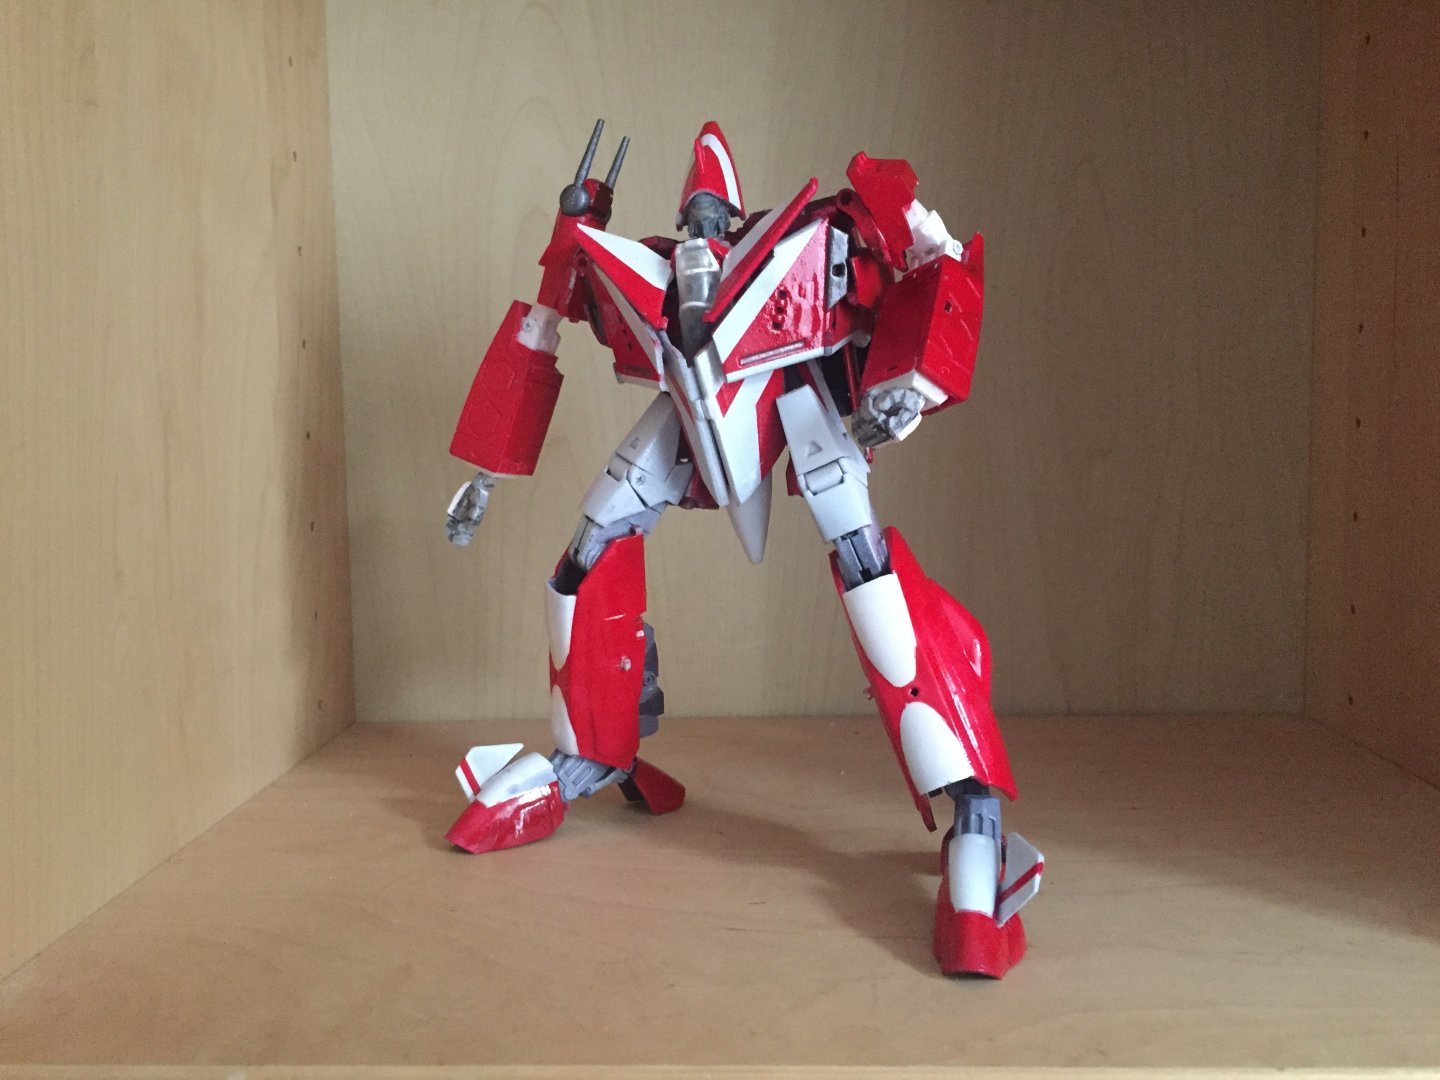
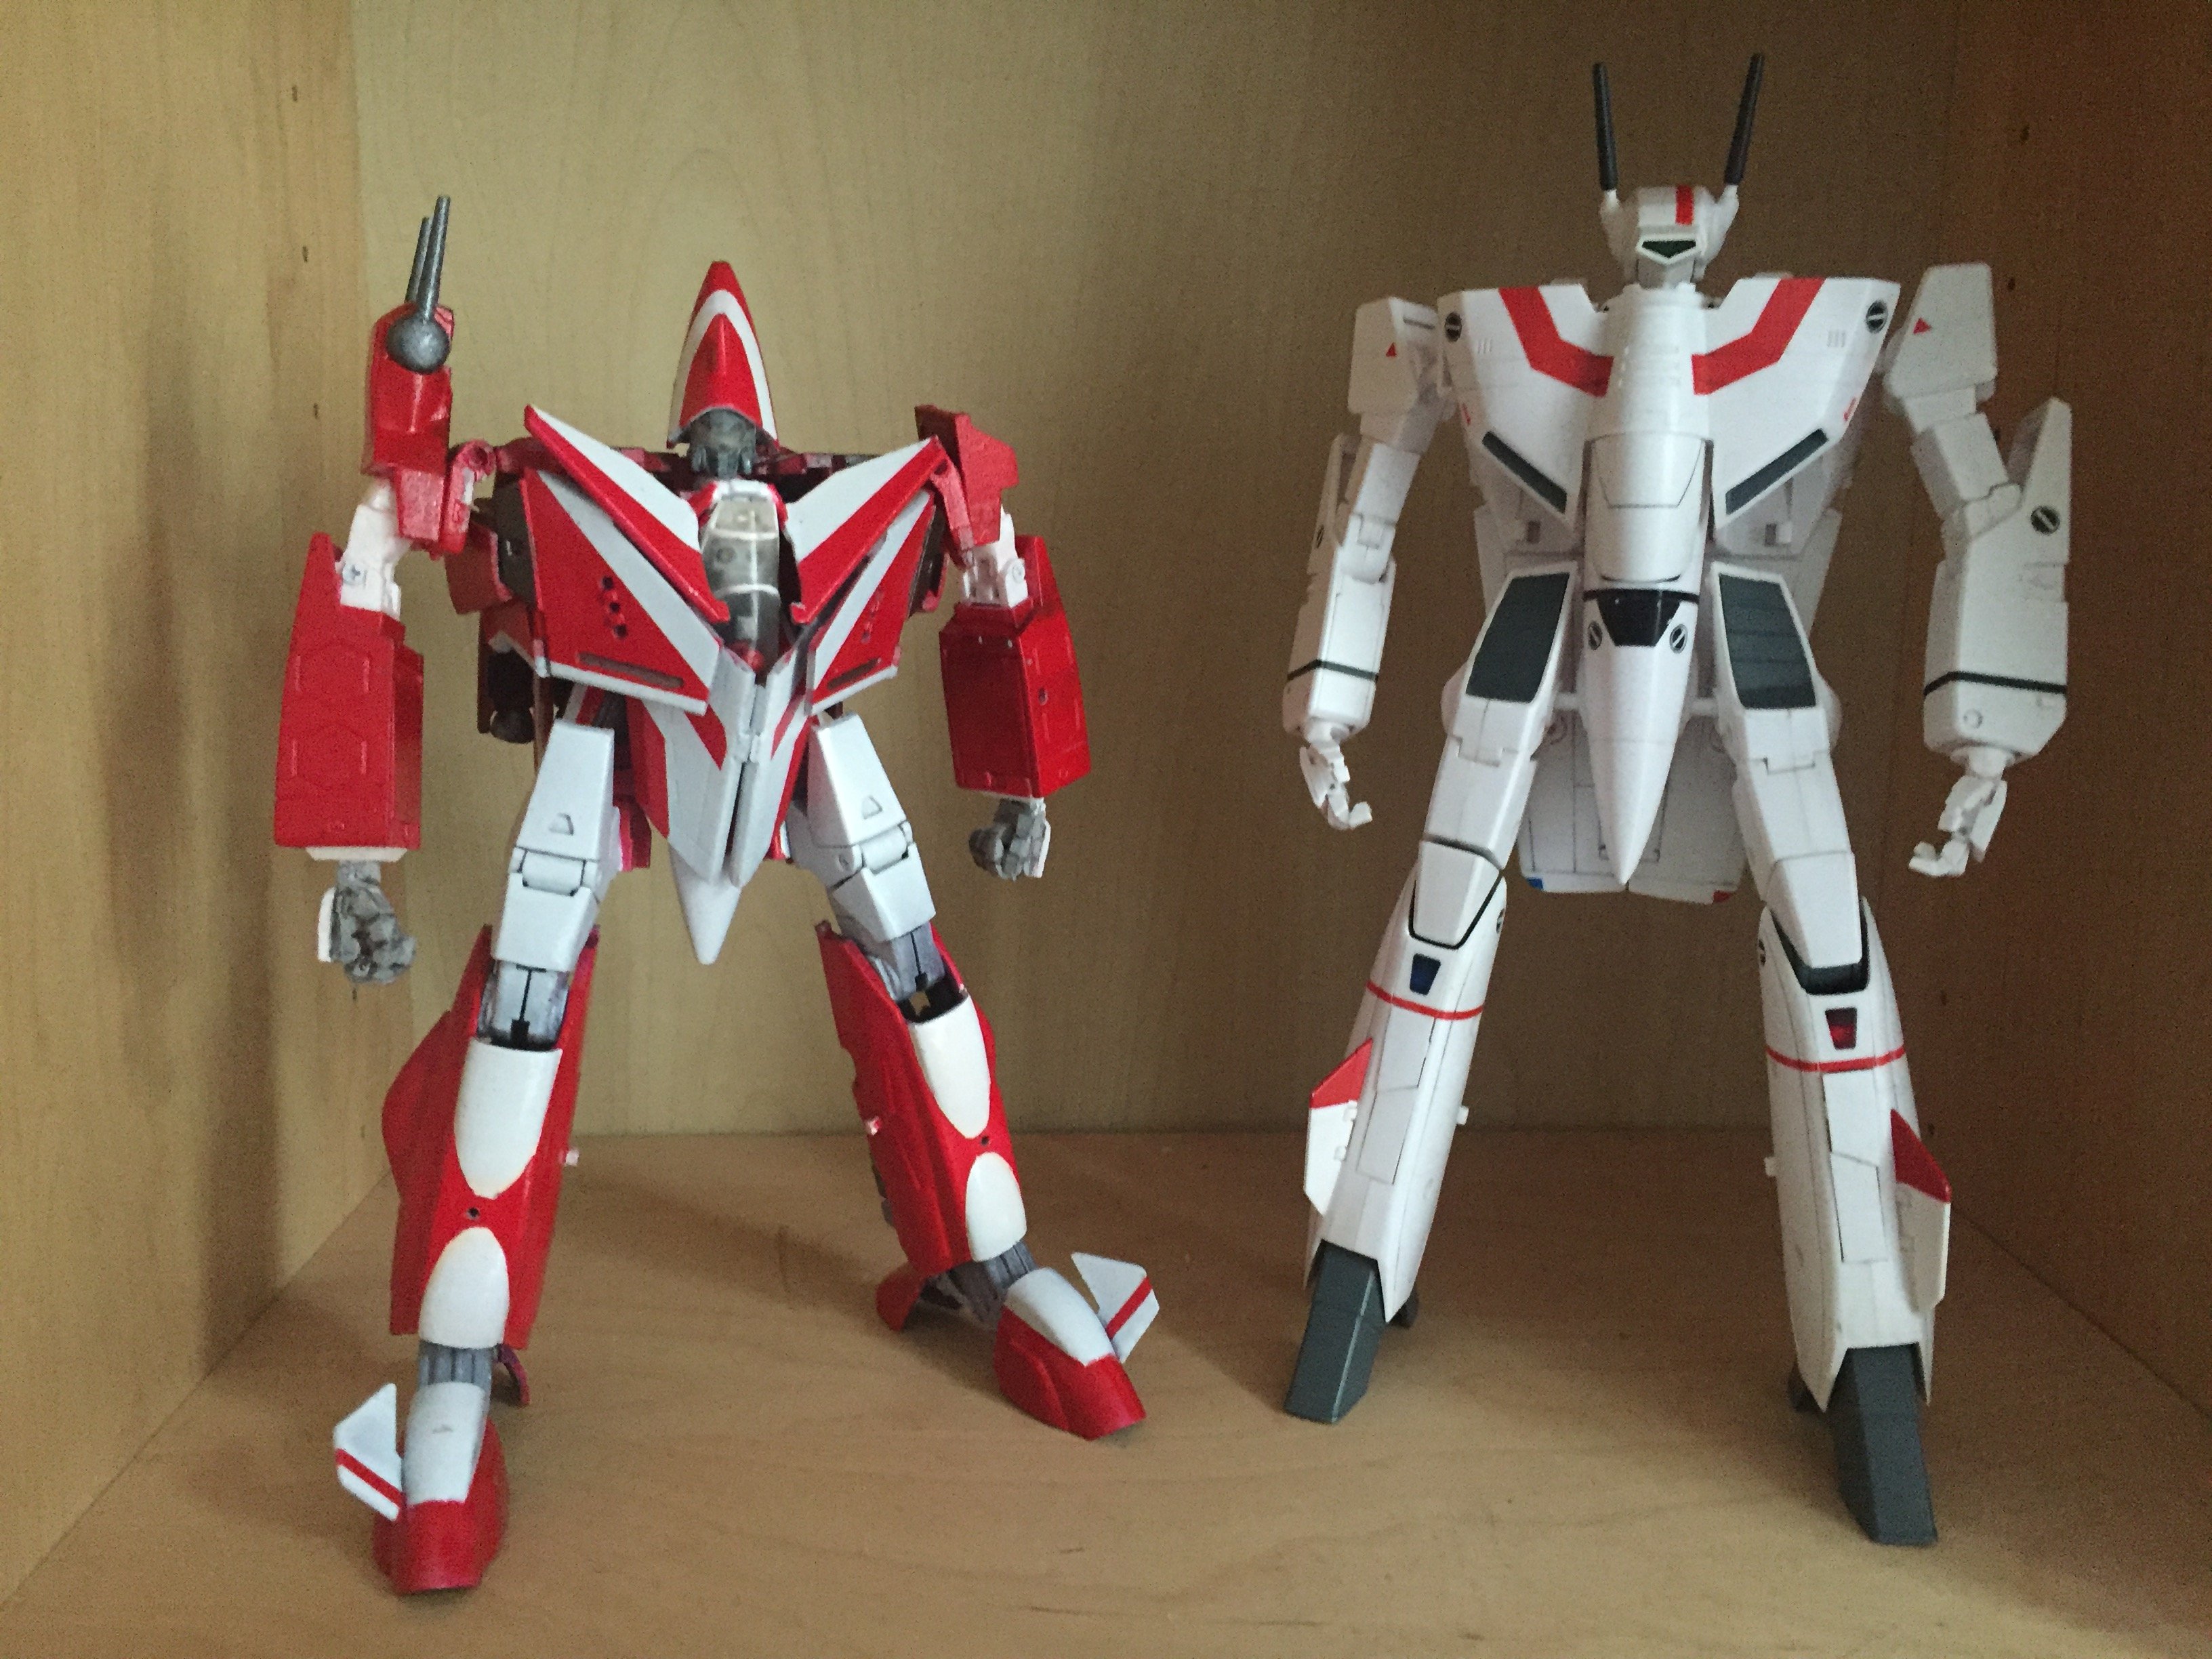
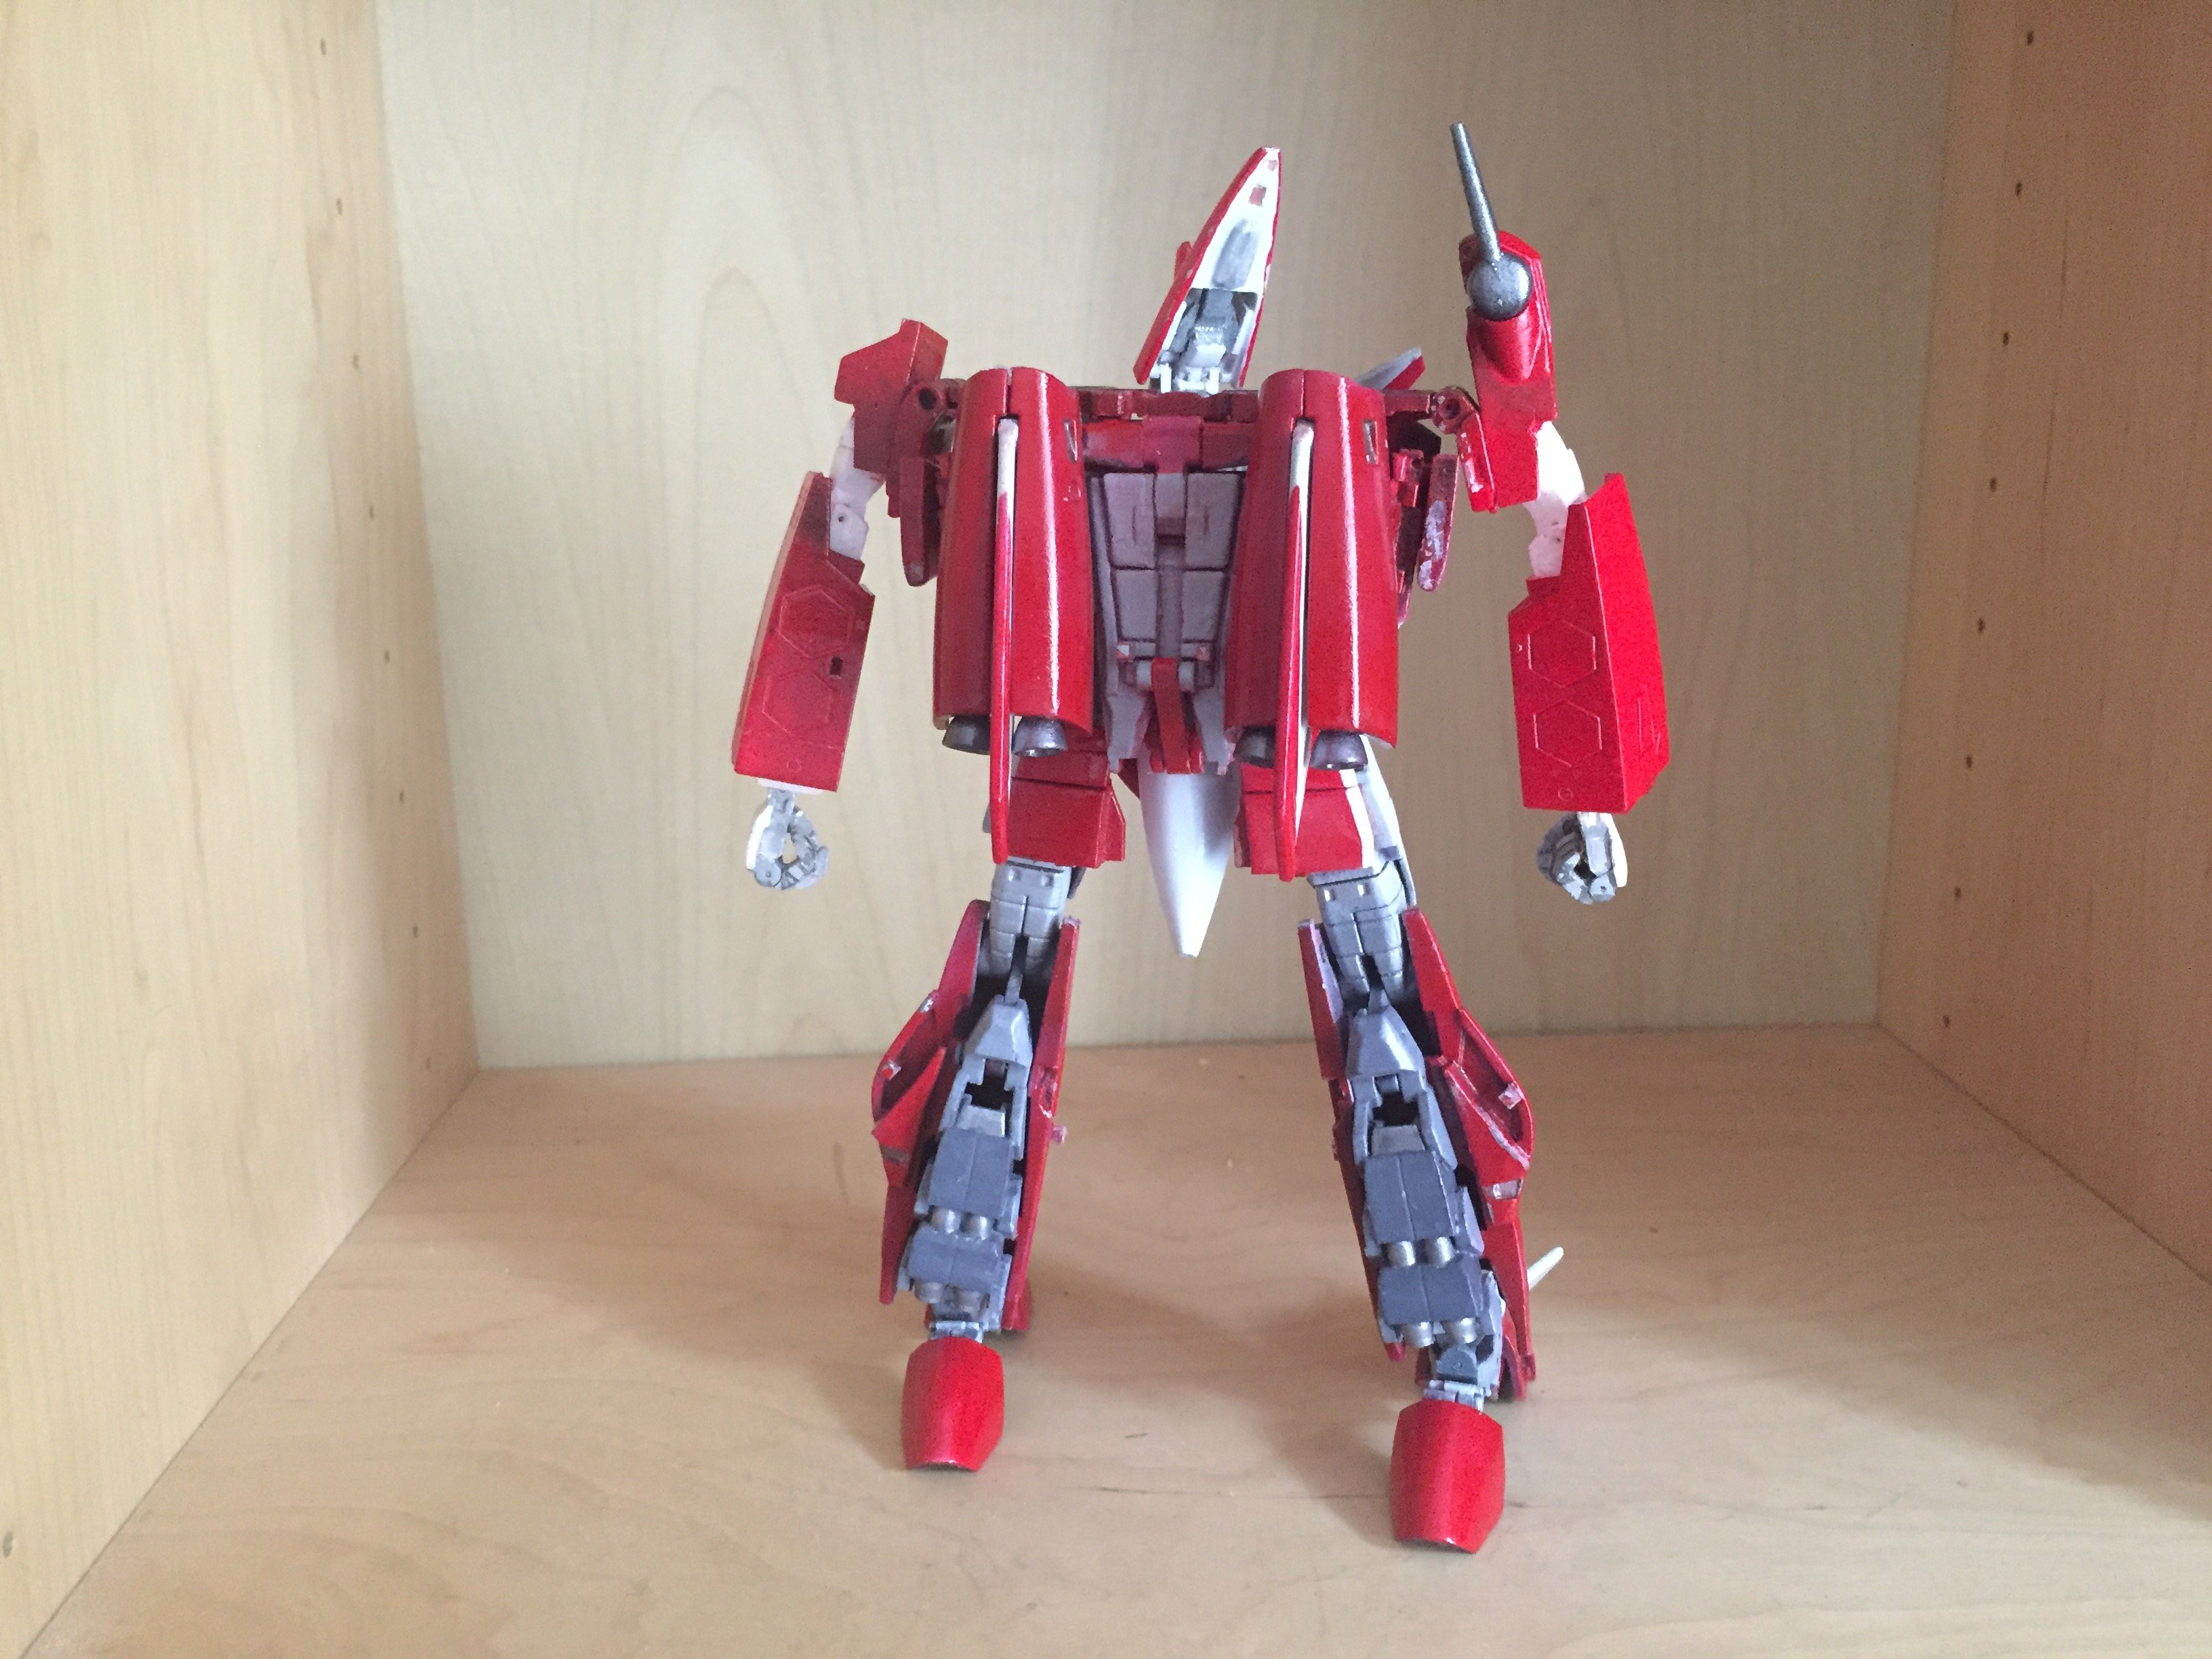
Here are a few battroid pictures
There are a few places where the paint has been scratched, but I think it gives a natural weathering that I don’t dislike, I need to paint the scratches a little darker though.
-
I don’t collect TF, but my kids have a few MP and I really see me buying this Arcee for my girl
-
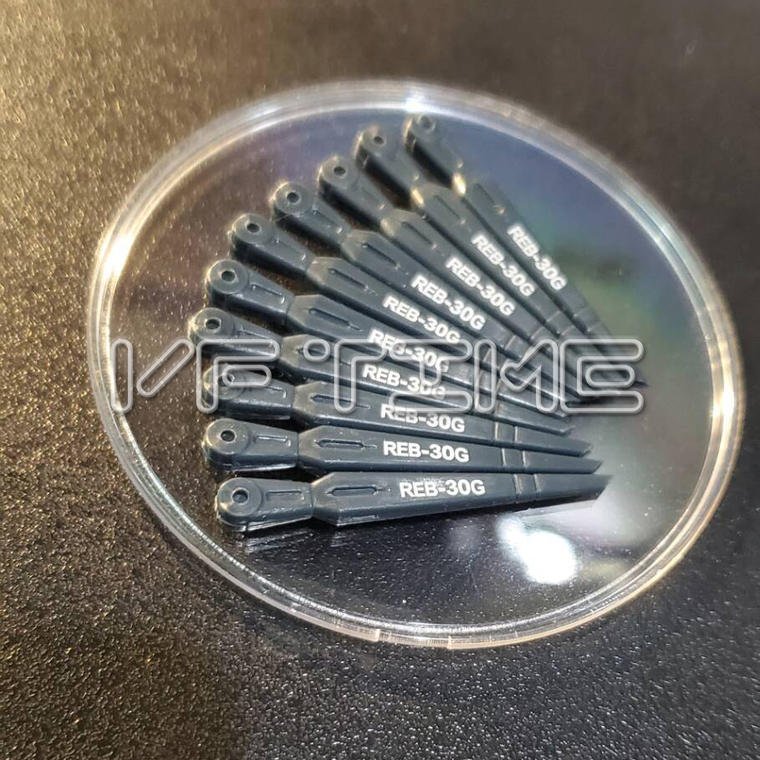
Yes, as stated these antennas are not mine. These look like recasted one with a water decal to copy exactly the original one. I think the price is great regarding the quality (at least what we see). However if this antenna is not good, you can still grab one of my 3D printed ones
")
-
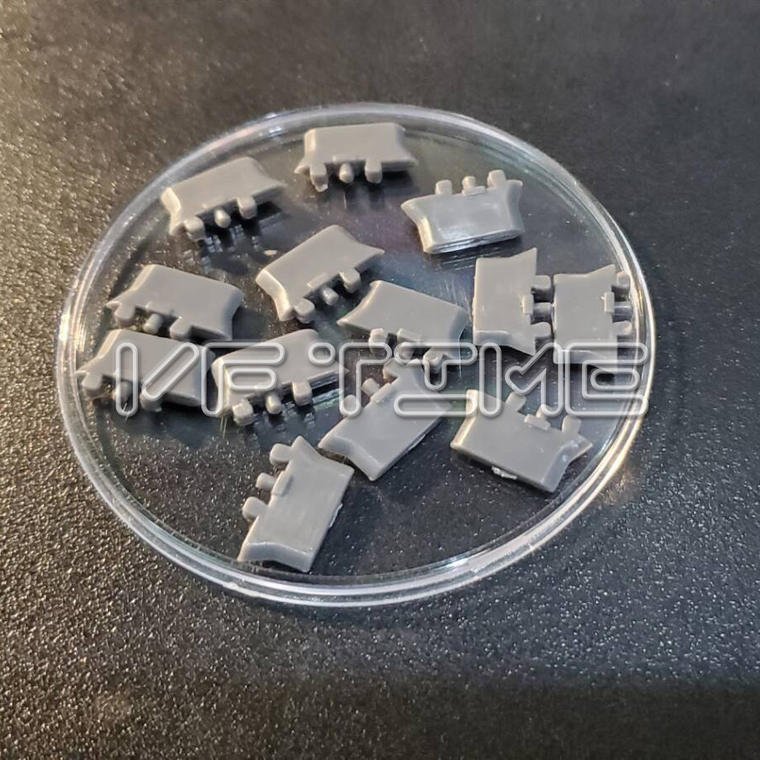
I just saw that and decided I could try the spare missile pylons. Although the antenna is looking great too.
https://m.intl.taobao.com/detail/detail.html?id=581216915966
-
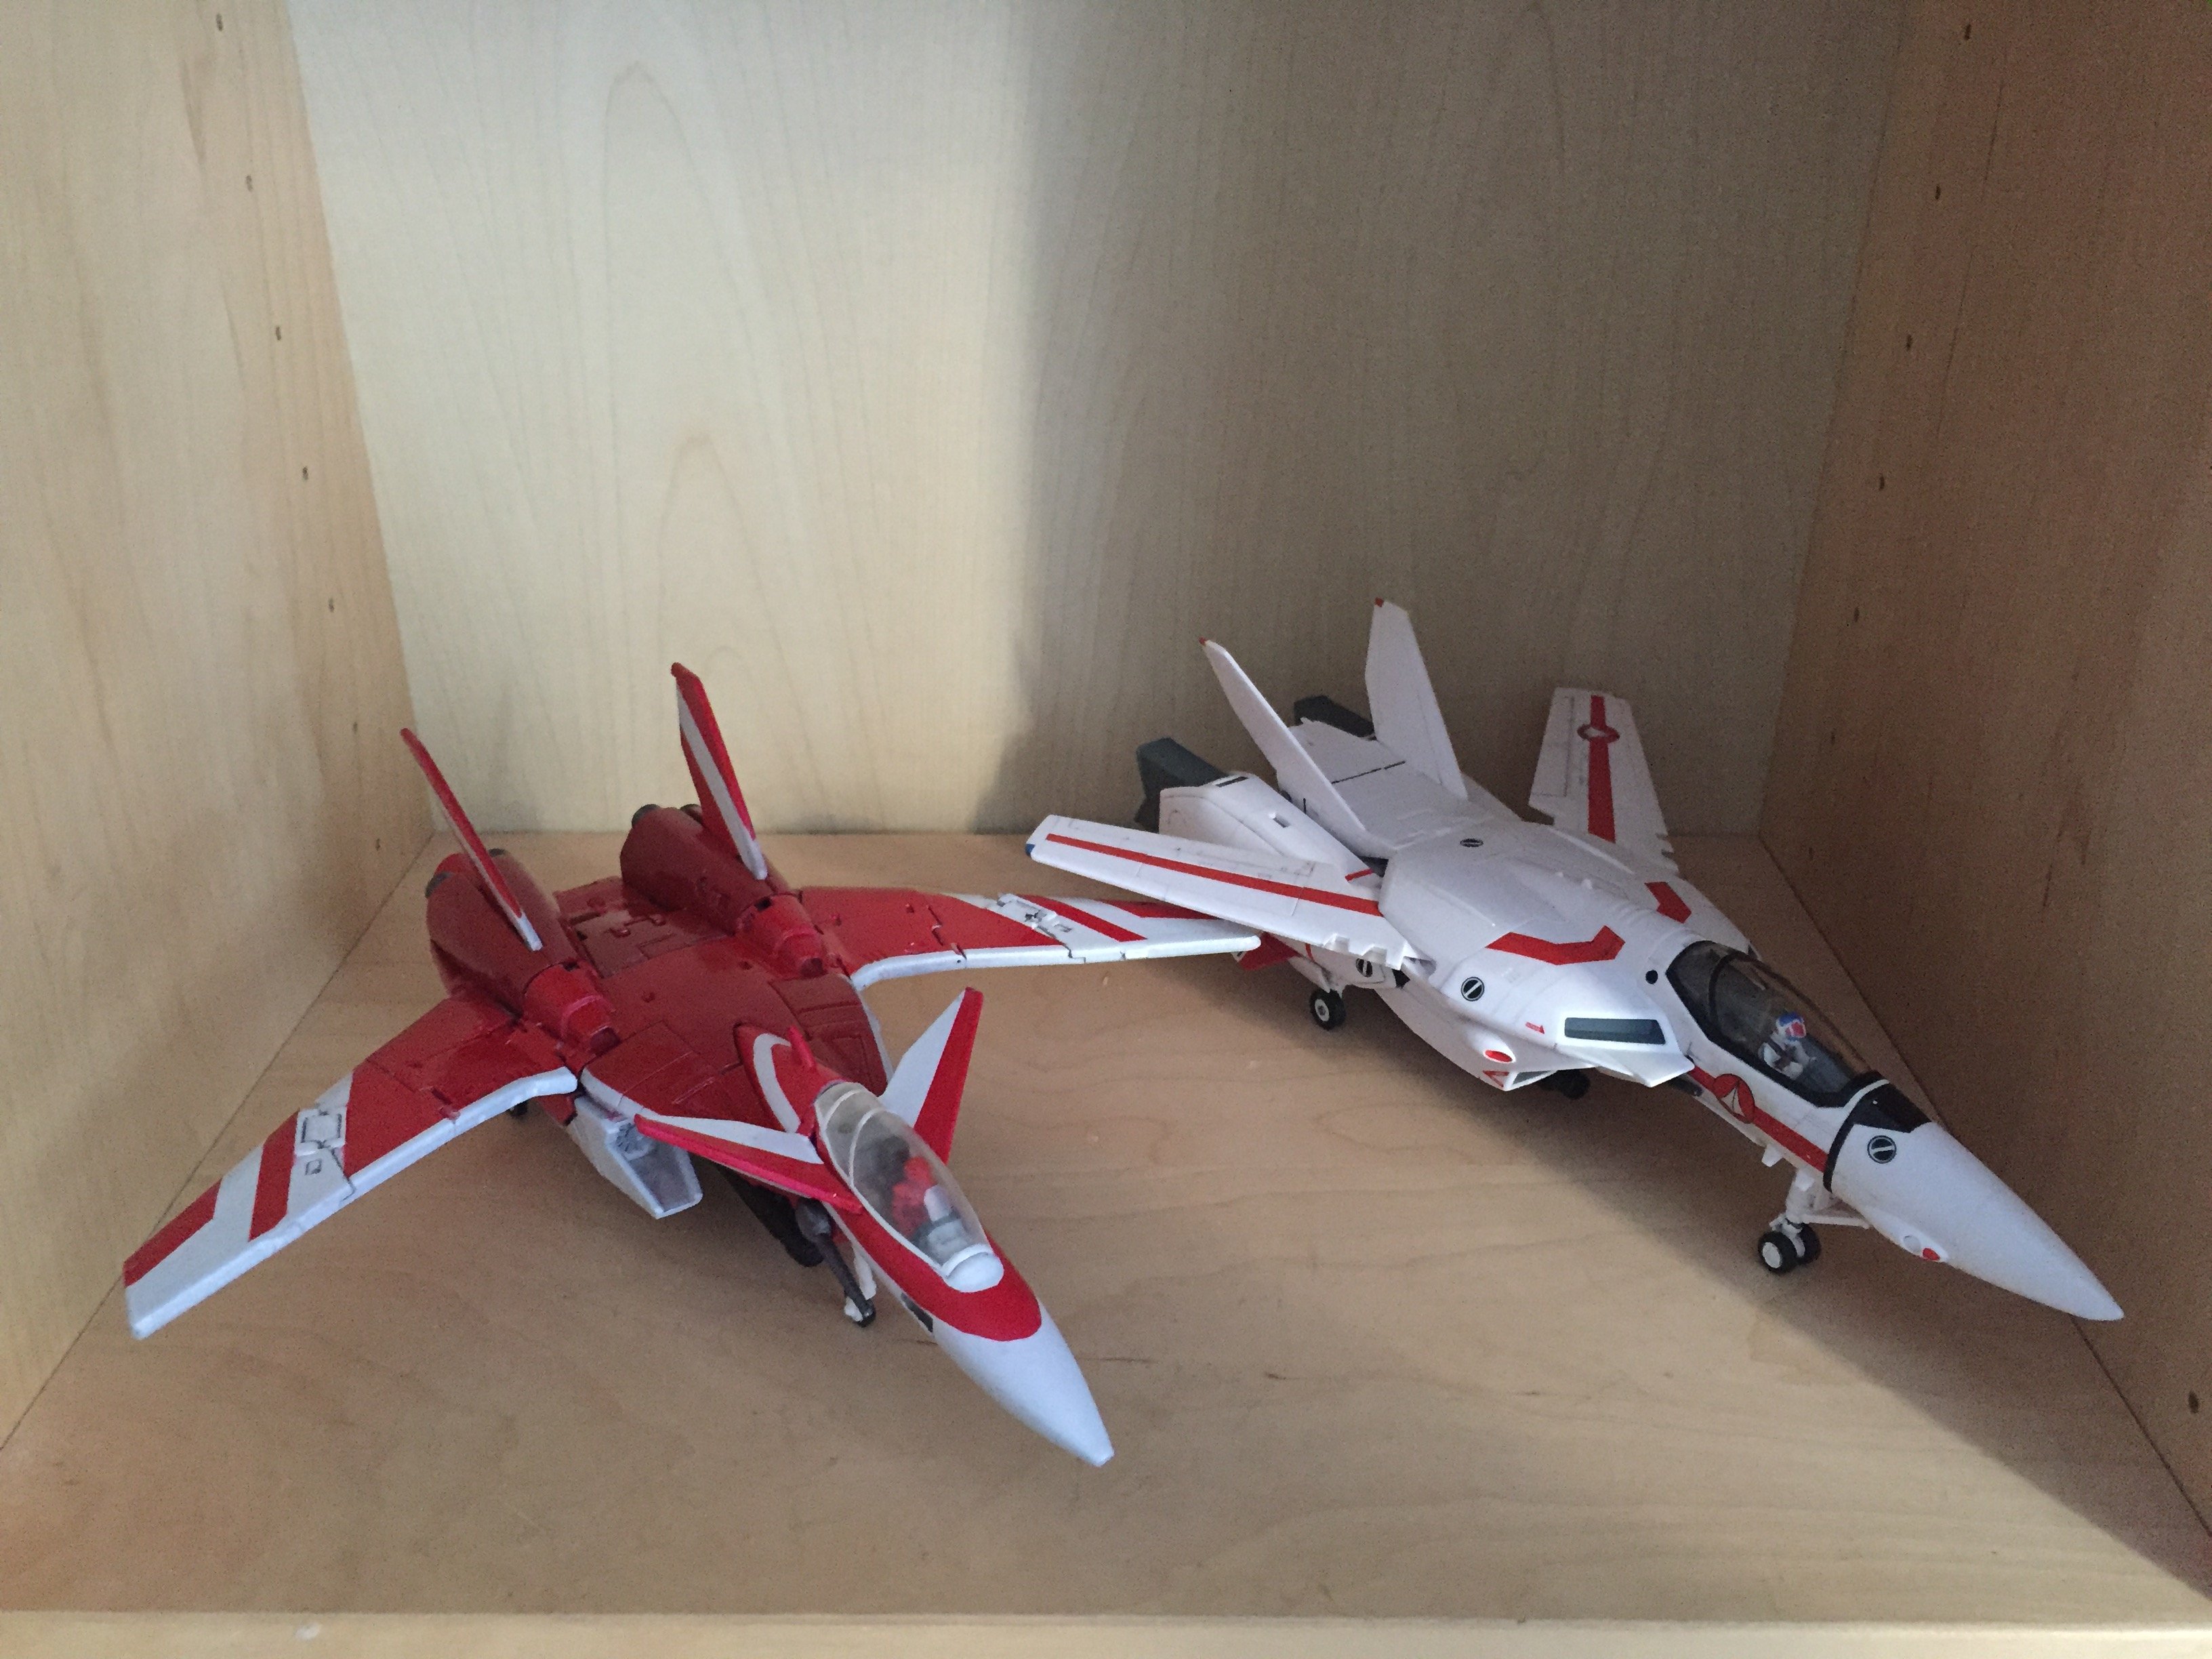
Thanks Jason, I think the paint reflects how much I like this model
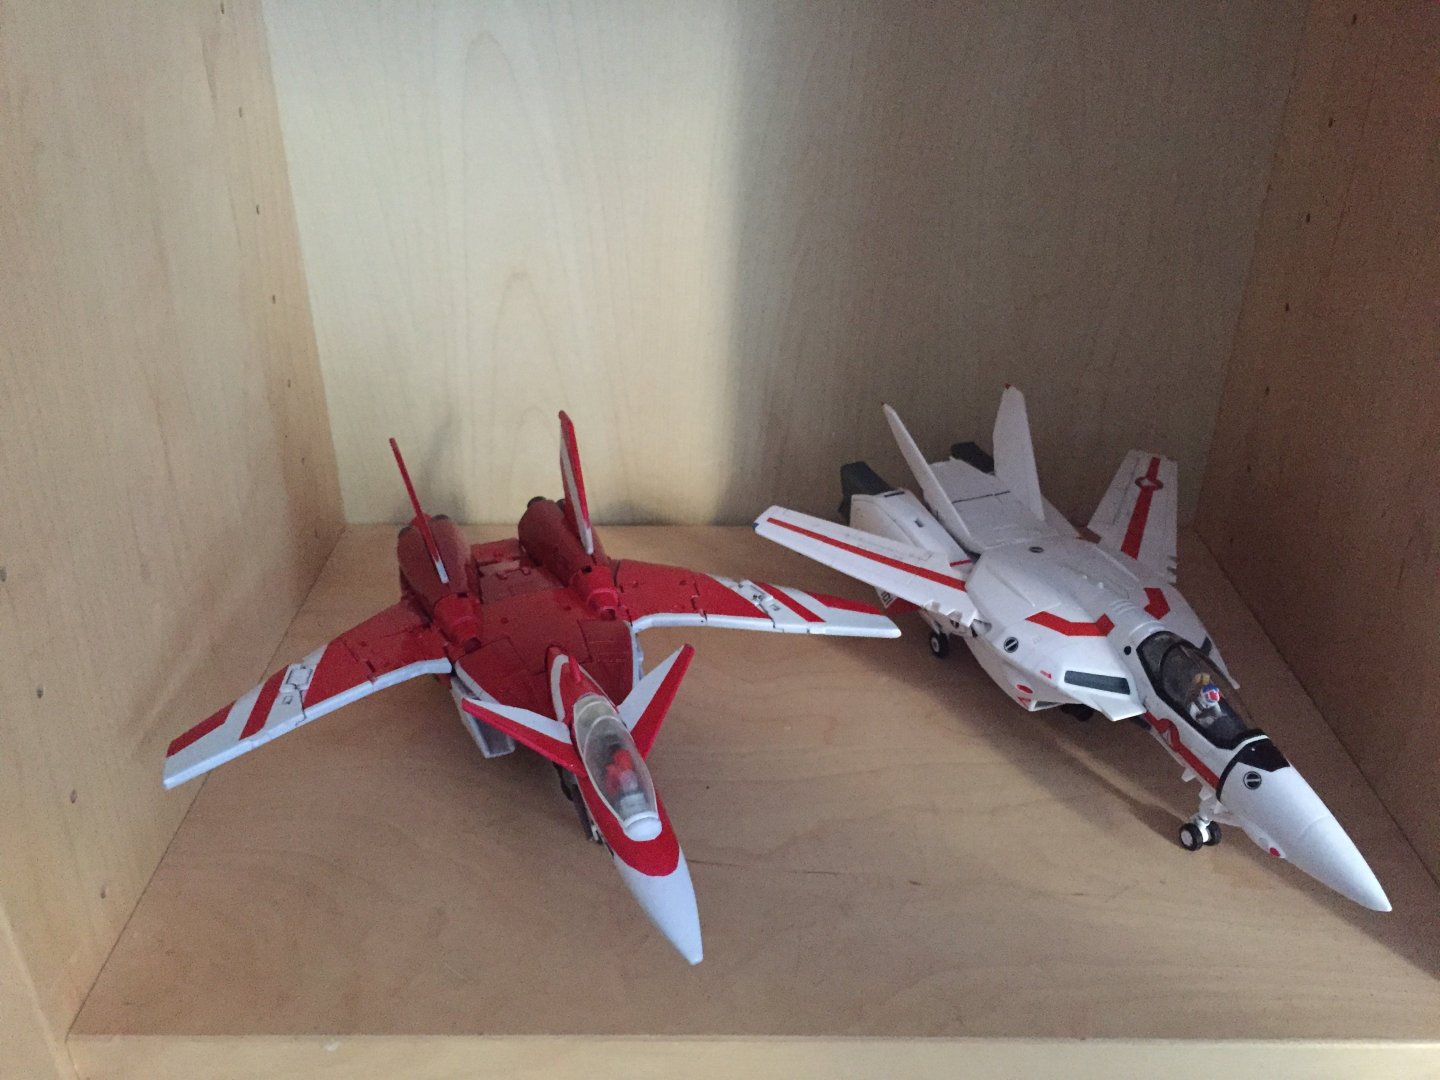
I haven’t transformed it in battroid yet because I need to finish the fighter other colors: metallic and black color.
Thankfully I got a second that I can transform while waiting.
Concerning your concerns about the paint scratches, there will be in some tight places I will need to sand a bit and make it looks like standard weathering. Although my main concern was that the head paint wouldn’t hold but it holds just fine in fact
-
I will grab one to test it out
")
-
Hey thanks
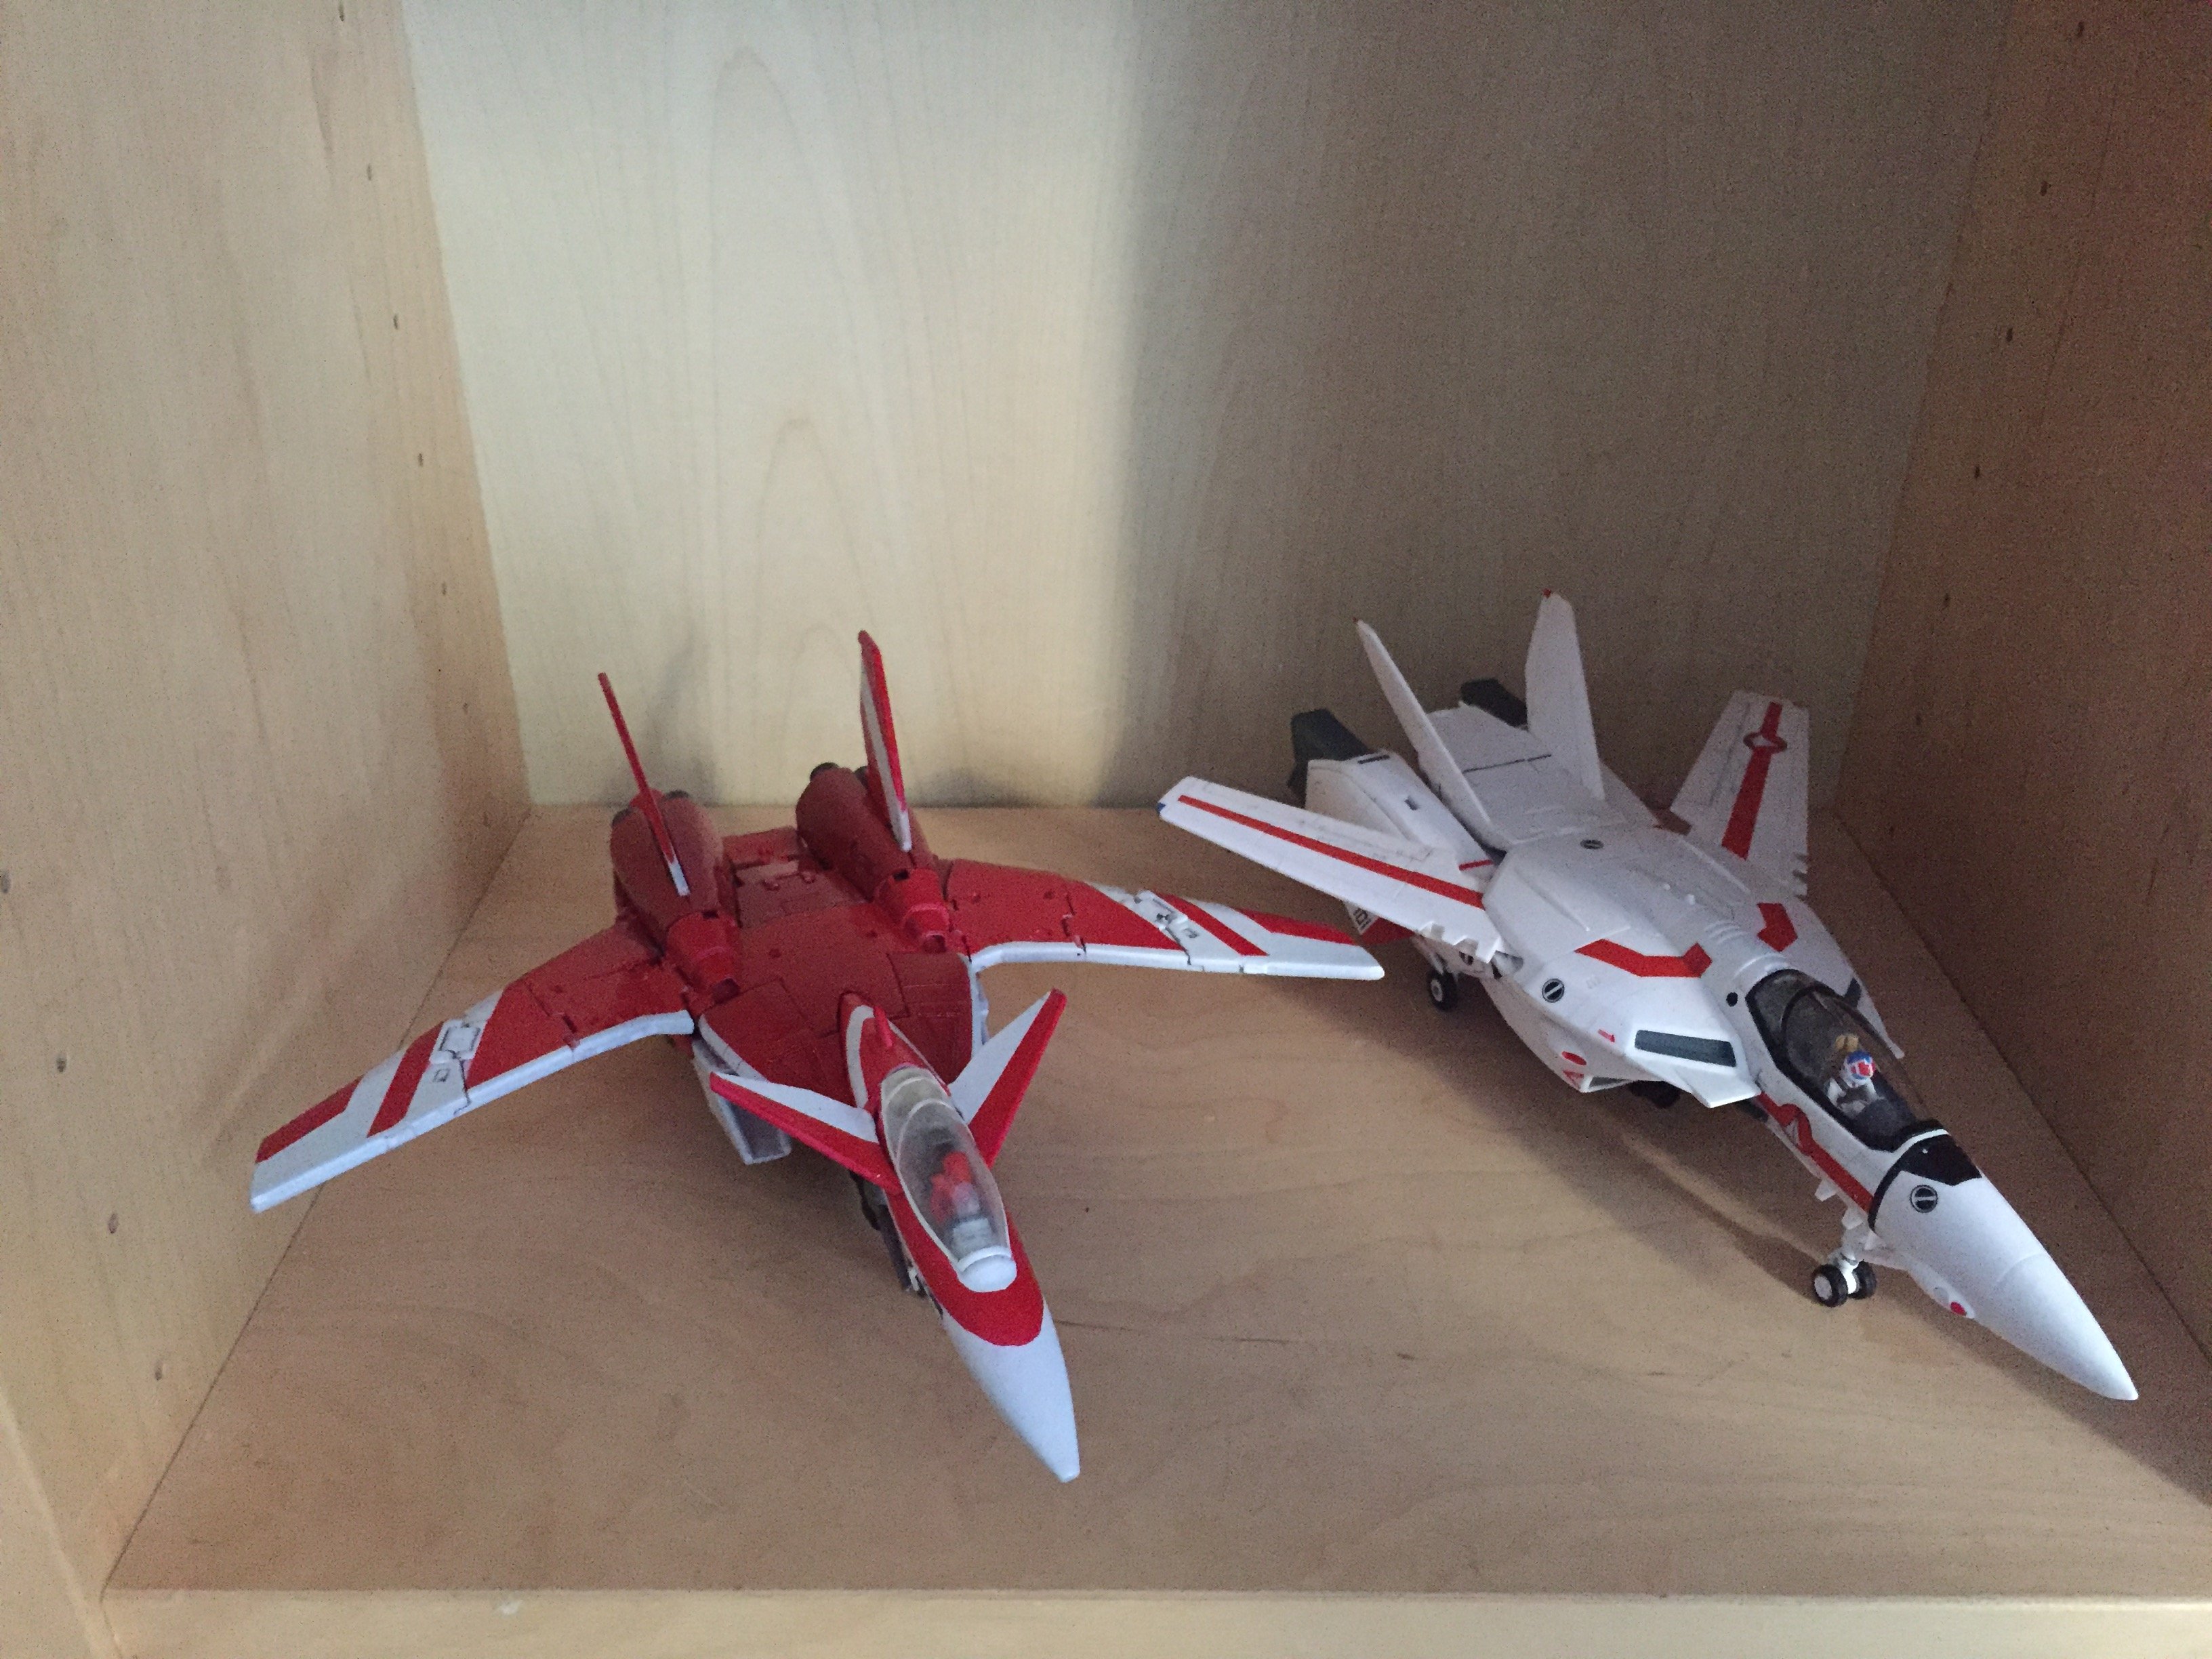
I need to apply a few decals and phosphorescent paint before taking picture of the fighter mode. Then touching up the battroid mode, pictures and after that... I will paint the second VF-9!
-
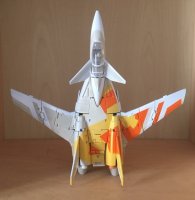
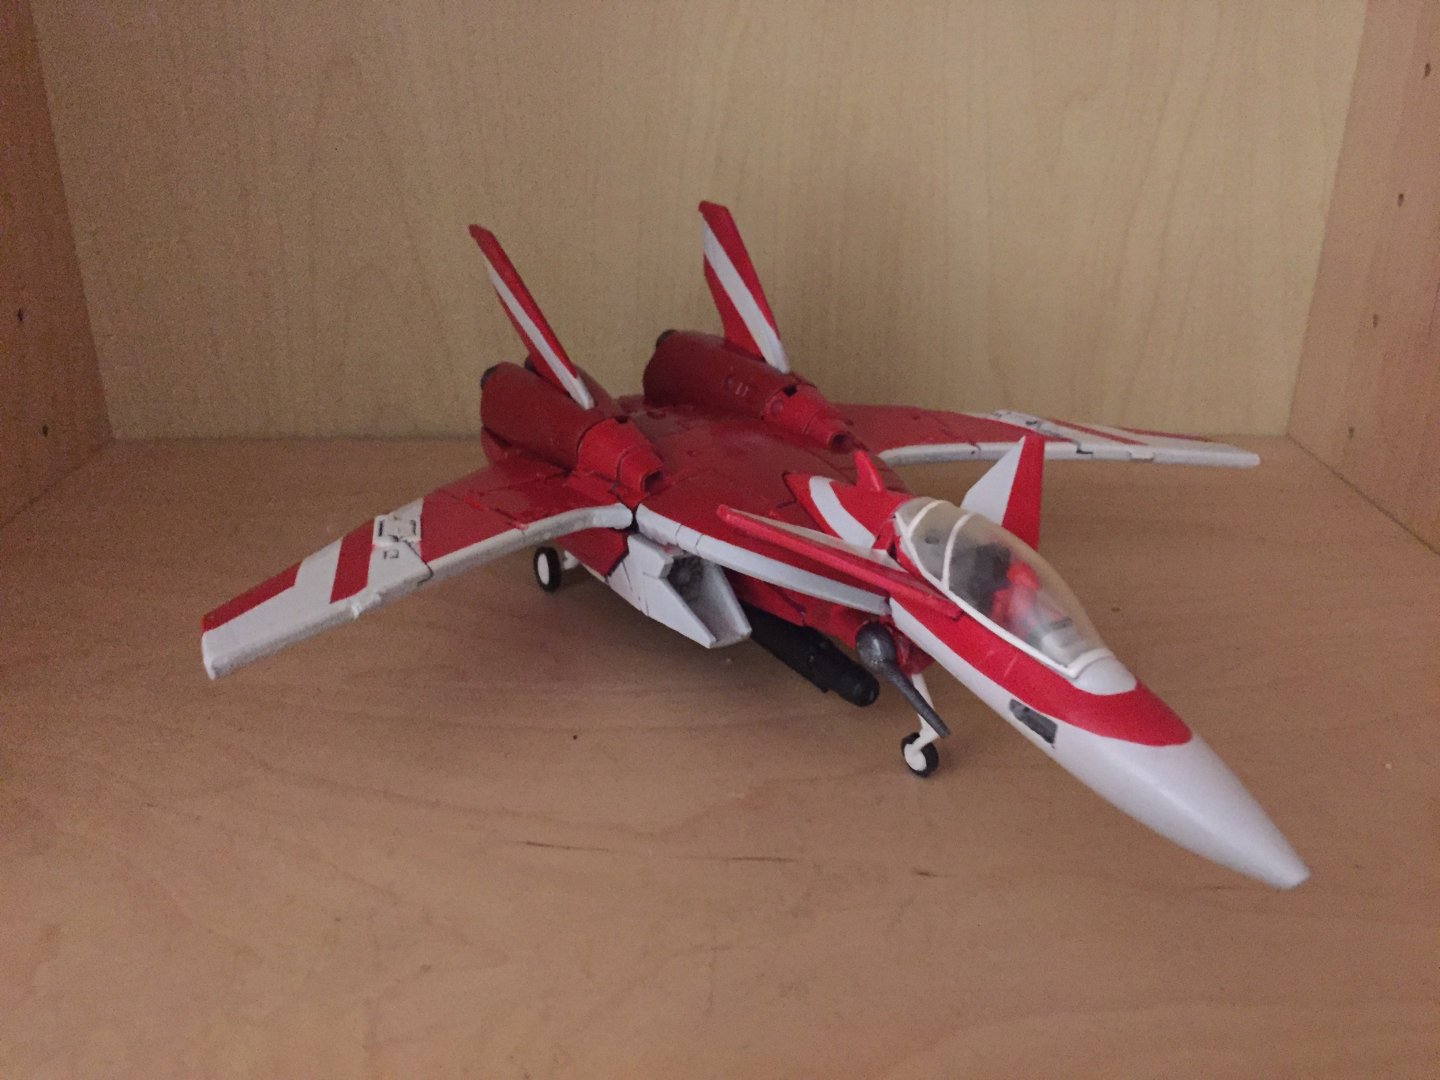
No finished yet, but it is already looking nice to my eyes


-
Unfortunately it doesn’t.
I have tried to put a cover in the first prototype but it wasn’t very efficient so I have removed it in the V2 though.

-
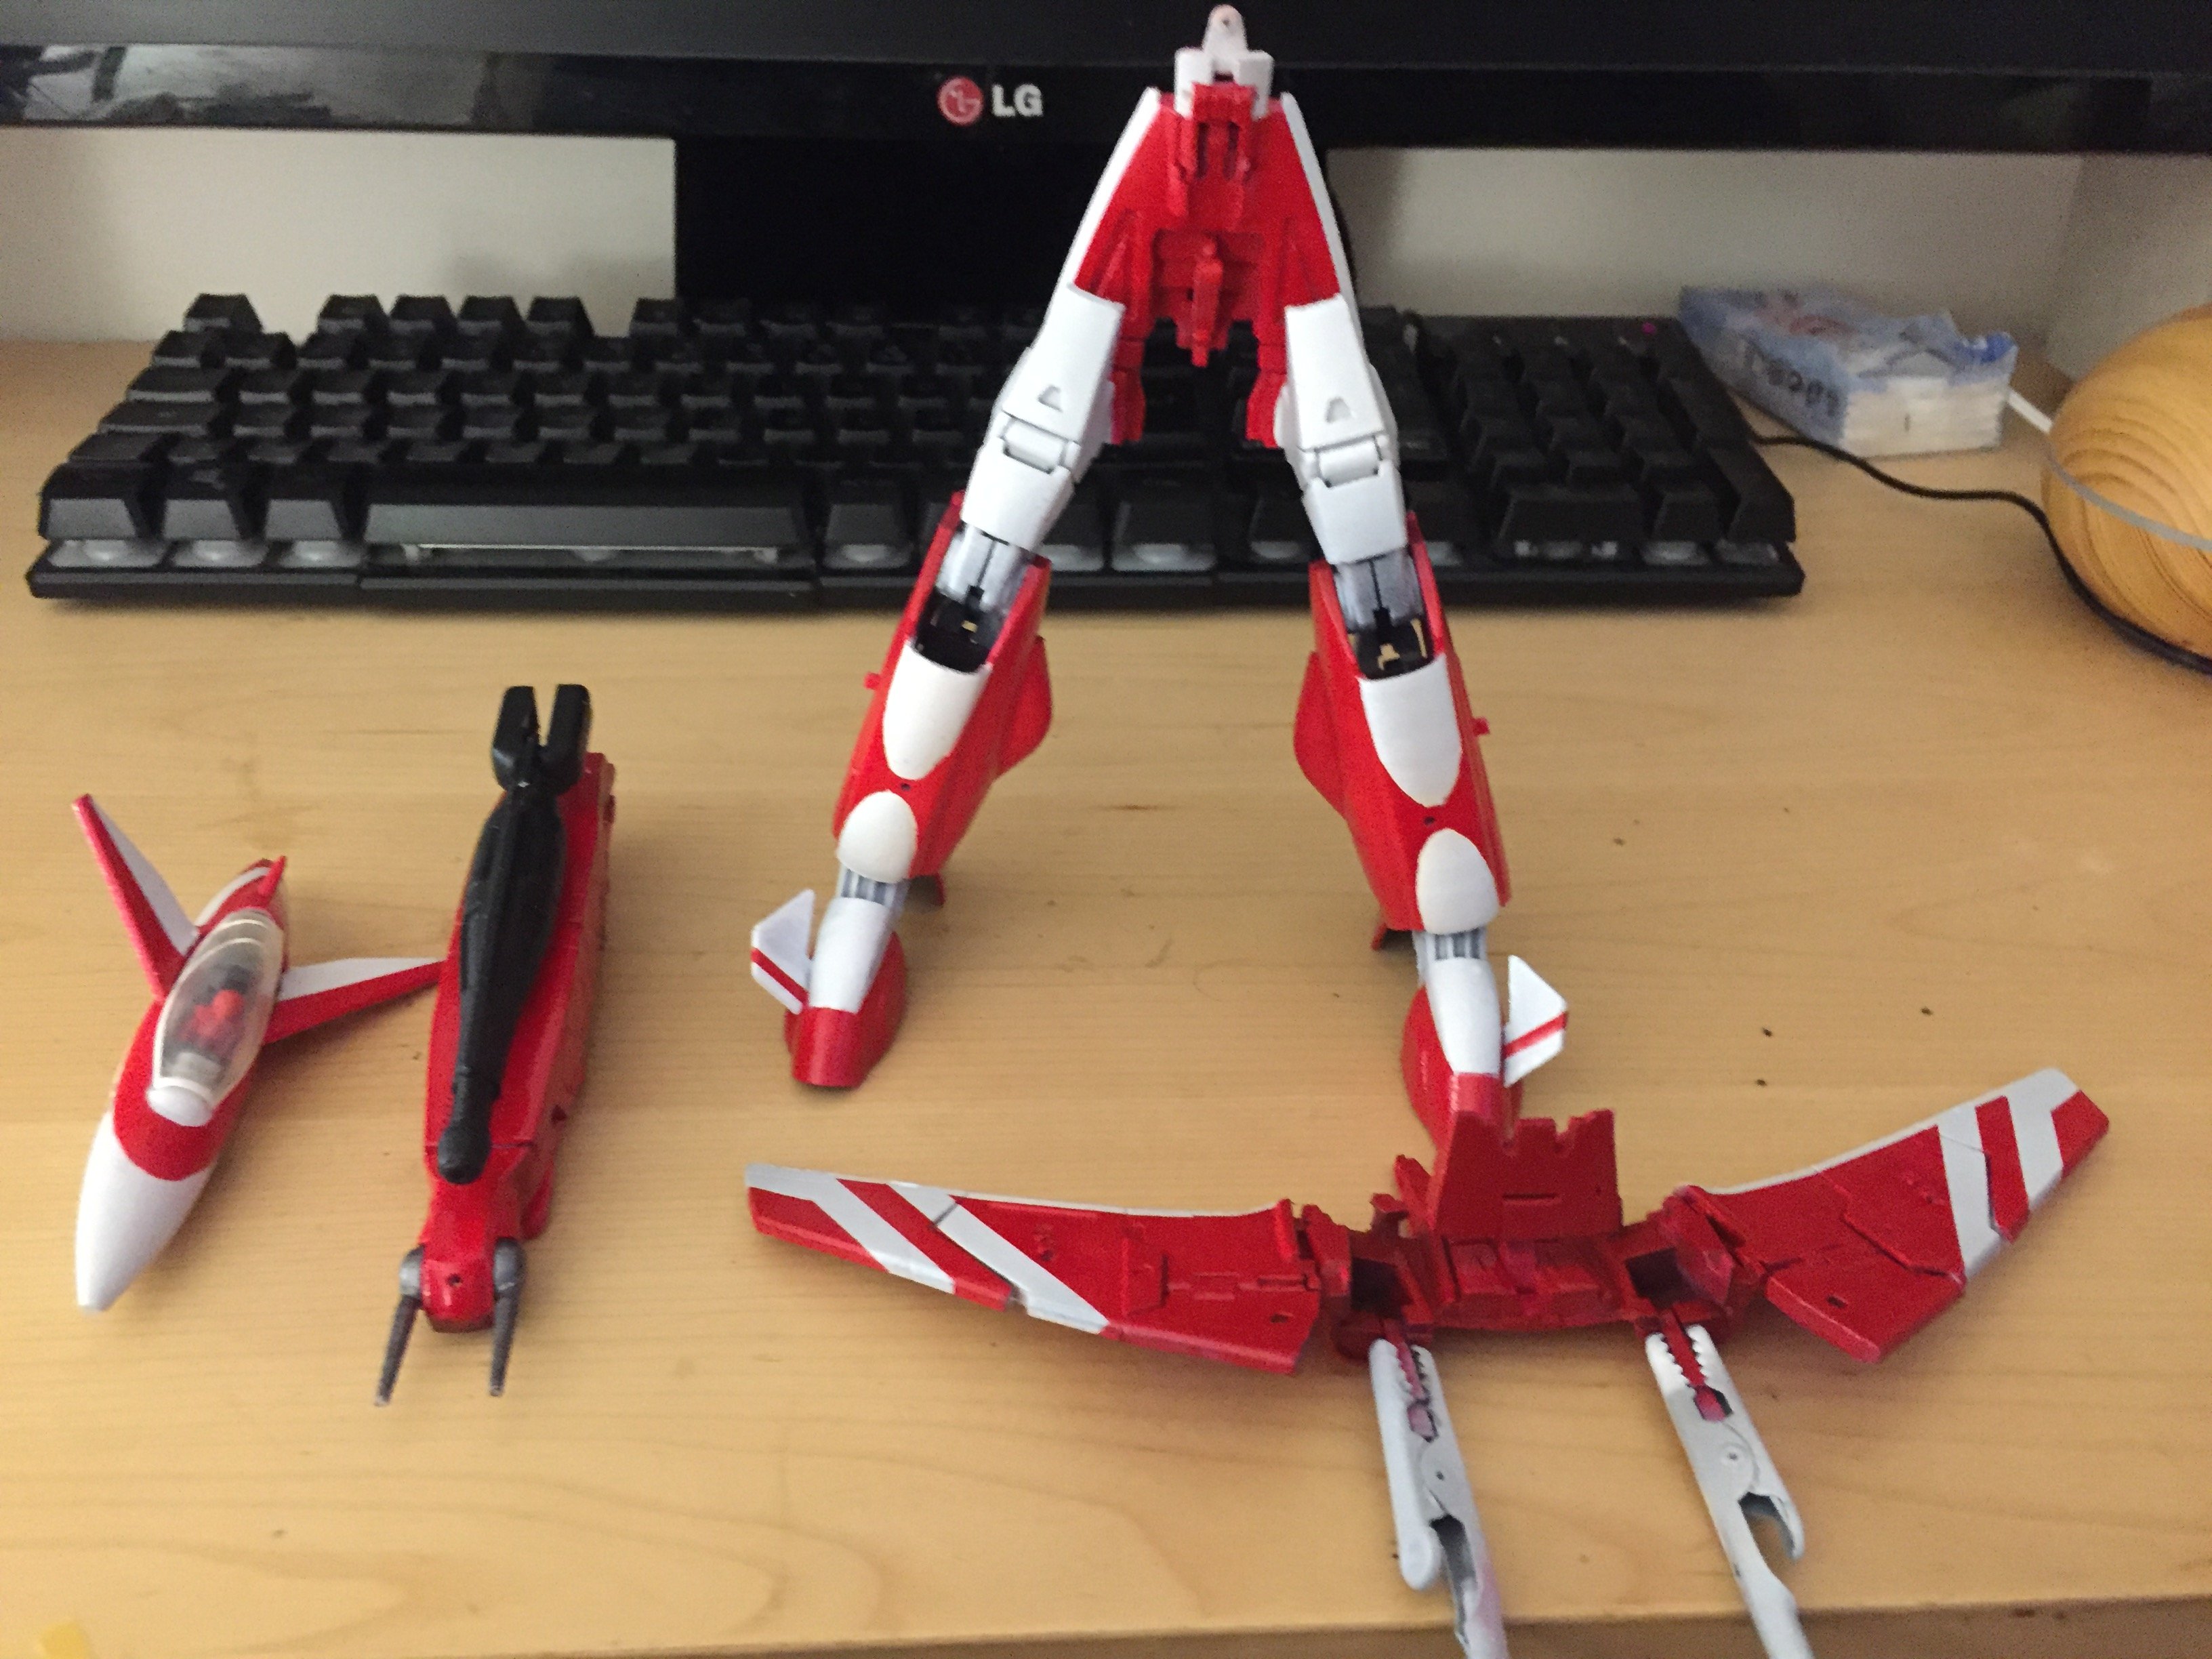
Getting slowly there but the excitement is rising!


-
Great!
-
I don’t know who made this mold but compared to the 1:72 which has been reused already, the DX mold seems to have been thrown to the bin
-
@rdrunner your display looks super great with these leds. Are these the official IKea led stripes?
-
This is nice to see others’ work in progress!
On my side, I have done all the masking on the remaining parts and now I am just waiting to have some time to spray them in one time.
I just realise that I haven’t pictures, will post them later
-
The description says this pod is equipped with a long time charging device that stores all the energy that is not consumed by the aircraft and the armor parts and converts it into plasma blasts.
To me the one in the circle is able to make the larger “weed boom” big blasts and the two smaller canons make the “pew pew” rail gun like shoots.
-
I don’t know if the small round magnets would be strong enough. If they are not, you can take larger rectangles and glue them inside the leg at the surface level. You have up to 2mm clearance inside the leg for the magnets if I recall well.
The outside magnets would be easily hidden if you make landing gear covers in open position
-
Hi guys!
I have been recently working on it, coincidence? I am slowly updating the model with proportions changes and a few design improvements. That’s a very slow process because I have a lot of things to do in parallel.
For the curious and if you don’t know yet, I have created a FB where I post various things related to my custom prints and paints. I am also posting the less relevant updates there. https://m.facebook.com/Xigfrids-Customs-1935018056798394/?ref=bookmarks
-
I can’t believe this model went to waste?! At least the creator could have make a private copy for himself.
-
So what happened to his great future project toy?


Making of a 1/60 Drop Tank set, also looking for any help to
in The Workshop!
Posted
Nice prints! I hope you will get better soon