
eosmusashi
-
Posts
63 -
Joined
-
Last visited
Content Type
Profiles
Forums
Events
Gallery
Posts posted by eosmusashi
-
-
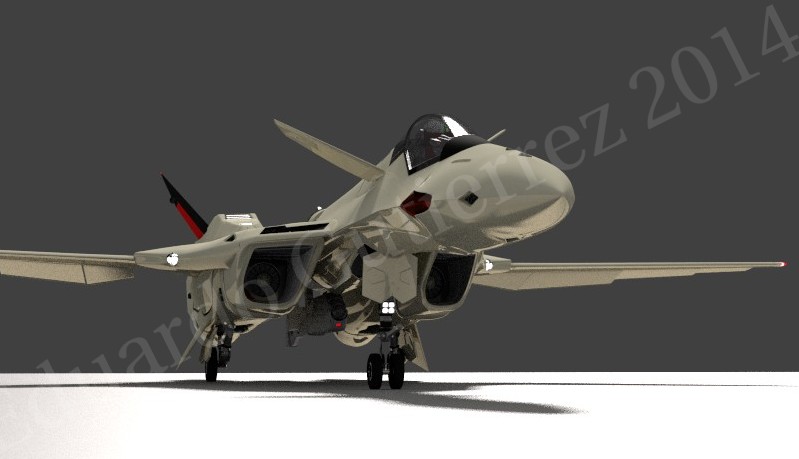
Front landing gear sequence refined

Rear landing gear sequence

And here's the whole thing on an animation:
How the hell did I just post the video correctly?

-
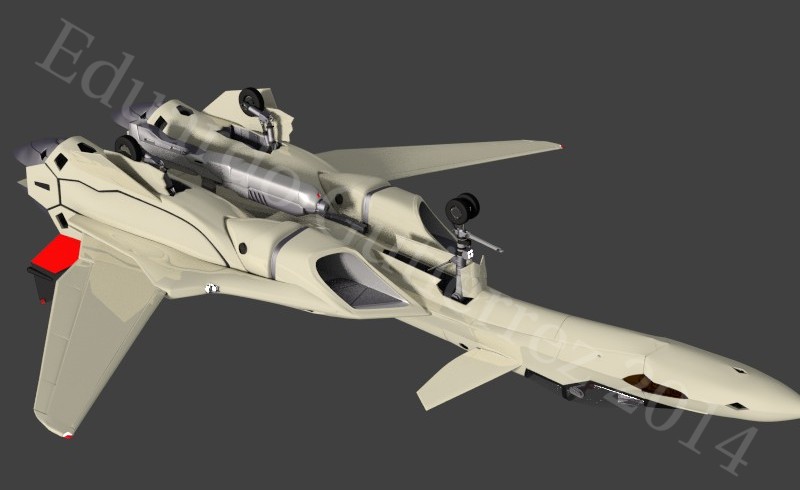
Hi-speed/storage mode

Refining panels

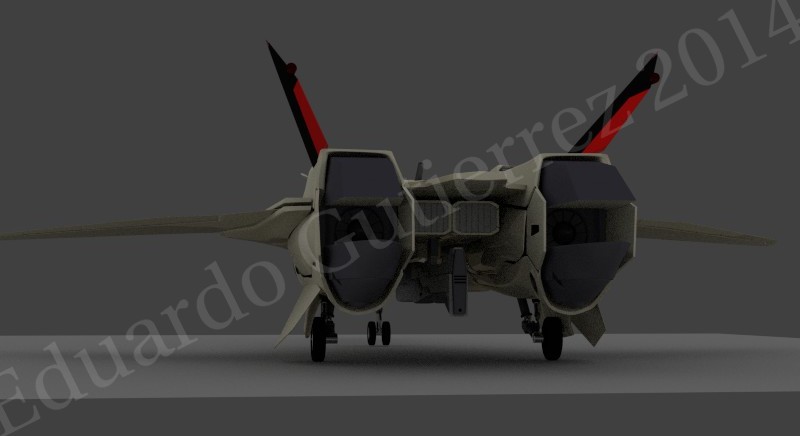
Front Landing Gear

Rear Landing Gear


Storage sequence of front landing gear
Gun modelling


Refining the leg shapes to be rounded and not square (didn't notice until later on
 )
)


-
Question, I'm new to these forums, how do you attach Youtube videos to be seen here?
-
Thanks!
Nice work, any animations of the design in action, or of the transformation?
So far I've only made a few animation tests of the transformation:
https://www.youtube.com/embed/BCdQ-ybYg3M[/media]
https://www.youtube.com/embed/CsiDDOLz5U8
And then made this rigging in progress vid which has more detail:
-
Head modelling

Getting some reference for the chair and cockpit:


Cockpit lined out


-
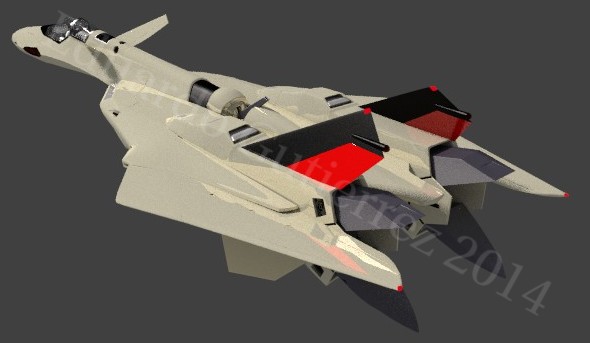
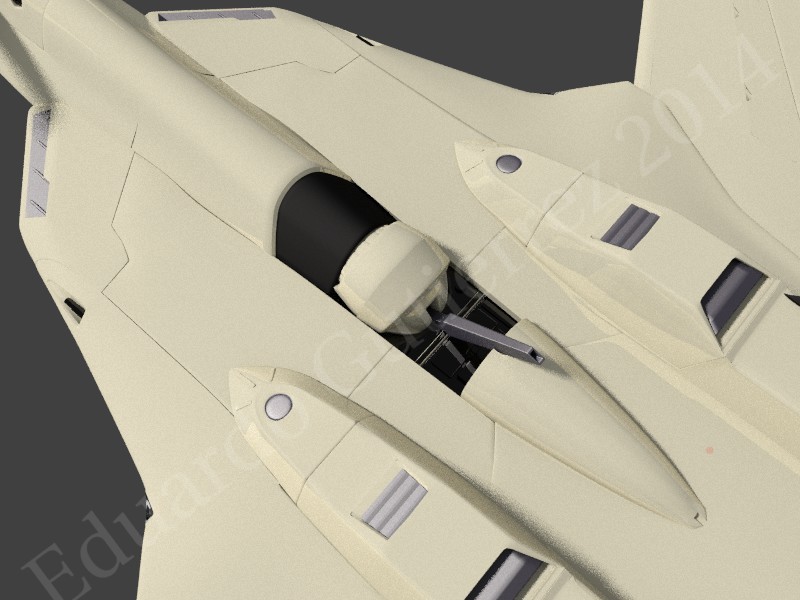
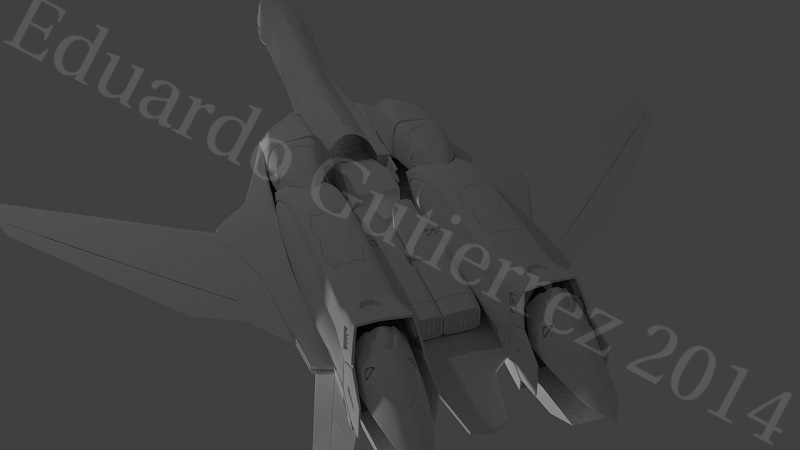
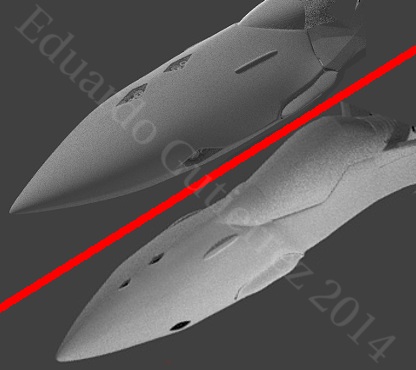
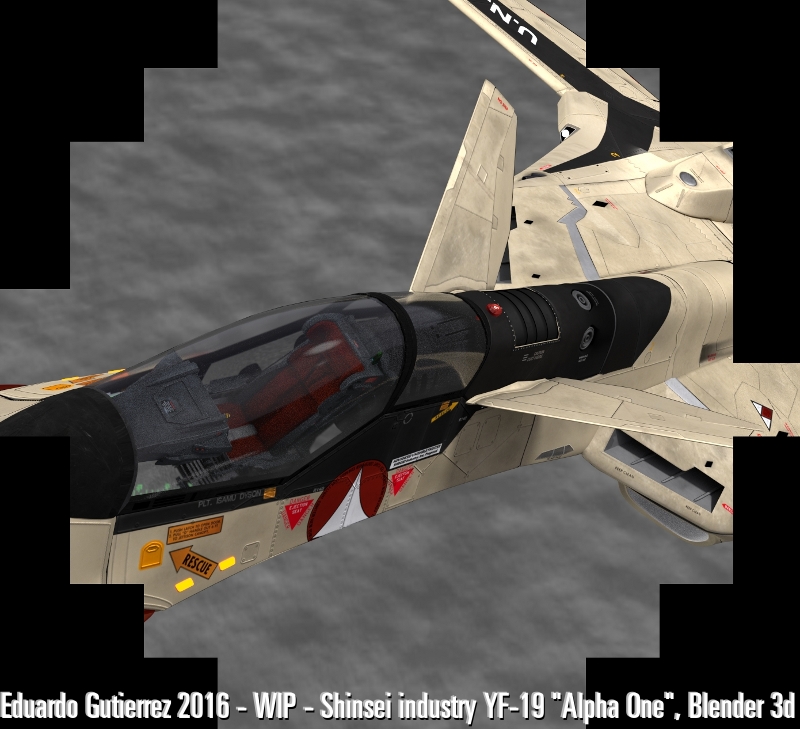
Finishing the exterior fuselage parts
Just to make it easier to see, I added some colours and transparency to the canopy


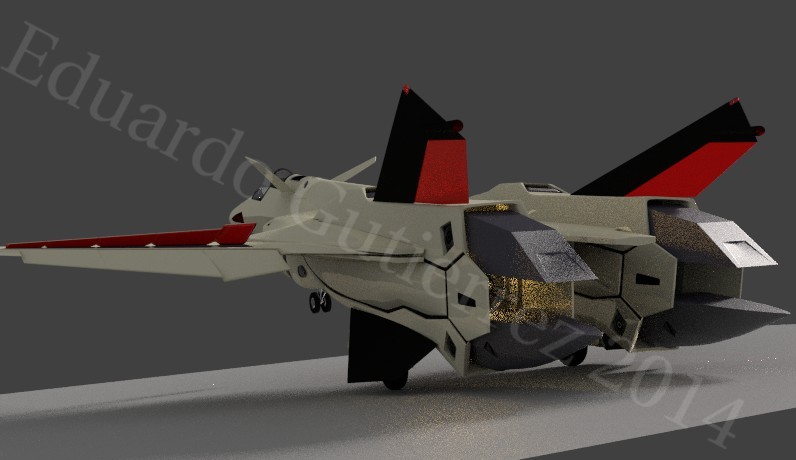
Test for the GERWALK mode
-
When I got to this point I decided to start over again from the beginning

The thing is, I was modelling with too many polys and it was starting to get messy, and I figured I could do the panels with normal maps instead of actual geometry.

So when I got to this point and modelled this triangular thingie, because it was mirrored I realized I couldn't continue like this.

So I restarted the project with a lot more of a clear path in mind, to make it as efficient as possible in polycount while keeping a very smooth result, and also
 to make it transformable.
Old version and new version
New version above, old version below
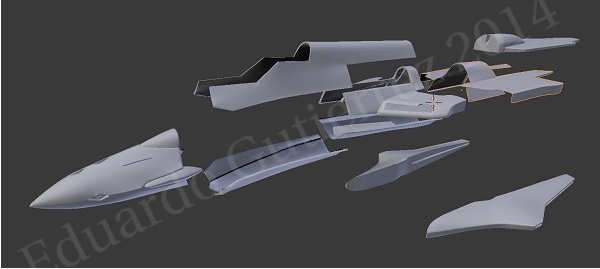
Cutting the different panels apart

Fortunately, I had picked up a bit of experience in modelling by this point, so the second time it was a lot faster to get to my original point.


I also cut the flaps and slats, the wing spoilers, the landing gear bay doors, the missile compartments and rudders, while the first time I had everything as a single piece.


And because it's made of separate pieces, it will be able to transform! Here's a test:

-
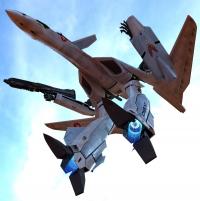
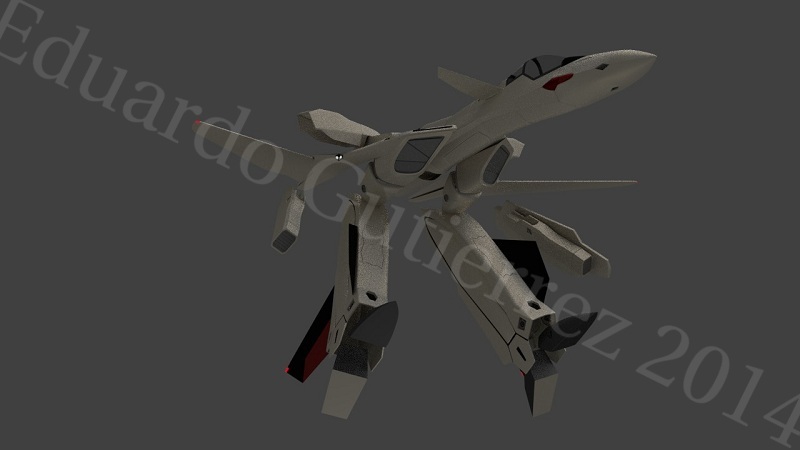
The first image of this project beginning circa July 2014. I created the image orthographics from the Hasegawa 1/48 YF-19 specifications, because I wanted to have a slim, more angular plane than the toy, even if it compromises the transformations.

Modelling begins


-
This is all told with plenty of detail in my blog: https://eosmusashi.wordpress.com/the-yf-19-project/ so feel free to check it out! I'll try posting the WIP from the beginning here and share the steps I've taken to make my favorite mecha plane

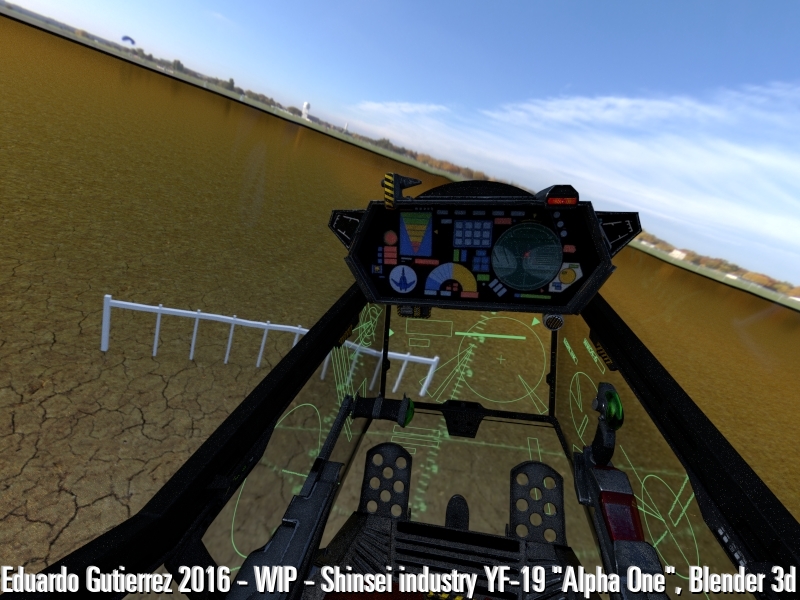
LATEST UPDATE:

-
Knight26, yeah, not a real-time render (yet
 )
) -
GU-11, thanks! yeah, I guess I'm not too fond of The Donald (I'm Mexican)
Knight26, It's a texture projected on the screens geometry from the point of view of the pilot. So i put a camera in that point, made a render of the background only, and then projected it as a texture. I'm going to make an image sequence of that camera, and then project the image sequence animation as an animated texture so it looks like it's displaying it real-time. My computer will likely scream at me.
-
Ok I'll bite. This is overall how my project is going. Done in Blender 3d, and still lots to learn. You can follow the updates in my webpage: http://www.eosmusashi.wordpress.com


And a video back from 2015 (it's been 2 years!):
YF-19 in Blender!
in Fan Works
Posted
Beginning of the rigging process
First Battroid conversion attempt
Yeah. It looks awful. So I need to go beyond the toy's transformation and do something different with the Hasegawa 1/48 plane.
Arm mechanics modelled
Wing surfaces modelled and rigged
Arms look too skinny so I needed to find a way to make them chunkier but still fitting inside the mechanism.
Gerwalk test
Hand modelling
Inner knee connections
Lower knee connections