
eosmusashi
-
Posts
63 -
Joined
-
Last visited
Content Type
Profiles
Forums
Events
Gallery
Posts posted by eosmusashi
-
-
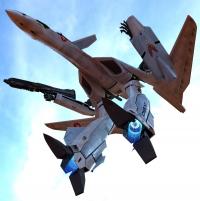
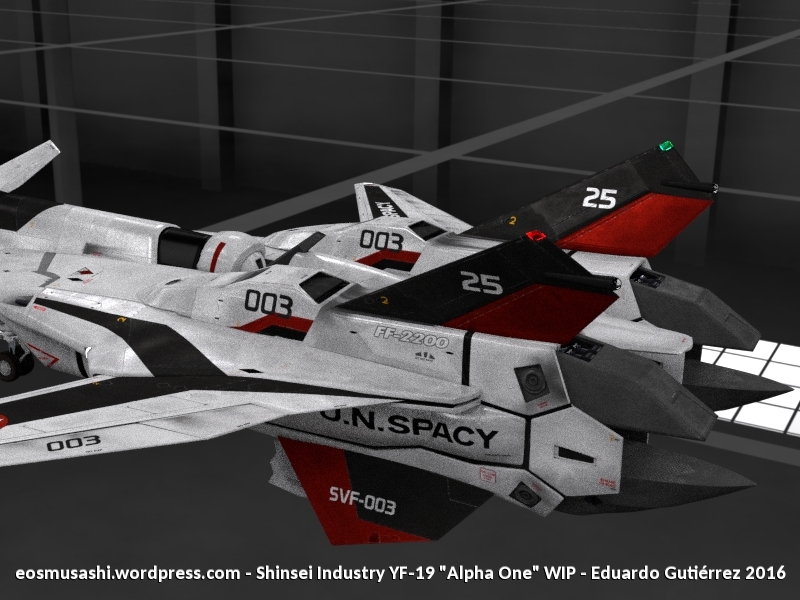
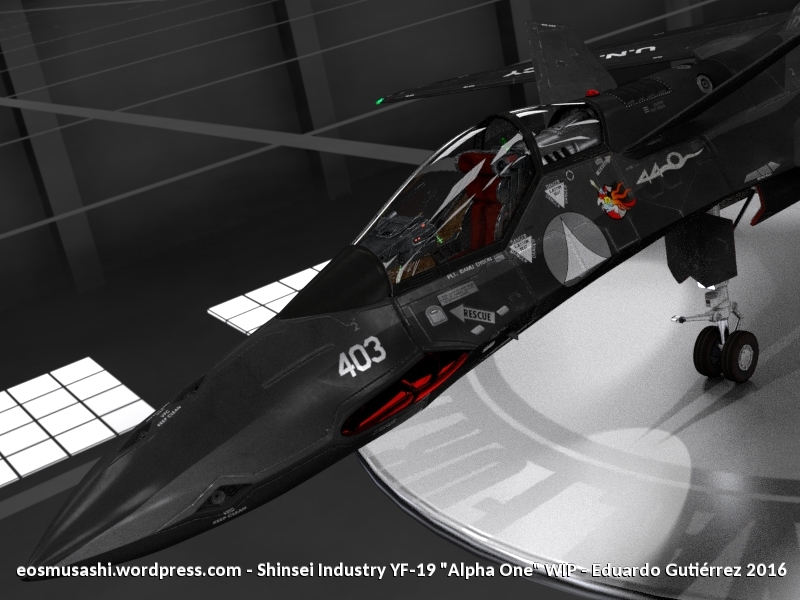
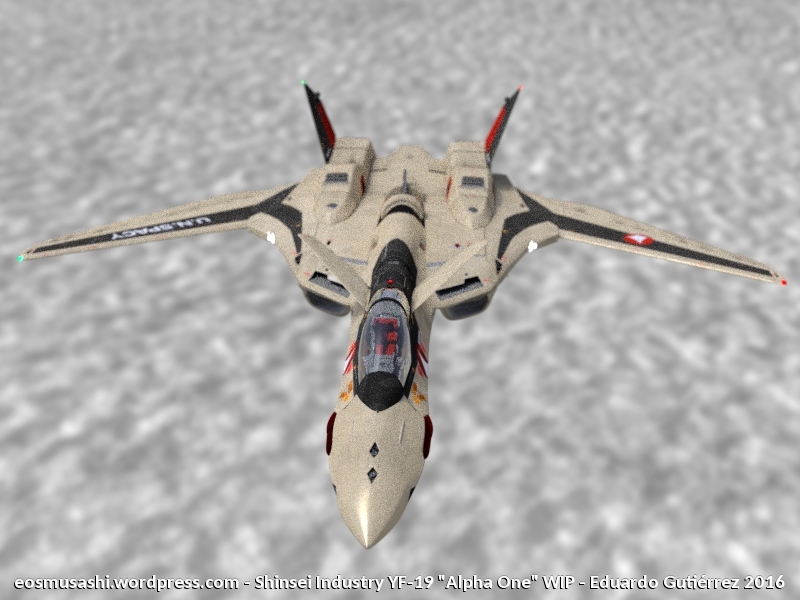
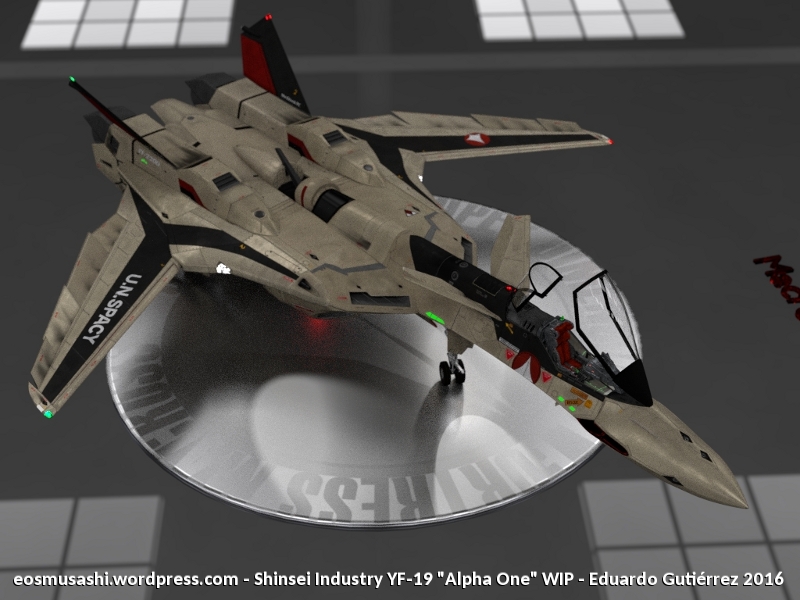
This part was just for fun, really, but I wanted to make some other paintjob versions of the YF-19 besides the one that shows up in the movie/OVAs.
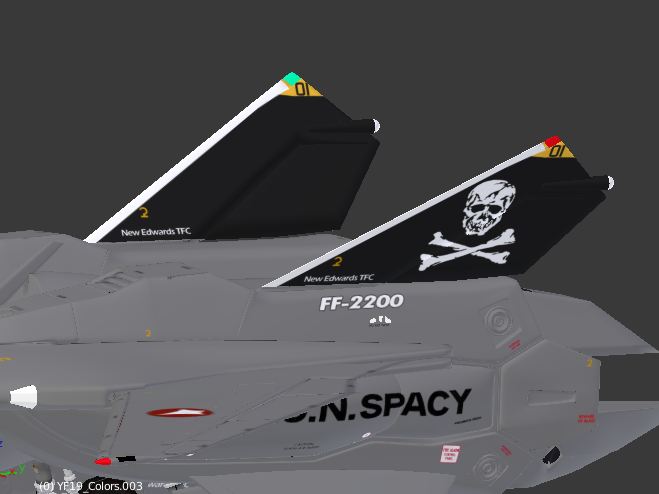
So from the Variable Fighter Master File I took some of the labeling options and did these liveries:
Production VF-19 with squadron numbers


Skull 1 version


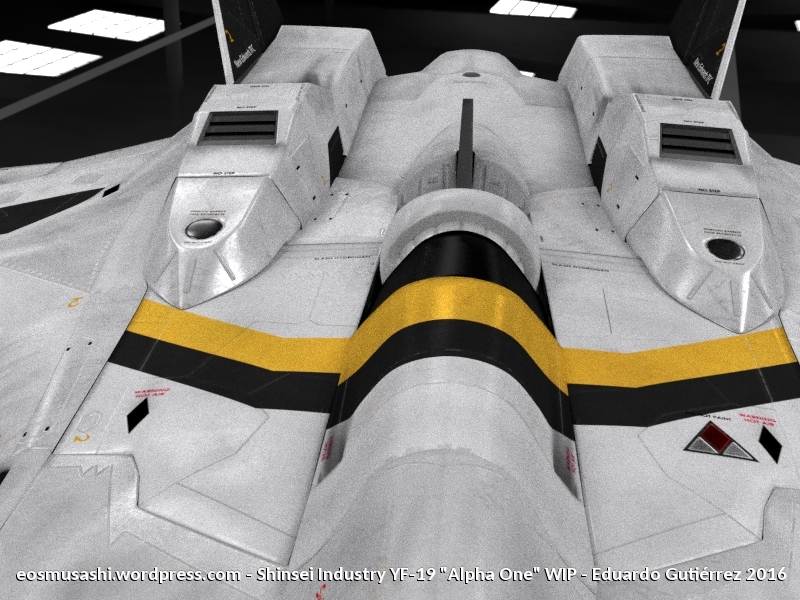

VF-19A SVF-339 “Lightnings”

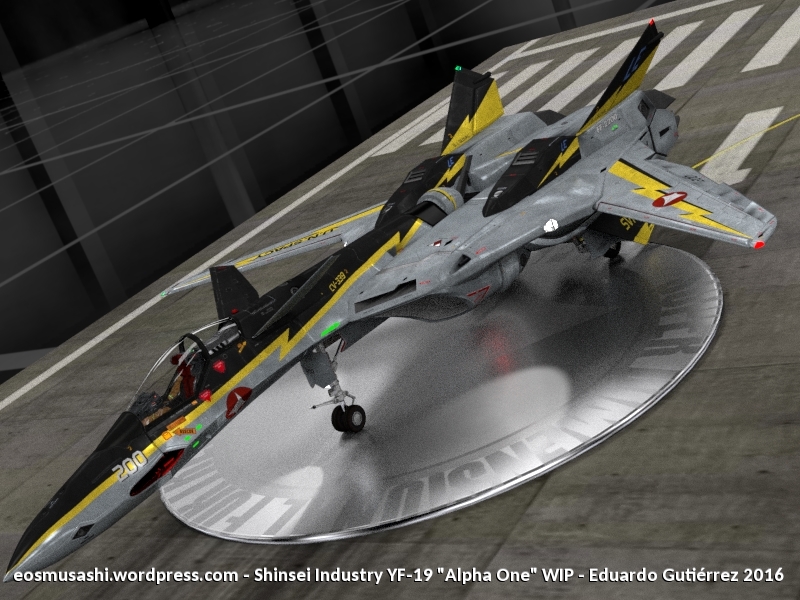
VF-19A “Ravens” from Macross VF-X2


VF-19A SVF-440 “Dullahans” (my favourite one!)

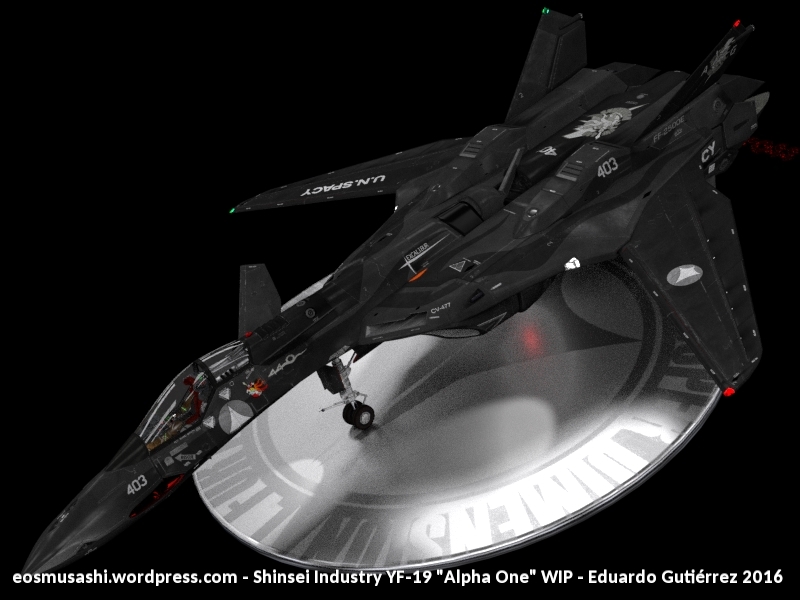


VF-19ADVANCE from Macross Frontier (Macross 30)


-
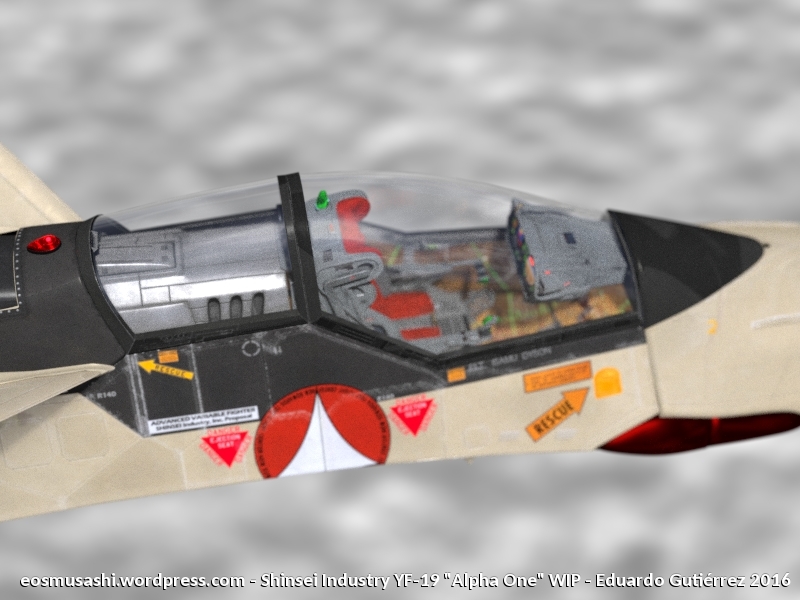
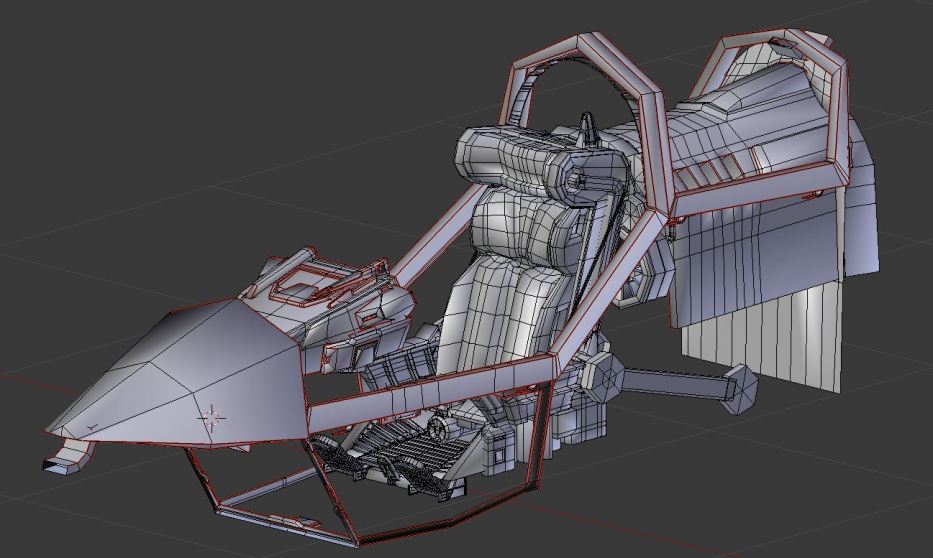
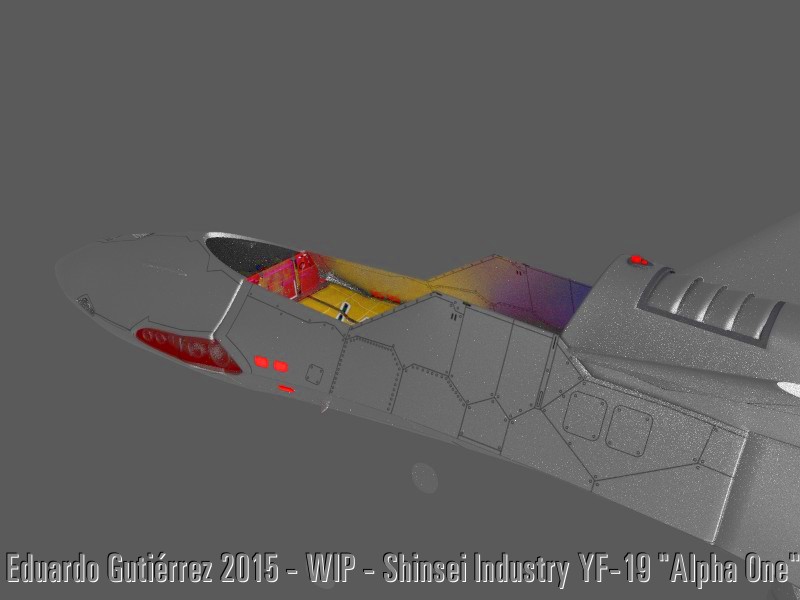
Did some work to solve some weird problems with the cockpit's lighting and normals, which I kinda solved fully just a week ago, but these WIP pics show my attempts and some of them are very good looking:


-
This is some awesome work! Makes me glad I quit my attempt to model the 19, as there is no way I would have been able to get this in-depth with it.
I like how you're re-projecting the under view onto the cockpit screens instead of just making the cockpit transparent. I would think the 'real thing' would have a similar re-projected view, as it would look correct unless you moved your head really far from the 'sweet spot.'
I would point out that I think the roll/dive ladders are somehow holographically projected onto the upper-half of the cockpit too.
What is your current poly/tir count? From the looks of it, this might be low enough to squeeze into a (VR ready) engine like Unity or ue4!
Dude don't!!! Don't quit your own work just because someone else's looks more detailed! The reason I started making my own YF-19 was because I couldn't get it online, and I wanted a very very realistic version of it, but simpler and closer to the cartoon solutions are awesome too, so keep up your own work happening! My version is by no means the best that it could be (lots of improvement needed and mistakes were made!) and I really want to see someone's version solving what I couldn't figure out out there (also of other valkyries! YF-21 anyone?)
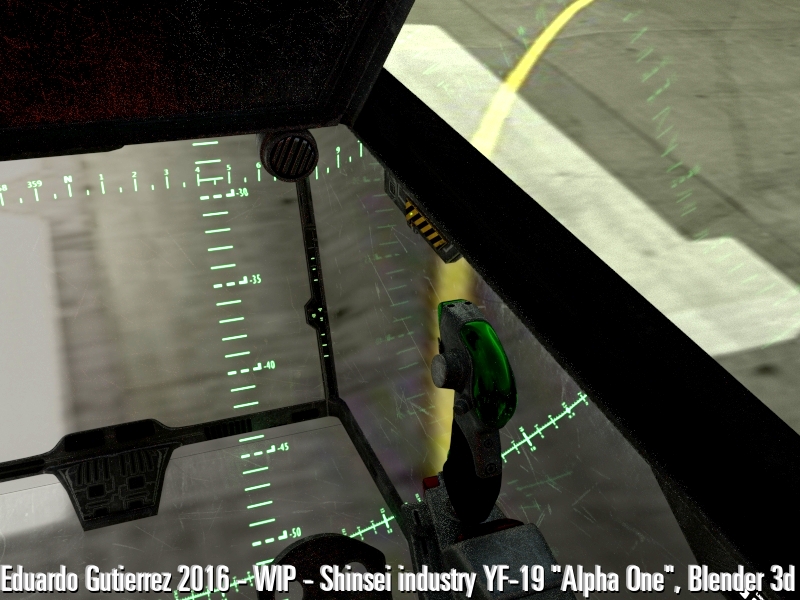
Thanks! The Virtual Environment Cockpit was a good brainstorming for me, because I was thinking, hey, if this was fo' real, it wouldn't be a transparent window like they did with cels in the Anime, it would project from the pilot perspective's, like those fancy drawings that they draw on the sidewalks with chalks that look 3d from a certain angle...

I too noticed the HUD displays on the canopy glass sometimes, but sometimes it doesn't. Sometimes I'm even sure he's watching it from his helmet visor (like the tracking and target lock icons) and anytime you saw the canopy from the outside, there was no HUD on the glass, only the inner screens. So I thought what the heck. I'll show it full in those shots where you see the cockpit from the pilots POV (there'll be a couple of those shots in my film)
I'll be back with the polycount later
 and it could certainly be used for a different project that what I have, which is film production quality, but that's gonna be some extra work later down the road... stay tuned!
 -
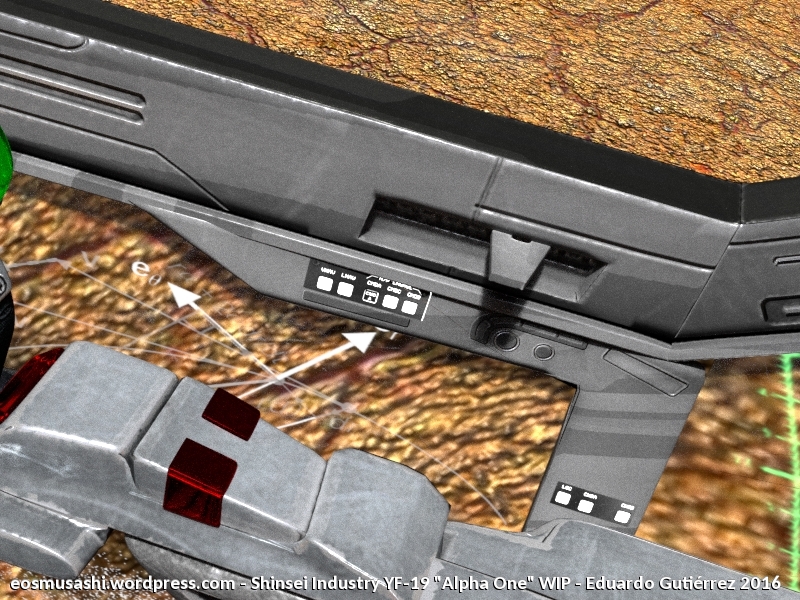
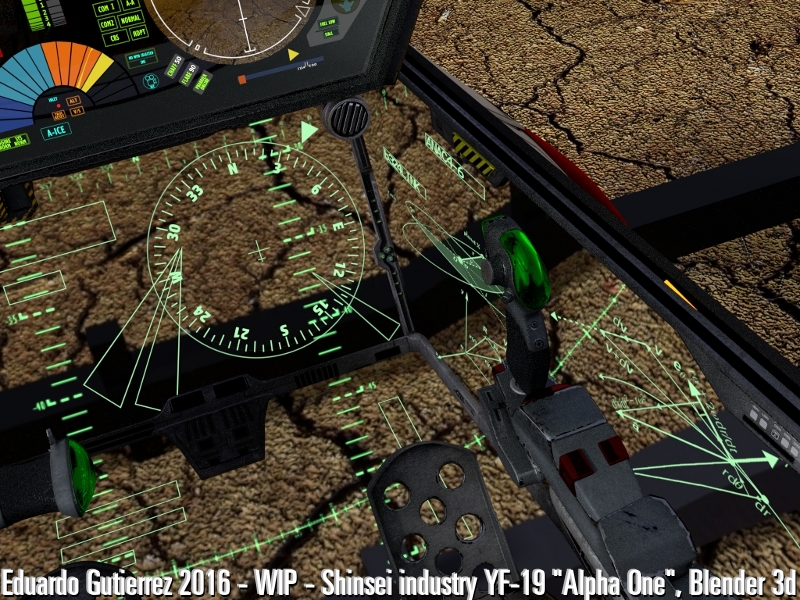
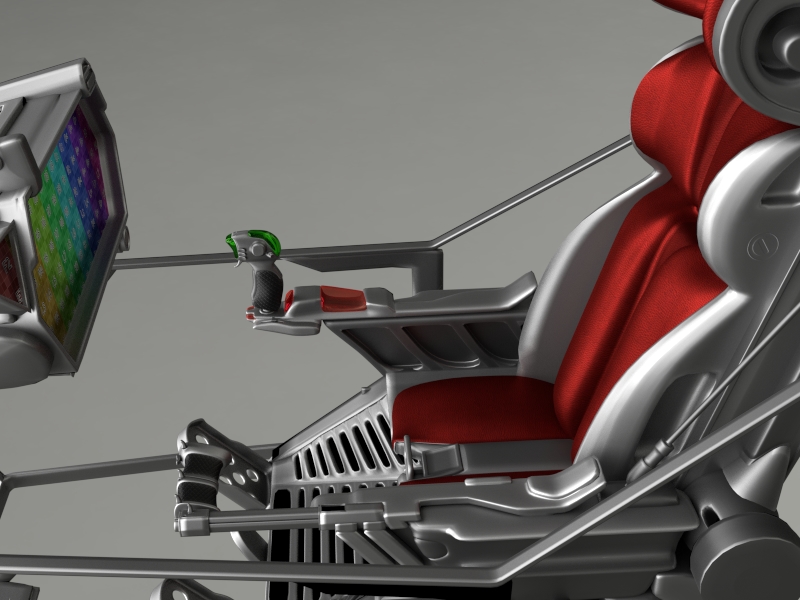
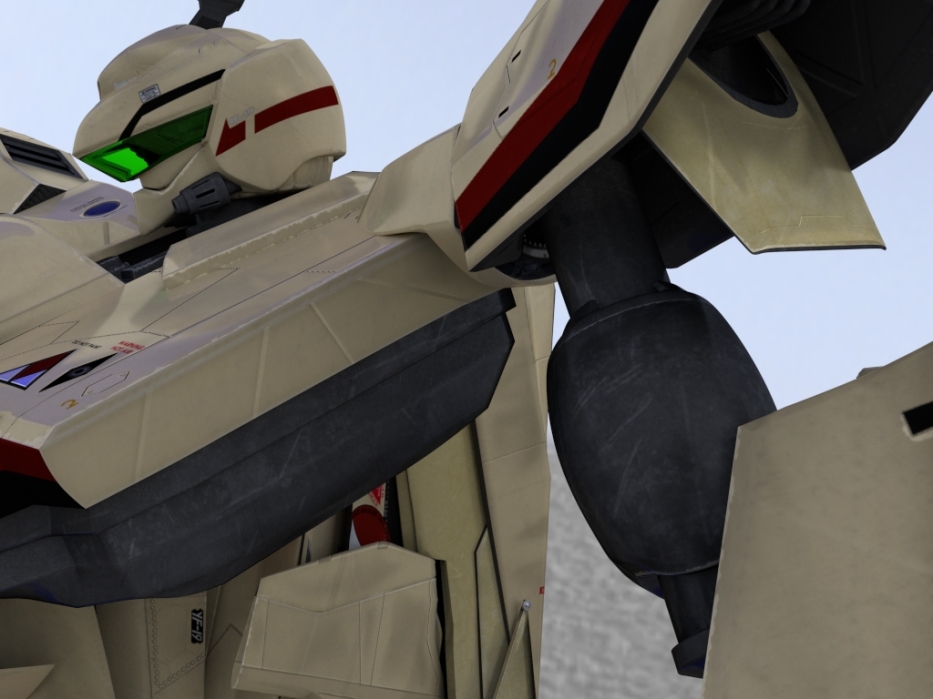
Some up close shots of the inside of the cockpit with the specular improvements (still WIP)
Those creases in the flight stick should go inward, not outward. Mmmhh...

The DOF makes this one look like it's a small scale model


-
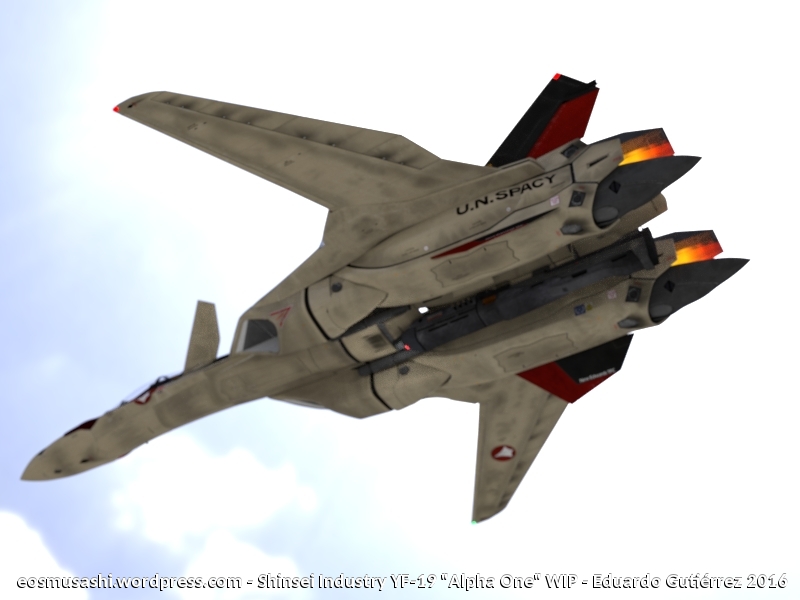
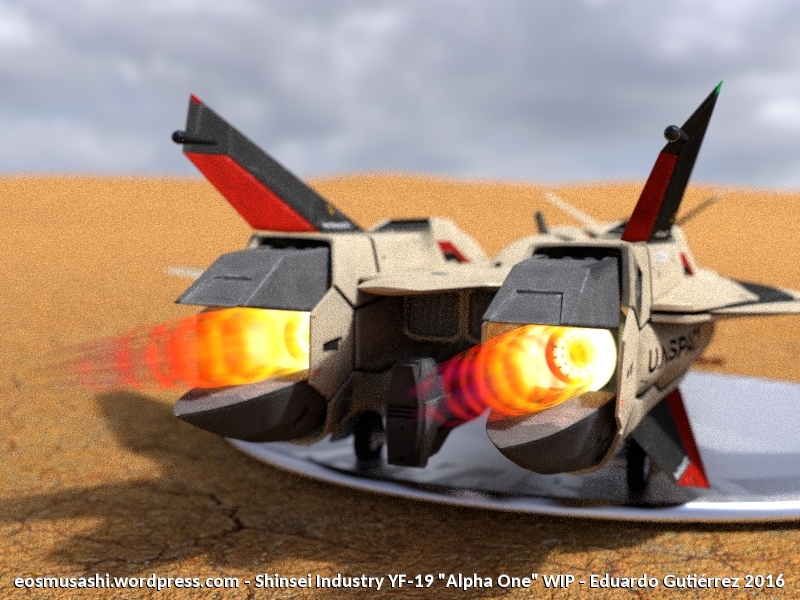
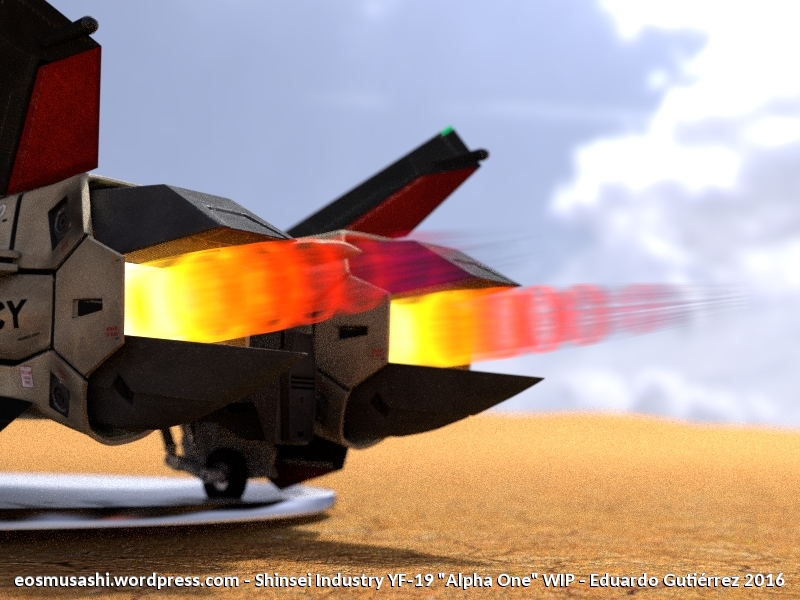
The adventure making the afterburner effect begins!
First, an attempt with a consecutive stream of flat cards with a gradient shader, from a tutorial

Problem was that it didn't look right at a certain angle where you could tell those flat geos apart, so I switched technique.

This time I achieved the effect using a custom material with nodes


The rings were geometries so I quickly realized this didn't look good

So I finally decided to use the same technique with the nodes to achieve the rings effect


-
Thanks guys for your nice comments!
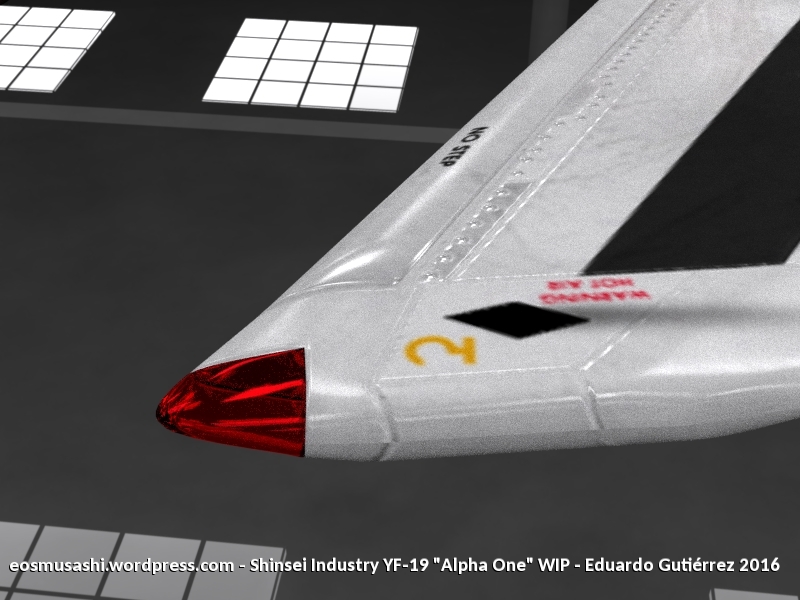
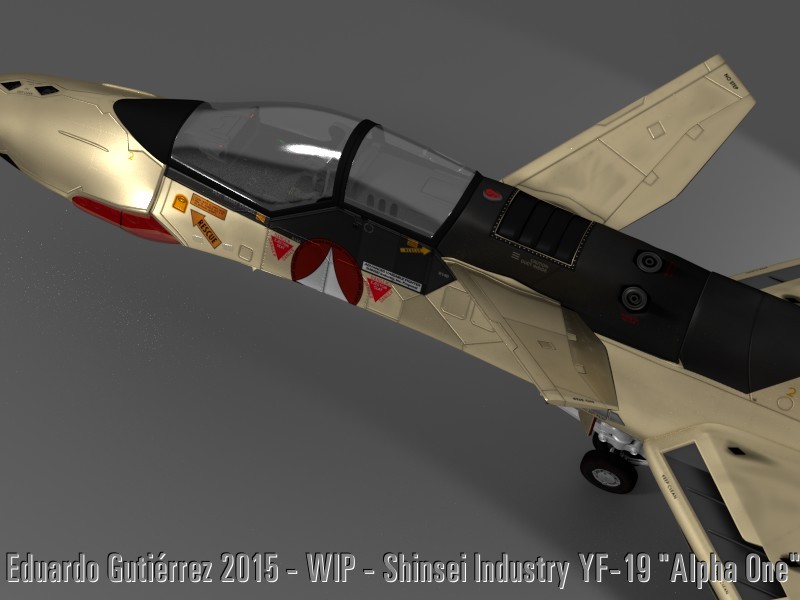
Fixing a stupid weird mistake I made on the nose panel lines
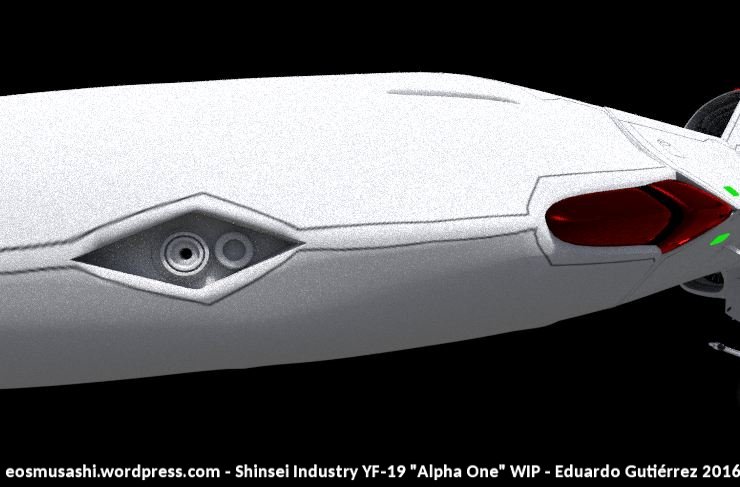


Navigation lights updated

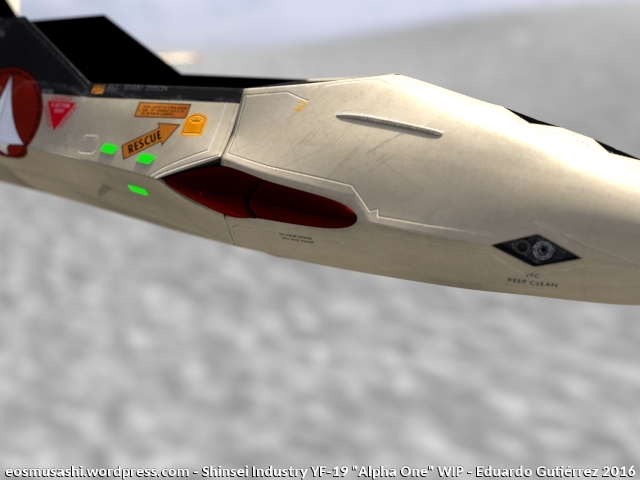
Making little fixes to the shader specularity, plus some cool DOF


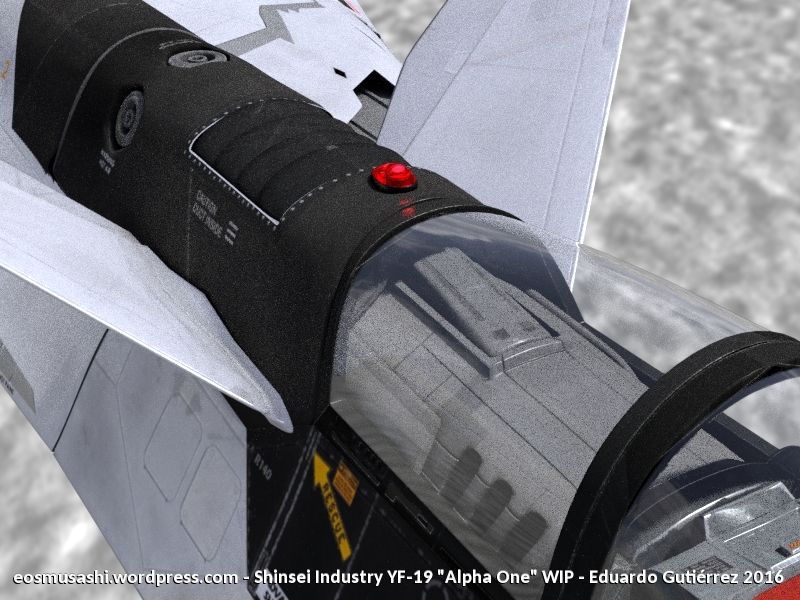
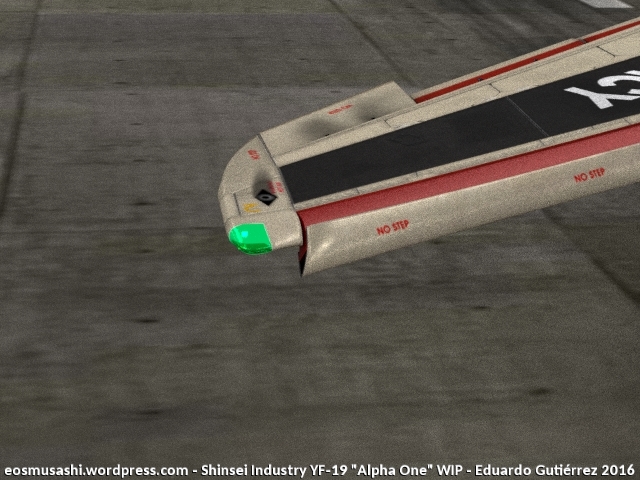
Adding fluorescent formation lights
Adding stroboscopic lights to the tip of the wings and the red light behind the canopy
-
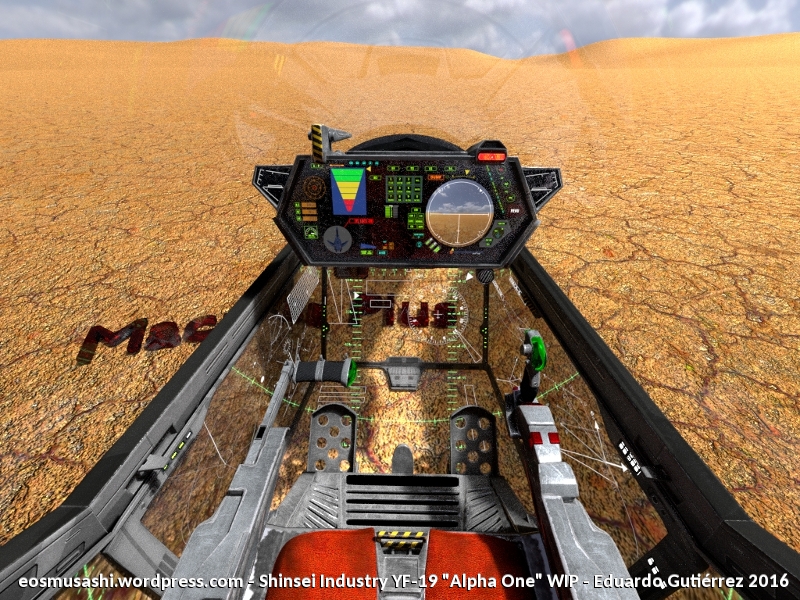
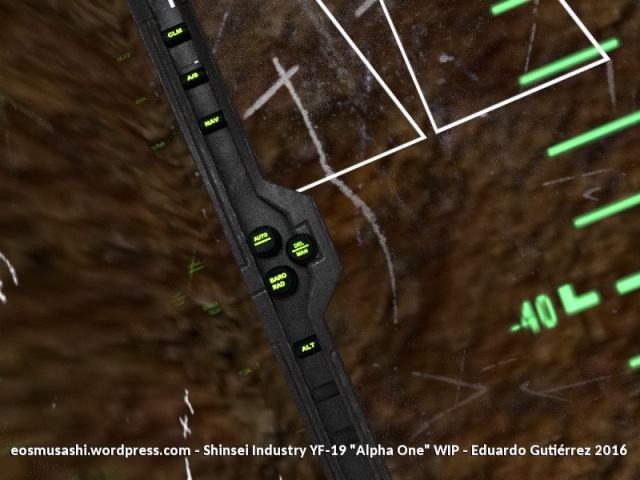
Creating the pilot's control panel


I added some orbital mechanics equations to replace the information being displayed in the VEC


Added a scratched glass texture


The switch on sequence:


Cross your eyes!!

Comparison:

-
For the HUD, I created this contraption that can hold a virtual horizon, so there are three rings: the Attitude indicator, the Roll indicator (which is what shows up in the gif sequence) and the virtual compass, which would always point "north"


Several tests later


-


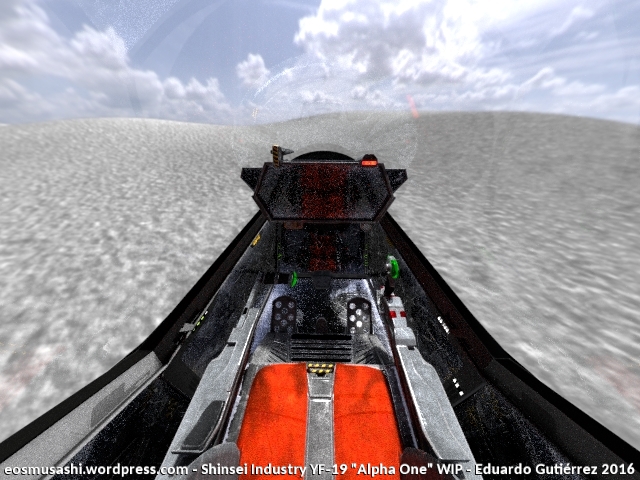
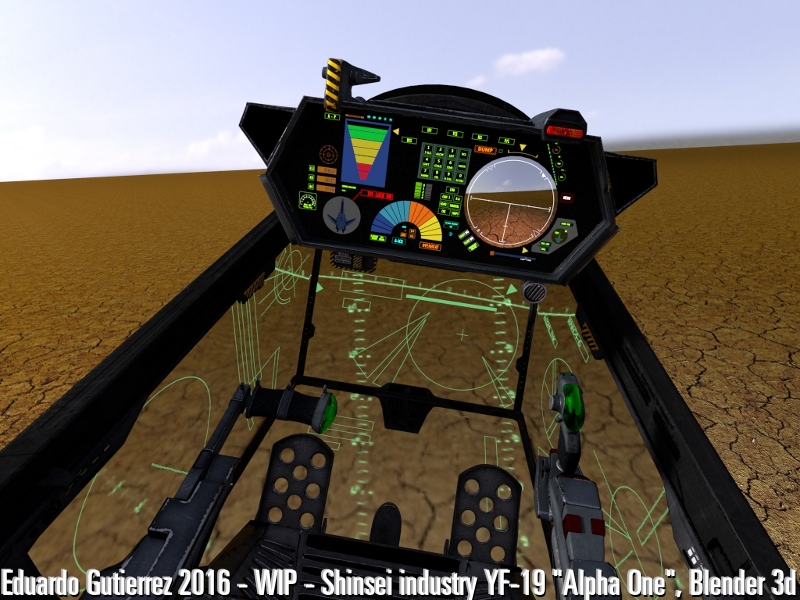
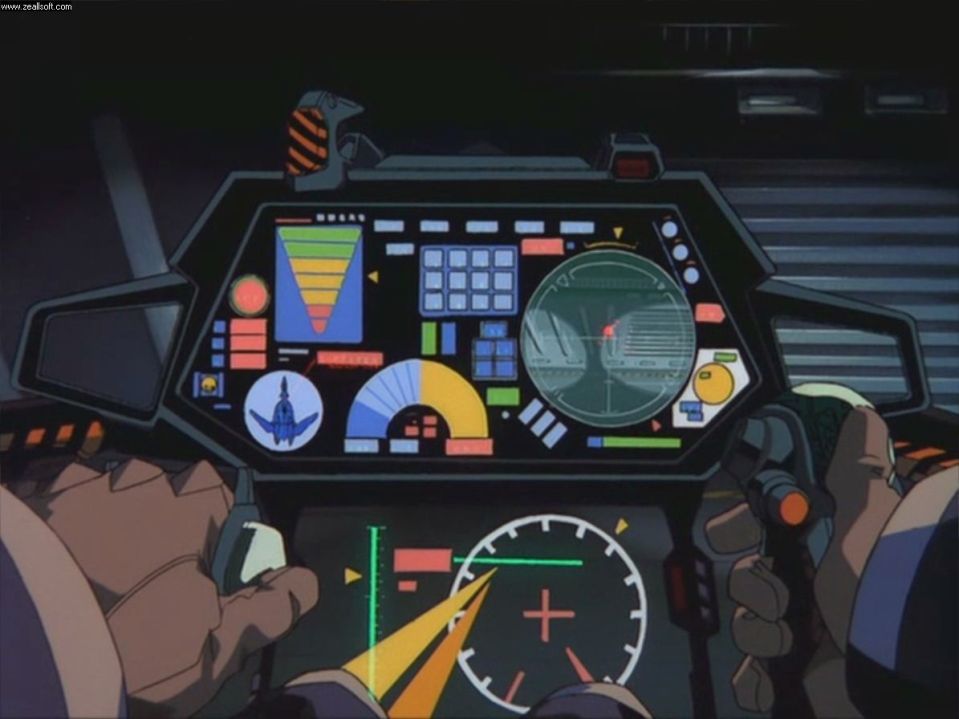
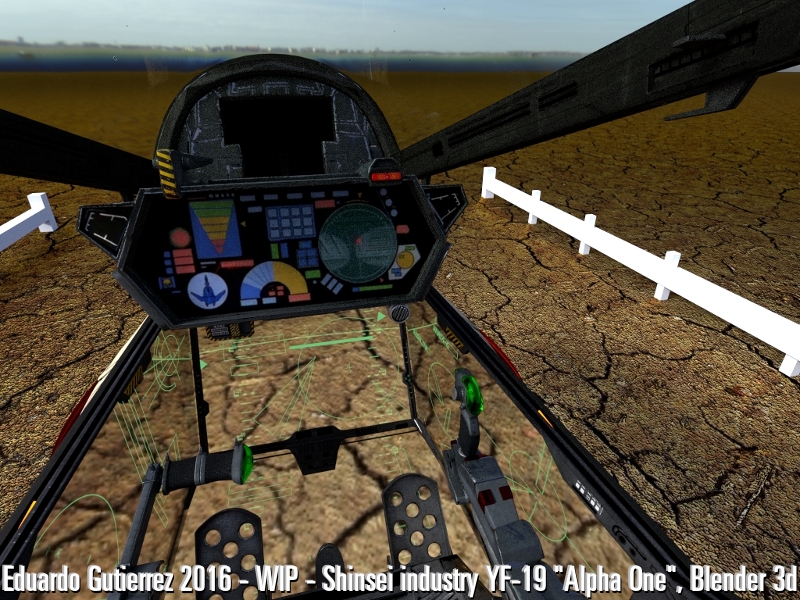
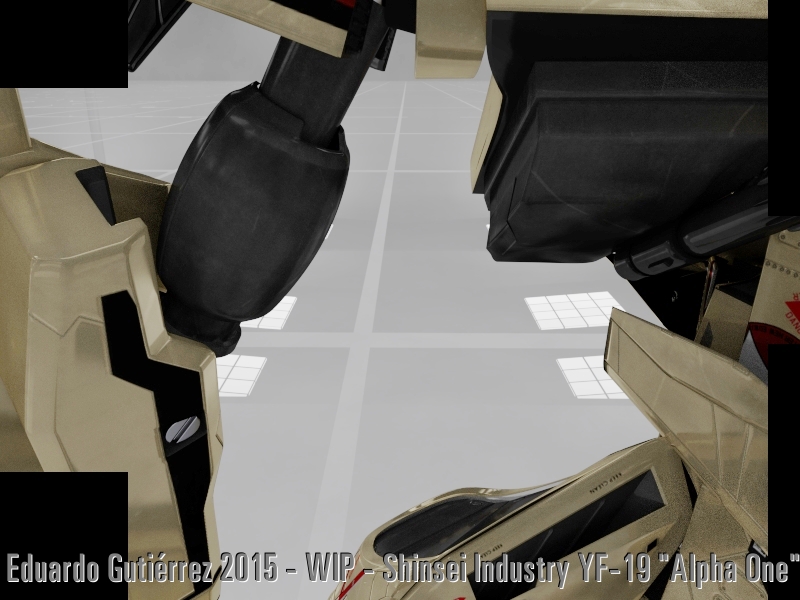
The best part of the YF-19 cockpit is the VEC (Virtual Environment Cockpit), the way I solved this was to create a wide angle camera that would render the bottom from the pilot's point of view, and then use an image sequence of this render as a texture for the bottom screens. Here are the first tests:

The rendered camera
Projected as a texture

Trying a more complex background (LoL)


Using an HDRI map as a background, same thing: Rendering from the camera pointing down, then projecting as a texture

And how it looks from a different angle

Adding a layer of green lines to represent the HUD


-
Thanks for commenting!!
Mommar, yup, the head is too small and the chest too big. But since these are the Hasegawa plane proportions, I had to suck it TehPW thanks! I've been professionally involved in CG for the past 6 years, but never as anything other than an animator, so this is my first incursion into everything else, so maybe someday!Cockpit UV mapping
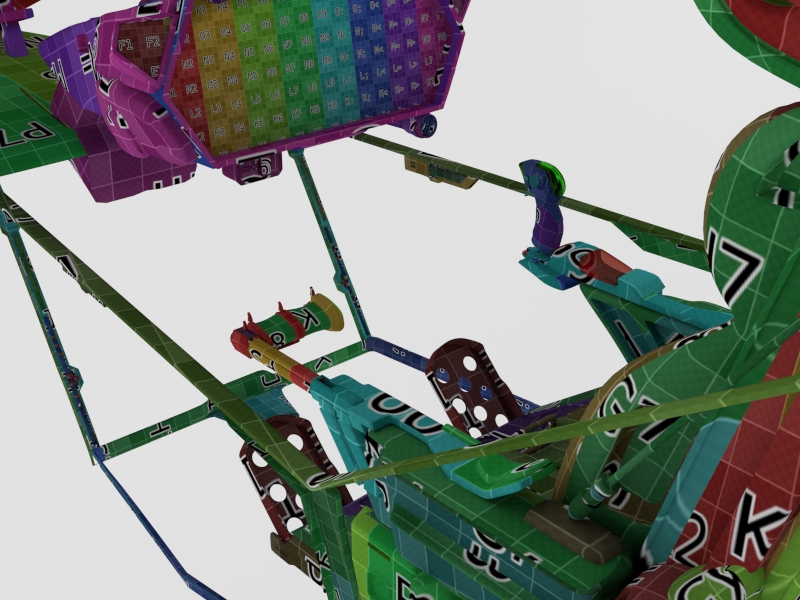

Decided to paint by colours this time to make it easier to find what was what in the final texture map

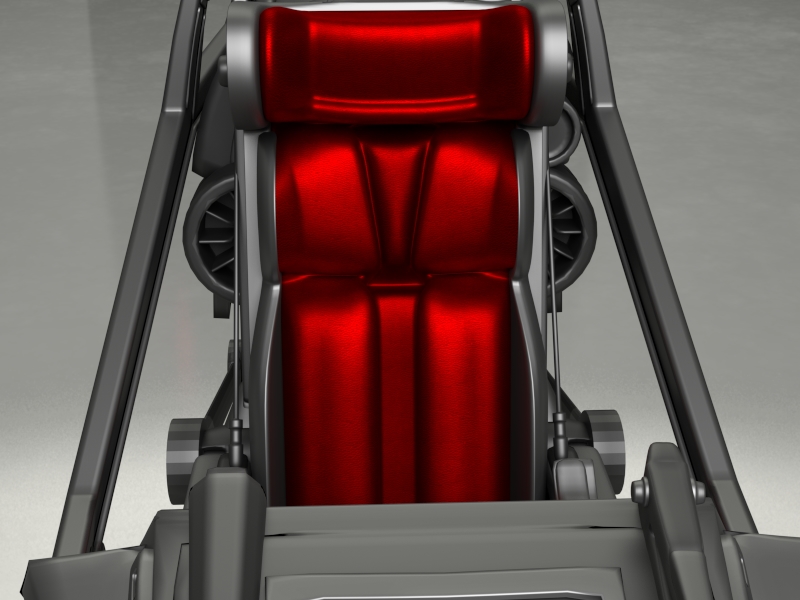
Adding a texture to the seat

Panel lines for the cockpit traced


Added a bit of metallic shader


Specular highlights added


An Easter Egg:


-
Will do VF-9 Cirno!
-
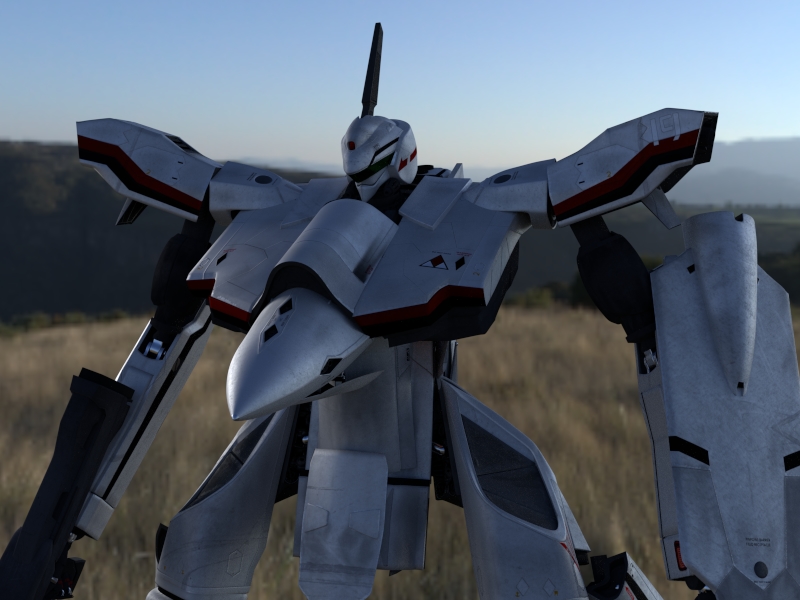
Learning how to render using HDRI maps:


-
Gun shading


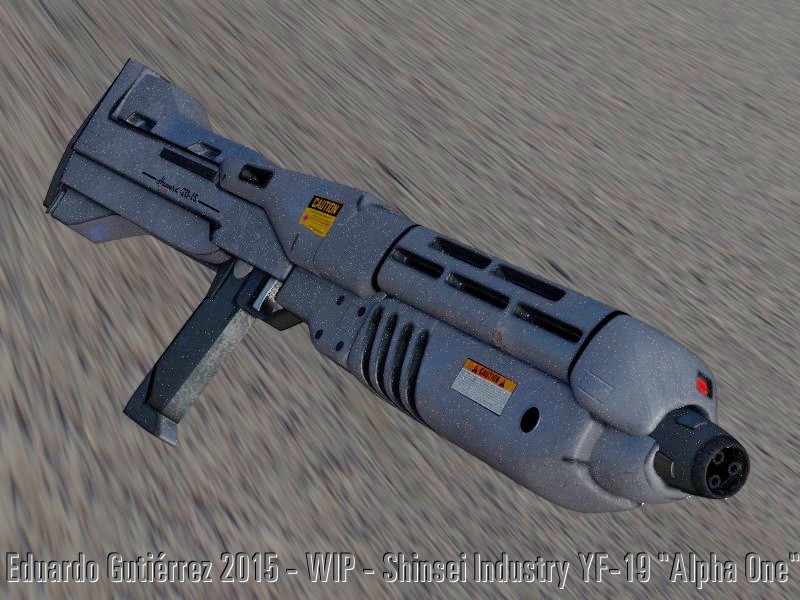
Texturing of mechanical parts


-
Specular maps improved now that I knew what I was doing:


-
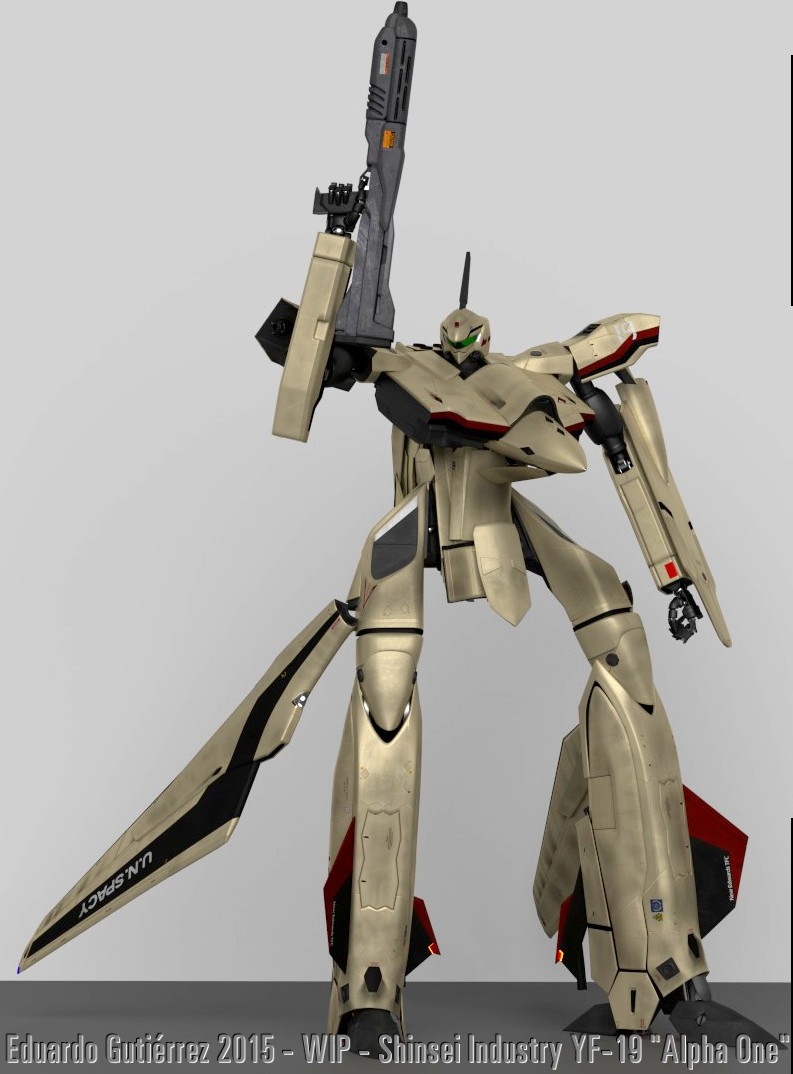
I ran across some troubles with the specular maps but eventually solved them, so these renders were tests that ended up looking great, even if they were specular maps mistakes


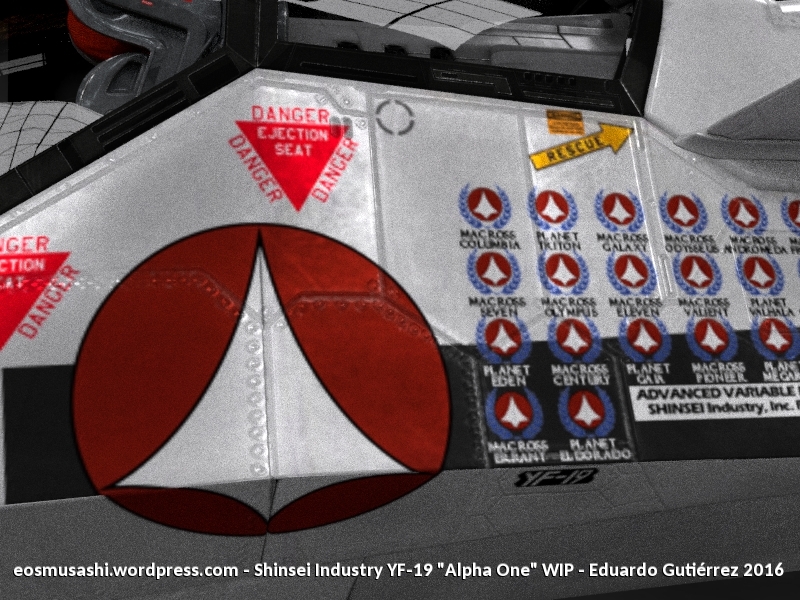
Adding warning signs to the textures


Adding some dirt

-
Panel tracing


-
UV mapping was a complete and utter nightmare. Definitely my least favorite part of the process.


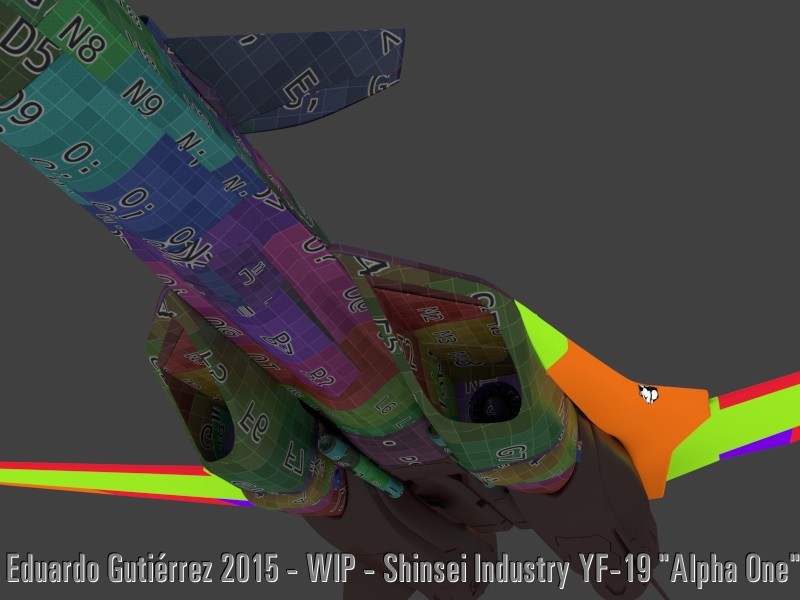


Thus, texturing begins!


Added markings to the textures to find out which thing was pointing where for things like the dirt and smoke


-
Keep up the good work!
-
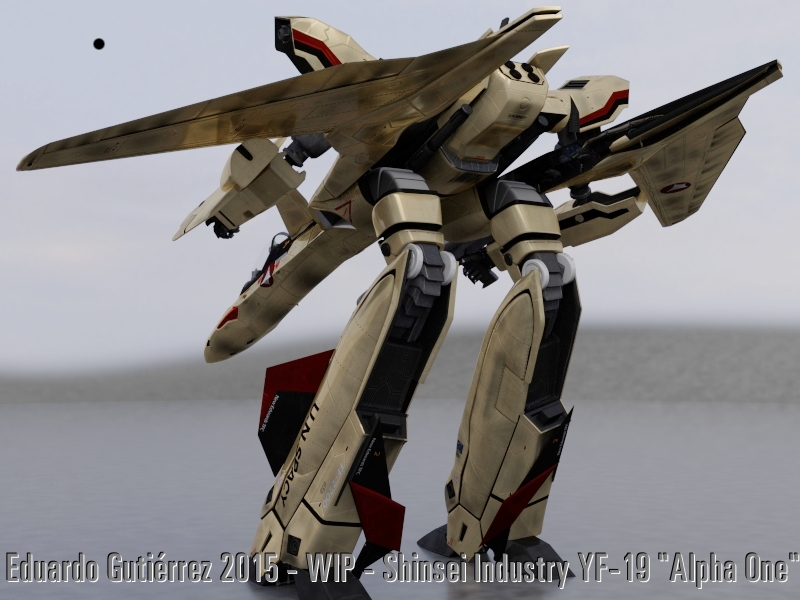
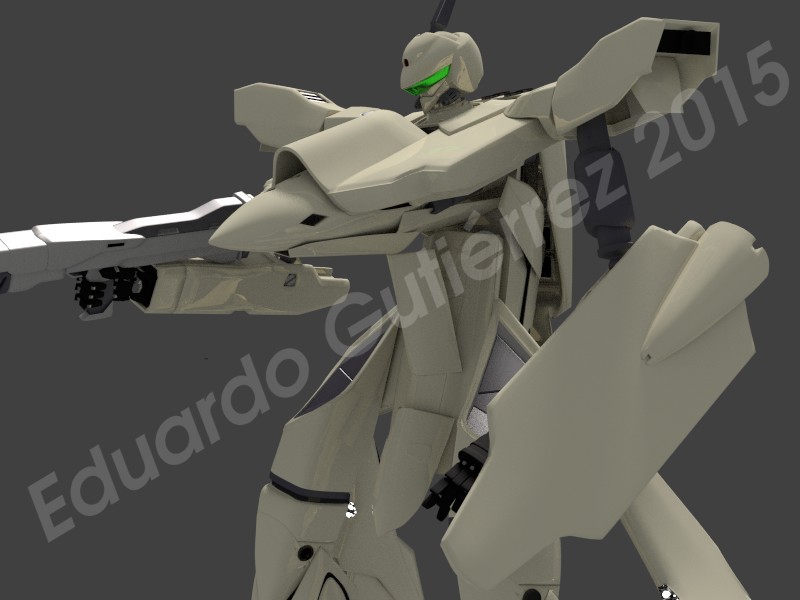
Increased the detail of the shoulder plate. According to the movies, those things are thrusters that it uses to manoeuvre when in Battroid and Gerwalk mode.

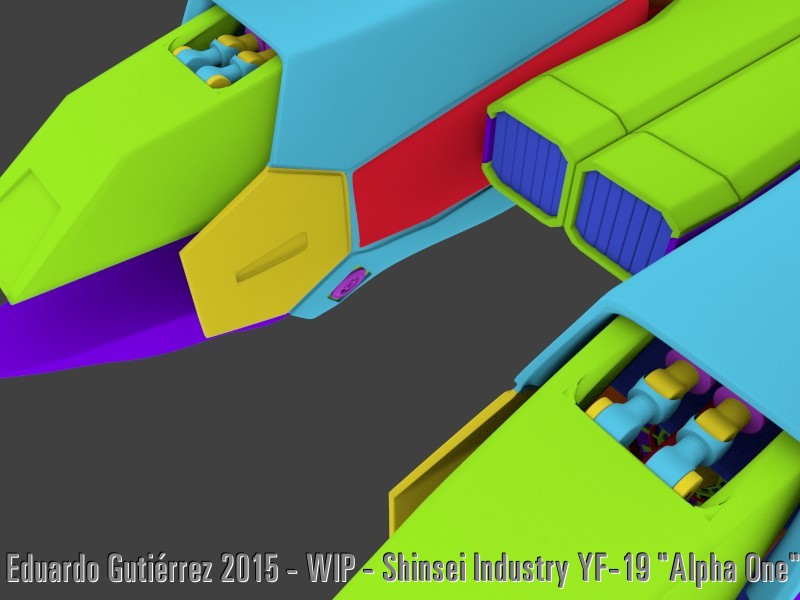
Intake fans modelled
Arm mechanisms folded in when in plane mode

Flap and aileron connections

Realized the exhaust could be a lot more detailed, so re-doing it.


Exhausts remodelled
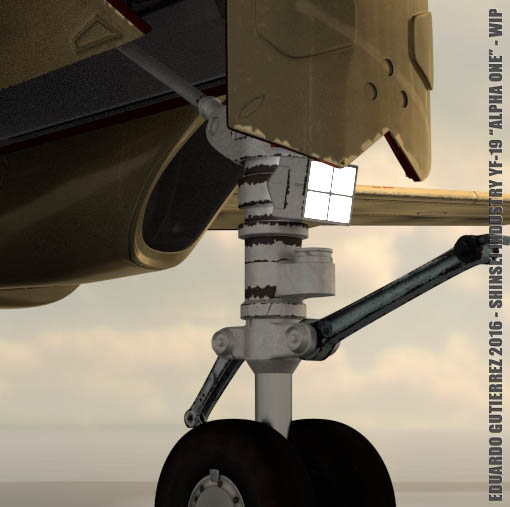
Pistons and mechanisms for the feet, based on the Master File


What a mess!
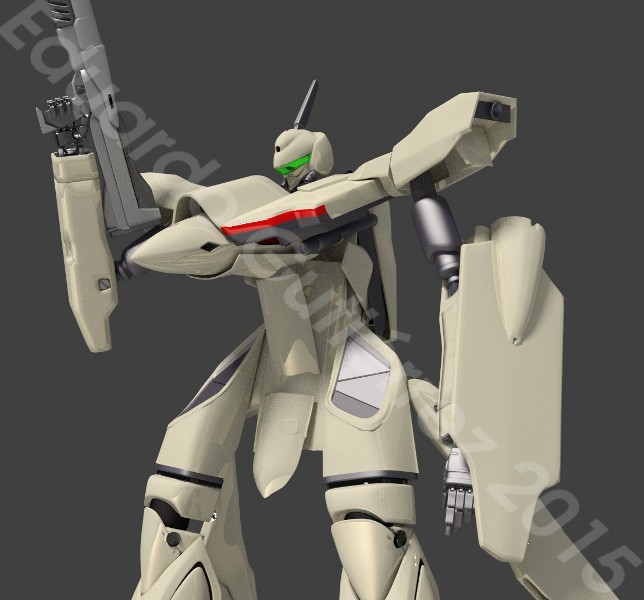
Old version vs new updated model. Notice the pelvis plate changed to be closer to the Arcadia model while still make sense mechanically.

-
You might be better working from a different reference instead of the older Yamato YF-19 or the model up above, but the YF-19 is a giant pile of animation magic in the way it transforms, so you may wind up with mesh collisions no matter how you do it.
Both the newer Arcadia YF-19 and Bandai VF-19 Advance have newer attempts at the transformation that work a bit better, but still have compromises for reality. The Arcadia has an indent in the side of the leg to accommodate the arms, while the Bandai has a set of folding panels that collapse into the leg in fighter, and cover the gap for the arm when you extend the feet.
Thanks! Yeah I had to do a lot of compromise in all the versions because even though my first reference model was the Arcadia VF-19 and then later on, the VF-19ADVANCE, the proportions were still off with my modelling of the plane which was done after the Hasegawa scale model, so the head is a lot smaller, it has a ginormous chest and the hidden parts need to be slimmer to fit and not intersect. Also there's way too much artistic licensing because many things are not detailed enough in the movies to know what are they for.
Yeah! Anime magic is huge in this series. Part of myself hates it, but I still have to acknowledge how much Kawamori thought of, even small stupid details that make sense from the flight designer and engineering point of view.
I should try changing the title to "Blender 3d", I wonder if I can still do that... I also find a lot of images of blenders when I google around for tutorials...
-
Adding a navigation light


Folded configuration for Battroid with no intersections
A mechanism to hide the gap between the fuselage and the back of the Battroid that opens and closes


Added details to the head piece


Wing spoiler connections
-
Created control shapes for the things that can be animated.


The transformation slider is inspired in the original VF-1 control


Playing around with posing the Battroid

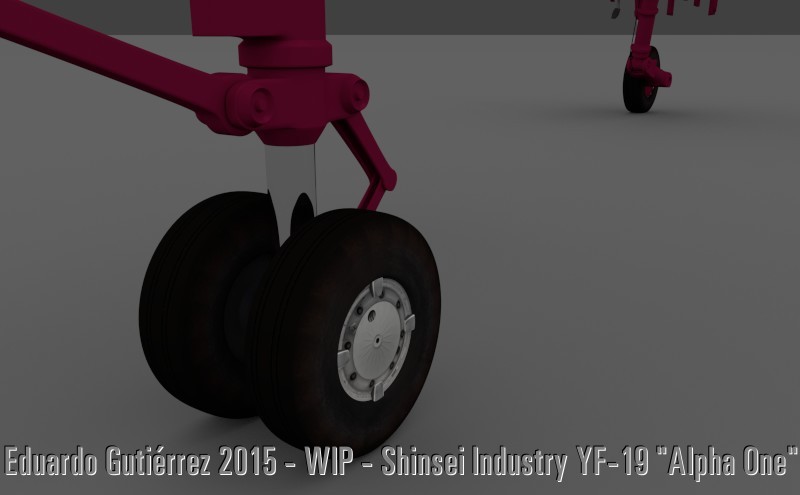
Wheel rig completed, now the wheels rotate following the ground for closeup shots of taxiing

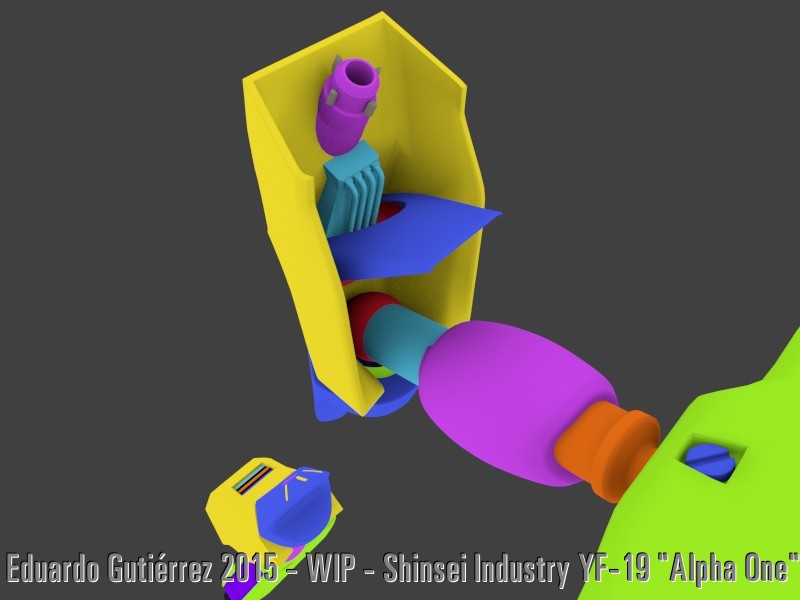
Figuring out the internal mechanisms for the transformation

Internal mechanisms for the pelvis


-
Figured out little things like the way the legs fit with the arms in plane mode, there's a hinge or some sort of door there, that I made into a separate mechanism that opens and closes but sticks out in the plane configuration. Bummer


More bones

So many bones I had to start assigning colours

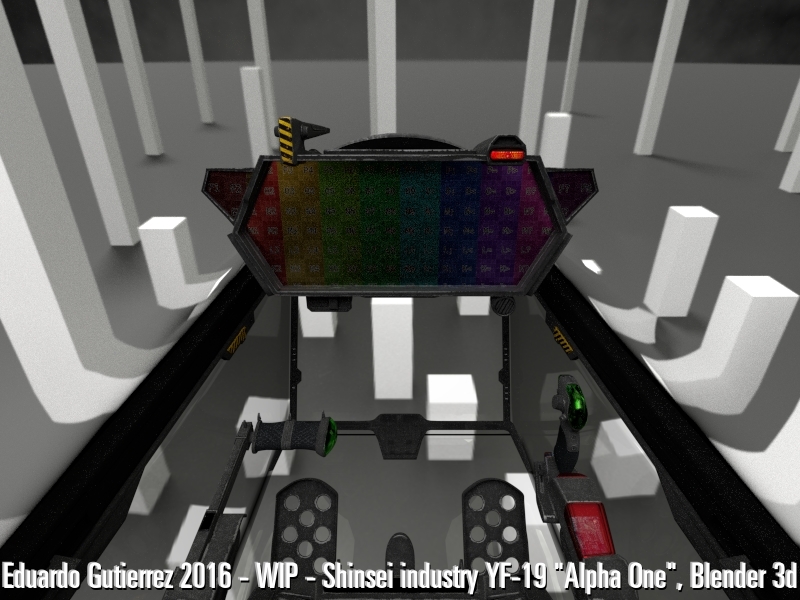
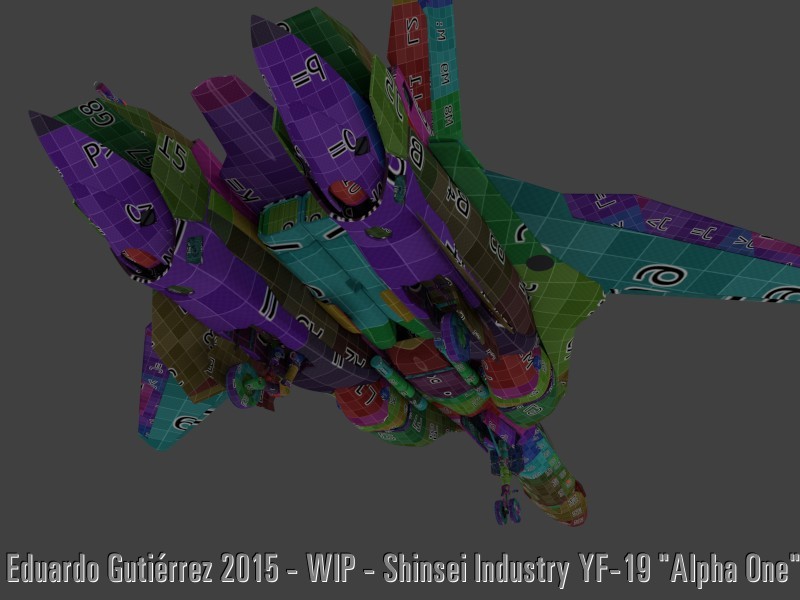
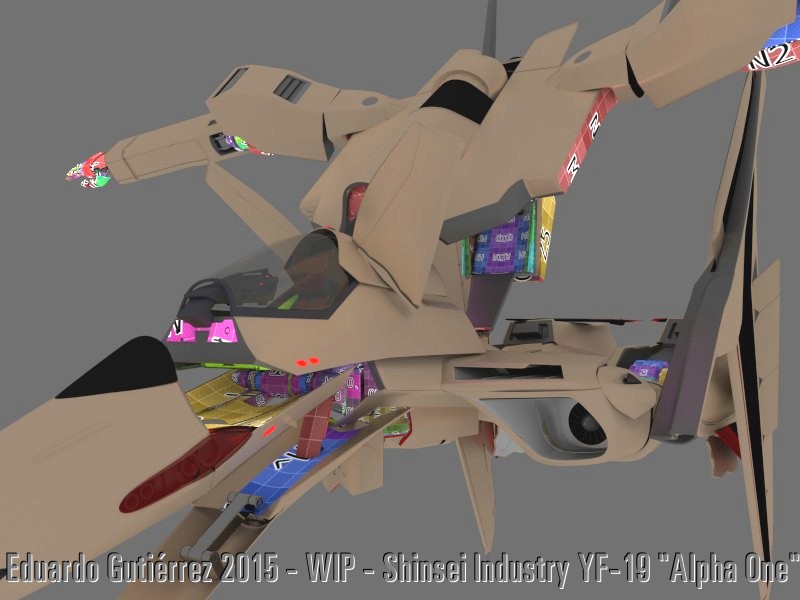
Then my plane passed through a psychedelic period. This was to test how the panels intersected with each other during the transformation, and ensuring there were no awful penetrations happening.


-
Amazing work! If I can be of any help with reference, let me know. I can get you some larger and better versions of most of the line art I have on my site, if need be.
Thank you!!! Will be happy to ask!
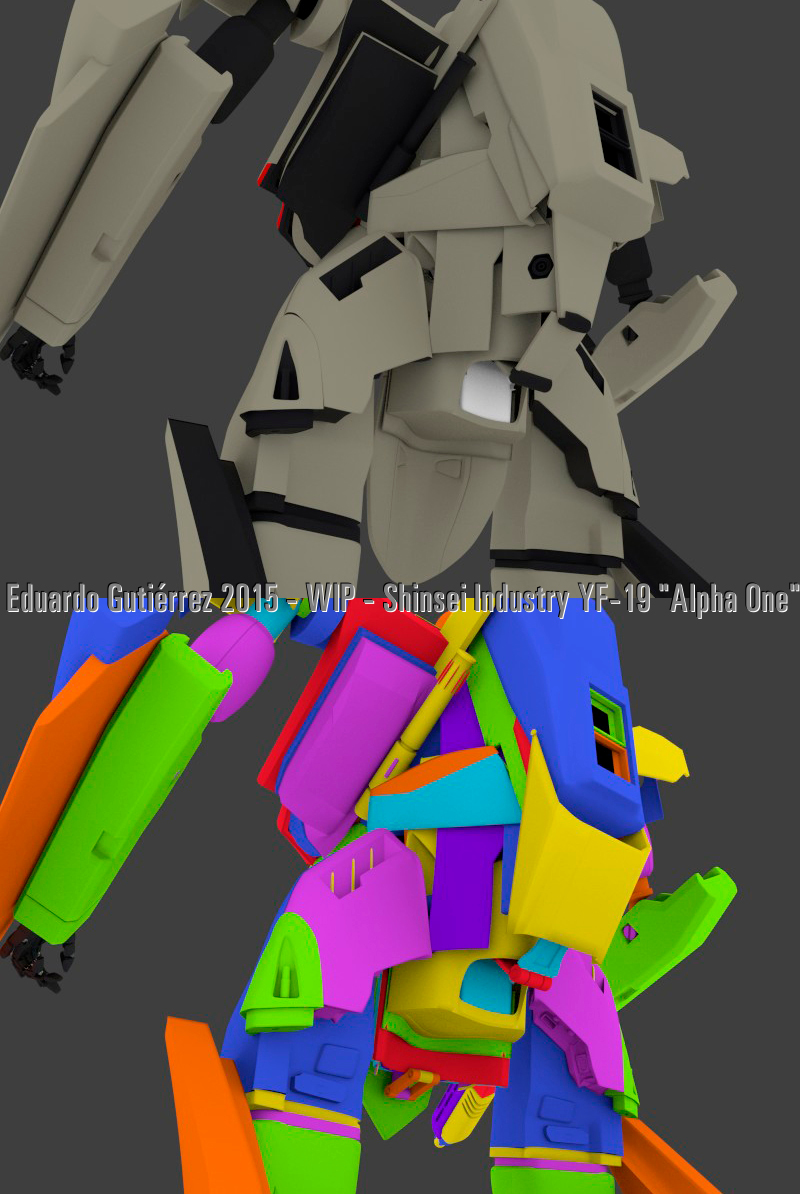
So taking the toy as a reference, I tried moving the different pieces to fit into the Battroid mode. A better shape, but this breaks my head, the proportions look wrong. Even though they are correct in the plane.

Adding the covers for the neck piece


Big boobs


Gerwalk transformation

More bones added
YF-19 in Blender!
in Fan Works
Posted · Edited by eosmusashi
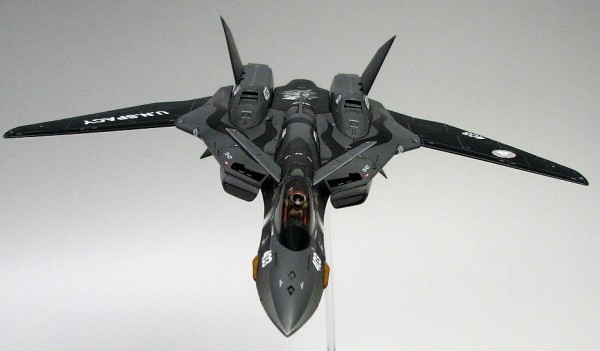
That version is the best, here are some good pics from a Hasegawa with it for your reference: