Search the Community
Showing results for tags 'modification'.
-
Hi folks, first time post here, though I've been an on-and-off lurker for a while.. I just recently completed a mod of the fold booster that comes with the DX Chogokin YF-19 Full Set Pack, and figured I'd post some pics to see what you guys think. I used a 840 mAh 14500 LI-Ion cell, 4x 3mm LEDs, 2 red and 2 green, each with a 100 ohm resister, all wired in parallel so as to be powered by the 3.7v source. The inside of the booster needed significant modifications, going so far as to literally cut some parts completely out to make room for the battery. The wiring is certainly not the best, as this really my first project with wiring up something from scratch. I also didn't have anything to cannibalize terminals from, so I made due with what I had, which wasn't much, unfortunately, but it can be fixed later down the line if I feel like it, I suppose.. Anyway, here we go Inside the booster... Outside, showing LEDs lit, with no clear parts attached.. Partially assembled, showing the switch location beneath one of the panels.. Fully assembled.. Mounted on the Valkyrie
- 15 replies
-
- 4
-

-
- yf-19
- dx chogokin
-
(and 1 more)
Tagged with:
-
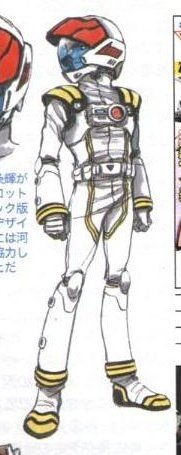
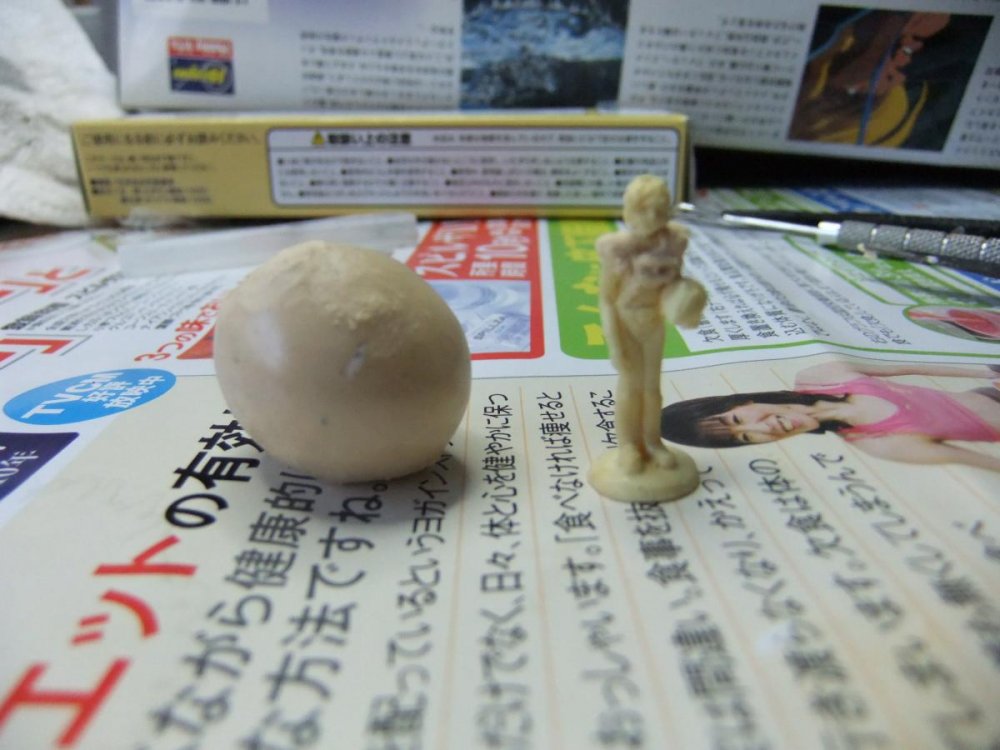
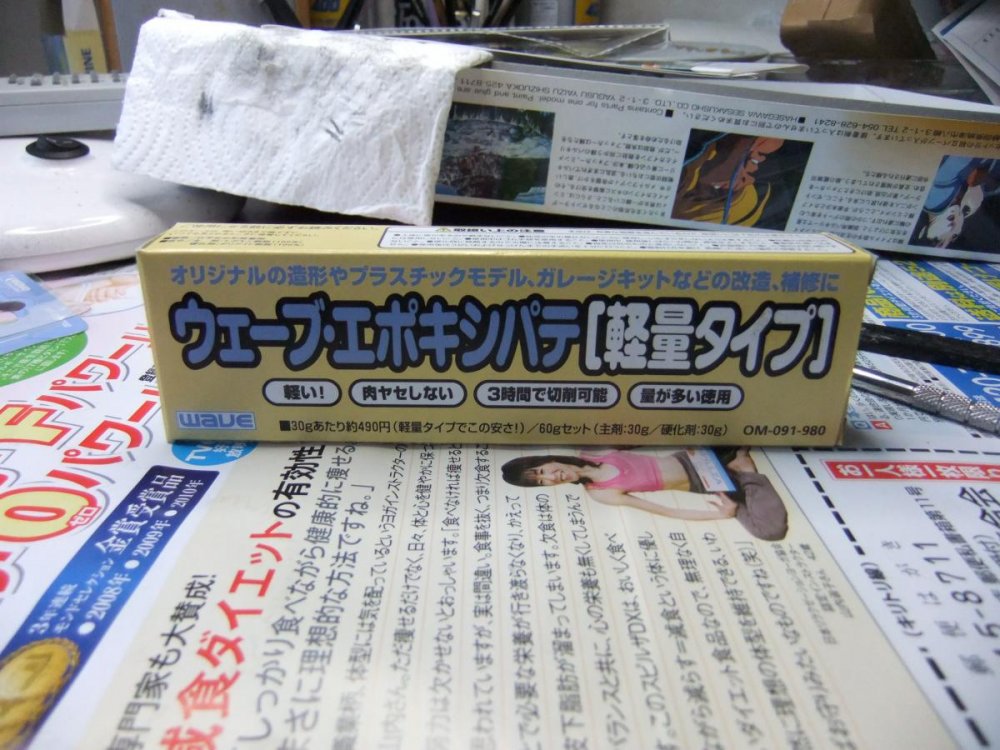
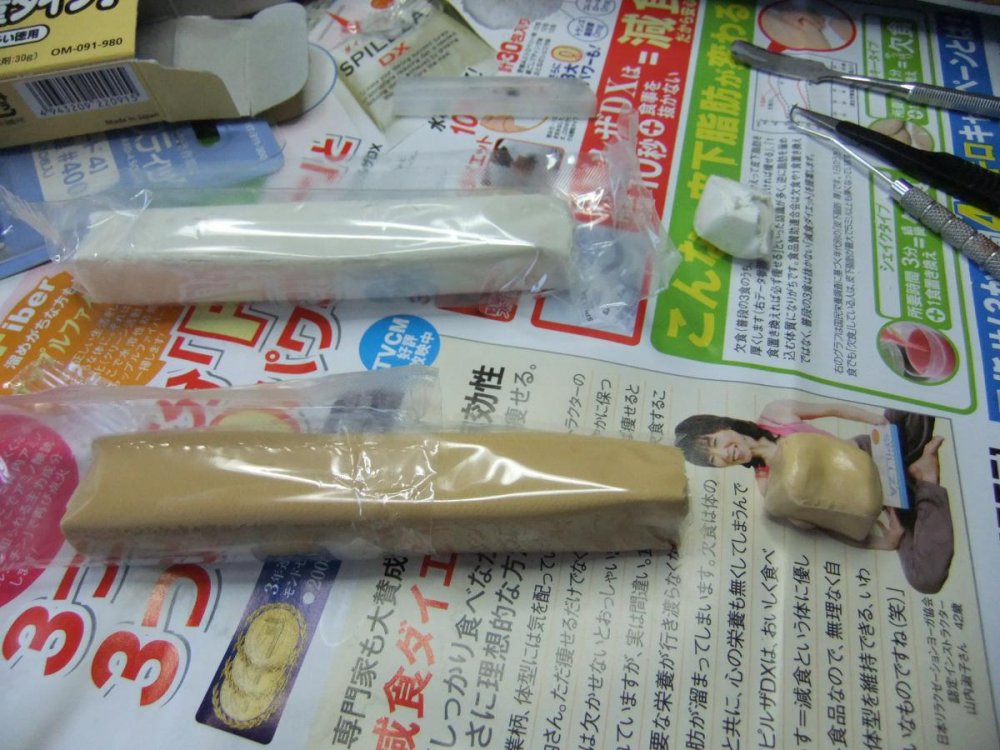
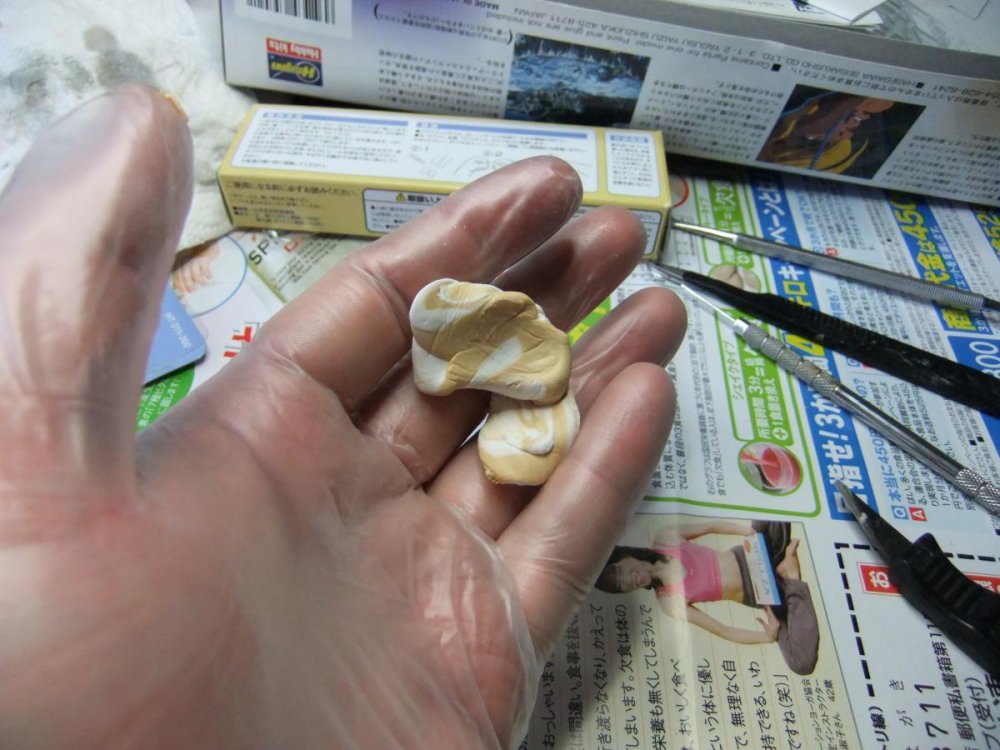
OK, so my goal is to make one of these: First step is easy. Head to Studio Starforge and buy one of their lovely 1/72 pilot sets. Very minor cleanup to do. I just needed to cut back the collar a bit. Next, get yourself some putty. This is the first time I've ever done something like this, so I'm using Wave epoxy putty, cheapest they had. Cut off the putty in equal amounts, and mix well. Make sure you wear gloves! Cut off the putty bits you need, form into shape, and attach. I found out that using a toothpick is pretty good, as the putty doesn't seem to want to stick to wood. Hmmm, looks like I mixed up a little too much. Oh well, better to have more than not enough! Now, just to let it dry, do some gentle sanding, and paint away. EDIT:Apologies for the blurry close-ups. Wasn't using my good camera.
- 7 replies
-
- putty
- modification
-
(and 1 more)
Tagged with:
