Search the Community
Showing results for tags 'Studio Starforge'.
Found 3 results
-
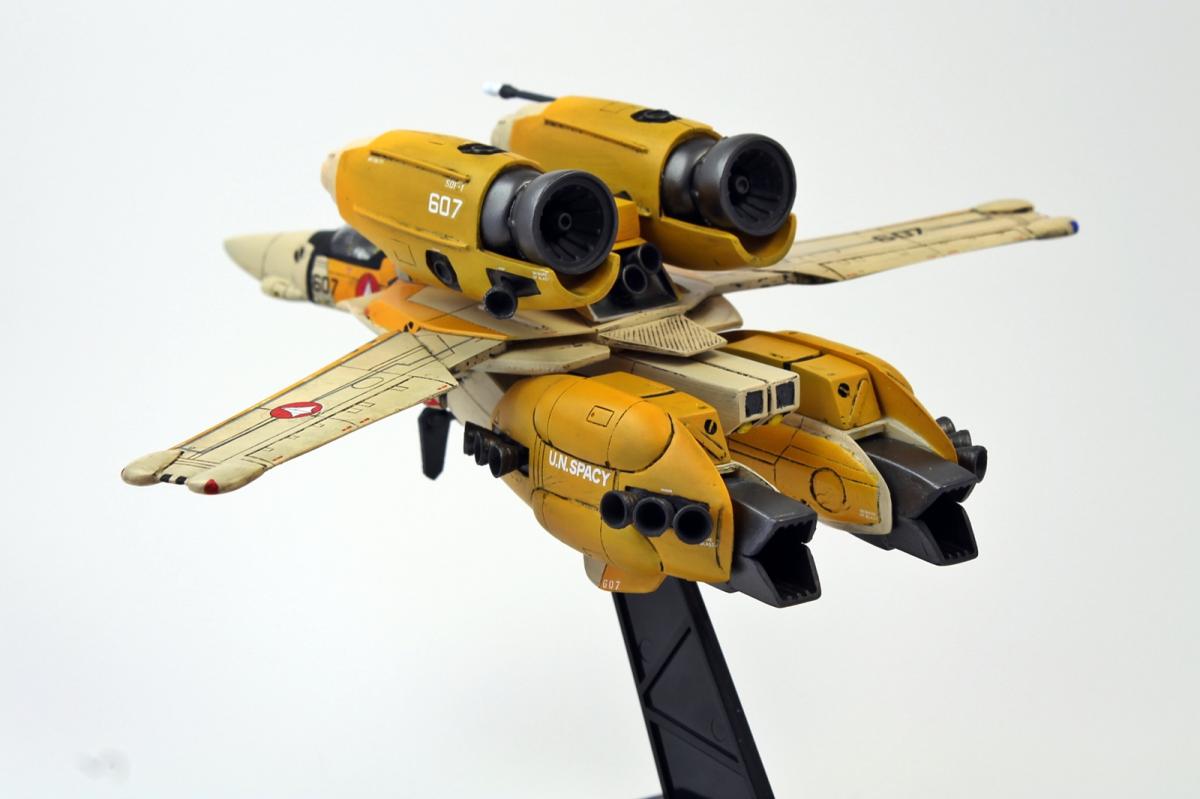
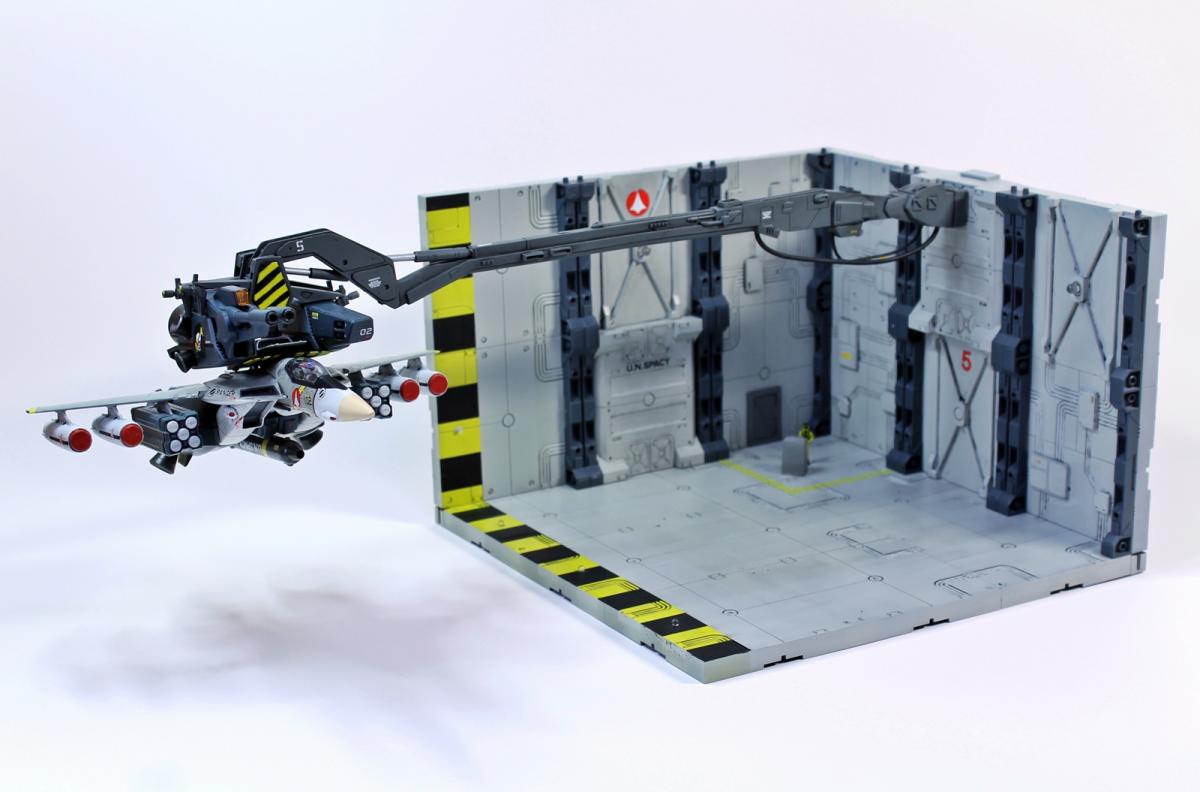
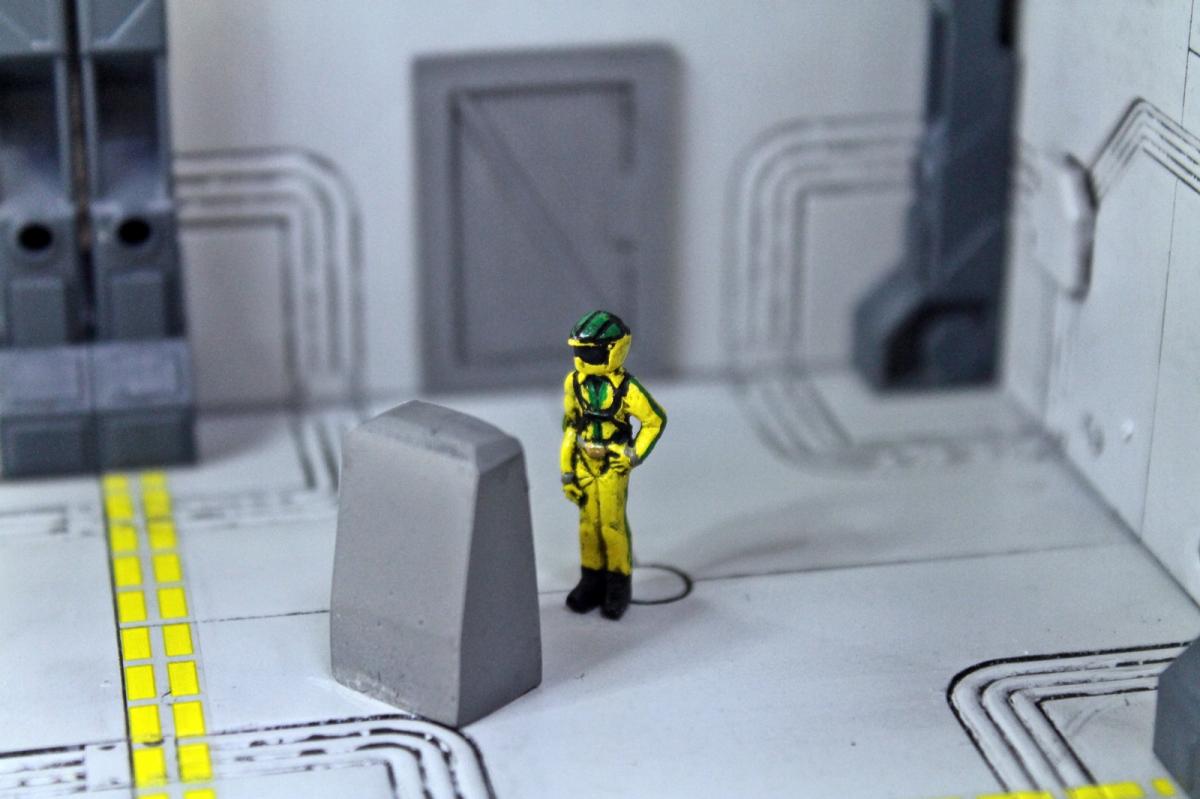
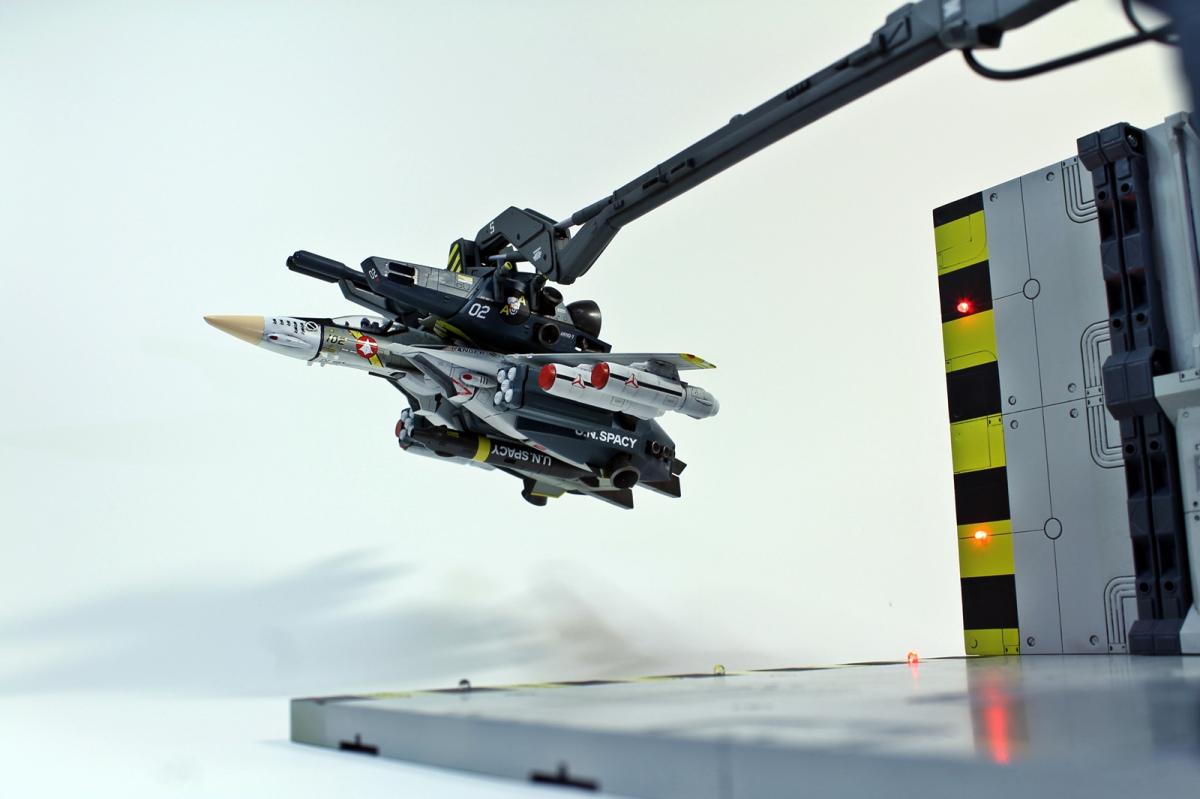
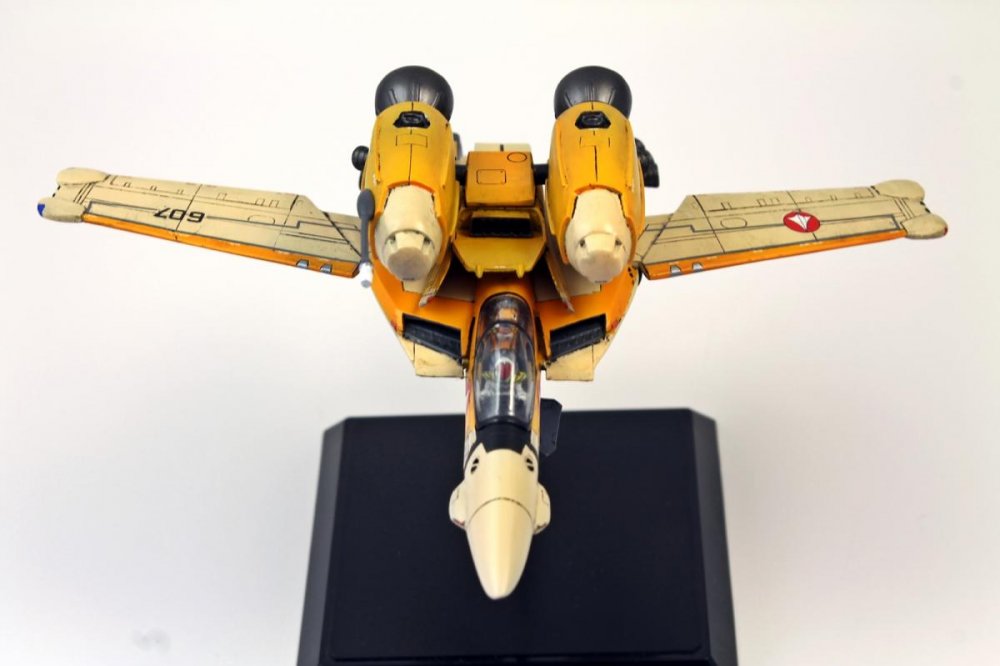
Wow, two completed builds on the same page! Guess a heavily cut work schedule was good for something! Here's the latest addition to my collection. A 1/72 scale VT-1 Super Ostrich resin kit from Yellow Submarine & Club M. Yes, it's a bit dated compared to the Hasegawa's, but it's still fun to give these old kits a little love. Besides, I can always use more practice with resin. The Minmei figure did not come with the kit, it's one from Studio Starforge. As usual, more can be seen here.

-
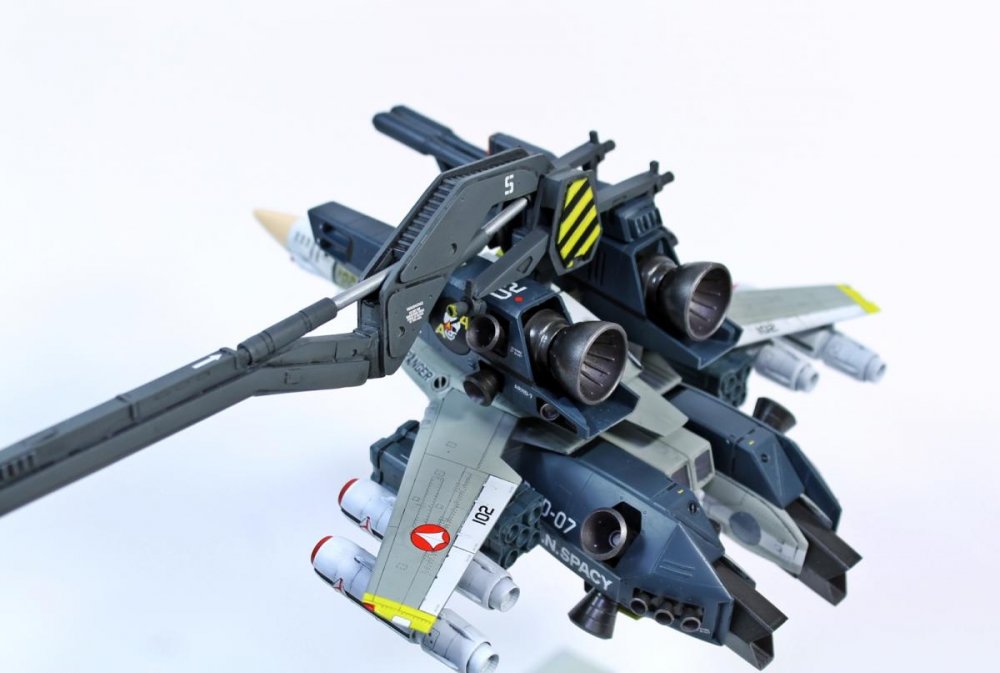
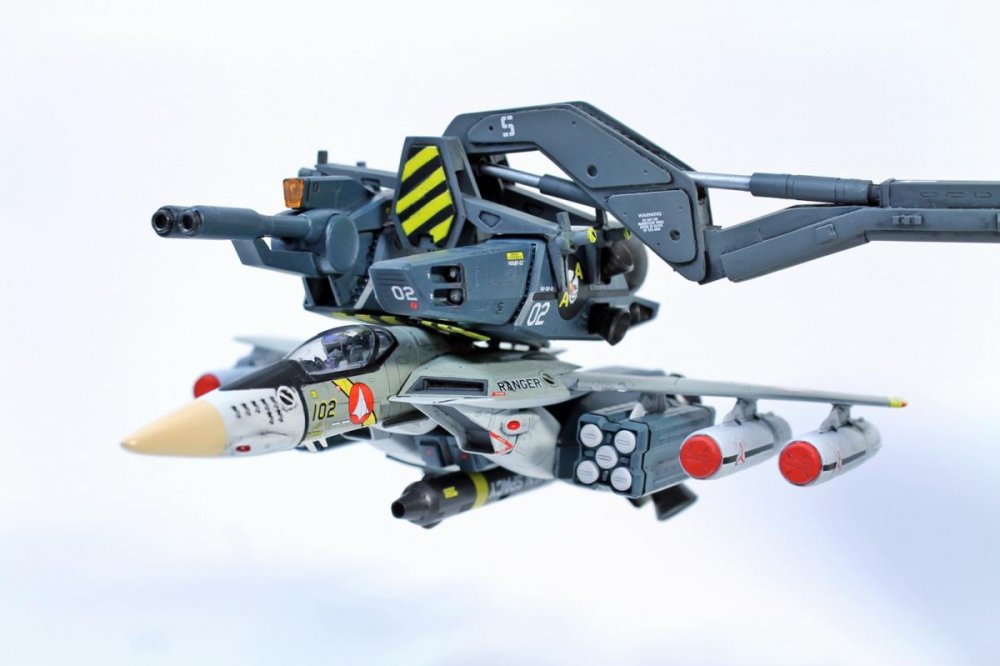
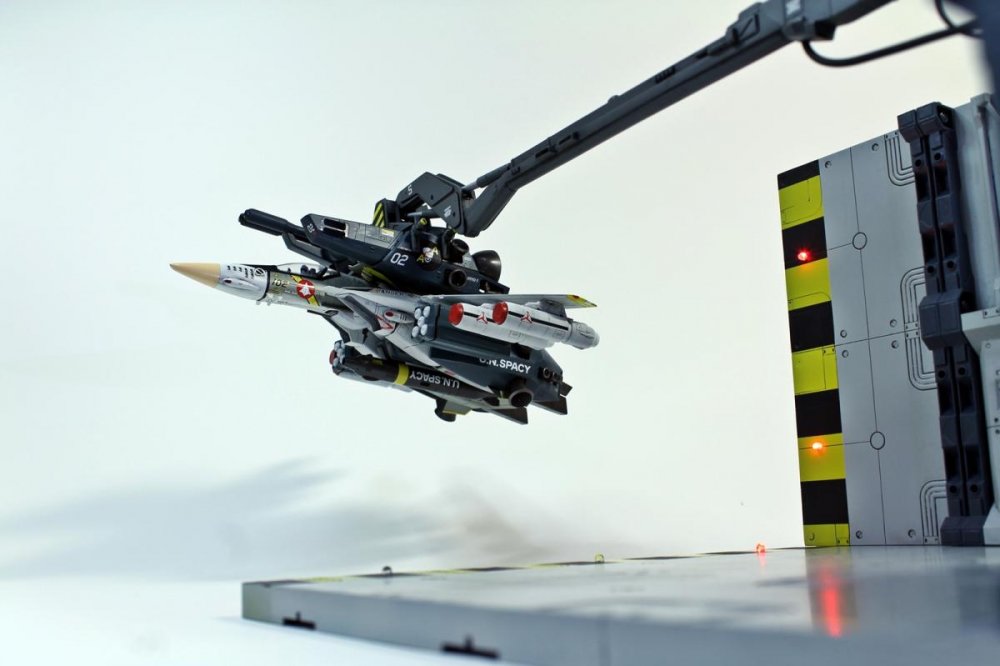
The wait is finally over! (for those of you who were waiting)


-
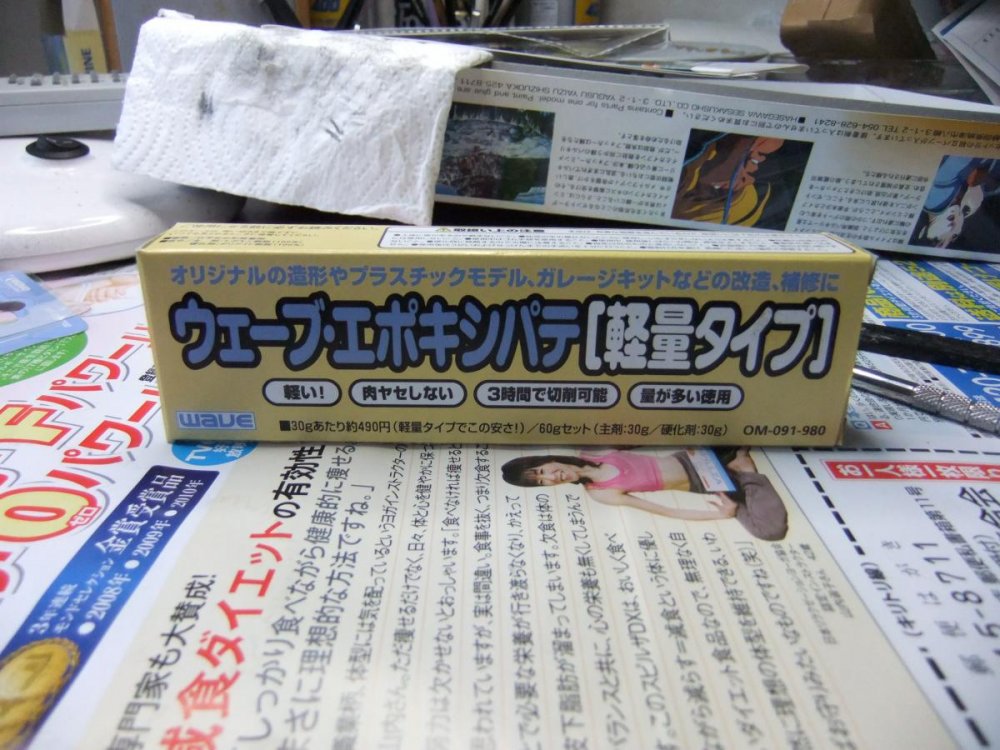
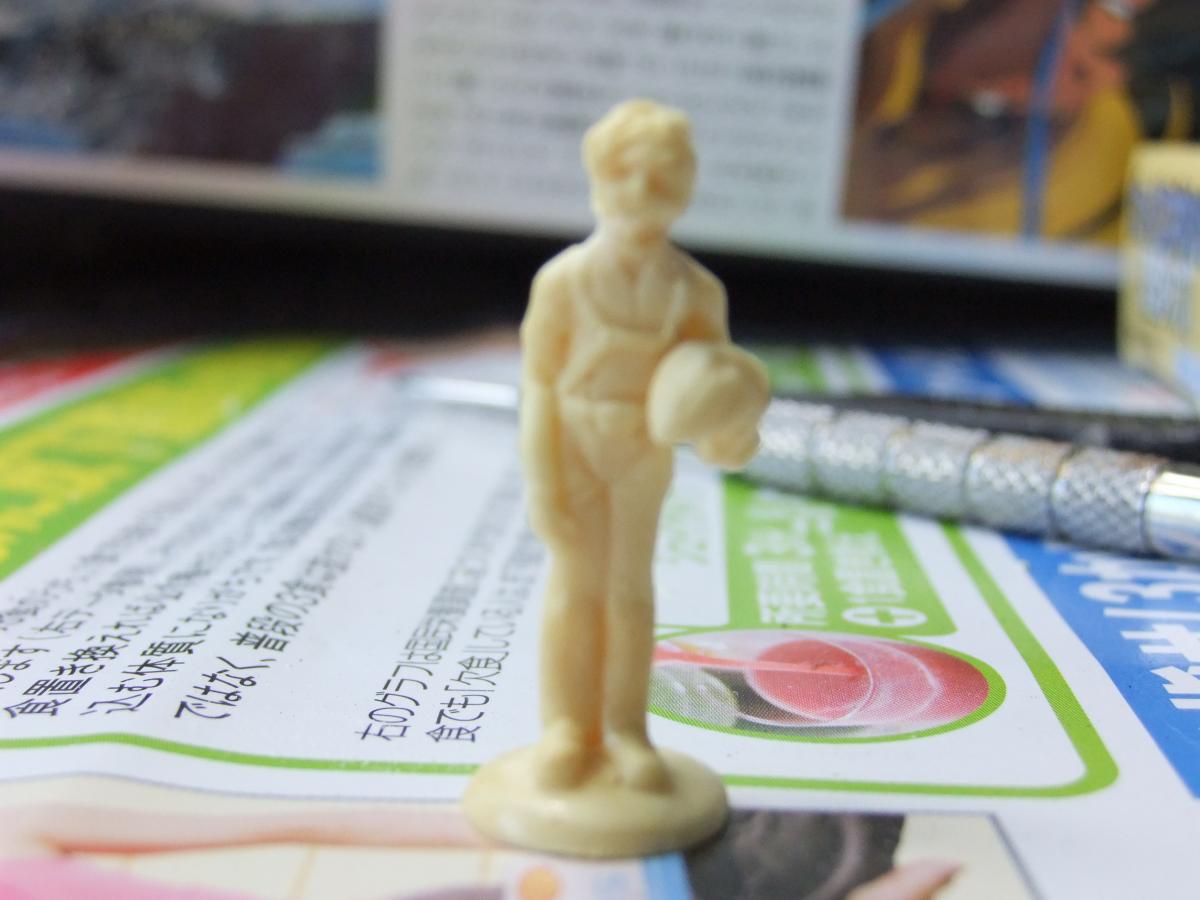
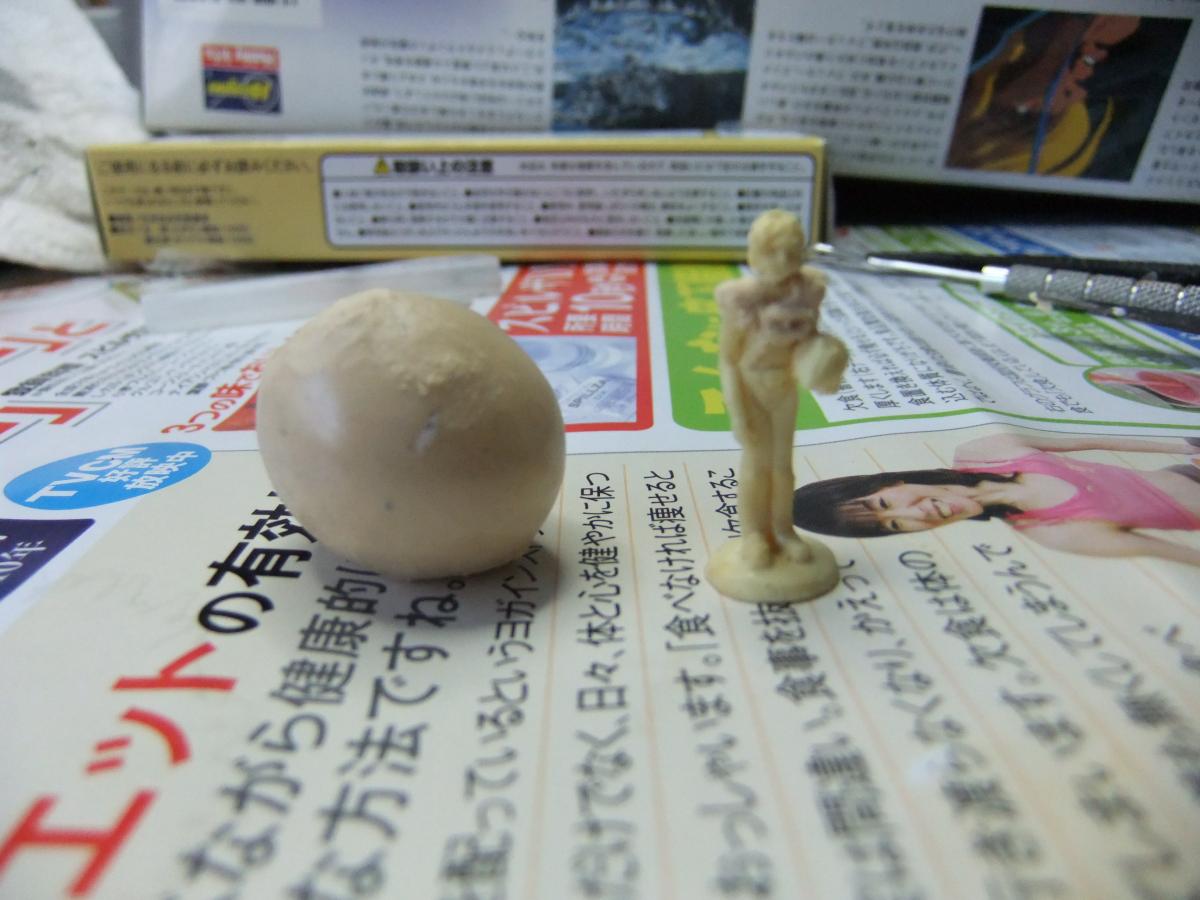
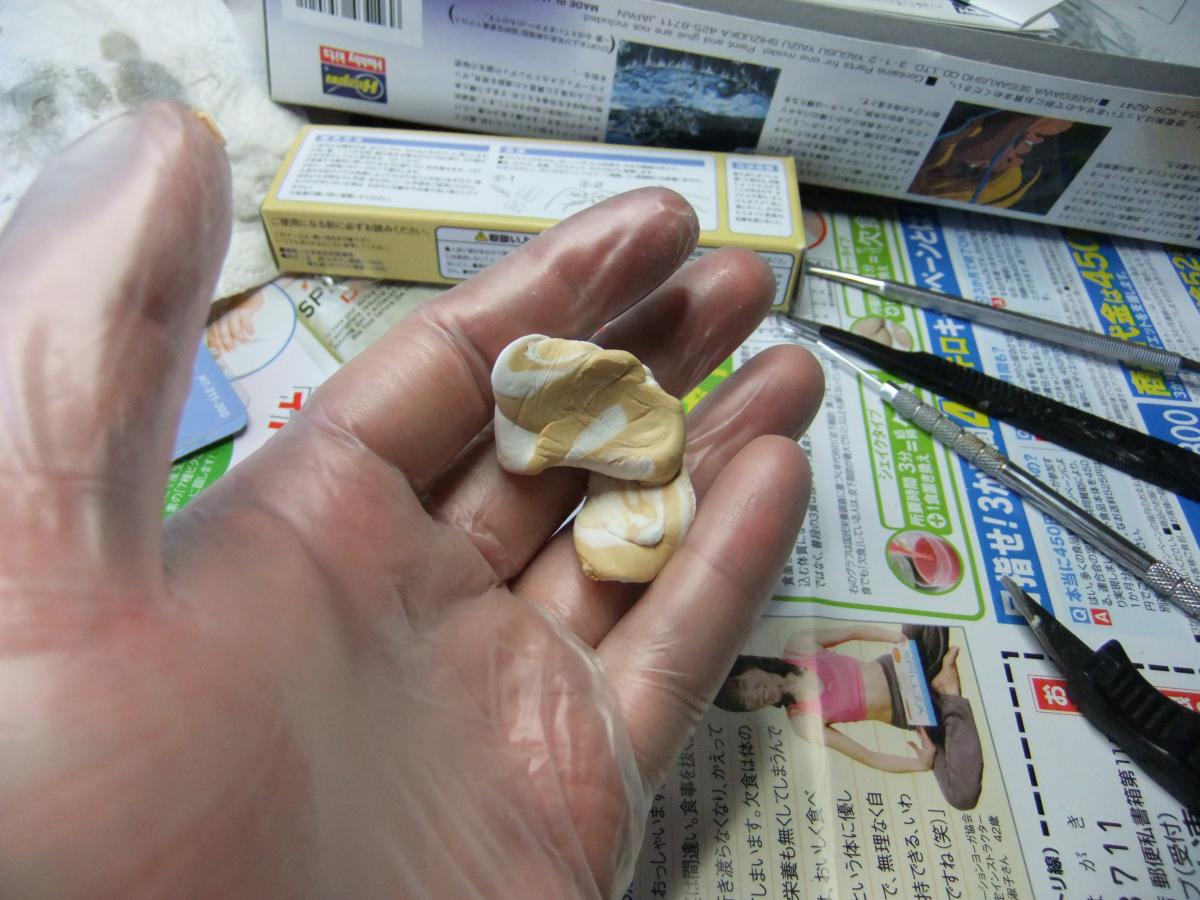
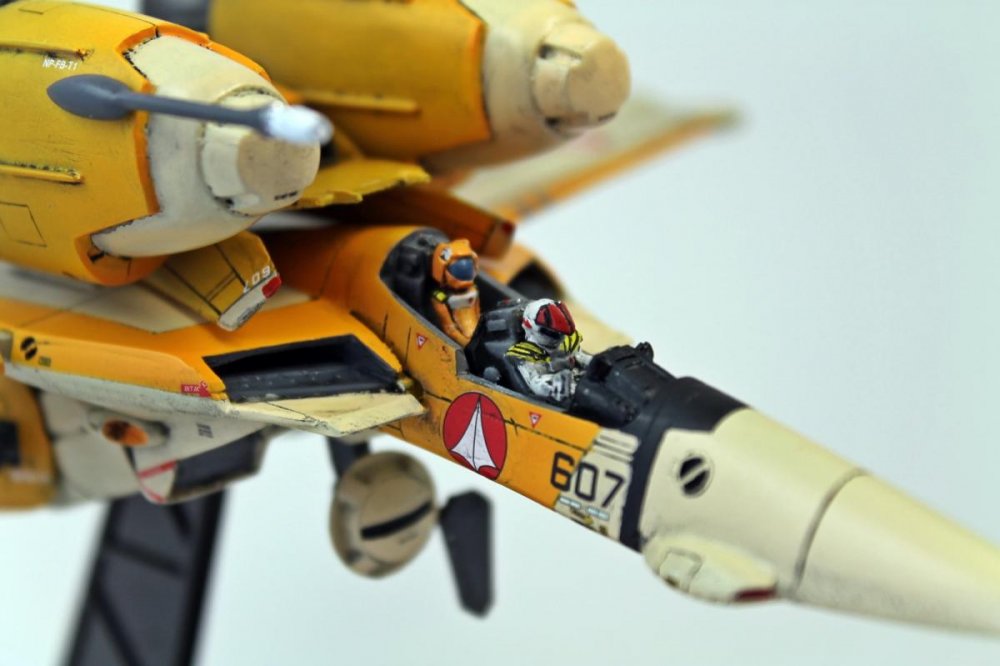
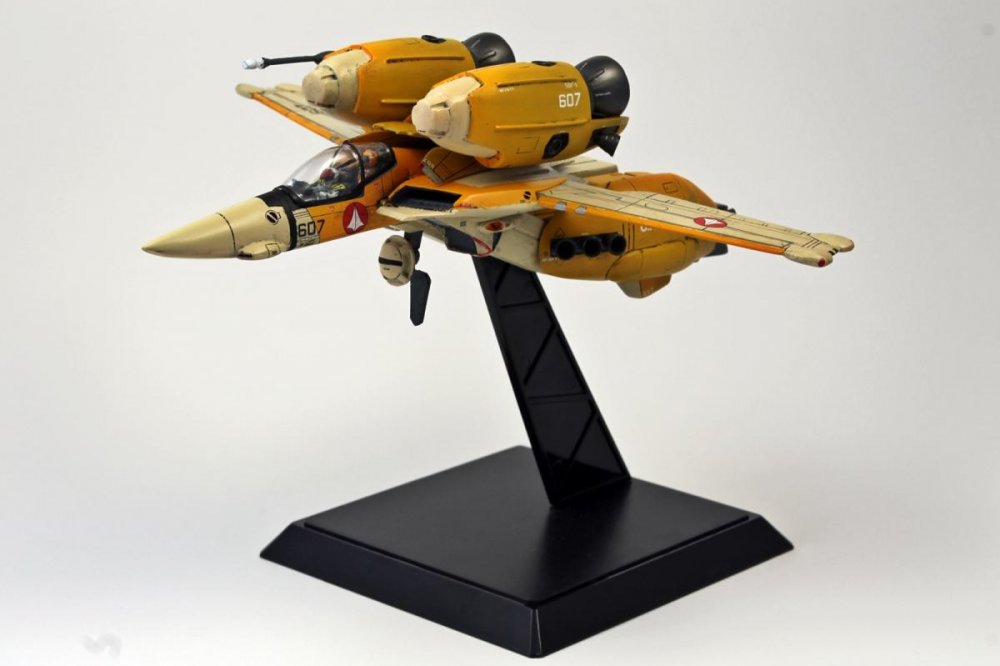
OK, so my goal is to make one of these: First step is easy. Head to Studio Starforge and buy one of their lovely 1/72 pilot sets. Very minor cleanup to do. I just needed to cut back the collar a bit. Next, get yourself some putty. This is the first time I've ever done something like this, so I'm using Wave epoxy putty, cheapest they had. Cut off the putty in equal amounts, and mix well. Make sure you wear gloves! Cut off the putty bits you need, form into shape, and attach. I found out that using a toothpick is pretty good, as the putty doesn't seem to want to stick to wood. Hmmm, looks like I mixed up a little too much. Oh well, better to have more than not enough! Now, just to let it dry, do some gentle sanding, and paint away. EDIT:Apologies for the blurry close-ups. Wasn't using my good camera.