F18LEGIOSS2
-
Posts
76 -
Joined
-
Last visited
Content Type
Profiles
Forums
Events
Gallery
Everything posted by F18LEGIOSS2
-
Right leg printed in petg Next step, the upper legs, feet and crotch


-
message deleted: wrong topic
-
I’m trying to design joints for FDM 3D printing, and I was wondering what clearances you usually use. Do you adjust the offset depending on: the nozzle diameter the layer height the type of joint the filament For example, what clearance do you typically use between moving parts (hinges, ball joints, snap fits, etc.)? If possible, could you share the offsets you use in SolidWorks for all your moving parts? Thanks!
-
Could you describe your design workflow? Do you begin by defining the overall proportions and primary volumes, then break the model down into individual components before developing the transformation mechanisms? When working on a project that includes an inner frame, such as a PG 1/60 scale Gundam, how do you approach the design process in SolidWorks? Do you start with the internal structure and joints first, or do you model the exterior armor and refine the mechanical layout afterward?
-
14 hours print for a single leg a needle will be attached on a soldering tool to widen the 1mm holes . 4 missiles have been printed by mistake, they will be removed later


-
It is a blast, it has been a a lot of fun modeling with Solidworks I might use also autocad. For now I just know how to use 2 CAD: sketchup and Solidworks ! Next step: 8 hours print test for the leg !

-
My first part in SolidWorks! Still learning 😅

-
Thanks !
-
I would like to learn and master SolidWorks within five weeks. Do you have any tips or recommended learning resources to help me achieve this? I intend to use it for designing fishing lures and my beloved Legioss
-
I don’t know yet whether I’ll make a limited batch of Legioss using resin and 3D filament, or put it on MakerWorld.
-
In the fan work section
-
You haven't seen mine yet !

-
Arm hatches will slide 5mm up to expose the missiles in open fire position


-
I always buy two or three identical kits of the same model. I build one, and I carefully store the other two to build them later like in three or five years, when I will have developed even more modeling skills. All you need is passion to begin with
-
A quick comparison between the first and second shoulders: the second one is 5 mm thicker


-
Here are the missile bay based on the Legioss inner frame. I’m open to any suggestions and ideas.


-
AMAZING !
-
Here are my design adjustments so the center part could sit flush on the right shoulder with the antenna (air brake could be installed in it) or slide down into position to form the crotch section in GERWALK and Battroid mod

-
It can be done! I’ll need detailed hard-surface panels for the inner frame, along with well-designed missile hatches. I’m open to any suggestions or design proposals.
-
The stressed parts have been replaced with PETG instead of PLA. It feels heavy and sturdy and I love it!The cracked PLA pieces will be replaced later. Next, I’ll be working on the ratcheted shoulder joint, hand and missile hatches


-


-
-
It wasn’t easy to find a way to compress the arm without making it feel like a Transformers-style toy, but rather something closer to Robotech. I can’t wait to 3D print these parts

-
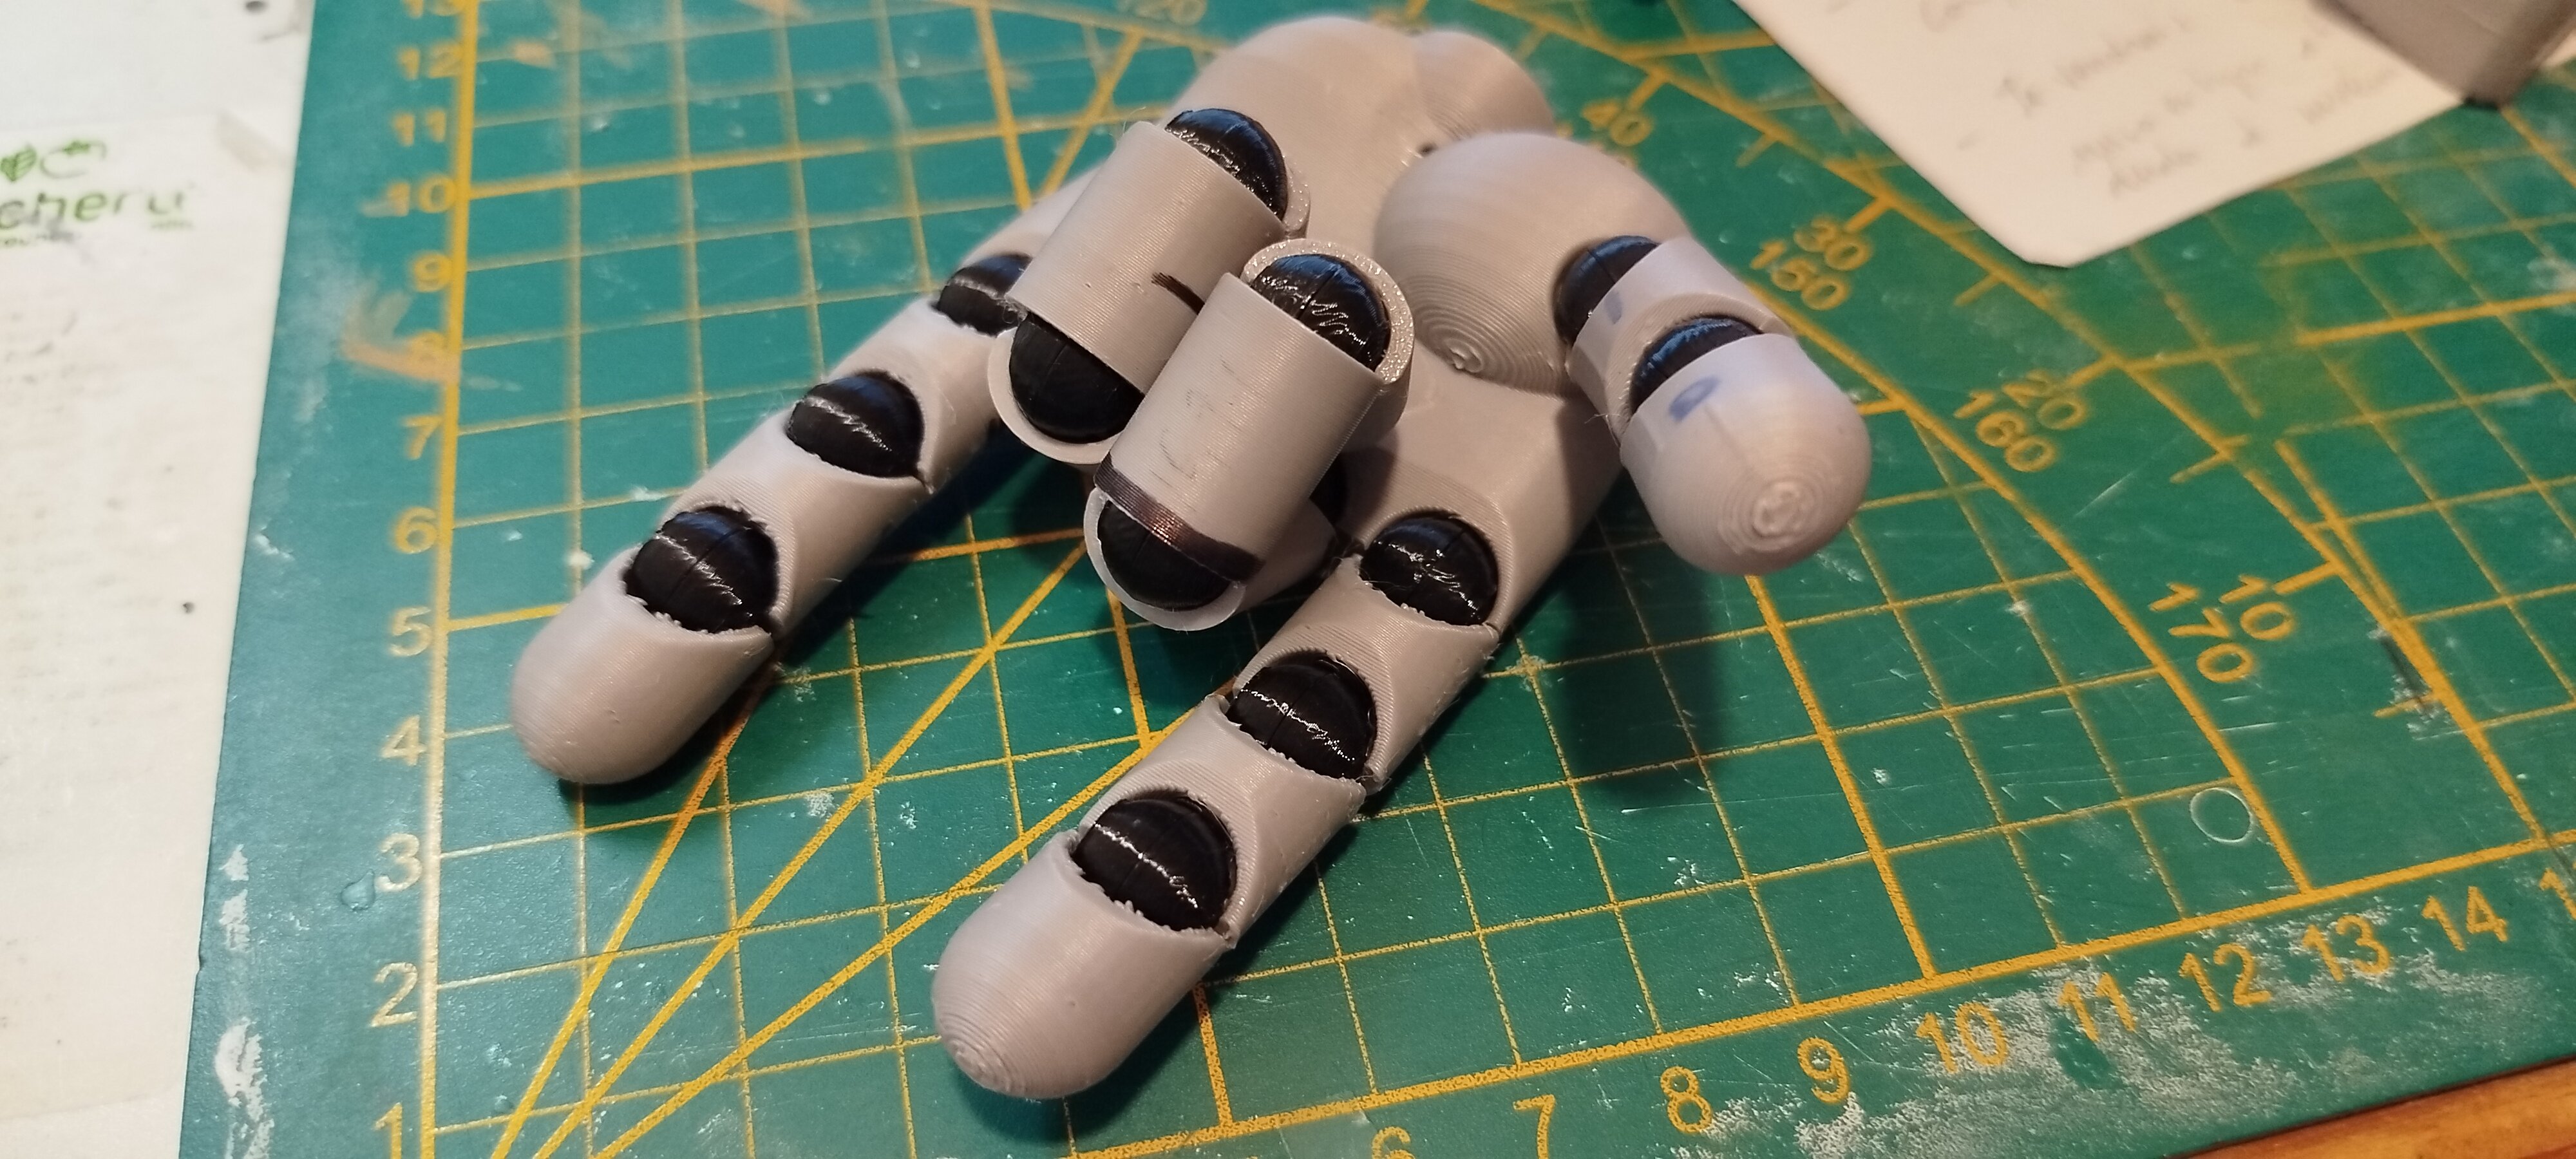
The hand prototype is bigger than expected It will be resized to the correct scale later

-
Working on articulated fingers . It's gonna look nice