

SteveTheFish
-
Posts
117 -
Joined
-
Last visited
Content Type
Profiles
Forums
Events
Gallery
Posts posted by SteveTheFish
-
-
Hey guys, I'm colorblind, so a little help would be appreciated. I have my Imai/Banda Q-Rau primed and ready for painting. I was thinking of using Tamiya XF-27 Black Green for the upper arms, thighs, feet, etc and Mr. Color 135 Russian Green 1 for the body, forearms, legs, etc. Would this be appropriate? Any suggestions?
I already painted the feet and such with Mr. Color 136 Russian Green 2 (which is darker), but it's just not dark enough. That's why I was thinking of going with the Black Green color.
(And FYI since there is always somebody who doesn't know what being colorblind entails, I can see colors, but sometimes my perception of color can be a bit... slippery, if that makes sense. I have to see some colors next to other colors in order for me to realize what they are. Especially red/green/brown can be confusing to me.)
-
-
12 hours ago, pengbuzz said:
With that kind of weight, you might want to check to see if there are any cast metal landing gear struts for your model. I found a set of 1/48 that should work for you:
https://www.hlj.com/1-48-scale-p-38-landing-gear-for-hasegawa-sac48031
Thanks! Yes, I hadn't thought about it sagging under the weight. Incidentally, I happen to have an HLJ coupon for my recent birthday I can use on it. Thanks for the tip!
-
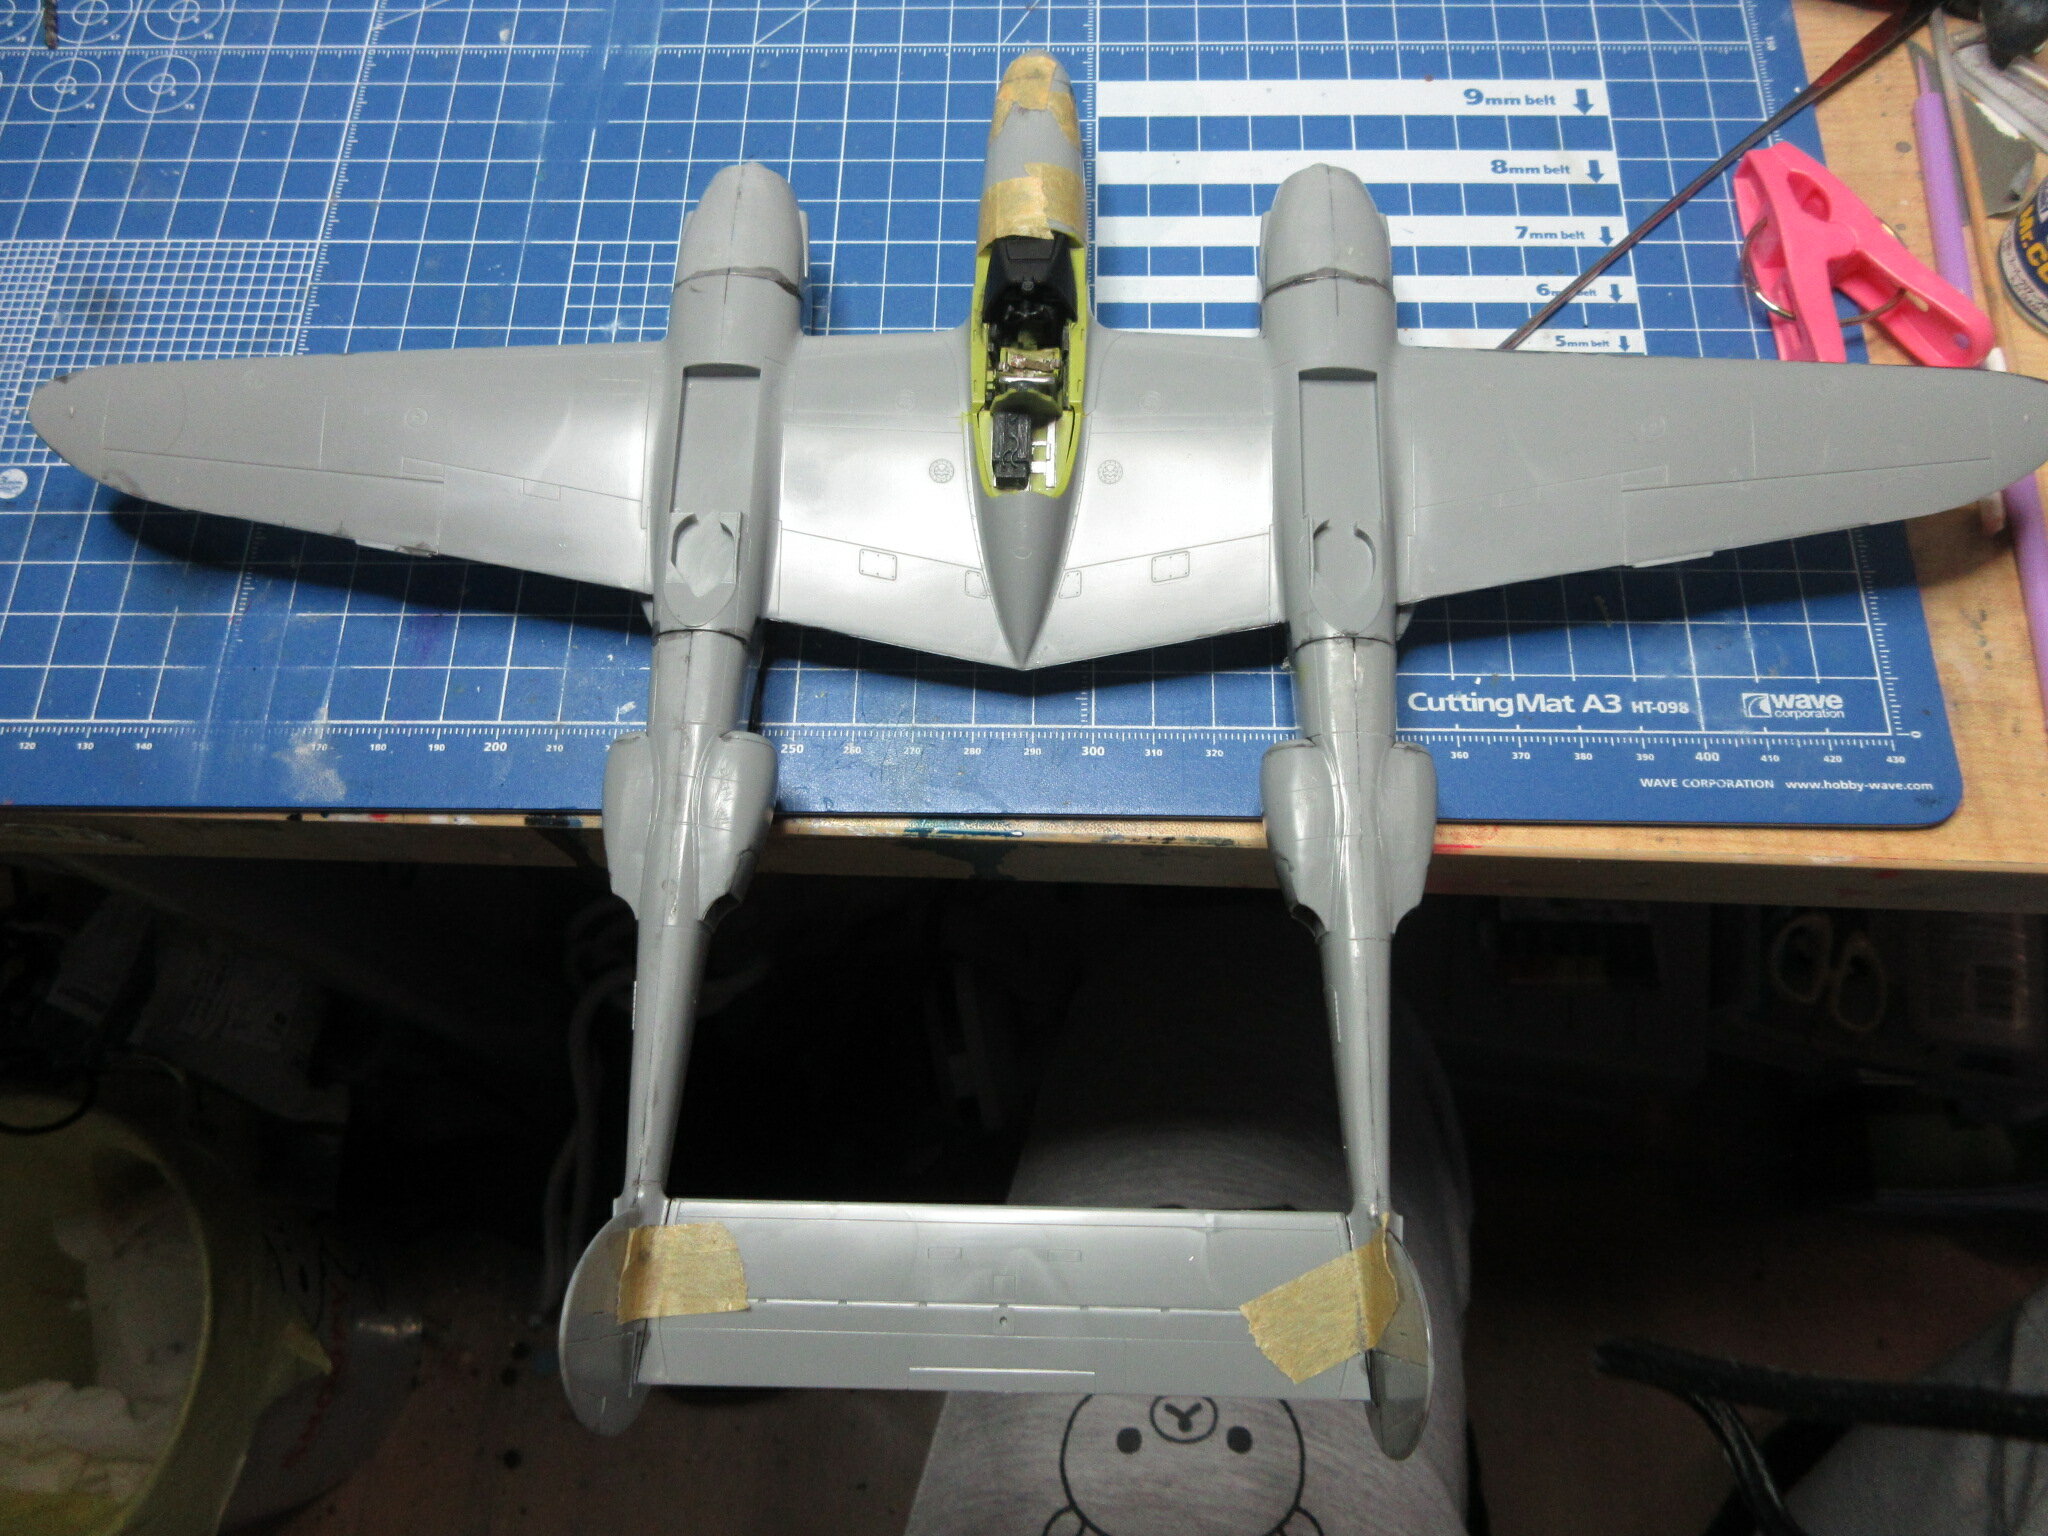
For the Hasegawa P-38, you attach the nacelles to the underside of the wingspan/cockpit and then the underside of the wings. The connection between the engine nacelles and the top part isn't very good. It will require a lot of filing. The nose requires a lot of weight to keep it from becoming a tail sitter. 35g!
-
Yeah, the proportions on Breetai's flagship are off. I'd think the model would need to be longer or something. It's too brick-ish and needs to be tapered.
-
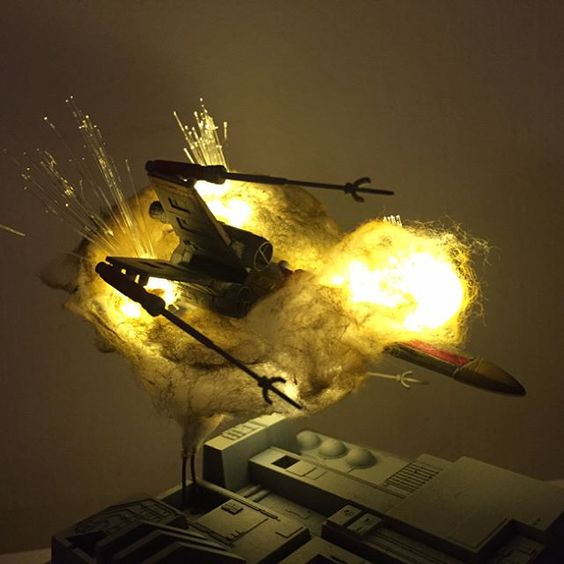
Oh yes, and I've been recently working on a batch project of all four of ARII's Zentraedi capital ships: Breetai's flagship, Kamjin's flagship, the LST, and the standard battleship. I've put two videos on YT of this build so far.
-
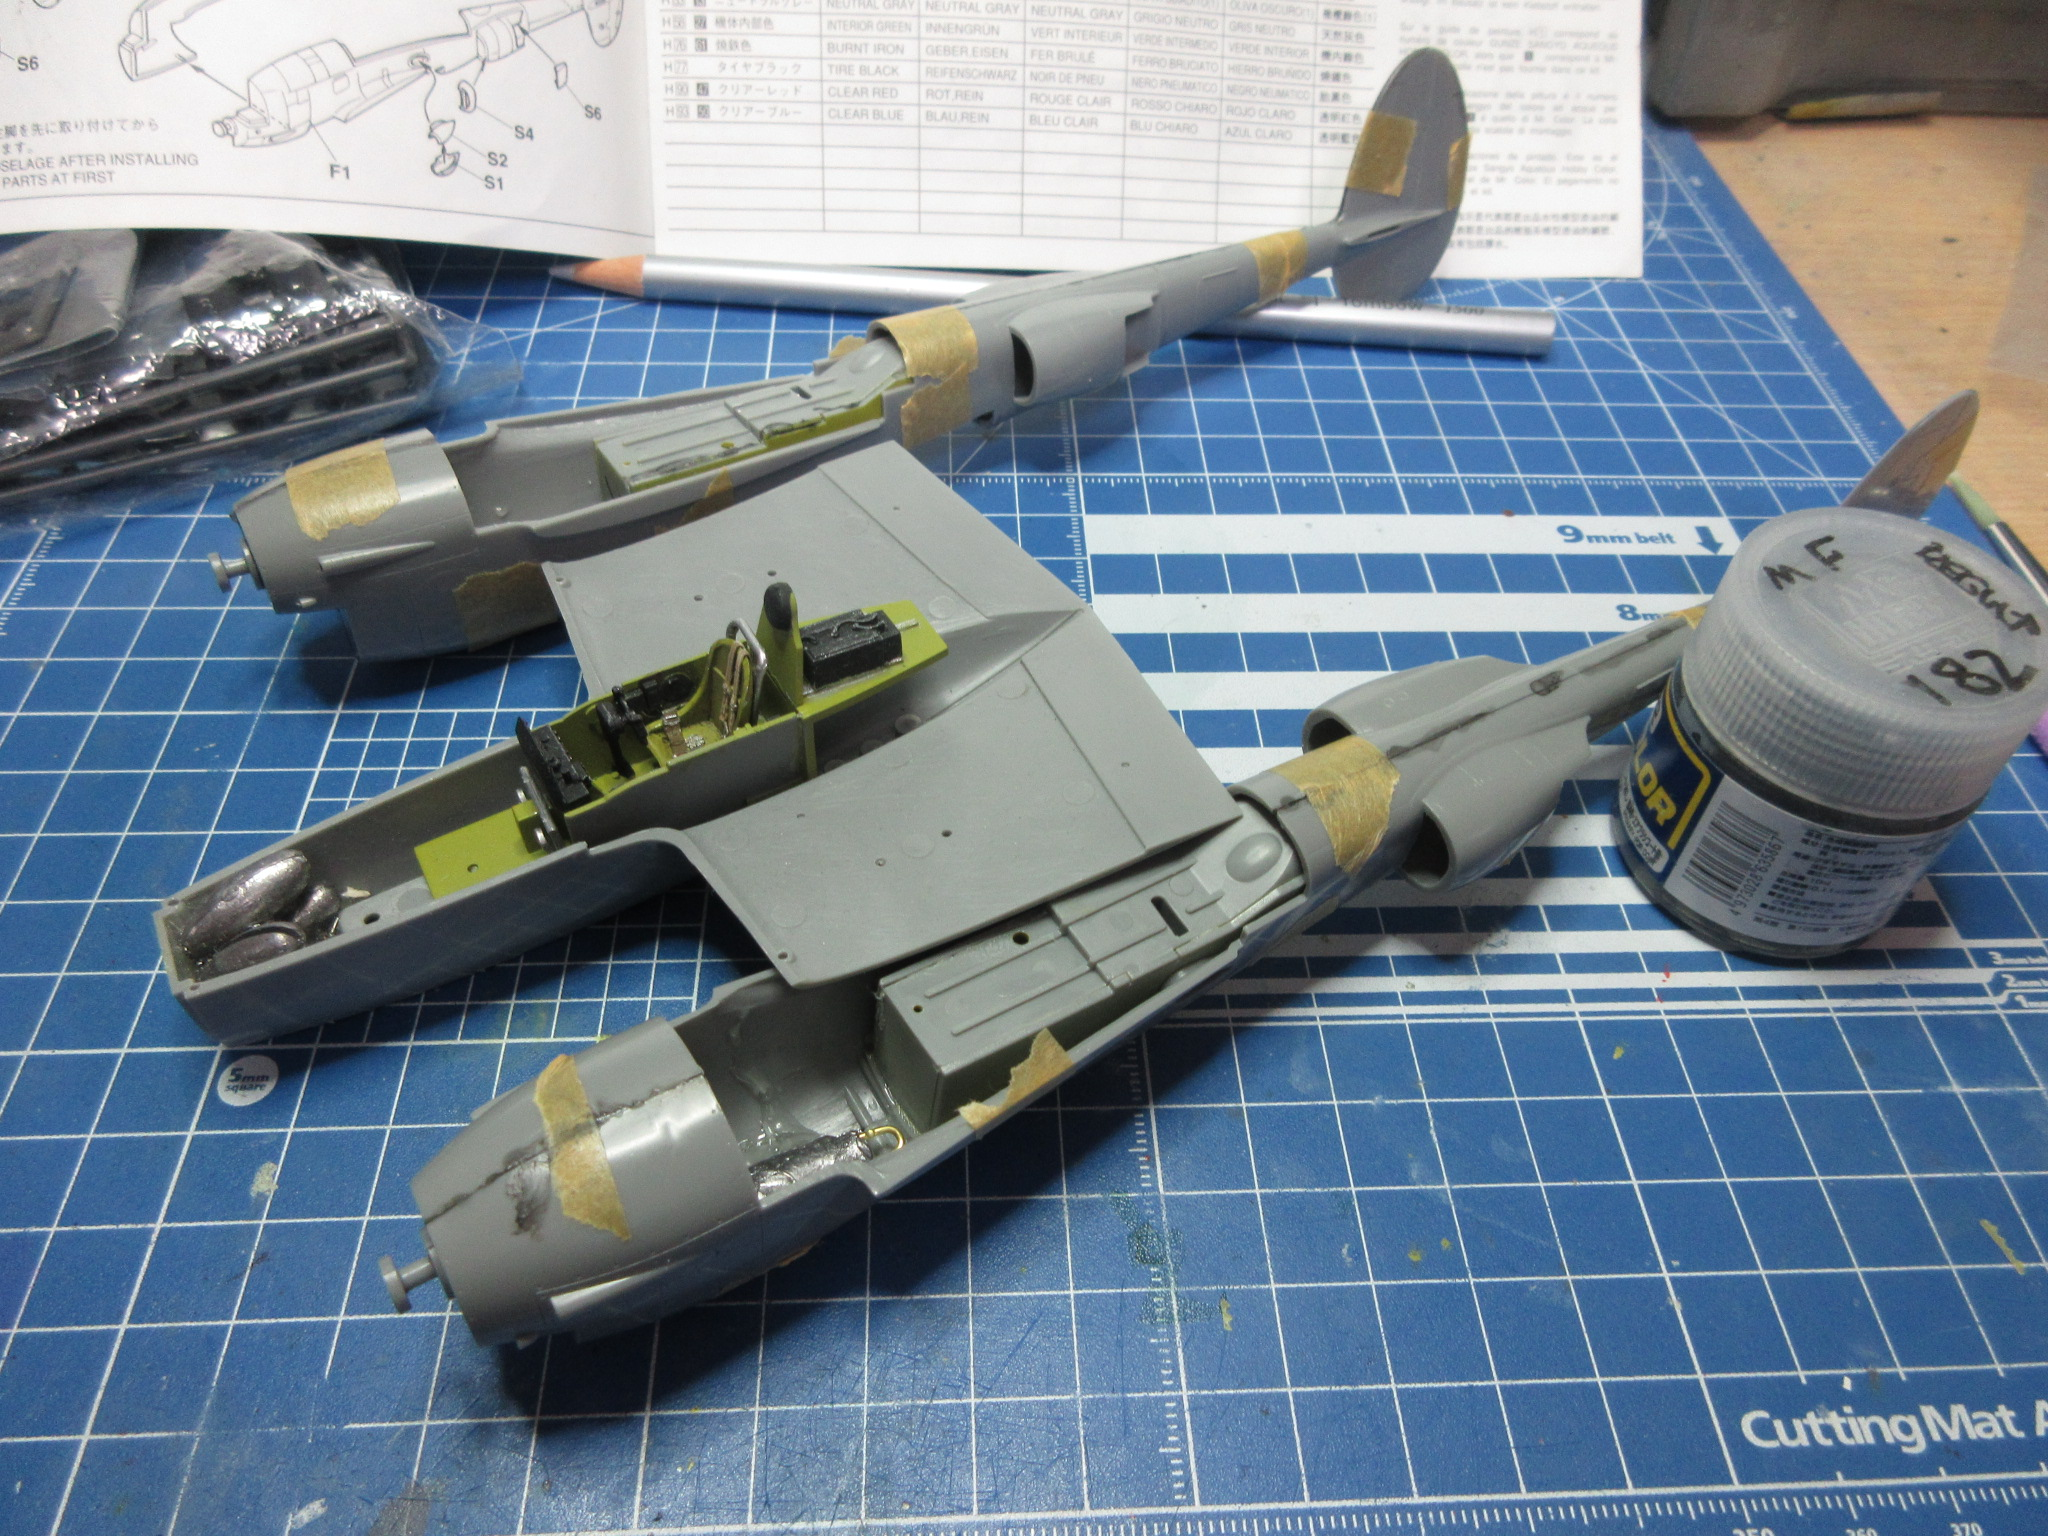
I got back to my 1:48 Hasegawa P-38J "Virginia Marie" build. I added Fine Molds' seatbelts to add detail and they look nice. People complain about the wheel wells on the engine nacelles and I see what they mean. They could have been engineered a bit better, with locator teeth to get them to fit together more tightly. The halves also require a lot of sanding for the seamlines. It's unfortunate because the panel lines are already so shallow.
I have the 1:48 P-38G by Tamiya too. My wife bought it for me for my birthday a few years ago. I want to build this Hasegawa one first to give me more of an appreciation. Then my friend in the UK sent me a 1:72 P-38J by Matchbox. The decals are only so-so. I've been talking to the gentleman at Bestfong Decals in Taiwan to order a set of Republic of China Air Force decals for it.
-
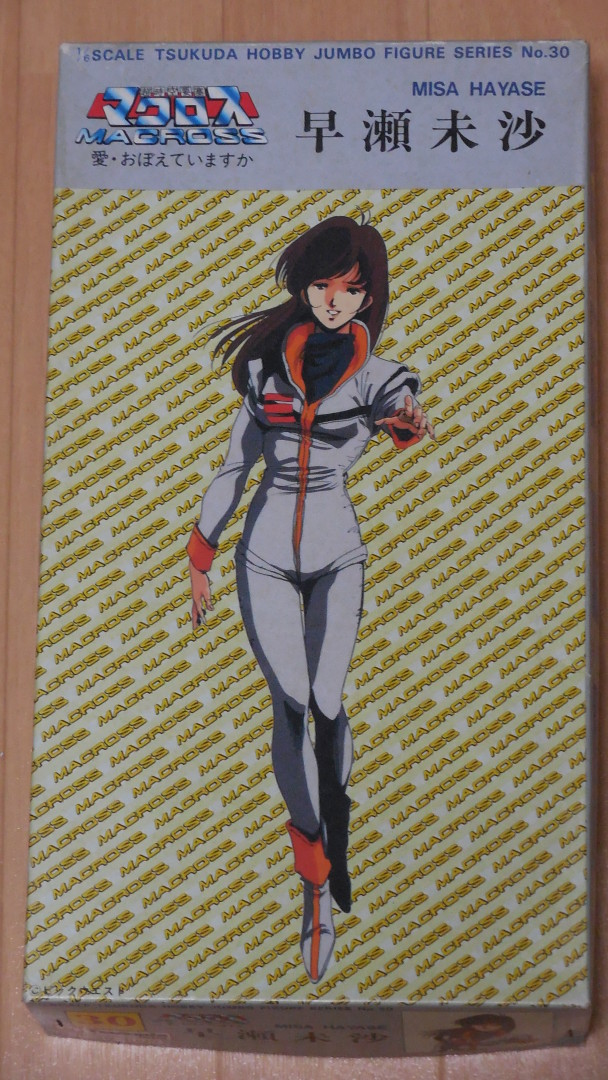
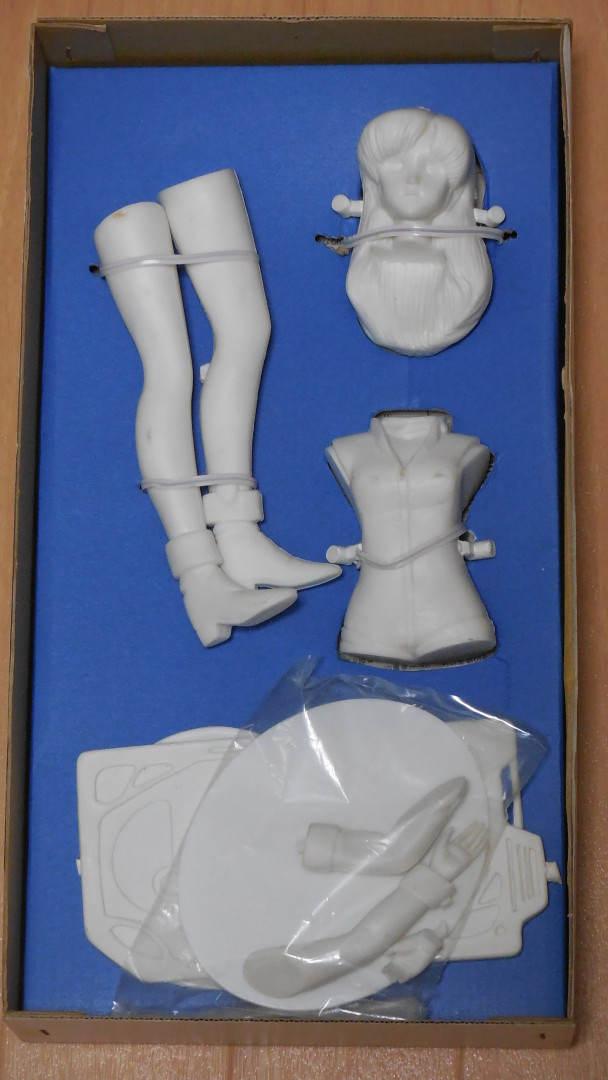
I'm looking to sell my vintage Misa figure by Tsukuda. I'm asking for $30. Shipping from Japan to the US would be about $25. Her parts are complete in the box. Please see the photos. I can accept payment via PayPal.
-
2 hours ago, Chas said:
Scalemates says the Bandai is a reboxig of the '84 kit, which is what I've read and heard since forever, but my eyes are telling me a differet story. At some point Bandai engineered a whole new kit. Parts layout on the sprues is completely different, not to mention the parts themselves being different sizes and shapes with different details.
Bandai completely retooled those Tsukuda kits. I built the Tsukuda Ohmu kit a long time ago. I bought the Bandai version and they resculpted Nausicaa's face and it looks far better.
-
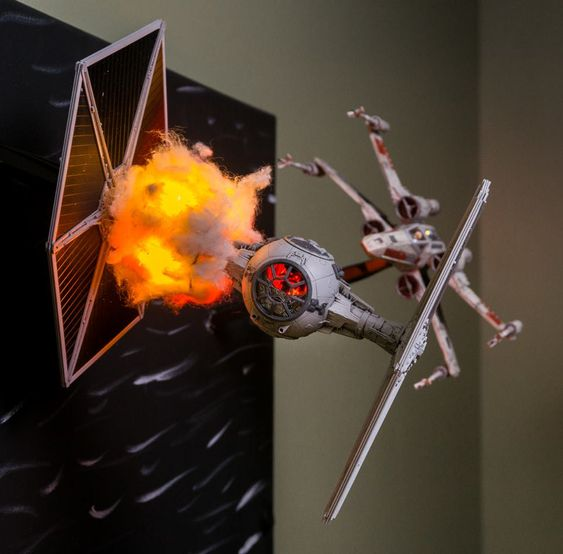
Found these on Pinterest!
-
I only wish... (Found on Pinterest.) Apparently Kaneda-san isn't interested in doing this, though.
-
On 12/19/2023 at 8:34 AM, 505thAirborne said:
Making progress. Now for the two sections I always struggle with, carefully glueing on the front section of the Canopy and then the landing gear... those tiny little parts for the gear/struts are hard with big old fingers.
Nice! I love the YF-23. For a while, the Japanese government was considering resurrecting the YF-23 and adopt it as their stealth fighters to eventually replace the Mitsubishi F-2 (their bigger, beefed-up version of the F-16). I was excited at this prospect, but they ultimately decided to instead invest in an all-new design rather than resurrecting a 20+ year old fighter.
I bought the old Dragon 1:72 scale YF-23 kit. It's not as accurate, but it's cheap. I ended up not using the decal sheet at all, and instead used a bunch of spare decals to instead build mine as a hypothetical JASDF F-23 as though Japan had gone ahead and adopted it into Japan's air force. Here is my build. I did a meticulous digital camo scheme from scratch.
-
8 hours ago, tekering said:
I teach twelve year-olds who regularly forget to capitalize their own names... and I'm the only one who seems to care. 😒
Heck, some of them don't even remember to use Romanji on their English tests! 🙄
Me too, and yes, I see the same thing.
-
They're apparently not fond of capitalizing proper nouns these days...
-
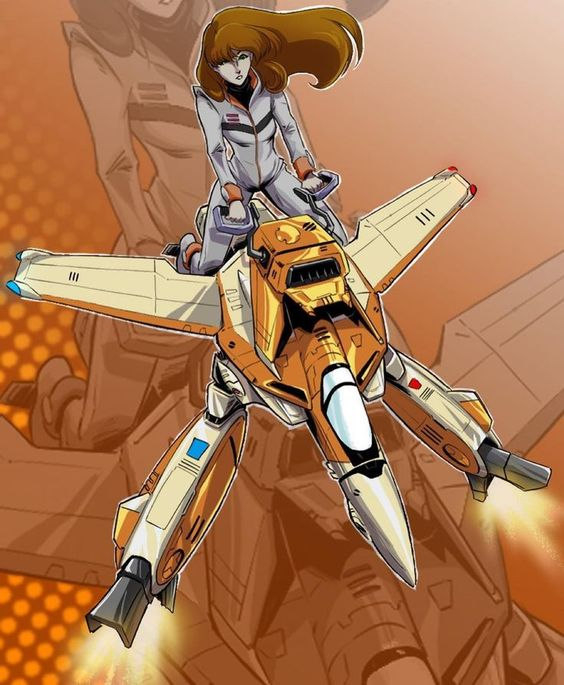
I believe I've seen that one before. Several years ago I had one of Minmay and a Valk, but unfortunately it broke. The Kanteidan store I found it at had a ton of them. I should have bought a second one!
-
On 11/19/2023 at 7:12 PM, Casual.Plamo said:
Hi guys,
I'm new here so I thought I'd post an old build(last year) of mine as a greeting token
")
Was my first Macross kit and planning to do another soon since I've been collecting the kits in my backlog for quite some time now.
I'm probably going to be doing one of the jets next, since I've got a few messages asking me to do one. Never did any before so It'll be a nice learning experience
Anyways, enjoy the pics and check out the build video in my channel(which has a close up 360 of the kit) if you have the time!
If you got any questions about the build or the kit itself you're welcome to ask!Welcome to the forum. It's nice to see another YouTube modeler. I just subscribed to your channel.
-
Nice!
-
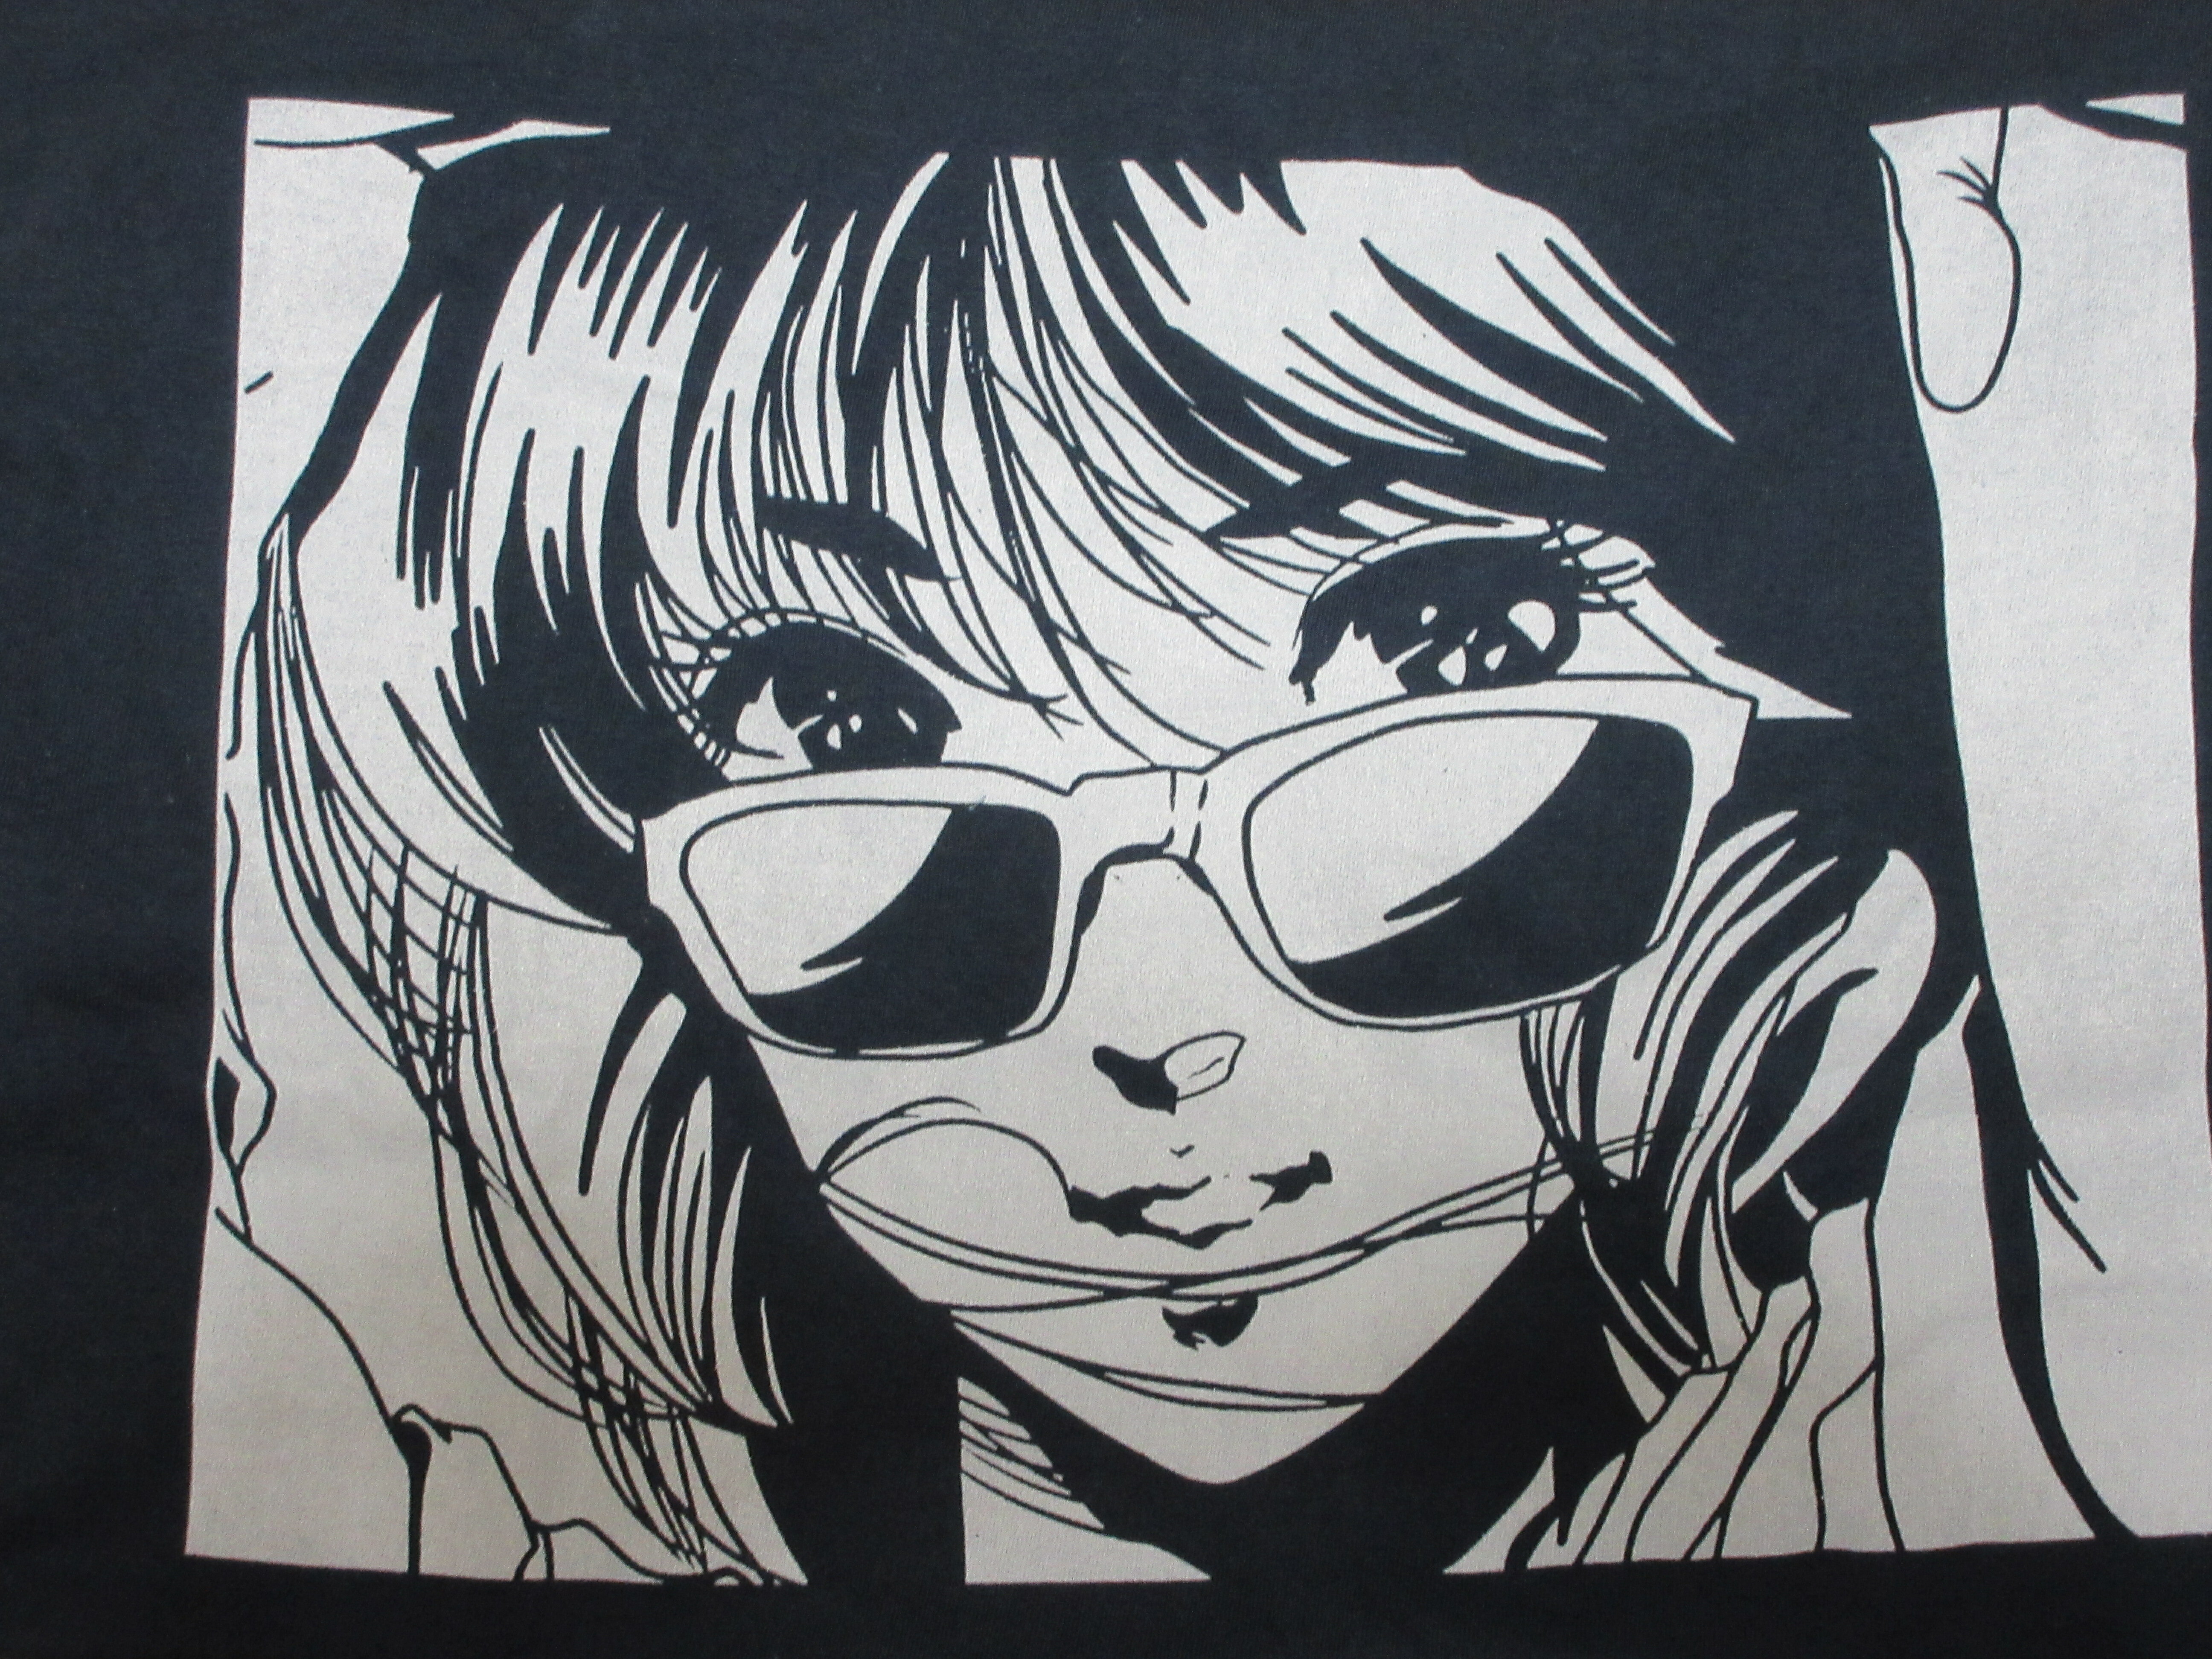
I've had this DYRL T-shirt since high school in the early '90s. Bought it at Atomic Comics in Phoenix, AZ.

This Valkyrie hoodie sweatshirt I bought last year on Aliexpress, along with a T-shirt version too:

This Minmay shirt is a recent acquisition, also from Aliexpress:
-
-
2 hours ago, electric indigo said:
Once I switched to airbrush, I stuck with Tamiya acrylics. I can mix almost any shade I desire, the smell doesn't kill me,
Yeah, the best thing about Tamiya's acrylics is the smell. It's almost kind of sweet smelling.
-
12 minutes ago, Big s said:
From my experience, the tamiya gloss is good if it’s thinned down a lot and used in thinner layers. If it goes on too thick then it takes a long time to dry and gets a little gummy almost rubbery. When it’s thinned though I’ve never run into problems. Just try not to use water. I find it’s oddly better with lacquer thinner
I always use it with lacquer thinner as it helps make it sturdier. But to do a high gloss finish, I spray it on in thin coats to build it up, then go on heavy at the end...
-
I find that Tamiya gloss acrylics do not dry very hard. Even letting it set for days, it is still easy for a fingerprint to cook into the surface. Modeling friends of mine say the same thing, and the one time I ever used Tamiya gloss acrylics to paint a car model will likely be my last. Tamiya masking tape will also disturb the surface. But someone on another forum says that this never happens to him. I dunno... I'm not impressed with Tamiya. The color spectrum is not good for anything but Tamiya WWII models, etc. Future dries hard though. Although it may be difficult to get in North America and elsewhere, Mr. Hobby Aqueous acrylics dry very hard. Even using sticky, gummy box tape won't ruin the surface. You can't easily scratch it off with your fingernail, either. Very sturdy. The only downside is that painting lighter colors atop darker colors doesn't work so well and may require a base coat of white over the darker surface.
-
I dip canopies in Future Floor Polish, but I imagine that might not be available in Germany. It isn't available here in Japan, so I asked my friend in America to bring me a bottle once when he came to visit me. That bottle has lasted a long time.
-
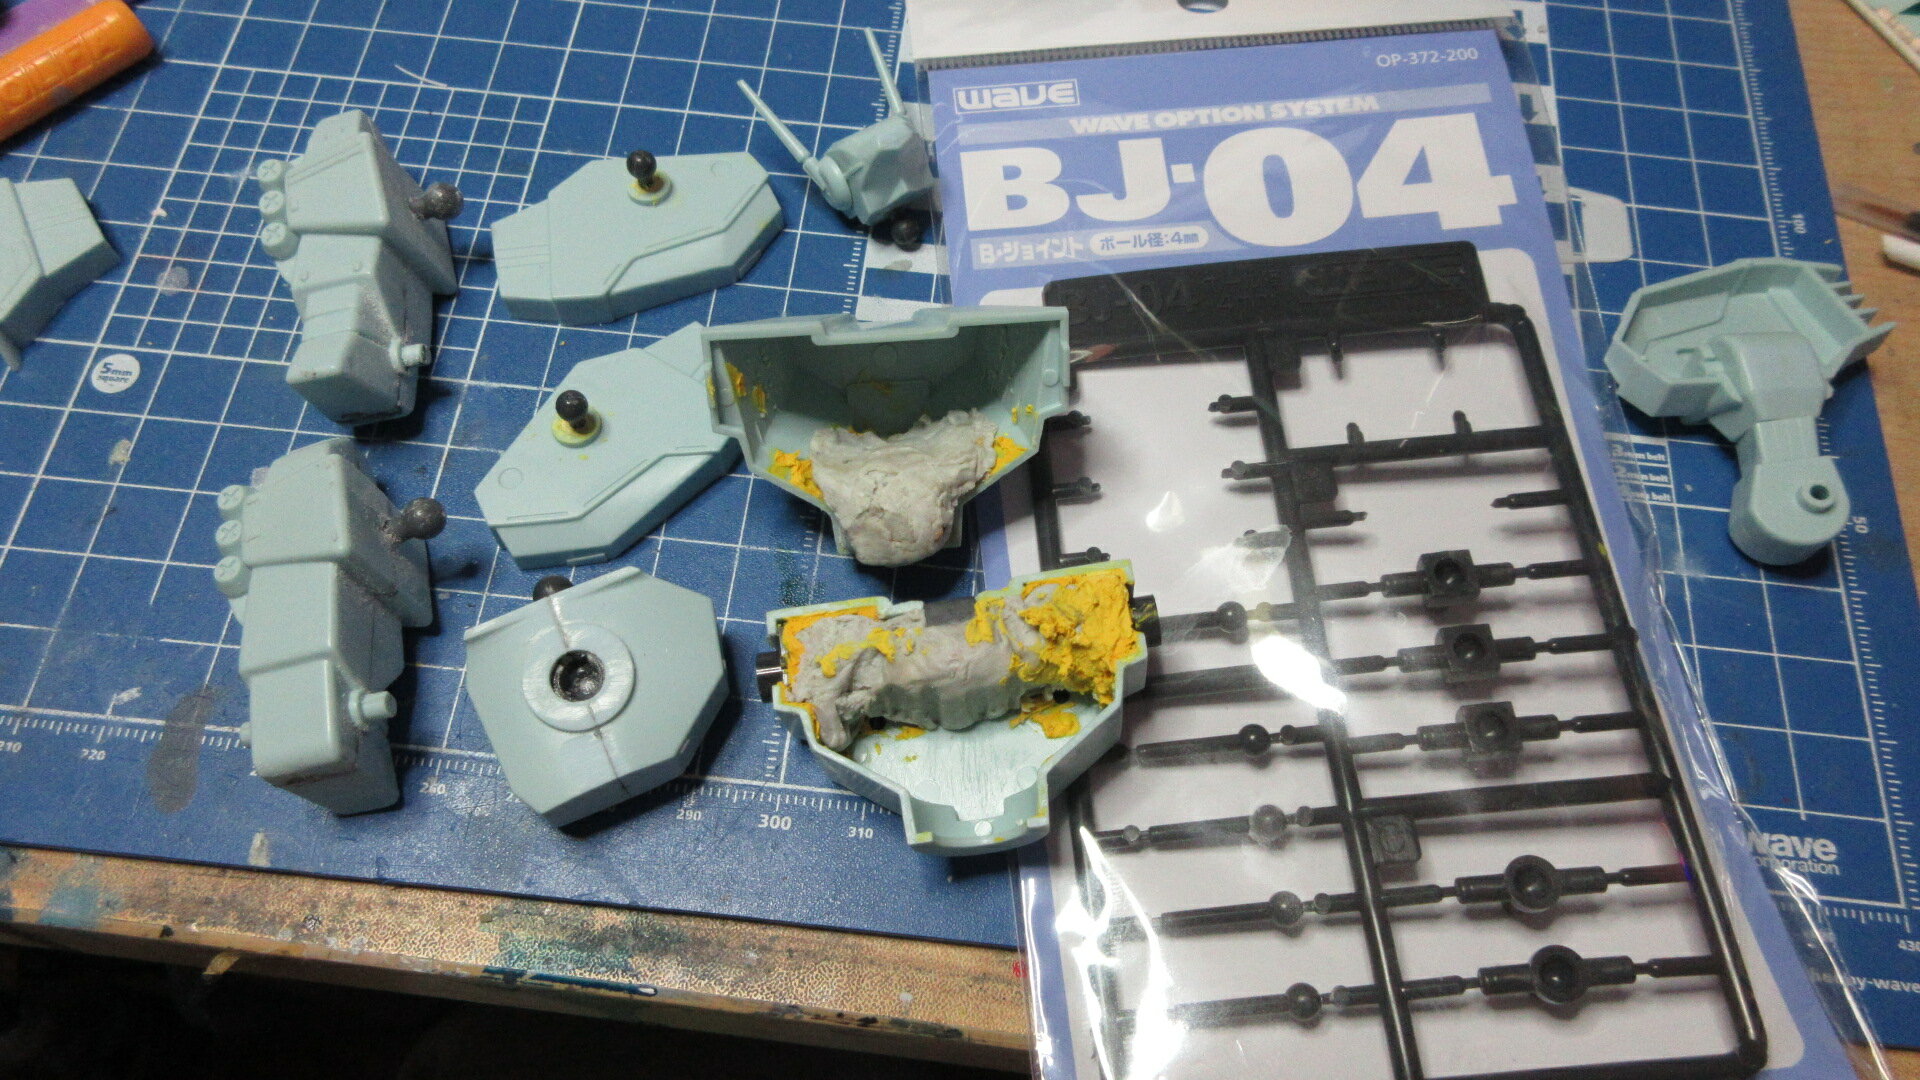
I think I am done articulating my Imai Armorded Valk. I've used ball joints by Yellow Submarine and Wave. For inside the body, I first used poly putty (the yellow stuff) and then reinforced the crap out of that with epoxy putty. I'd hate for these to bust loose once I try to pop the balls into the sockets.

Whats Lying on your Workbench MK IV
in The Workshop!
Posted
That looks good to me! I'd say using German Gray for those dark parts would be good. Thanks! The Imai/Bandai instruction booklet color choices suck. It suggests using purple for what looks like very light gray to me. I think I might try switching to Mr. Color 66 Bright Green for the main body color after all.