Bushwood3006
-
Posts
62 -
Joined
-
Last visited
Content Type
Profiles
Forums
Events
Gallery
Everything posted by Bushwood3006
-
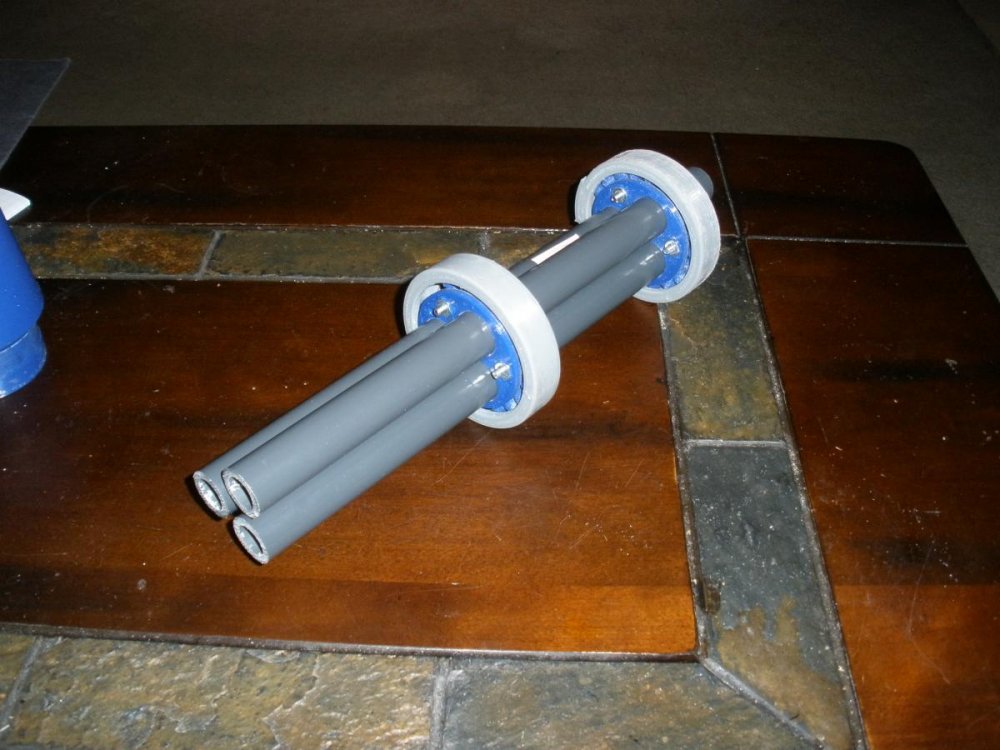
I wanted the barrels to look imposing so decided to use 1/2" PVC pipe. Tried to make it smaller but with 3 barrels and the bearing for it i had to make it bigger. My first post was the original design. Looked way to small. I like the bigger look, now it just how can I keep it big and still handle-able.
-
Yea its gonna be finished and painted. The bulk will just be skinned in sheet styrene, and the parts with compound curves and more detail will get a coat of epoxy to add some strength.
-
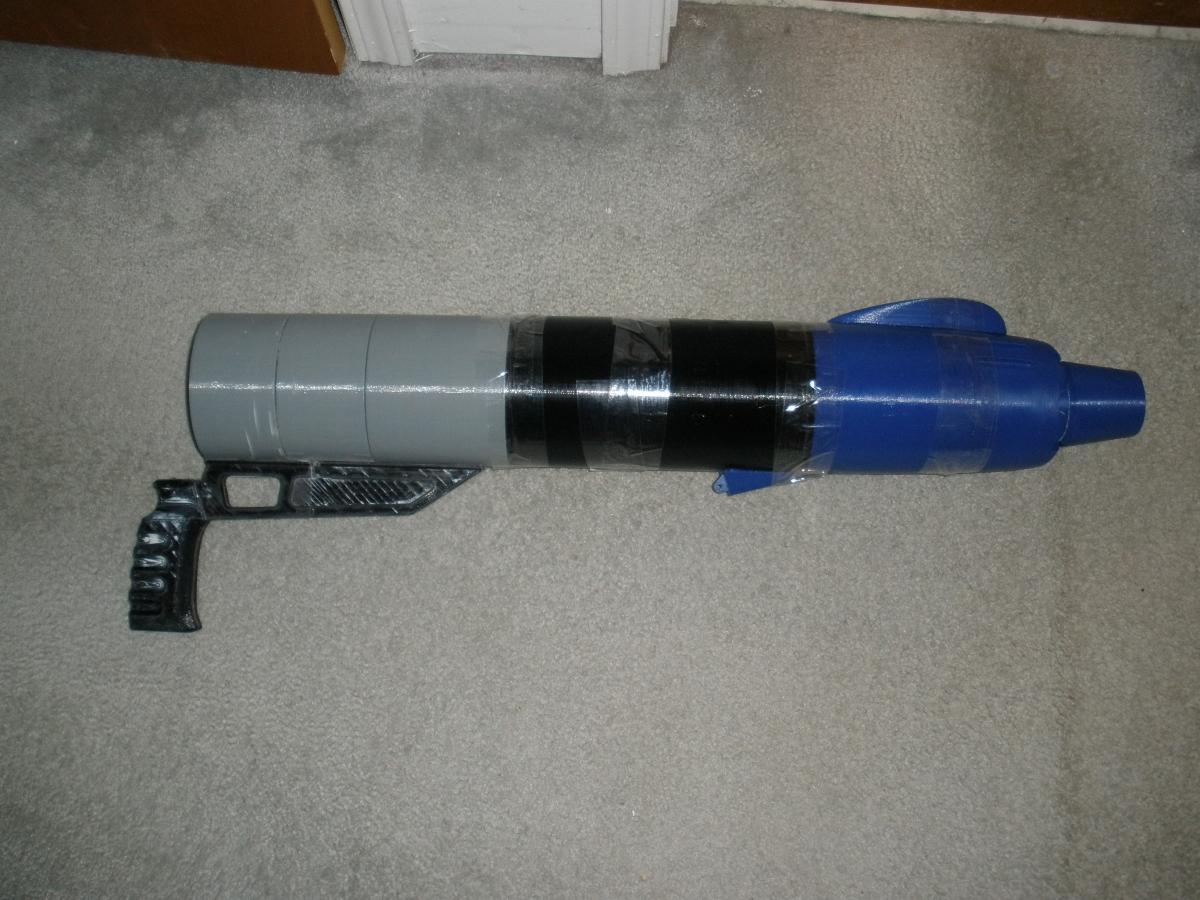
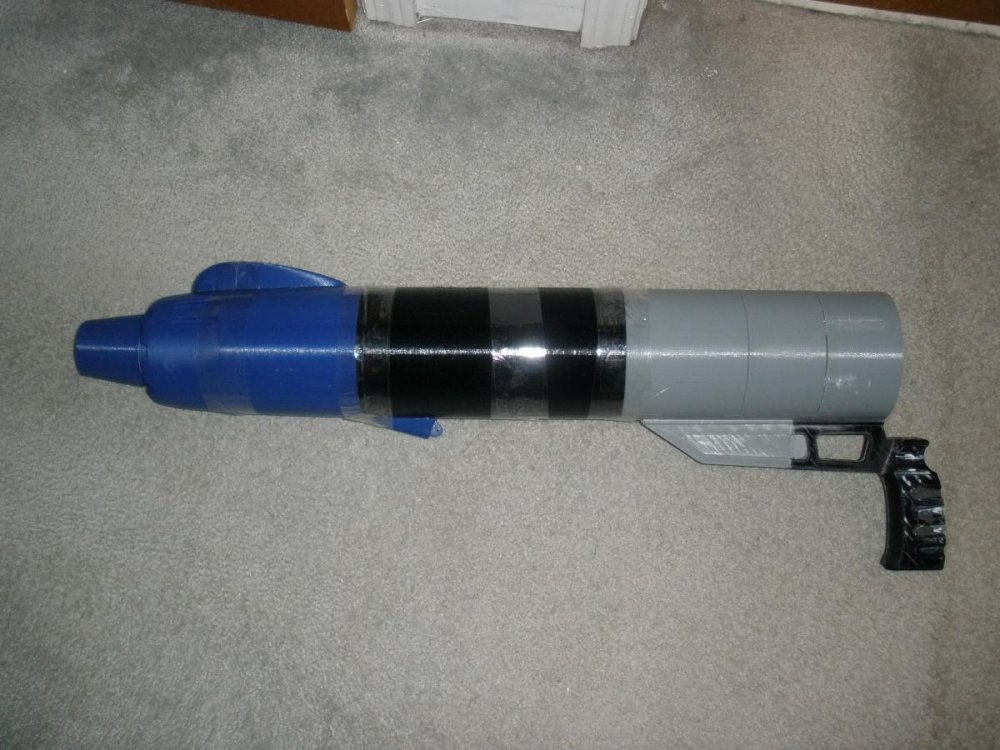
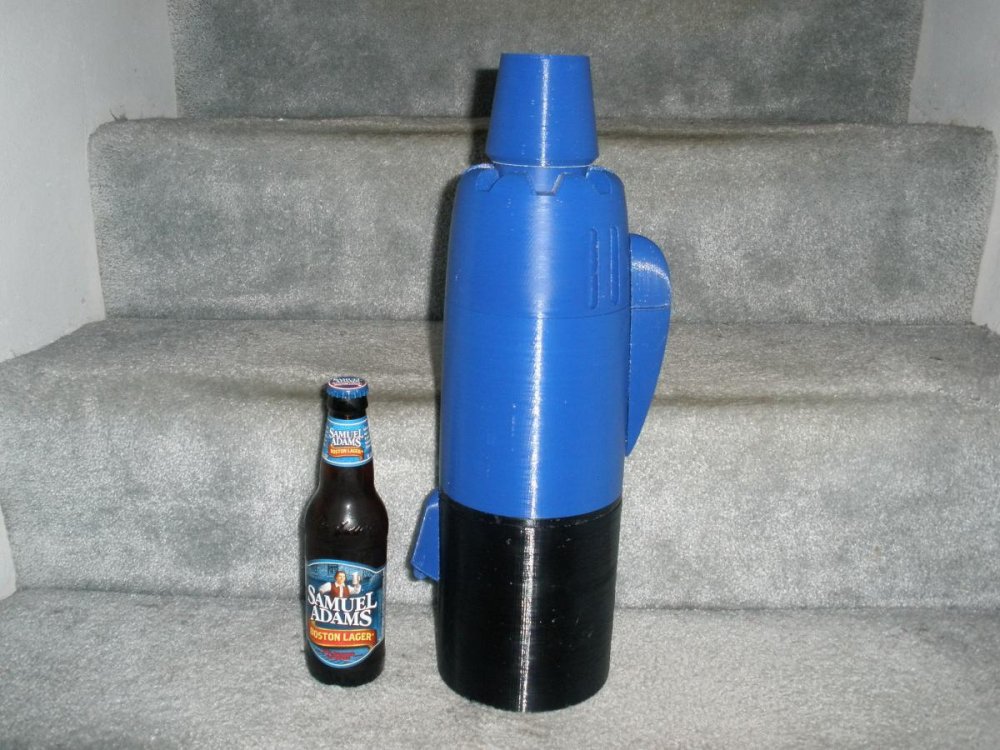
Ok sorry been a while since I did an update, but someone had to go and release Fallout 4. So I blame Bethesda. lol. Have the entire pod body finished more or less. had to do some prints multiple time for tweaking purposes. But her she is as of now. With one of my AR's for scale. I'm pretty happy with fit , but i need to resize some of the buttstock prints. The rear end is way to long to even hipfire, let alone shoulder. Plus as I was taking the picture I realized i forgot to at the rear sling mount, so I need to mod the bottom fin for the 4th time. Oh well. Once that's fixed, on to printing out the rail sections that hold the guts together..... Thats gonna suck.

-
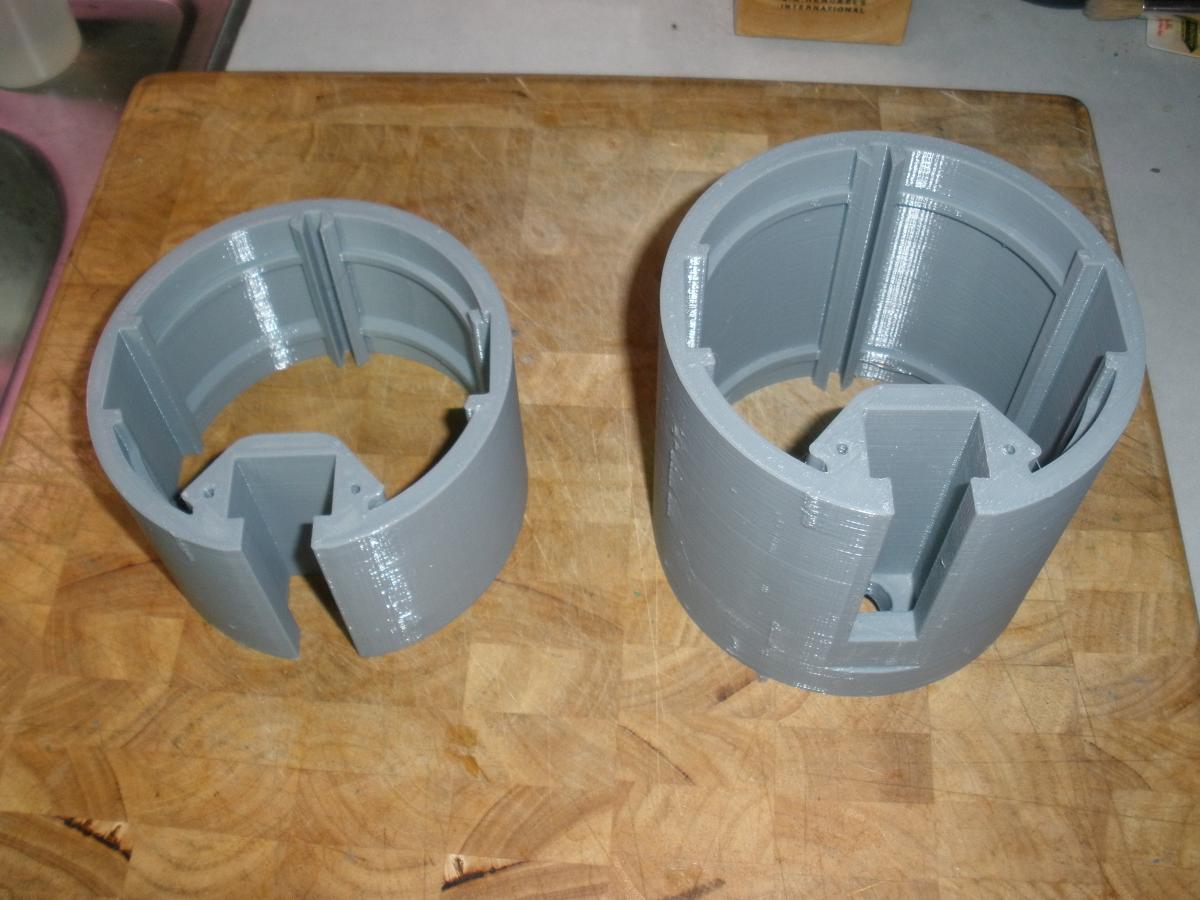
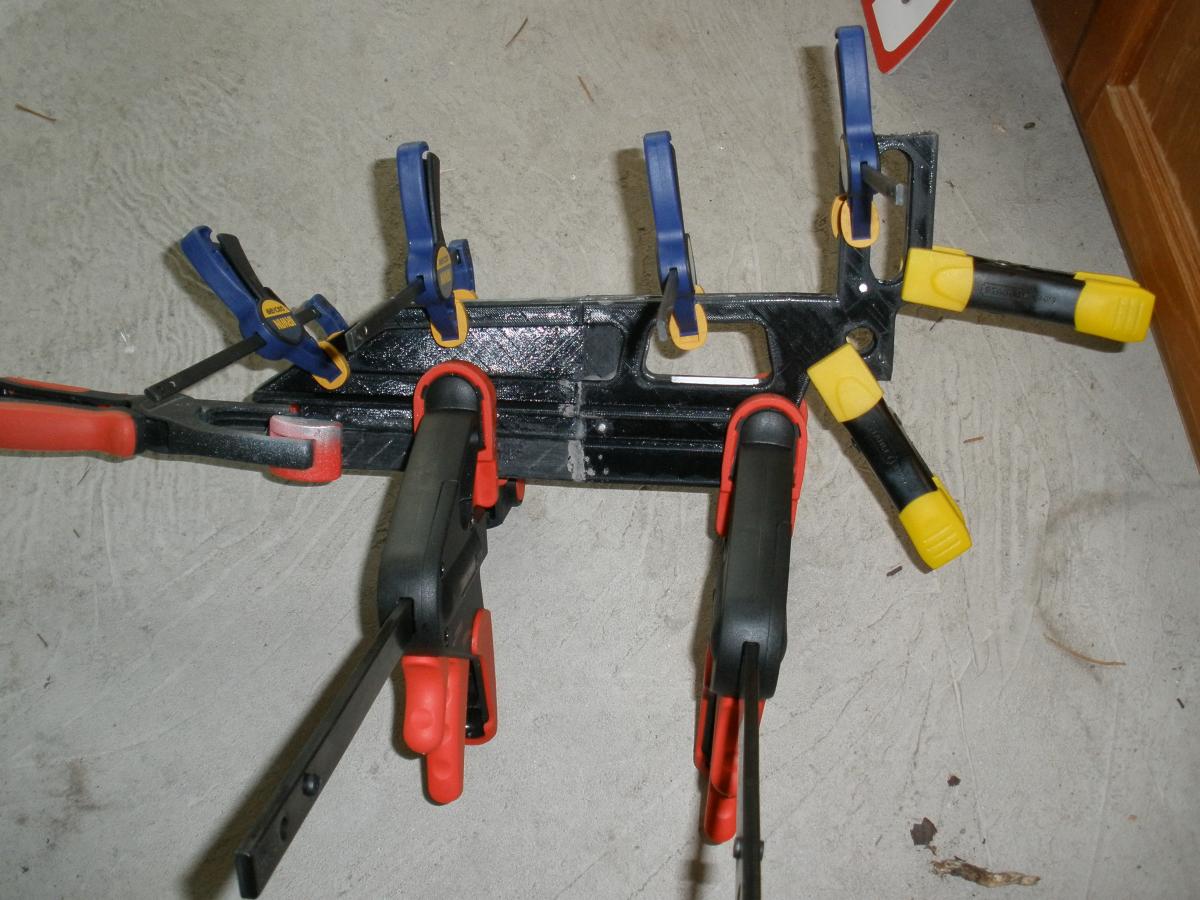
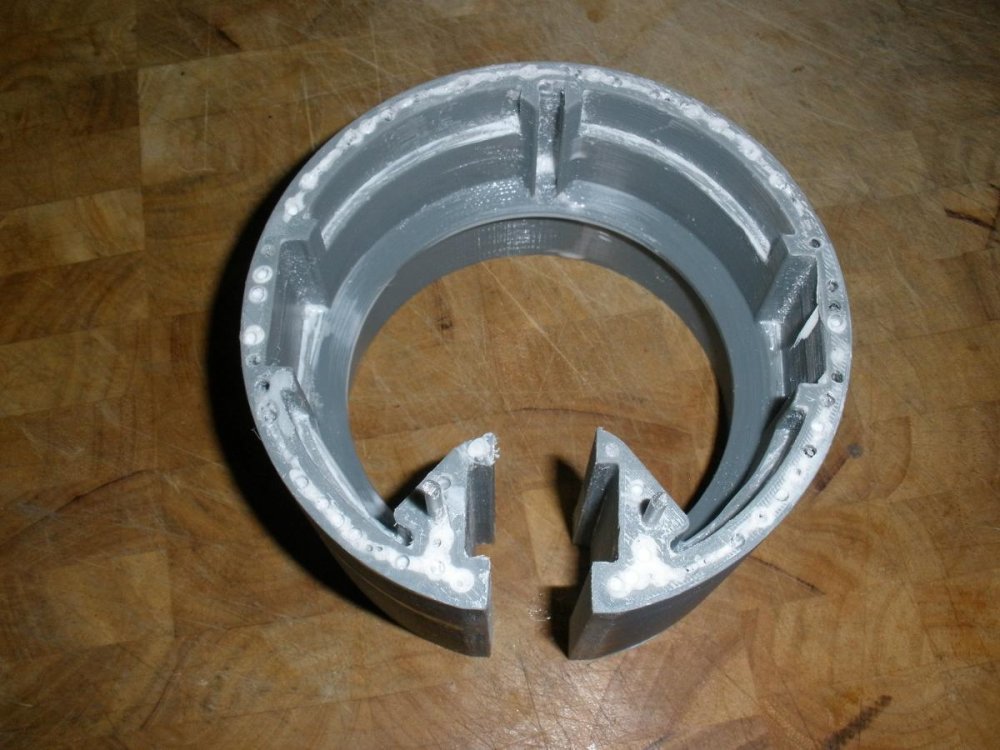
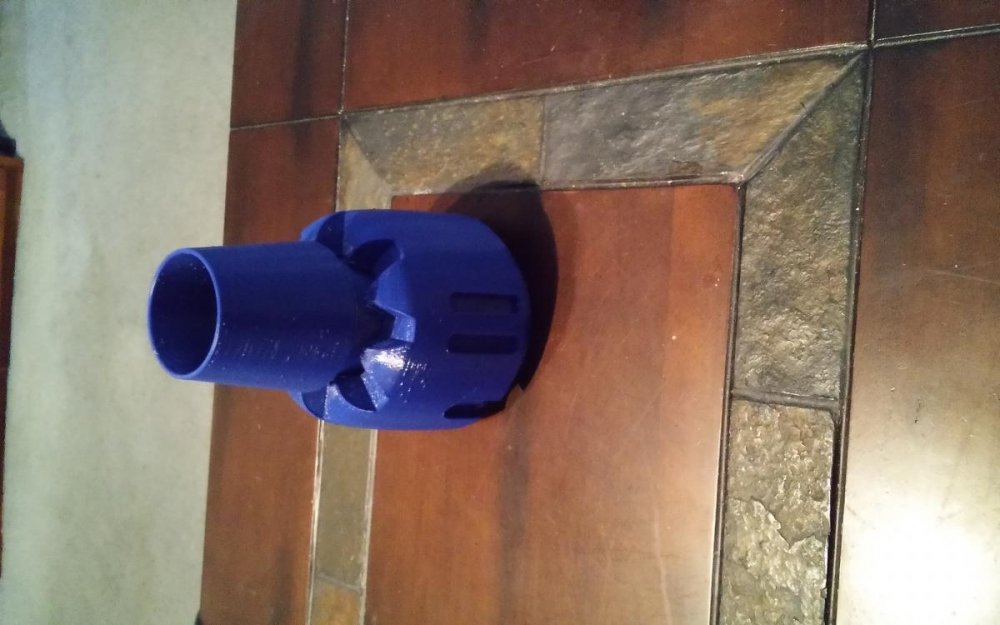
Some updates. got most of the Rotor assembly printed out. and started a little more assembly of the body. Six separate prints to make this part, . All 3 ofthese sections were filled with urethane resin before I assembled it And since I don't have clamps big enough to handle this thing. Improvise. .


-
$999.99. before tax. LOL
-
1000 bucks, ouch. mines gonna be way cheaper LOL
-
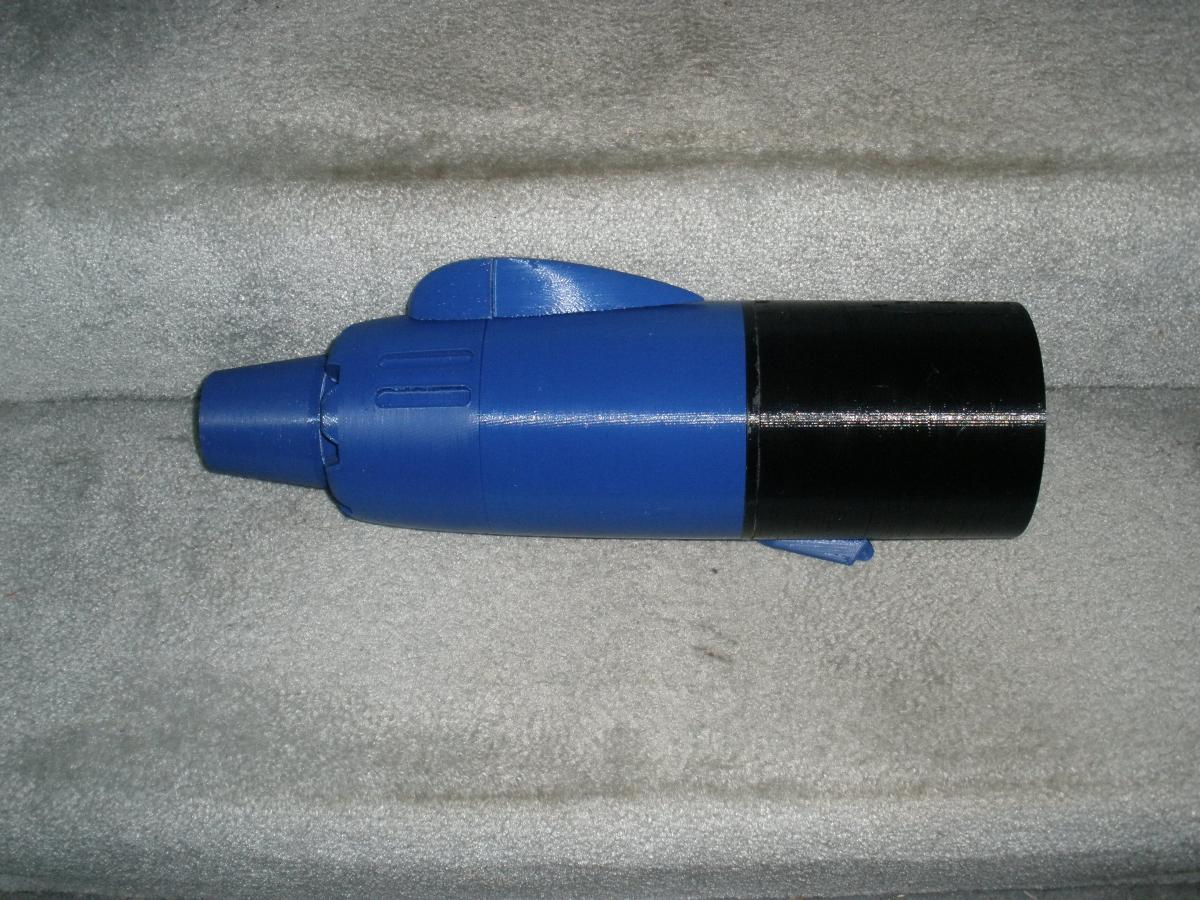
mock up of everything so far Its more durable than I thought it was gonna be. Already dropped it twice and it did break anywhere.

-
Yeaa the last 2 weeks have been like... Oh crap its raining again. Please dont loose power, please dont loose power, please dont loose power.......F@#$!!!!!
-
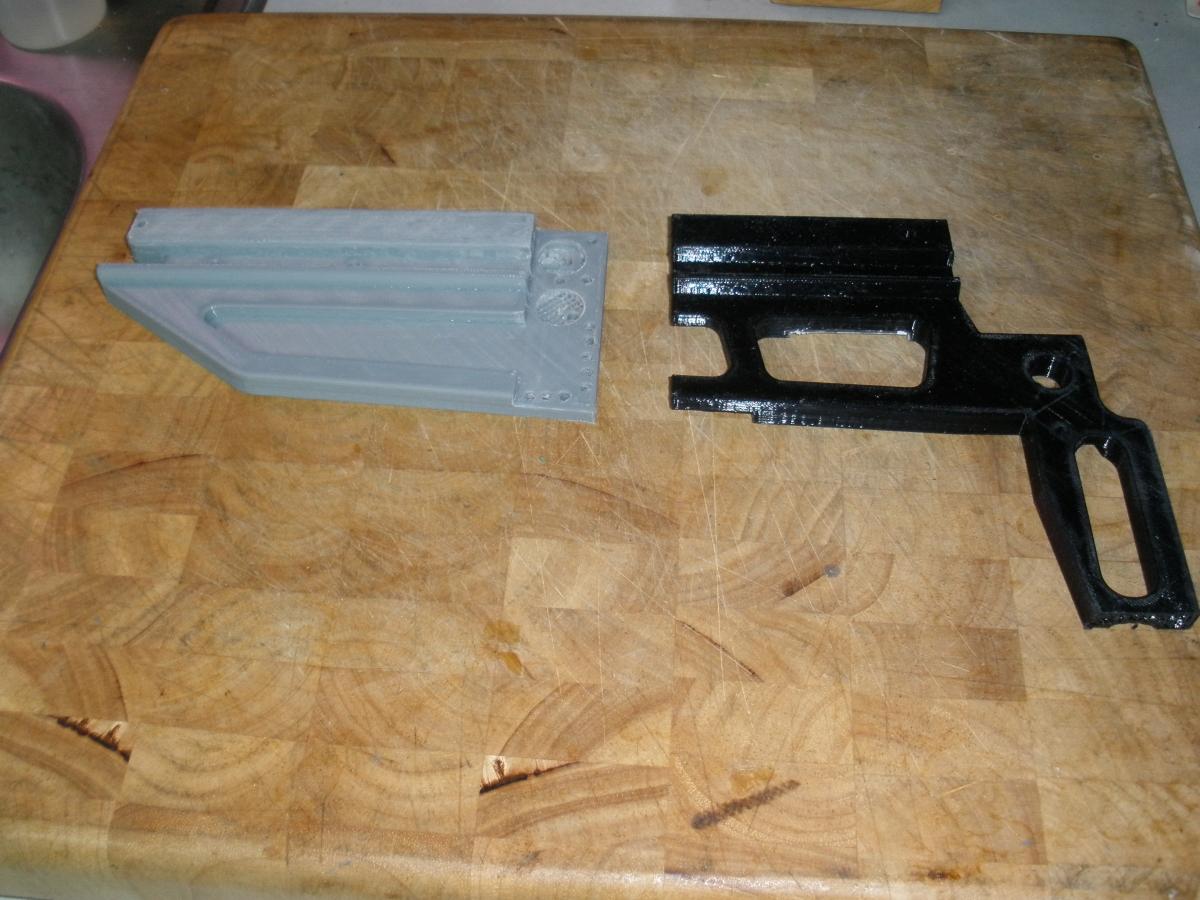
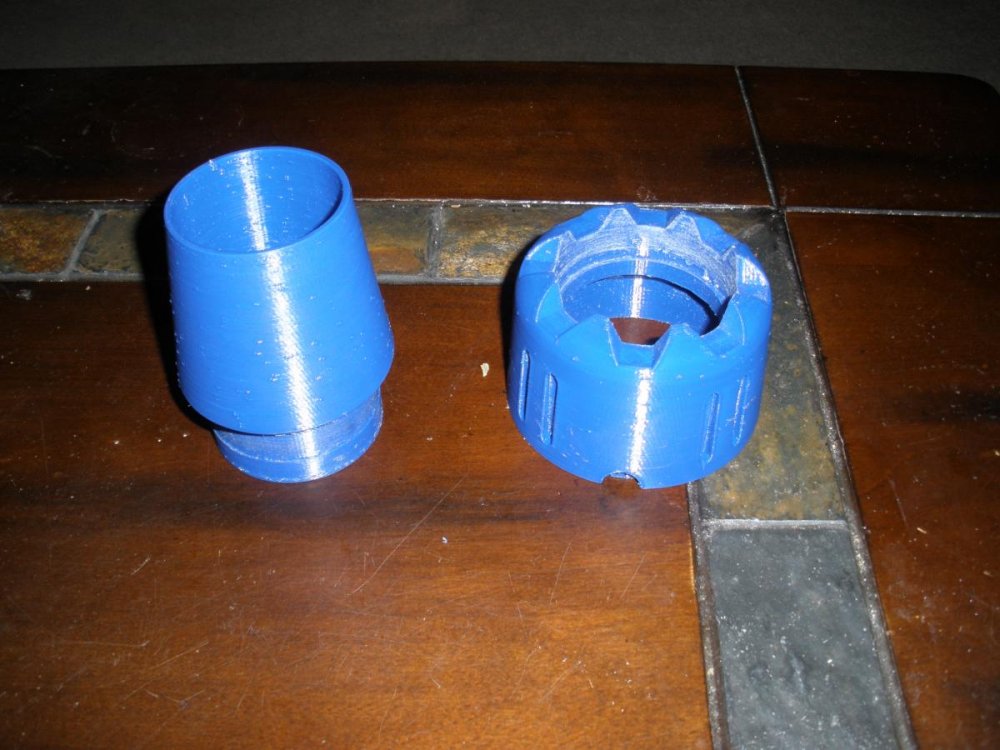
More stuff printed out. Had a few storms lately, and with prints between 10 and 15 hrs, lost a few pieces to power outages. Started gluing up the grip. (JB-weld is your best friend.) The holes drilled all along the seam edge is because i want to infill the piece with casting resin for added strength. so i needed to make sure it could flow everywhere. Also started work on the butt-stock and rotor assembly.


-
In that scale they might be able to put a slip ring somewhere in the neck if they felt inventive, so no wires to buch up.
-
And Preordered!!!
-
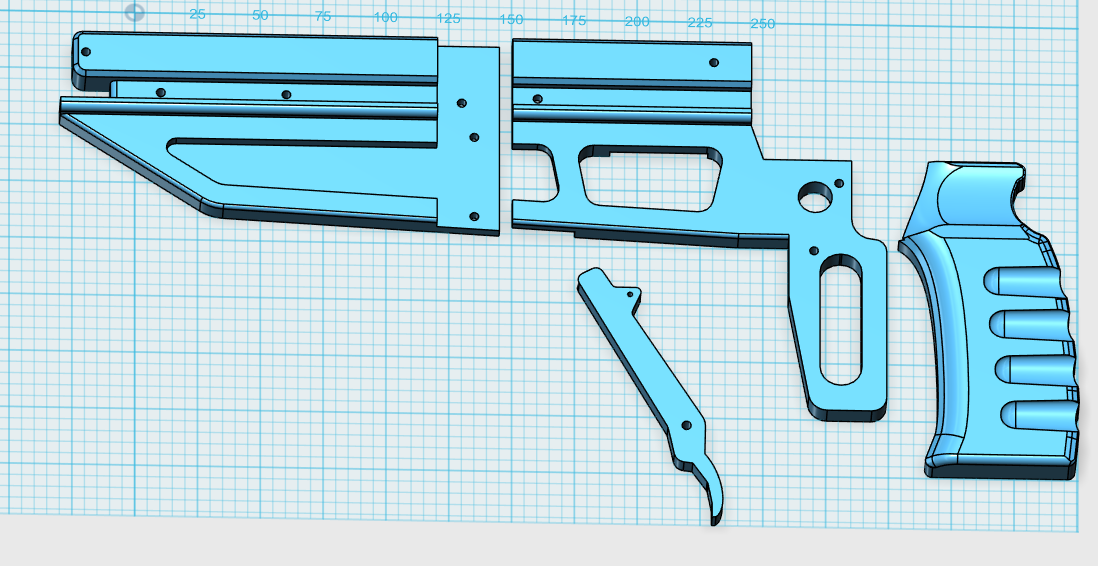
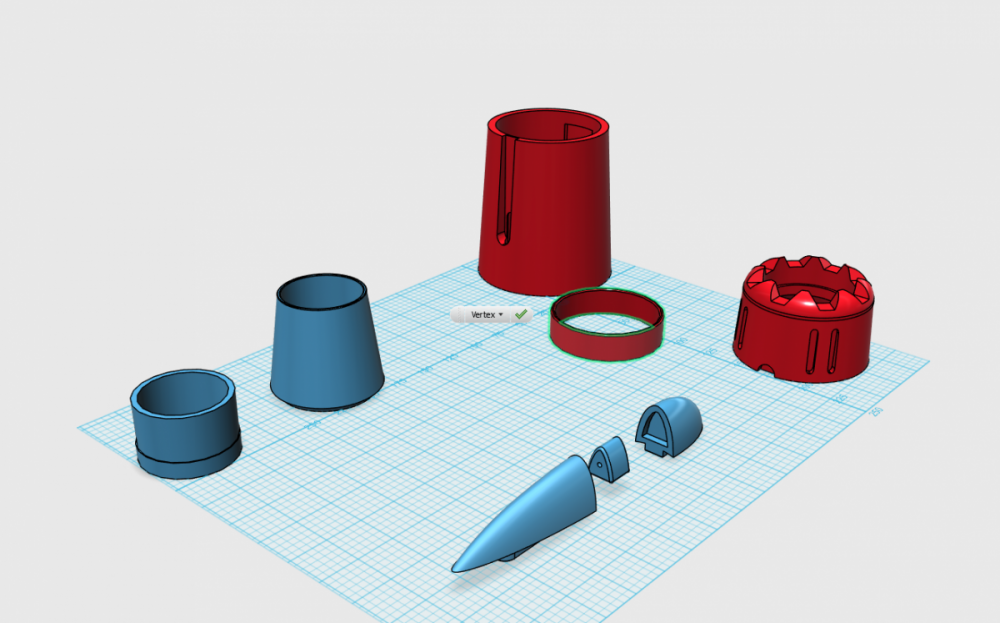
the Cad for the Grip and it's body section. This was a pain to model. Hard to figure out how to make it easily removable and sturdy. Plus i had too many crap on one screen causing the program to crash.

-
Casting small stuff I have no problem doing, but that would be a lot of silicone and resin, even if i made it a hollow cast, and that would end up being expensive Counting just the good parts so far, it's only got a little better than a 2lb spool used so far, and that's only about $25. And probably an equal amount if not more of plastic in failed prints and test pieces.
-
Wait thereis a gun in that pic?
-
Yea sorry not gonna be for sale. But ill probably put the cad file on thingaverse when I'm done.
-
Yes
-
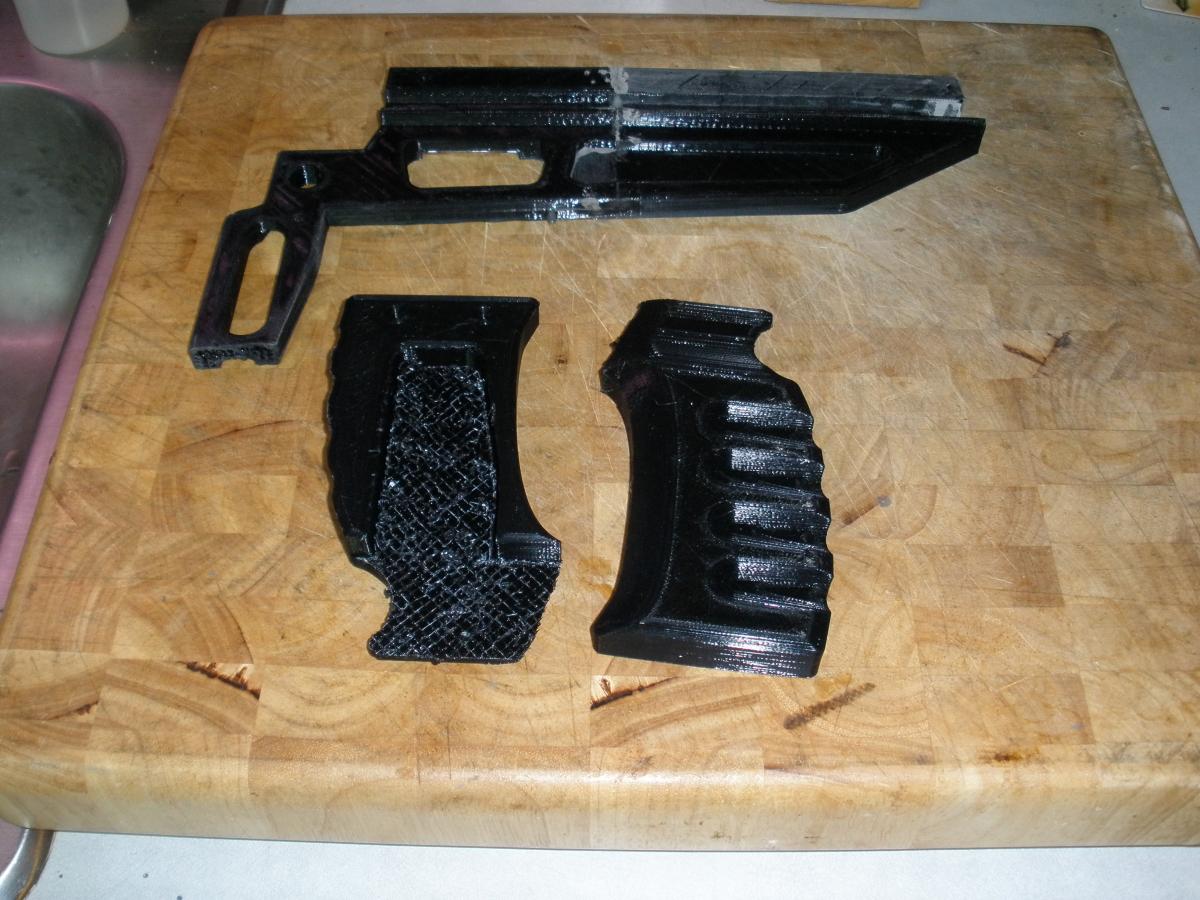
Progress so far. Unfortunately not a lot got done in the past 2 weeks, Added more pieces to the scrap bin than I did to the actual gun. A lot of lessons learned. Like when doing something for the first time with a new controller, DONT DO IT during a 16+ hr print. Had to print out the black piece twice because my controller does not lock the print head when its pause like my computer software did, and i shifted the print head when I went to change the filament (FML). Still fraked it up on the second attempt at it, but it was salvageable this time. I still need design the pistol grip assembly and make it so its removable. Redesigned Cad files , Progess so far for some scale


-
I was probably gonna upload them to thingiverse. once i know it all fits together.
-
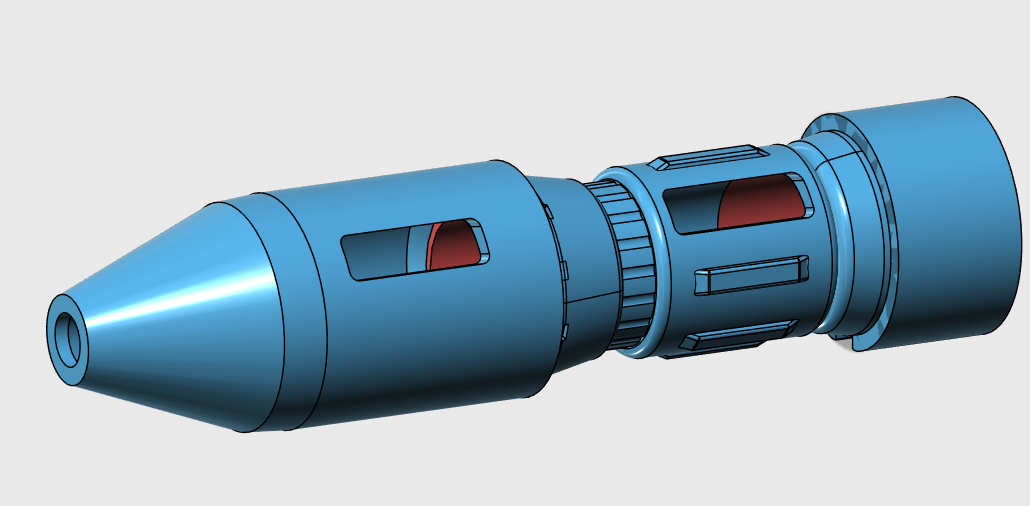
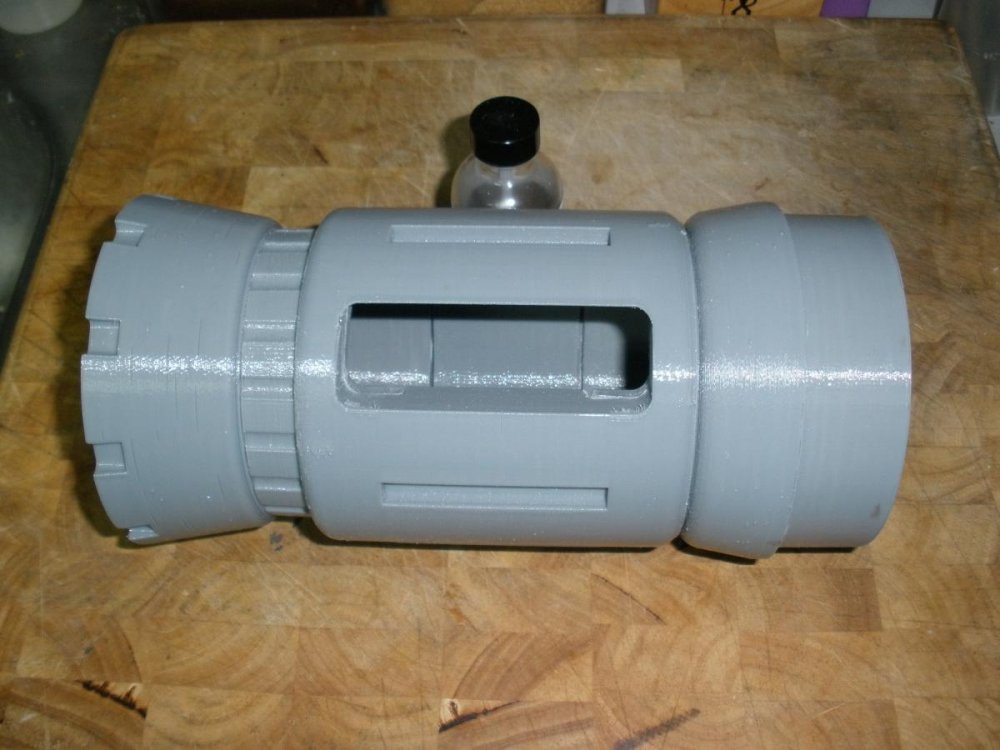
So after redesigning the front end to bulk it up. This thing is gonna be big and heavy. And time consuming. The new crown piece was a 12+ hour print.
-
I'm gonna stick with just light and sound on this one. Since is this first time trying something like this. I'm gonna keep it a little simpler.
-
LED headlamp and cordless screwdriver motor. (got lucky the both need the same voltage) and probably a Adafruit soundboard.
-
Using this for the dimensions. Scaled up about 4 or 5 times. But I'm going for more of the Yamato 1/60 pod. It's not gonna be 100% right size wise. I'm using 1/2inch pvc for the barrels so everything needs to be tweaked to accommodate it.

-
So a couple months ago I decided I wanted to get int 3D Printing. After tinkering a bit I wanted to do something cool. So I figured Gunpod. Been messing with Autodesk and here's what I have so far And after 12 hours of printing. The plan is to have it motorized with light and sound..... And maybe a smoke generator. I also need to thicken up the outside diameter


-
How did you keep the boosters up without the support stands? Mine definitely can't pull that off.
-
This may be a dumb question. But how hard do you think it would be to 3D print new legs for the Yamato V1's Say everything behind the intake piece? And maybe include the V2 features?