
s.t.r. sho
-
Posts
161 -
Joined
-
Last visited
Content Type
Profiles
Forums
Events
Gallery
Posts posted by s.t.r. sho
-
-
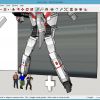
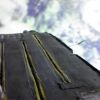
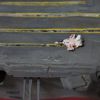
Scratched a transformable version of VF-1 J. I used a line of packing string for folding mechanism. It's been cut in pieces and put on the arms, legs, wings, etc as joints.

-
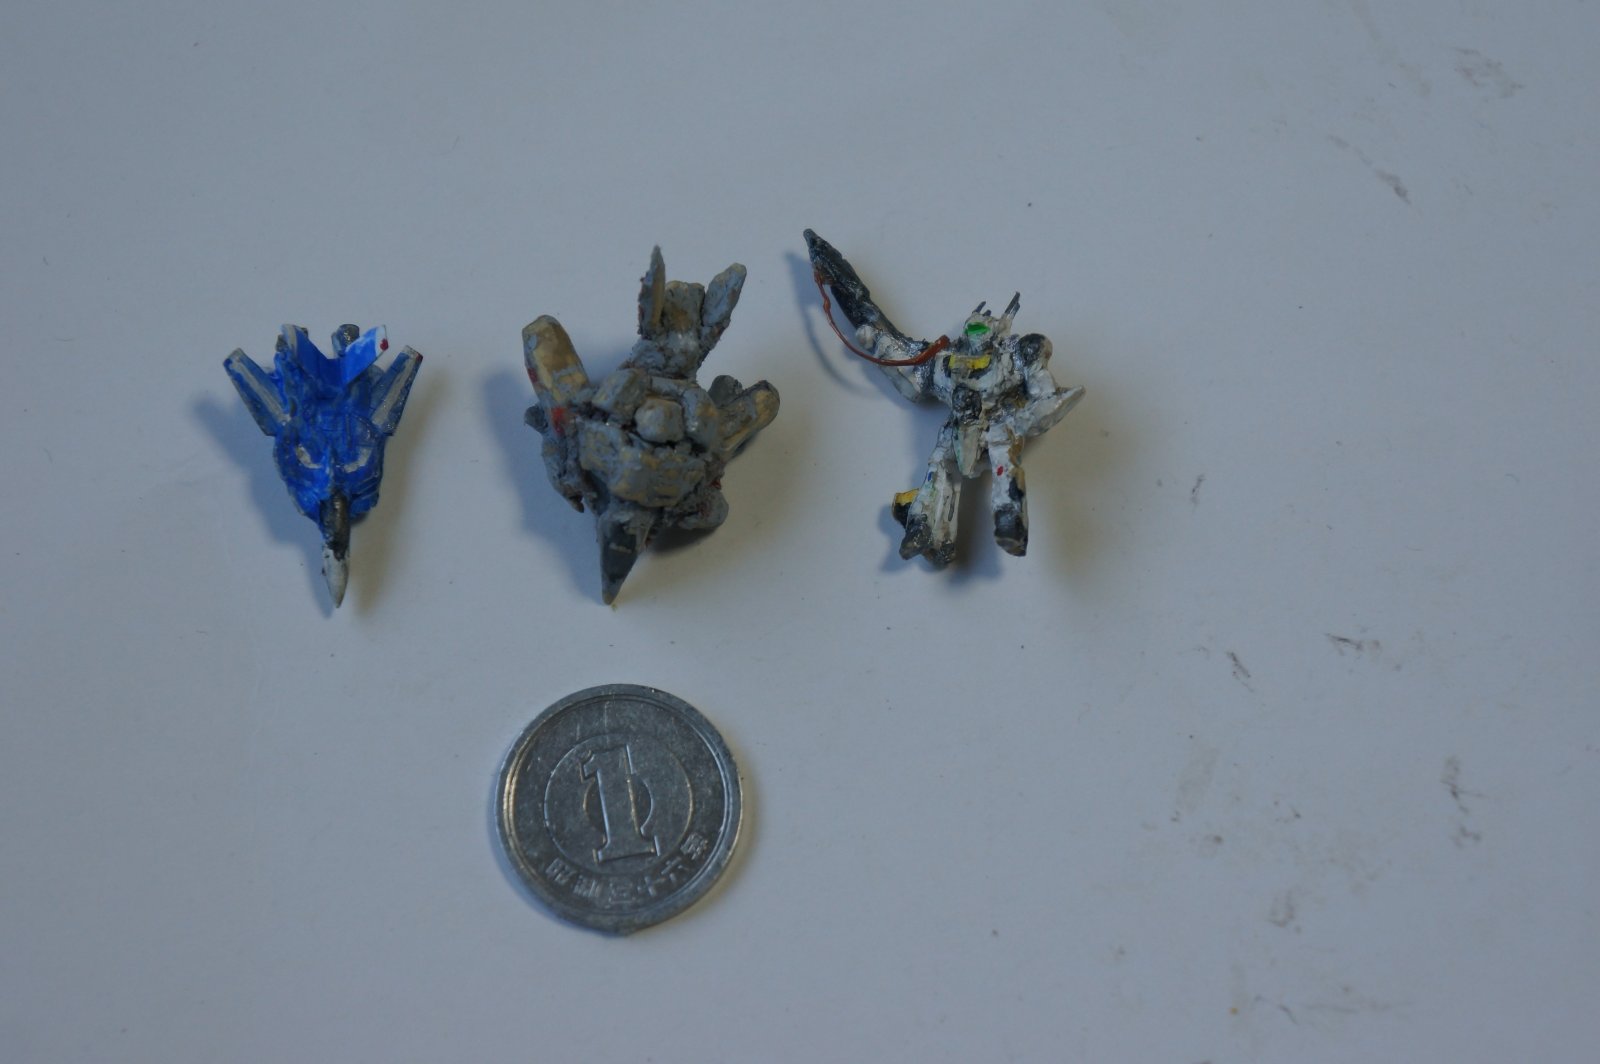
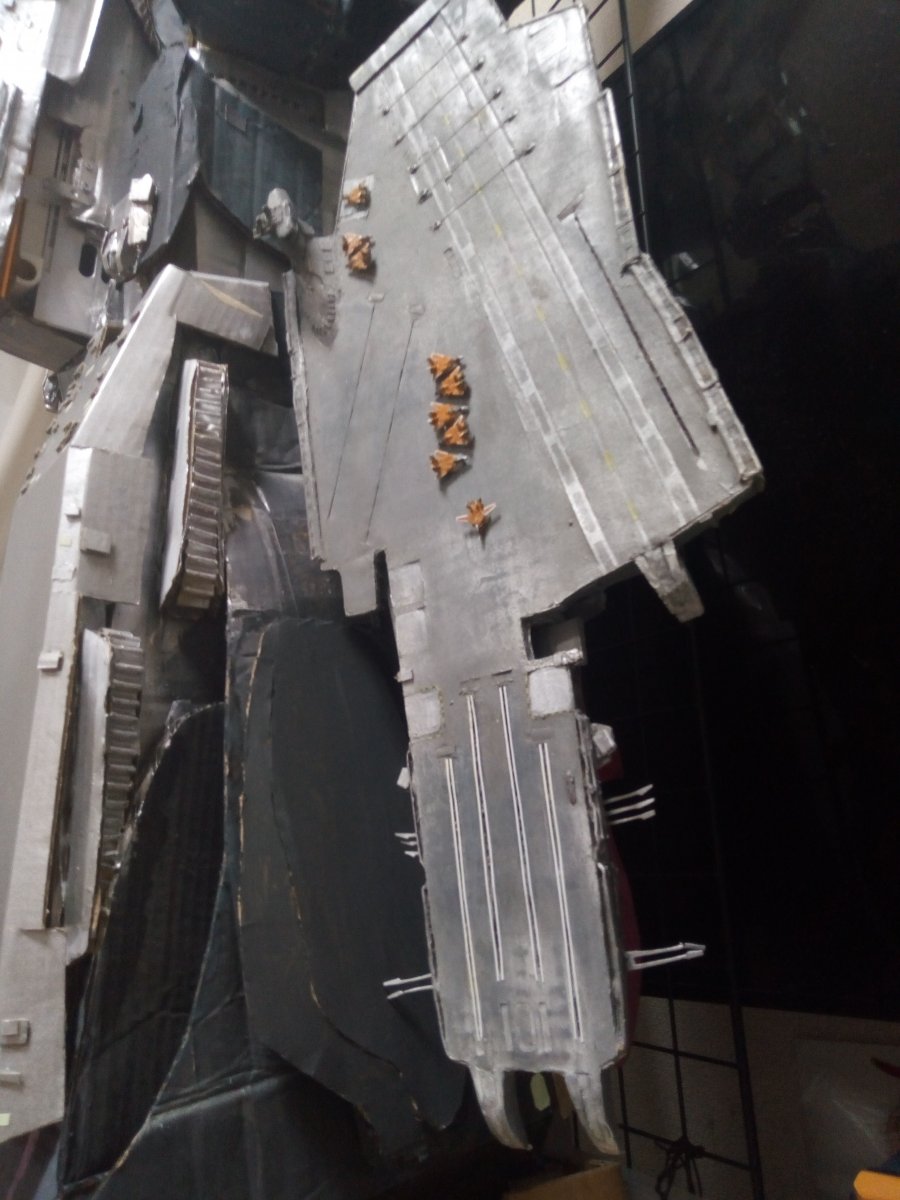
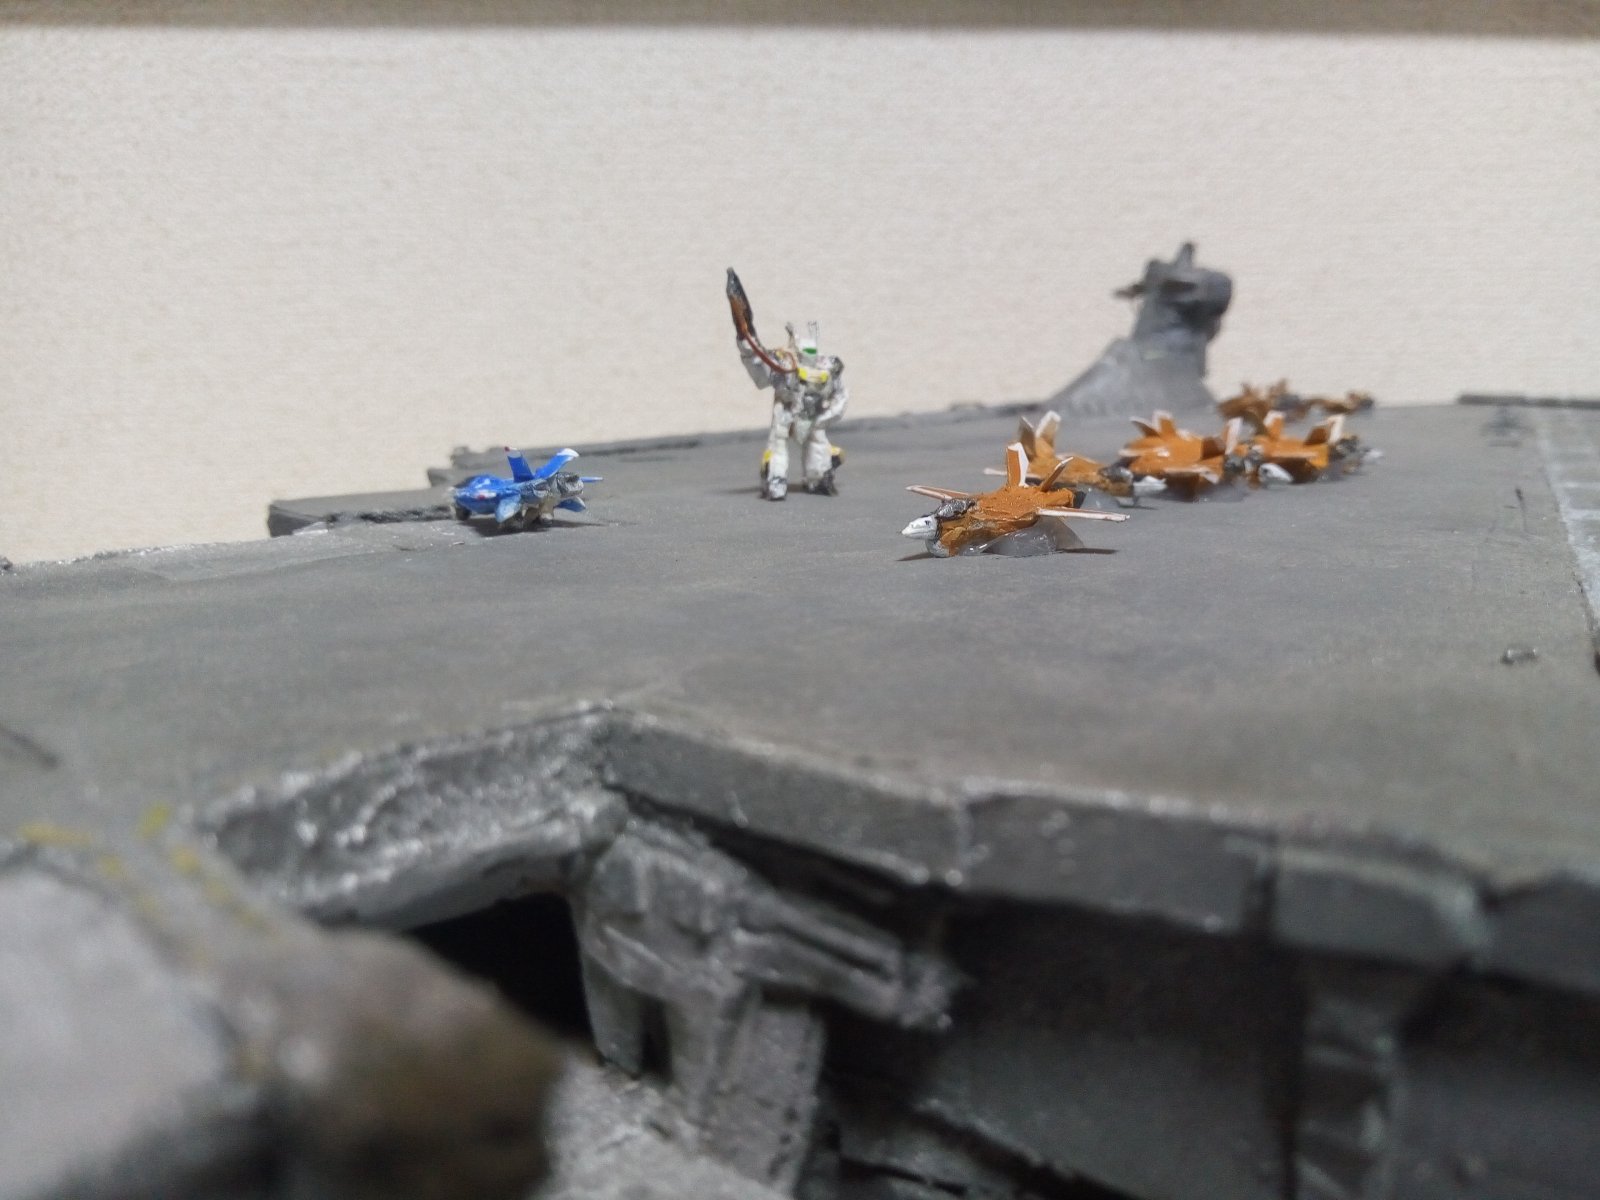
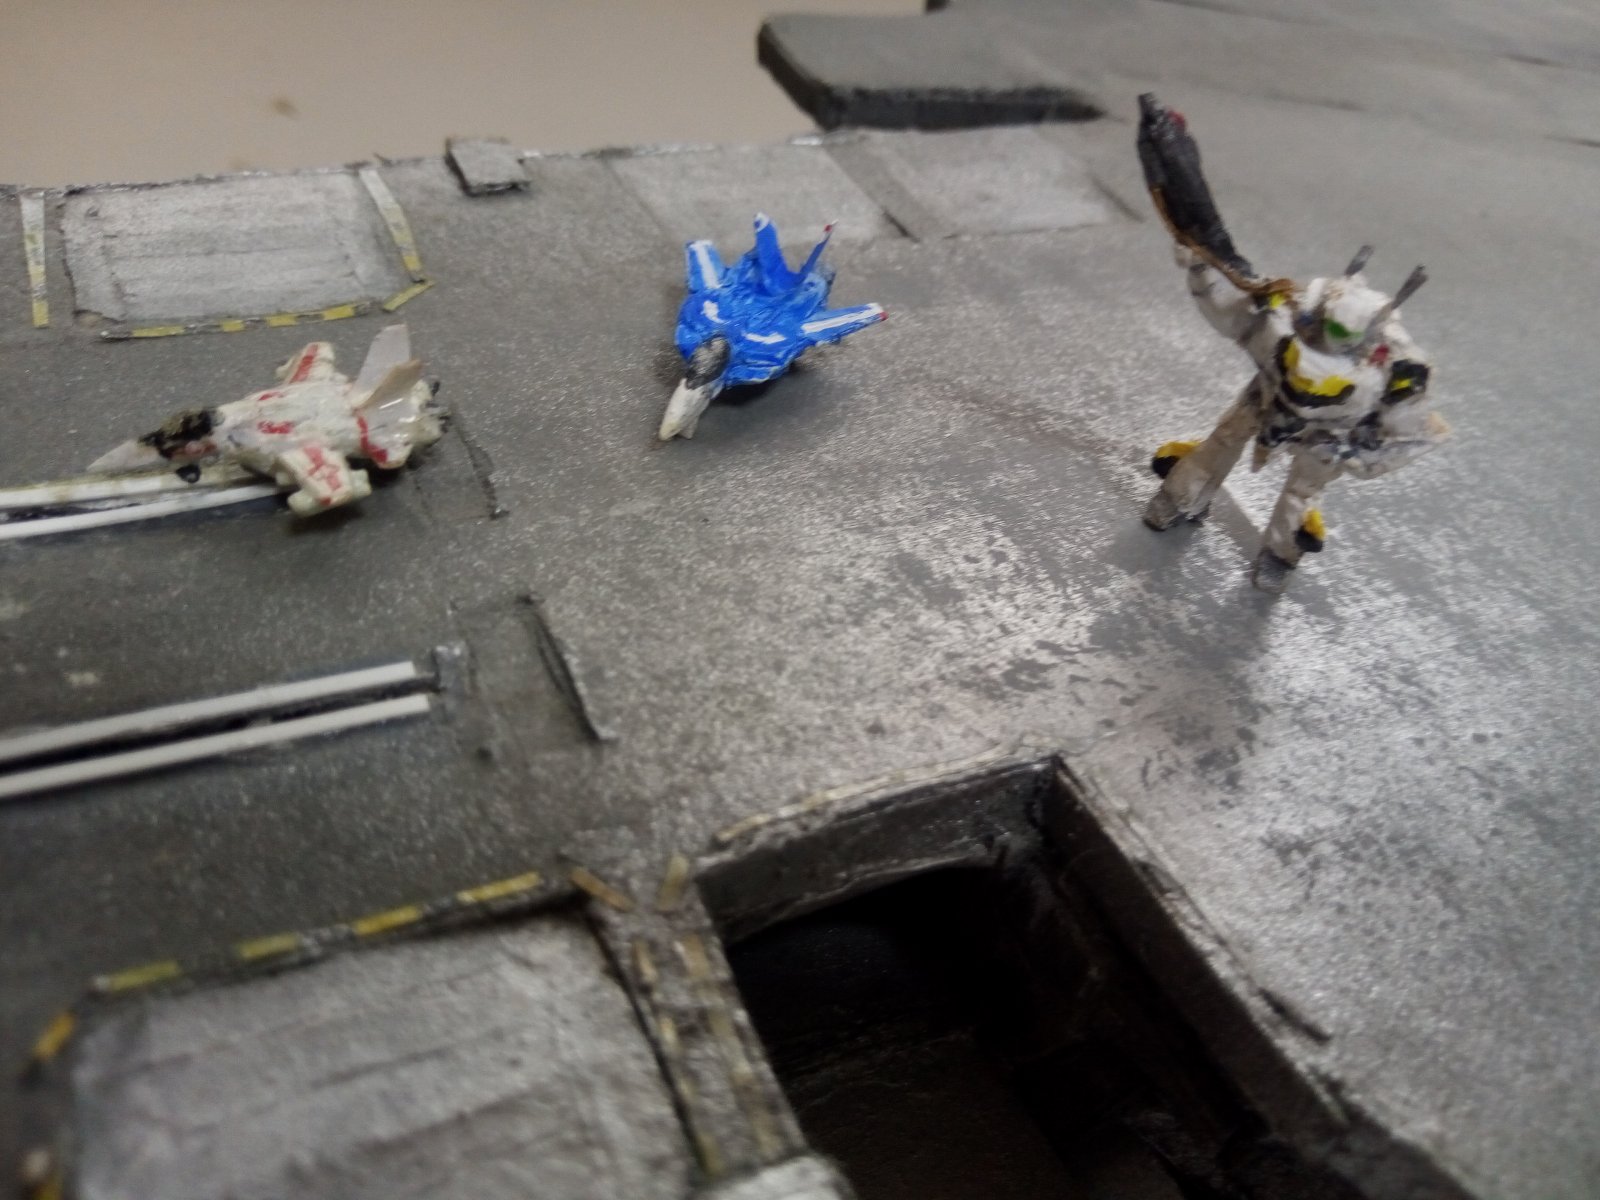
Thank you MechTech and Convectuoso! I want many fighters on Prometheus. Here these are for now.
-
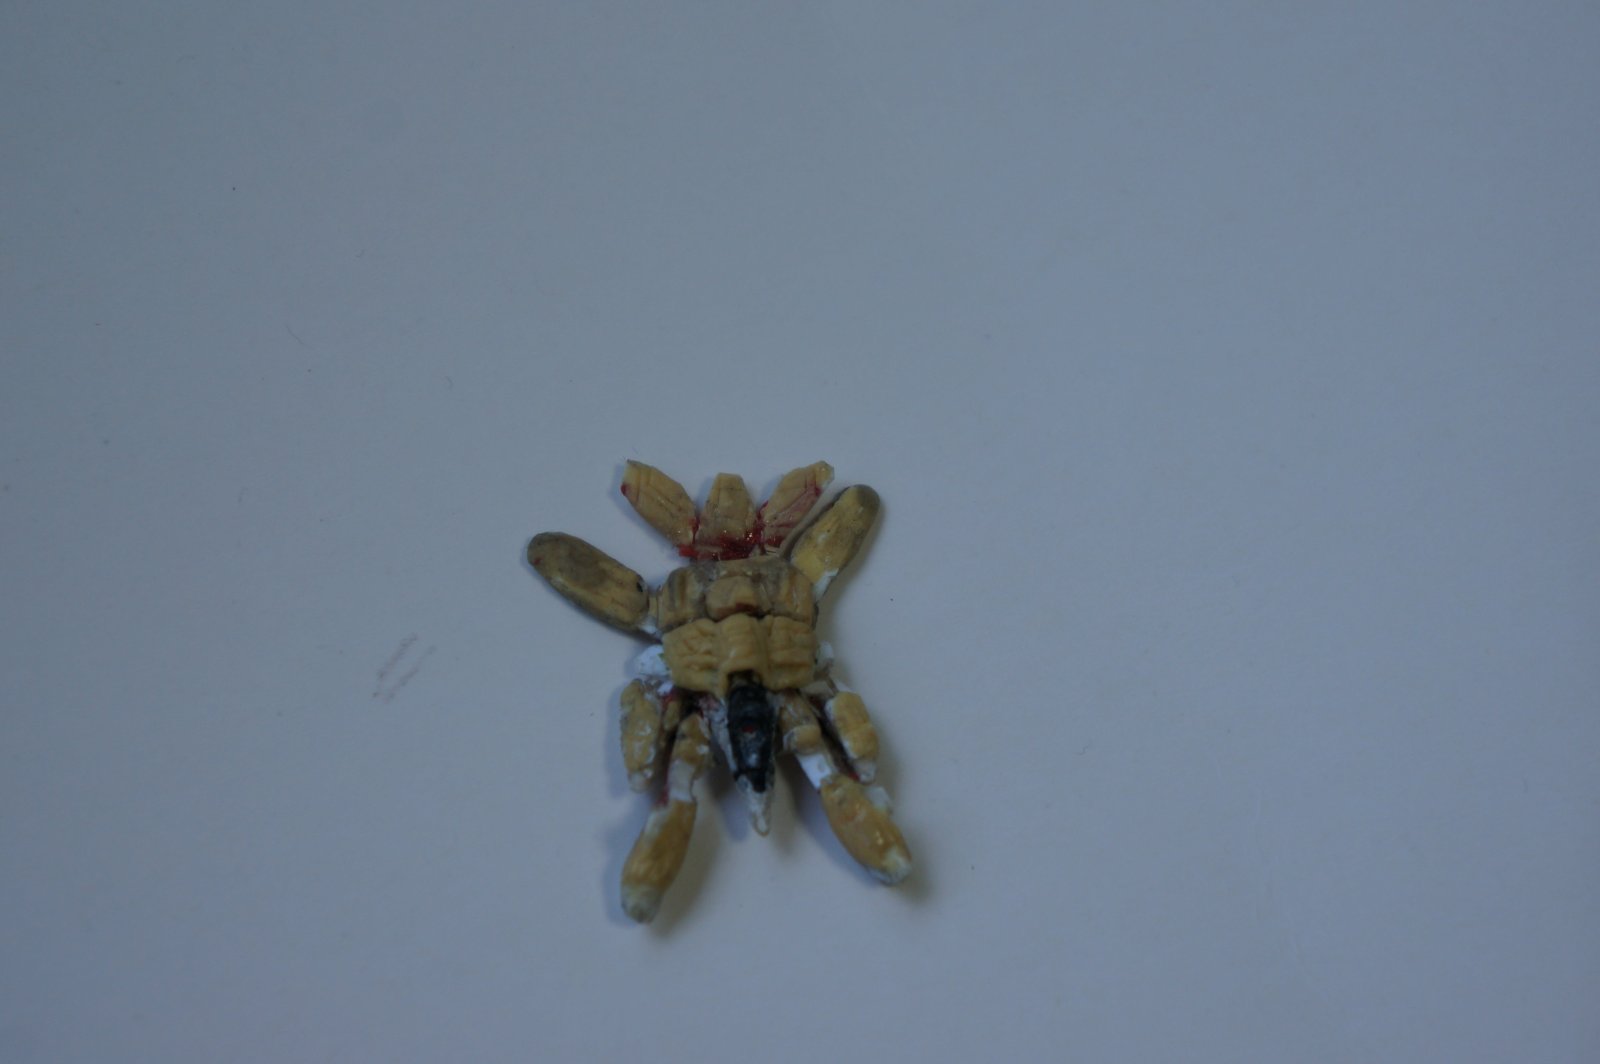
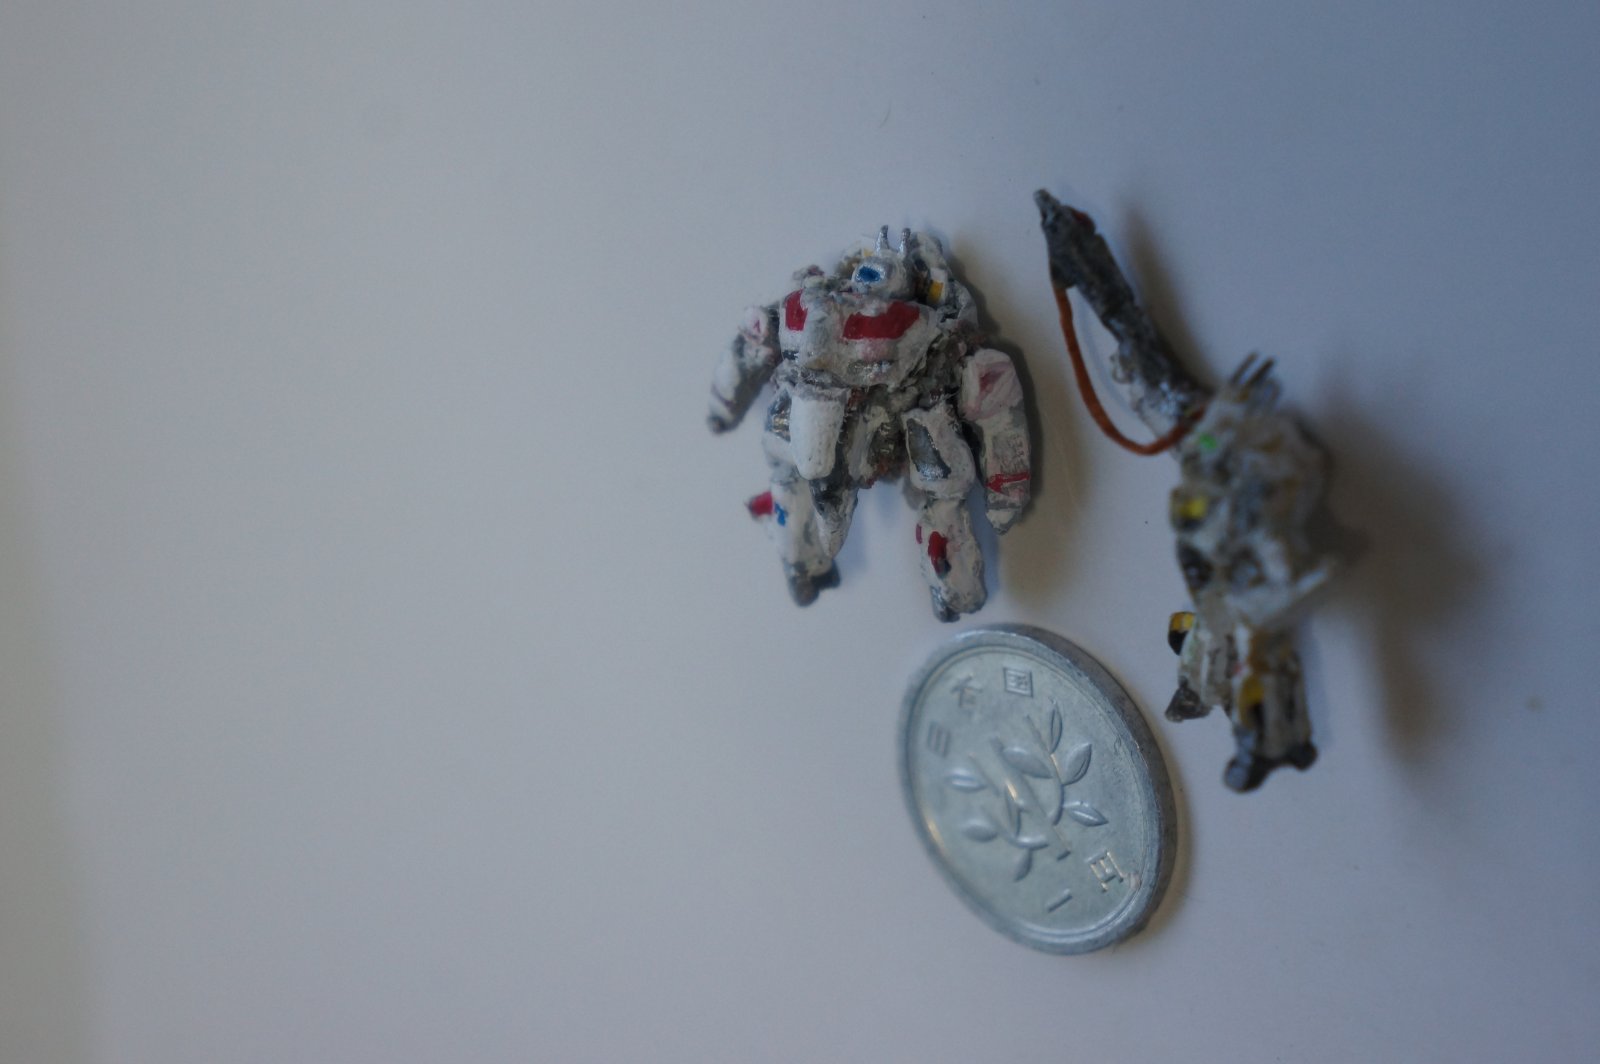
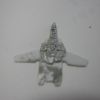
I built VF-1 J Maximilian Jenus special out of F-14 Tomcat. And full scratch built Roy Focker special battroid. I managed to make smaller size than F-14 by shorten the body.
-
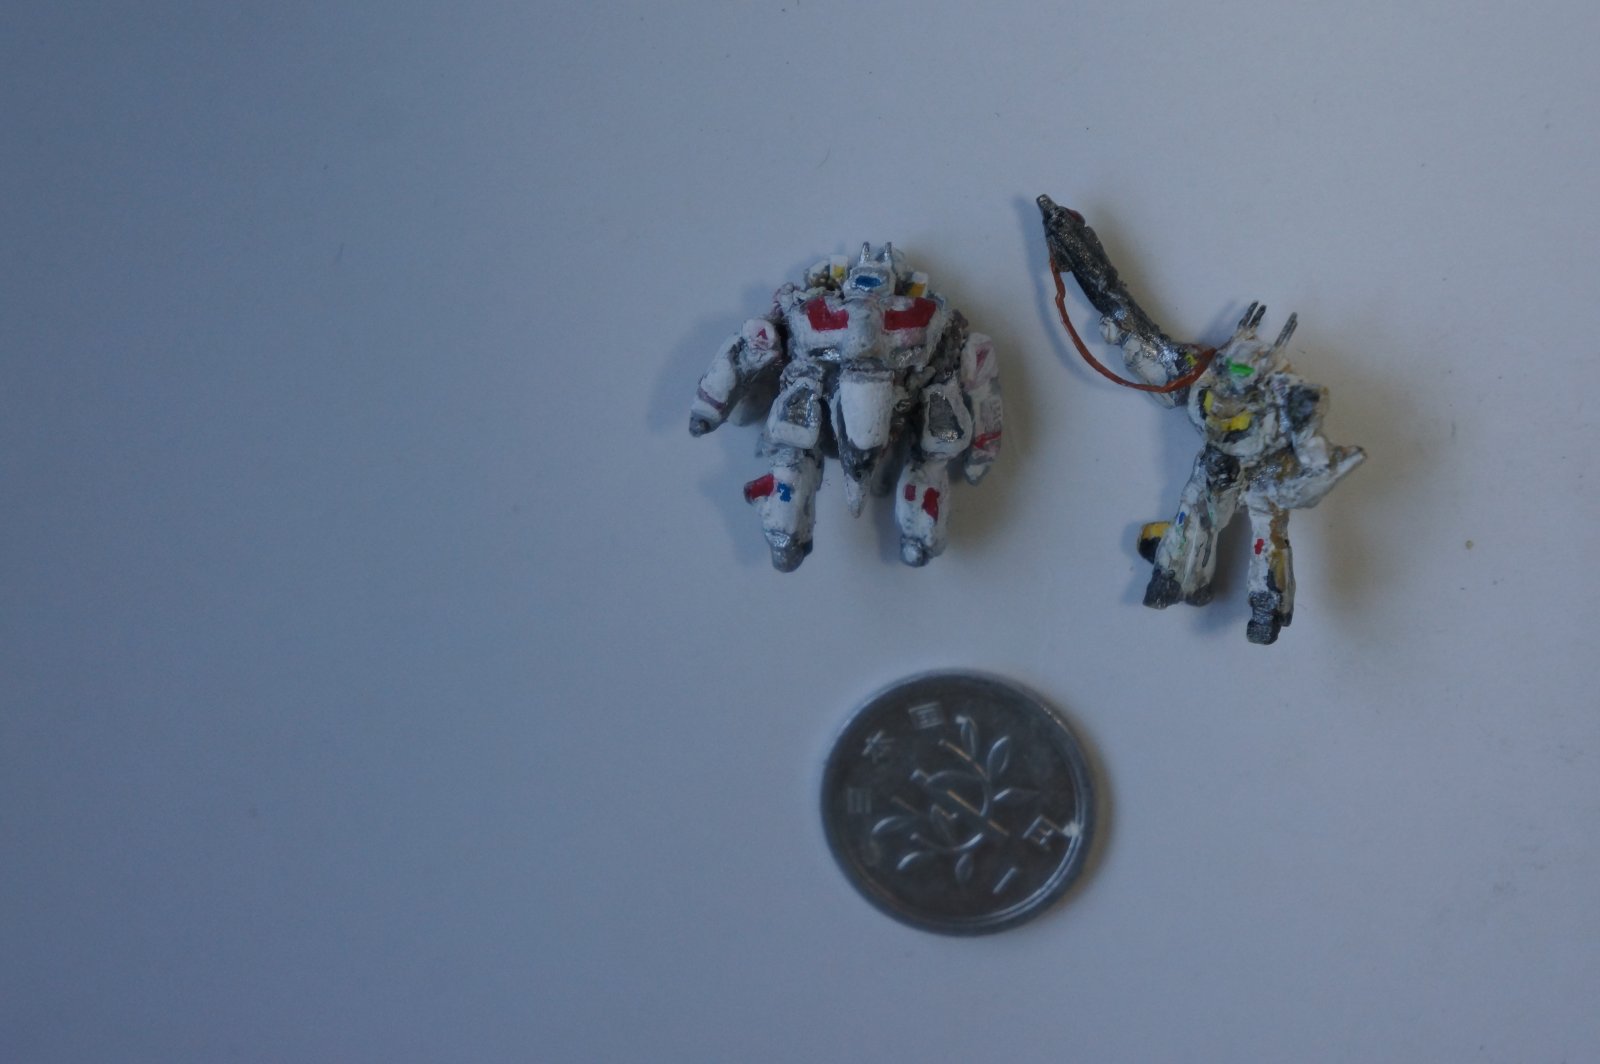
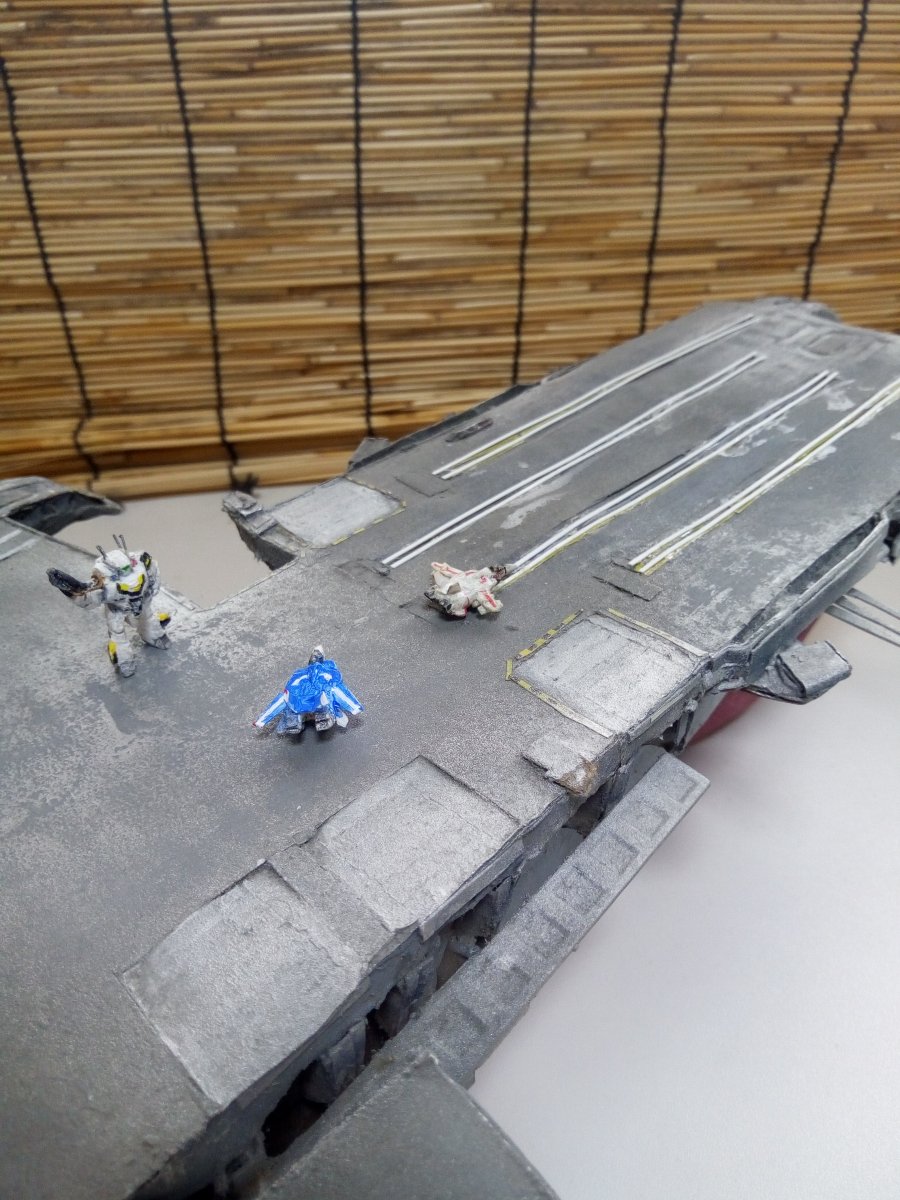
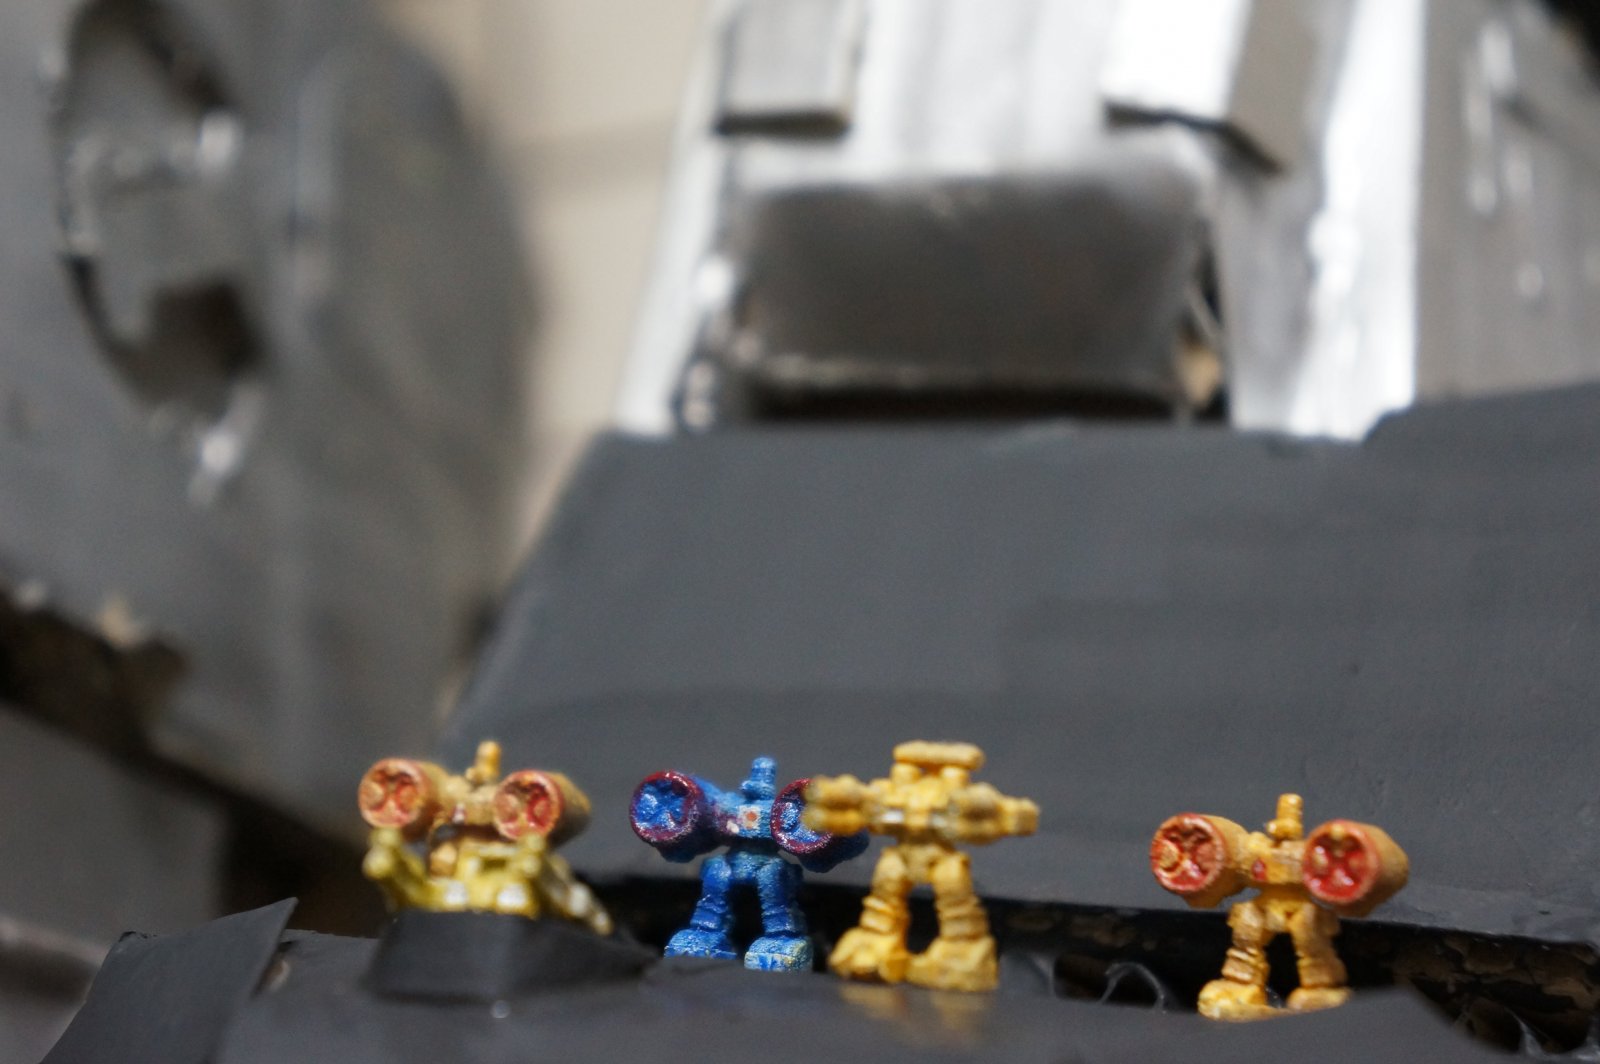
I bought 3D printed destroids (Defender, Phalanx and Tomahawk). Painted these and put on SDF-1.
-
Bolt san, arigatou gozaimasu! Thank you for your comment!
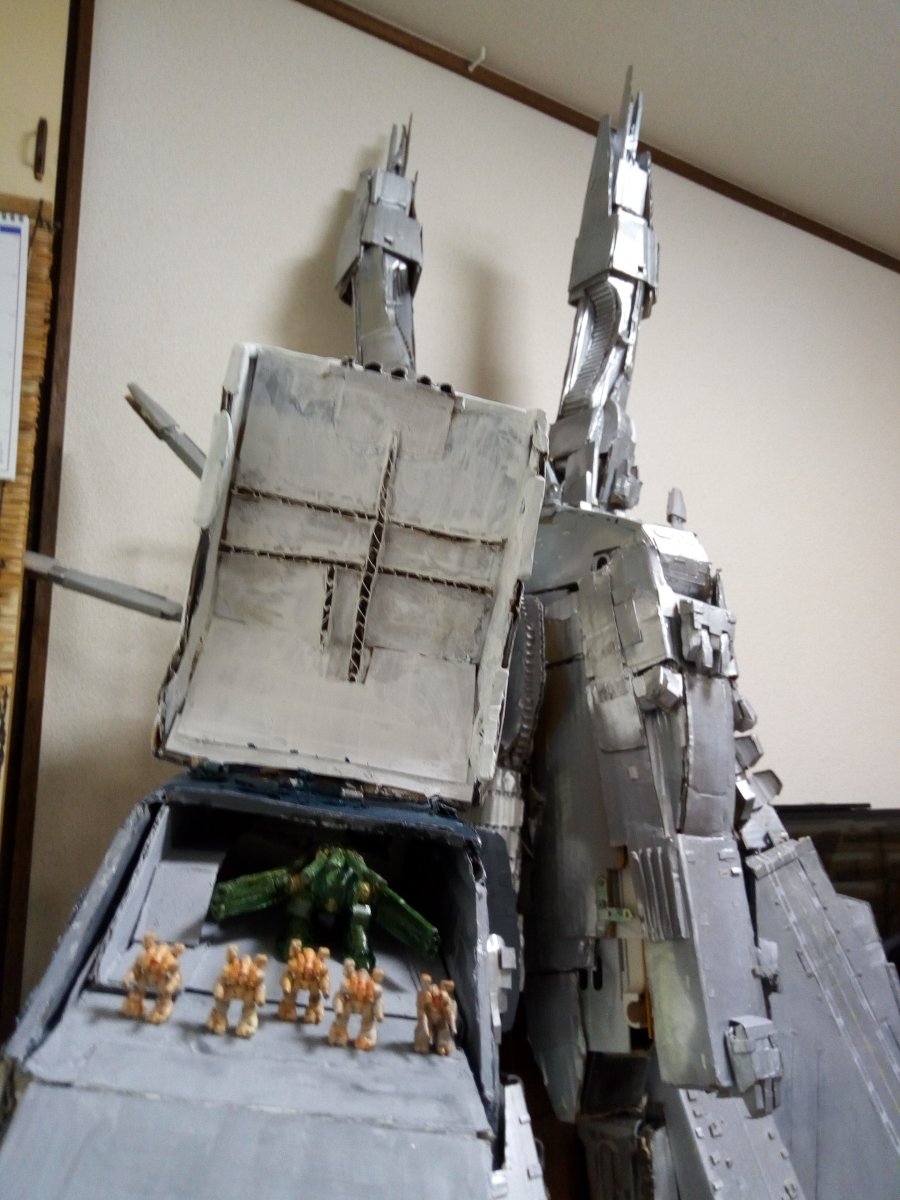
I have to put it in the SDF-1 and build the details on the leg.
Maybe I need texture like Star Destroyer in Star Wars. Gathering junk parts.
-
After long research and experiment term, I made the suburb in SDF-1.
Thanks to the advices from all of you, I tried a papermodel with photo textures.
I used open licensed suburb photo data and edited as textures.
 Seems to be Nyan Nyan Chinese restaurant.
 In the park there are two, one is going to be a singer and the other is going to be a soldier.
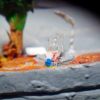
-
The realistically detailed booster and the launcher, metallic texture, I love them!
-
Thank you for your notification, MethTech. Oh the darkness, I should make up hanger lighting gimmick.
I wanna build Daedalus attack sequence.
-
Thank you spanner 76!
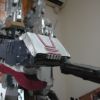
Today I sanded a building and thought I may buy etched parts for battleship's exterior. I tried another things, destroids.
Monster might be large enough to 3D print, but I went on a traditional way, it's fun to use japanese tooth cleaners for the cannons.
They might hit their heads on the ceiling because it's 3cm high, that is 21m.
-
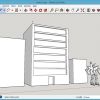
I visited a fab lab to use 3D printer again and printed some buildings.
These are a half size of the previous shot. They suit for the city layout, but rather small comparing with valks.
Considering how to make surface details. Sanding, painting... and some printed photos would help to make some textures and advertising displays.
 The whole city is below.
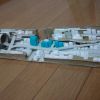 Going to use 1/700 etched figures, they might hit their heads at the building's entrance though.
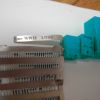
-
Your technique overcomes the Chinese tech to write letters on a rice! Just Wow!
-
Boxorama, oh a nice idea! I wanna keep watching the progress.
-
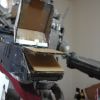
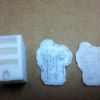
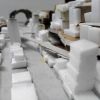
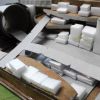
I printed out some battroids and a building by a 3D printer (I visited an facility and was allowed to use the machine there),
and the result was a fail !
I failed to print the details on 1.5 cm battroids. I have to improve my technique to adjust the settings of the printer, or use another machine
like an optical projection type or a laser cutter.
But my next plan is to scratch them with putty as a common way.
 And the building is too large to put it in the leg of SDF-1. Buildings might be able to be printed though. I'l design the 3D model of the town.
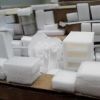
-
Thanks for the creator, I could get 2.8mm people. But a 3D printer would not represent these datails.
-
Thank you sketchley!
I explored 3d warehouse and found some vf-1 models and buildings.
Rescaling enabled a tiny and detailed 15mm Valkirye.
I wanna 3D print, regarding the creator's copyright.
Building and landscape (ground, roads etc) might be 3D & 2D hibrid printed for simpleness & detail.
-
I began designing buildings. The size of VF-1 battroid is 15mm, whitch comes 10.5m when multiplied with 700. The building is 40mm as 8 floors.
The human is too small to be made up with details, with the size of 2.6mm.
I should learn how to make details with Sketchup, the 3D designing tool.
-
Thank you for your comment, batcode.
While making rough build, I made up my mind the next photo must be the buildings made by a 3D printer... I suppose tiny buildings would easy to design and print...
-
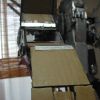
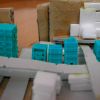
I started to build the town in SDF-1.
As a beginning I made the landscape roughly by a cardboard and a polystylene board.
 The center road goes through the knee of SDF-1.
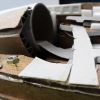
 Trying to make the landscape transform. As SDF-1 stretches the knee, the road and buildings crash.
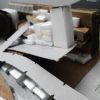
-
Hello, thank you for your views and comments.
I attended to FabLab last year, planning to build 1/700 mechs by 3D printer, not achieved though.
2013-8-24 FabLab Kannai Night Partyhttp://fablab-kannai.org/archives/132
Today I published a movie on YouTube.
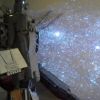
Tried a projection of landscape by a projector.
I should make a projection mapping on SDF-1, like barrier system, pin-point barrier, Macross cannon launch and...
Many dreams but I'll do step by step.
SDF-1 Macross 1/700 Scale
http://www.youtube.com/watch?v=NDhV4ubX4oQ
-
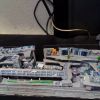
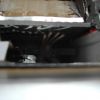
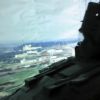
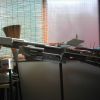
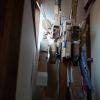
I have not built inside mechanics, there bare cardbords are seen. It'll be a long way to build the city, structures in Daedalus, destroids and so on.
You may want make Daedalus attack.
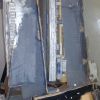
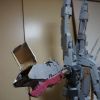 The left leg.
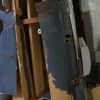
-
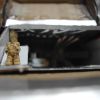
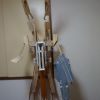
Now move on back to SDF-1 body.I mentioned that the body has wooden frames inside. I put cardboard parts on each frame. These cardboards are from cardboard boxes for vegetables or so, you can get them at supermarkets or you may get too much boxes including presents sent from your family.
 Just use them. You should not trash them and should not buy them. You have to use huge amount of glue though.
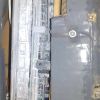
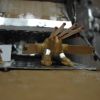
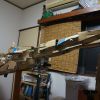 3 mm etched Mimmay is in the bridge. I can't see her face. In near future we should construct such figures with digital micro-printing technology.
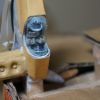 The metal materials on the bridge is not etched parts, they might be laser cut parts from metal construction kits of the empire state building or so.
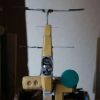
On the breast there are egg packages as rocket boosters.
-
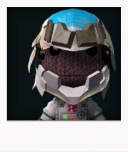
looks like "No love for Misa... T-T"
lol full of lol
i'm glad macross story is loved over the world.
congratulations from japan.
oh back to the model these paintings and markings make me happy, that makes reality to macross mechanics.
-
Love it its just awesome! And how long did it take you to make Ichijyo's Valk?
Thank you for your comment.
I don't know exact length for making, about 8 days in 6 months of Prometheus project.
day 1: cut a plastic plate in a VF-1 shape
day 2: put putty on the plastic plate for a body.
put a etched human figure in the cockpit.
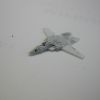
 day 3 to 5: sand the putty and make the surface.cut a paper into four bits for tail stabilizers.
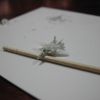
 day 6 to 8: cut a plastic rod into bits for missiles.put clear glue on the cockpit for a canopy.paint the base color and markings.(It would be better to digitally print the markings on a plain decal sheet, but I didn't. When I make squadrons, I want to try it and... use a 3D printer if I can get or use one available for enough resolution...)
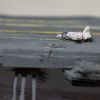
-
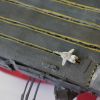
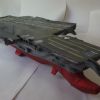
Here is my current Prometheus.
 1/700 VF-1 J Ichijo type is my image for Japanese TV program opening.
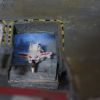
 It can be connected to SDF-1.
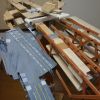
 In fact I have current finish for SDF-1 and Daedalus, and I'm going to post step-by-step descriptions in several timespans. But more details and inside structures are in my further construction plan.
Scratch Build 1/700 Scale SDF-1 Macross
in The Workshop!
Posted
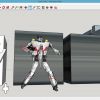
Testing transformation...