Search the Community
Showing results for tags 'Weapon'.
Found 1 result
-
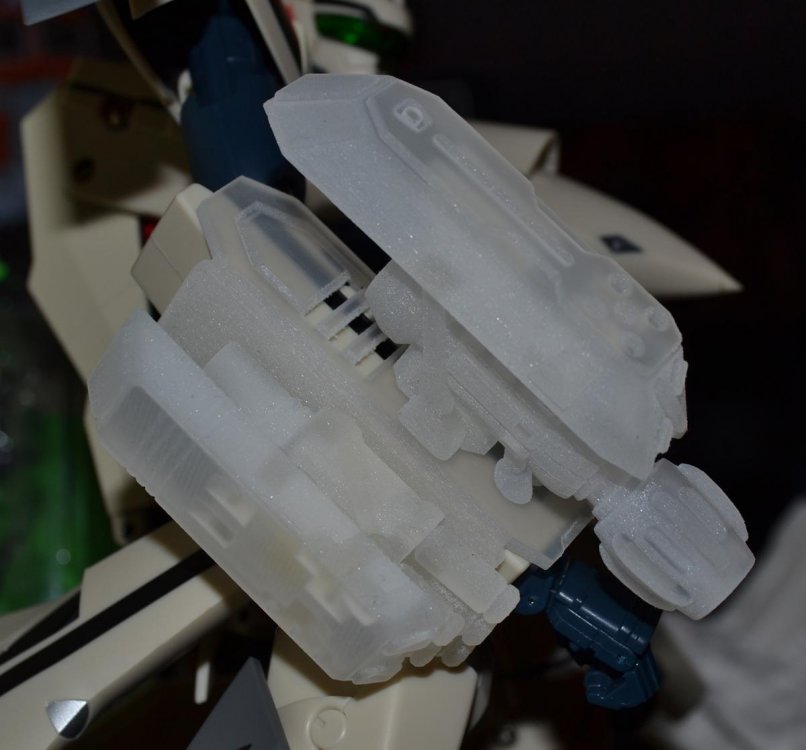
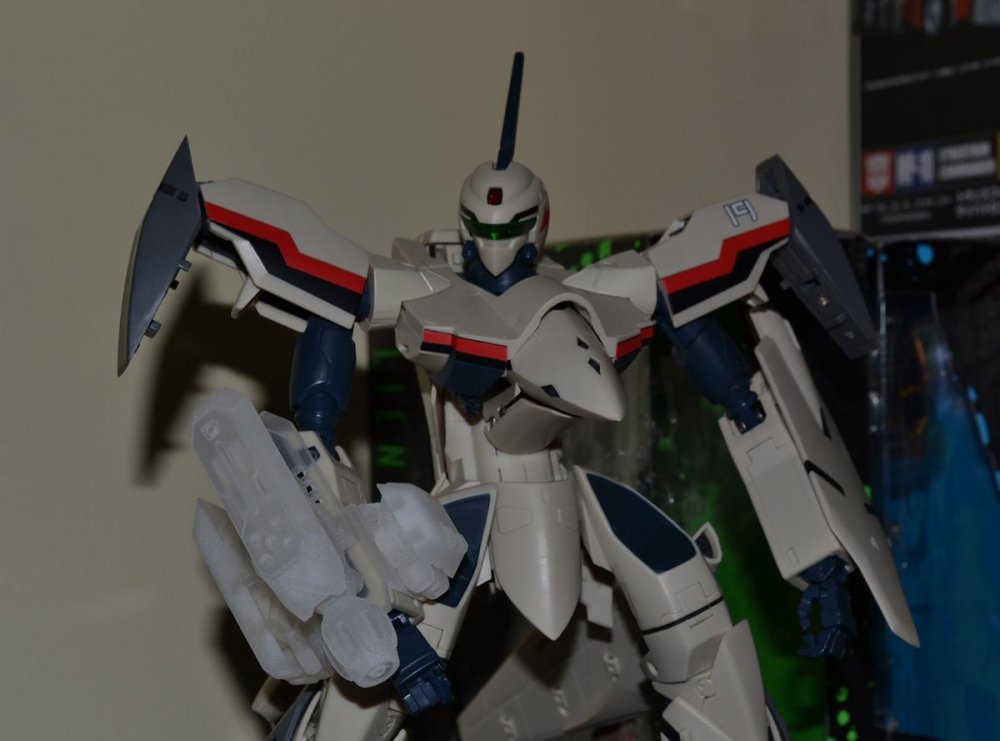
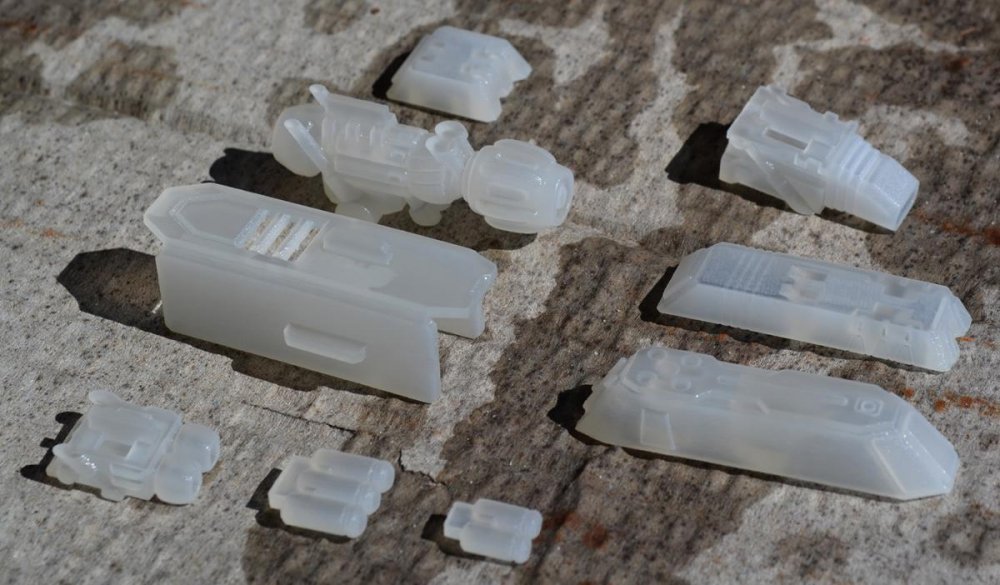
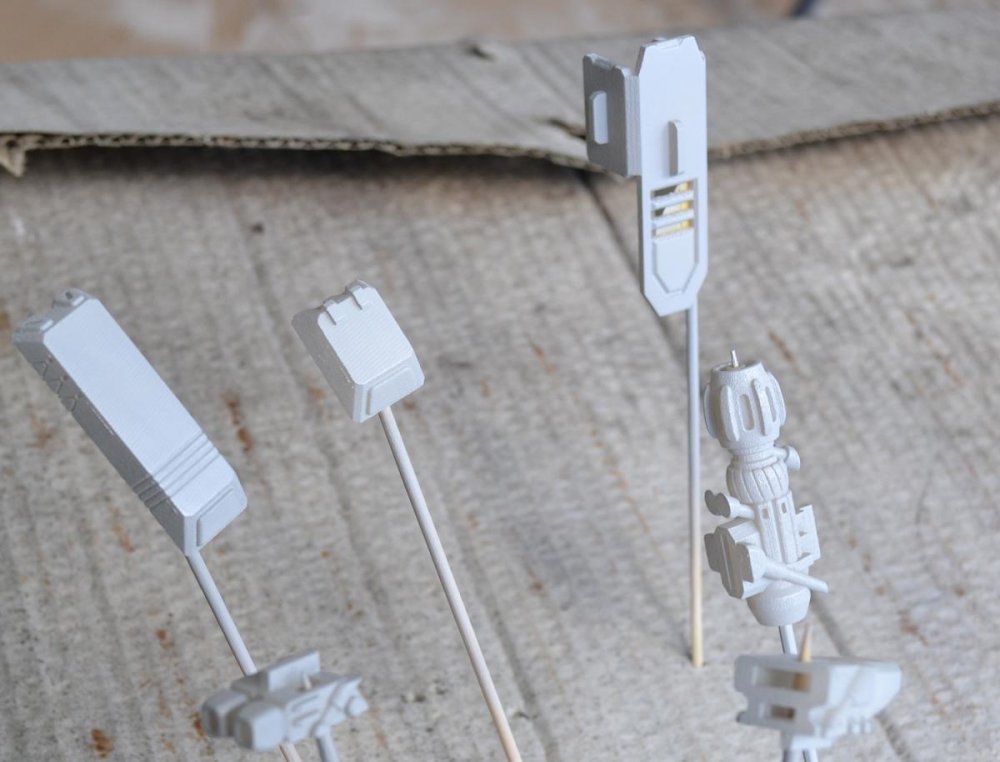
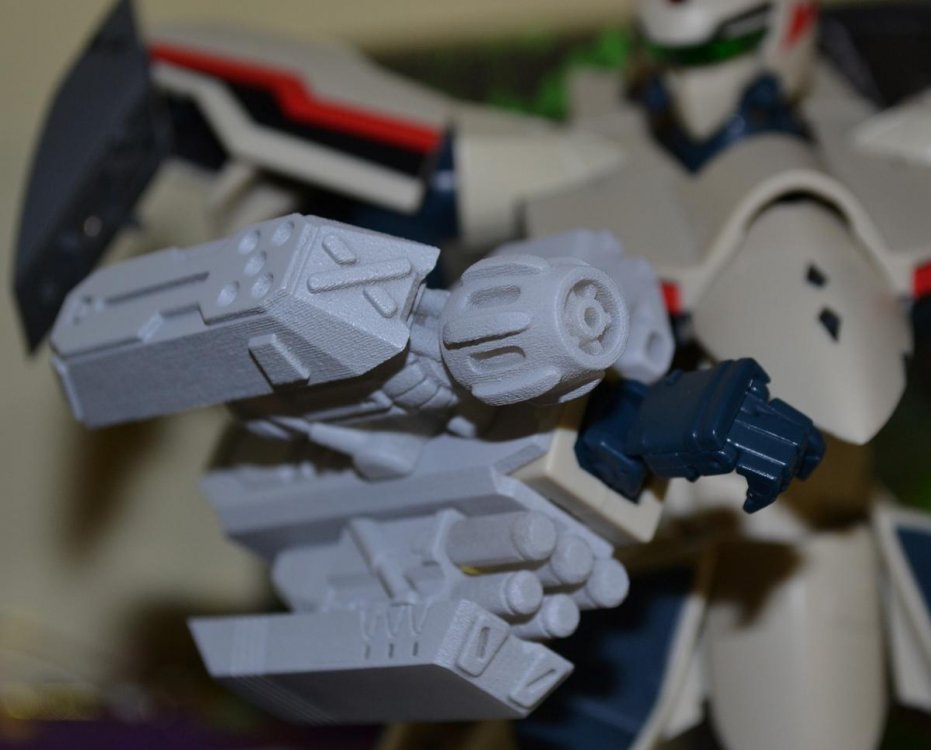
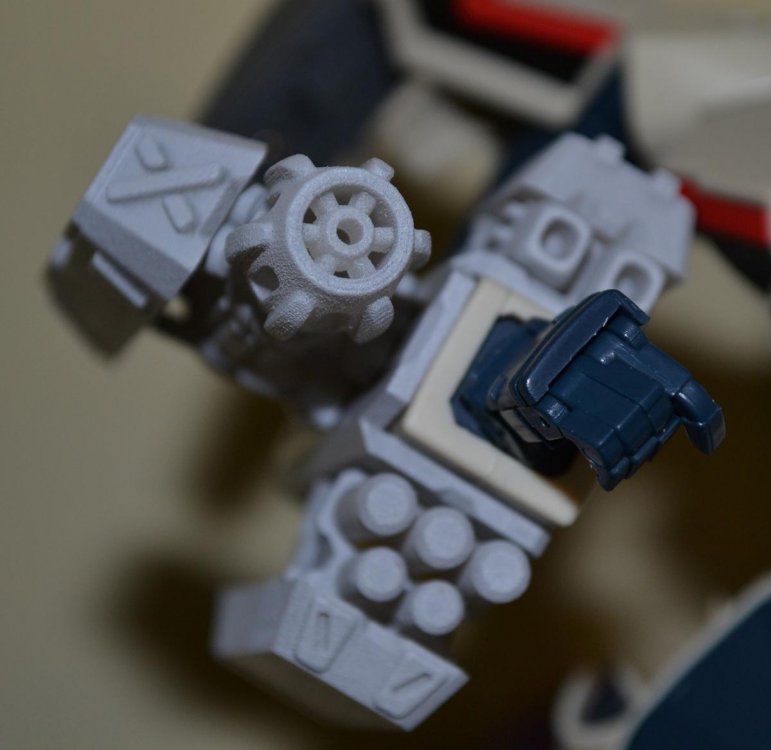
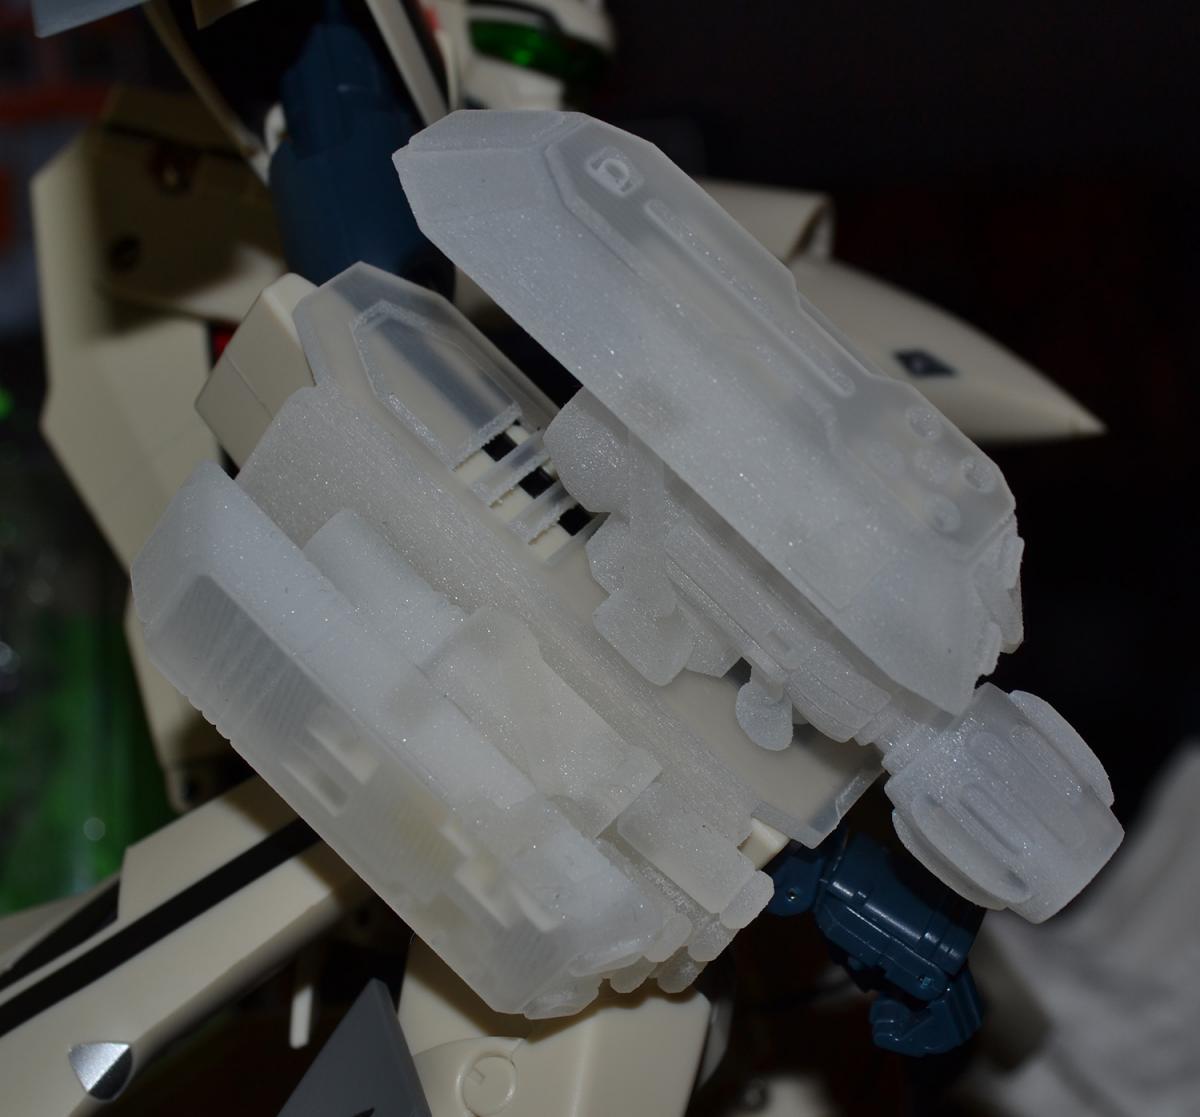
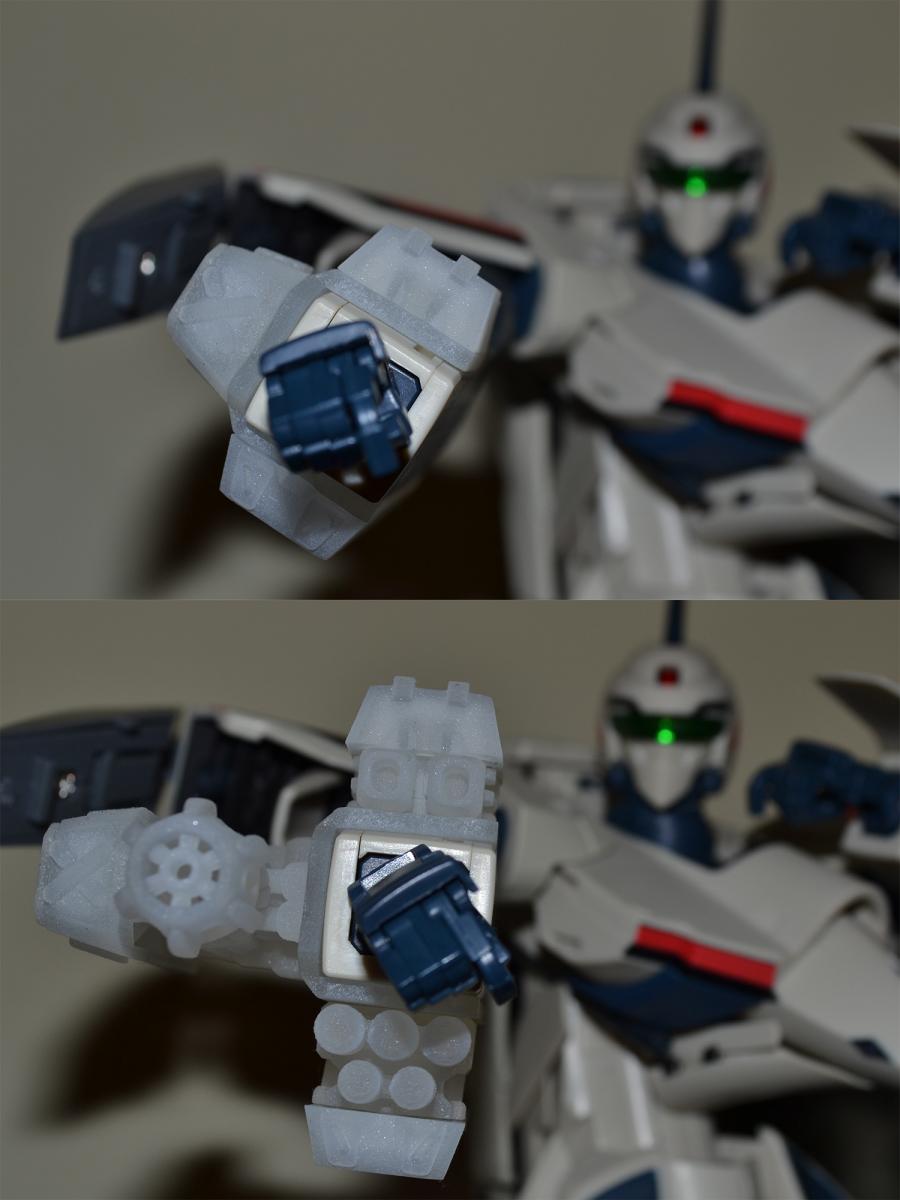
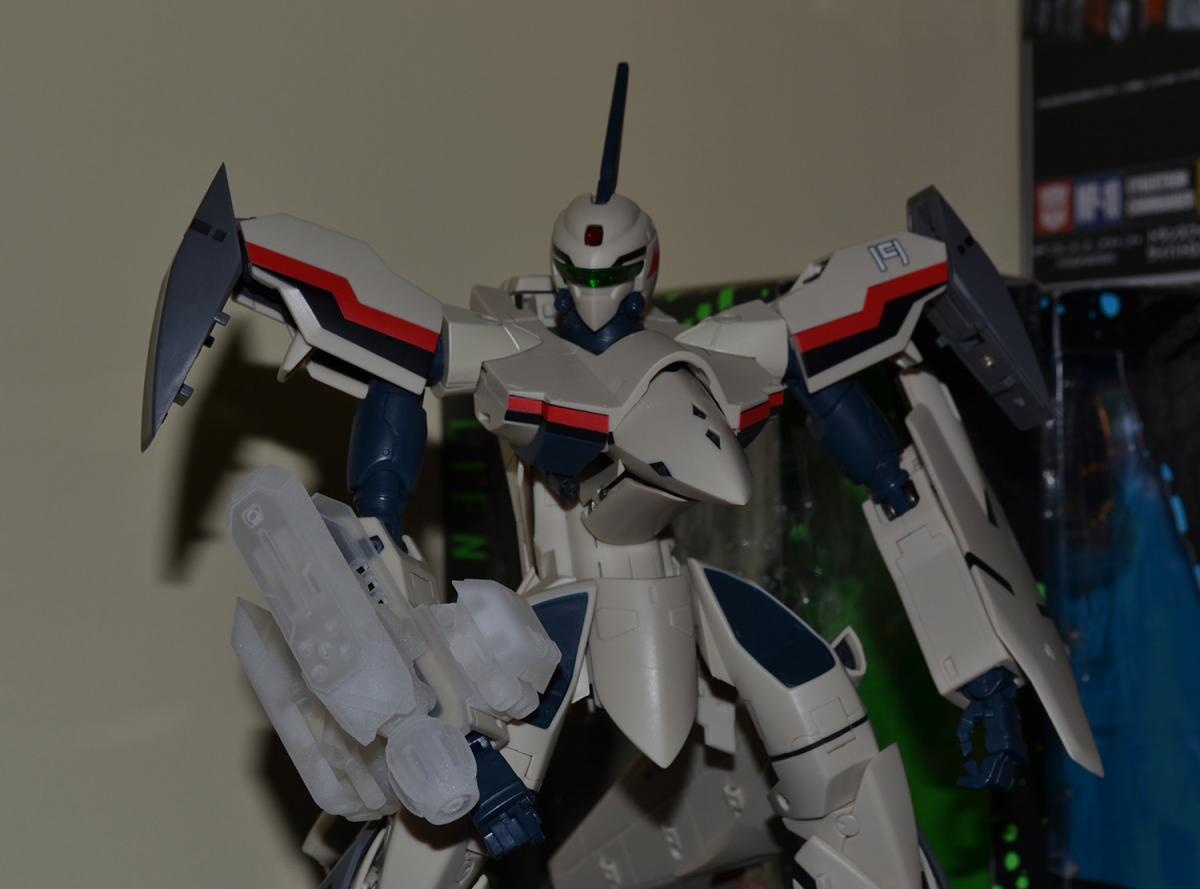
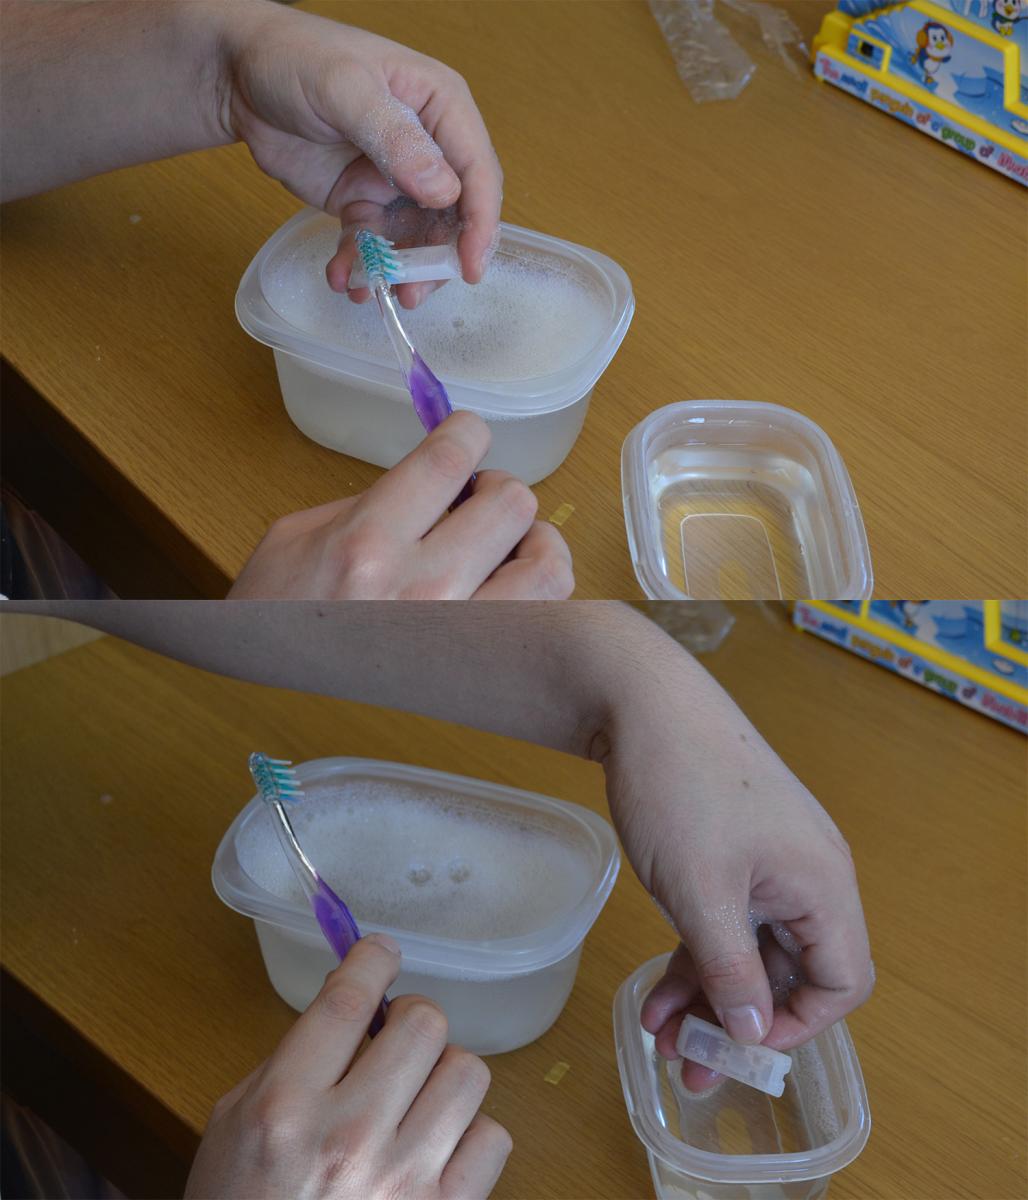
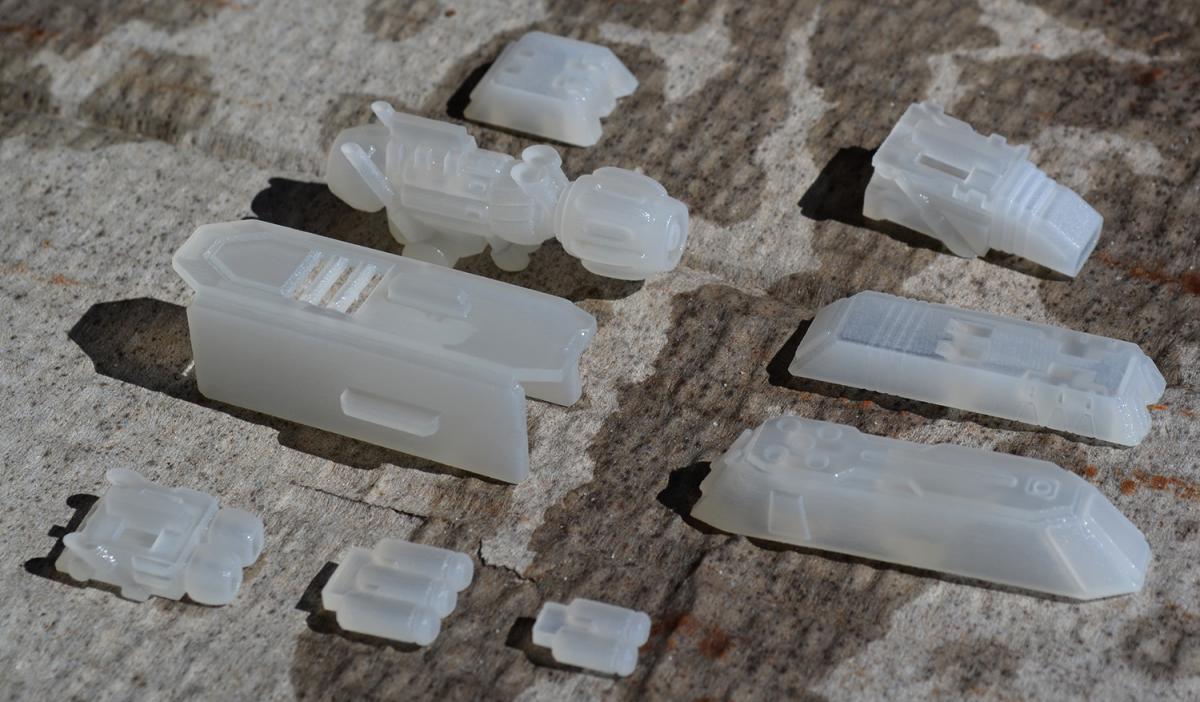
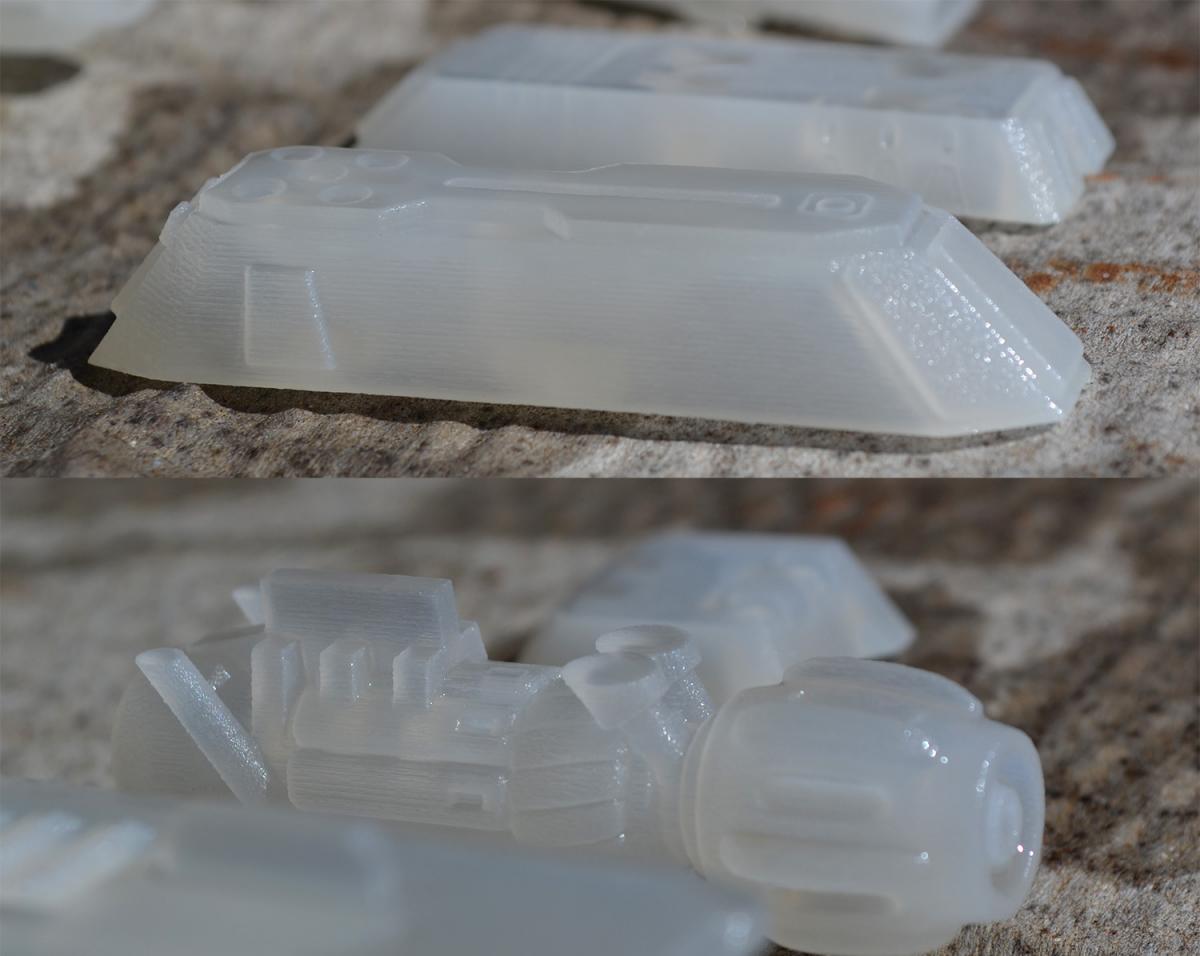
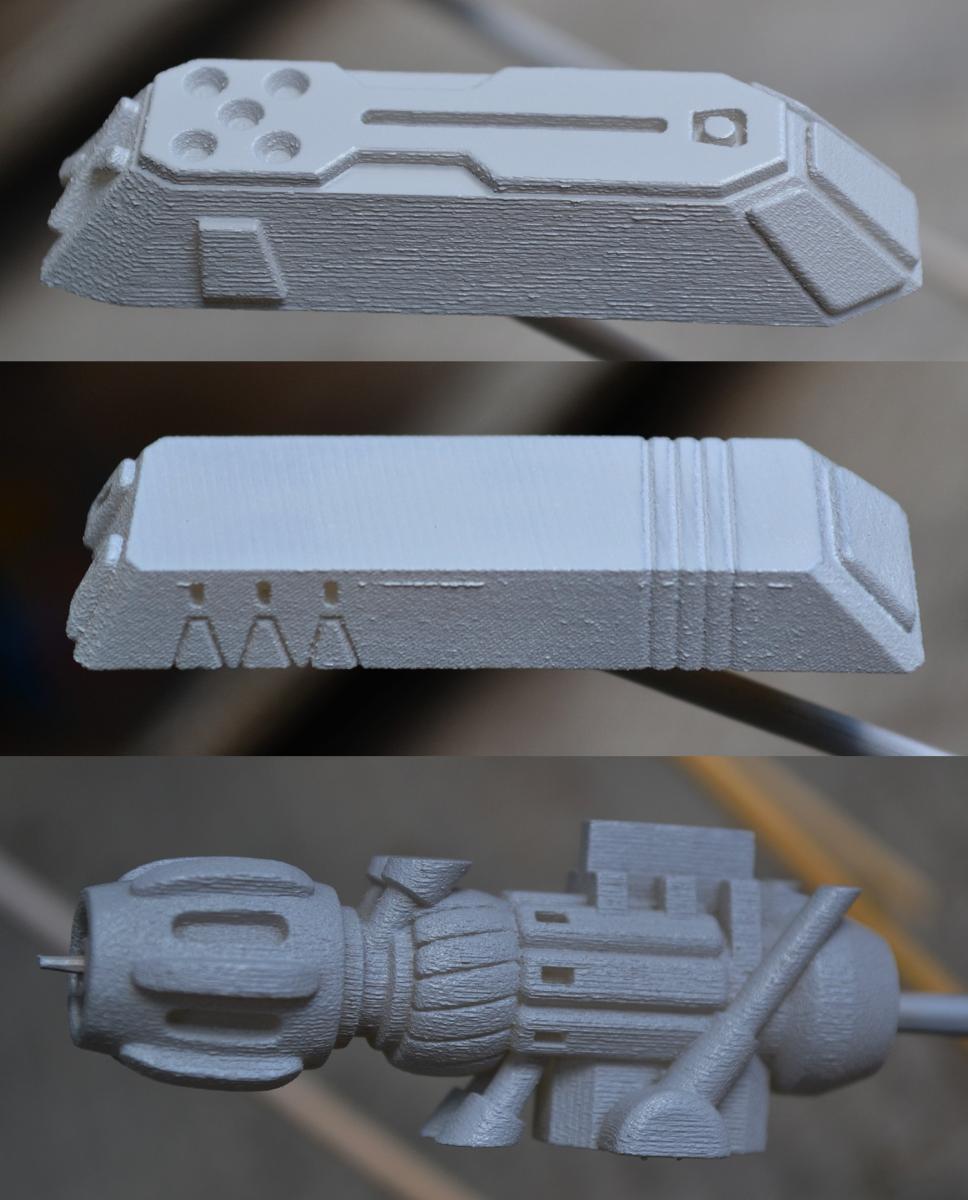
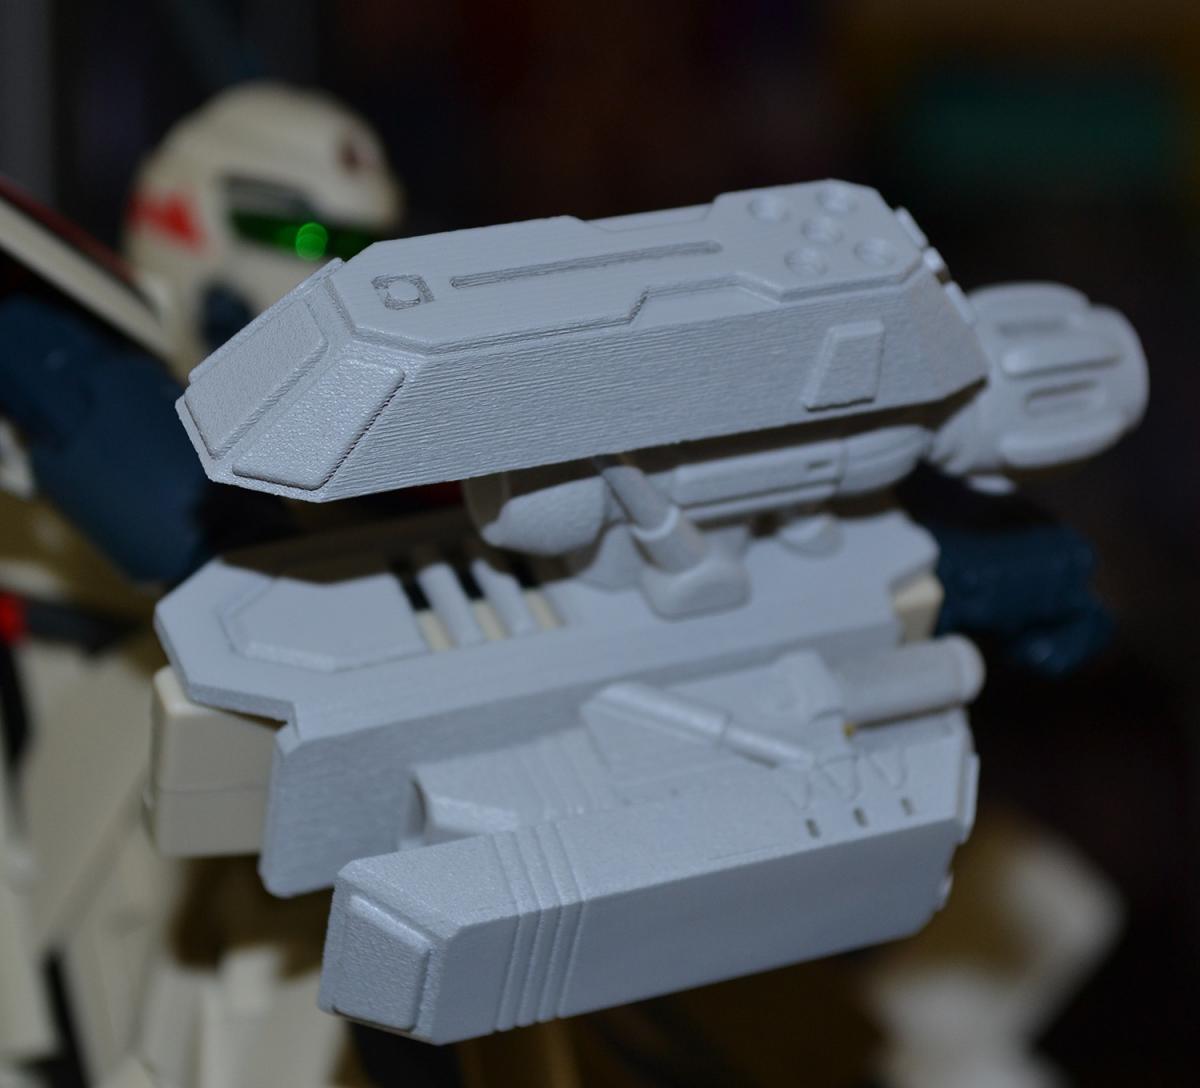
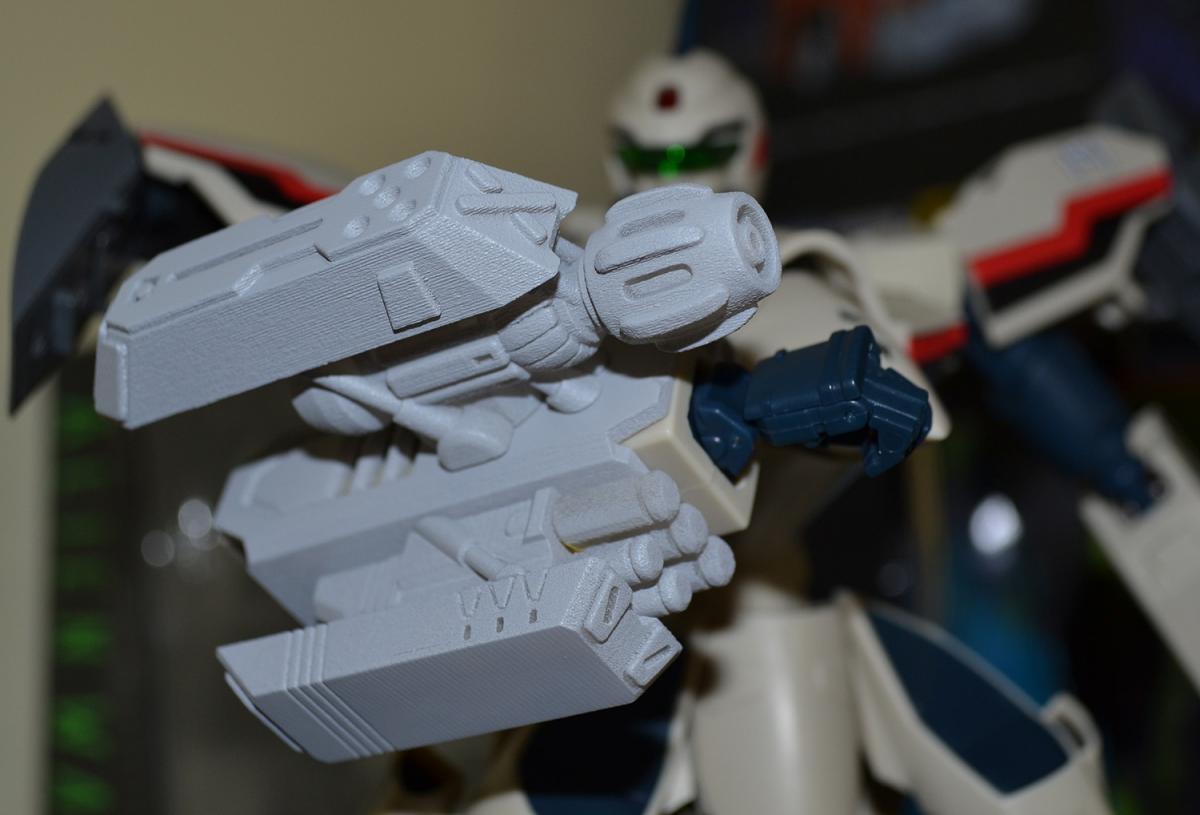
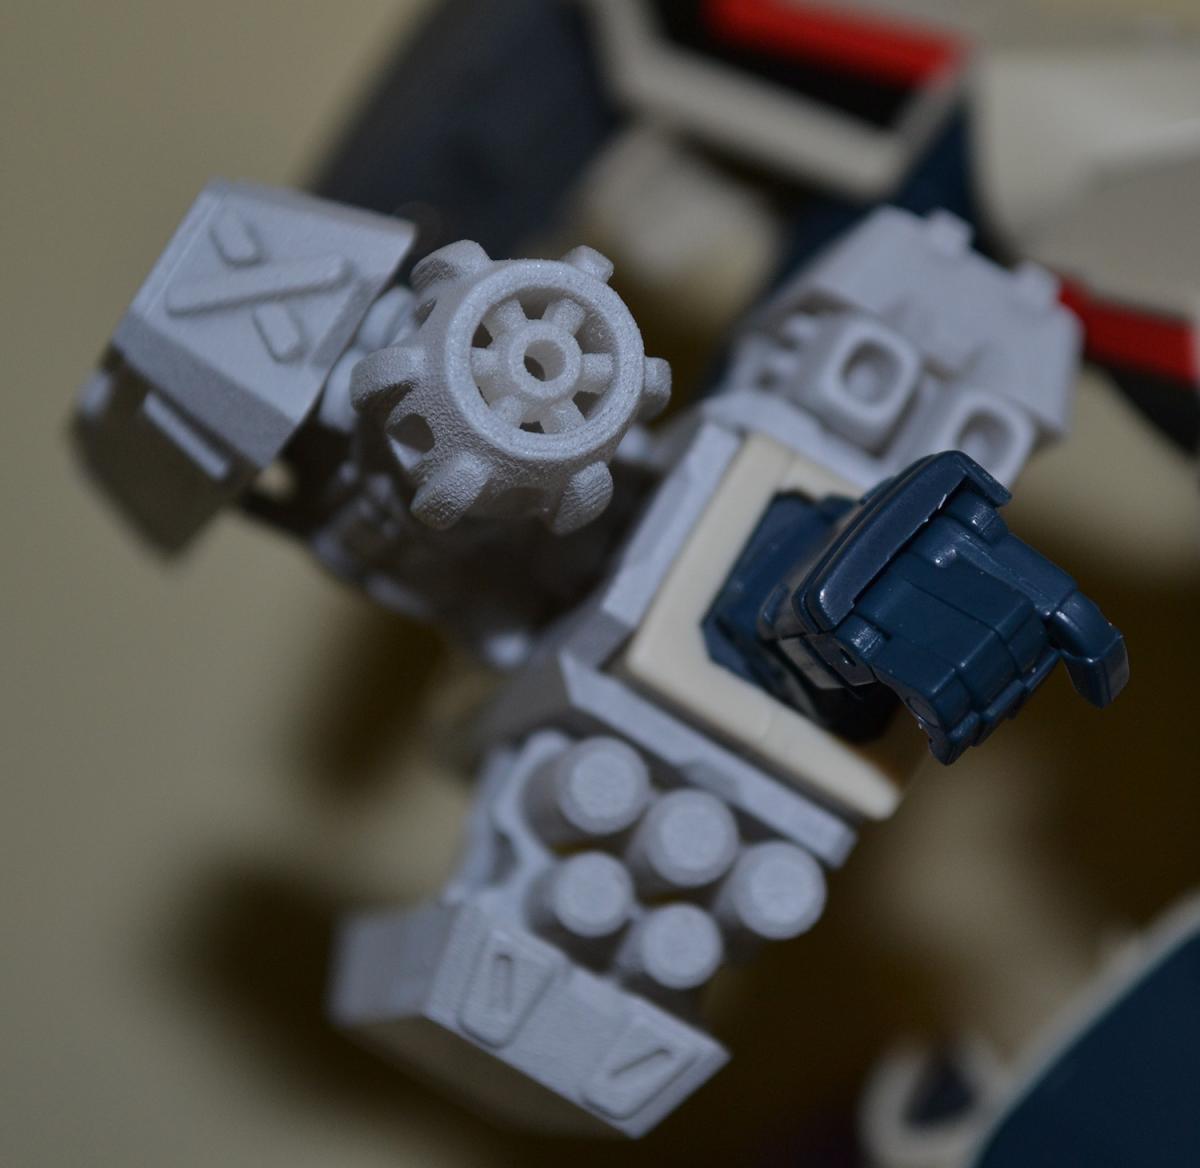
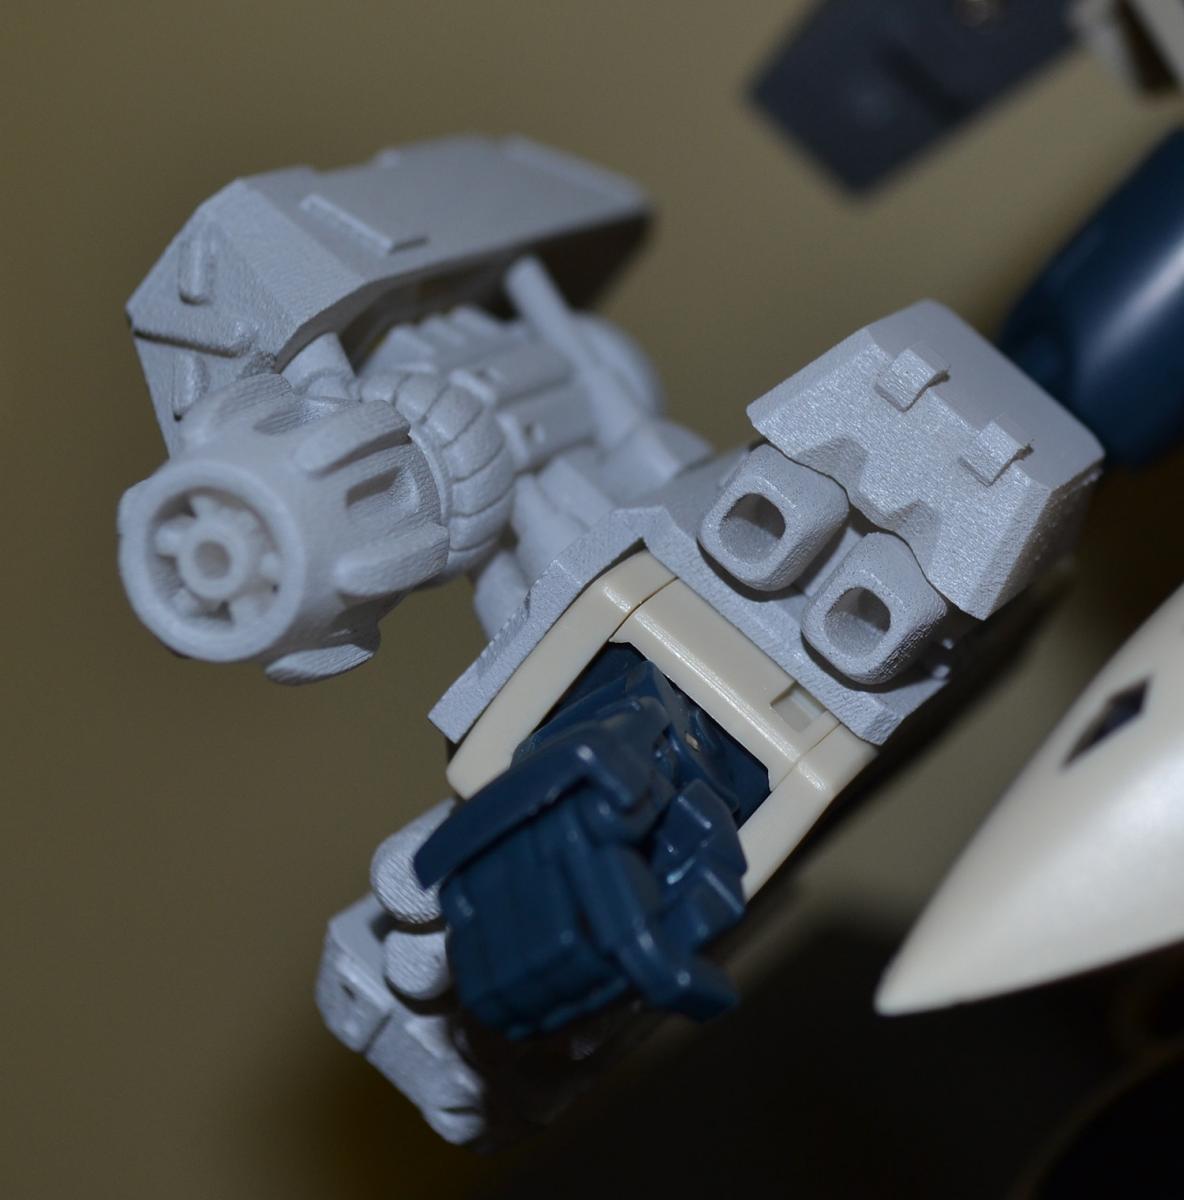
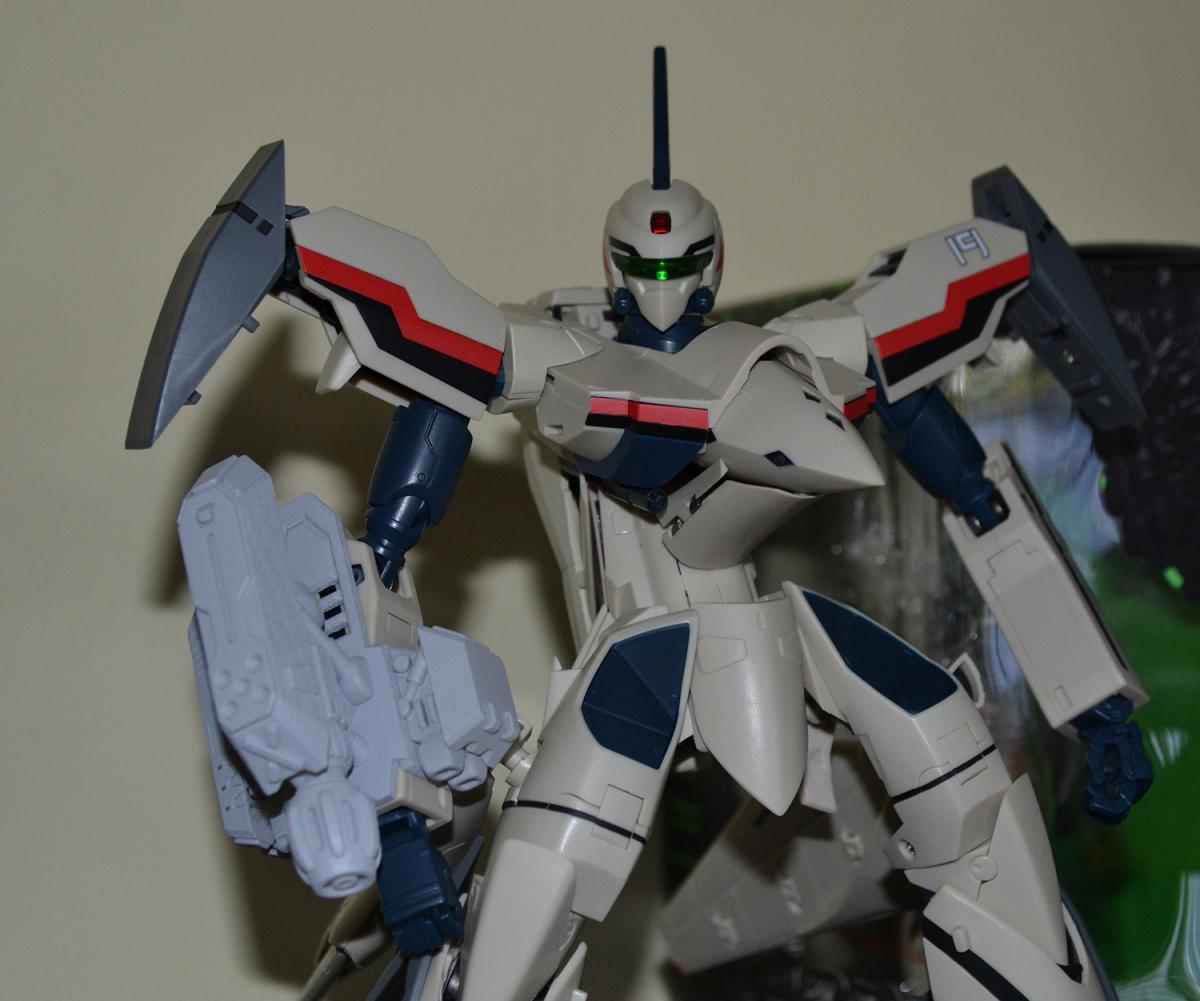
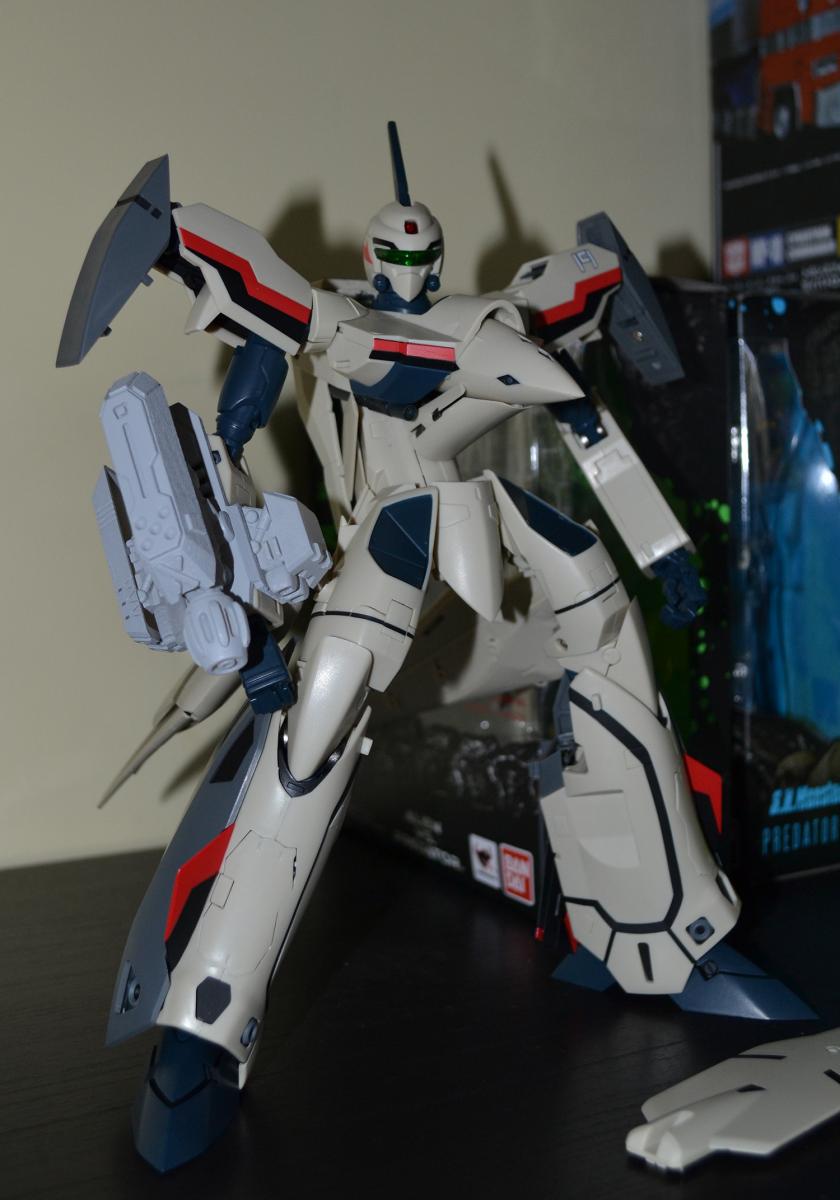
Hey everyone! As some of you have already seen on the Arcadia YF-19 thread and my general custom release thread - I've finally gotten my rendition of the YF-19's arm weapon from Shapeways; I'm going to use this thread to document the process of getting a 3D print up to spec, start to finish. I have a long weekend and hope to get it done between hanging with the family (4yo son and pregnant wife!) and lounging about /packing the house for a move over the next few days. Feel free to ask any questions regarding ordering or preparing the print. First off (after initial fitting of parts and testing on Alpha-One ) I separate all the parts and soak them in a not-quite-hot-but-not-warm tub of water with regular washing detergent. I then scrub each piece (carefully) with a toothbrush and then put in a second bath of just-hot-water (don't want to warp the plastic) and then scrub again and rinse in some more warm water - shake them off and take outside to dry in the sun for a good few hours, turning them all the while so each surface gets a decent amount of exposure; I then use a primer (Mr.Surfacer if u can get it or Tamiya works well too) and lightly coat all surfaces and let dry for about 4 hours - again, turning so each surface gets a good dose. Now you can clearly see the print lines - they look severe here cause I used the macro setting on my camera, but to the naked eye, it appears much smoother. Still, it will require sanding. I've now sanded the pieces as best I can given the awkward angles (no photos yet! tomorrow ) using Tamiya Finishing Abrasives P320 grain - using the P2000 did little, so not worth using it. I can now see where the primer has filled in the print line grooves. Will update with new photos of the sanded (will also brush with a dry toothbrush to get rid of the sanded primer and plastic and also pick out debris from details with a pin-needle or hobby blade) pieces and next round of primer and/or base colours - as well as what Tamiya colours I use. And a couple more pics for the lulz;