Search the Community
Showing results for tags 'Gray Armor'.
-
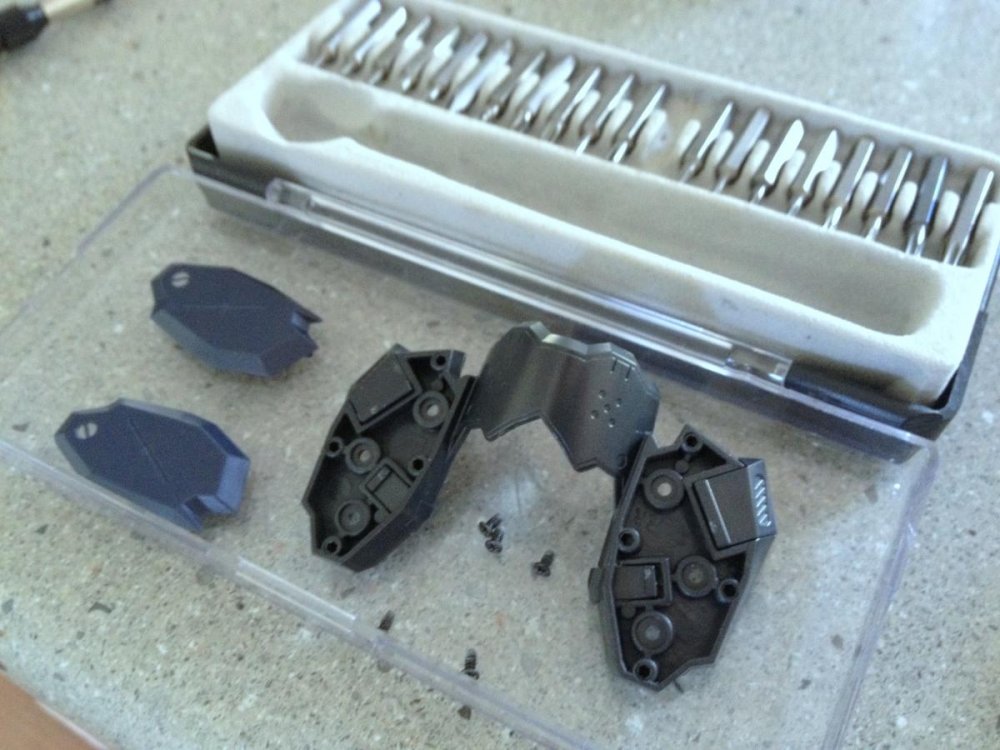
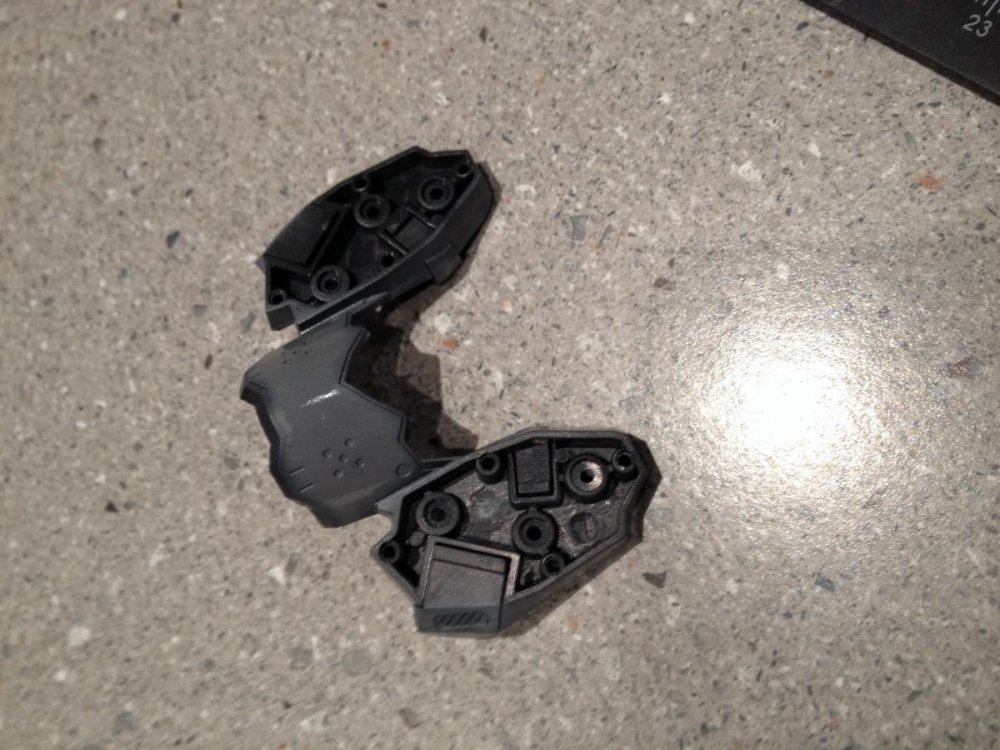
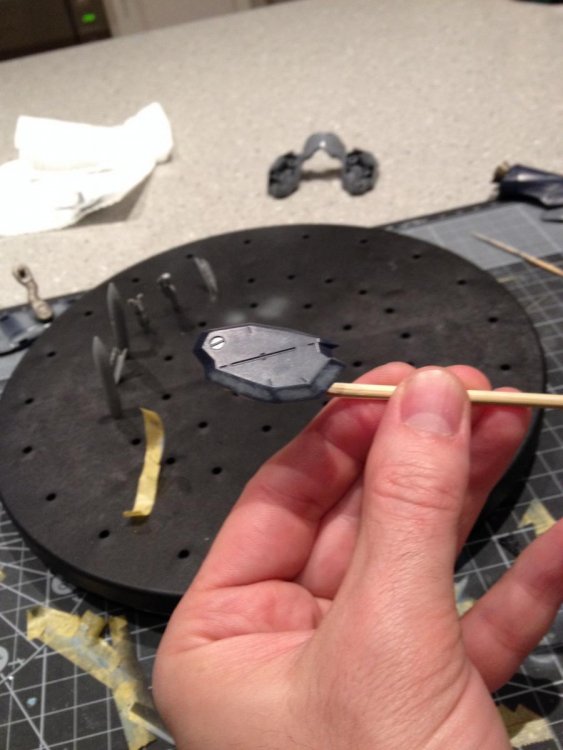
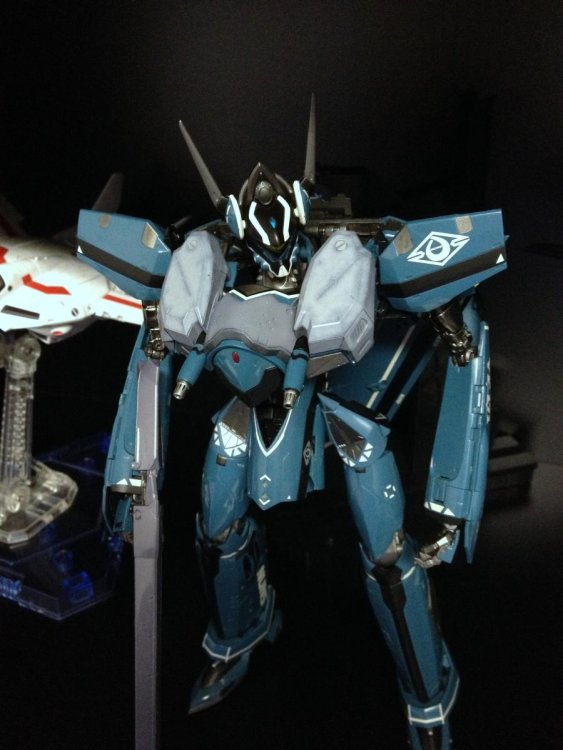
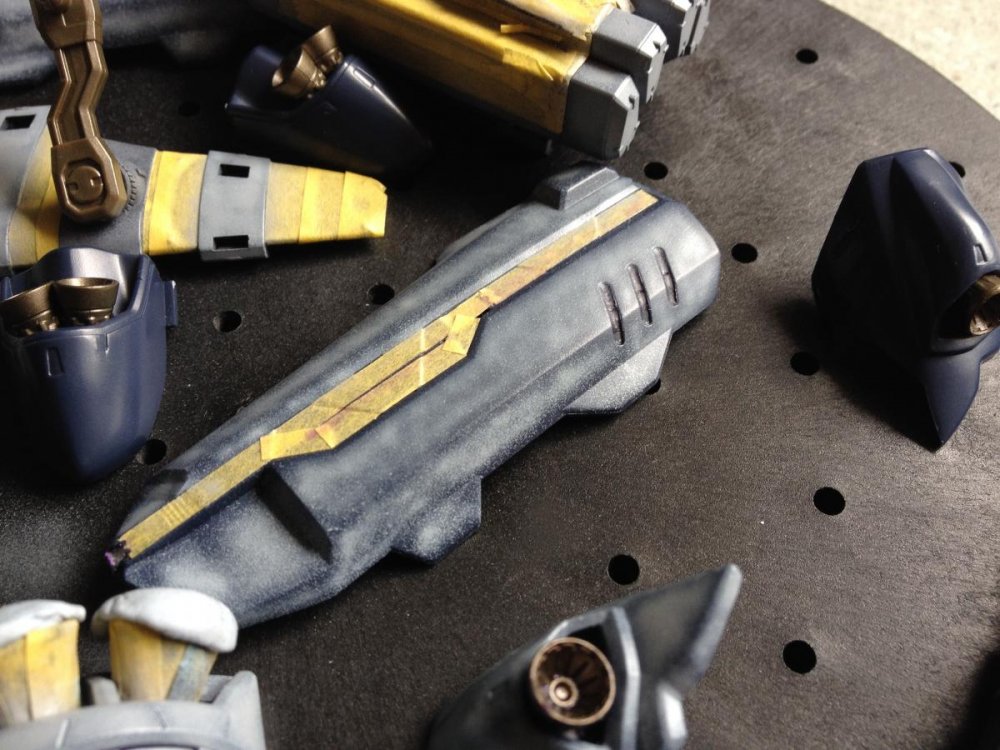
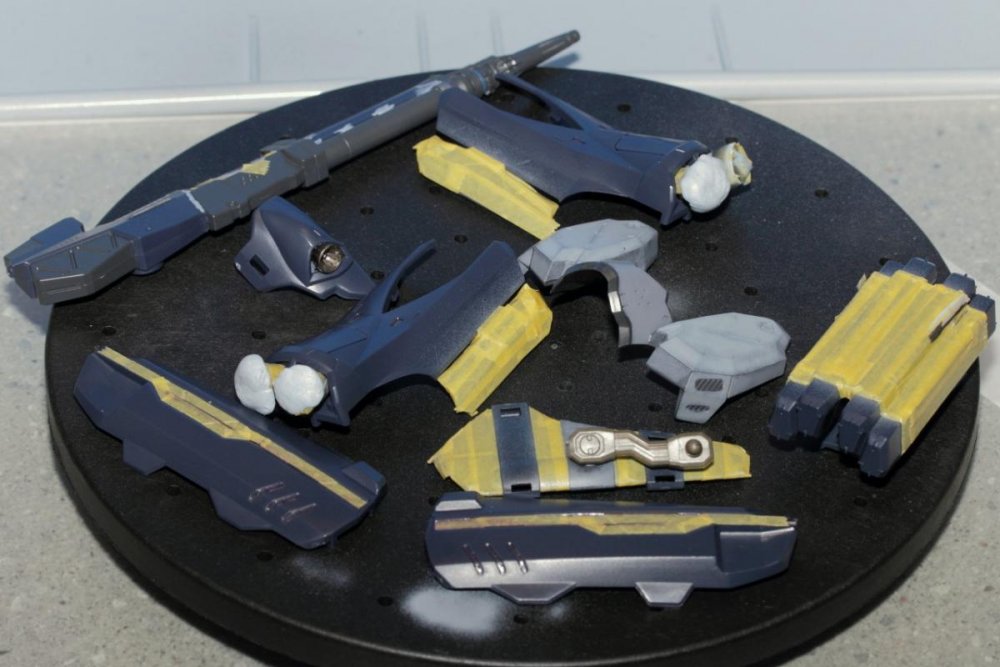
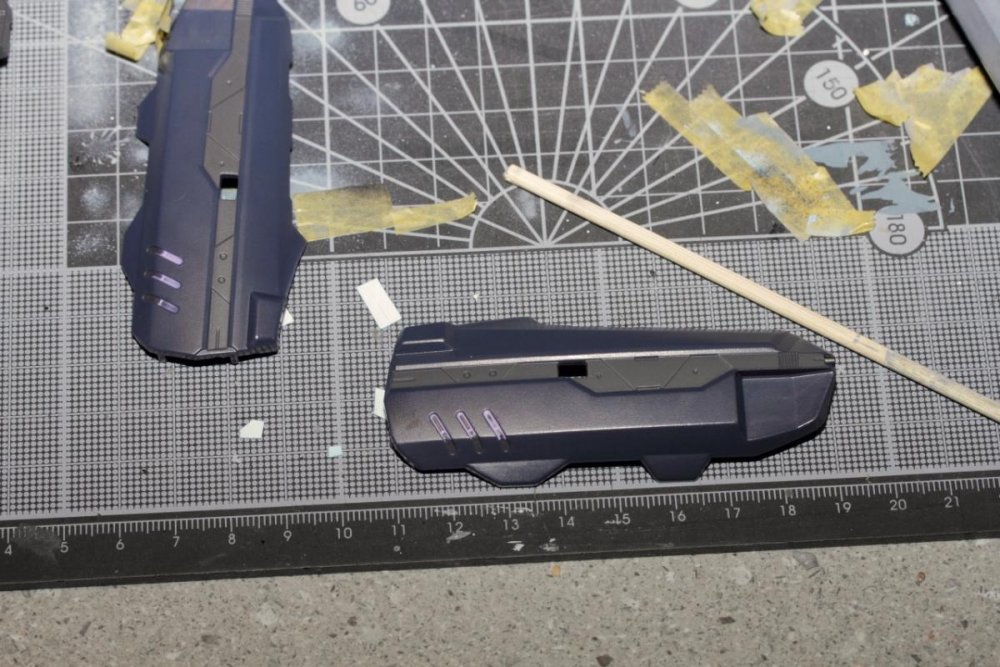
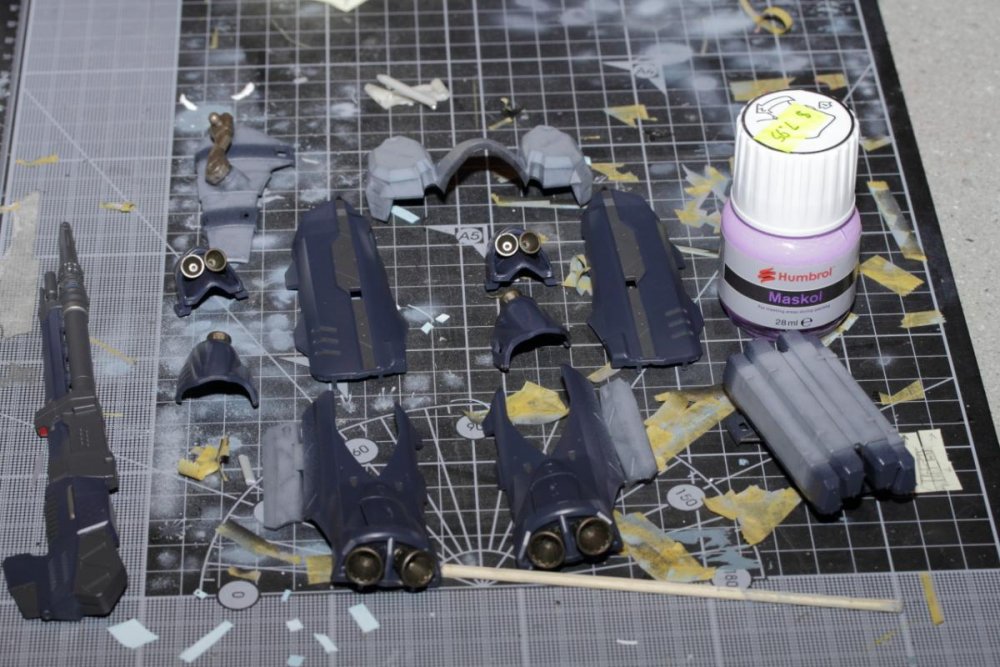
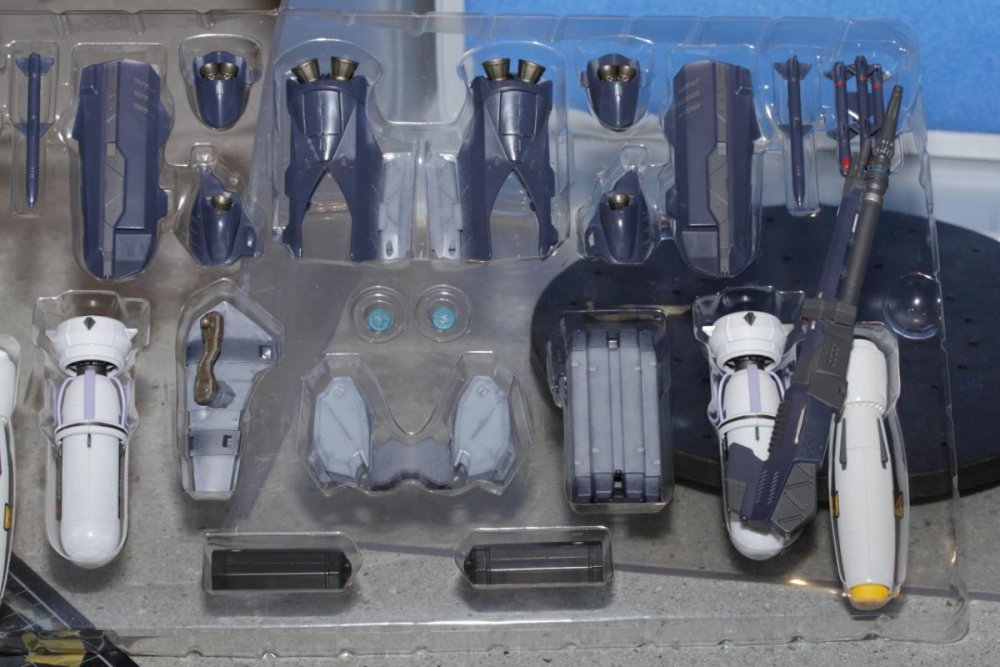
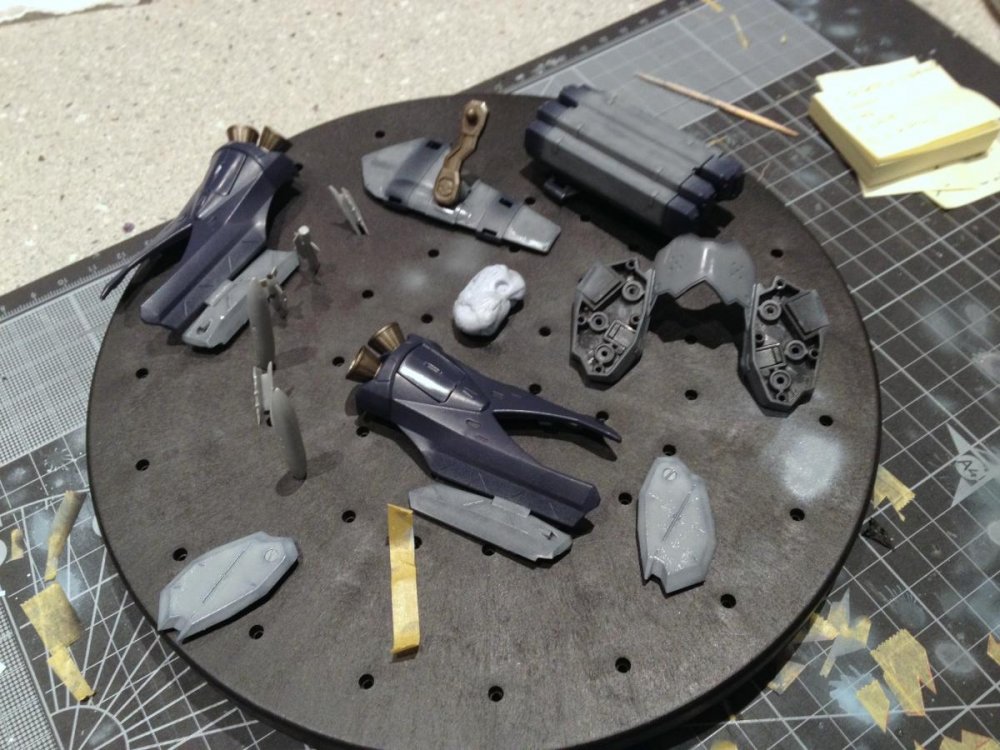
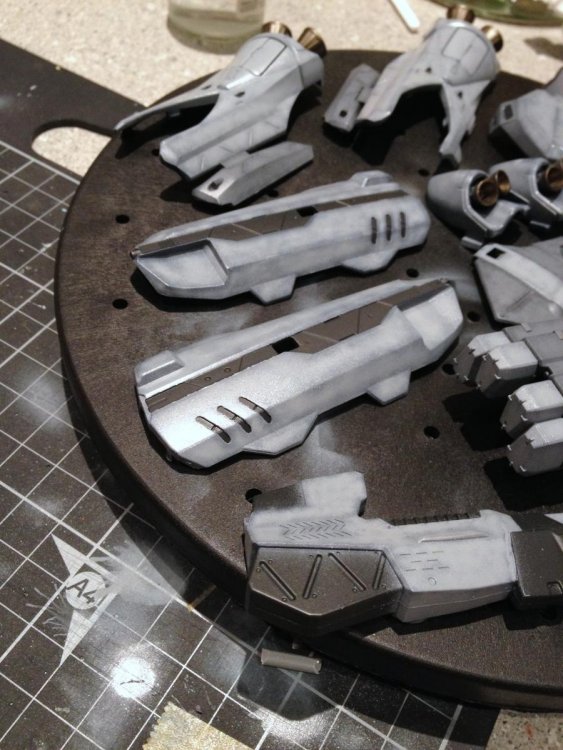
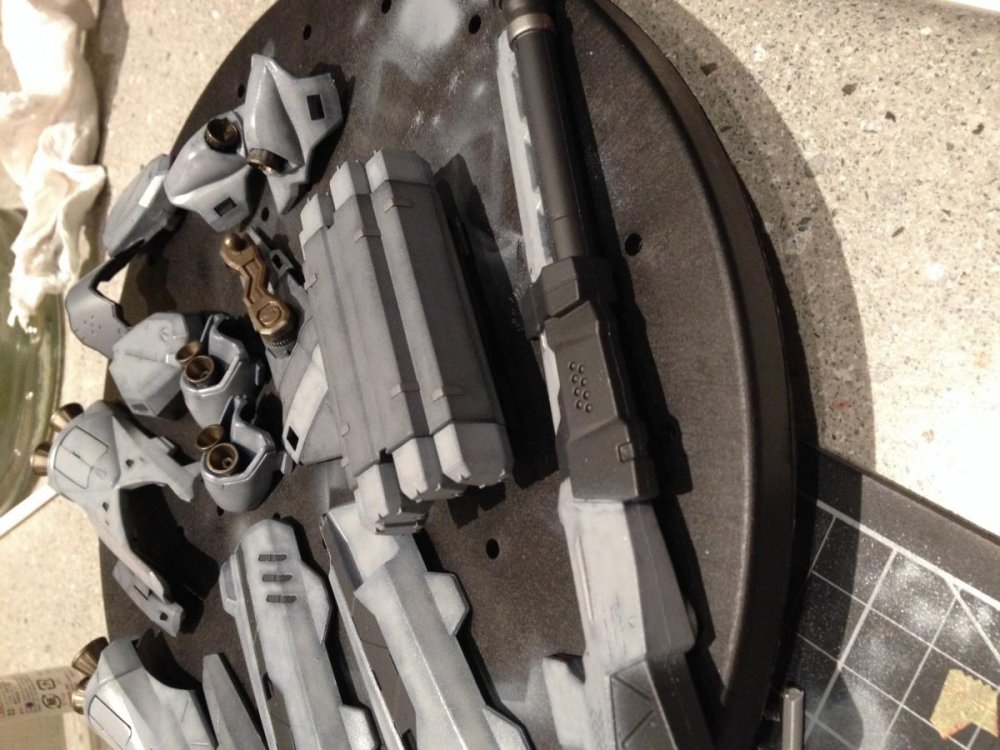
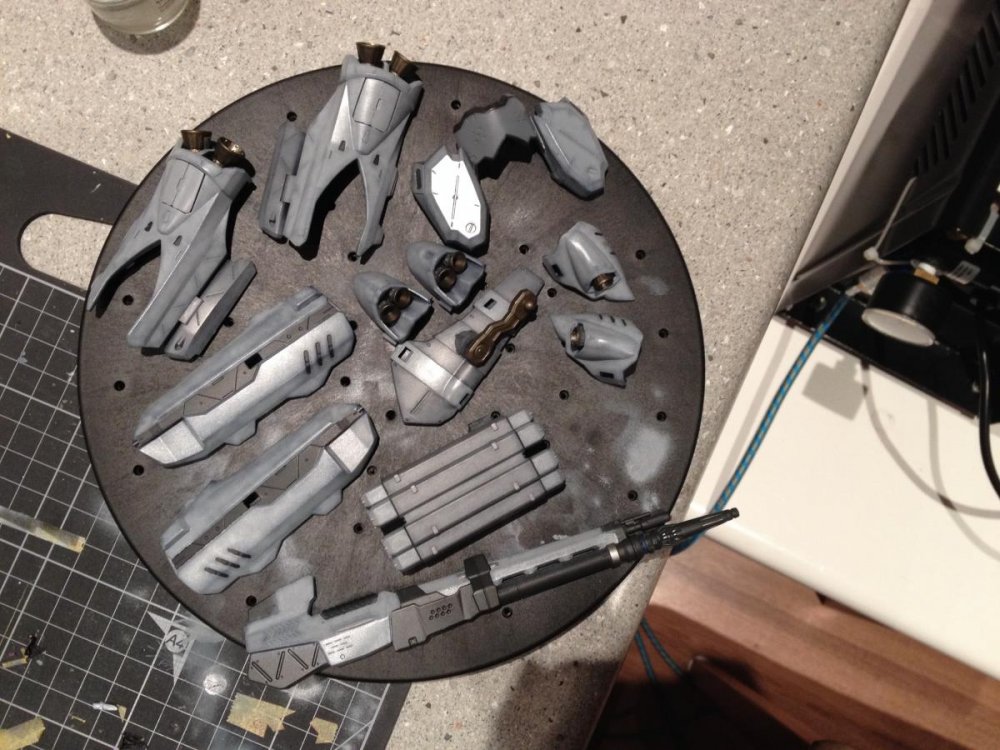
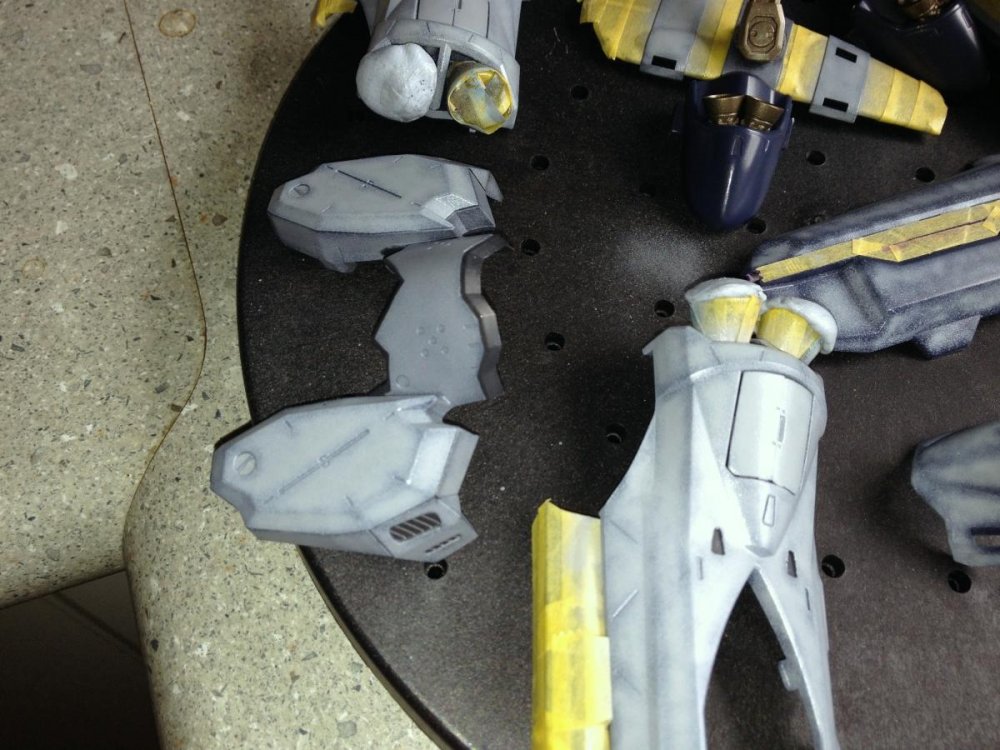
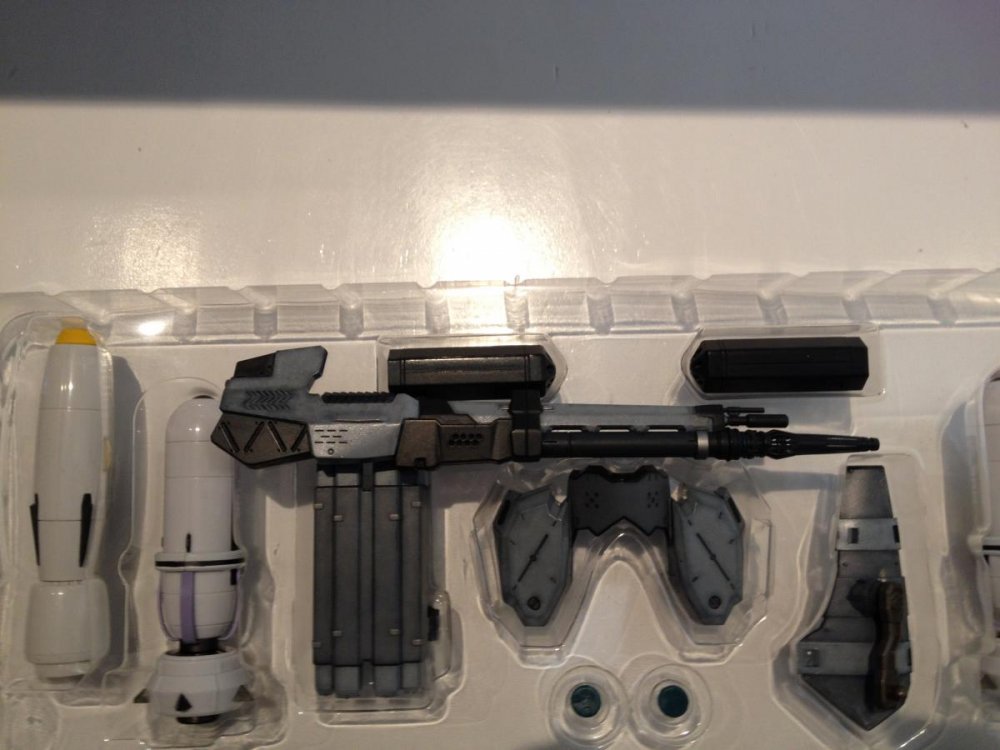
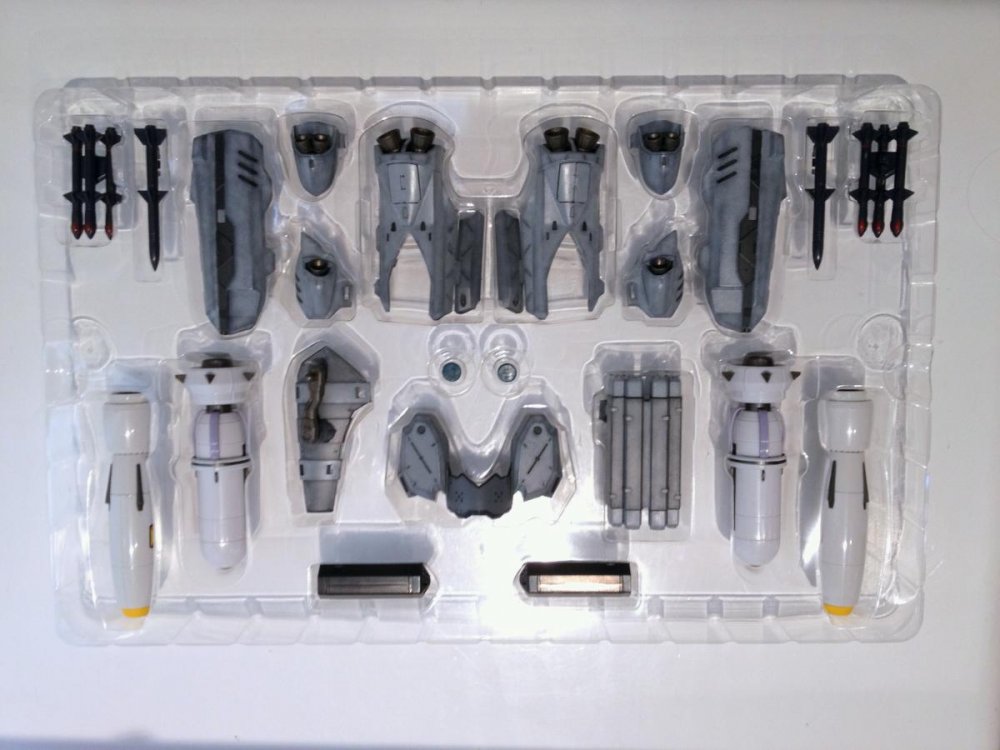
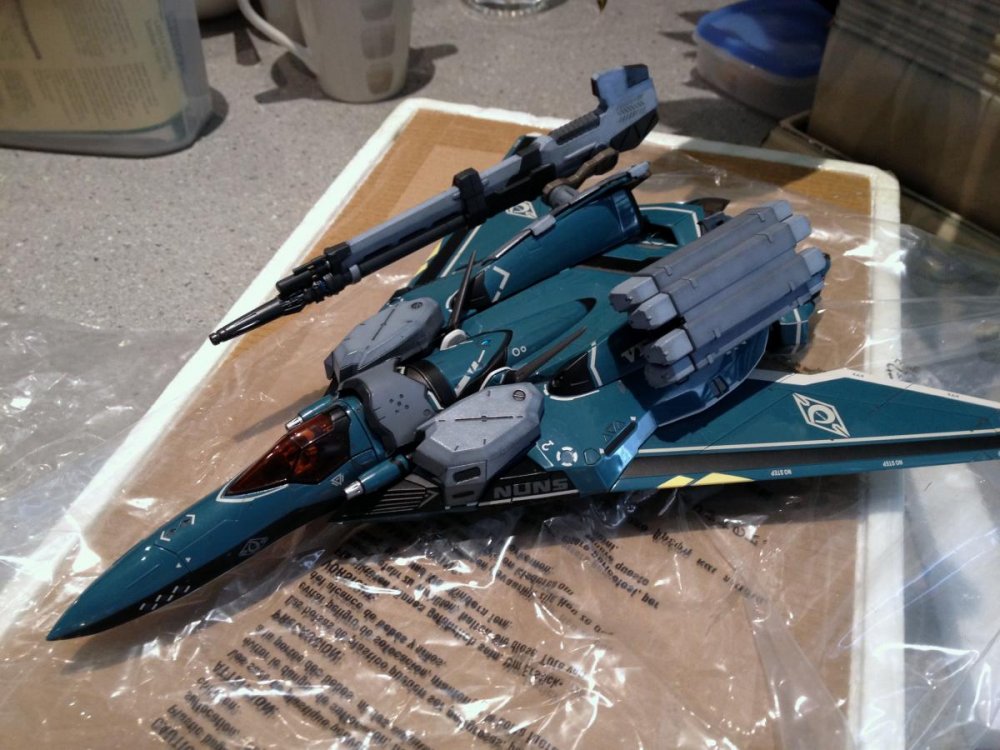
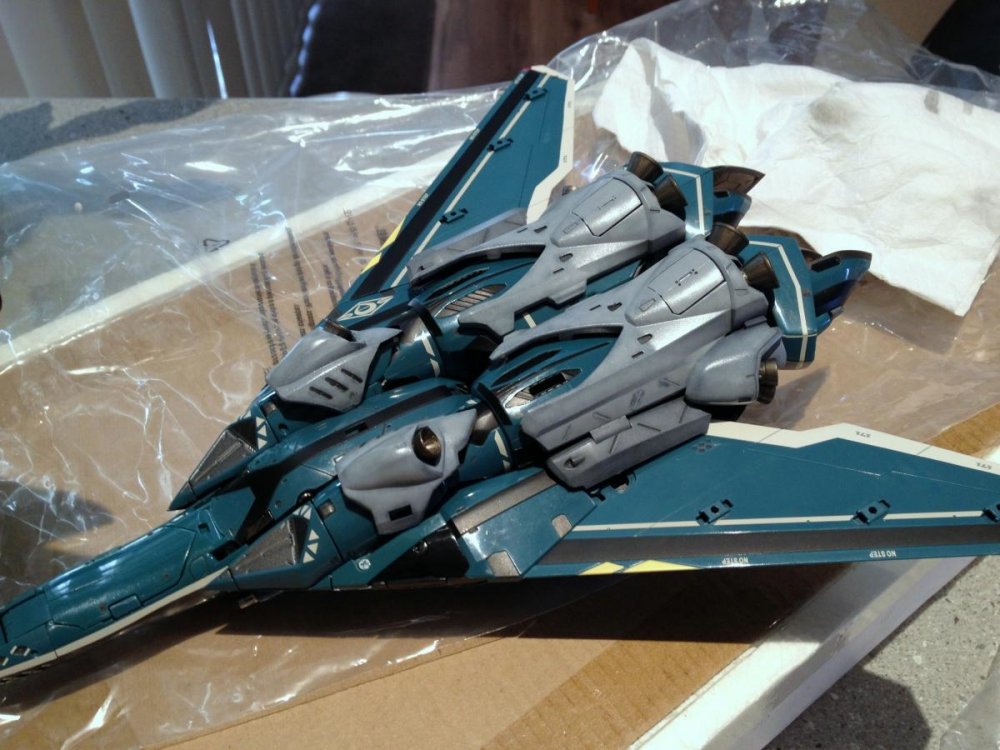
I recently bought a VF-171 (CF Version) and Amored Parts set from a member here (thanks again Kurisama!) and decided to get to work on making it “Accurate” according to the second Macross Frontier movie. The TV version never shows the Nightmare “dressed up” unless it’s the EX version. While the movie version shows the CF version all armored up, but the colours are always grey. What to do? I figured I’ve got plenty of grey paints and an airbrush, so why not paint them? Here’s how I did it. After extensive screen caps of the movie, I made an educated guess that what's seen is basically a light and a dark grey. Easy enough. For the light grey, I went with “Light Ghost Gray” or FS36375 and for the darker gray, “Gunship Gray” or FS36118. The darker grey only got used on the chest armour, the "missile box" on the forearm/vertical stabilizer, and hinge parts for the shin armor, as the rest of the parts seemed to offer enough contrast with the darker plastic already there. Figuring disassembly would be the easiest approach to painting seperate colours, I hit my first hurtle - the chest piece was the only part I had any success breaking down. Luckily the rest of the parts were not terribly tricky to mask. I painted the bottom portion dark gray, and the top part light gray, being careful to incorporate the darker plastic for a “preshade” effect in the overall paint application. This may not be movie accurate but I like the look and contrast. I'm almost certain the middle chest piece should be the same as the outer parts, but decided to keep it as is. And then “tried it on” to see what I thought. Not bad… So here's what I had, after a bit of playing around, showing some parts painted, others in their natural "Blue" colour. Moving on to the other parts, I used Humbrol Maskol for the fine vents and grills, and thinly cut strips of Tamiya masking tape for everything else. A combination of tape and blue tac was used for the rocket nozzles (and they were a pain). Paint was applied in various coats, always being careful to use heavily thinned, semi transparent layers to give me a lot of leeway in the degree of “preshade” that came through. This was a good thing, because I had a lot of trouble getting the paint to spray properly. I ended up with a lot of spatter, which seems to come from not thinning the paint enough, and it drying on the tip. I usually get the paint consistency right, about halfway through my painting process. This time was no different. With it finally all painted, I concentrated on applying a very thinned wash of lightened black acrylic paint. I managed to thin a bit too “hot” with windex on one application, and removed some of the base paint on one leg armour piece. The rest went without too much problem, as I started thinning with plain water instead. I also applied a dark grey wash to the Valk itself, to help bring out some of the panel detail. Here it is, all properly dressed up now (with the parts just sitting on the Valk, not snapped in). While I'm not completely satisfied "it's done" I do feel it looks a lot more movie like now. Maybe some dry brushing with a lighter colour on the edges of the armor would be something worth trying? Any thoughts?
- 12 replies
-
- Macross Frontier
- VF-171
-
(and 4 more)
Tagged with:

