

Andre Dutra
-
Posts
64 -
Joined
-
Last visited
Content Type
Profiles
Forums
Events
Gallery
Posts posted by Andre Dutra
-
-
1 hour ago, derex3592 said:
That looks great! I miss Finemolds, they were great models. Some of the best SW kits out there IMHO.
Yes!! Much better than bandai’s. Bandai, except for Gundam, Is ok. Hasegawa is much better.
-
On 6/7/2019 at 1:14 PM, captain america said:
Captain’s Log: Friday, June 7th
pic 001
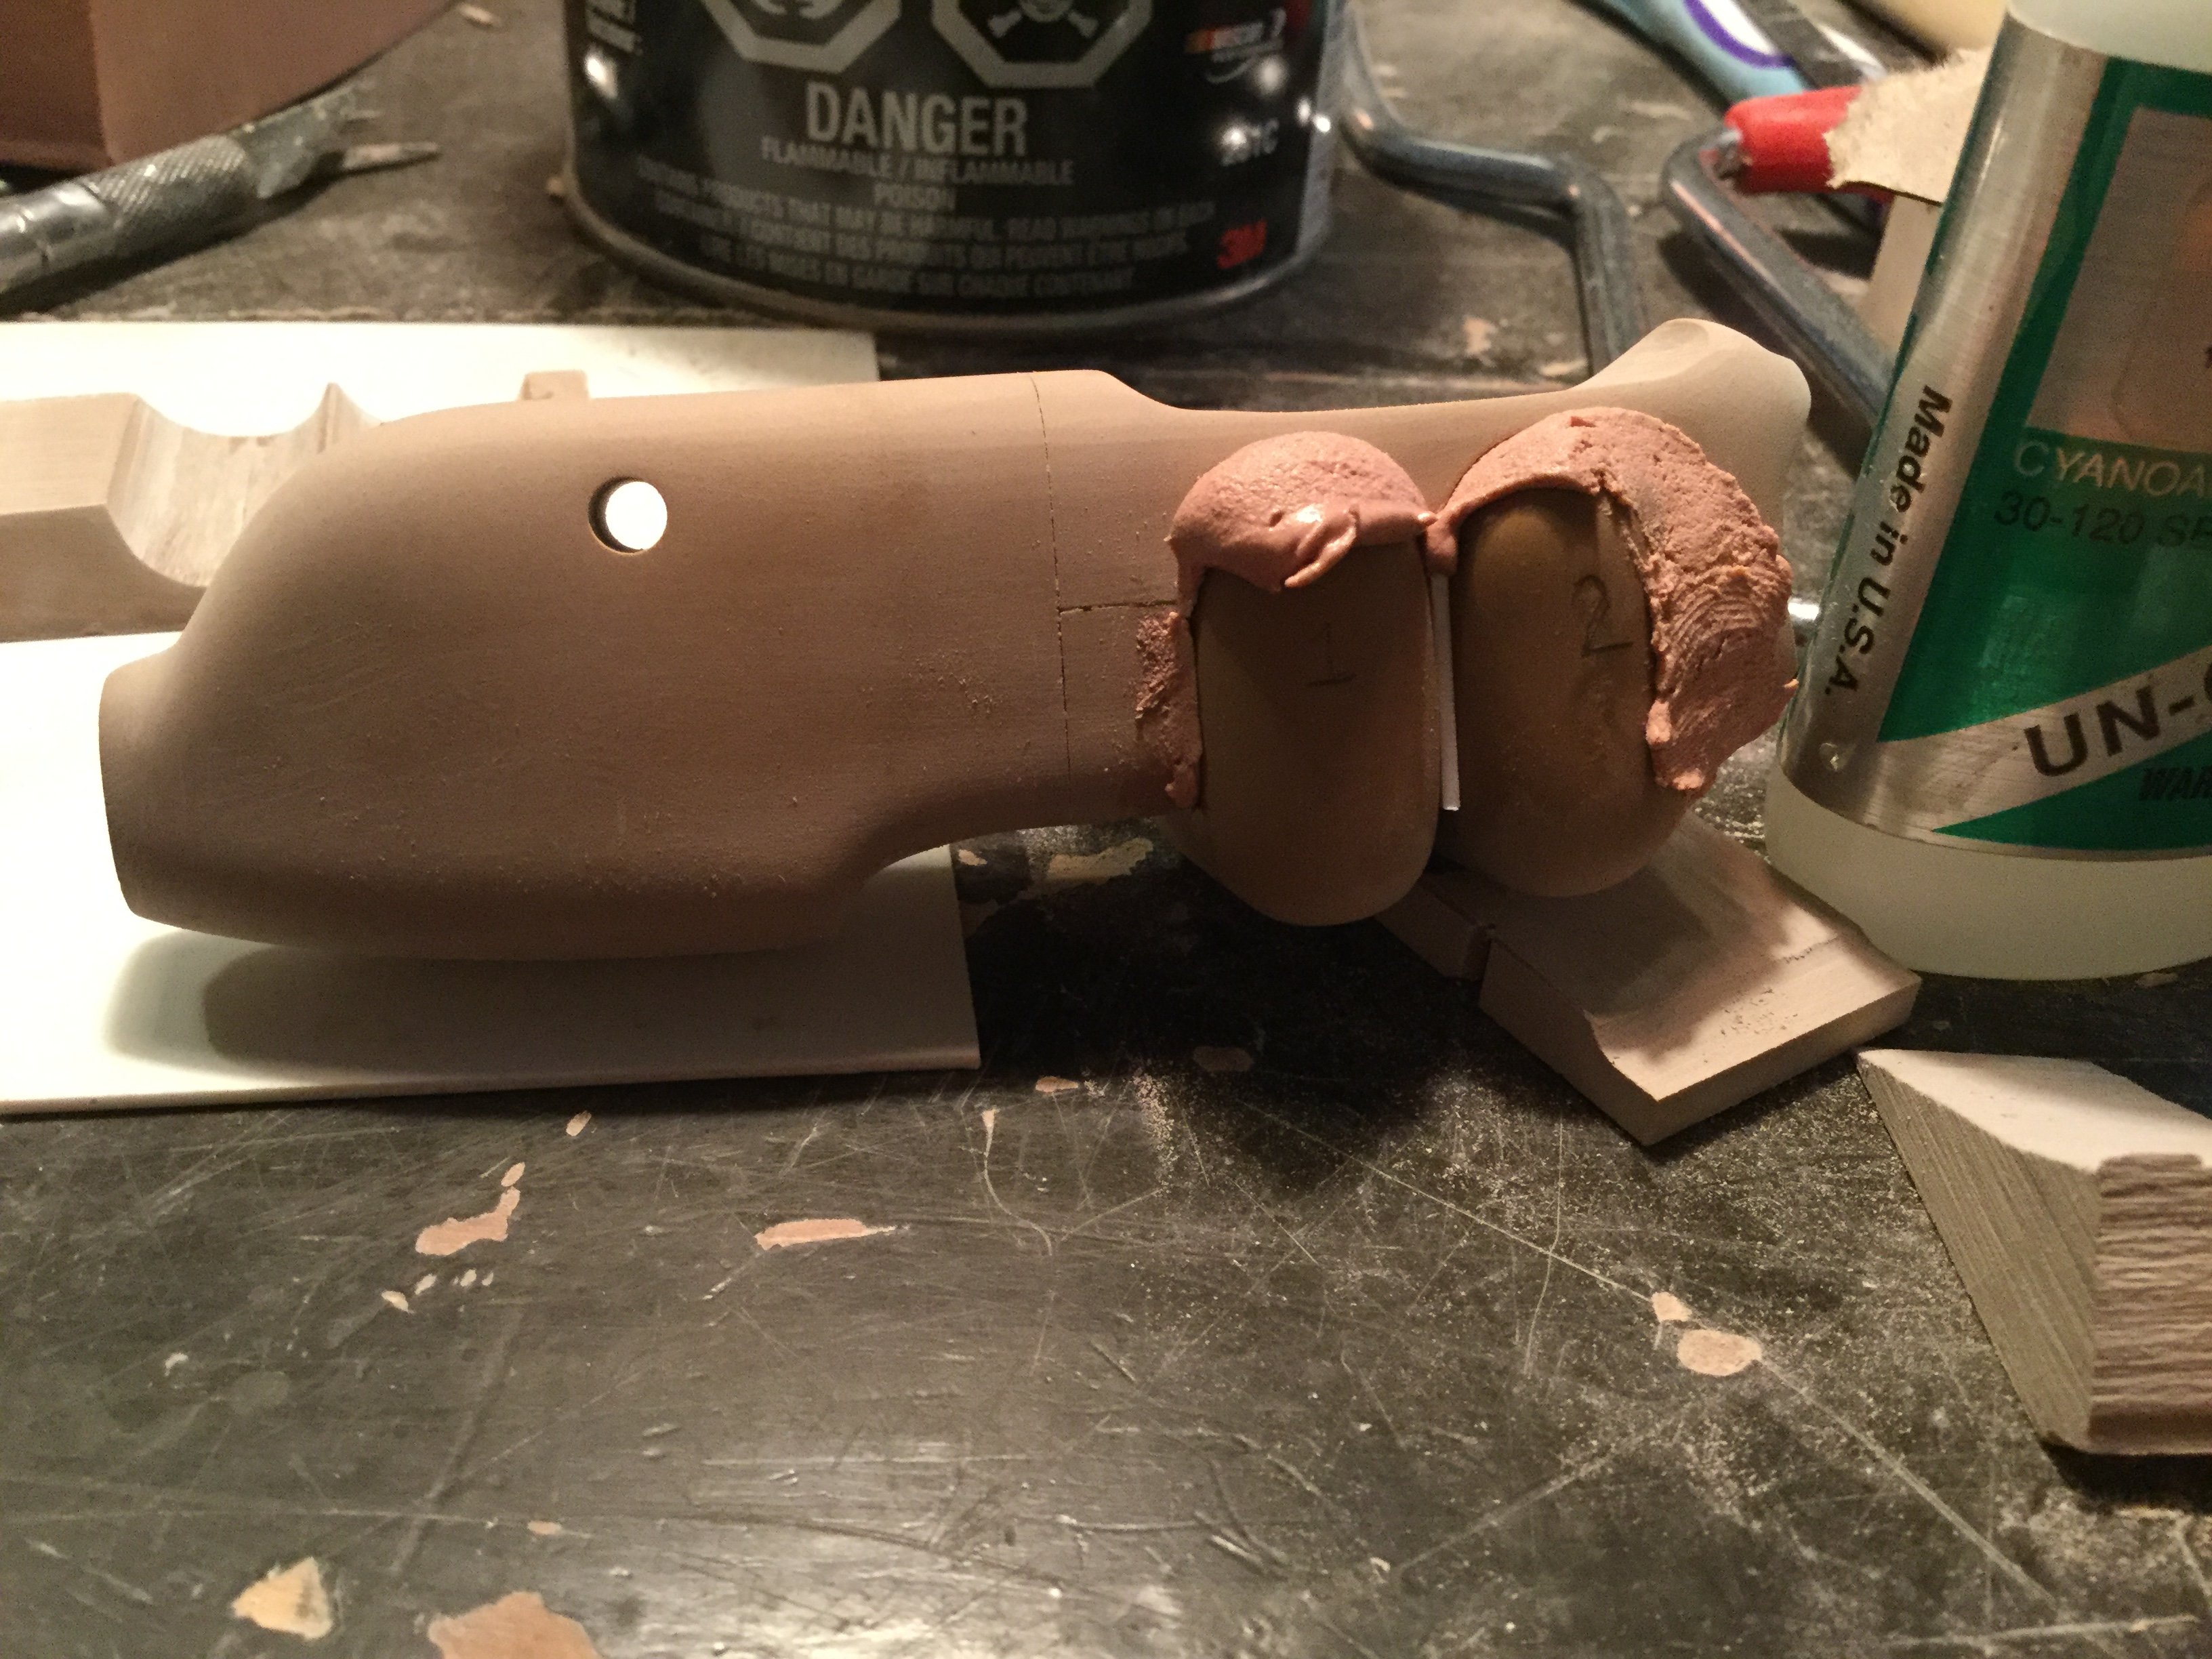
After sone grinding and hand-sanding, the shuttle begins to take shape.
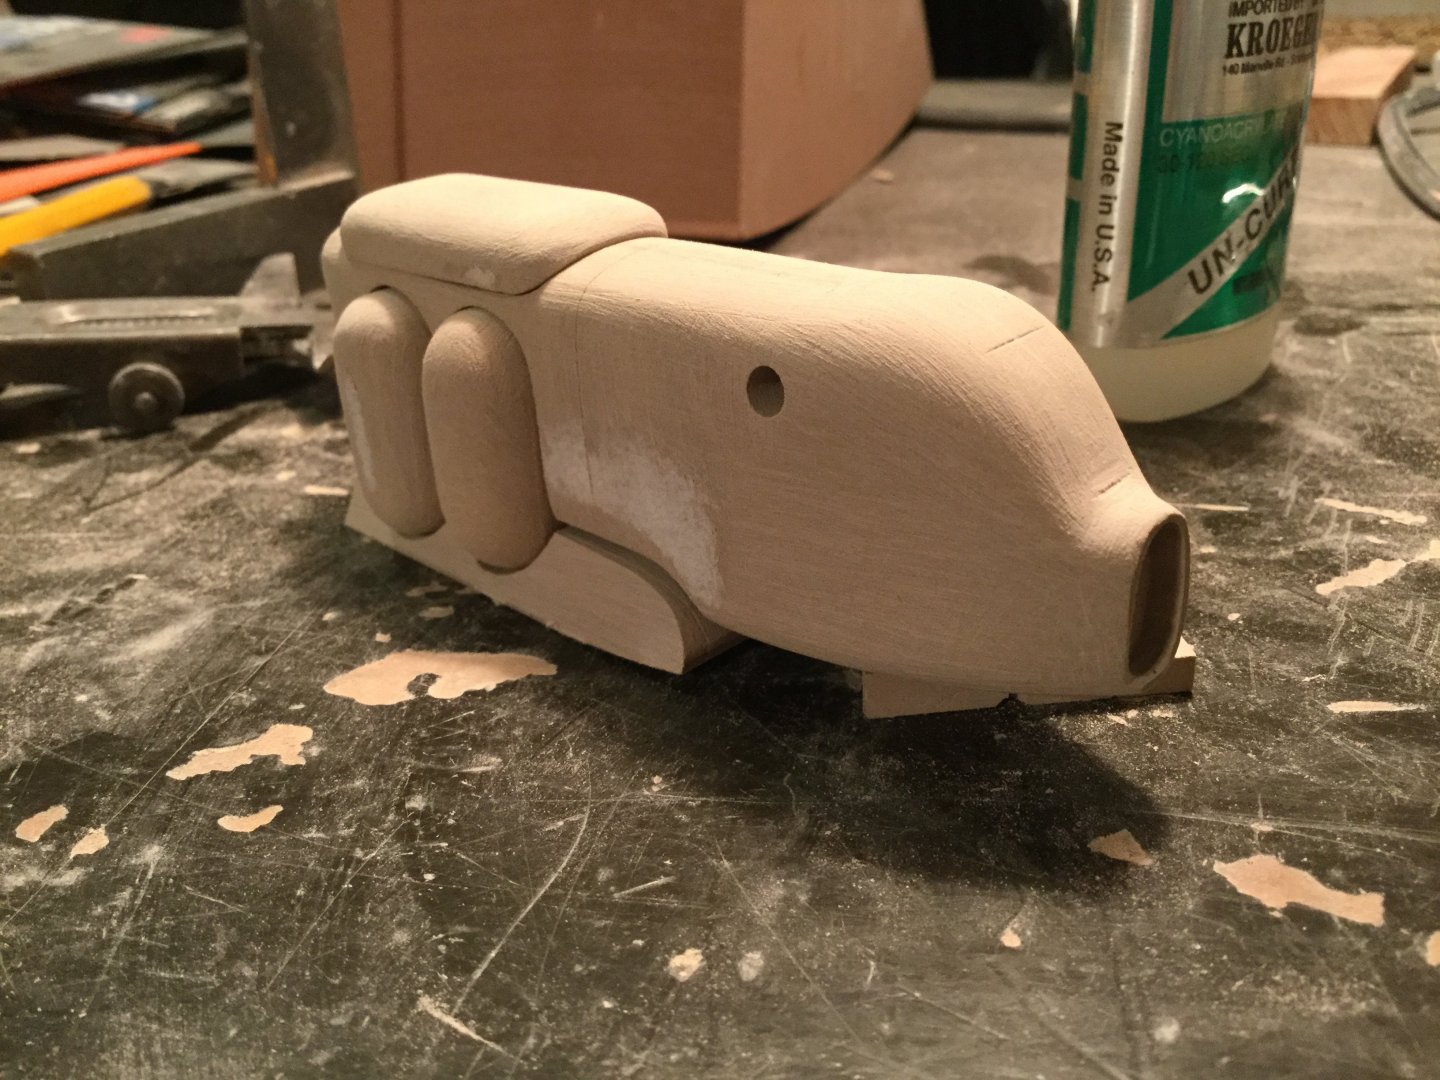 pic 002 After still further refinement, it’s time to start taking care of the gaps betwee parts. I do this by spraying mold release on one part, then filling the gap between parts with polyester putty, then smushing them together. After about 3 minutes, the parts can be carefully pulled apart and allowed to harden further before further sanding can be done.
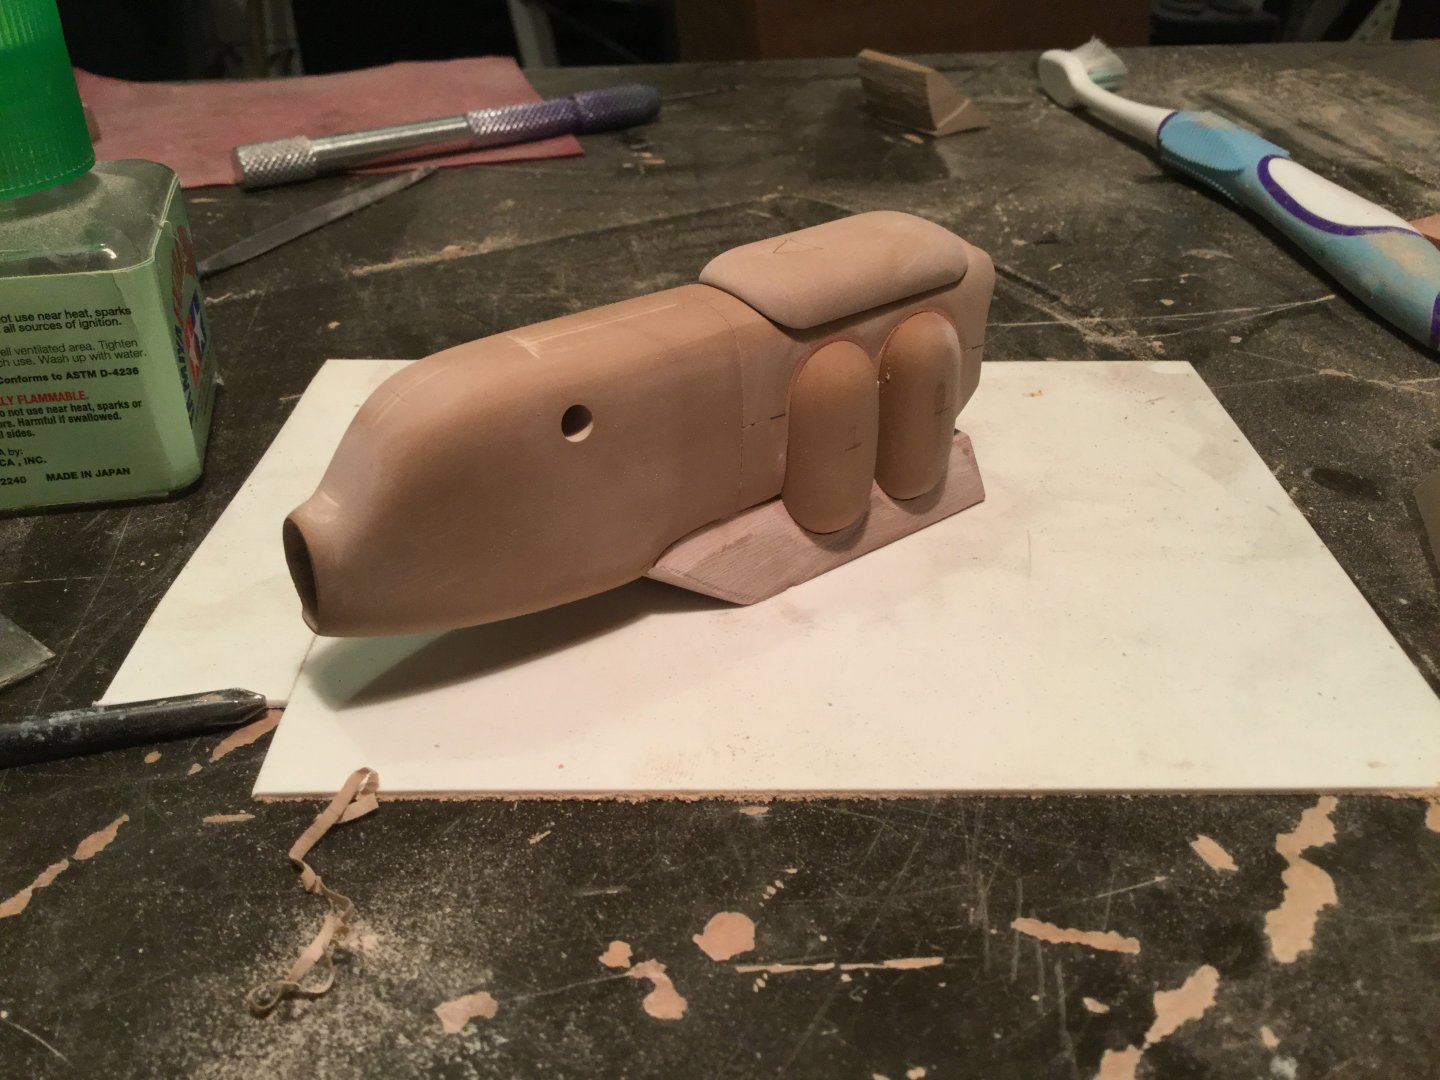
Pic 003 The shuttle now much closer to its final form. Still a few little gaps to fill, which is tedious but necessary work.
Pic 004 New bandsaw! Much quieter and sturdier than my old rig, and the depth allows me to slice 4 « thick blocks with great precision, as seen here.
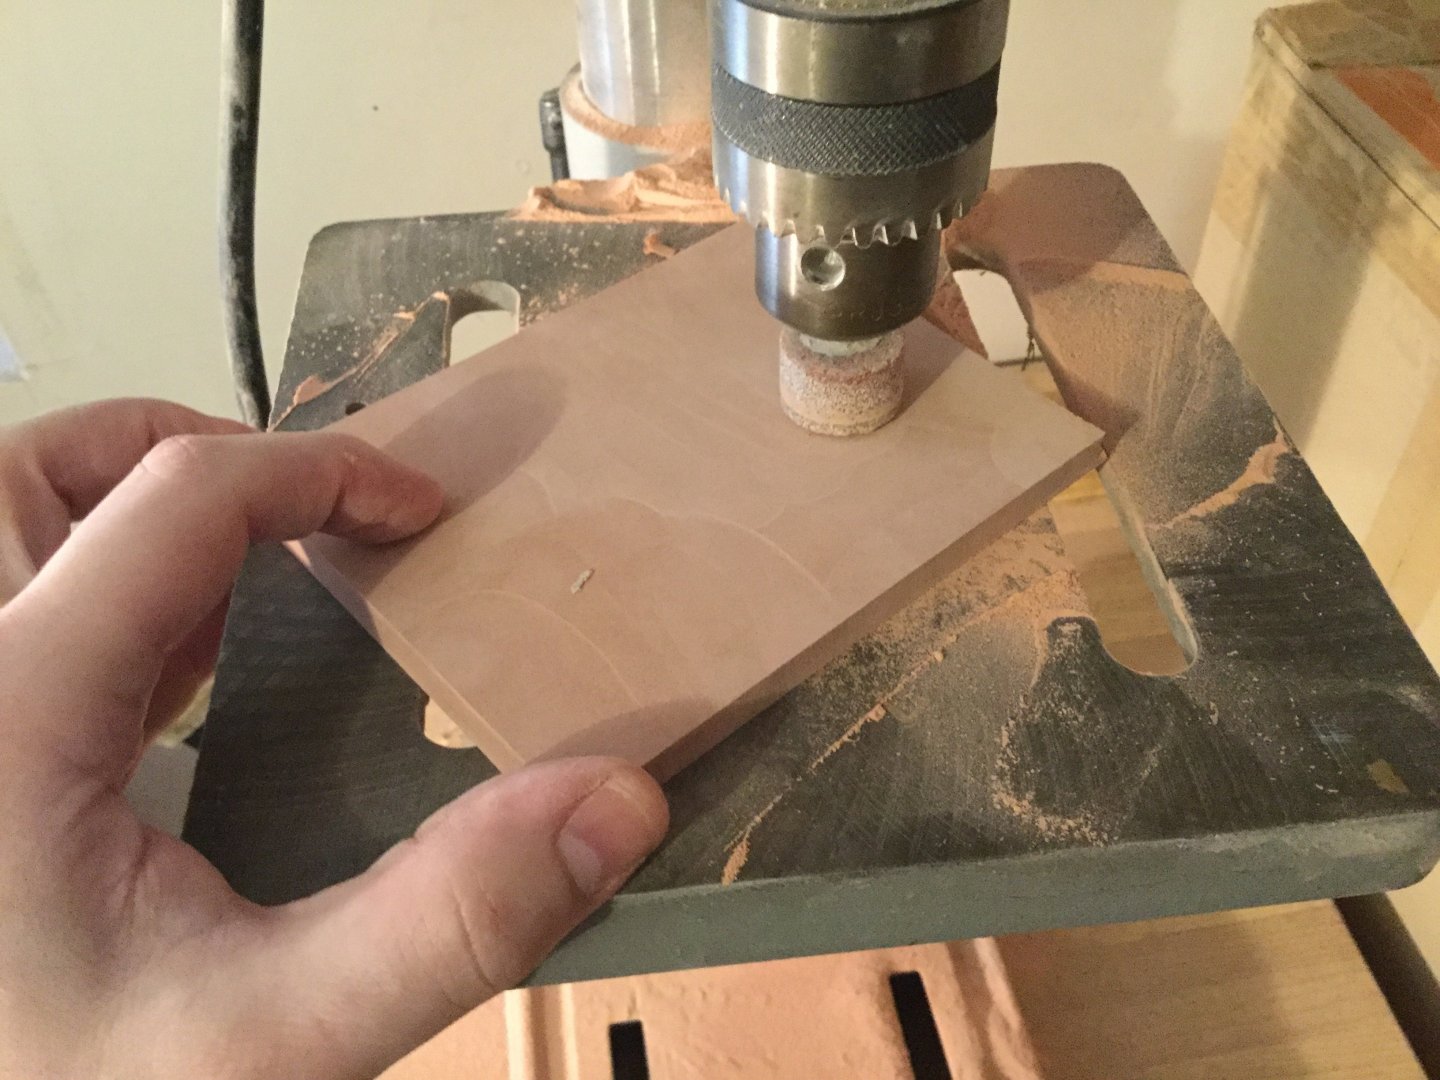
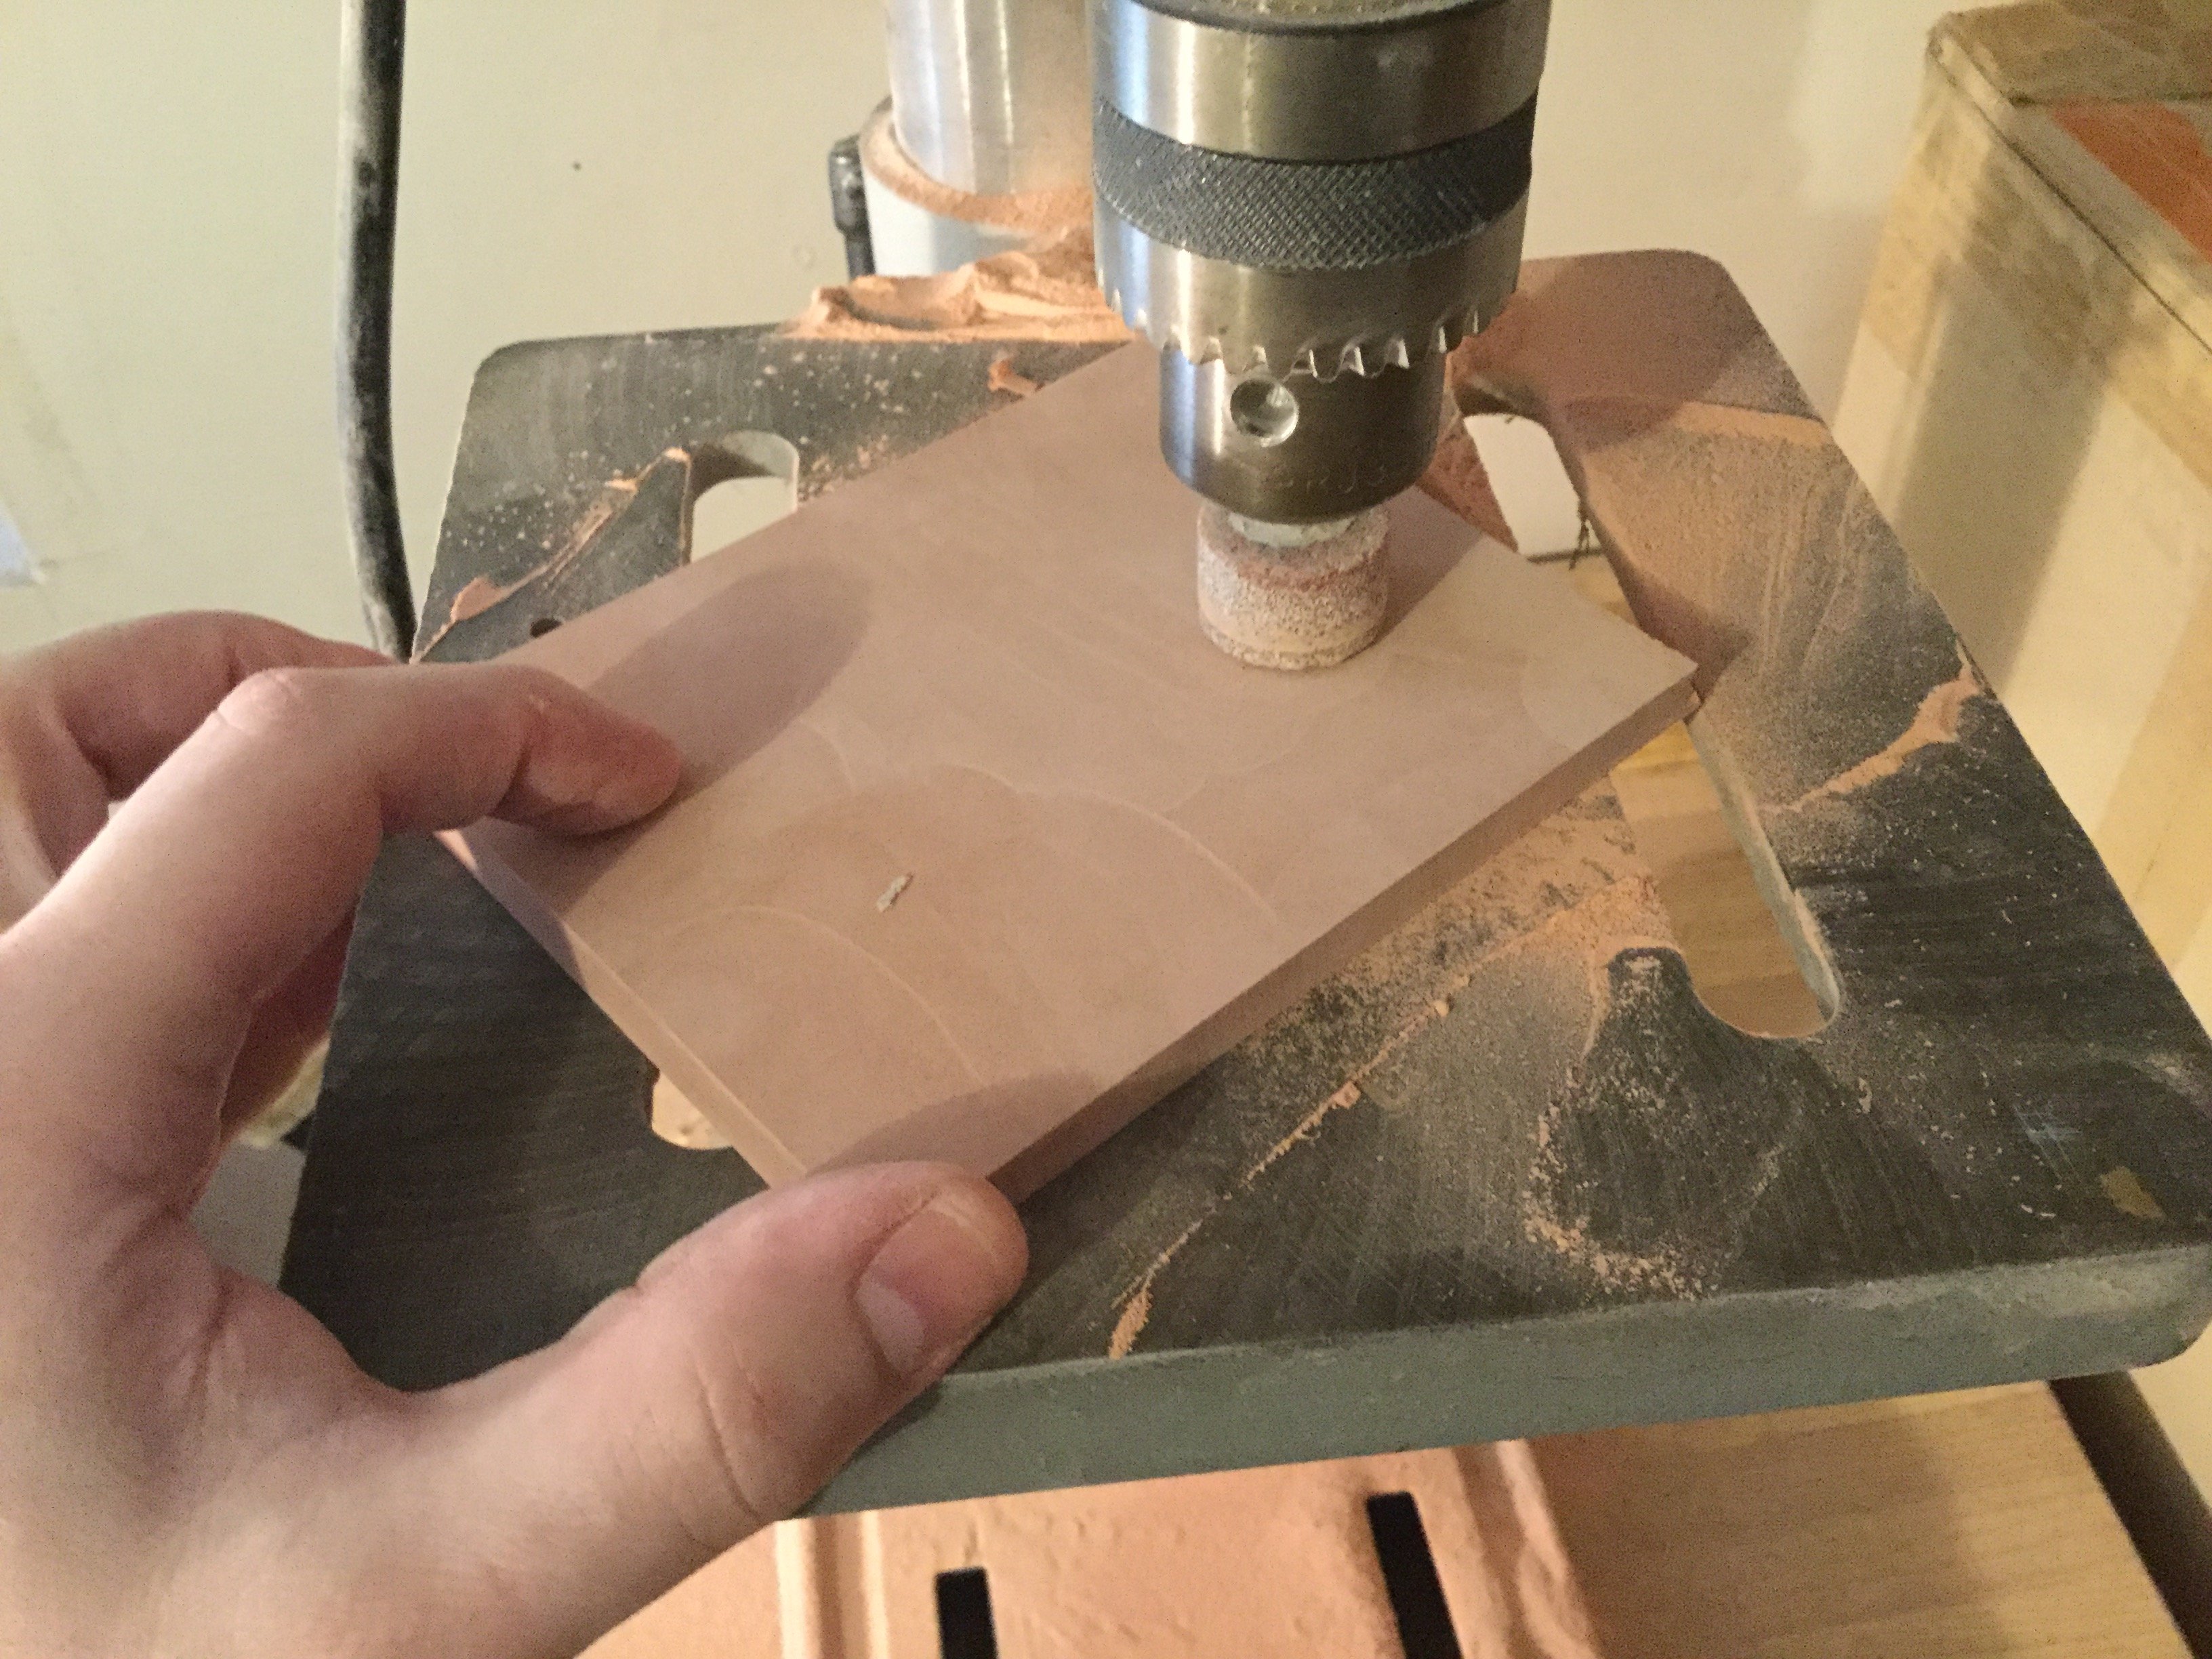
Pic 005 I need some modeling board planks, so those freshly cut parts go under the grindstone to do final surfacing. Another one of those operations that produce copious amouns of dust.
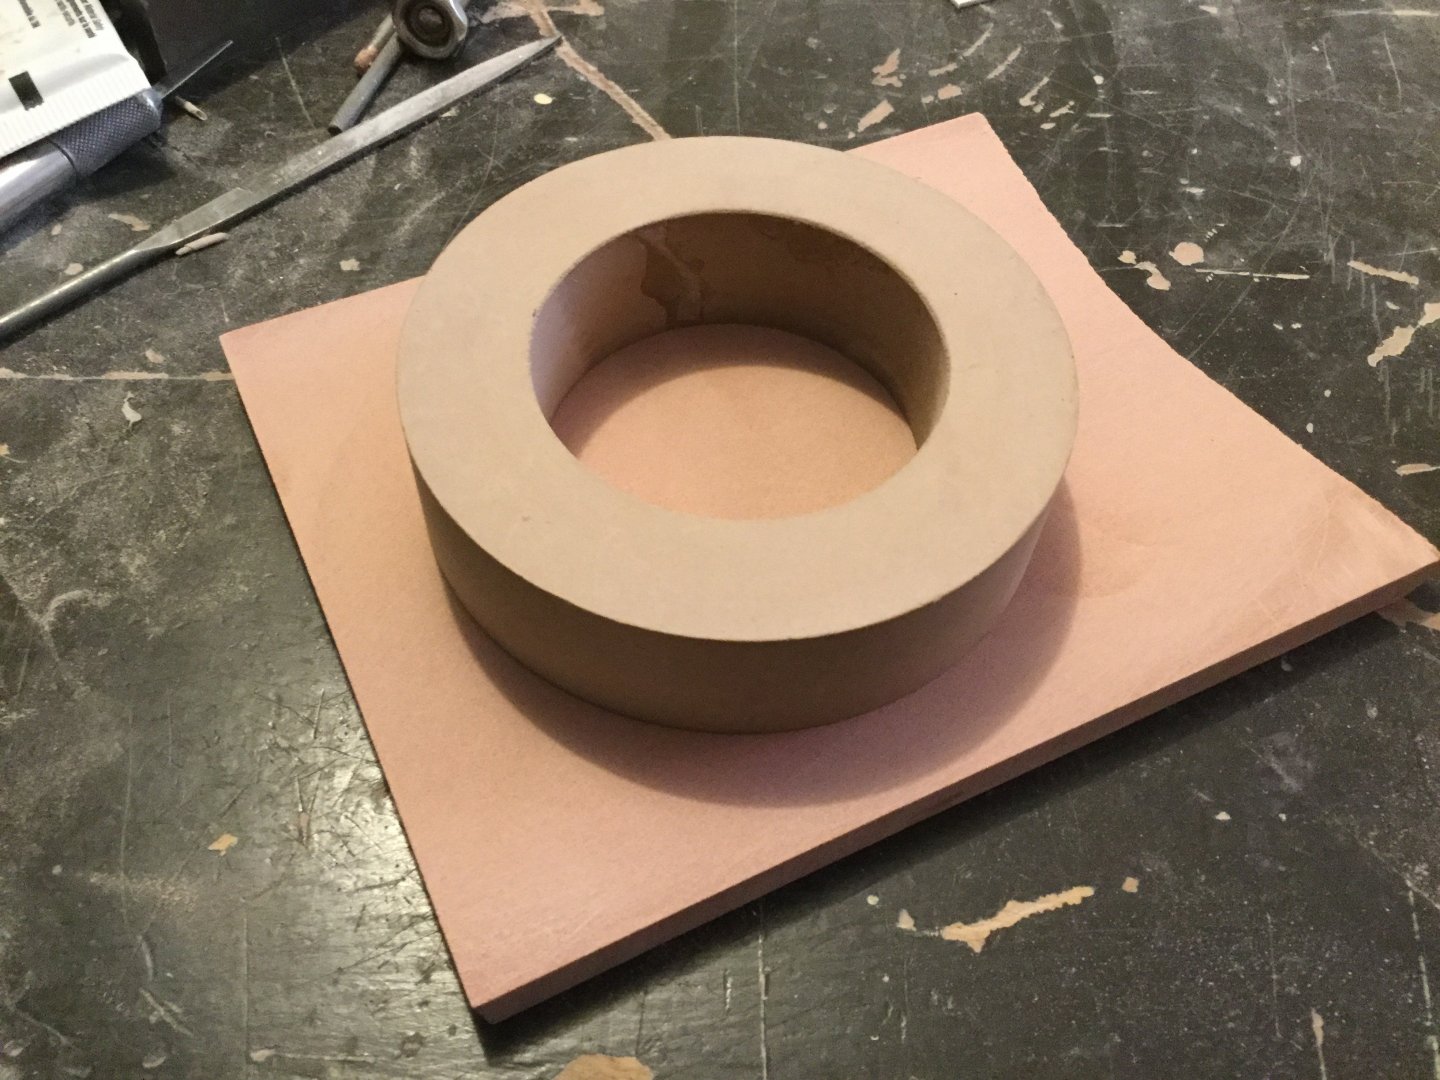
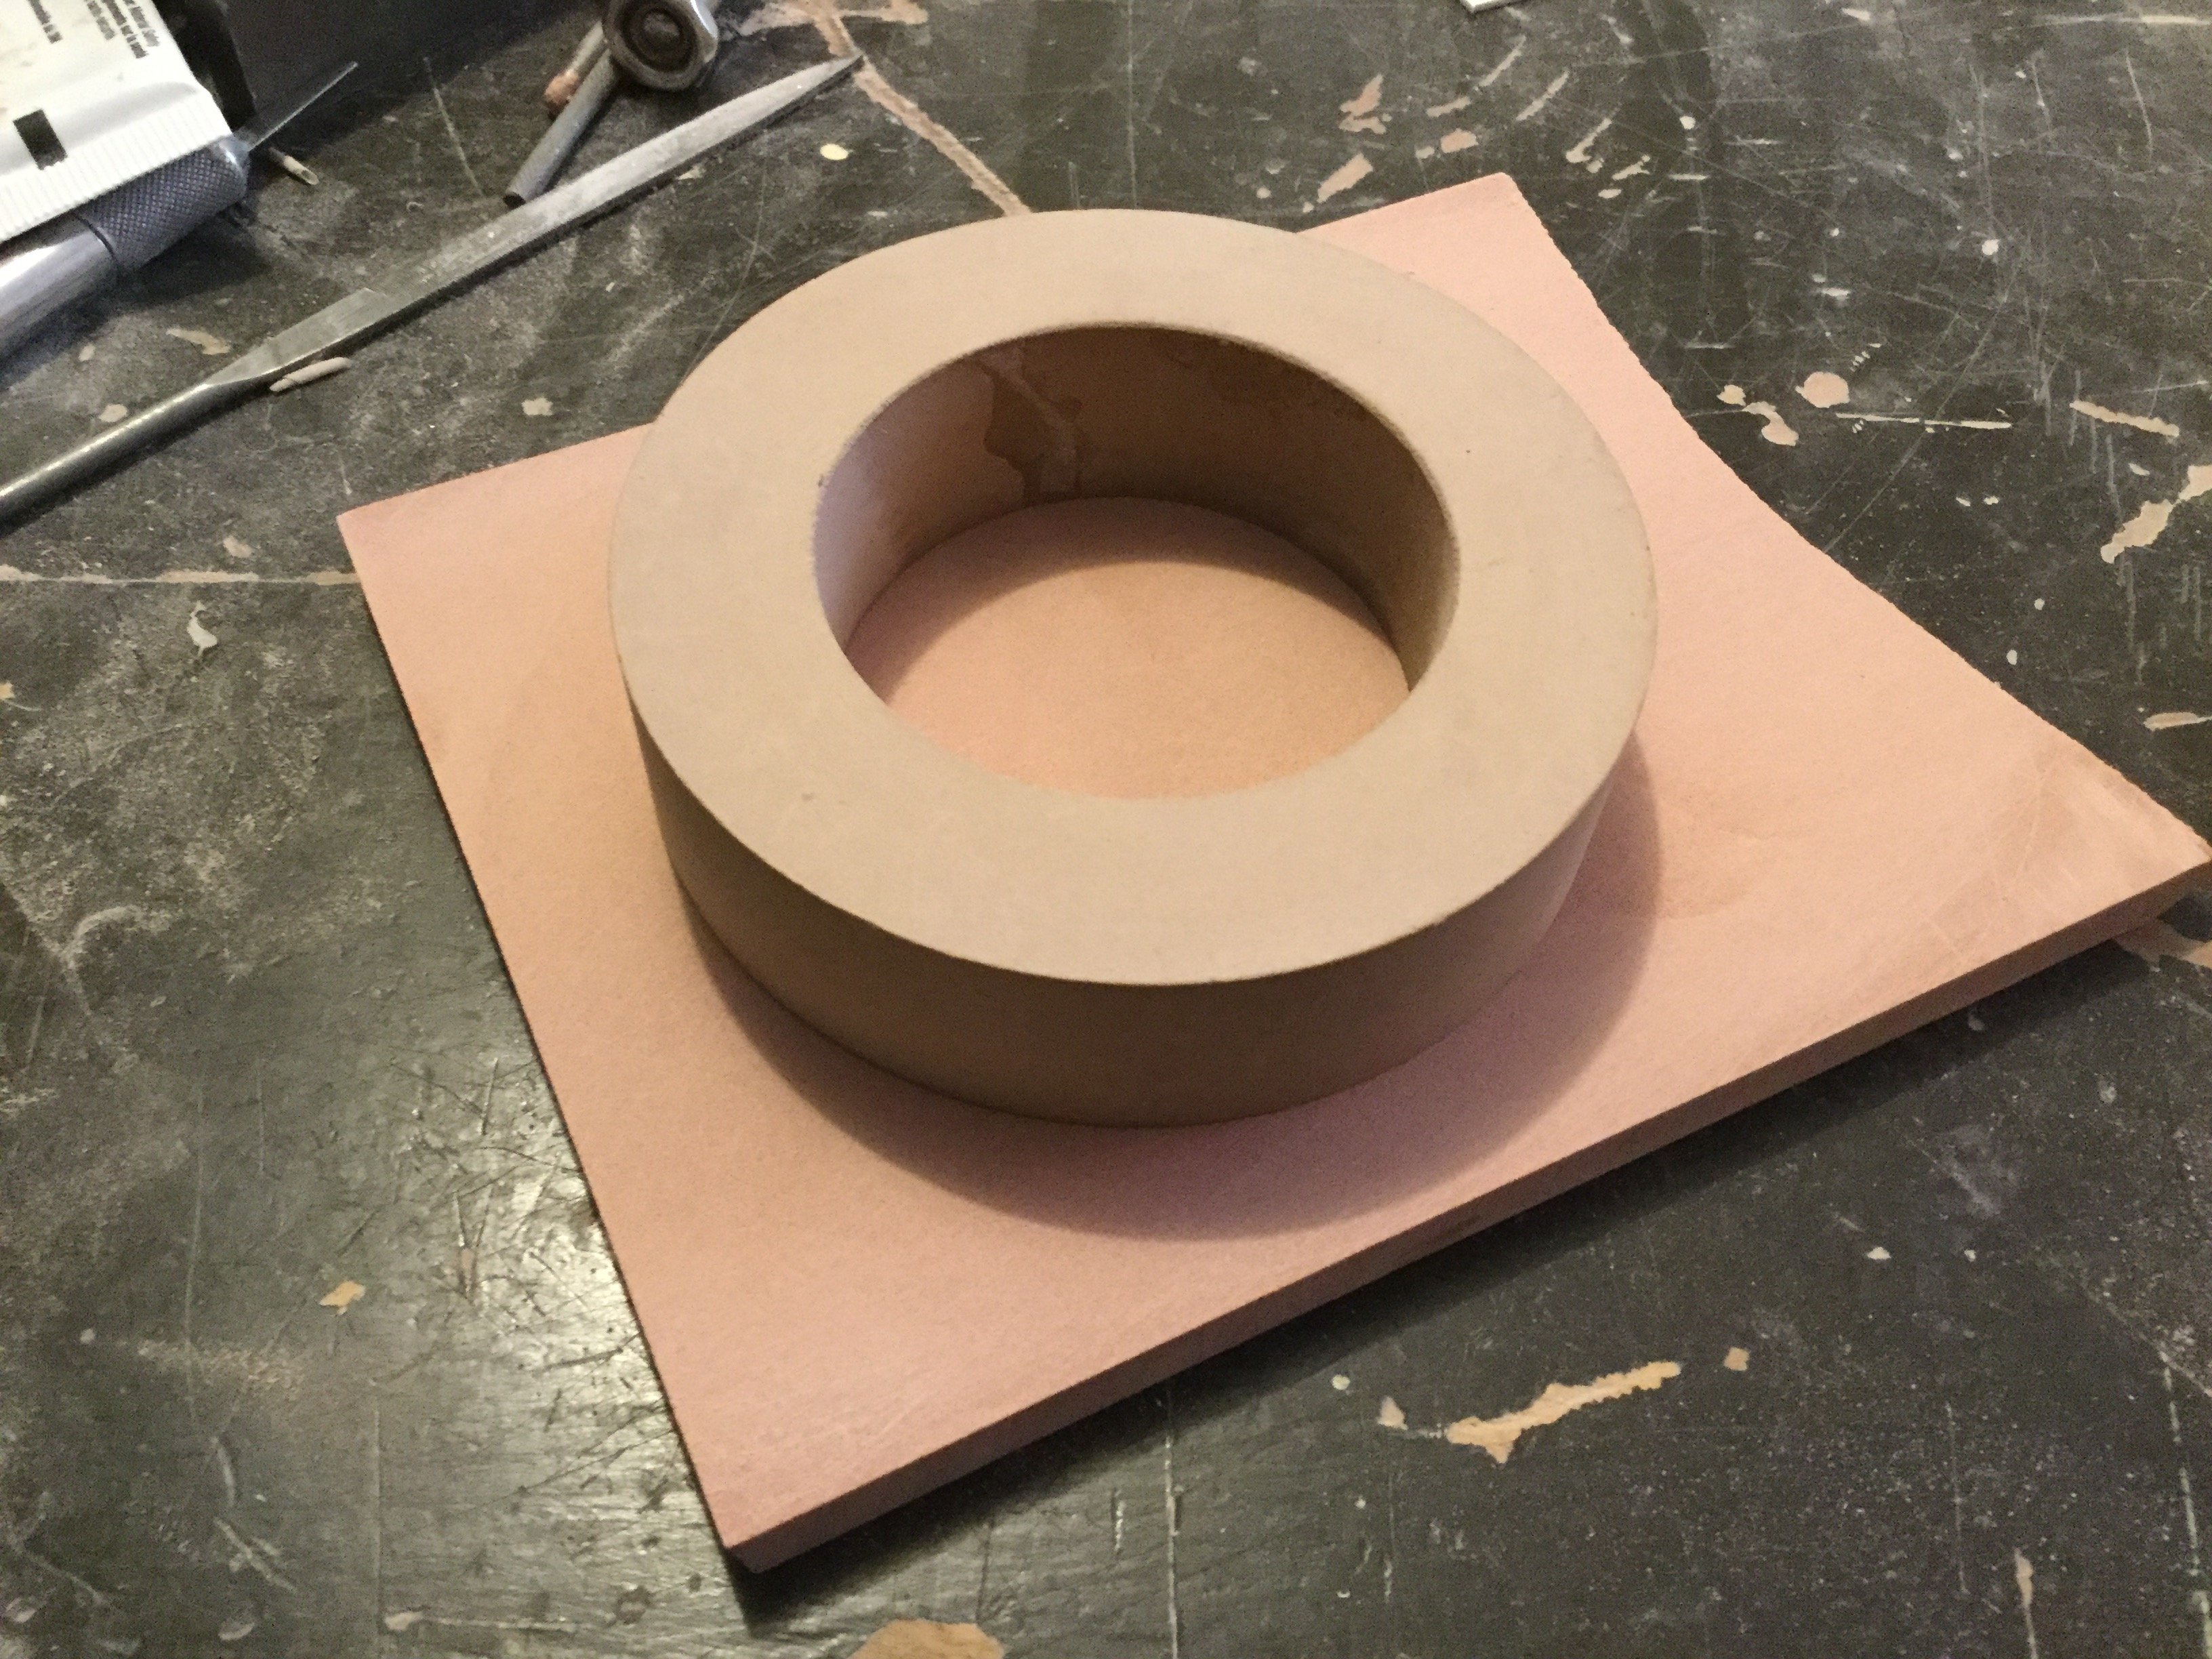
Pic 006 That plank is now being CA-glued to a crude donut shape (a leftover part from a very old project) which jut happens to be the perfect size for the top floor of the dropship!
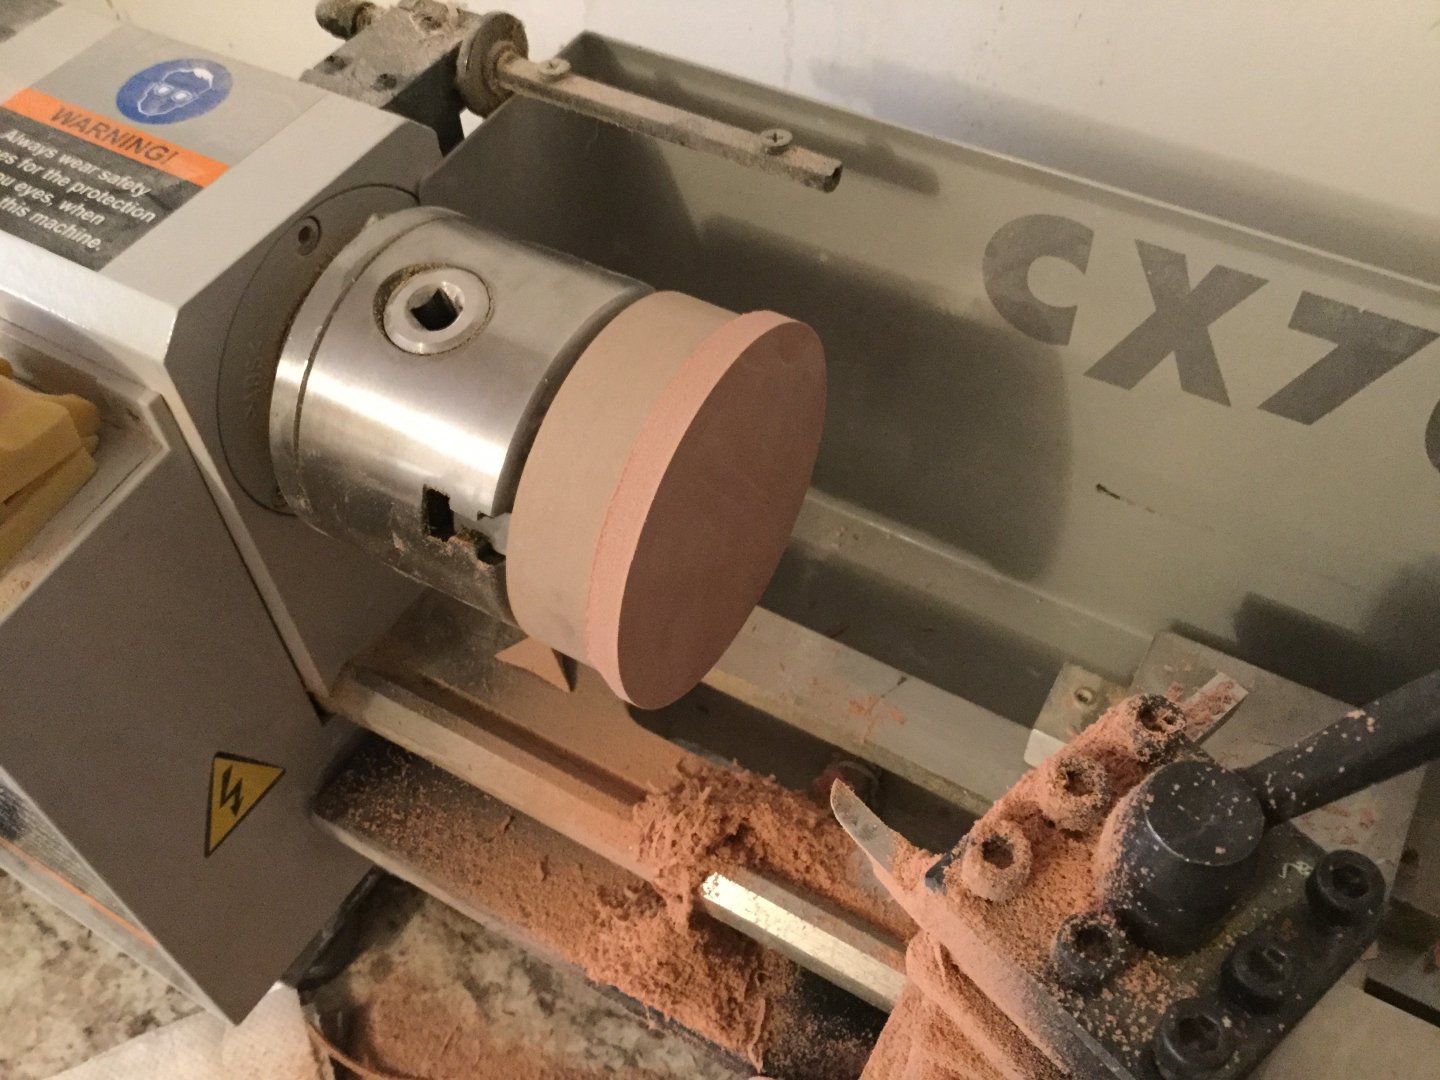
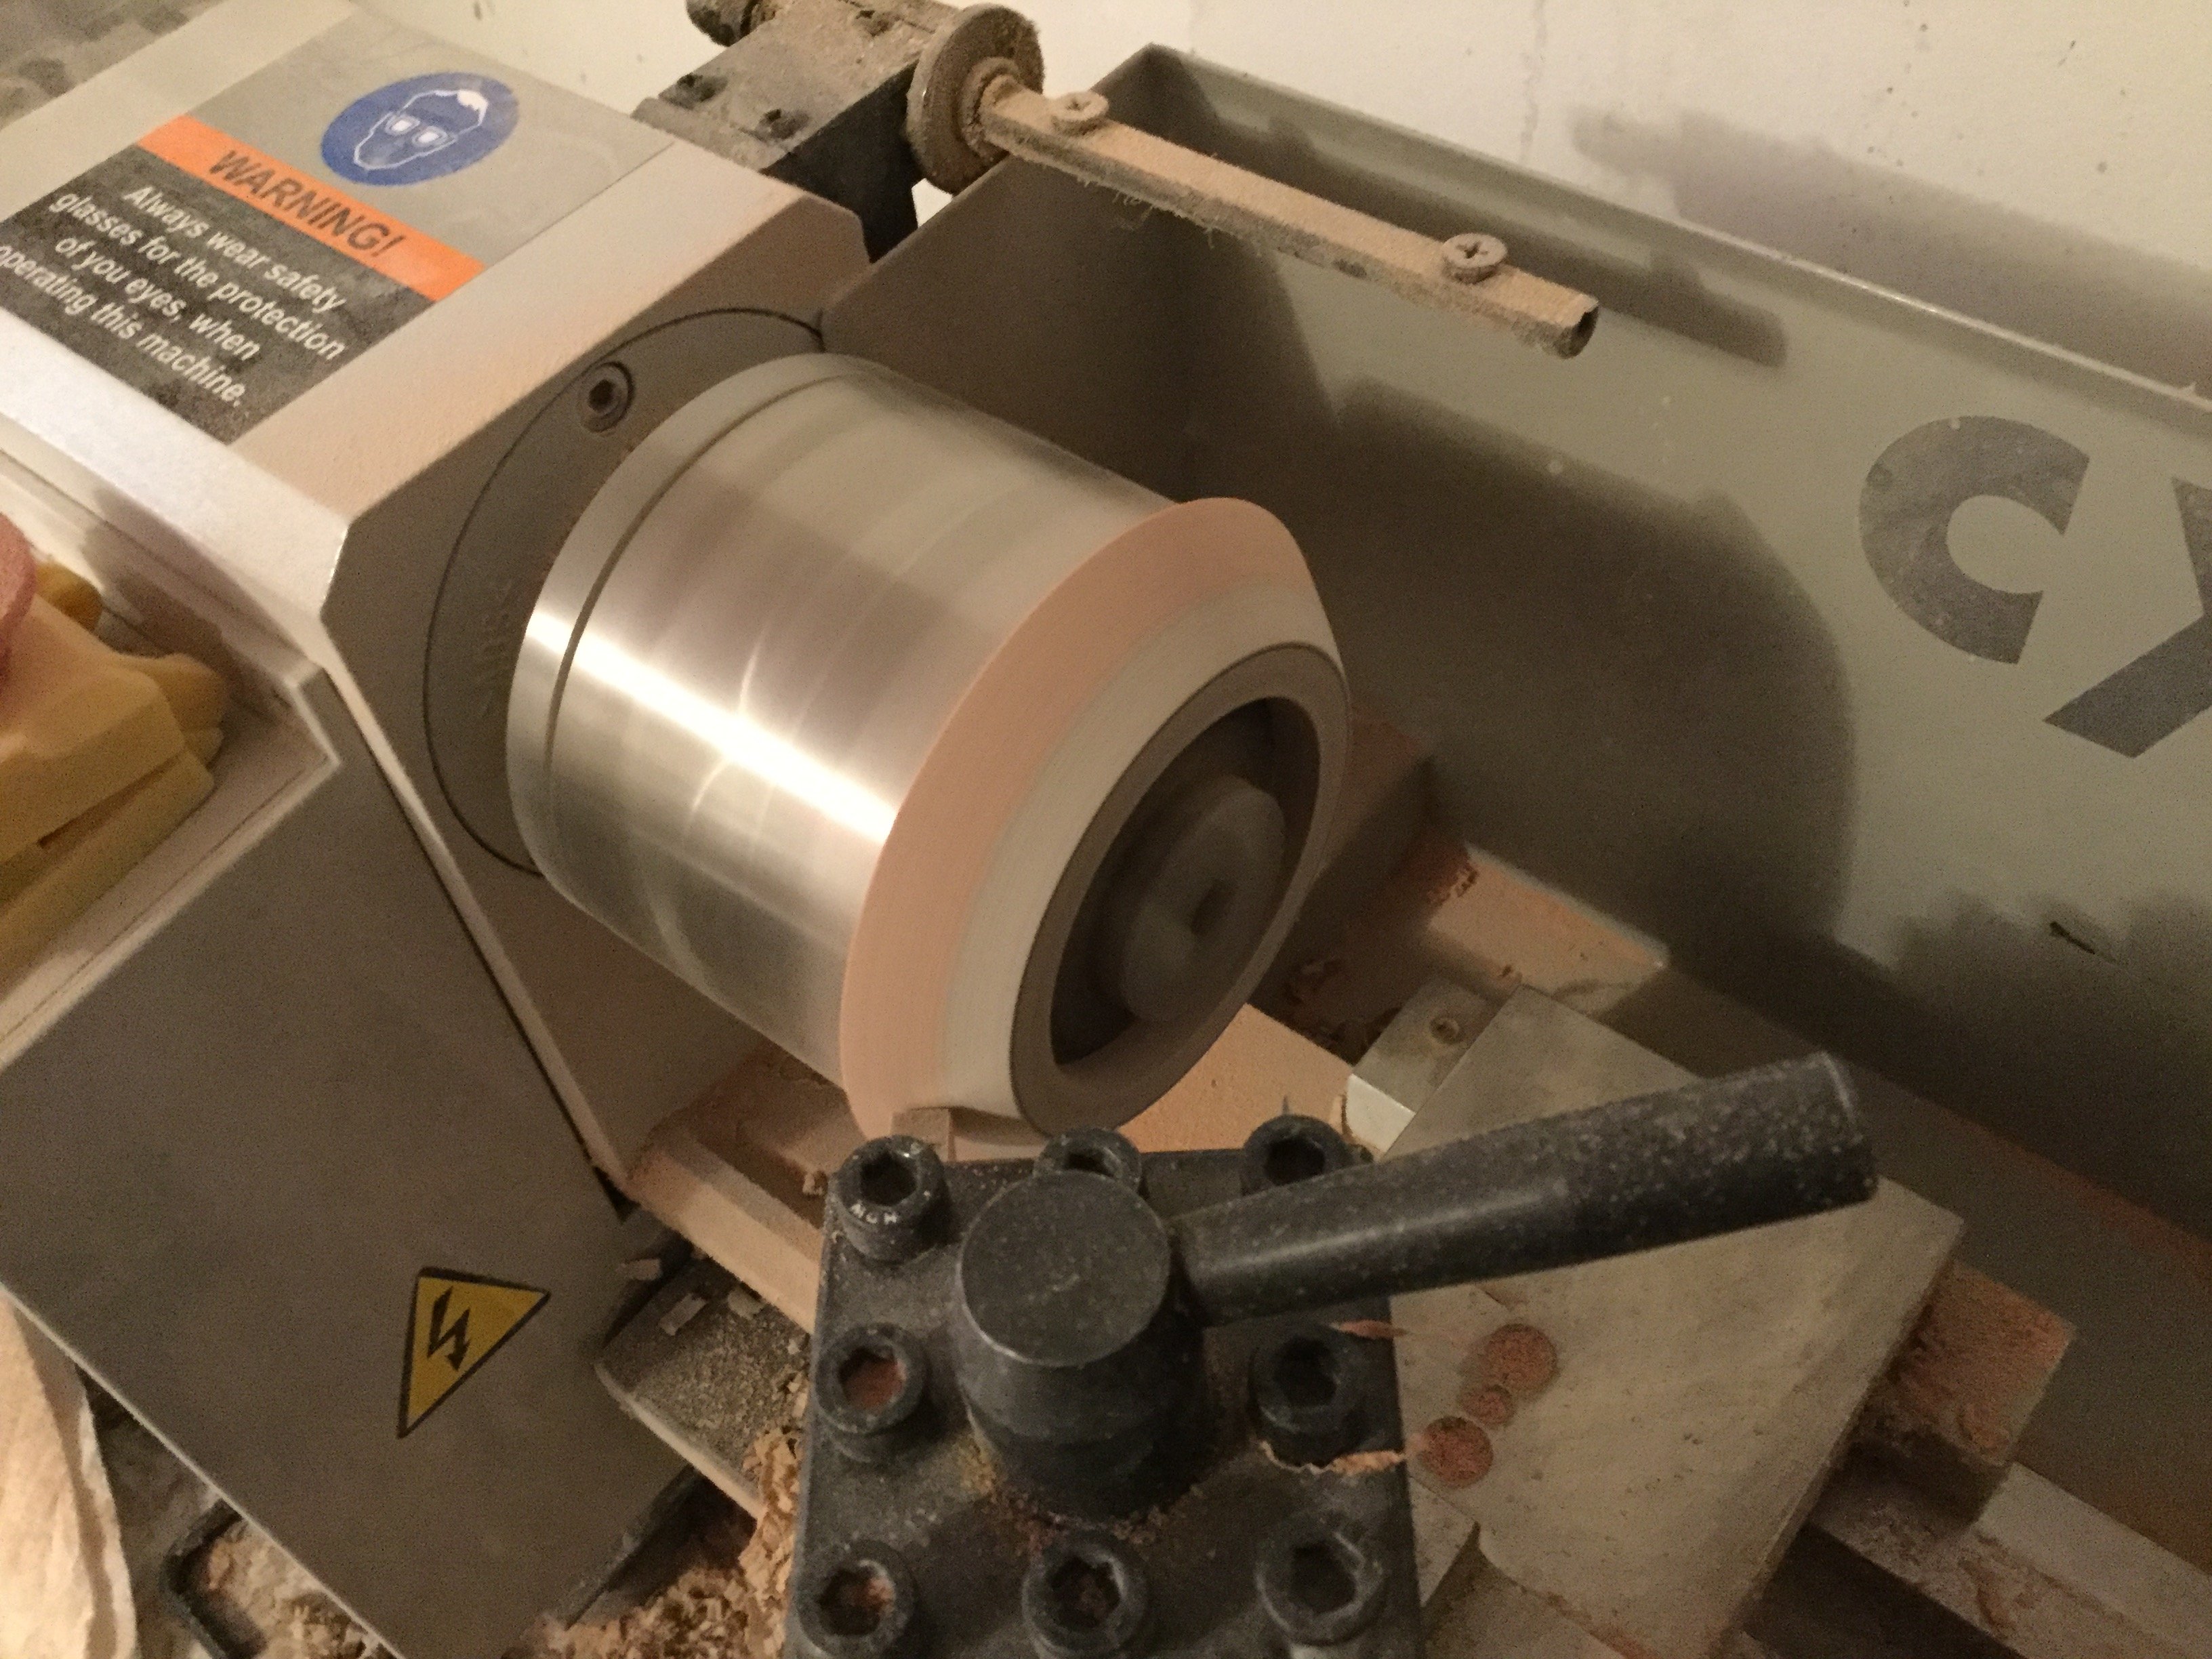
Pic 007 These two freshly mated parts now go onto the lathe so as to produce yet more dust and if I’m lucky, maybe I’ll even get to shape the part.
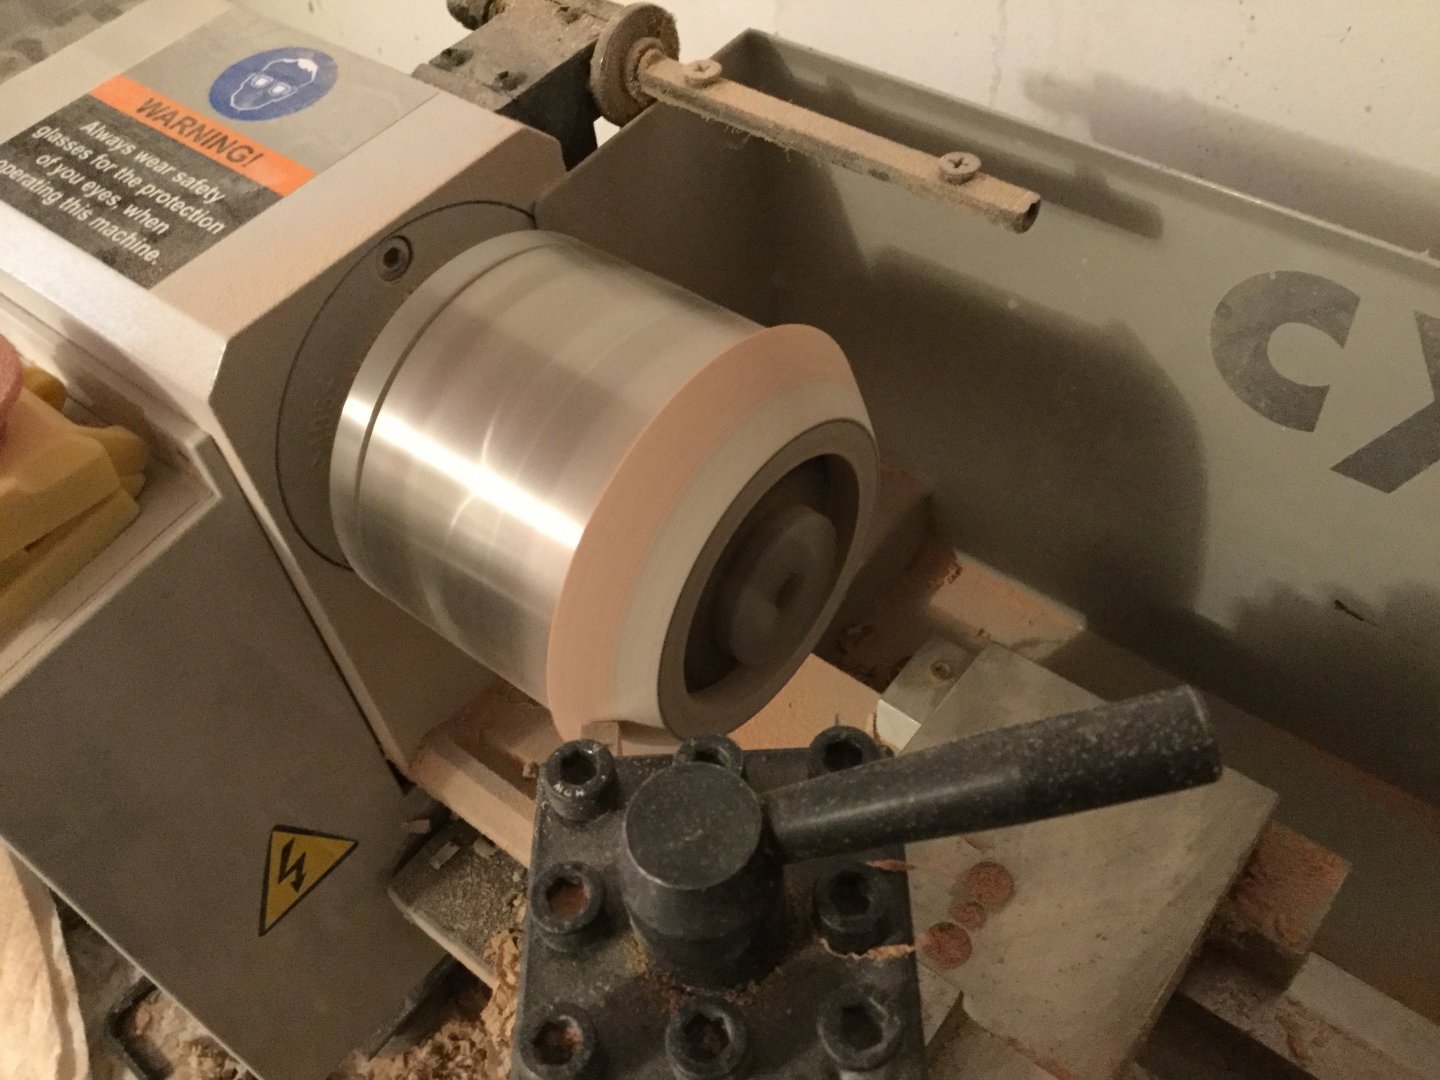
Pic 008 The very same part, now starting to look like the top deck of the dropship.
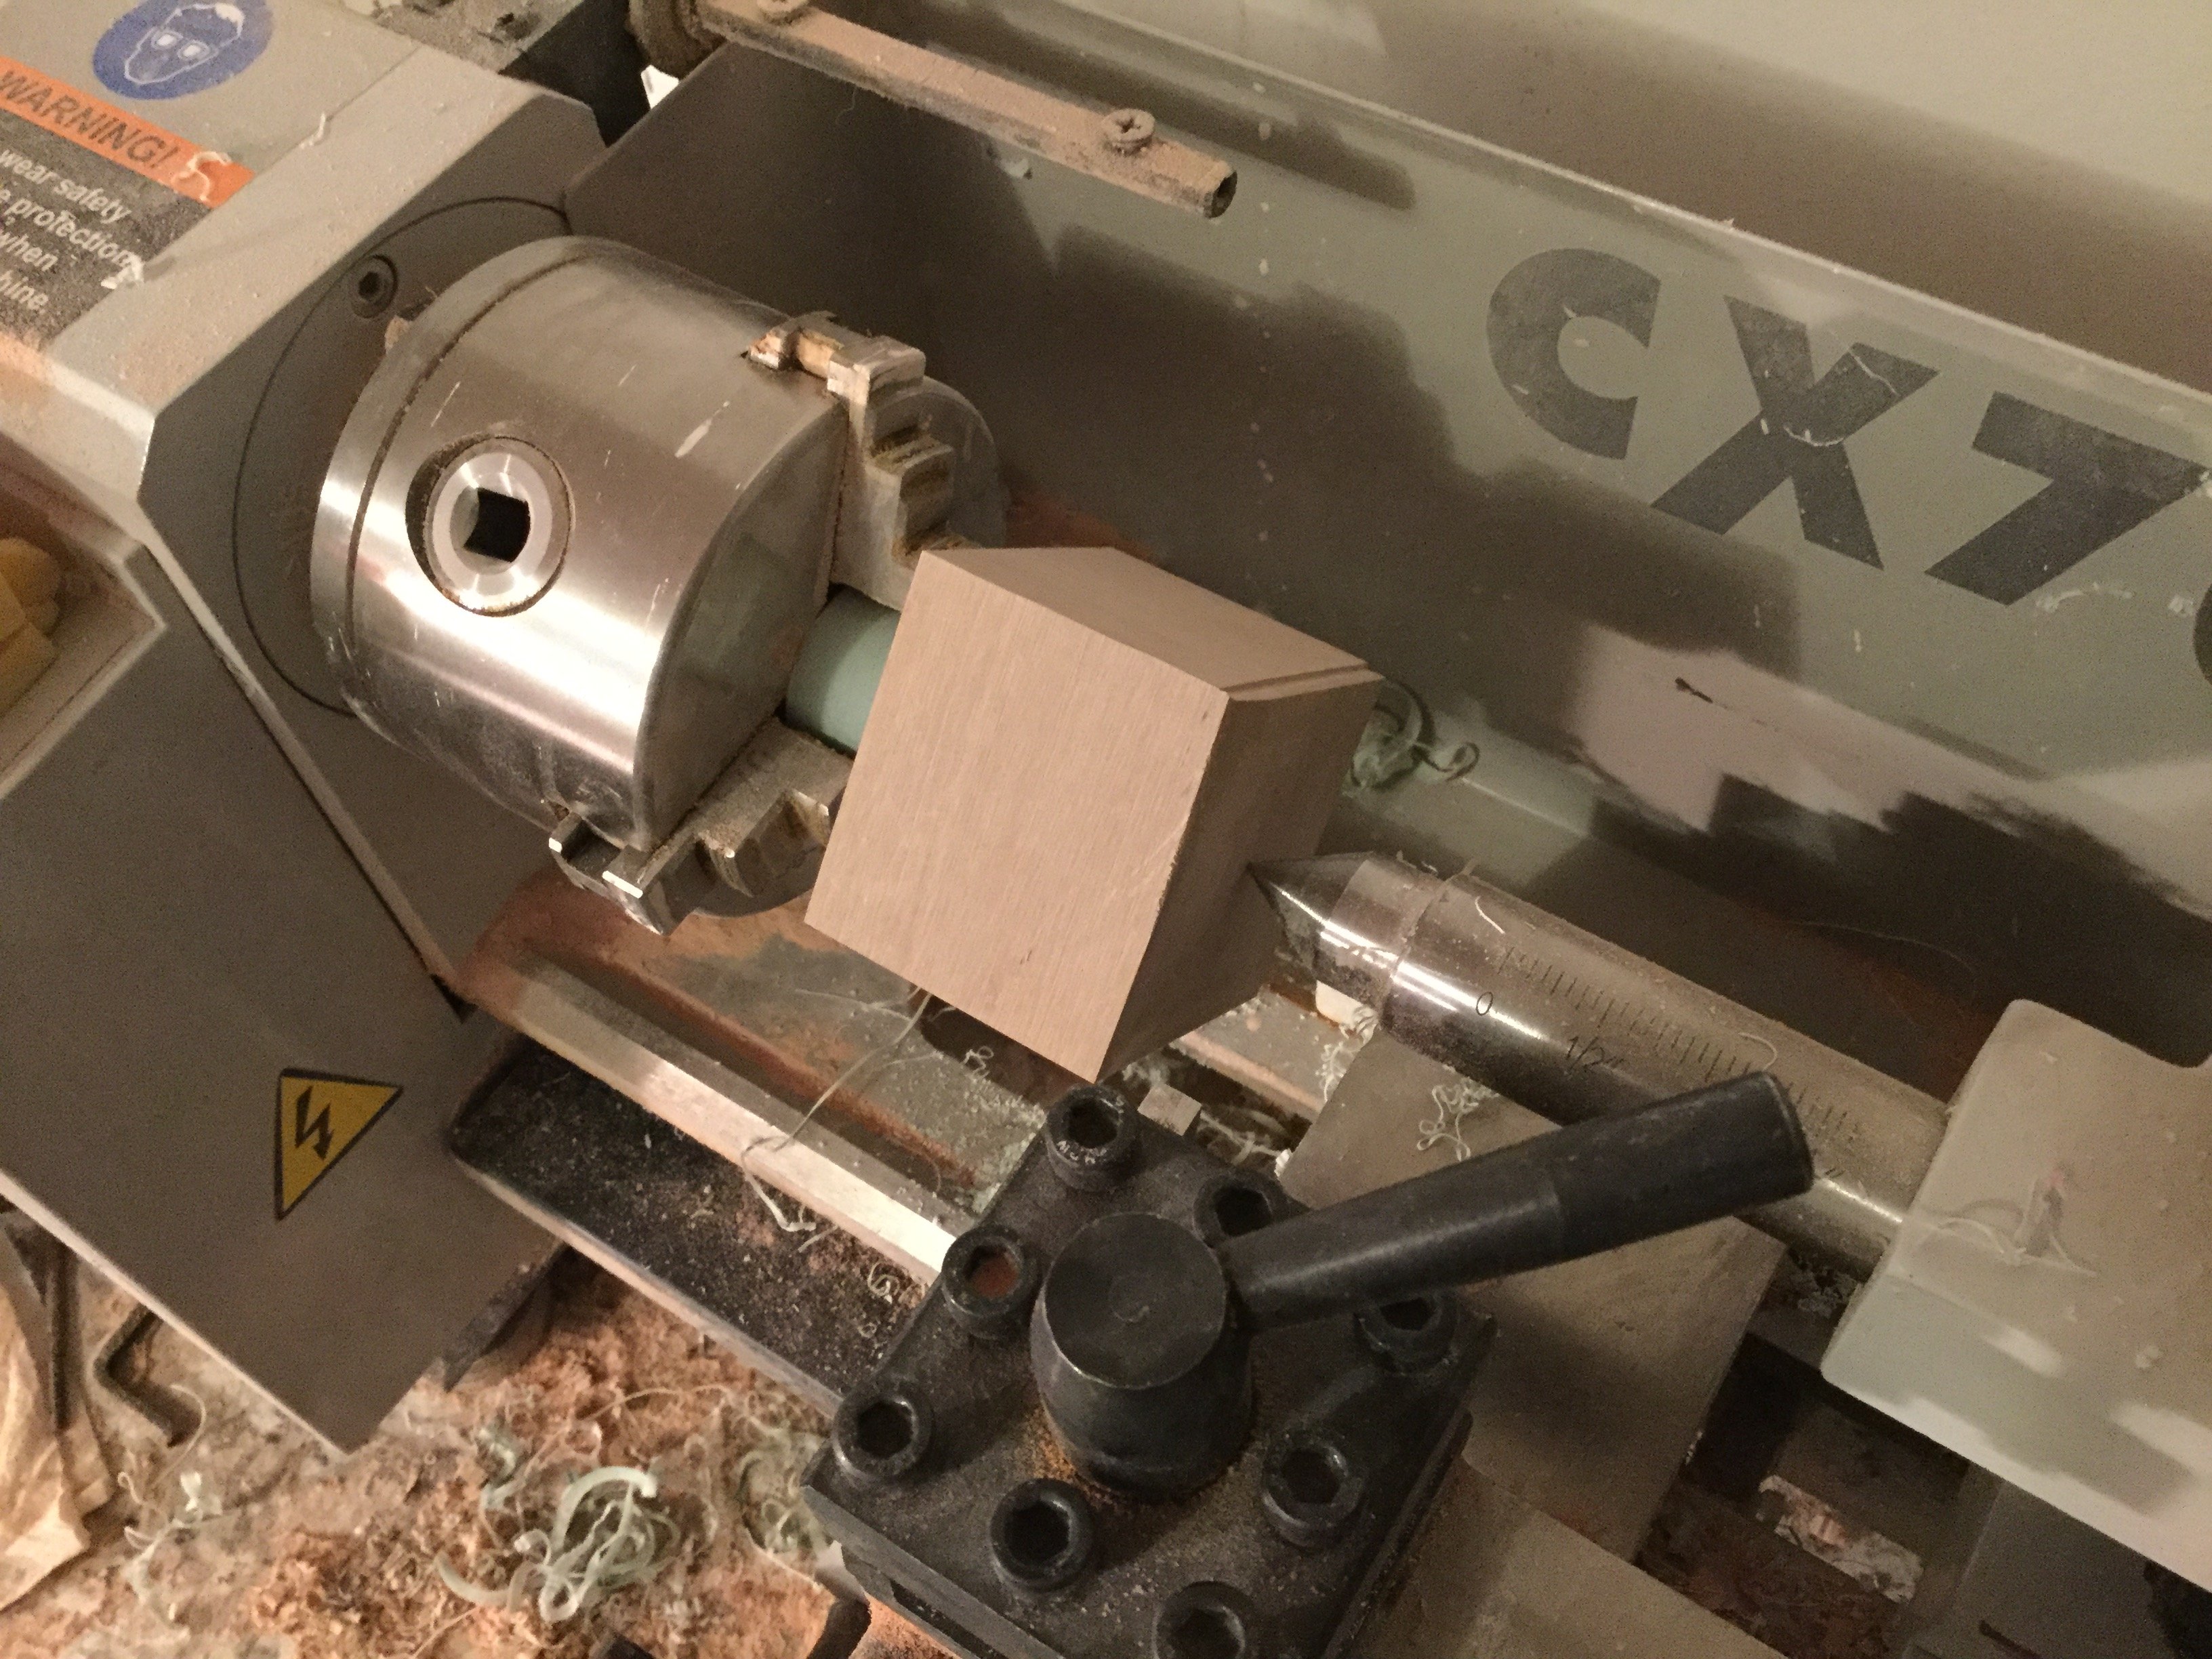
Pic 009 Here’s something I have to do every once in a while: start from a square block and somehow machine it into a cylindrcal part. The block is actually glued to a cylindrical mandrel, which the chuck grabs onto so as to be able to turn it. I have to proceed very slowly here: too much pressure from the knife will break the block off the mandrel and run the part. In this case, working slower is faster!
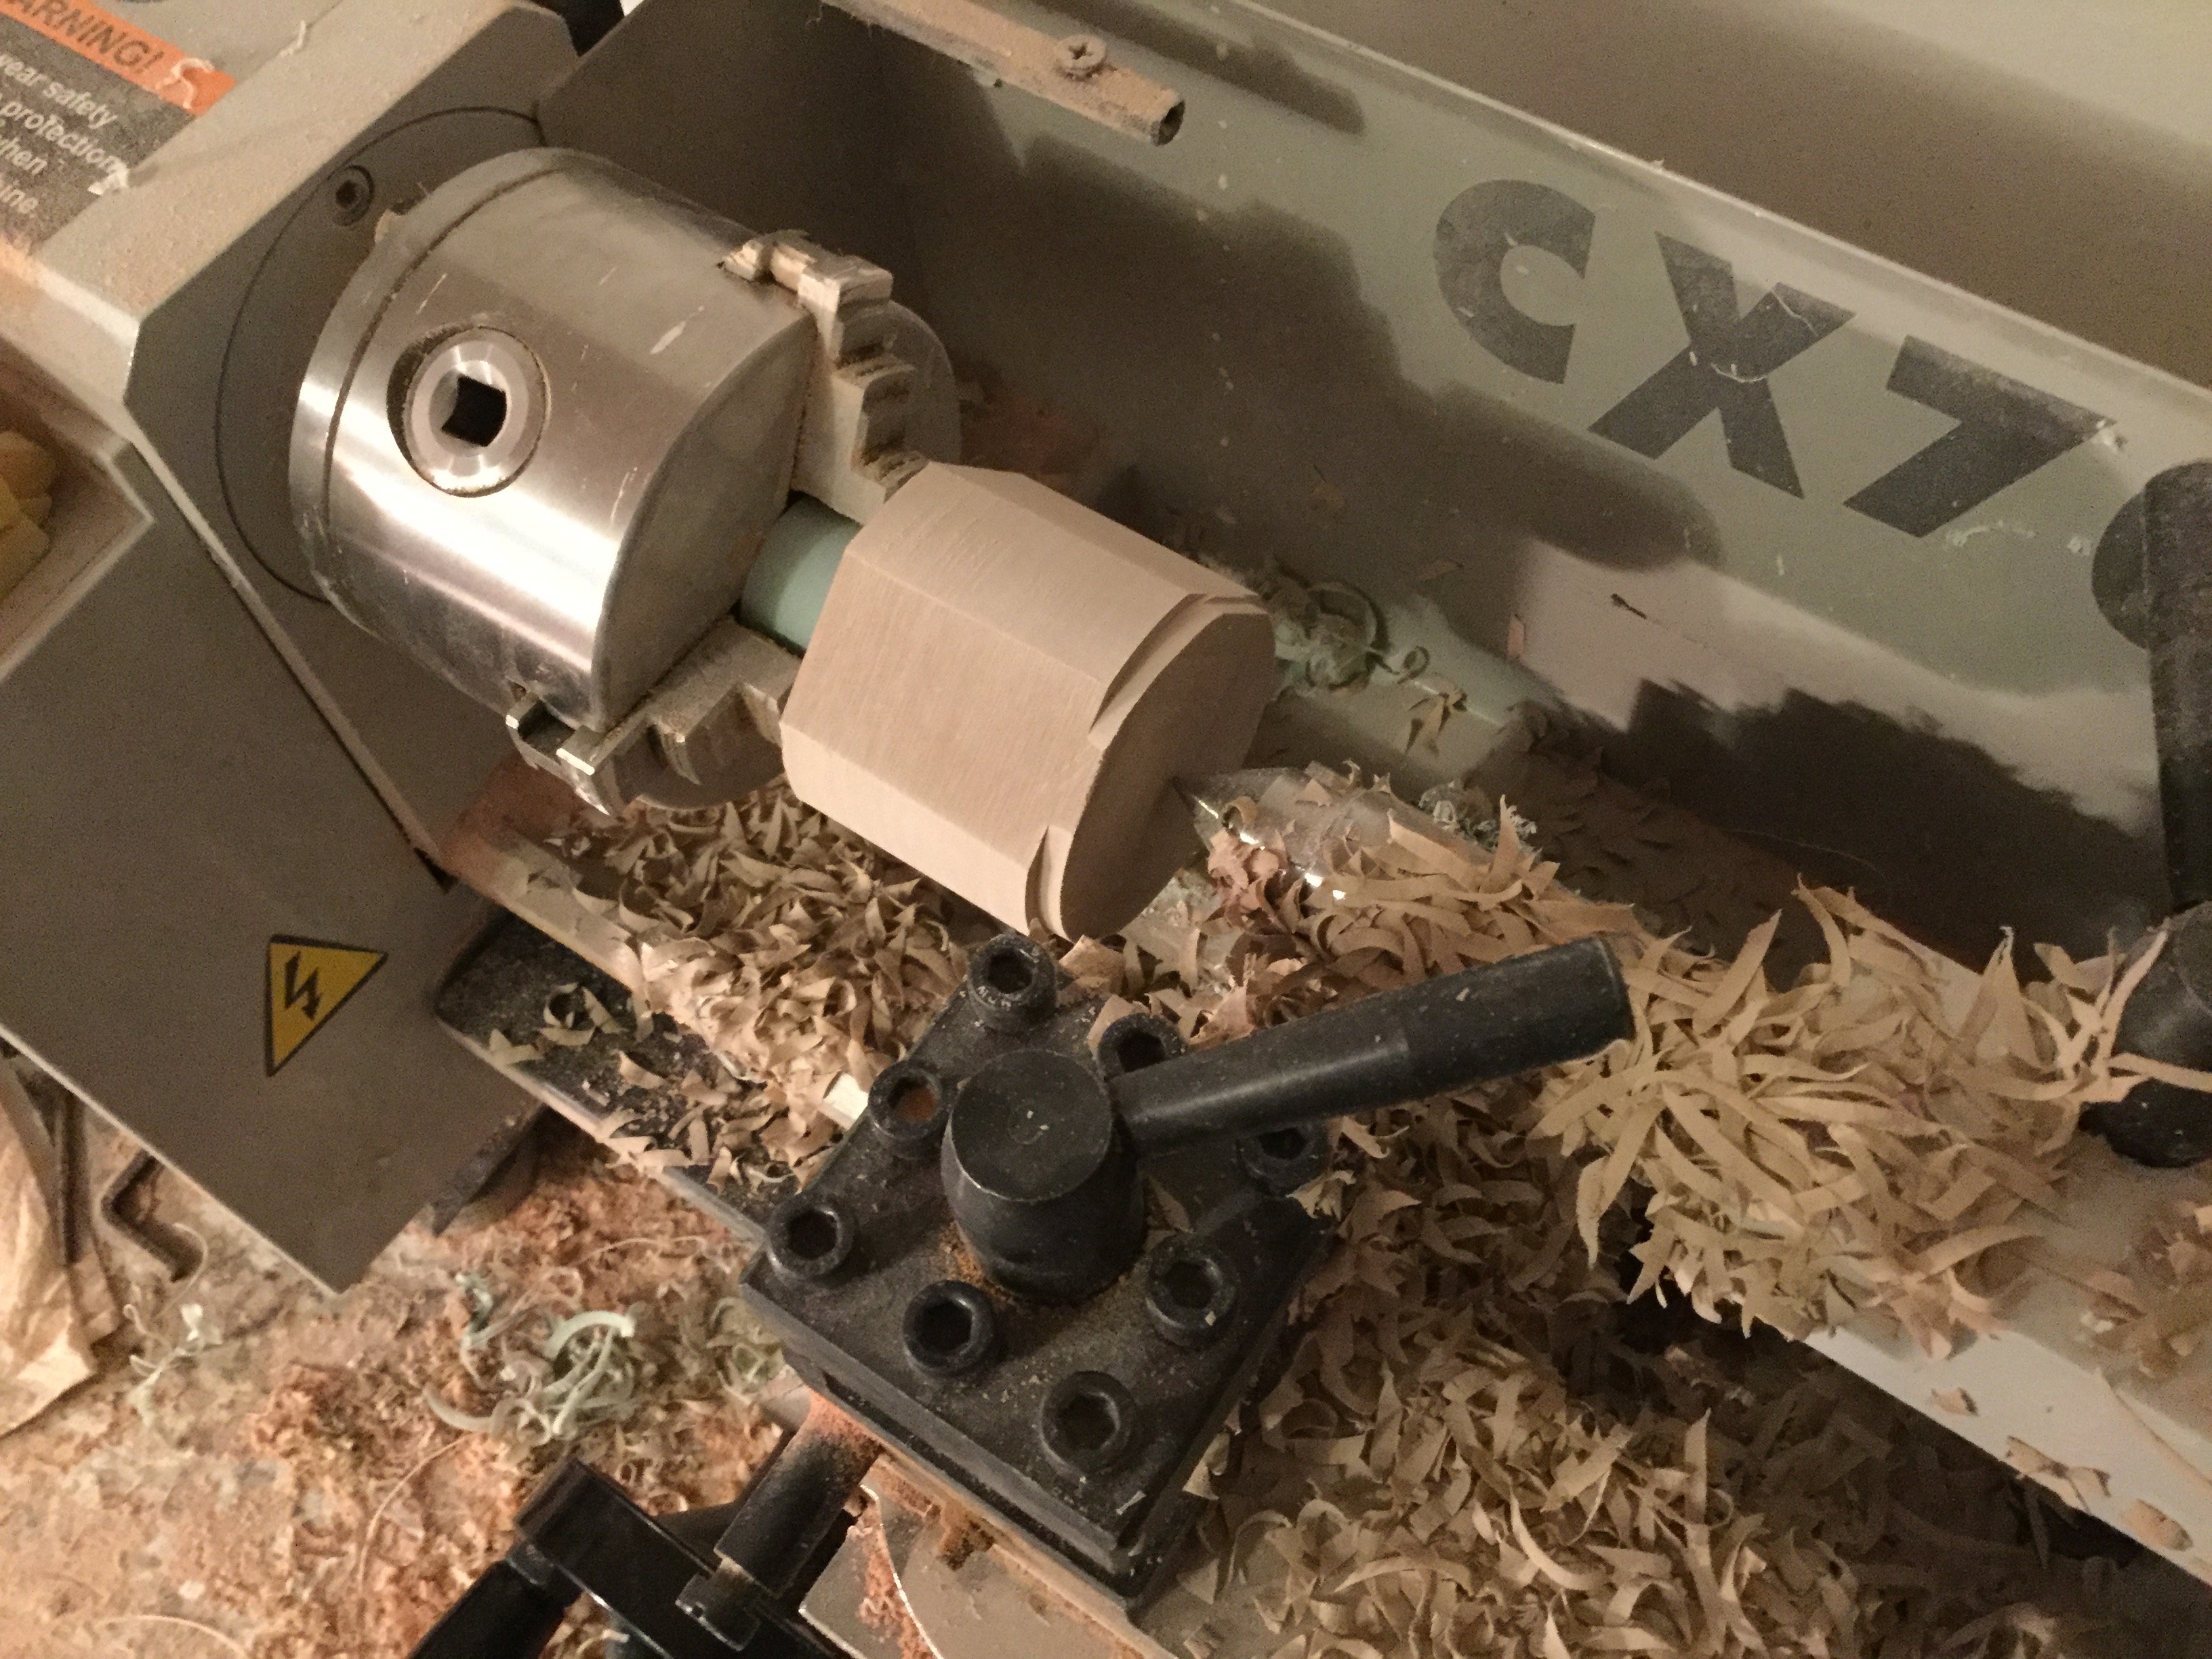
Pic 010 The same part, half-way done.
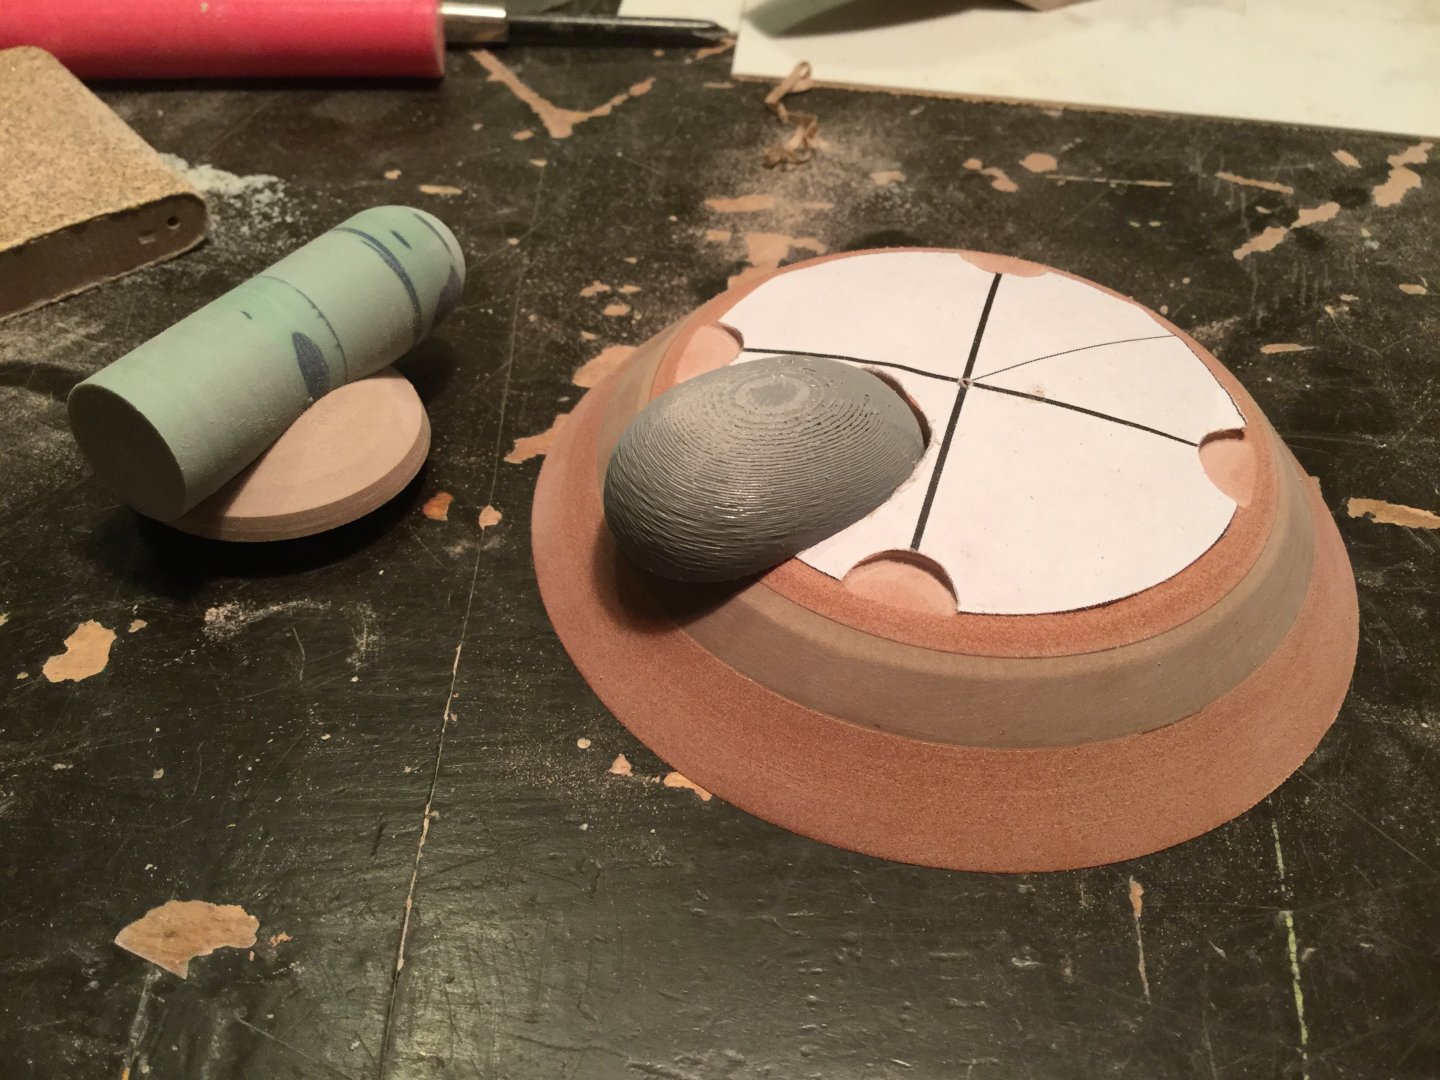
Pic 011 The part on the left is a crude mock-up of the landing gear hydraulic assembly and the part on the right is of course, the top deck of the dropship. The 3D-printed gray part is the penthouse (AKA the cockpit)
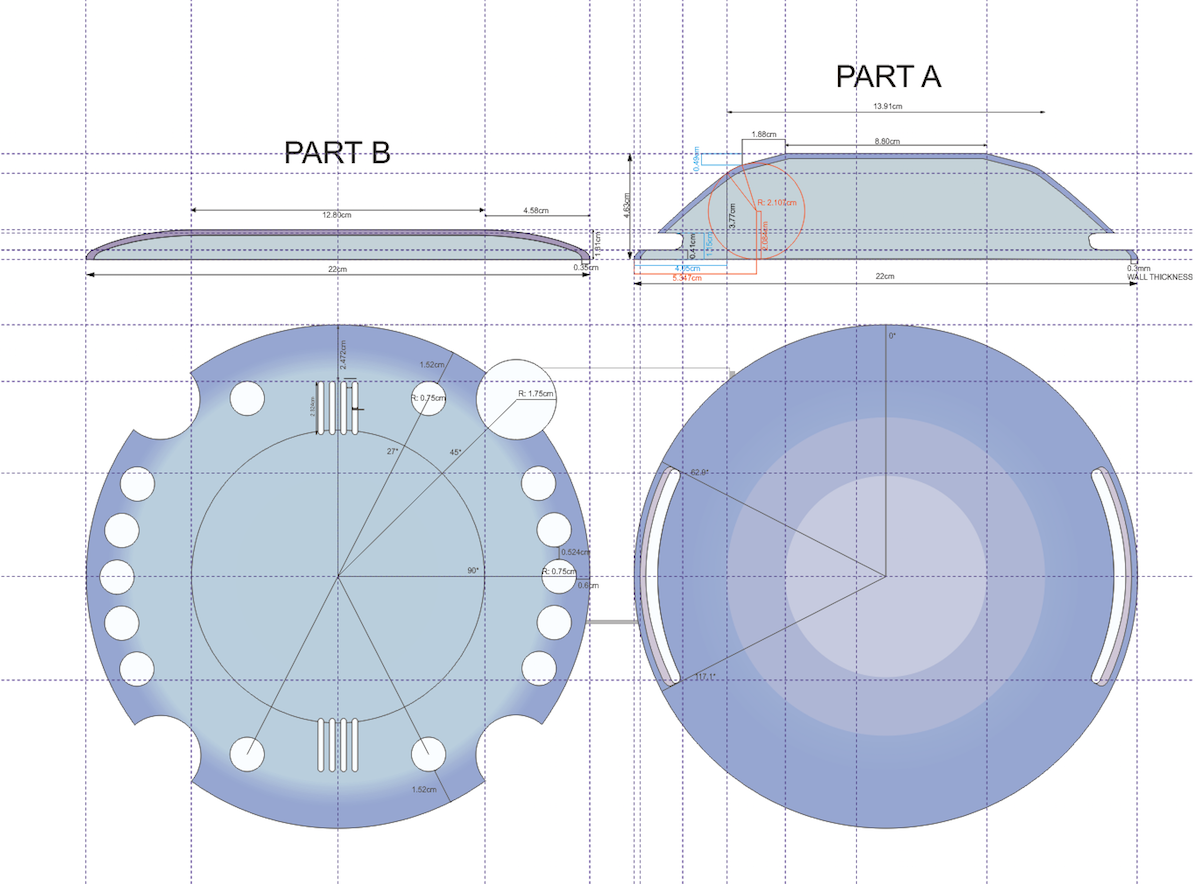
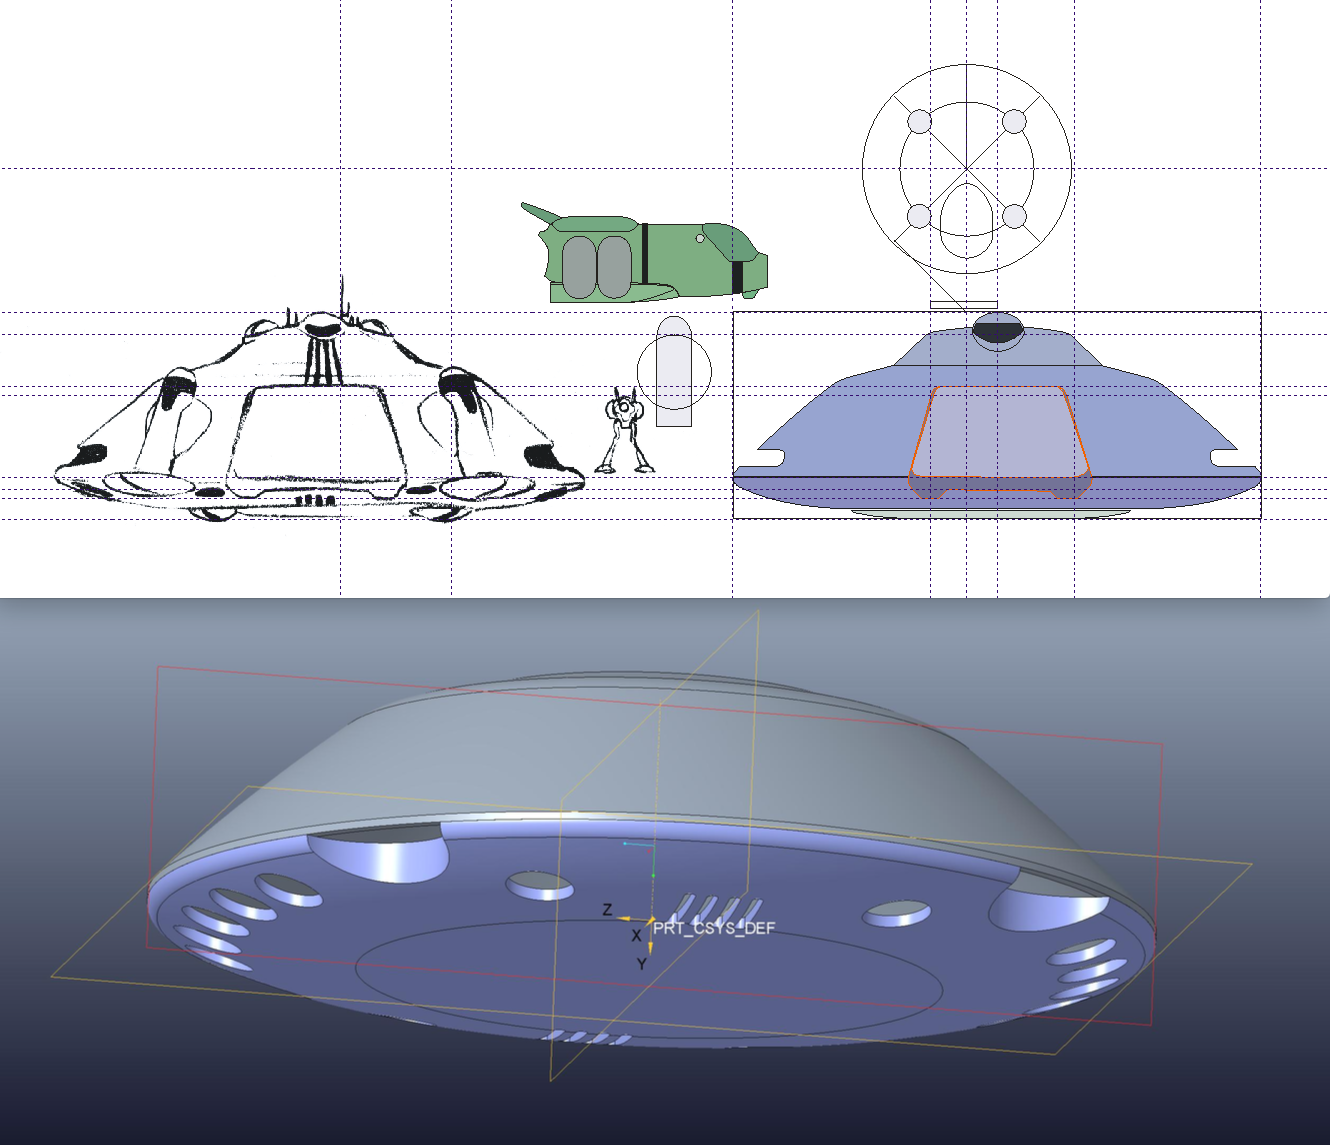
Pic 012 and 13 Since the main hull is much too large to fabricate on my lathe, I had to get creative and resort to a 3D modeled and printed part. I therefore made some technical drawings which fellow MW member mechaniac was instrumental in converting into files from which I could get something printed. His professionalism and speed are commendable!
Once those printed parts arrive from Shapeways, they will be further modified and detailed before being incorporated into the finished masters. In short, everything looks like a mess right now, which is surprisingly normal. Many times, my parts don’t look particularly impresive until they get a coat of primer, but that’s still a ways off.


This absolutely AMAZING!!!!
-
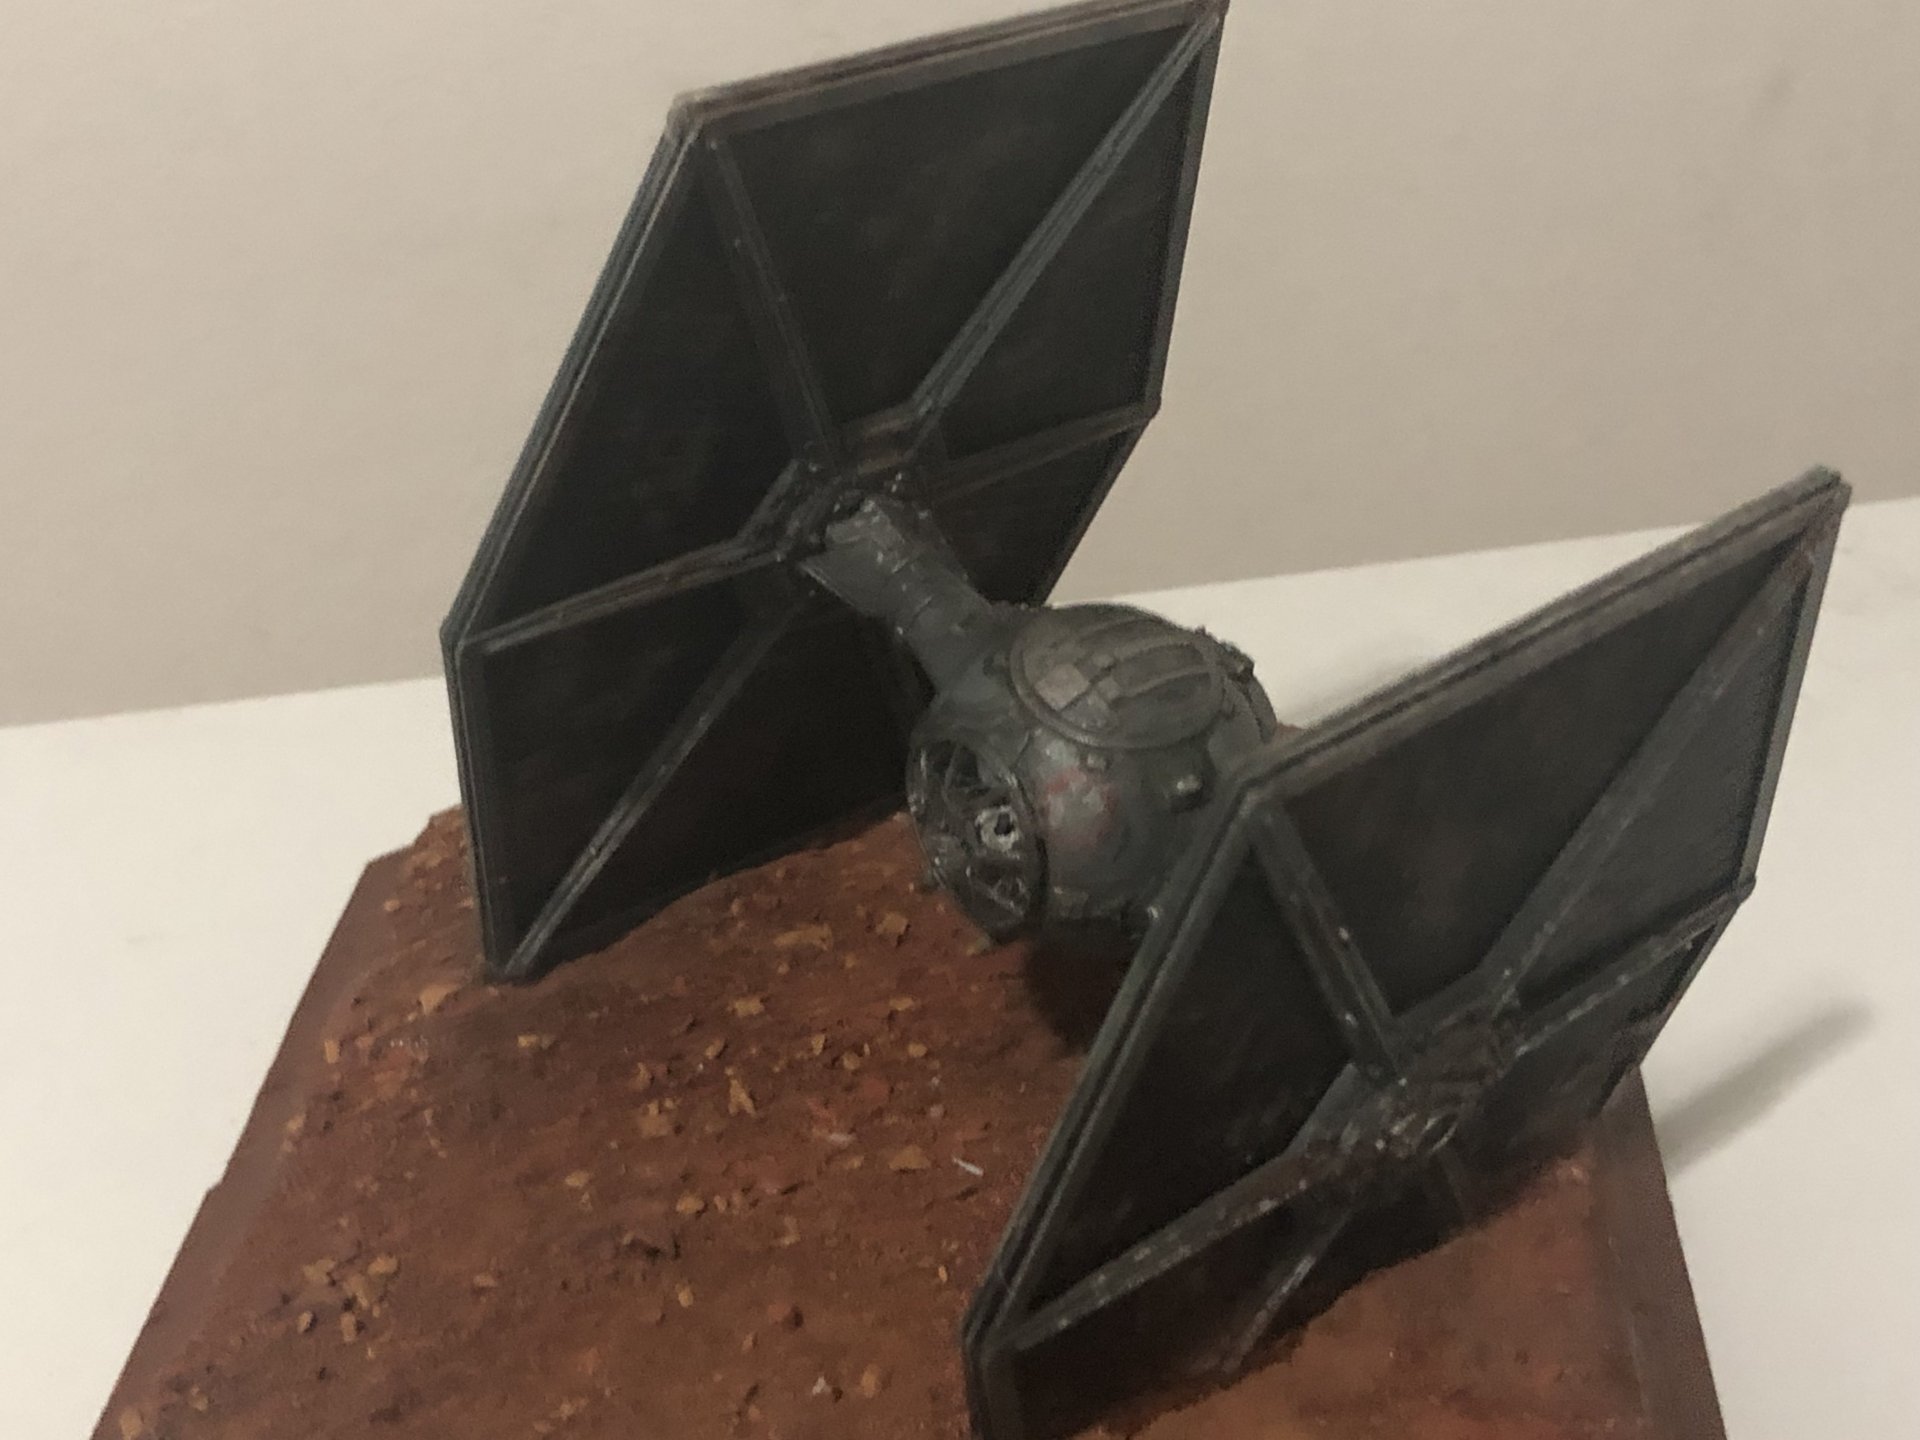
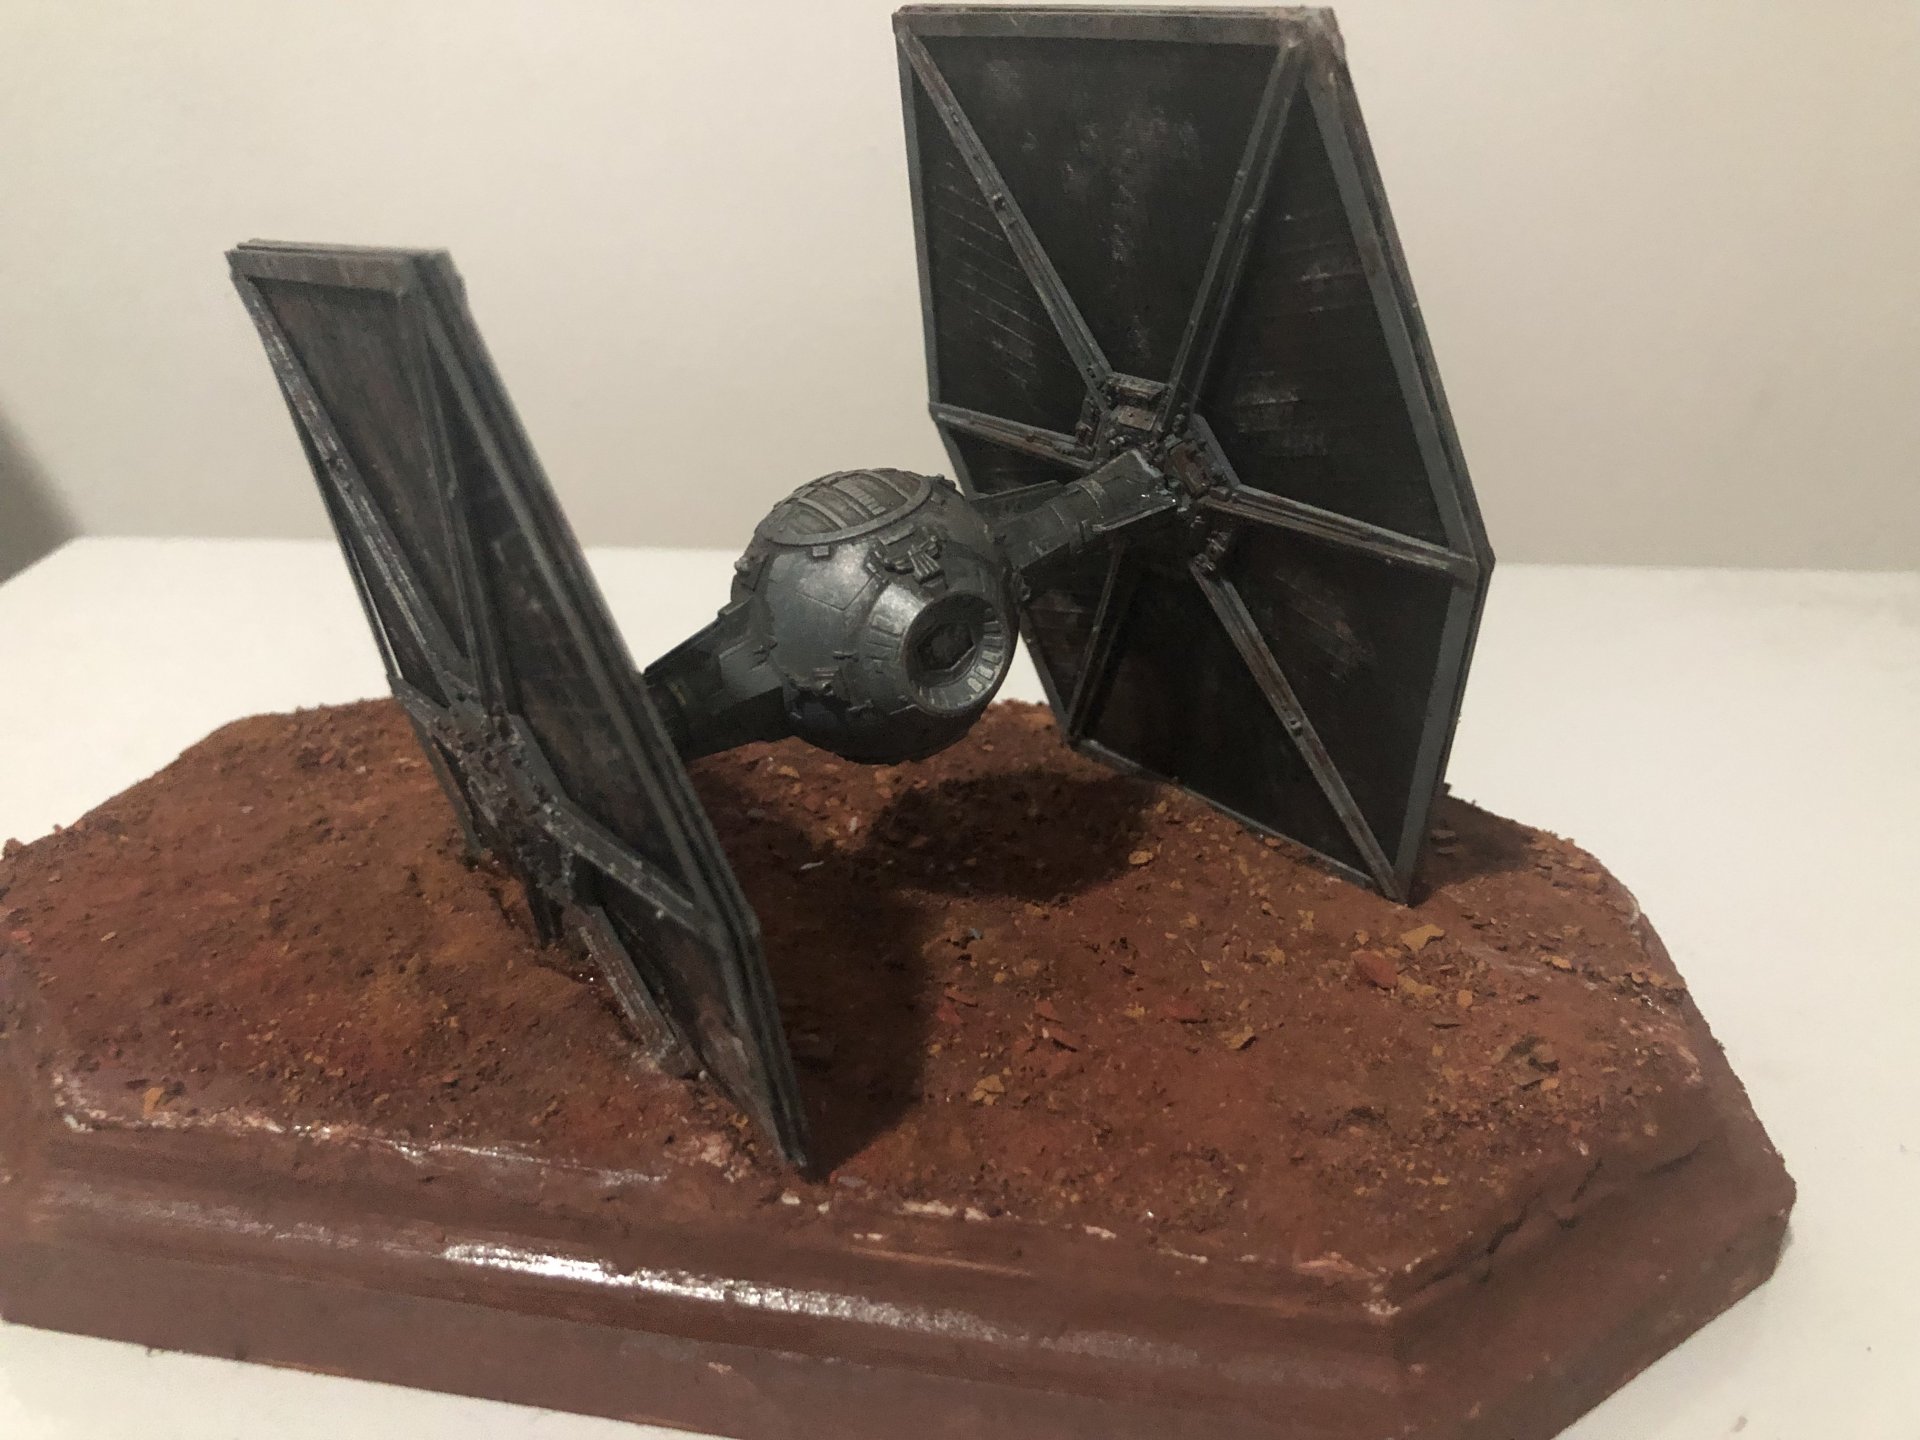
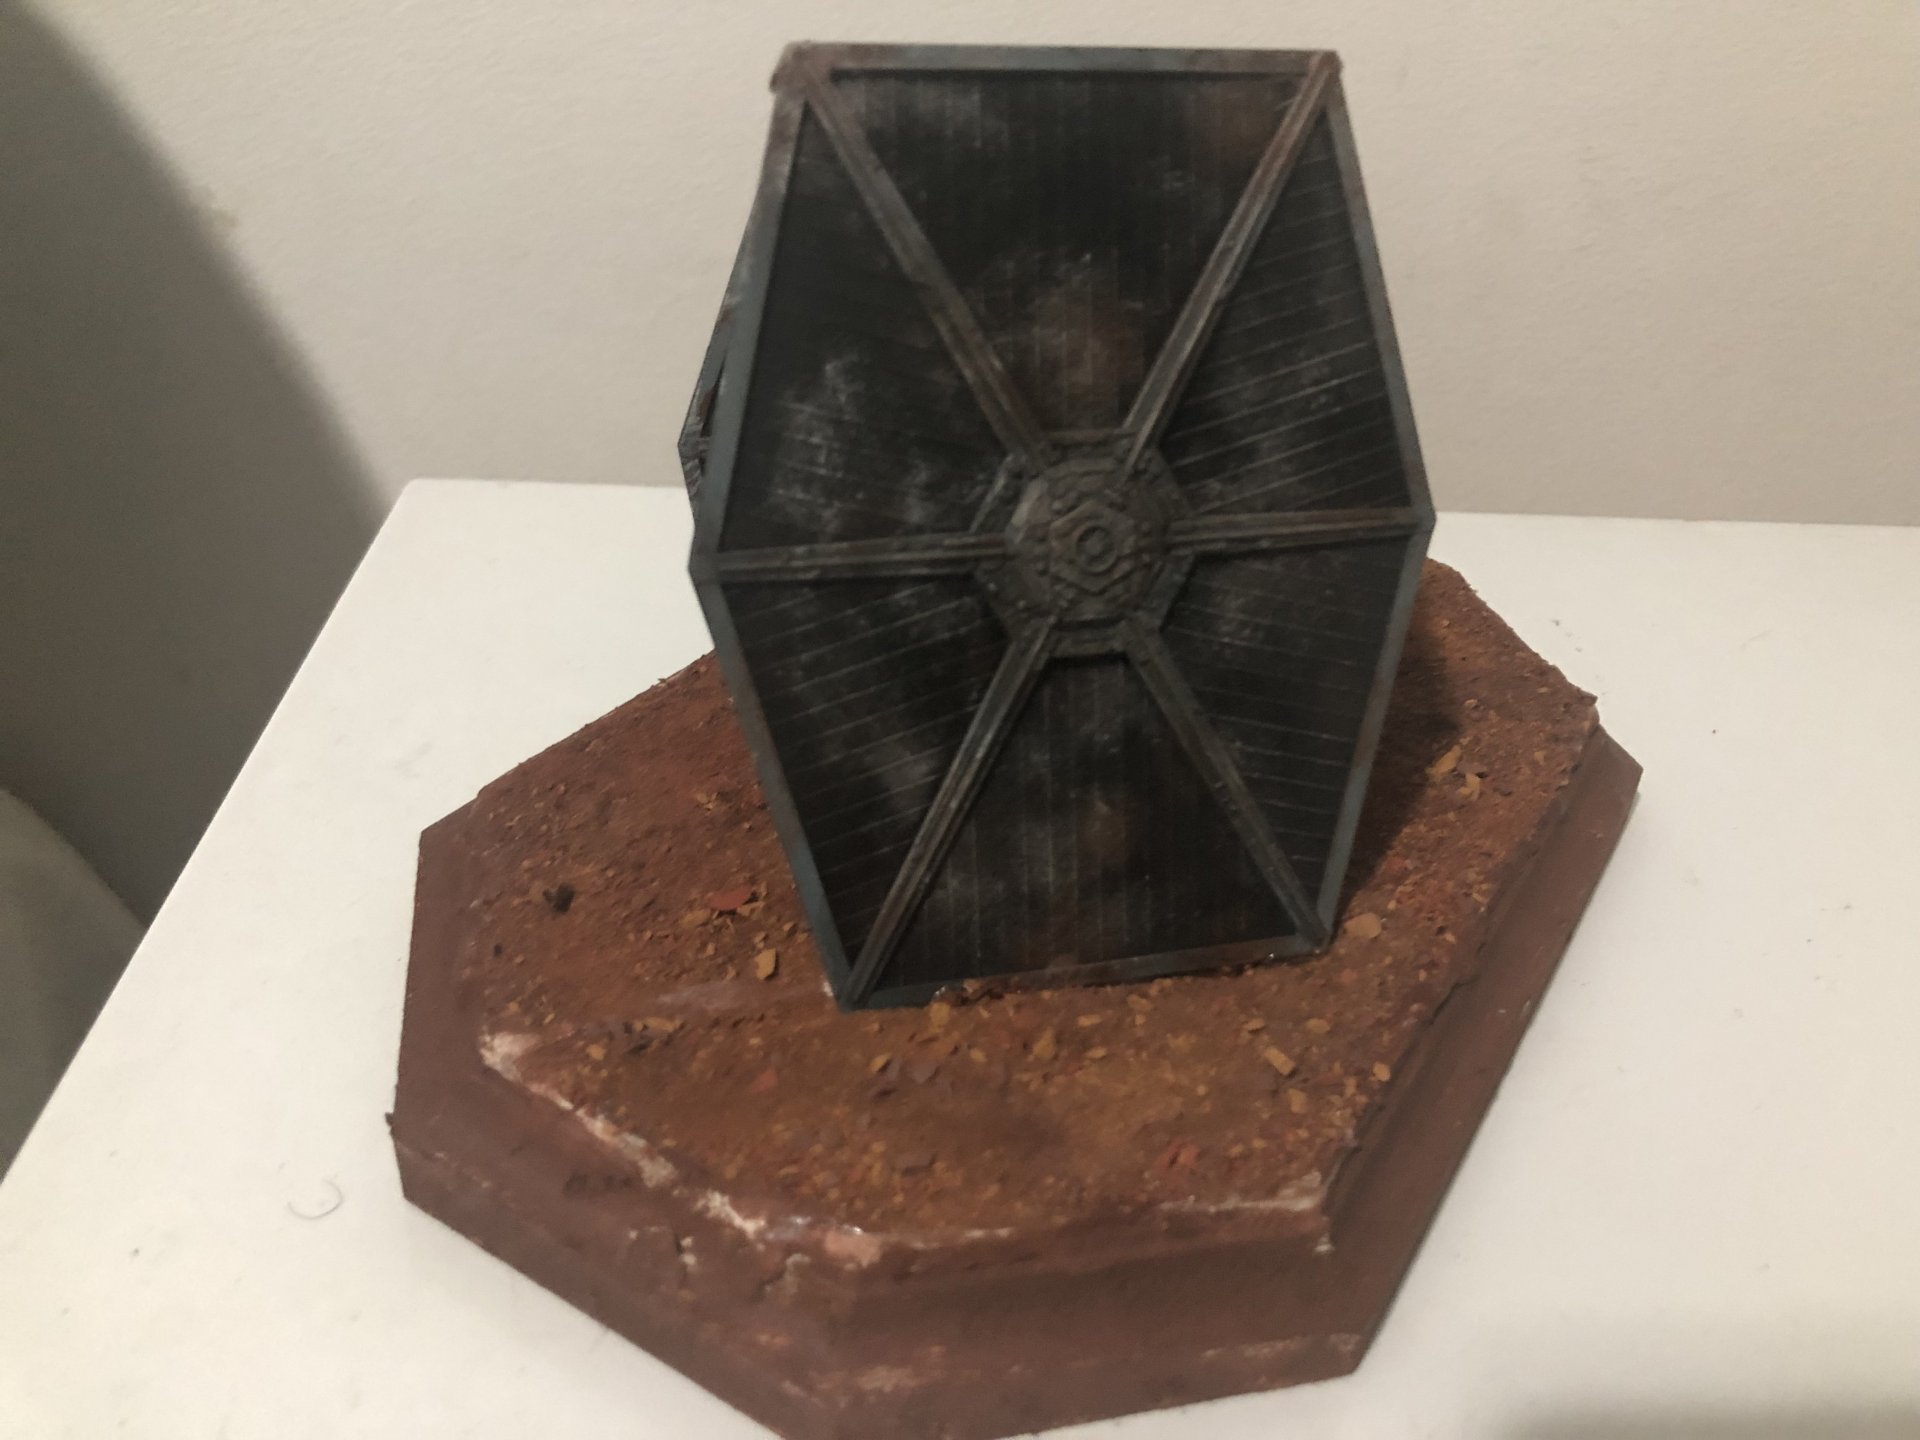
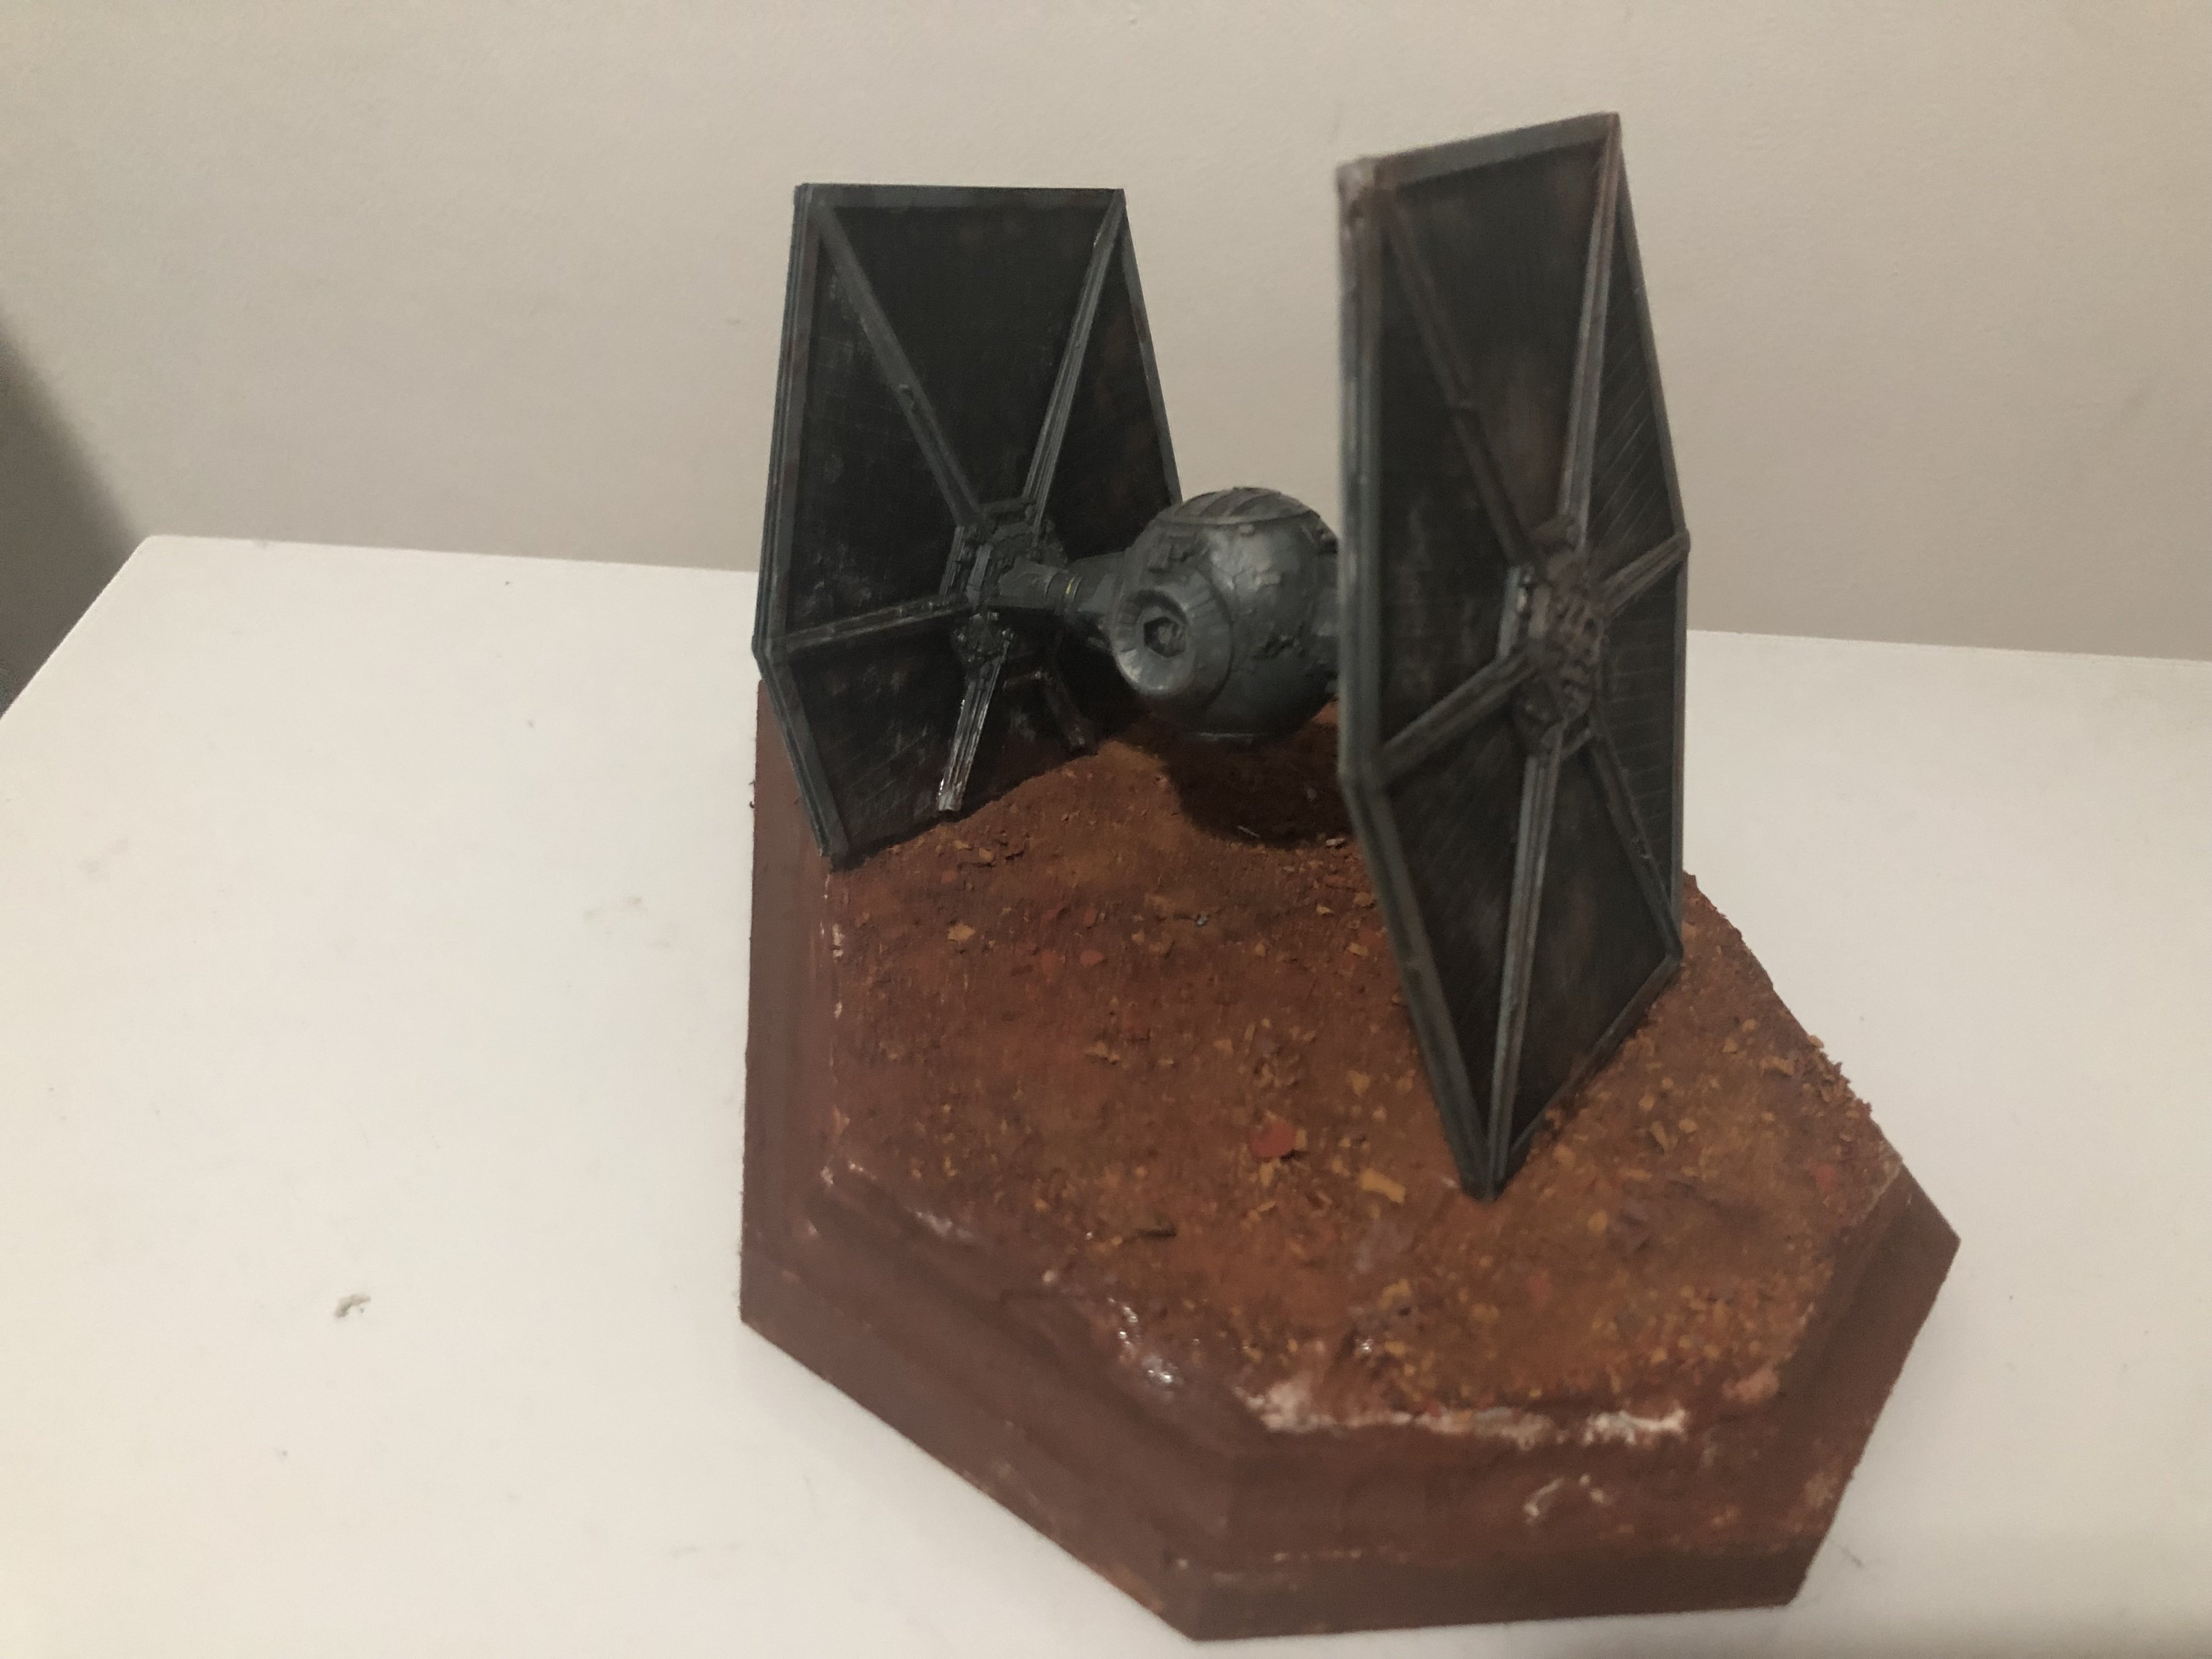
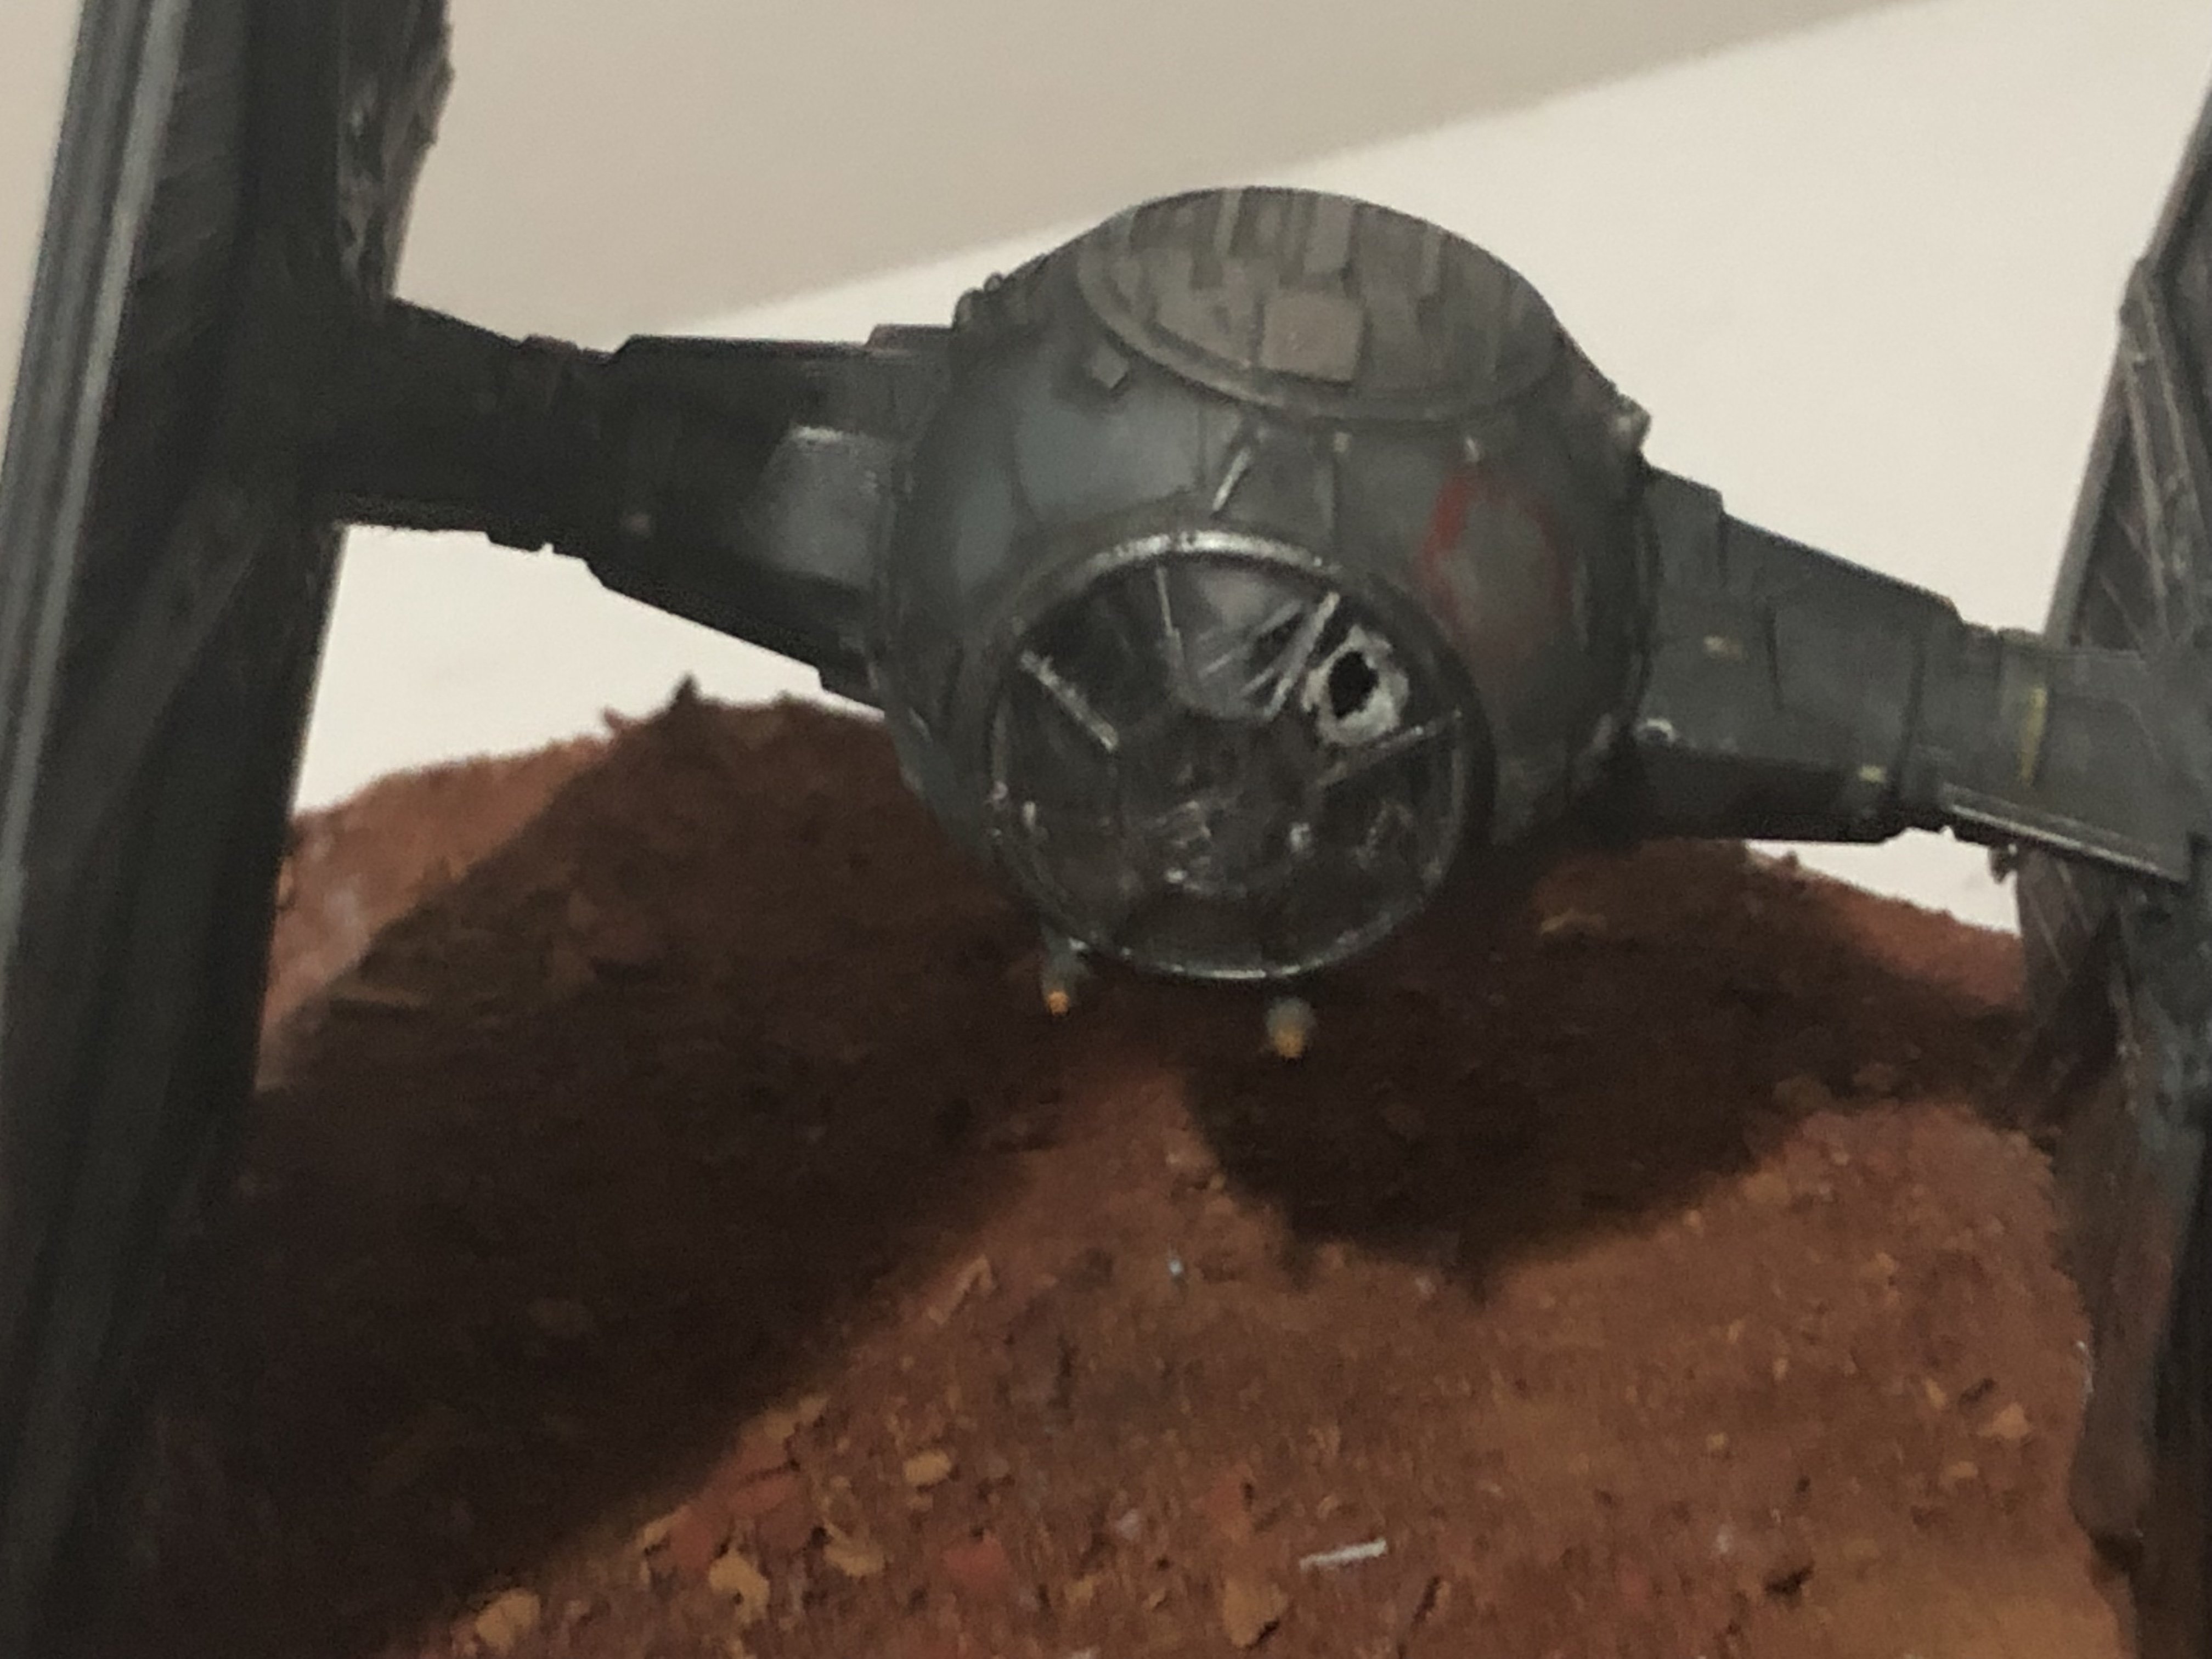
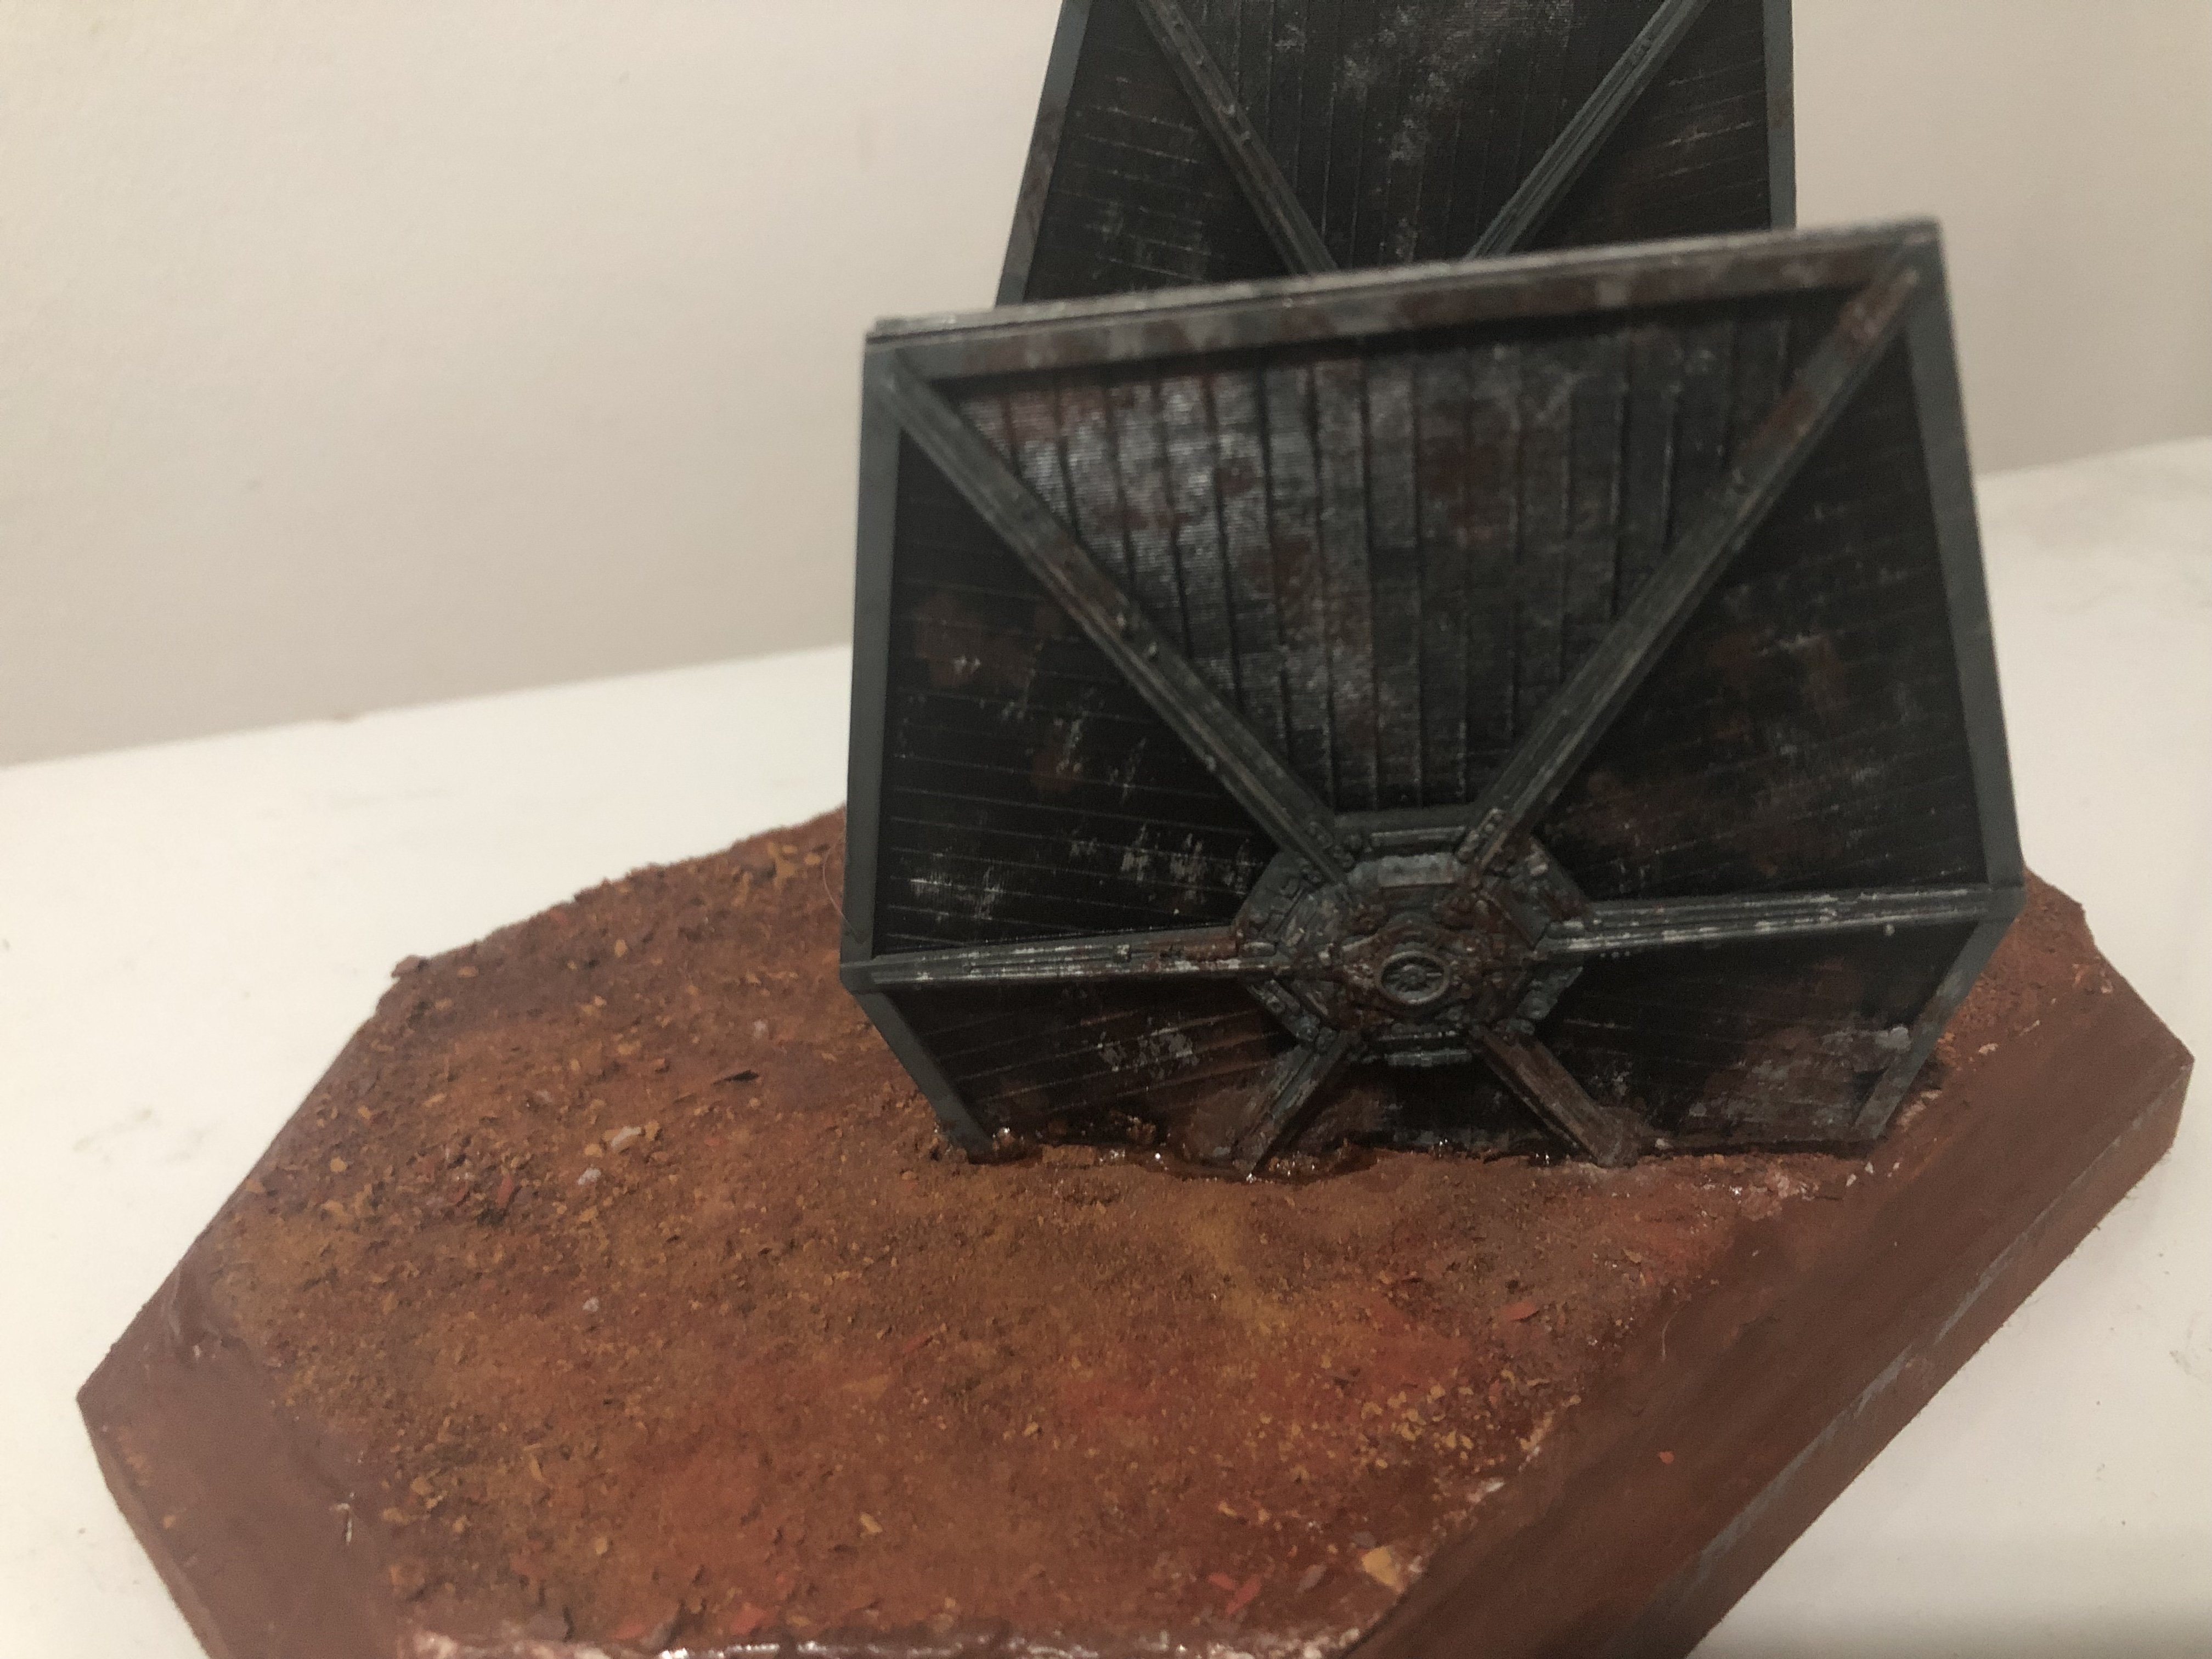
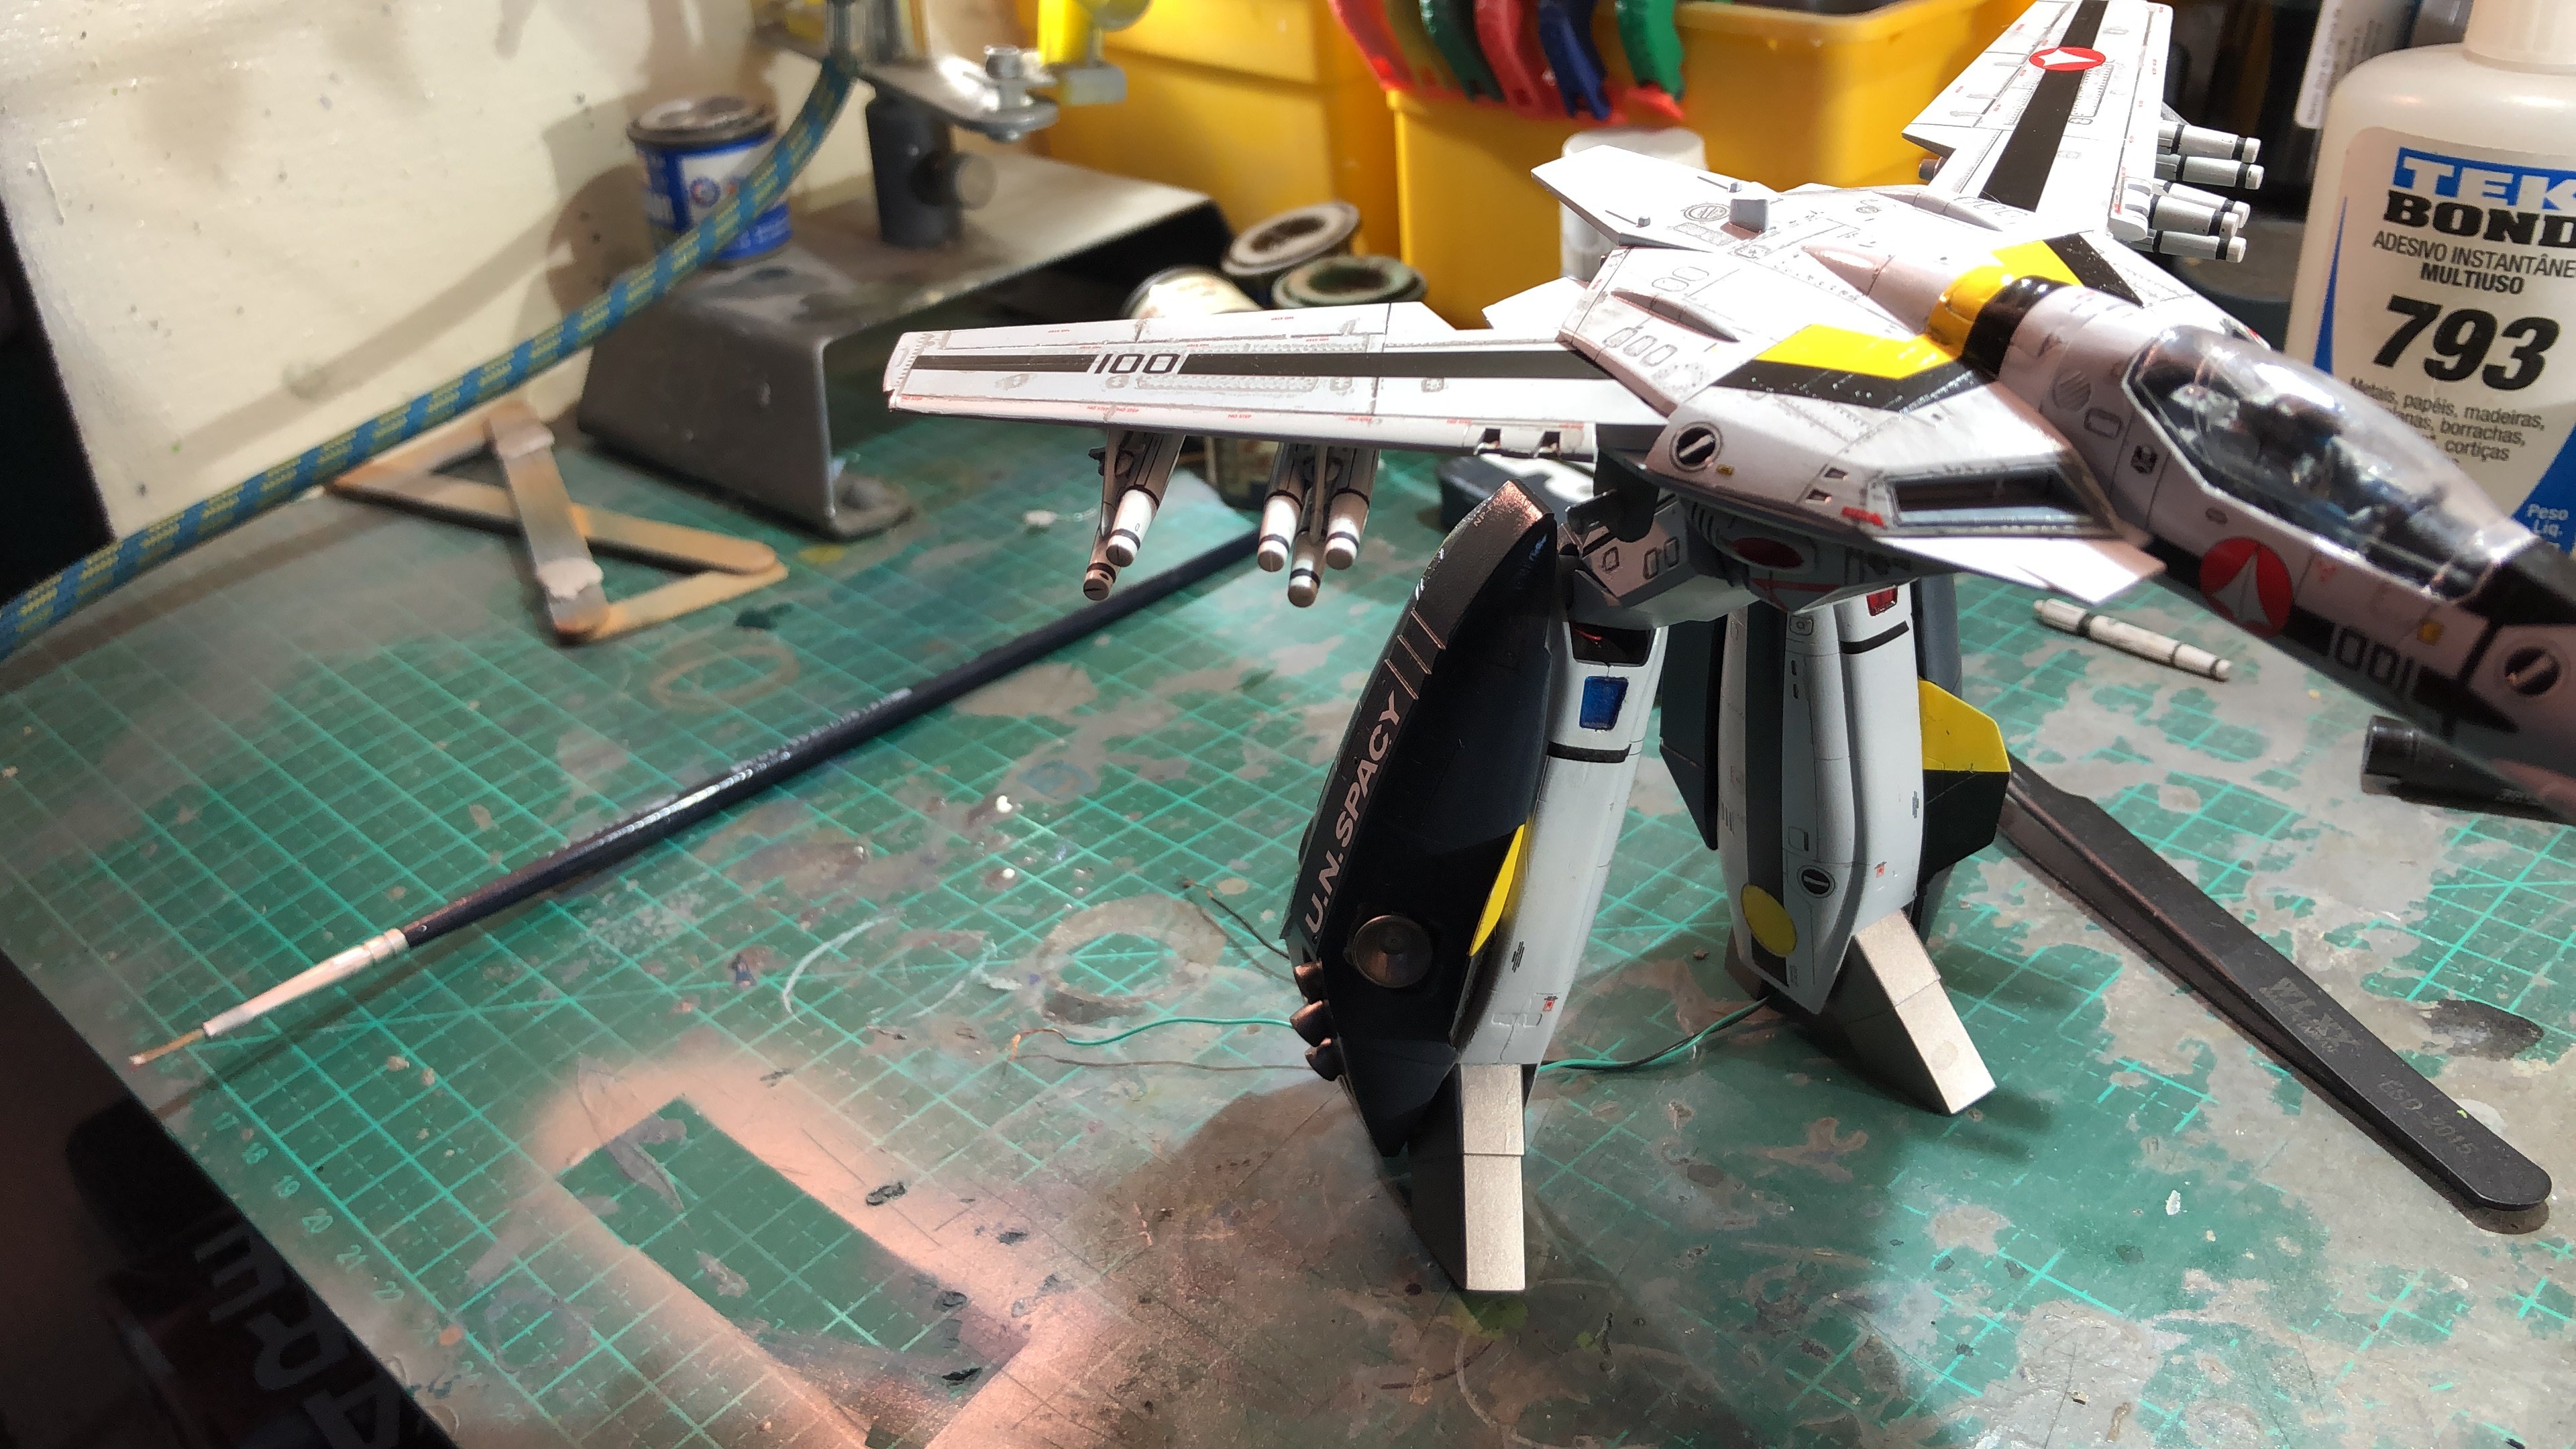
I never liked much the static models for the dark side. So I get one, build it and then destroyed part of it to do this:


-
I’ve preordered a total of 10 kits. Results in 1/72 (1999.jp), Valkyrie in 2 seats, destroyed monster, artillery all at HLJ.
-
2 hours ago, Thom said:
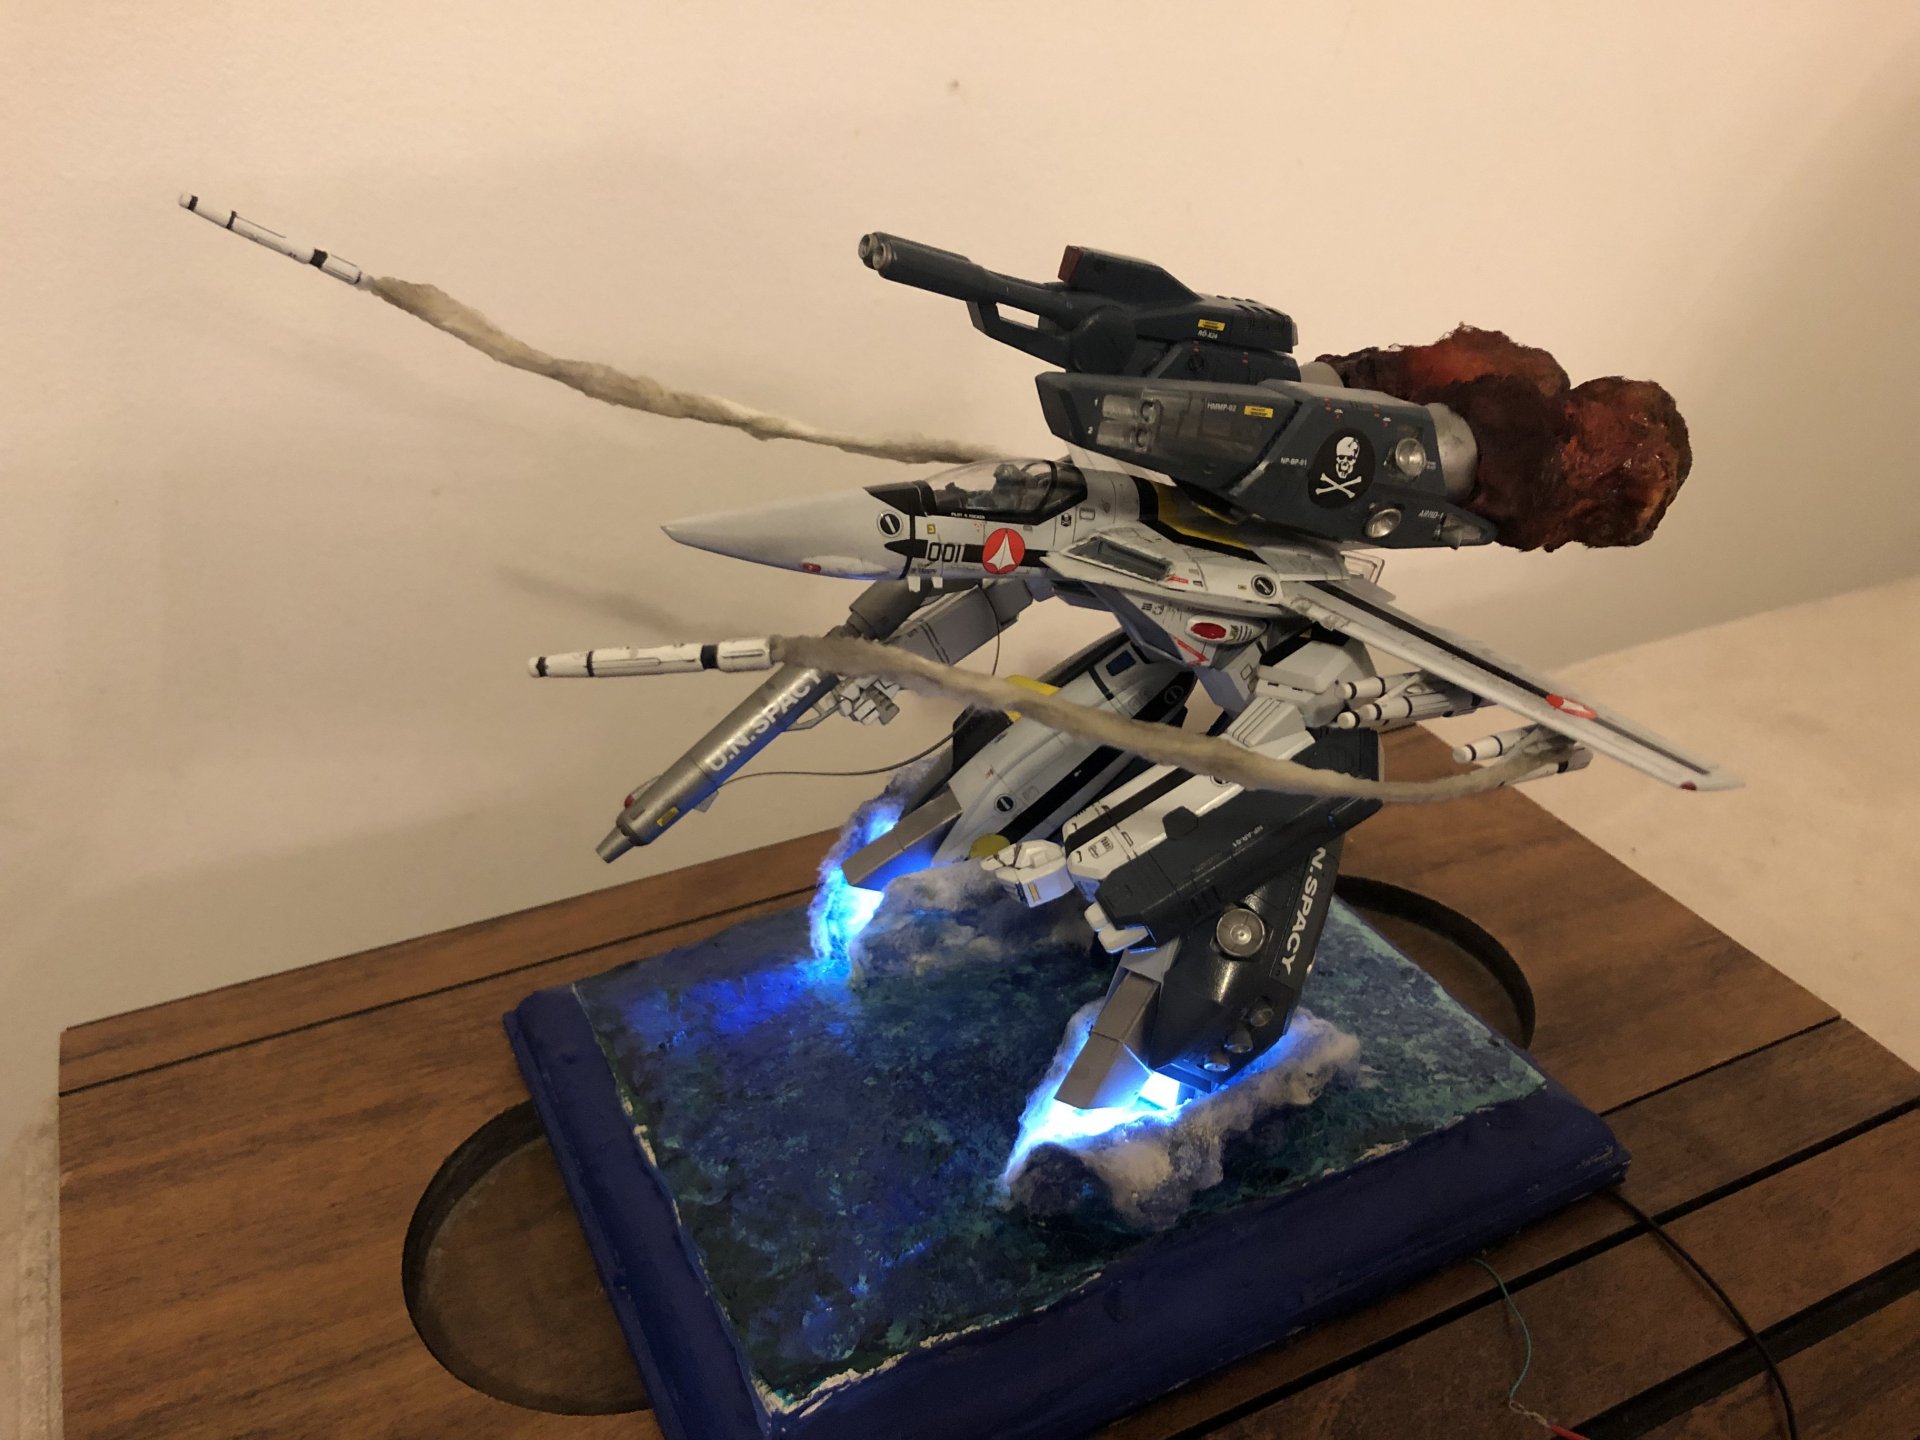
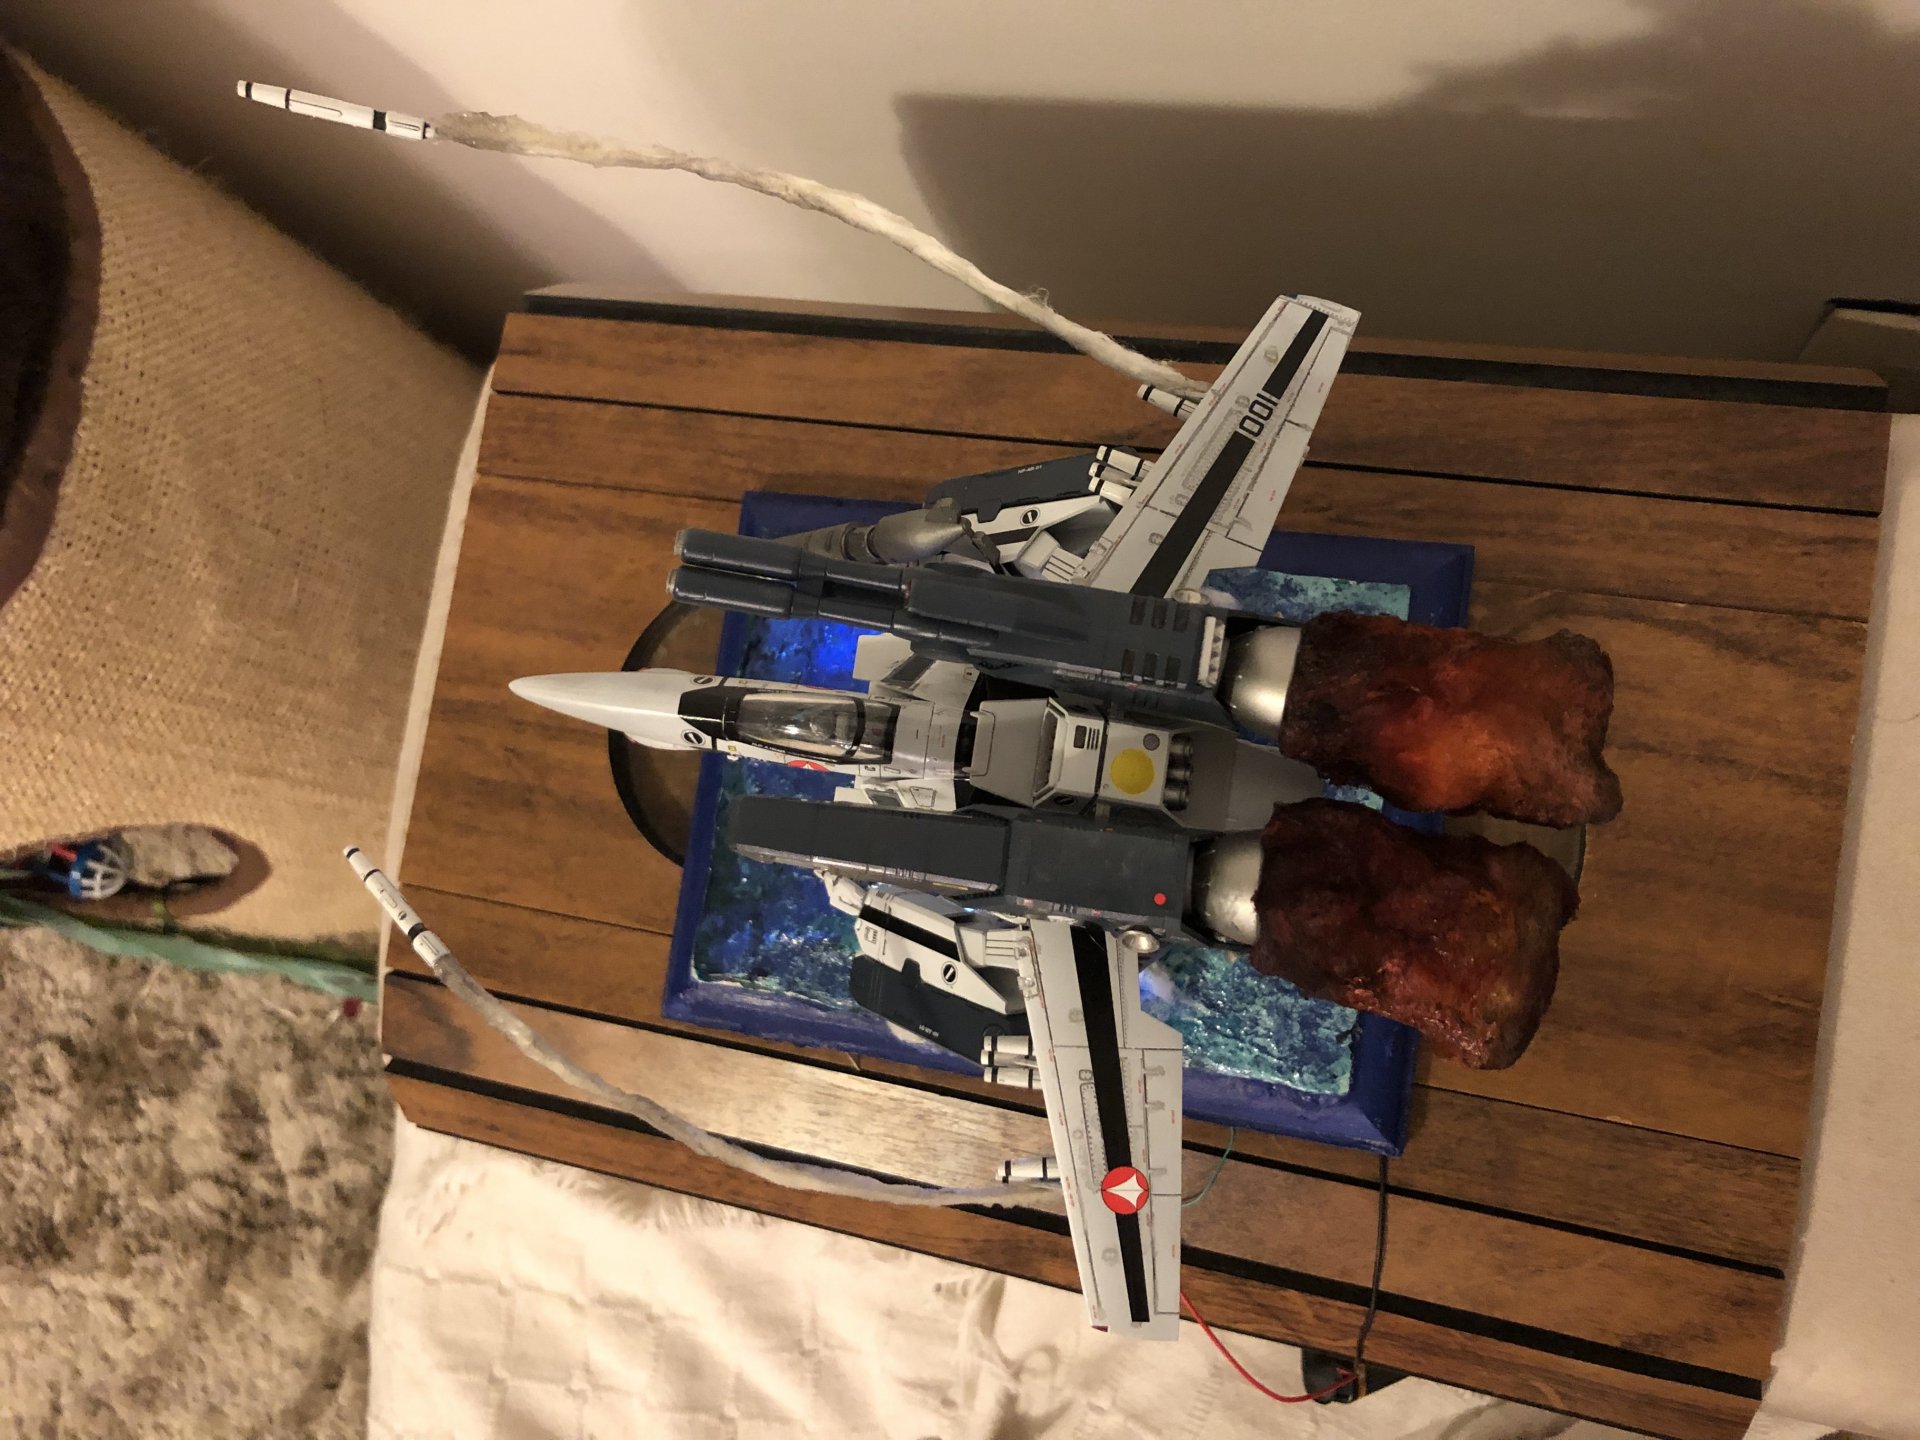
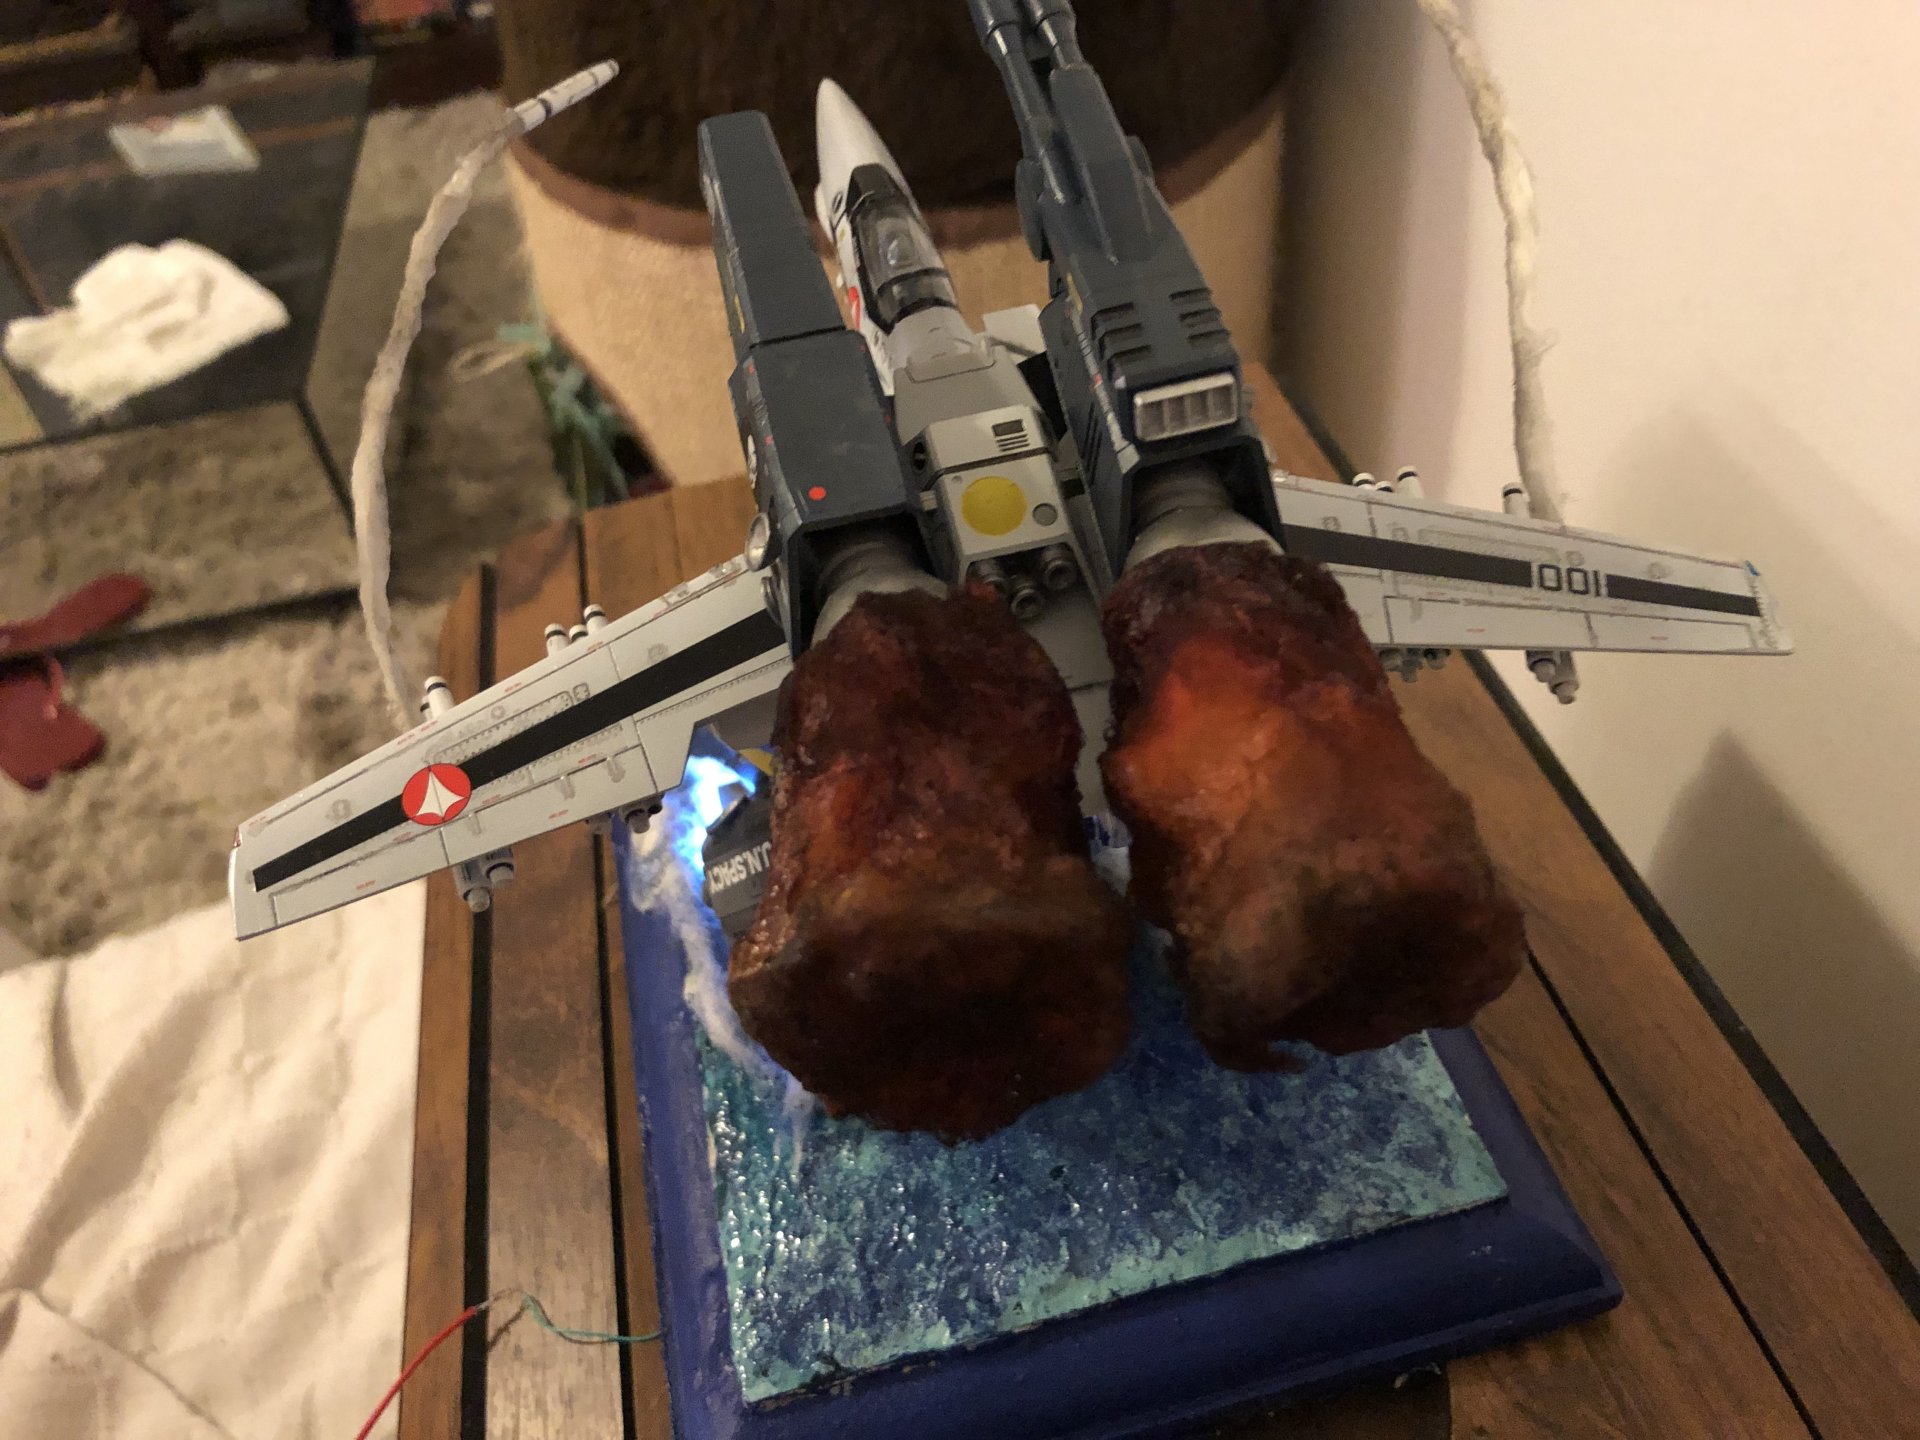
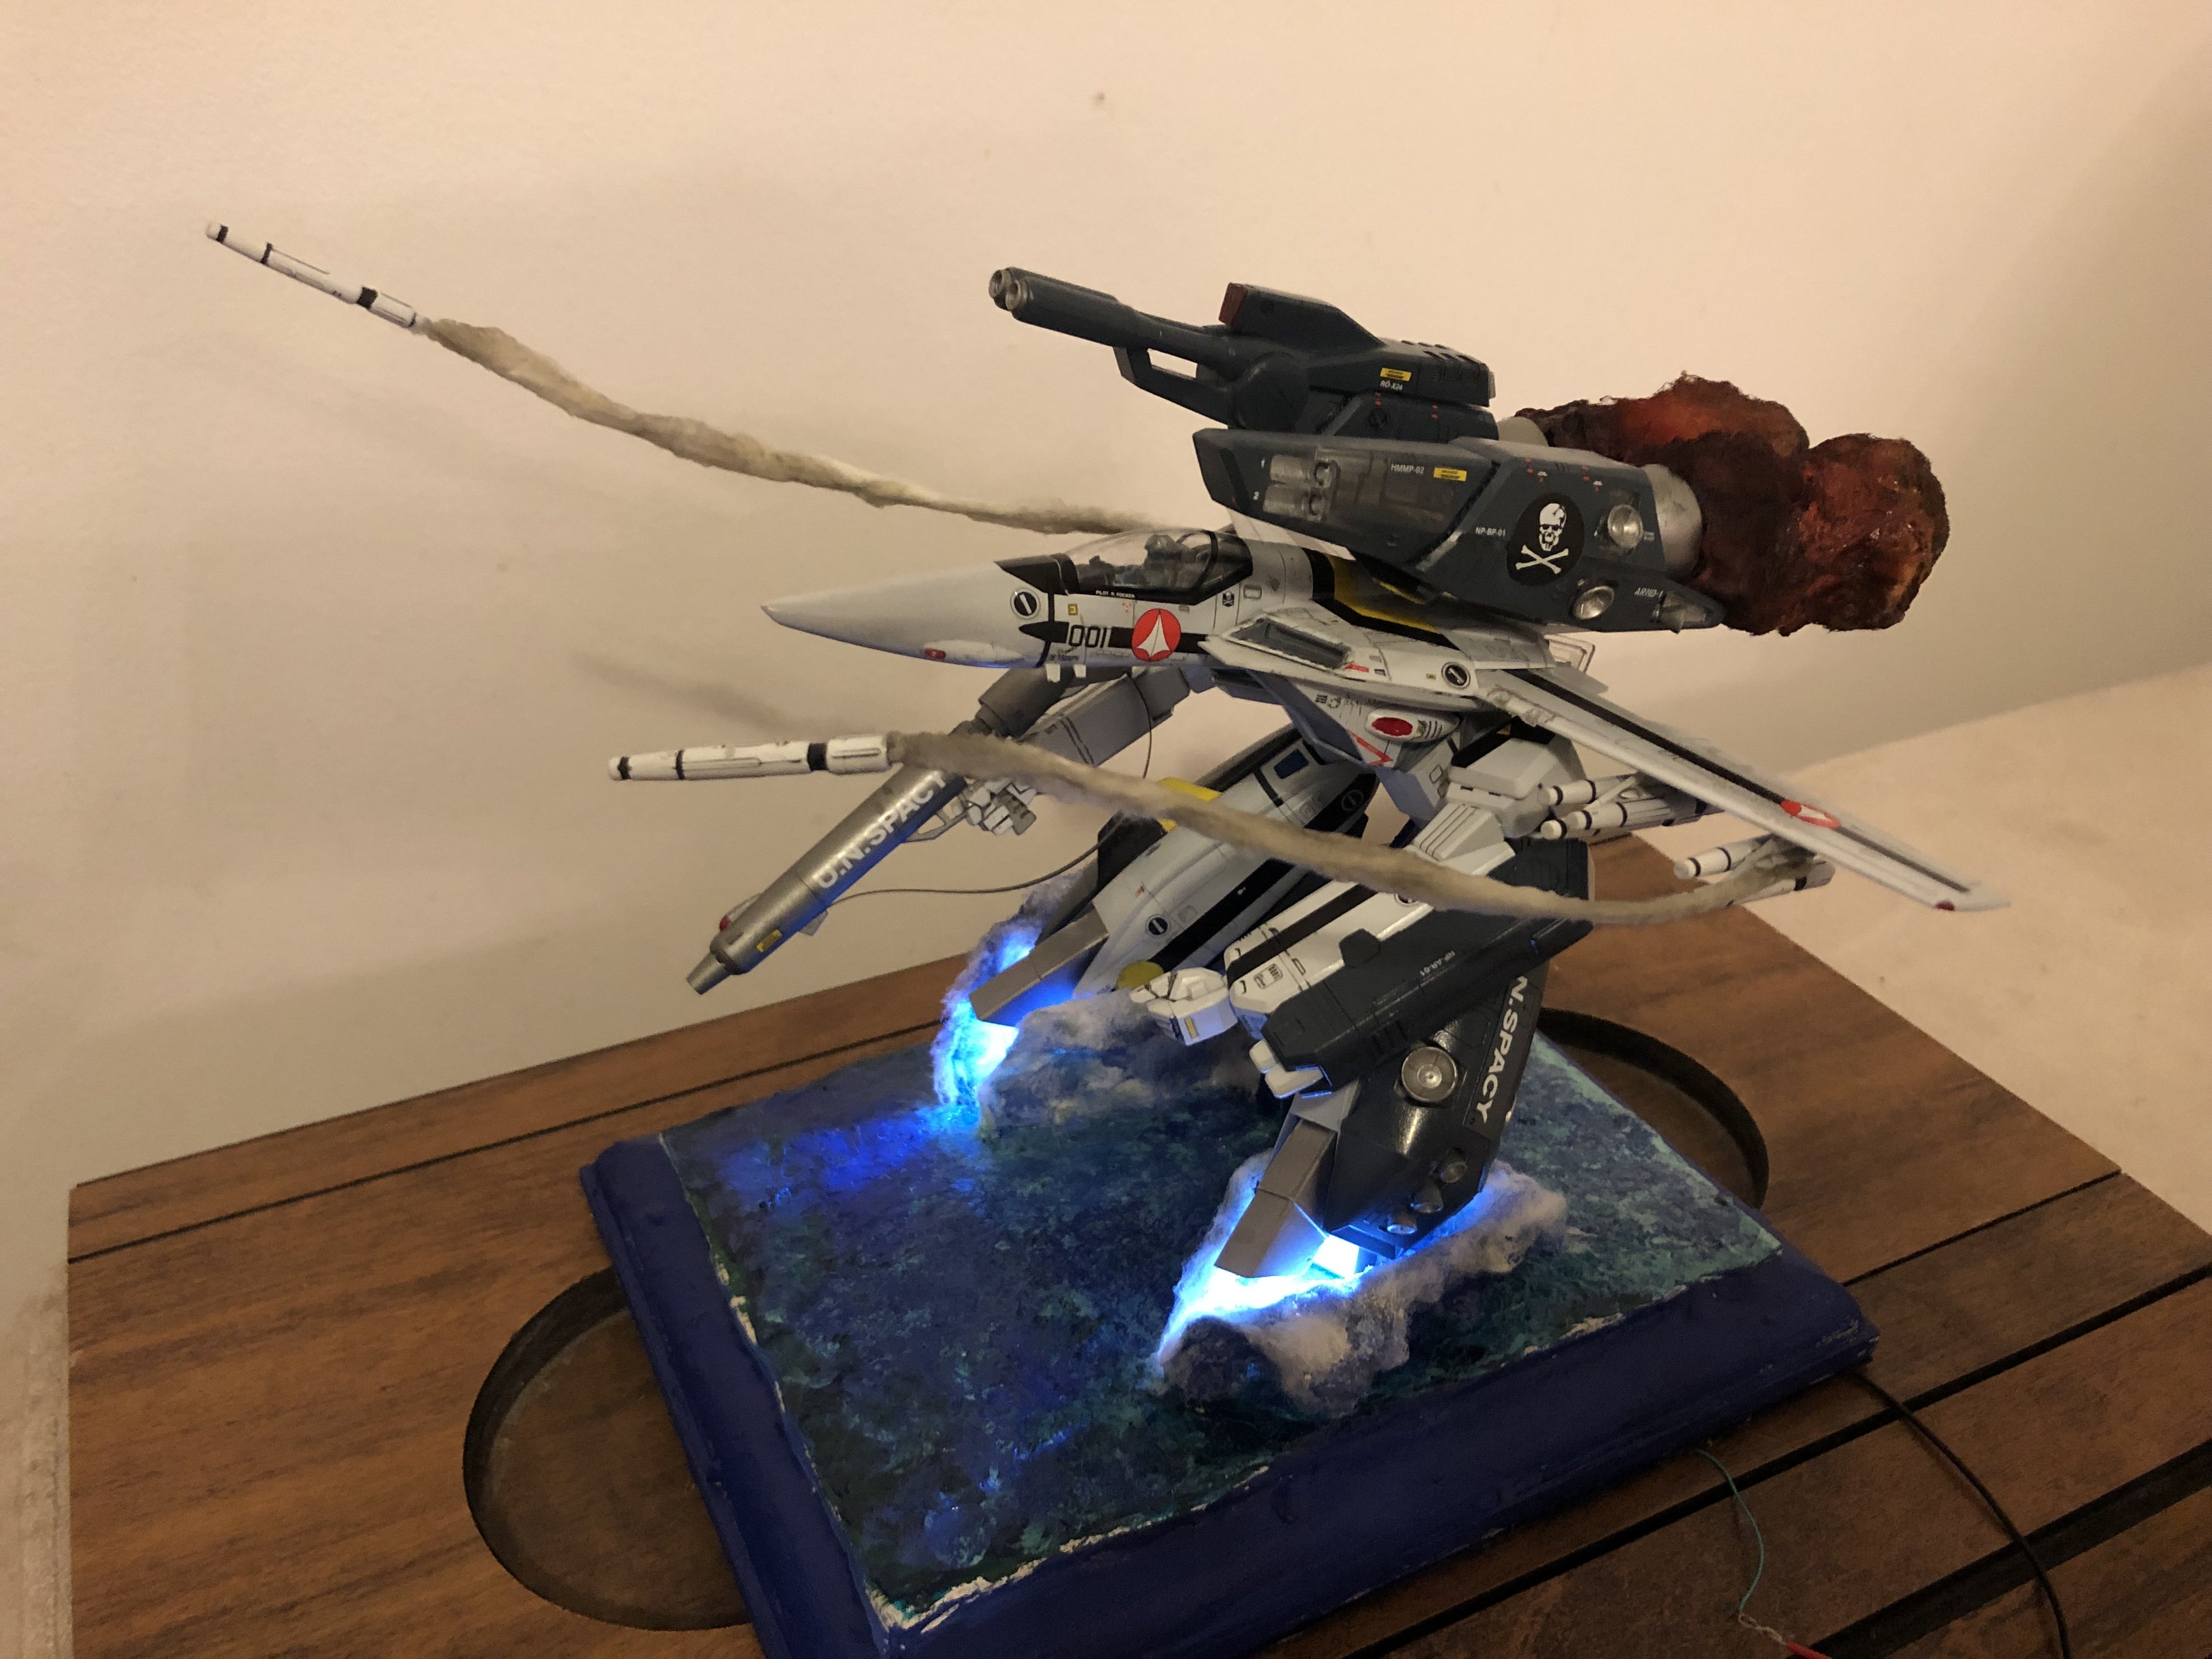
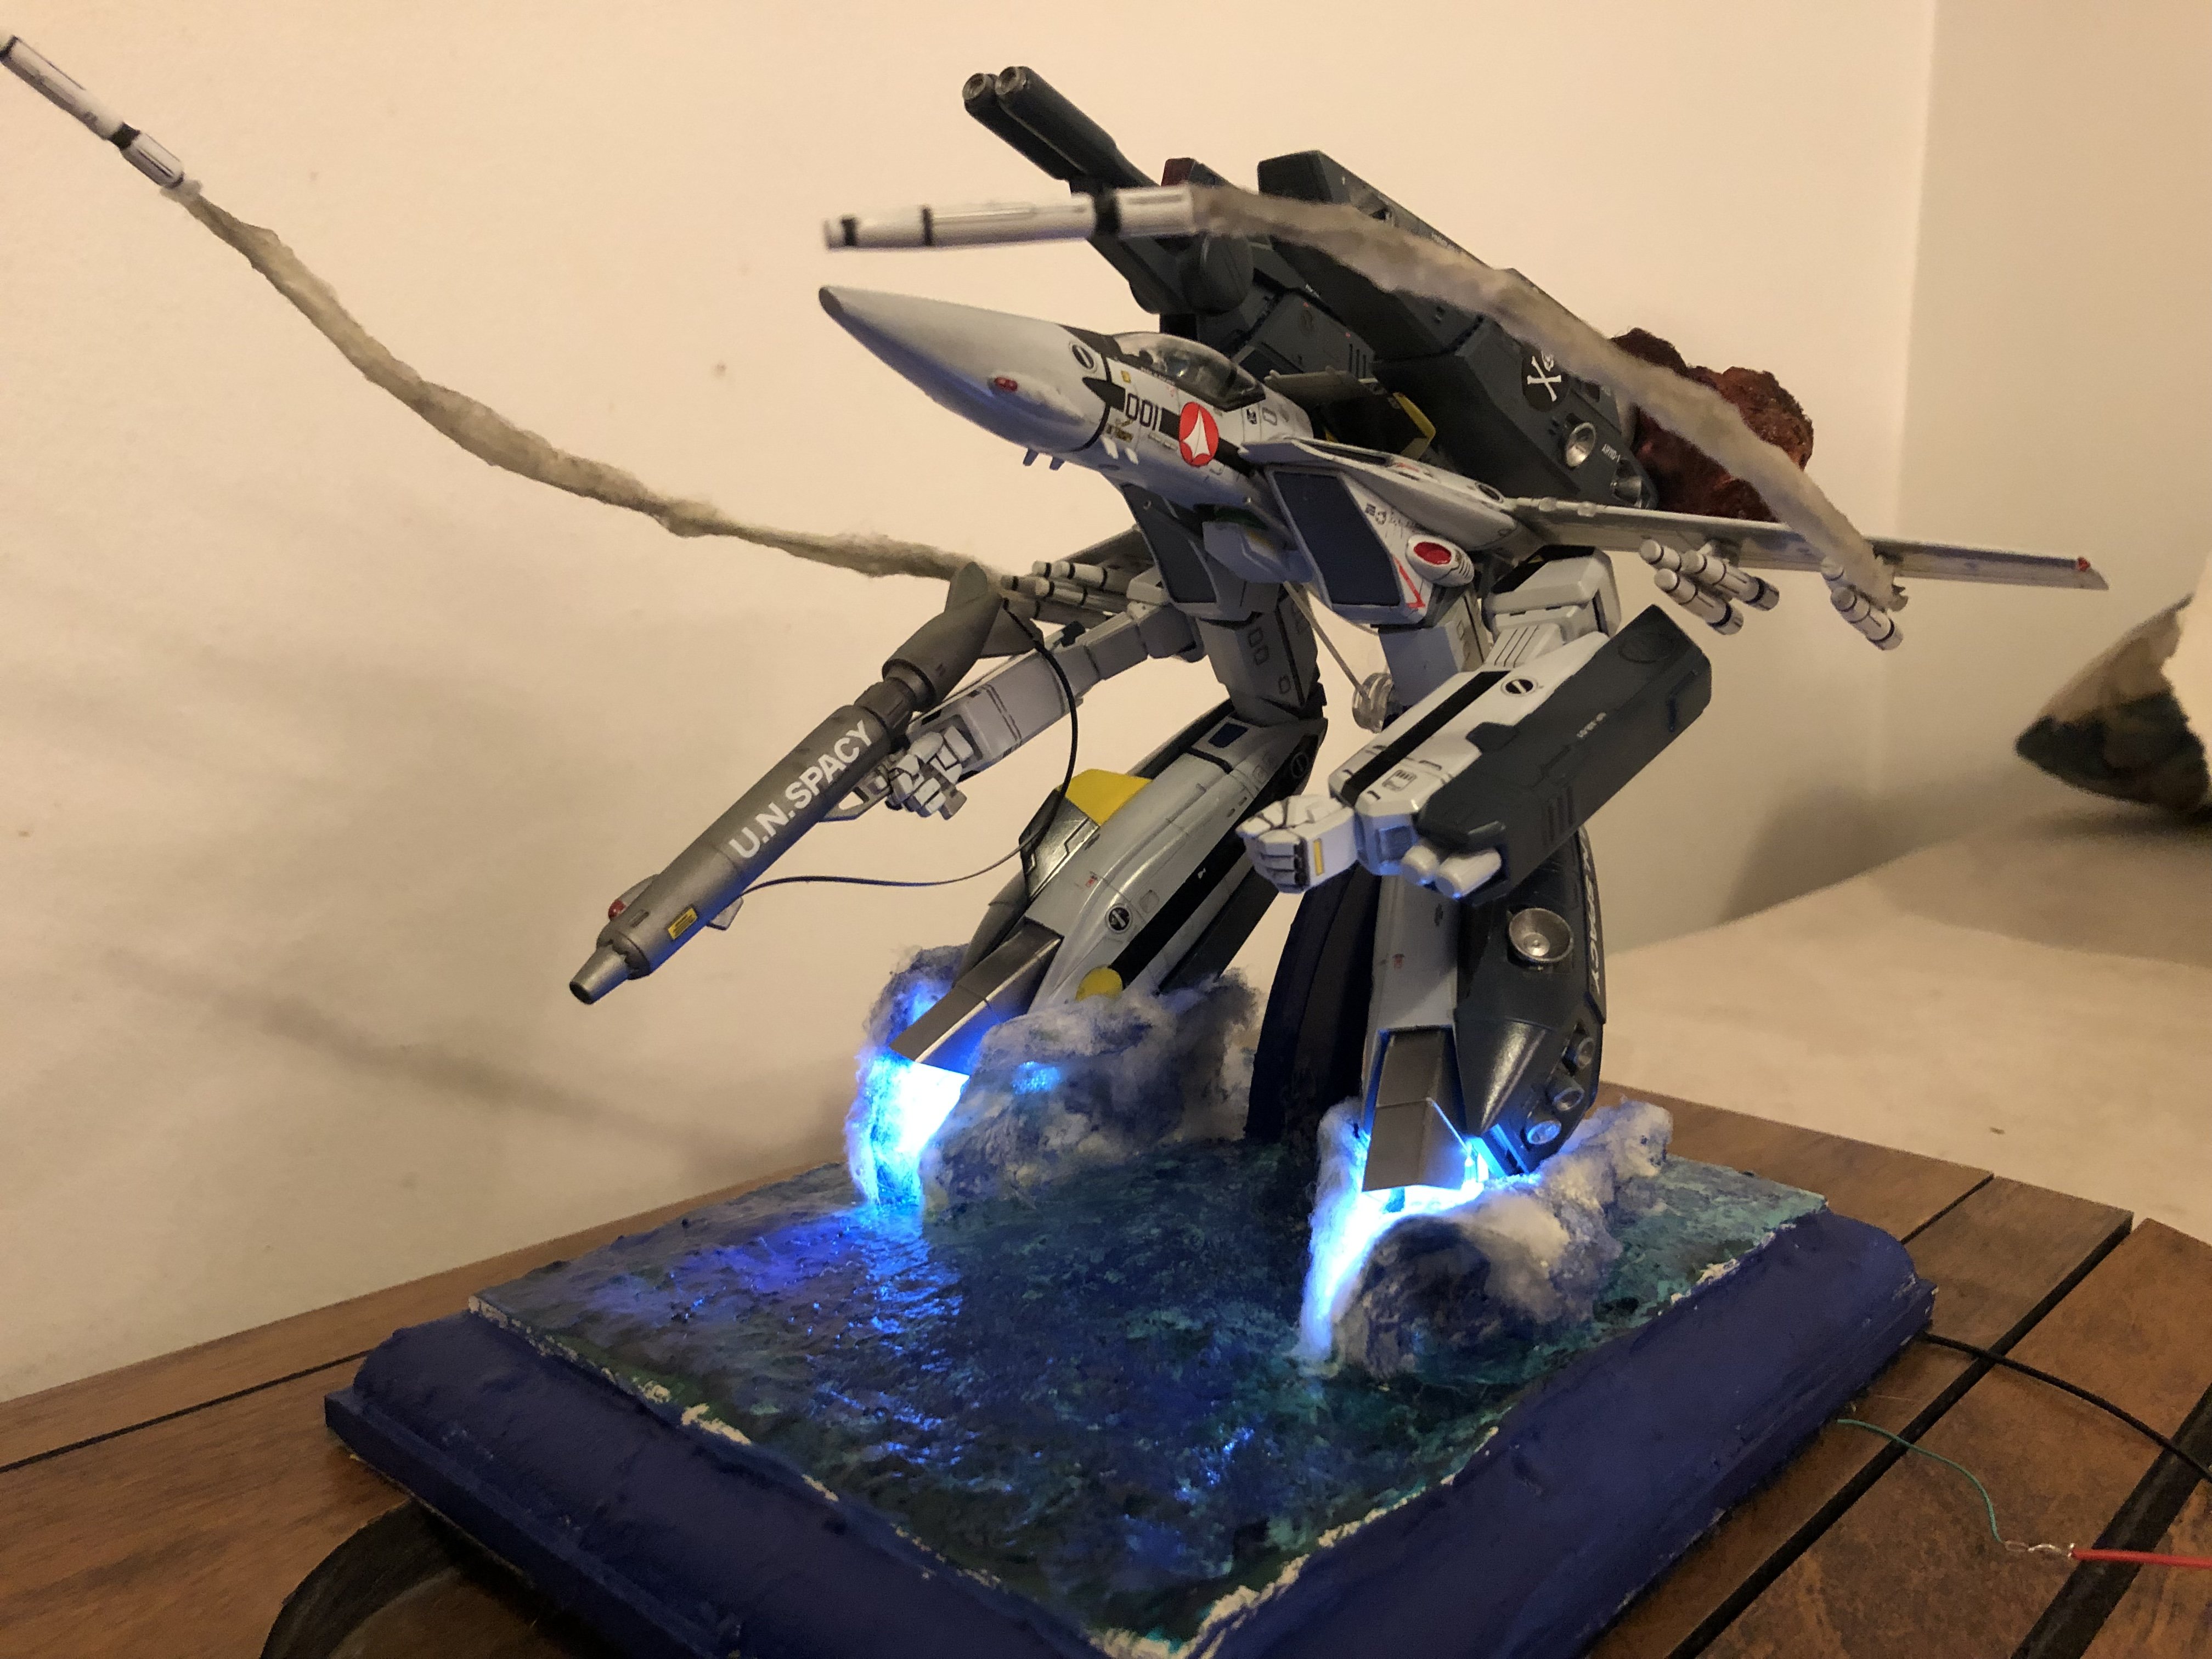
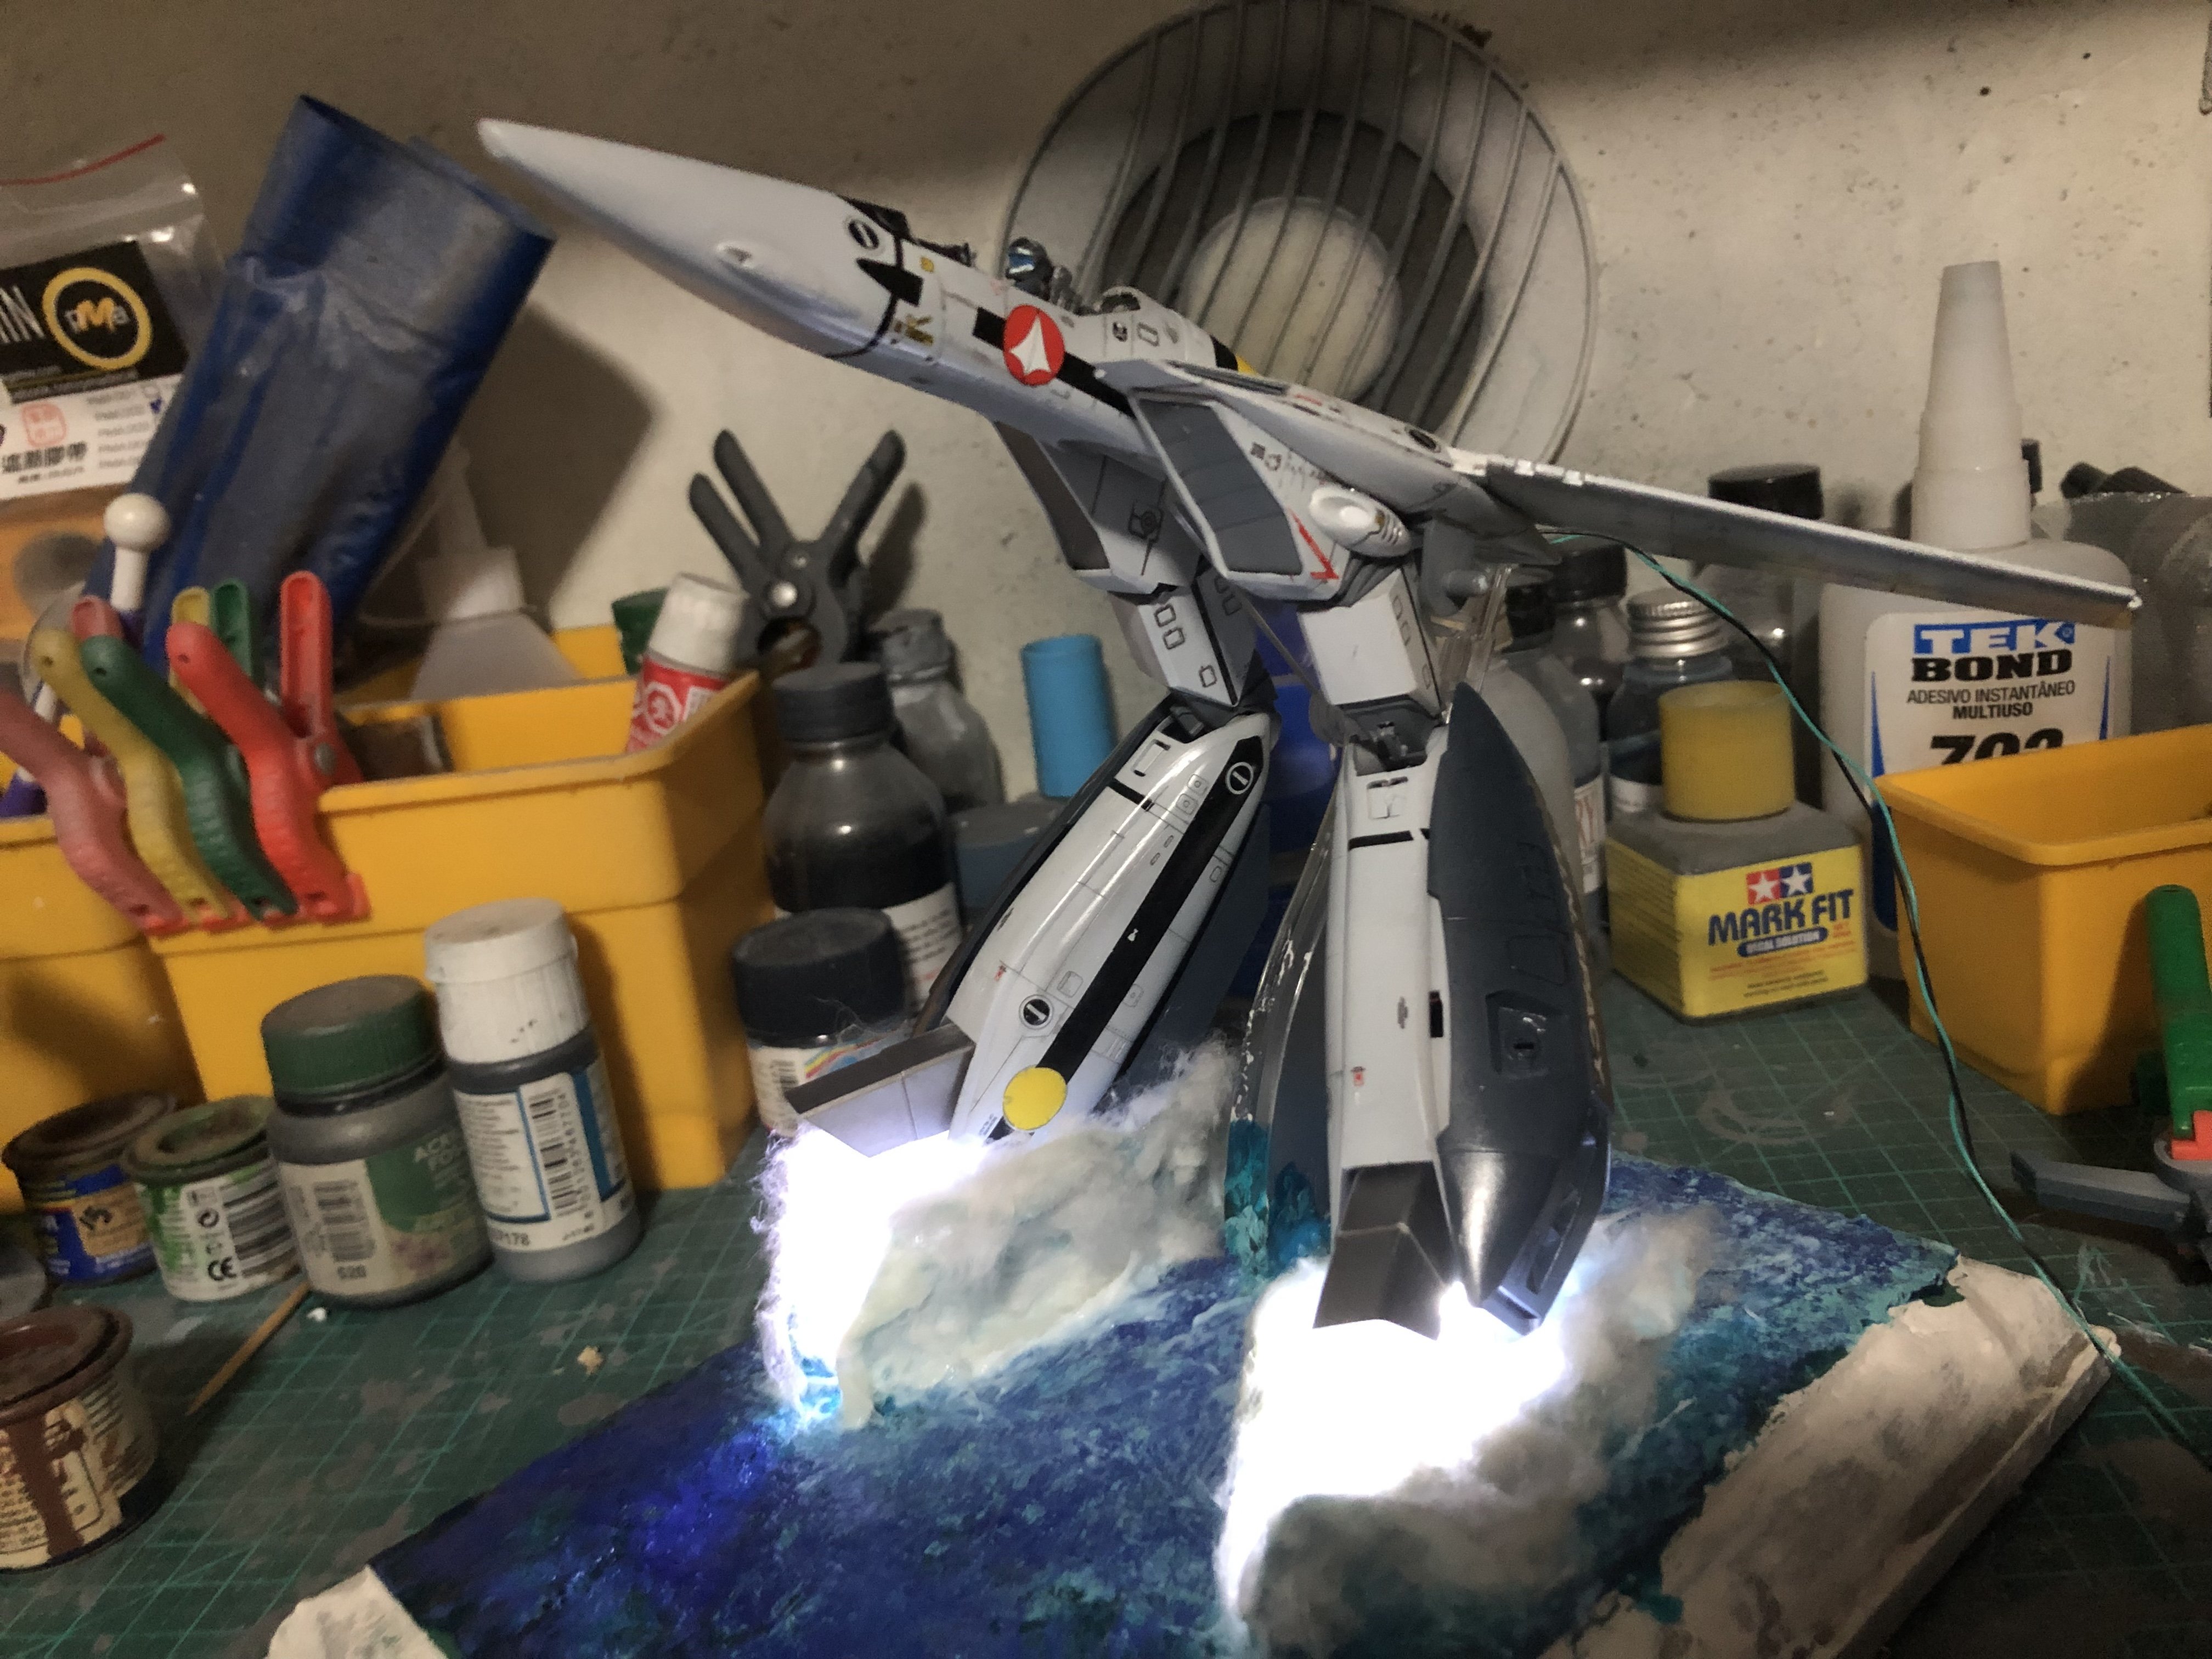
The whole model looks great, esp the water effect. The 'exhausts' from the packs on the otherhand, are the only things I don't like. Sorry.
They look more like an explosion effect, rather than an effect depicting an exhaust, and also something I don't recall seeing in the anime. In my personal opinion, I think the model would look just as great without them. And thinking about what's going on in the dio, the Valkyrie is in more of a hover rather than trying to go as fast as possible, so I would assume that the superpacks would be throttled back in this instance.
Good point!! Later I’ll repaint it with with to clear it a lot, leaving just the back more dark.
I don’t recall any anime scene with super parts on earth. I just invented it ; )
-
2 hours ago, Thom said:
You mean from the backpacks?

-
12 hours ago, Thom said:
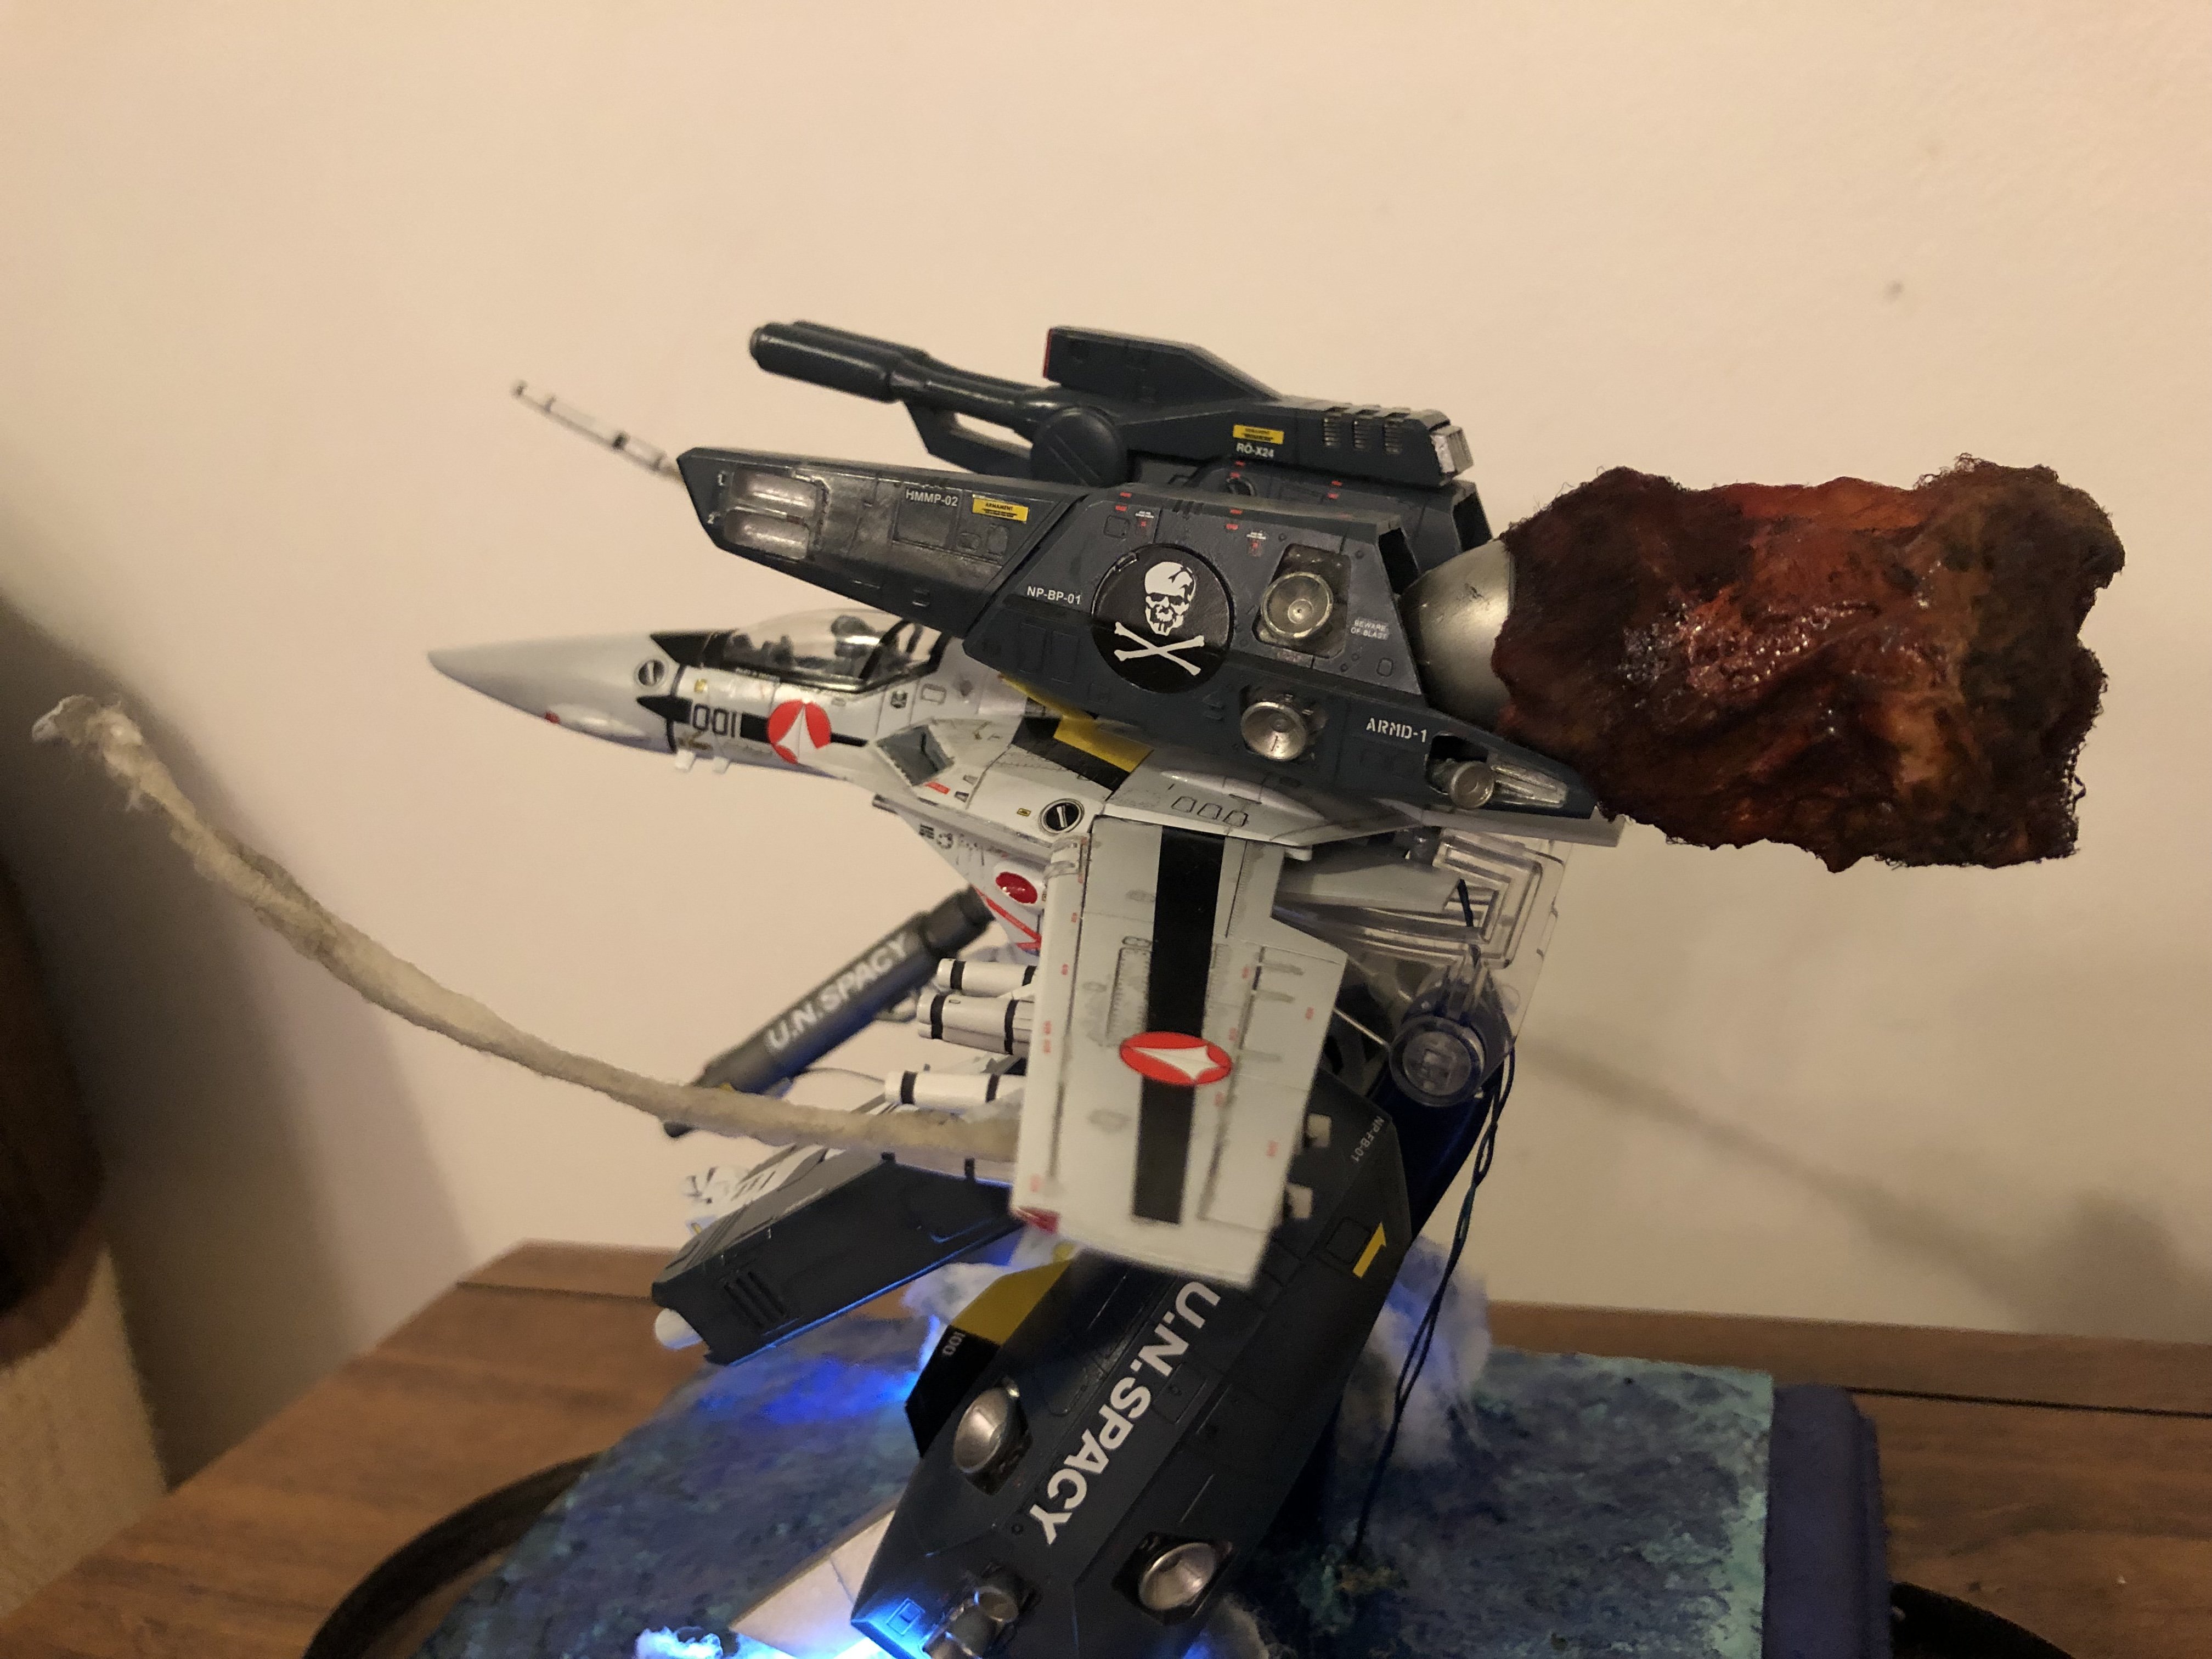
Love the light effects and the missiles flying off.
Thanks!! What about the turbine effect?? Did I made it too dark??
-
Model finished


-
Hasegawa and Bandai will re release Macross itens. Including Zentradis!!
so goooooddddd
-
Update:


-
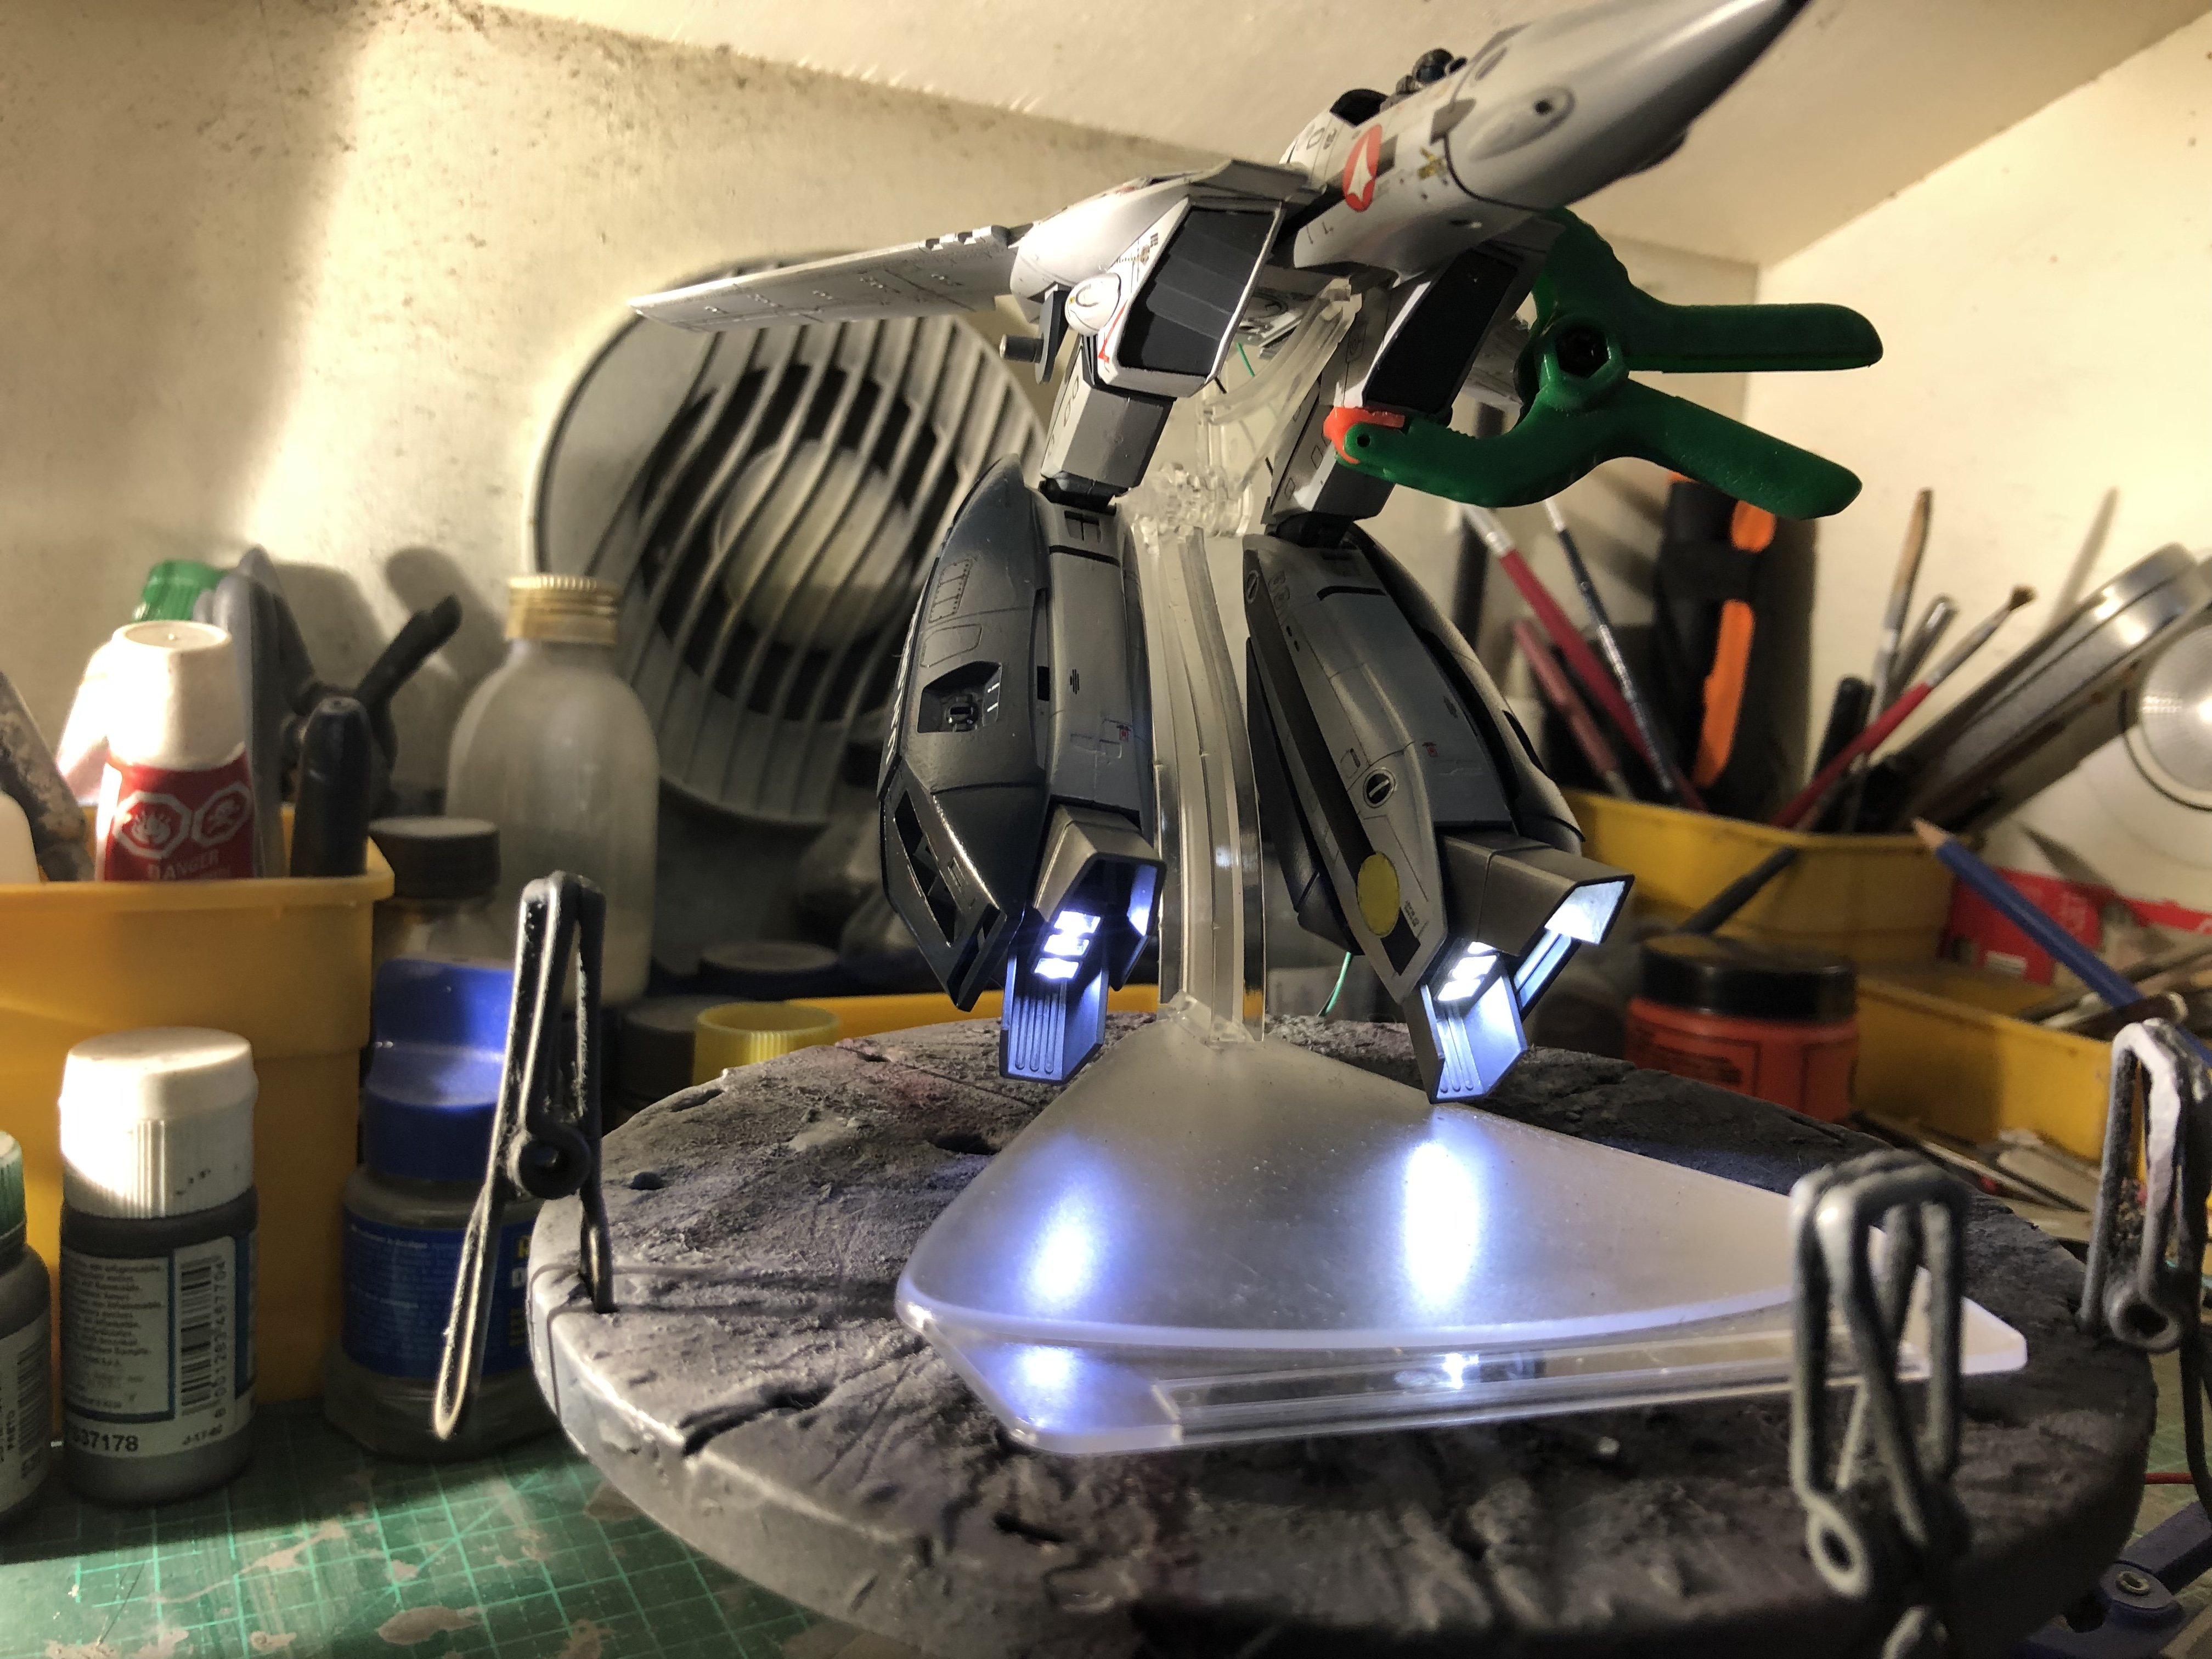
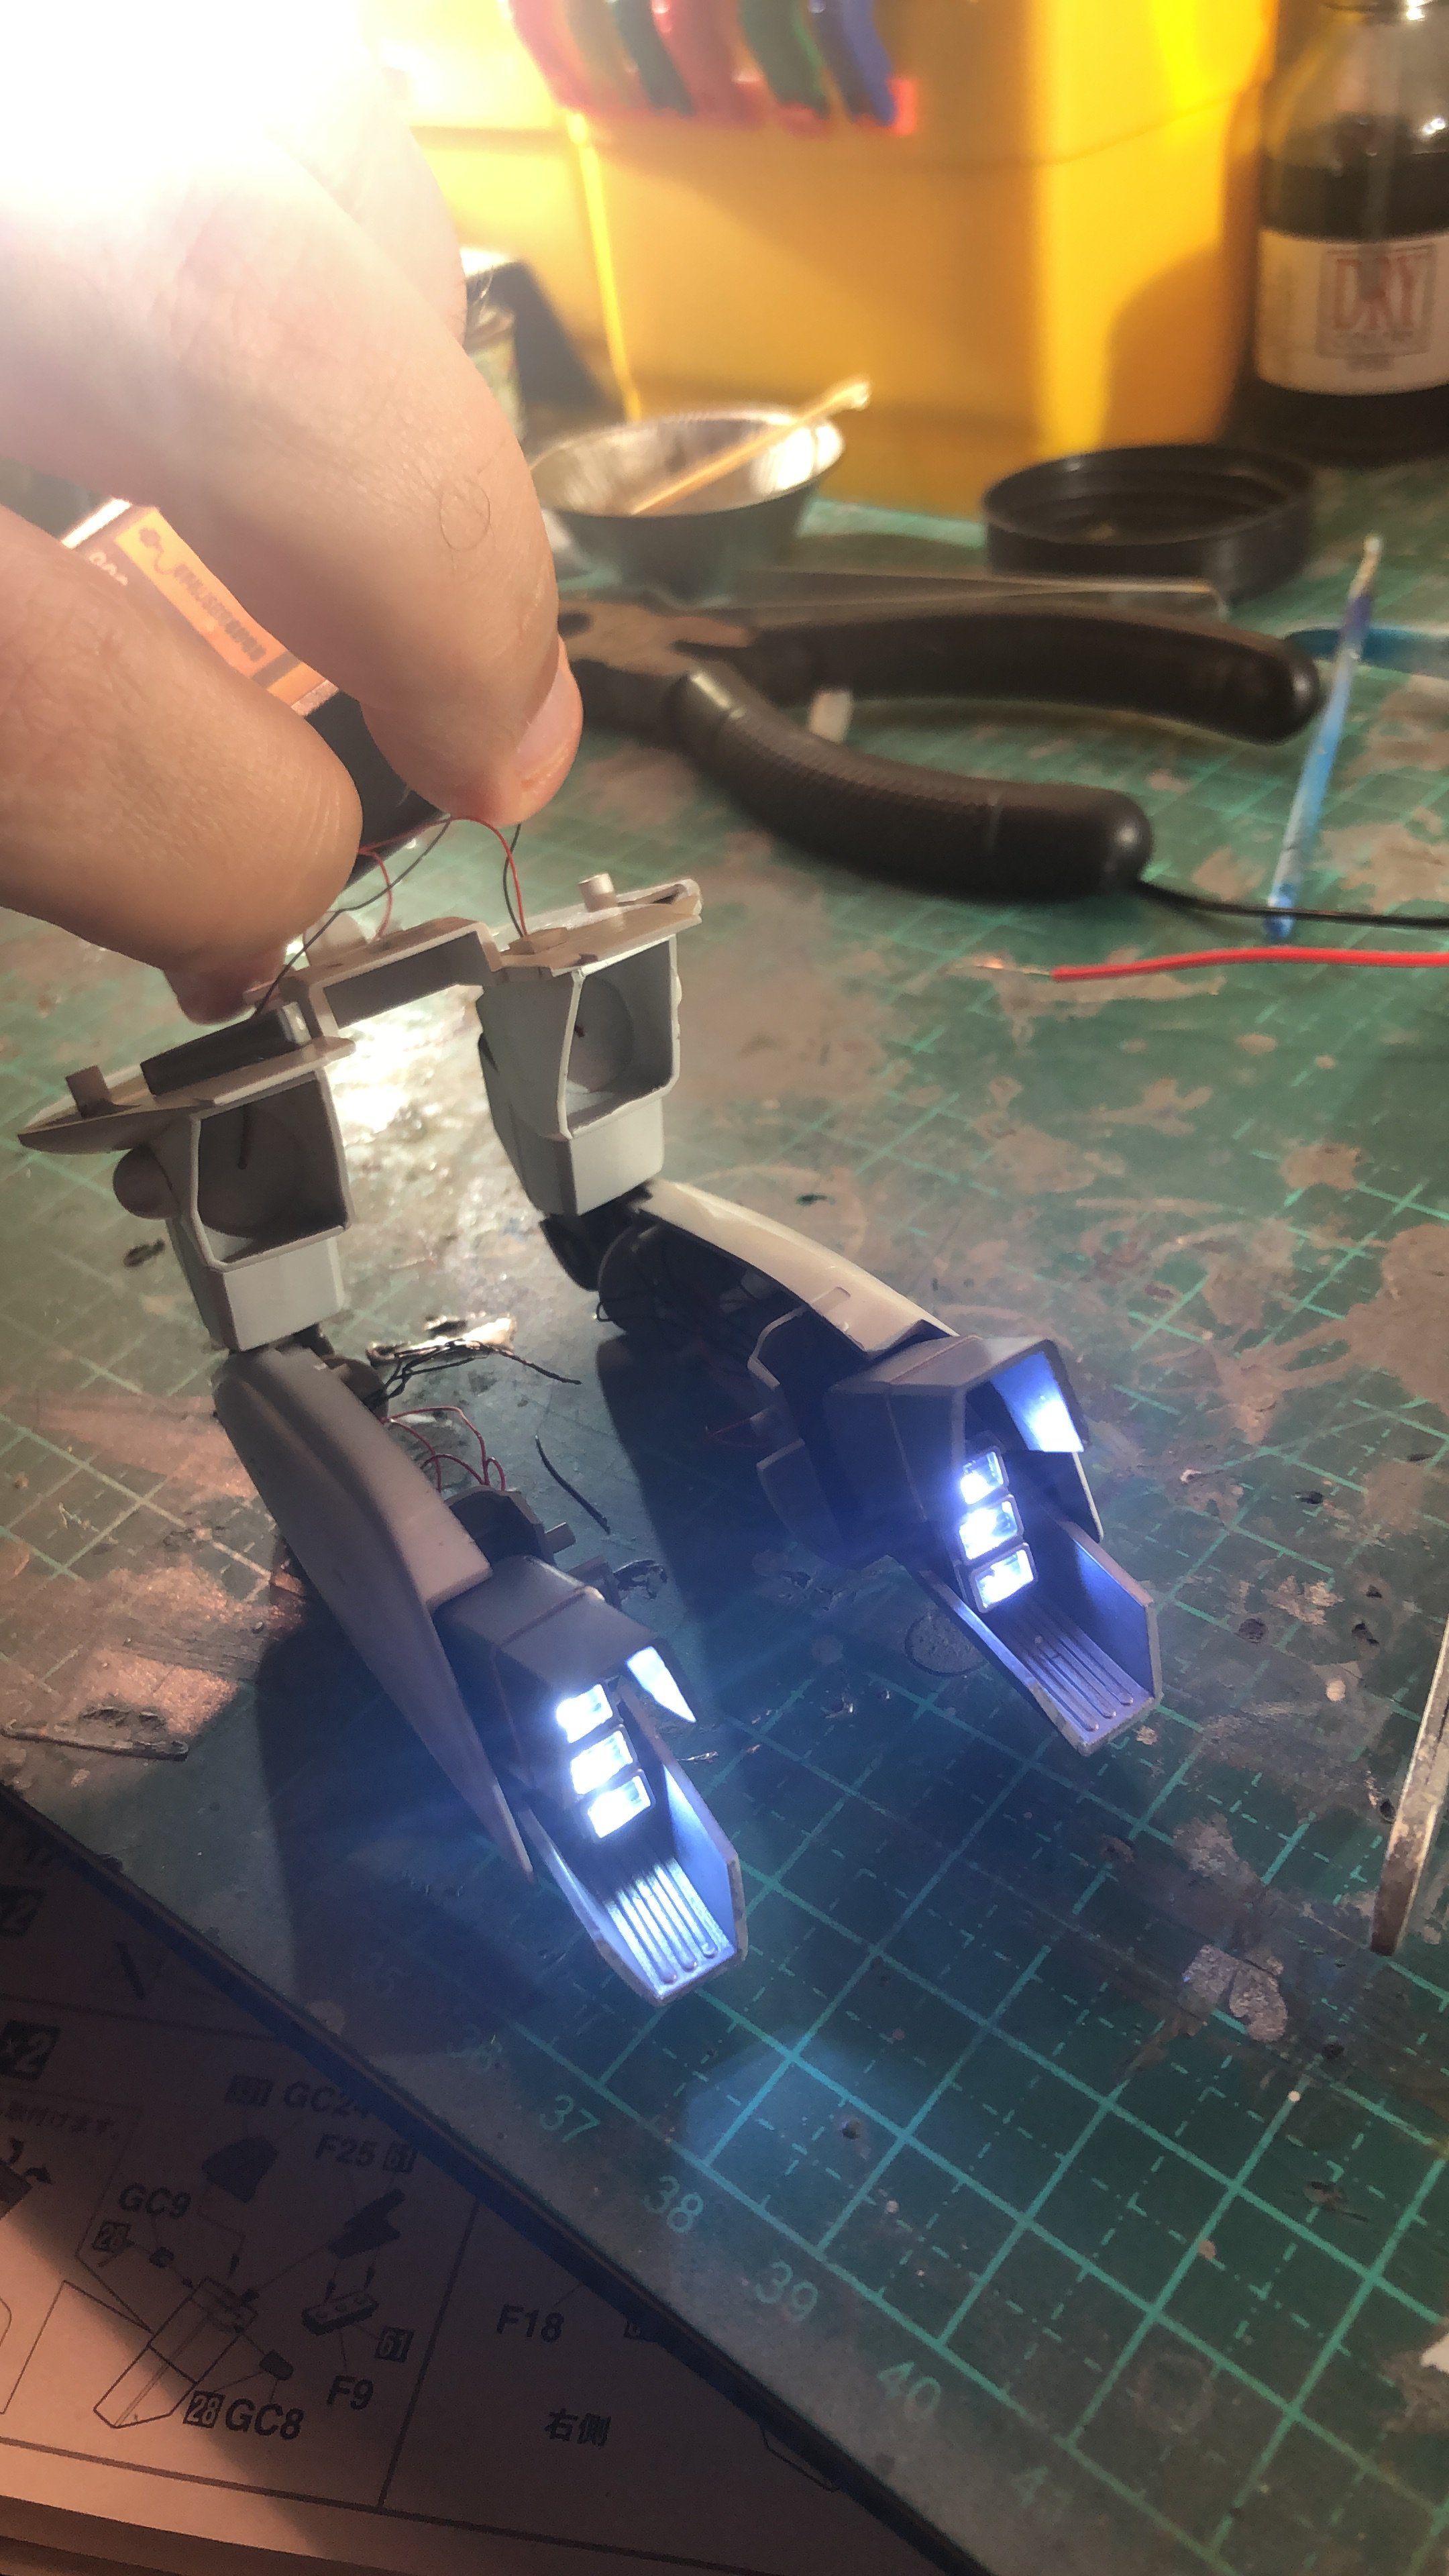
37 minutes ago, kajnrig said:
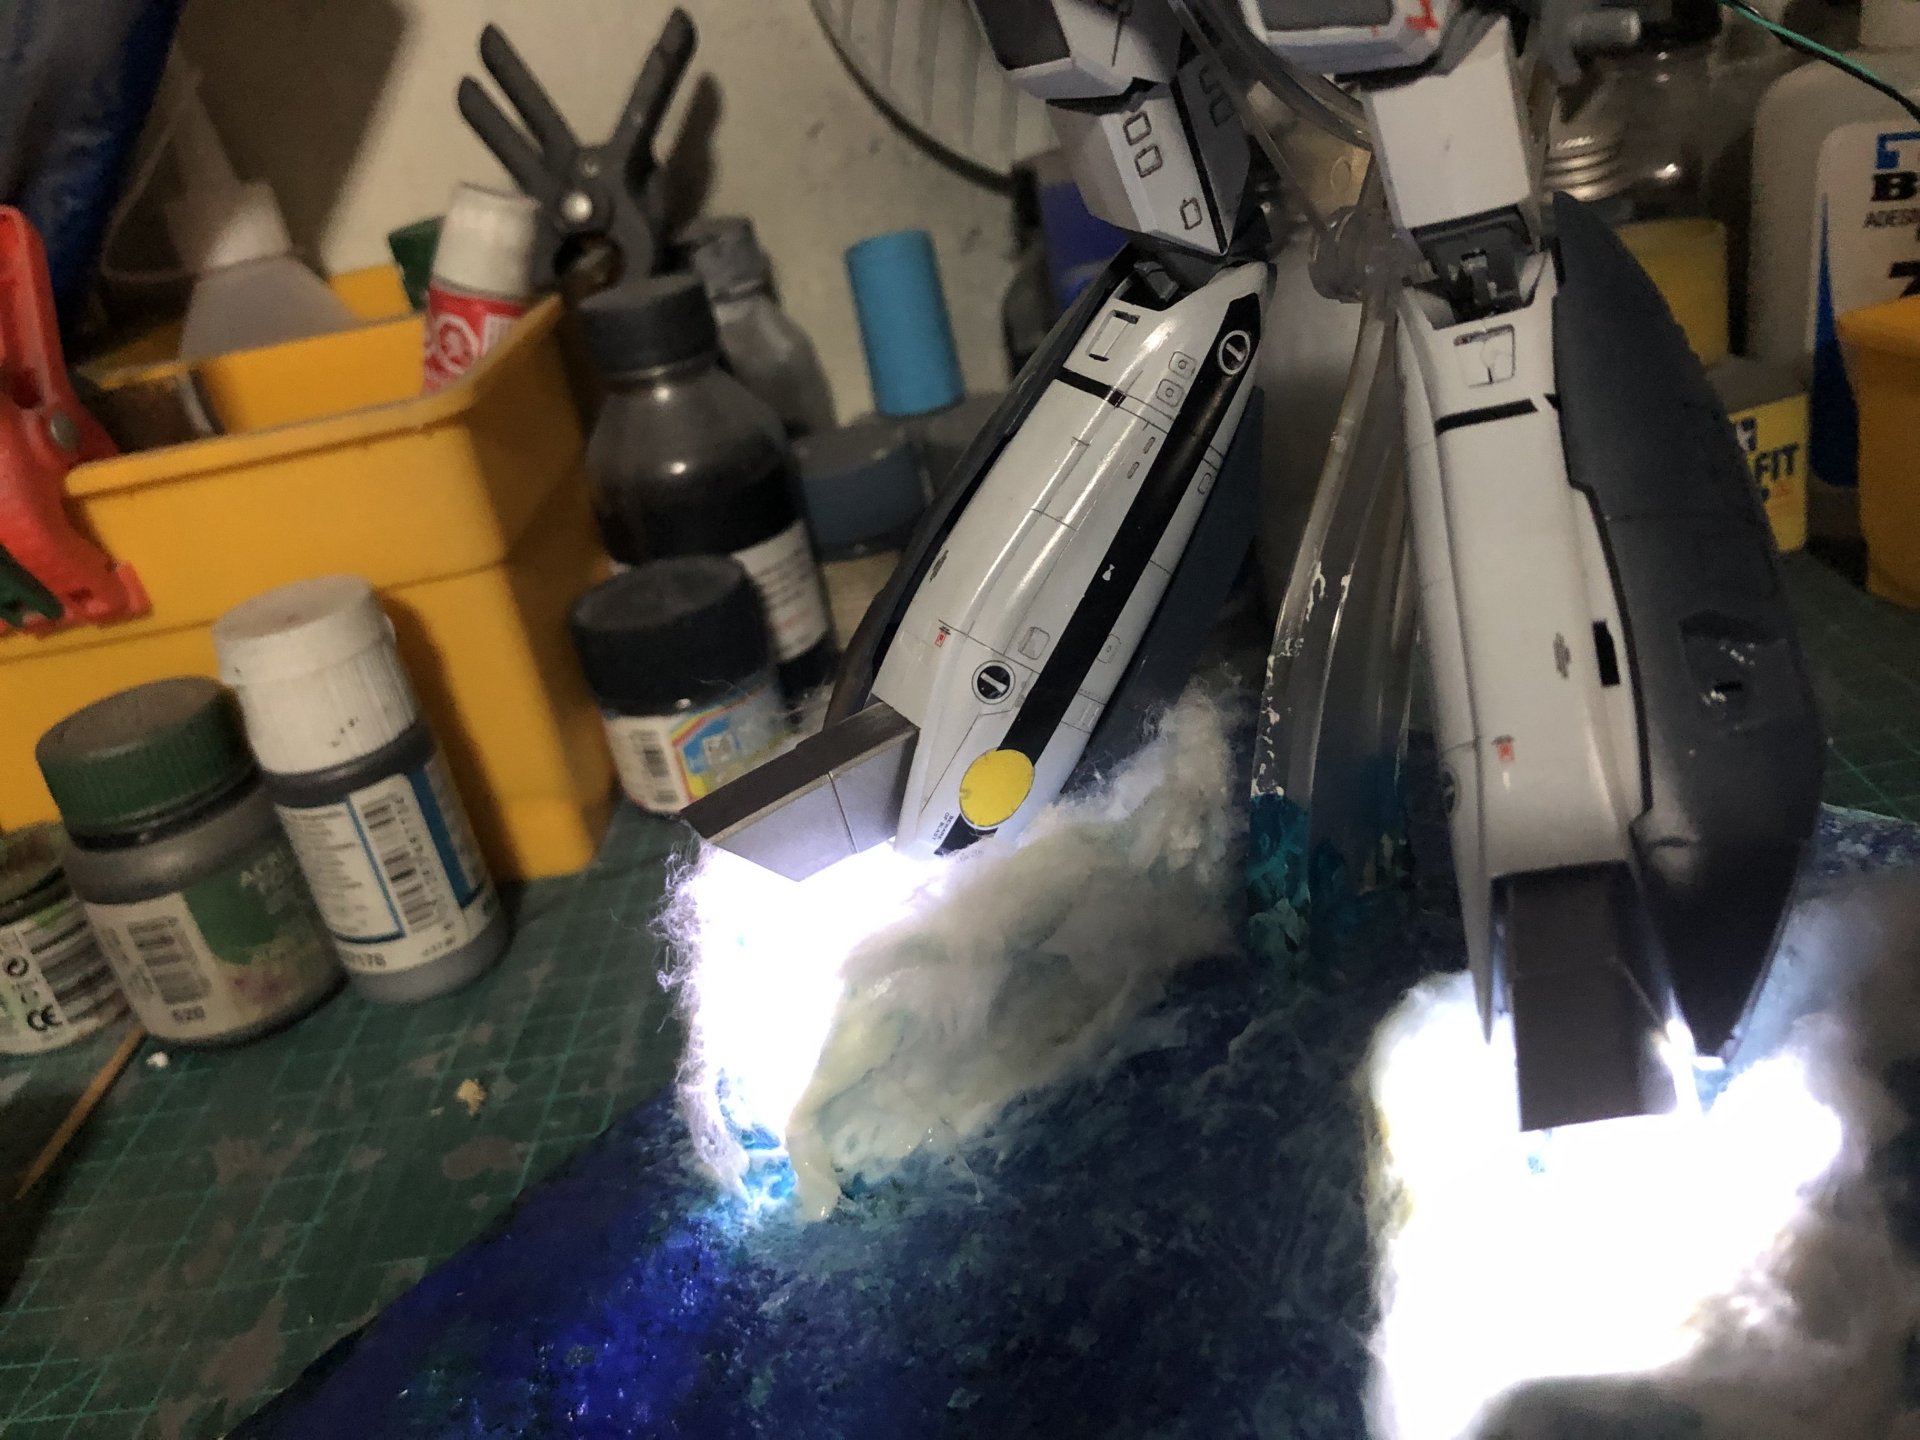
That is looking fantastic. Too often I see this type of dio and the lights at the feet aren't diffused enough nor... "voluminous", I guess... enough to look convincing. But this is both, and the result is, well, looking fantastic.
Thanks!! I used 3 micro smd leds on each foot with one resistor of 1.4 k. All connected to a 9v battery.
I still gonna add additional weapons, a missile firing and the super parts.
-
Now it’s getting into the last steps

-
7 hours ago, Gabe Q said:
Will this really happen? Don't tell me these things because I'm a hoarder by nature! It'll whip up an unstoppable buying frenzy. I already have hundreds of kits.
I only have few, not even 50 kkkkkk
-
5 hours ago, Mazinger said:
So is anyone planning a part for March 14, 2021 yet?
Too soon to tell, but model sets will probably be out of production. So buy while you can.
-
3 hours ago, Bolt said:
Very nice!
So you’re going to create a water diorama?

Wow
")
Thanks!! Yes with missile been fired and a near miss on the water
-
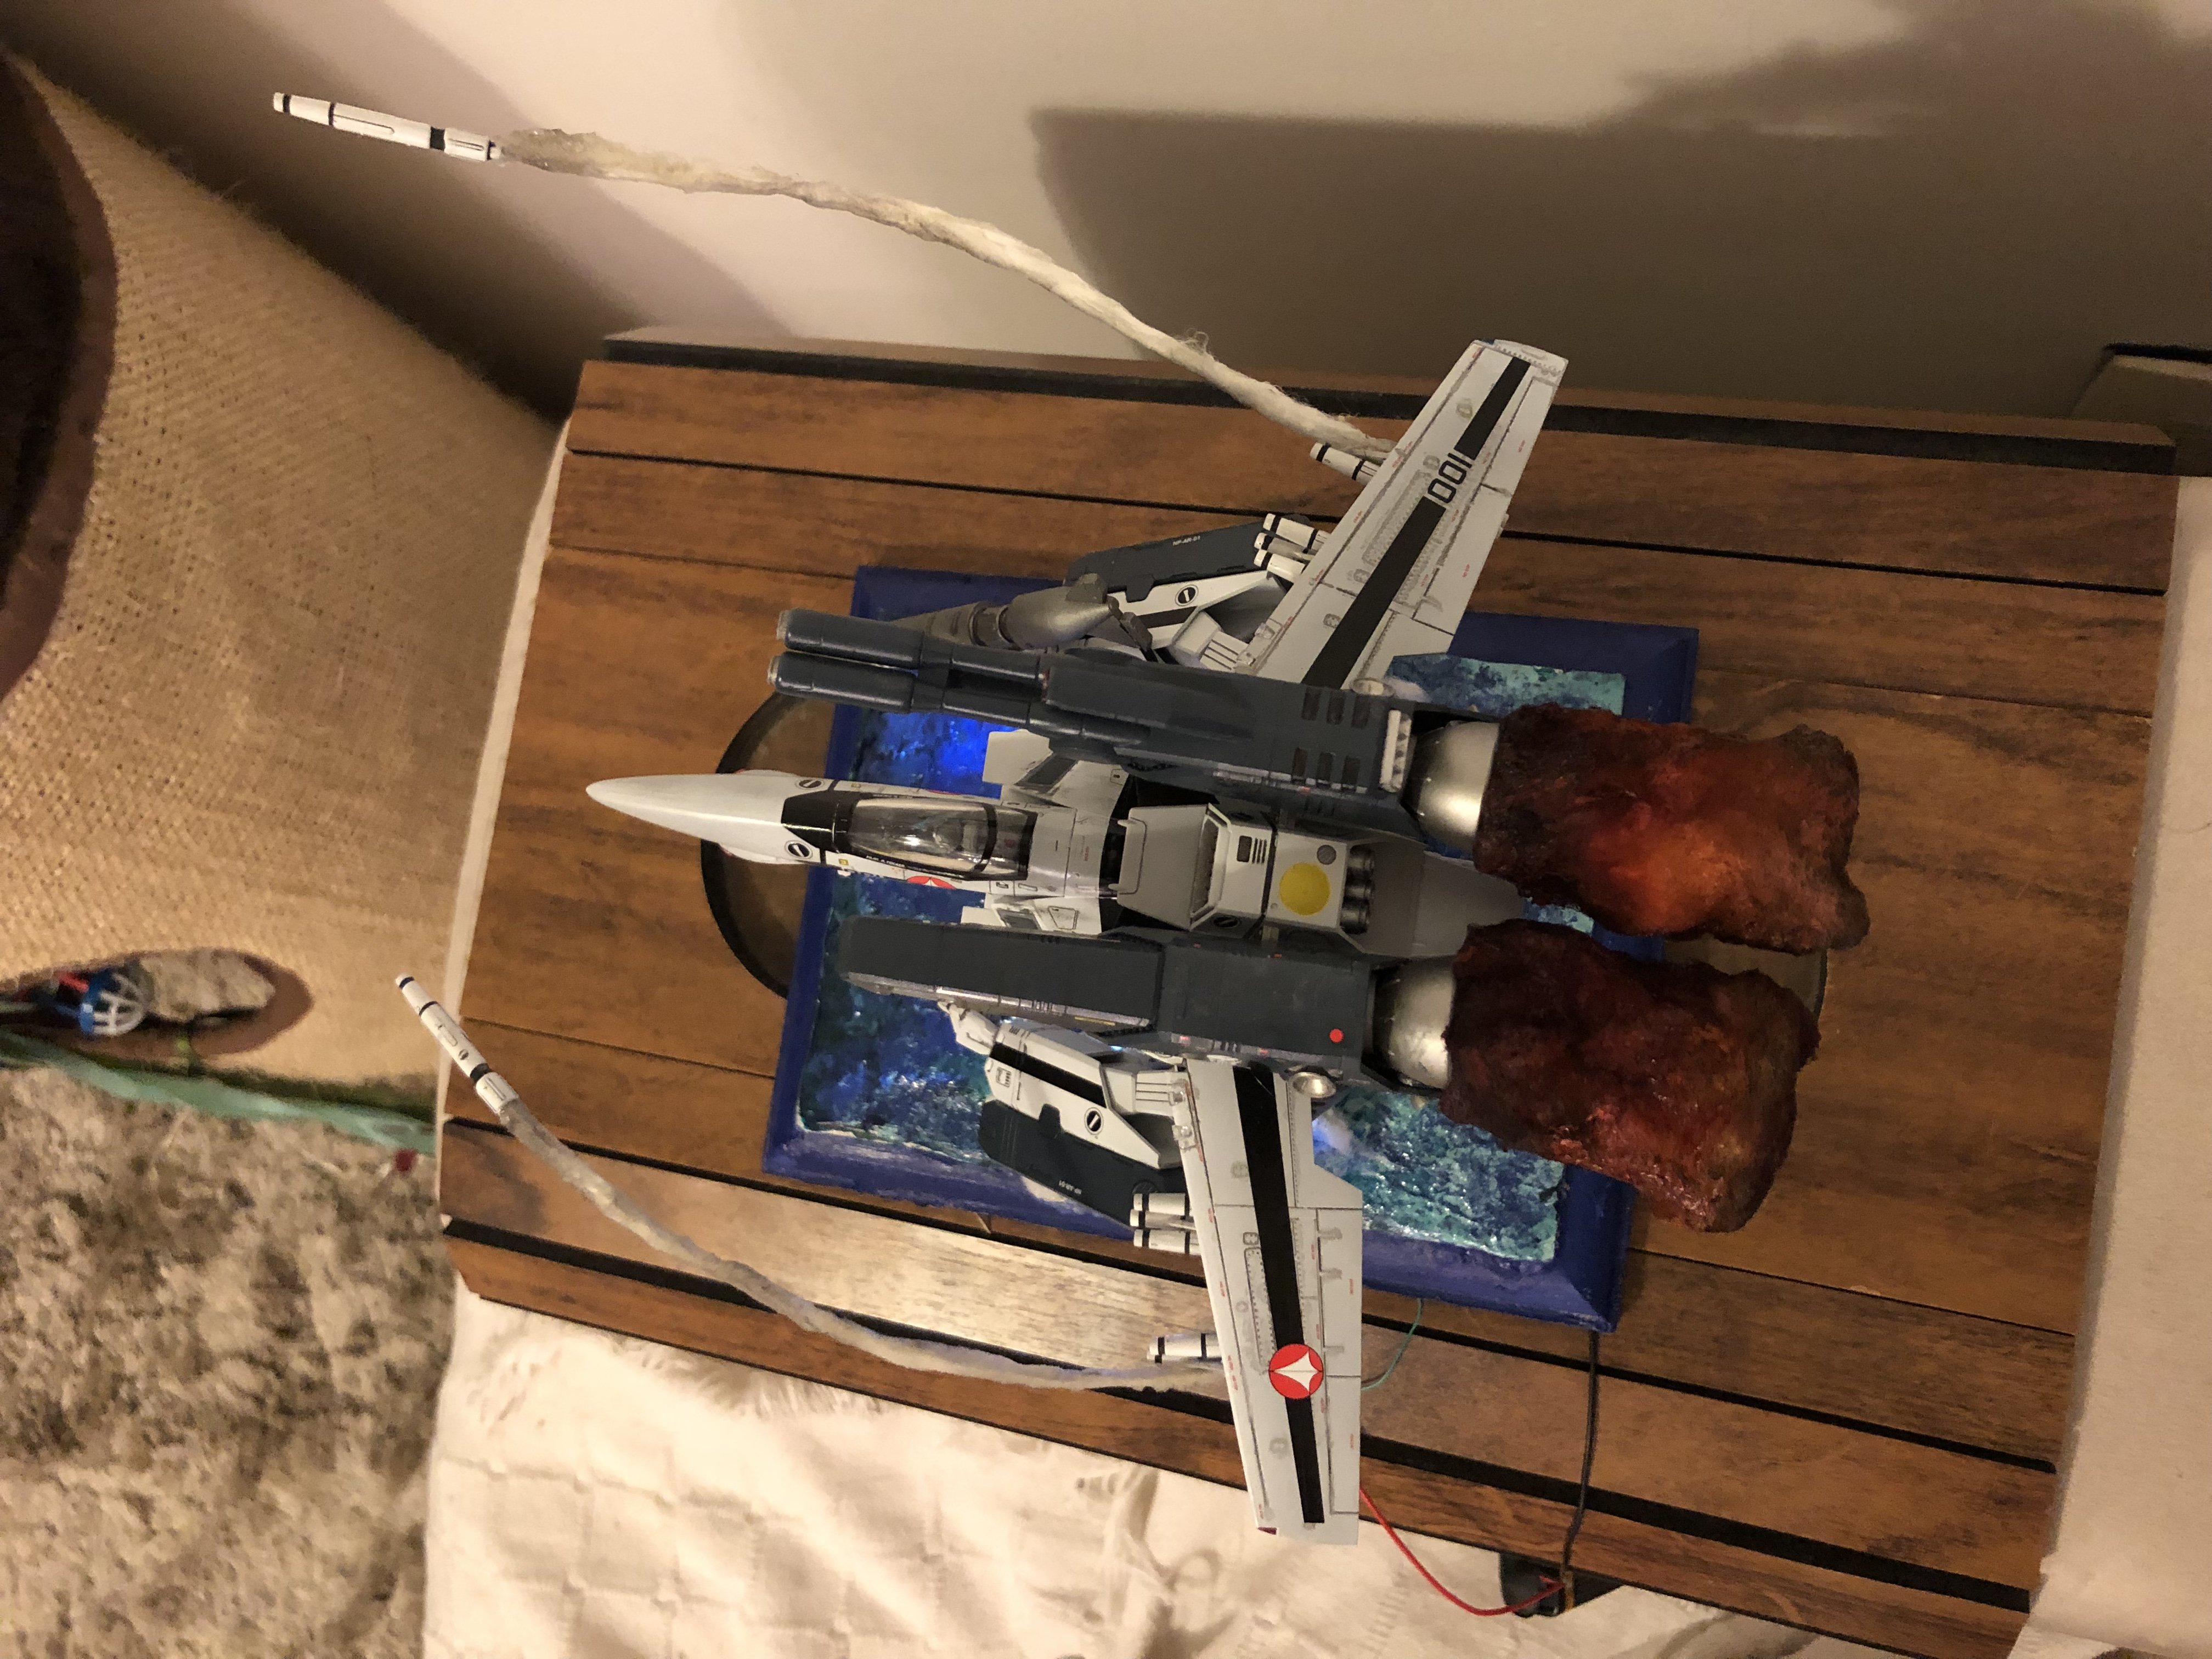
Latest evolution

-
8 hours ago, Bolt said:
Looks awesome.
Are you gonna use an Arduino rig to drive it ?
Arduino is one thing that I still need to learn how to use it.
I plan to make something like this

-
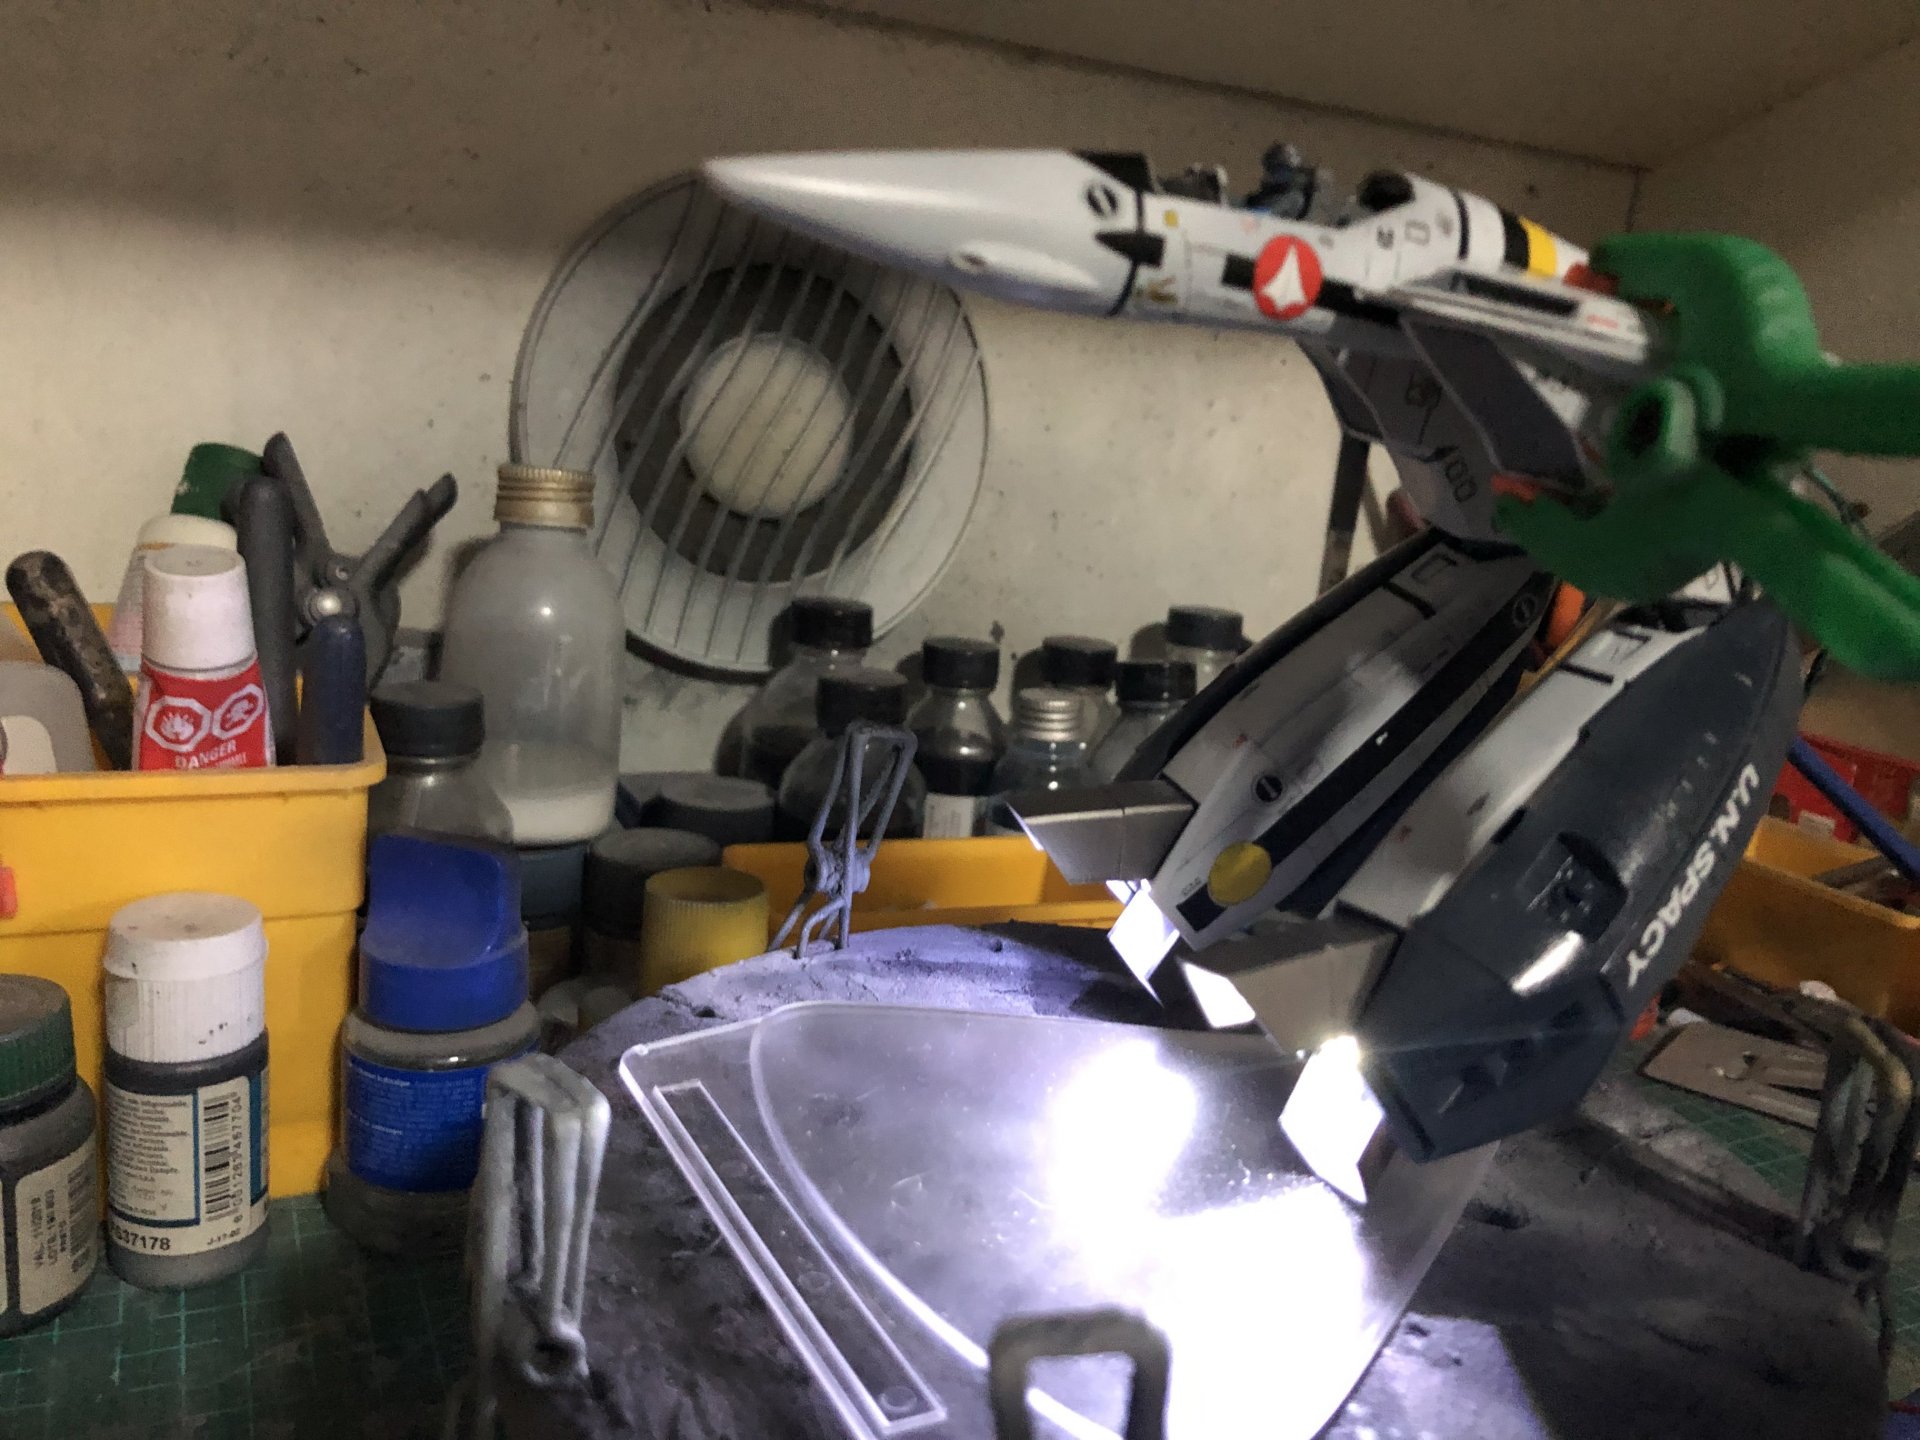
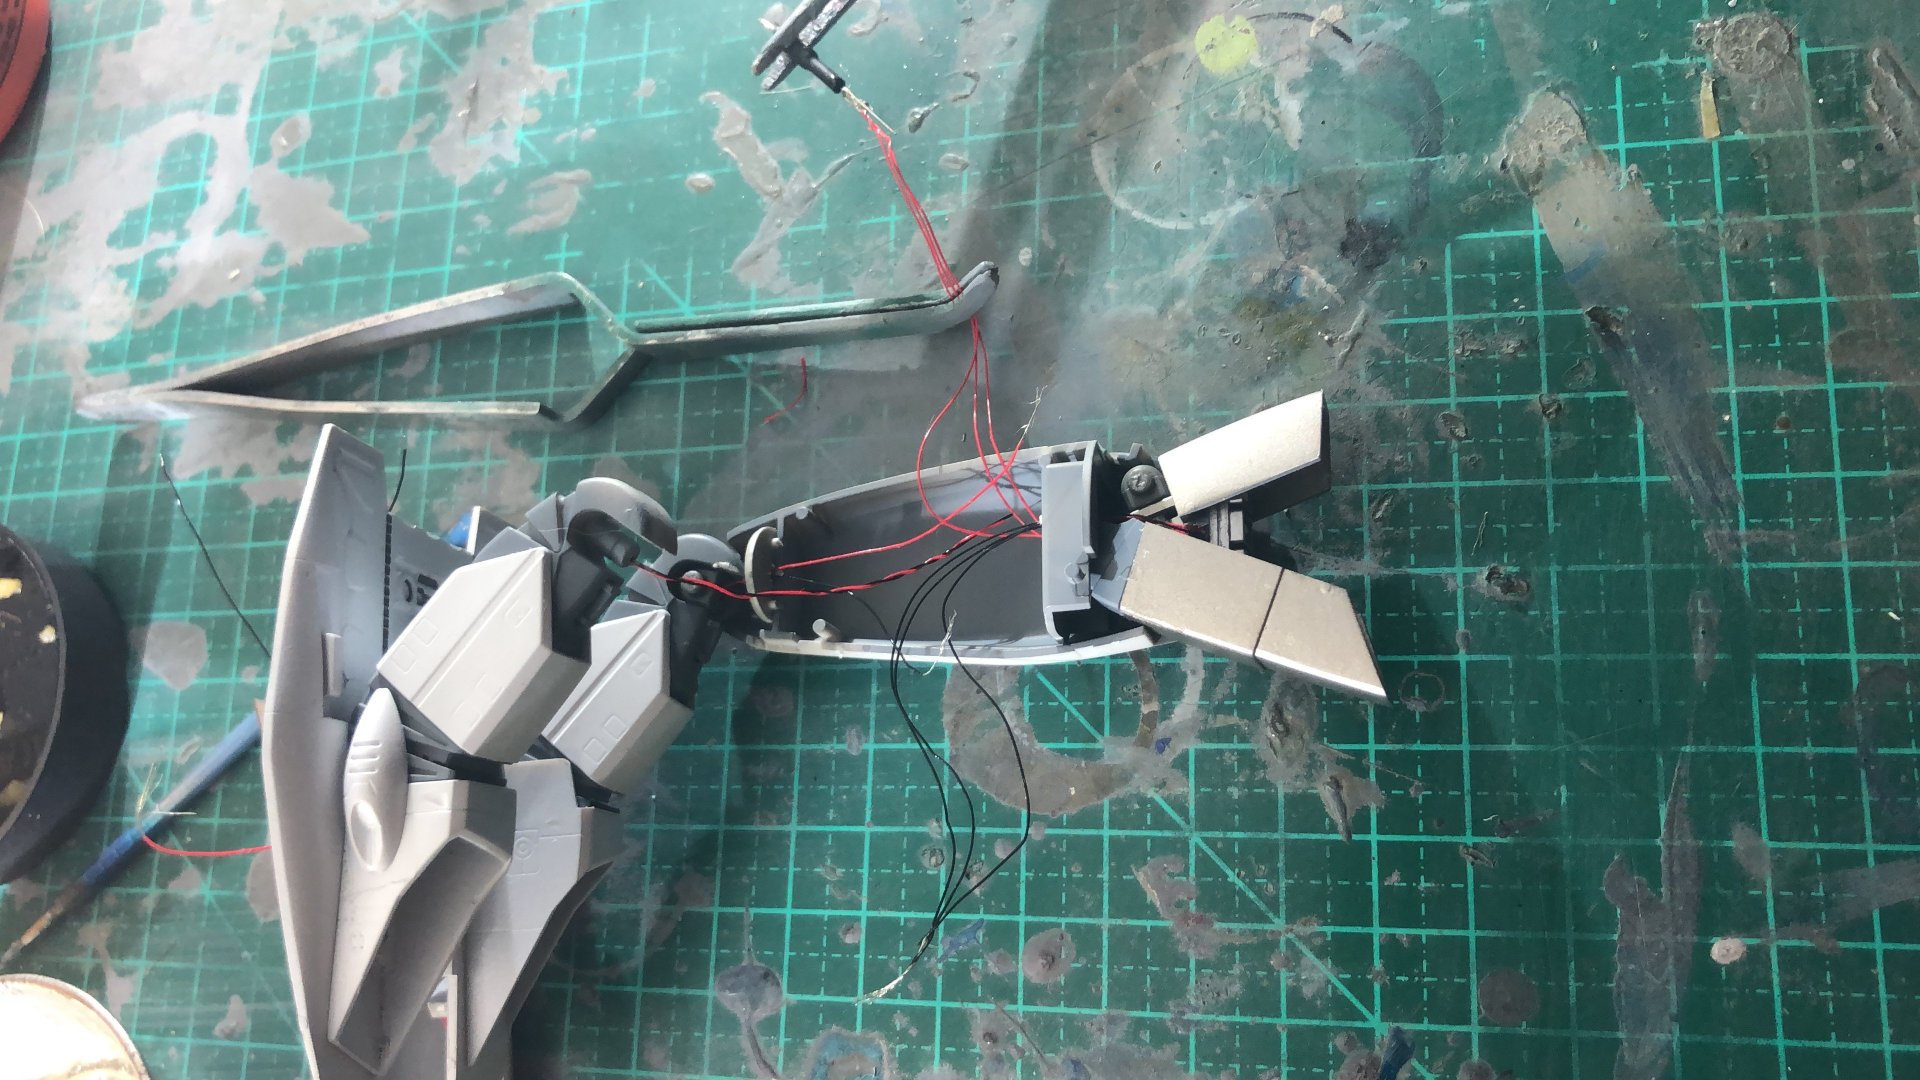
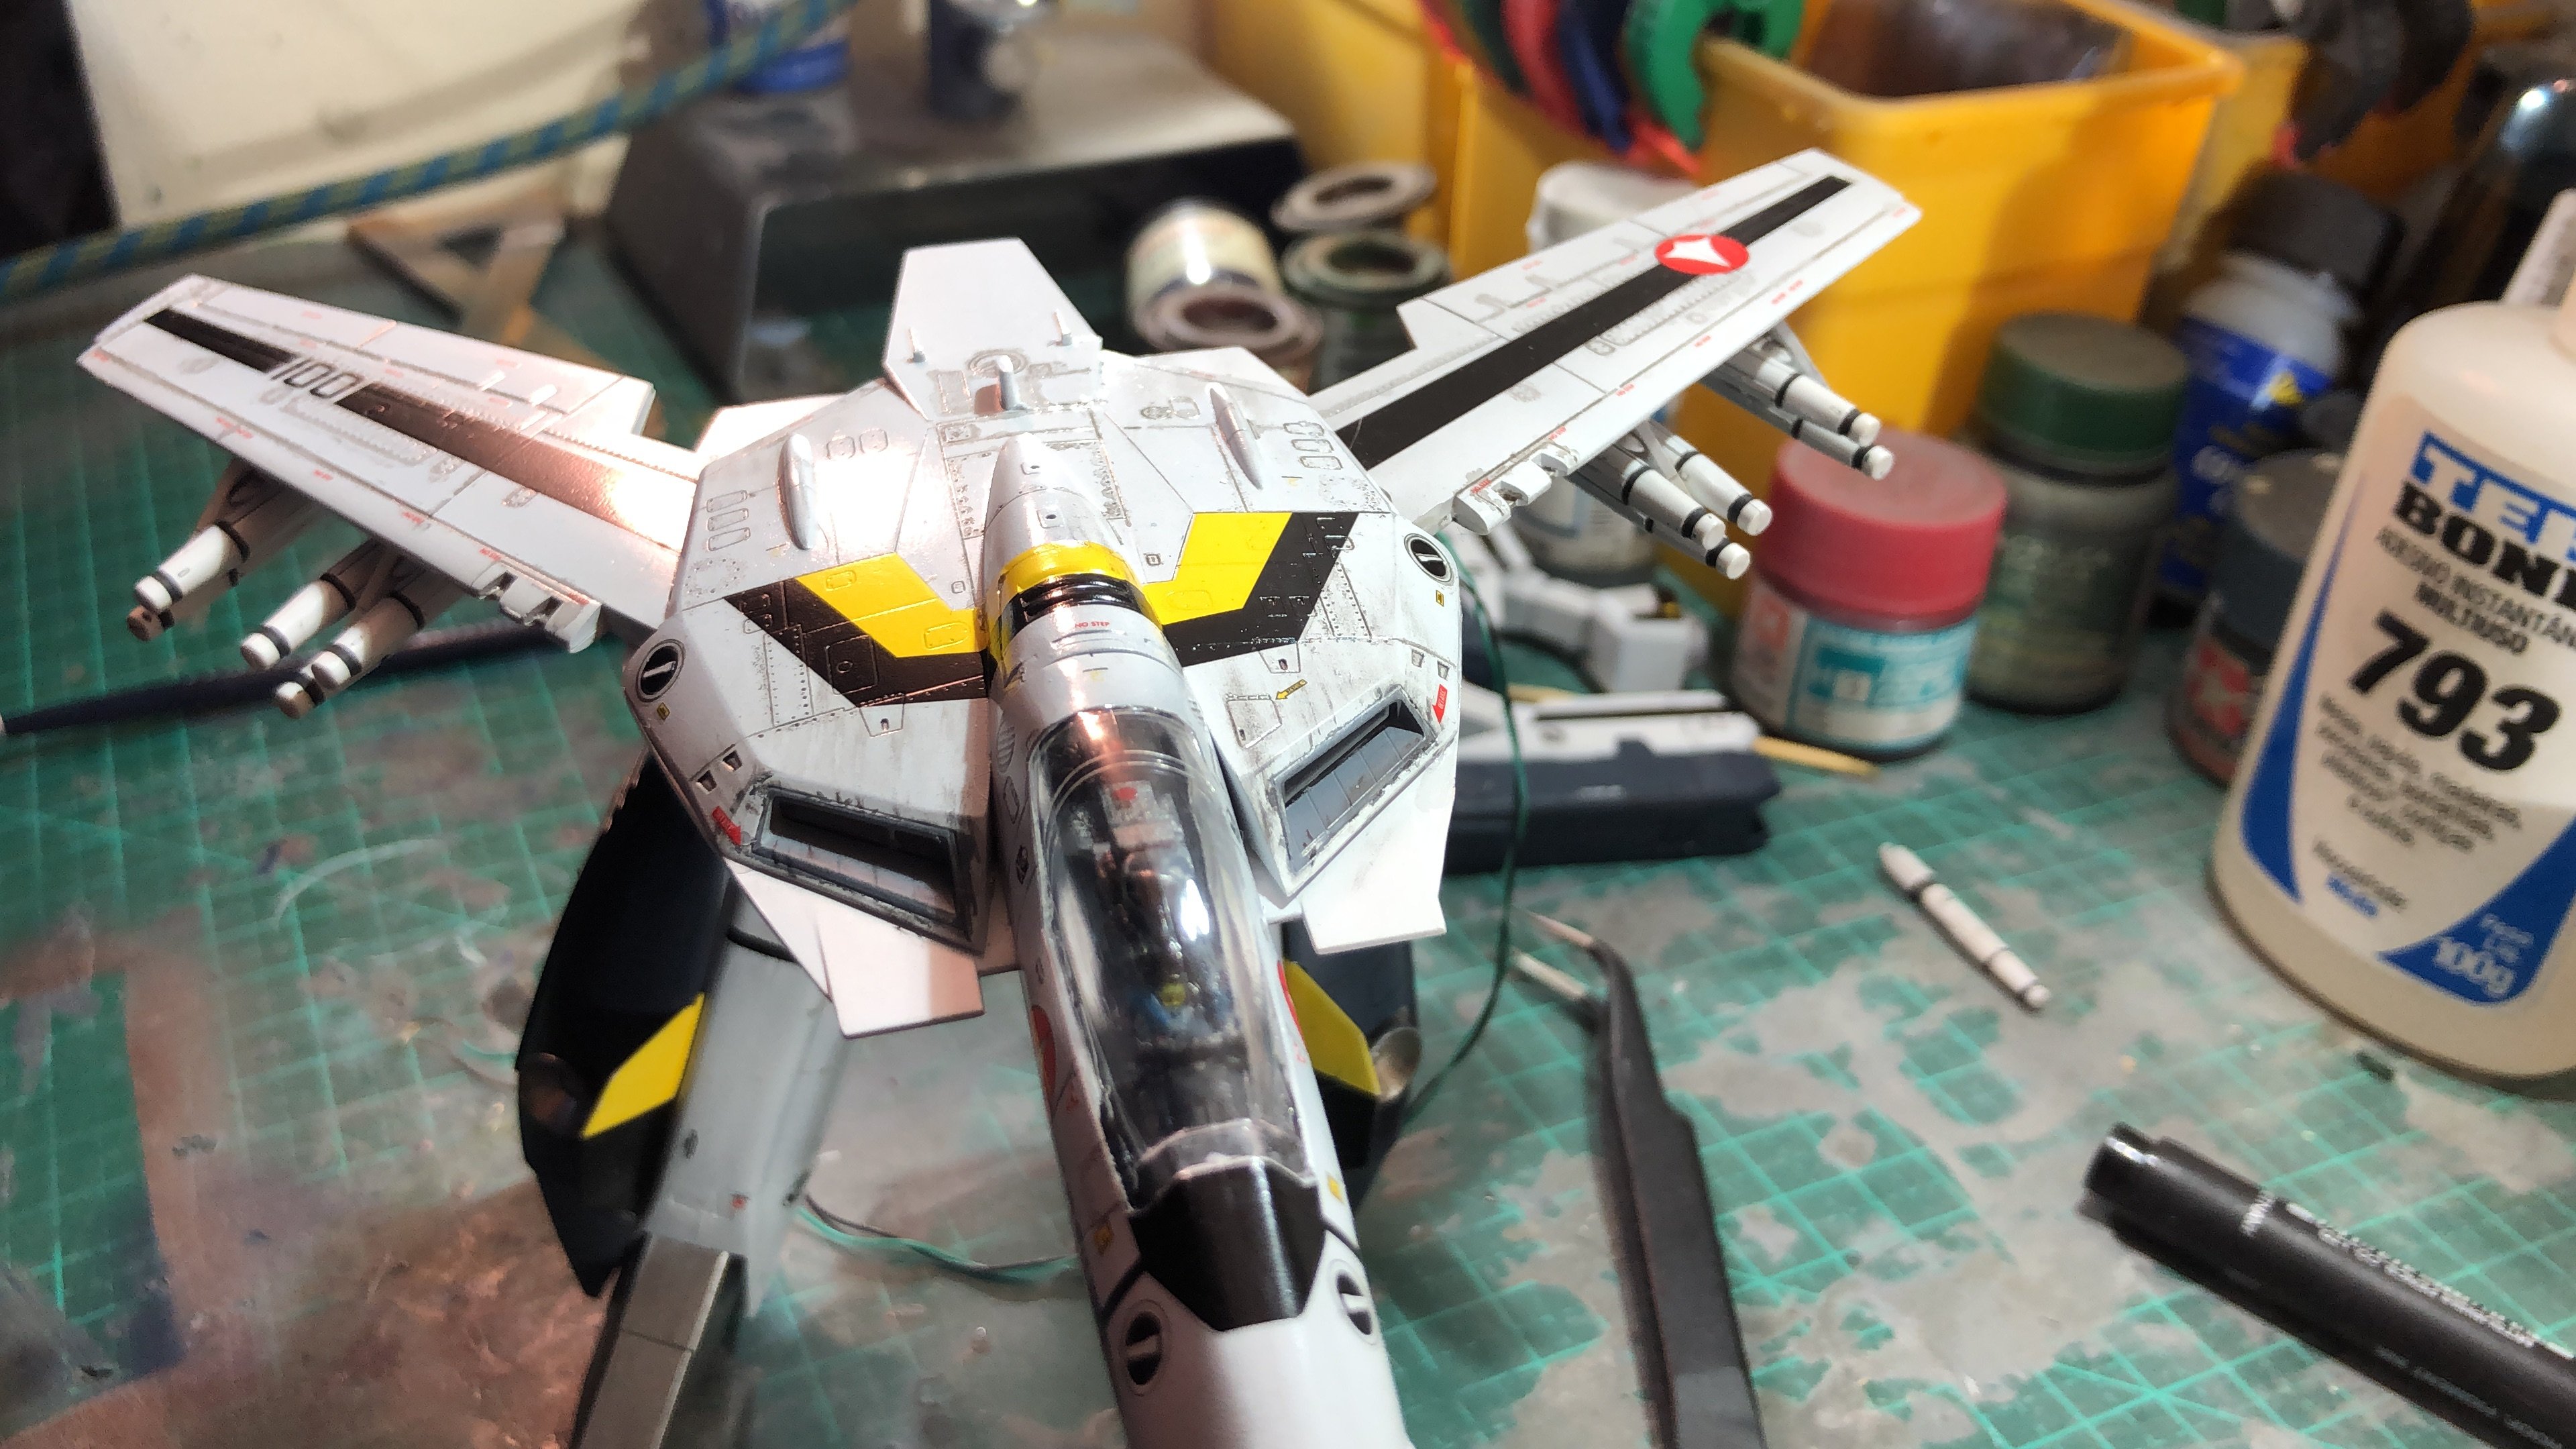
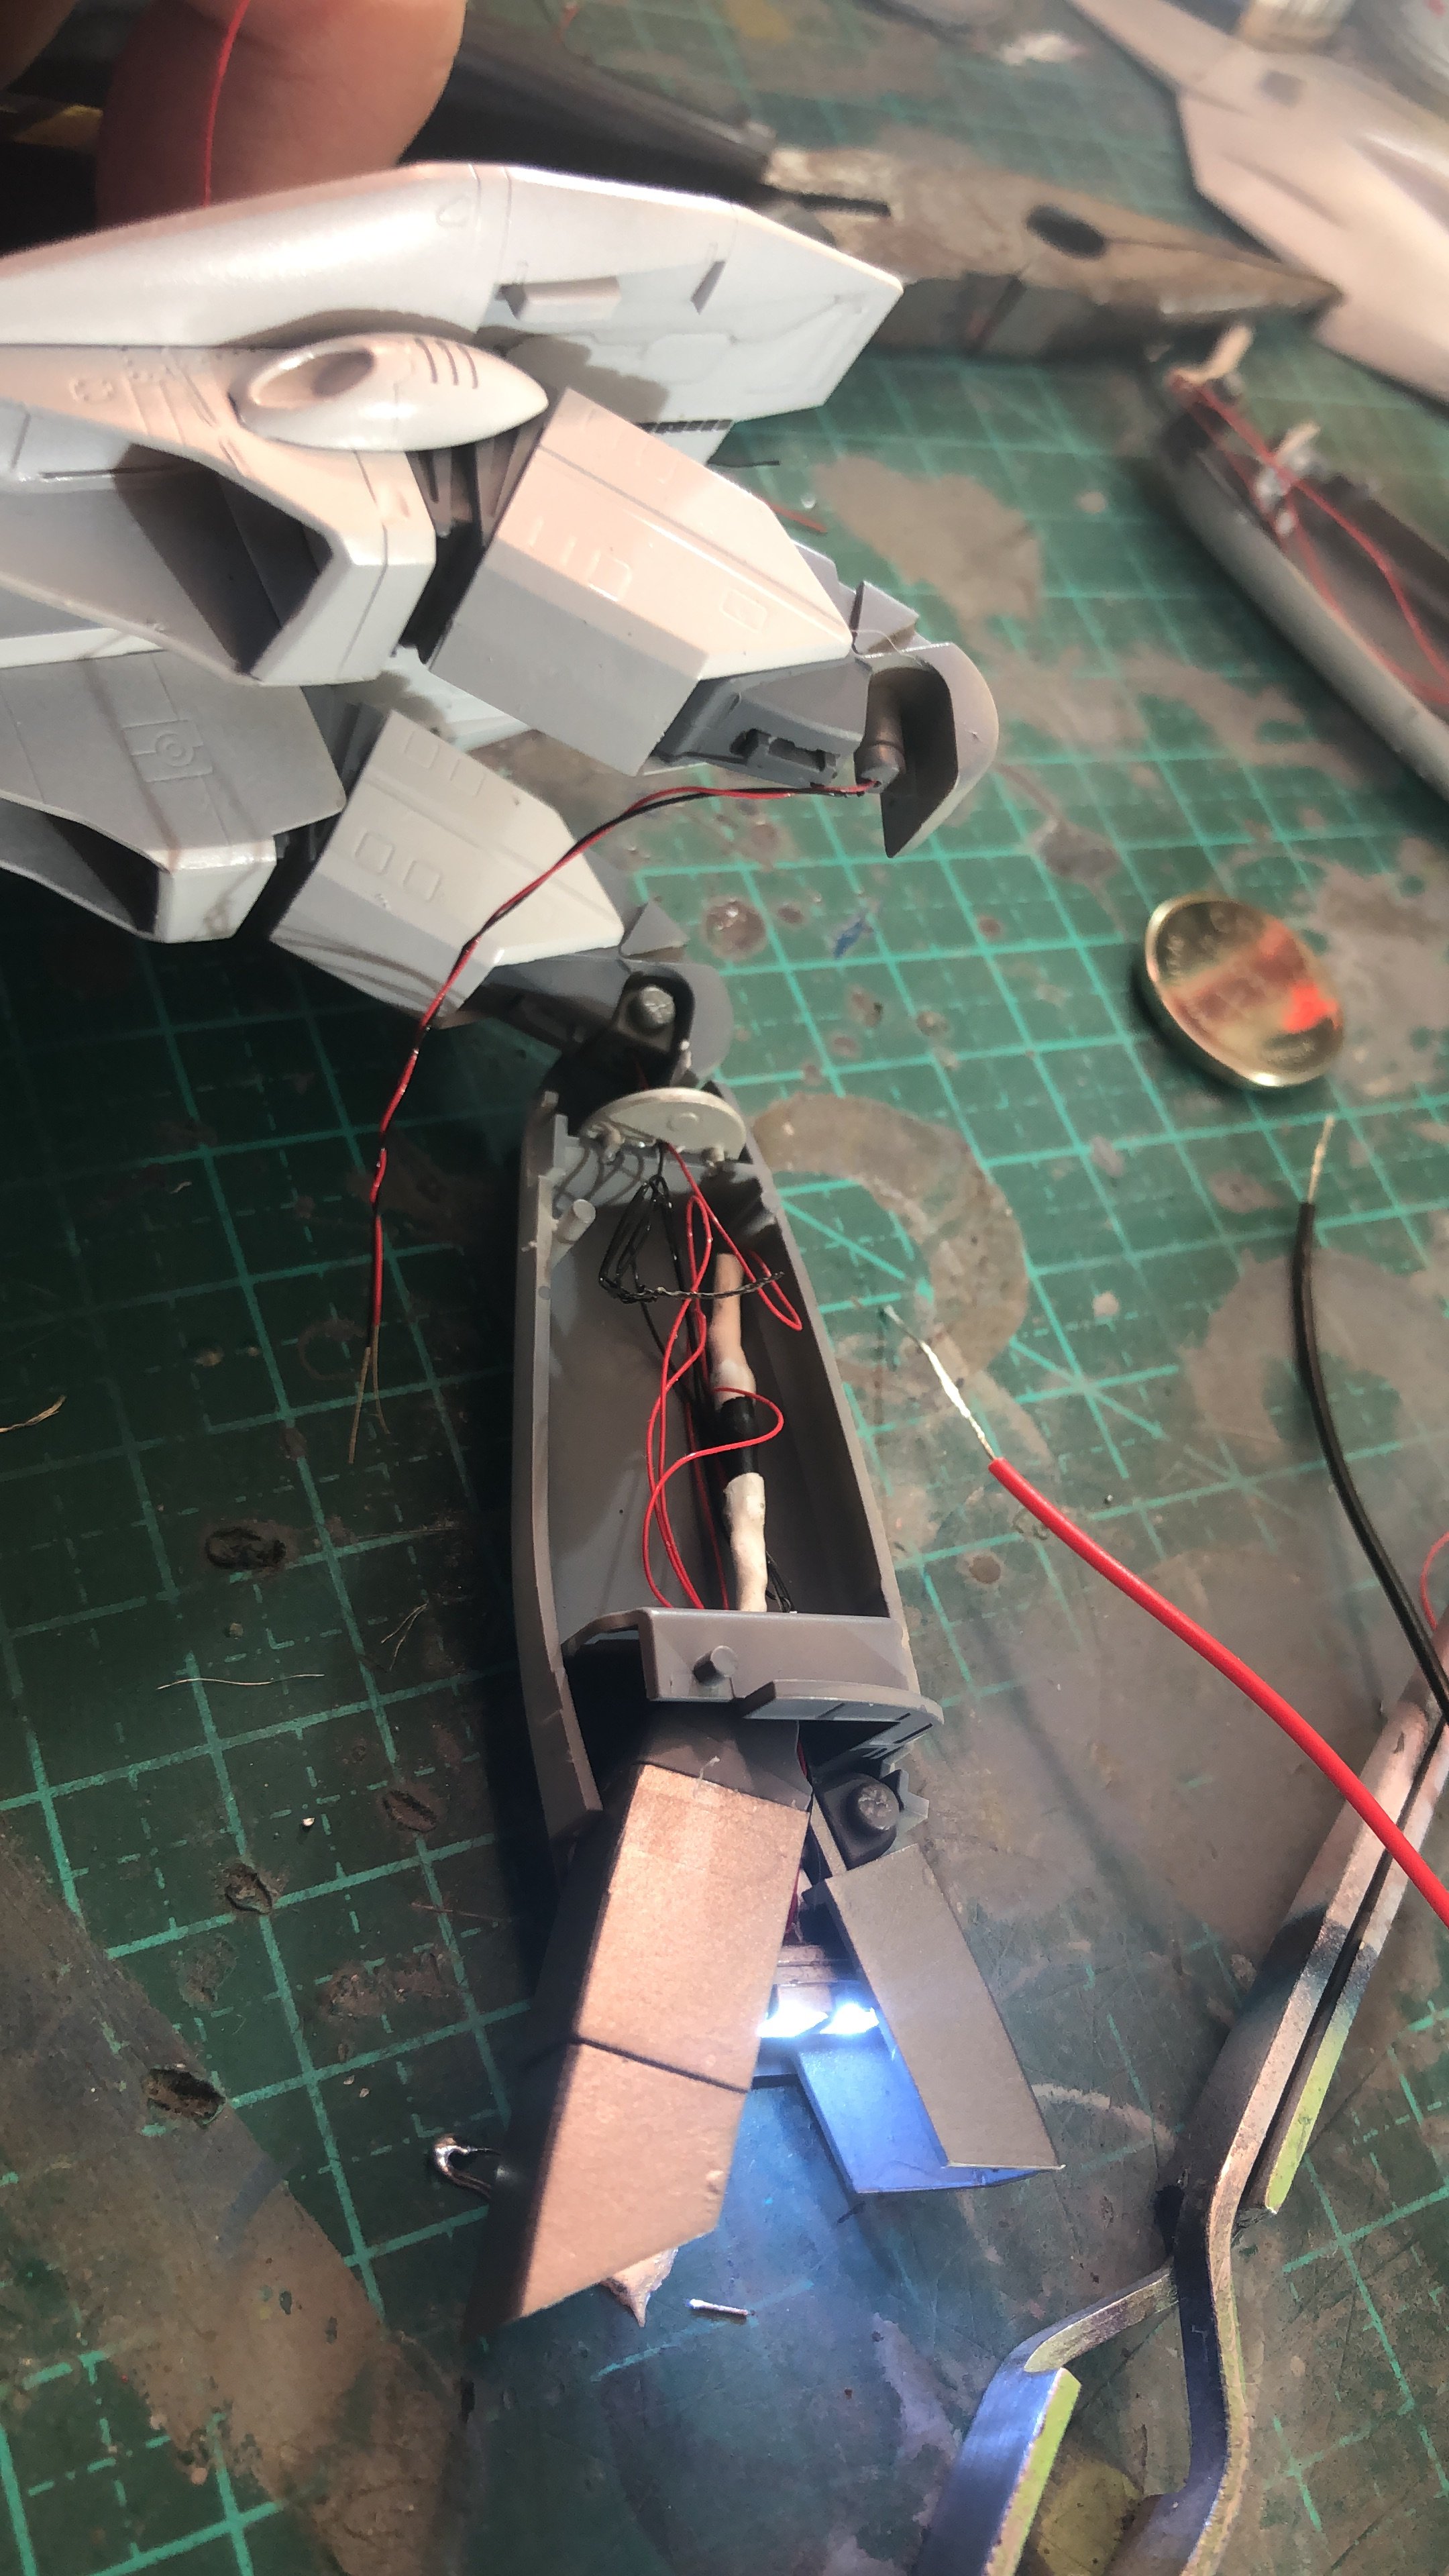
Now that I’ve finished the Yamato and a friend shipped to me extra leds, macross is back to the workbench.
LEDs to the legs installed.


-
Here it is -
On 4/30/2019 at 6:33 AM, Return To Kit Form said:
Check out Mig Jiminez's The Weathering Magazine on Pocketmags. They have an issue dedicated to all sorts of water effects including what you are looking for here.
- Brett
Thanks Brett. At this time I didn’t feel confident to execute the waterfall, so I finished the set without the waterfall.
-
3 hours ago, no3Ljm said:
Man, this looks awesome!

Thanks
-
This is the old model and I managed to add lights to it.
-
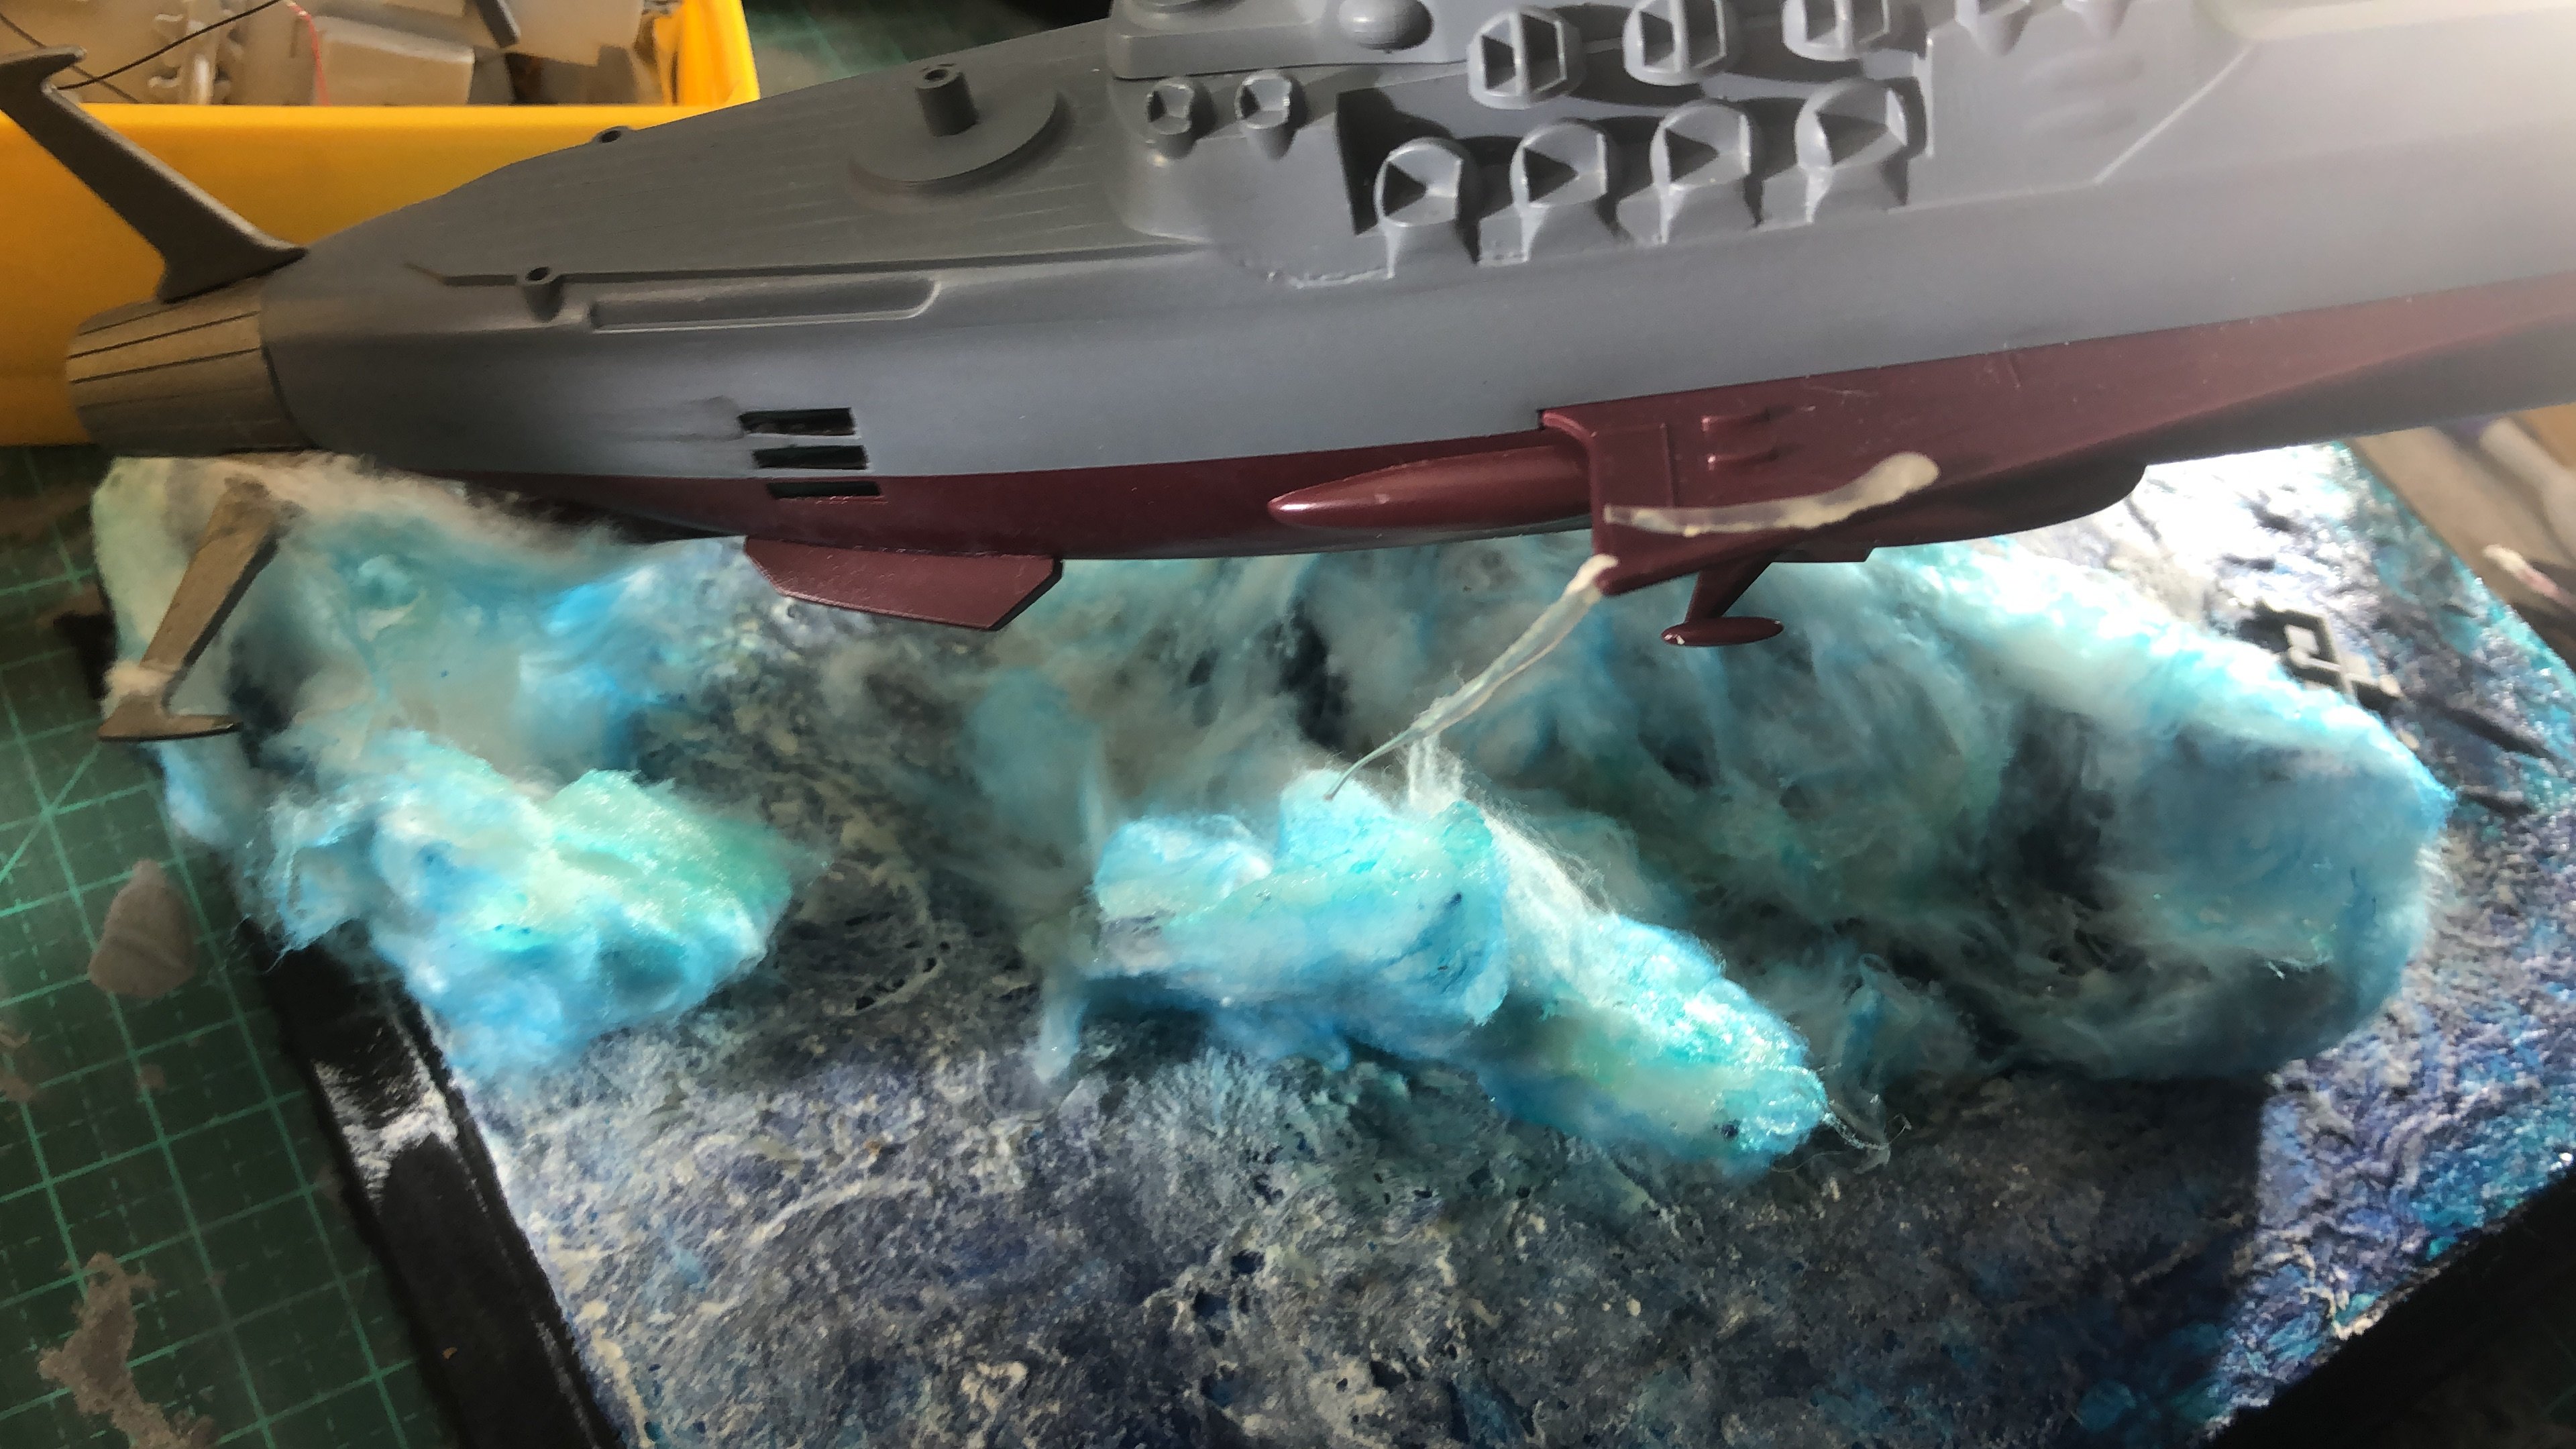
Hi,
I’m building a Yamato @ 1:700 from Bandai in a Diorama like when it fires the wave cannon while leaving earth.
Now I’m looking forward into creating water effects falling from the Yamato.
Anyone have done it or can exchange some info? Thanks!! :)

-
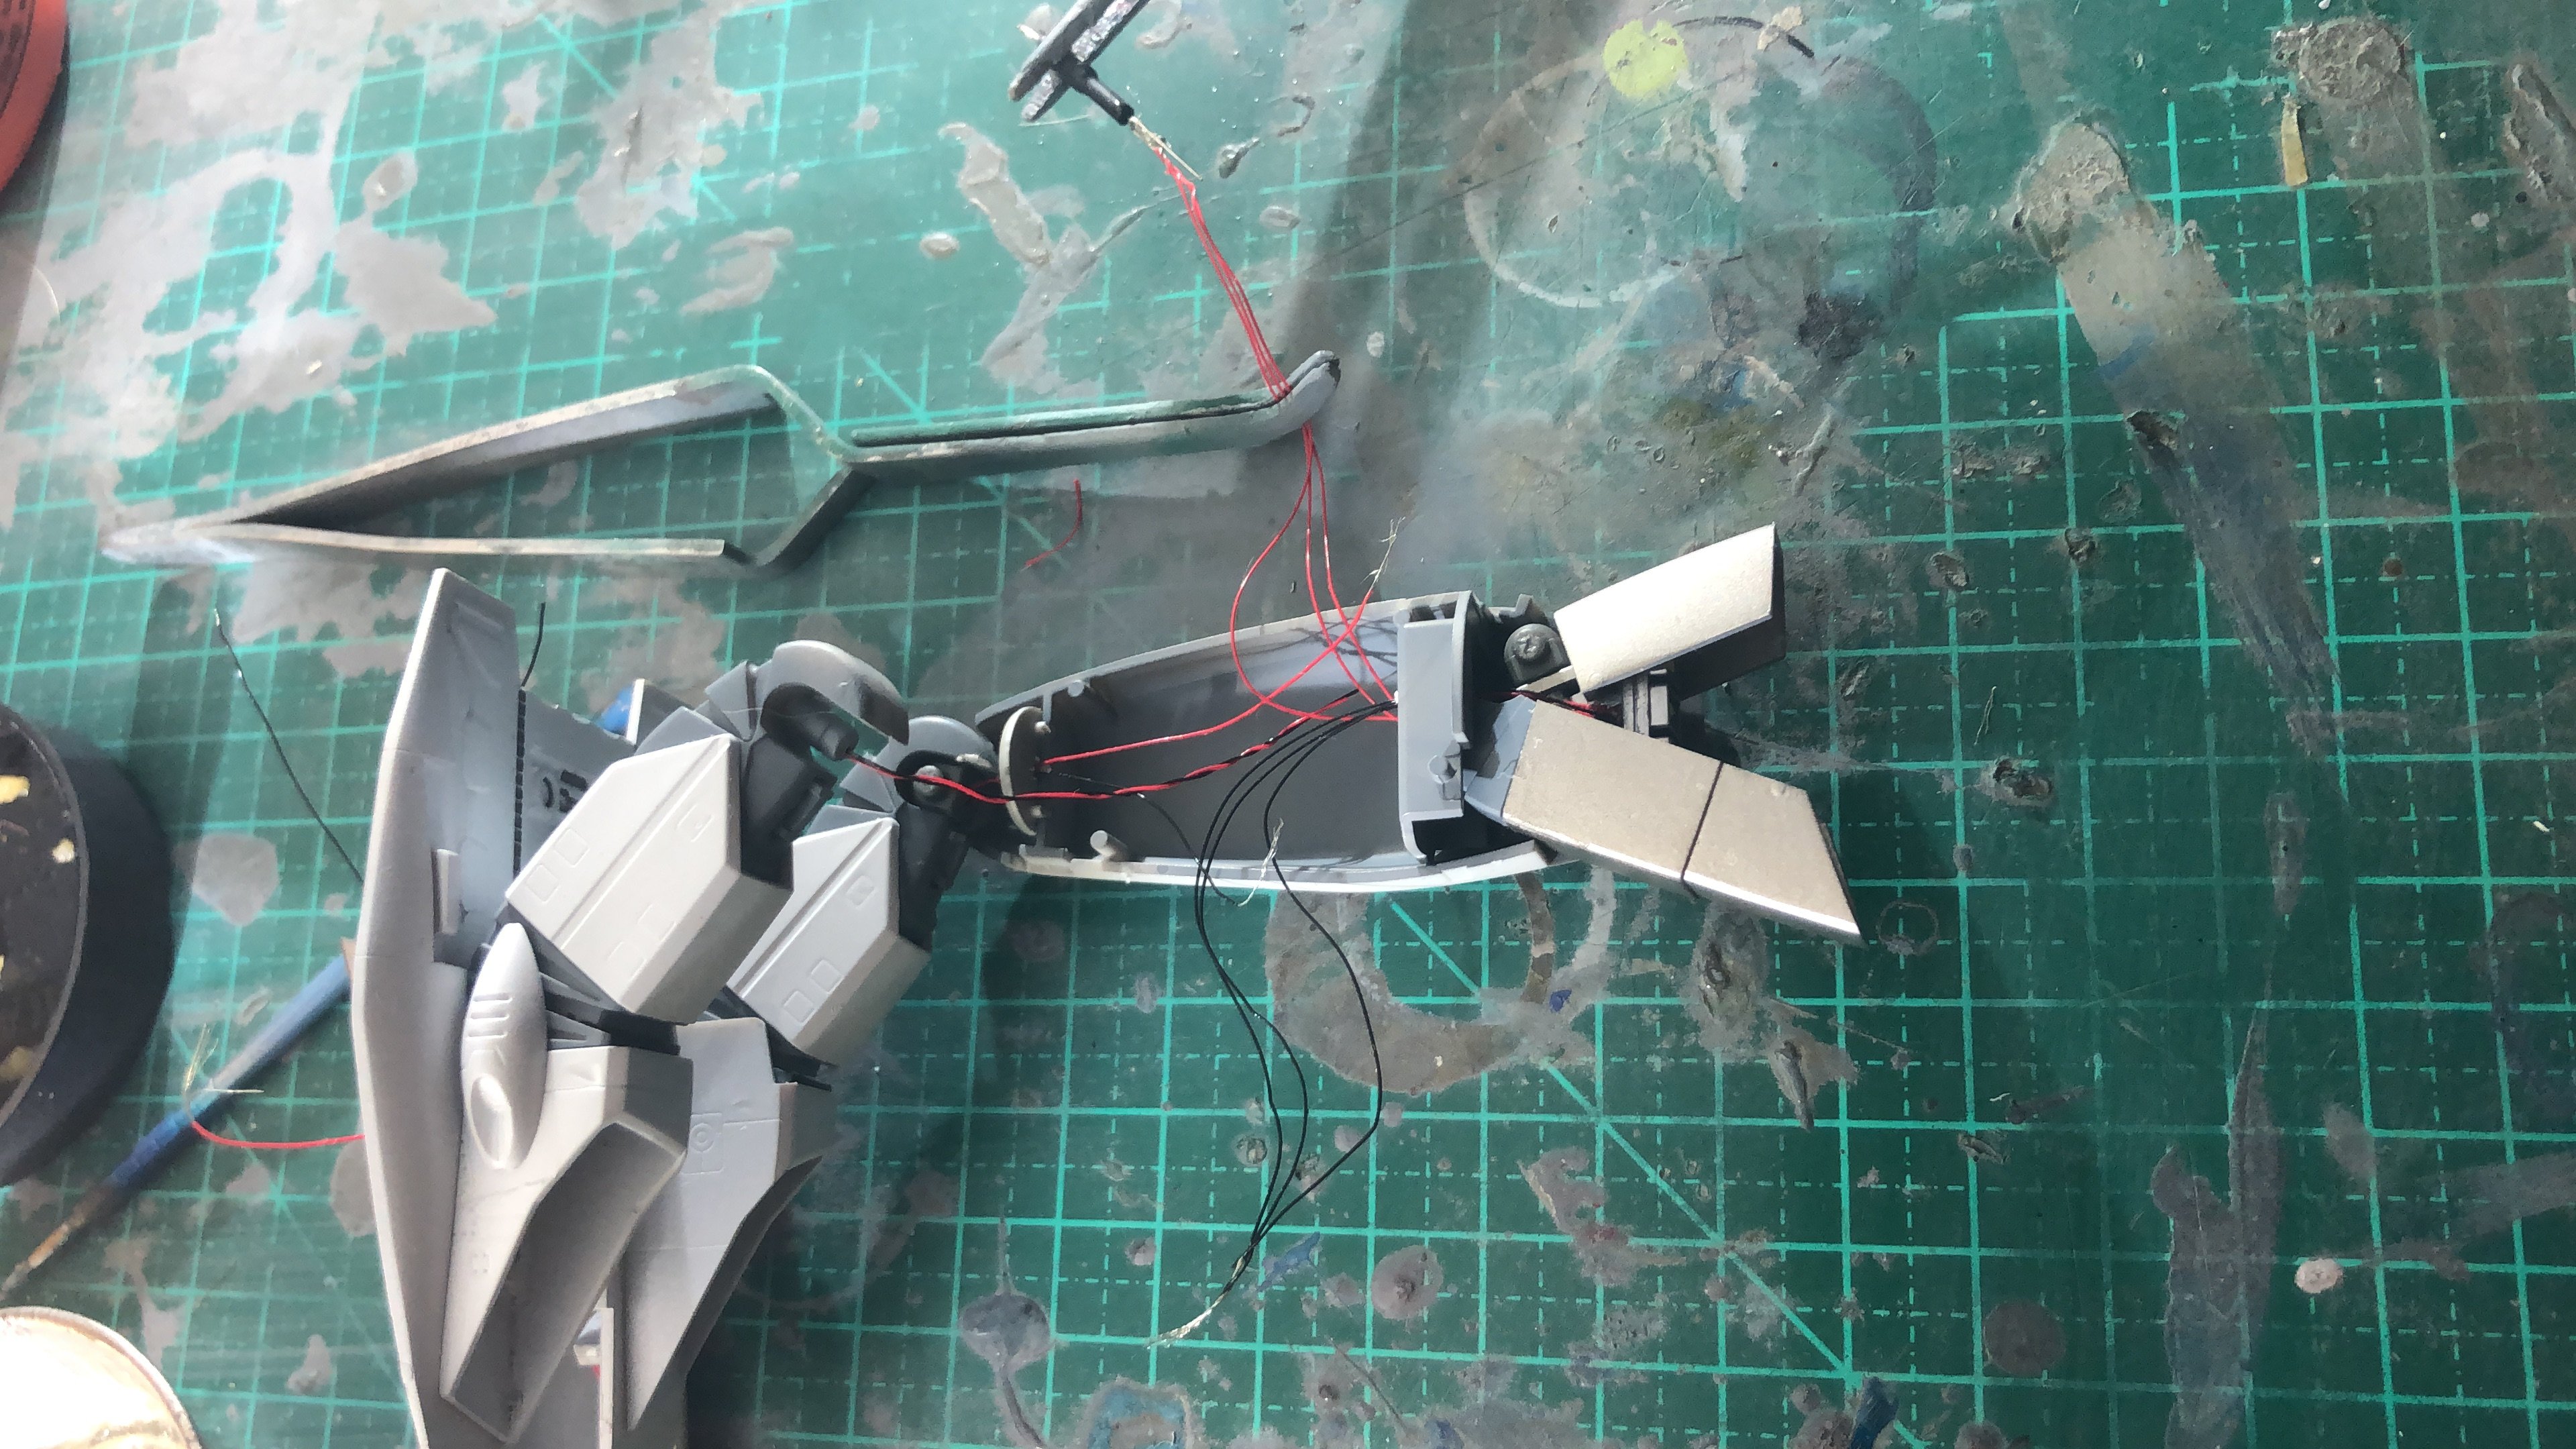
6 hours ago, slide said:
looking promising so far.
Goodluck with the build!
Thanks!! I damaged 3 leds for a the other leg and depleted my supply of white smd led. Next I believe I’ll receive more.


New Moscato Macloss Model Project!!!
in Model kits
Posted
This is simply amazing !!!! I love it!!! You is an artist!!! I don’t know even how to start something similar!!!