johnybgood18
-
Posts
90 -
Joined
-
Last visited
Content Type
Profiles
Forums
Events
Gallery
Everything posted by johnybgood18
-
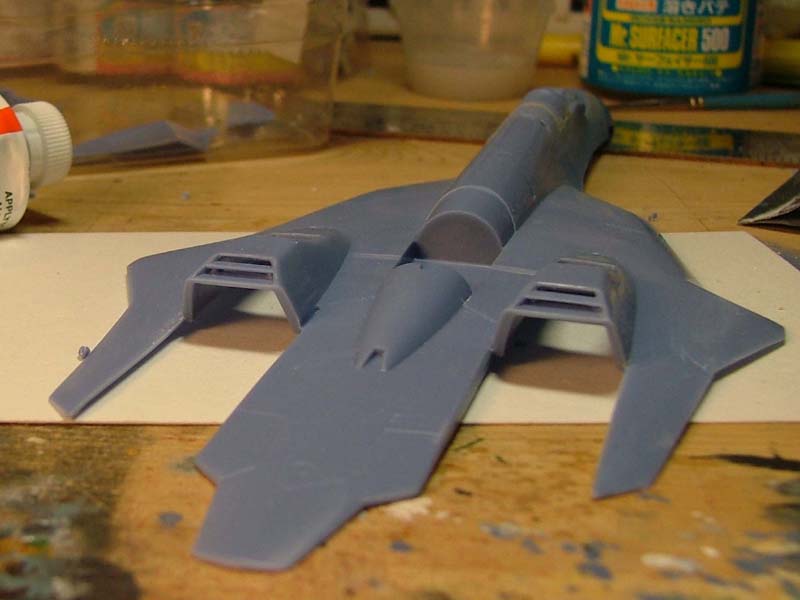
Ok, back of the engine nacelles... On this one, the interior of the nacelle on both sides were full of ejector pin marks. I had to sand these down. They were very light so it was quite easy. The heavier ones received a bit of Mr. Surfacer 500.
-
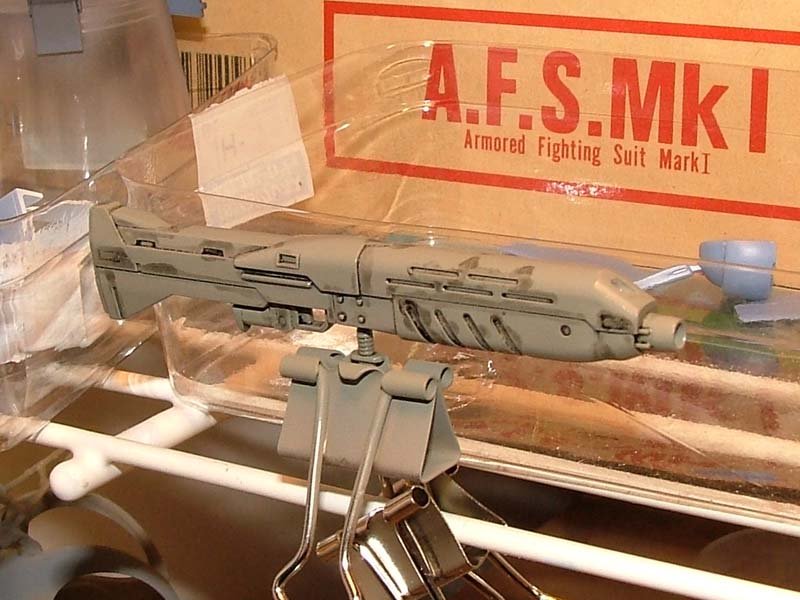
Ok, how about a pic of the gun with the wash on it? The wash is artist oil paint that comes in tube diluted with odorless thinner found in an artist supply store.
-
More to come later on today... need to resize my pics but I need to attend some RL stuff! :-( Tchau tchau :-)
-
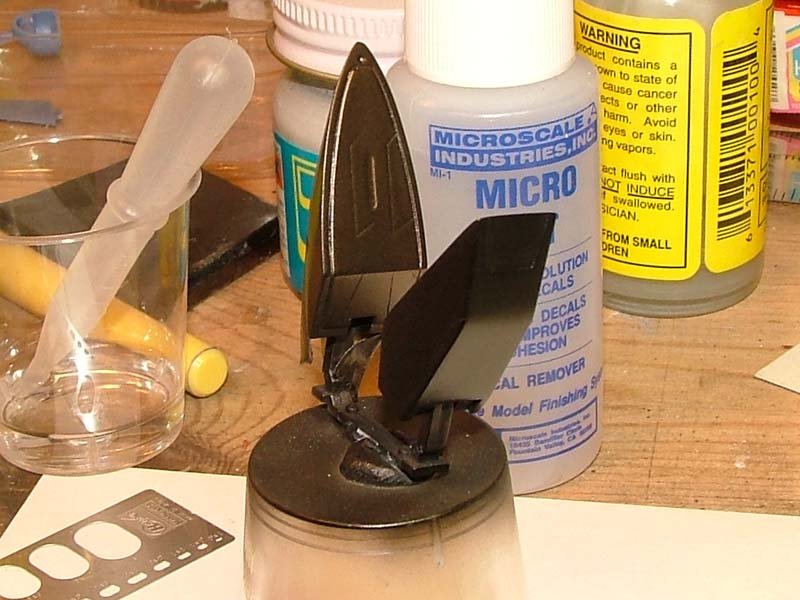
and after assembly! I cut the little assembly tab on the top front part so I could paint them separately. I think it's better this way as you can get the paint everywhere and not miss a single spot.

-
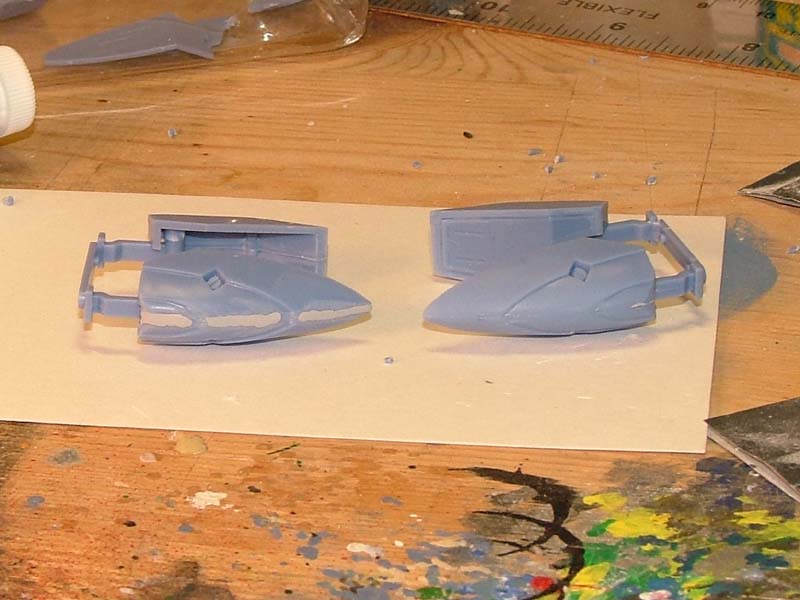
On to the engine nacelles... The front one after painting...
-
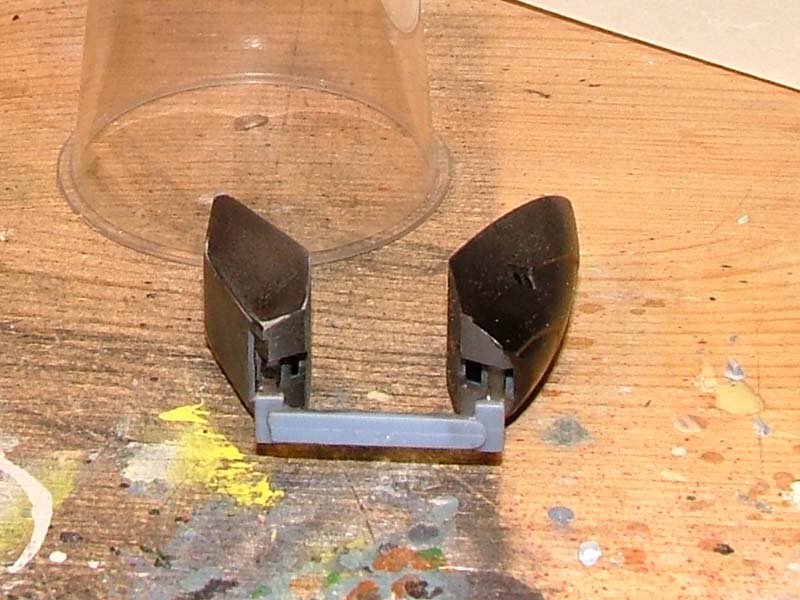
The completed egine exhaust, ready to be inserted in the nacelles. There are 2 little spot I didn't bother to touch up because once they are inside the nacelles, you can't see them... good enough for me! And besides... I'm the only one to know that, right? ;-)
-
Her, you have the painted engine exhaust. You can't really see the difference in the finish here... and in real life too! :-/ I'll have to experiment some more... maybe redo the base coat for the other color... but that is for another model! I would like to thank MW Cheng for all the nice tricks I learned here! You created another monster... shame on you! ;-)
-
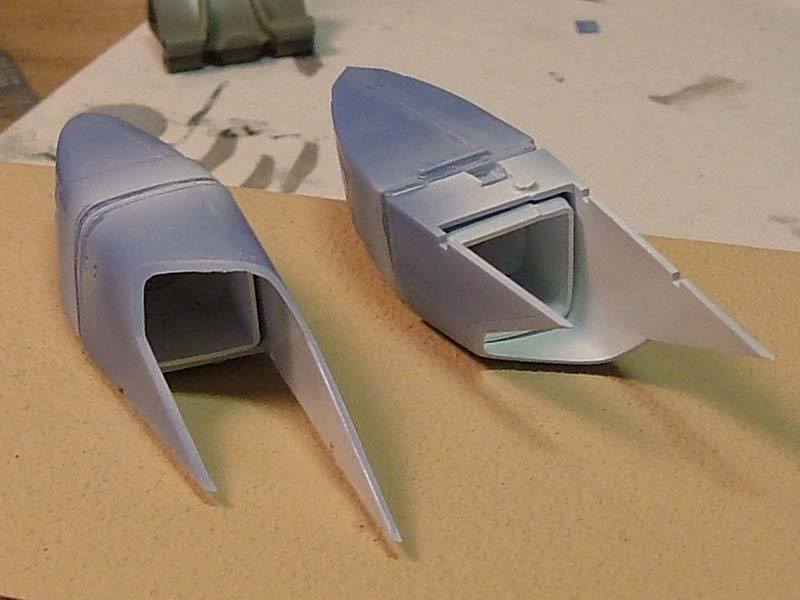
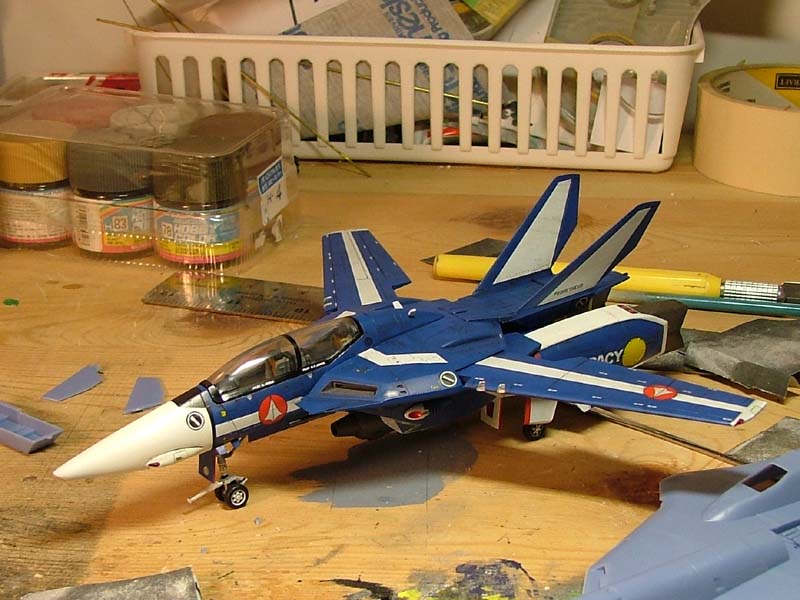
Another one... This one has the primer done. I used the ACLAD II grey primer... it turned out real bad but I decided to paint the ACLAD II gloss black anyway... after all, it's the first time I'm using this stuff, so why not experiment? Well... it turned out really ugly and I had to sand everything down. I then resprayed the whole exhausts and engine nacelles Tamiya flat black. The result was a much more smooth finish. I then applied the ACLAD II gloss black. I used the engine exhaust color for the burnt finish and used steel for the rest. The finish is not perfect but it's the best I can do for now... maybe for another project my skill will be better... who knows!
-
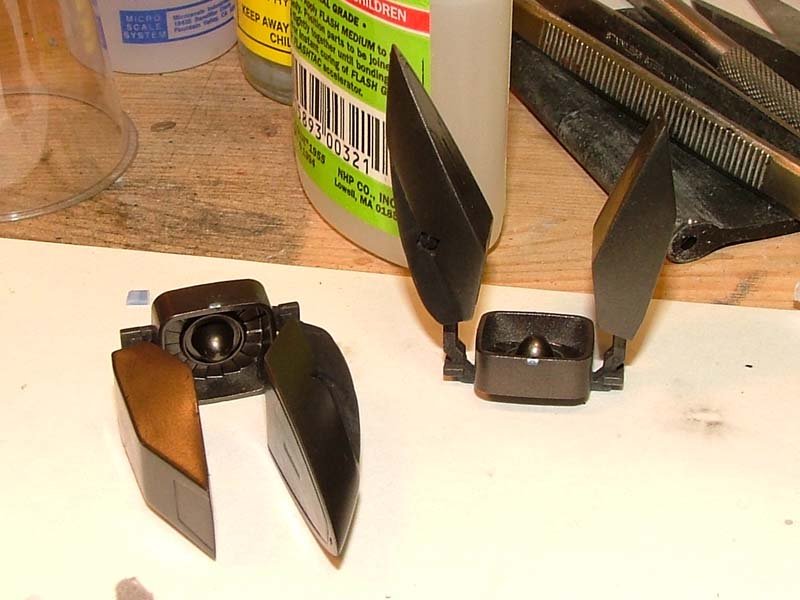
Here, you have a selection of the engine exhaust/feet of the VF-19A.
-
Hi again, I'm back for more! But first, I need some help on deciding what scheme I'll paint this baby up! I bought the Hase option decal sheet with the aggressor VF-19A. I thought it was an amazing idea but... I think there are much better "aggressor scheme" out there (thinking of Viperbite VF-0S! Which I think is just amazing!). So... can anyone help me out there and send me links, pictures, etc with their idea? or maybe... Viperbite would be kind enough and tell me more about that scheme??? :-) Well... on to more piccies of the VF-19A under construction!
-
Hi Fory-San, all I can say is that i don't speak japanese either but I never had any problems with painting my Hase VF-1D by just getting the right paint where it was indicated, following the Gunze Sangyo paint number. If you are looking to get the paint names in english, that can easily be arranged as I have all the Gunze Sangyo paint to complete it, just drop a note and I'll give you the Mr. Color/Gunze Sangyo name followed by the name in english. Can you also post pics of it? Would be nice to see it! Cheers
-
Hehehe... thanks for all the good comments so far! ido... very good eye! mechamaniac... This is the VF-1D from the wedding episode when Max and Millia get married! astromanED... if you look closely at the picture, you'll notice another Macross kit in the making! It's actually progressing quite well... better than the 1D at the same stage! I have posted a "step-by-step" in the building section, go check it out!
-
That's it for today... Until next time... Enjoy! Ta ta! P.S.: I'll change the ISO setting on my cam, I think that the images are a bit grainny! P.P.S.: Scratch that, can't get a better ISO... already on Auto mode! It'll have to do!
-
The egine exhaust... The green stuff is Squadron Green Putty... The gray stuff is Mr Srfacer... God bless Gunze Sangyo!

-
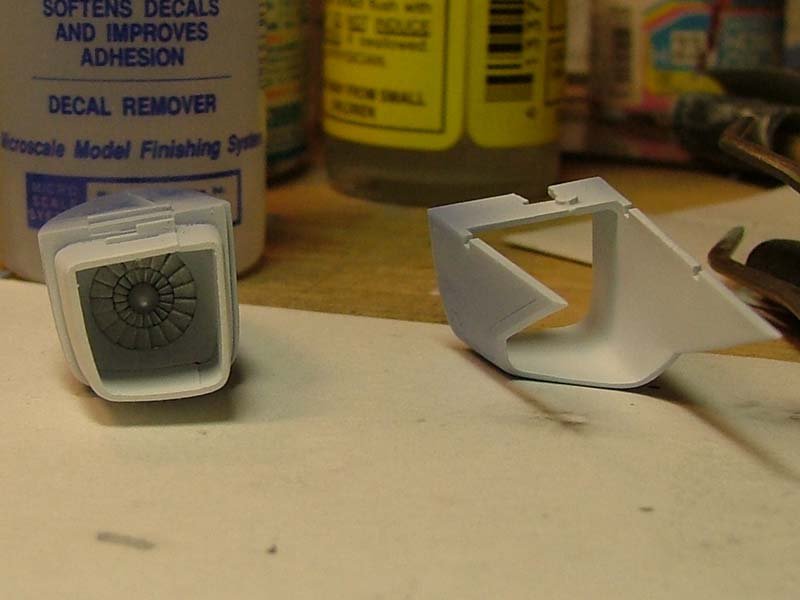
As well as the detail of the trimmed opening.
-
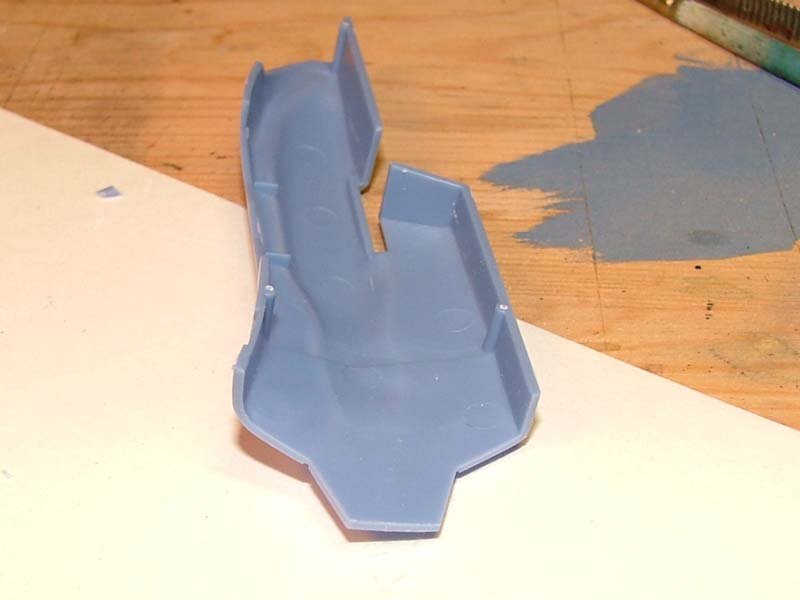
The front of the upper fuselage.

-
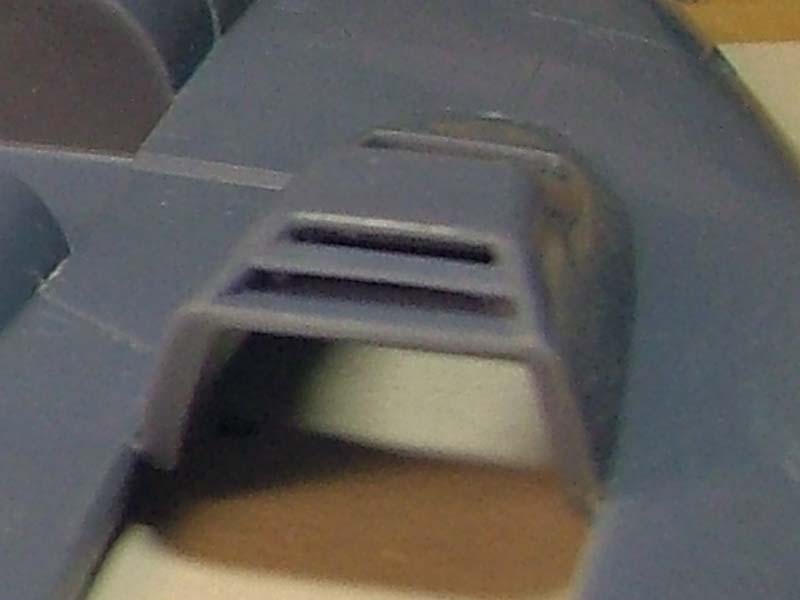
And some details of the trimed vent at the back. I will do the lower ones today as I forgot to do them last night!

-
The upper fuselage...

-
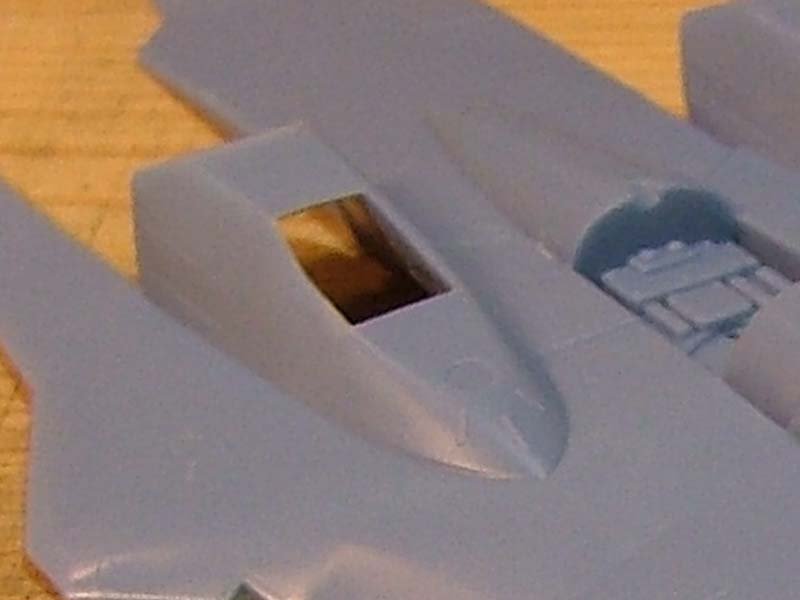
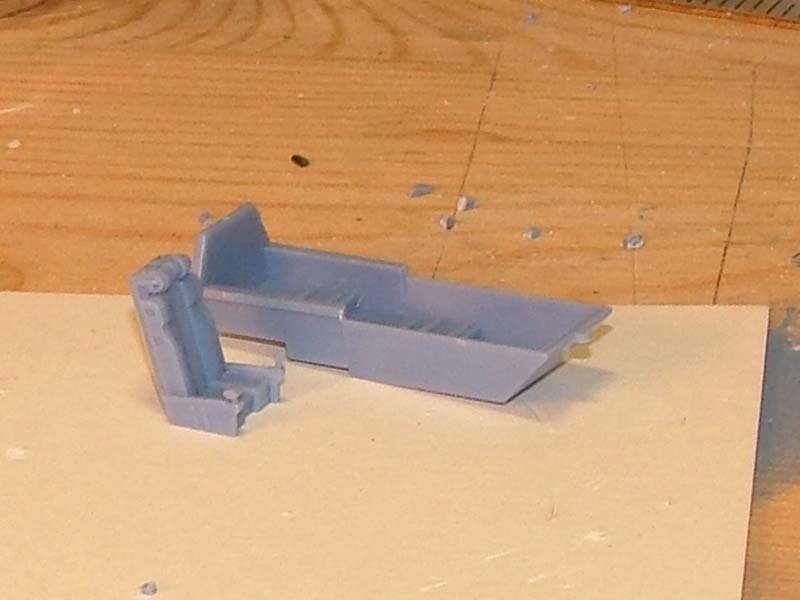
The cockpit. Fairly easy assembly... It'll be ready for the paint shop soon.
-
Hello all... I have started my second Macross kit yesterday, a VF-19A. This is not a true step-by-step but more like to show the way I build my kits and if people can use some of my tips, well, I'll be glad! I also do this because it's my second aircraft kit. I build military vehicules and I also paint miniature figurines I use to play wargames. My point is, I lack some skills in plane building and I have almost all Macross kit that has been released so far! I'm only missing 2 and I want to build all of them to the highest standard. I hope that people will be able to point out mistakes i do... give me some hints... etc! I had some problems with my first one, a VF-1D from the wedding episode. Well... here goes...
-
Here it is... my first plane, Macross kit ever! I hope you enjoy it! Comments are welcome!

-
Hi from a new face and... A major disaster! :-(
johnybgood18 replied to johnybgood18's topic in Model kits
Yeah, I think I've been out of the modelling scene for too long! I totally forgot these basic things! :-( I will try and let the "Set" set (lol)... I tried a few without any solutions, on flat areas where no air bubbles could be trapped. Didn't try them on recessed areas tho. Thanks to all for your help. I will post pics when she's done. Chris -
Hi from a new face and... A major disaster! :-(
johnybgood18 replied to johnybgood18's topic in Model kits
ok, am I the only person that is having problems with the small round, white and black decals??? I decided to paint all the ones that I was missing decals for (cause I scraped them)... turned out "ok" so far. I finally sealed all the decals with a clear coat. She i sready for weathering. I'll probably start that tomorrow. I do not have any pictures to show you guys cause I do not think she is worthy of it... when she's done, you'll get to see and give me your feedbacks, positive or negative! Until then... :-) -
Hi from a new face and... A major disaster! :-(
johnybgood18 replied to johnybgood18's topic in Model kits
Yup... the major disaster turned into something ok! I managed to save it without stripping the paint or simulating an electronic malfunction and have it crash land on a deserted island... But... I'm still not really satisfied with it. Thanks for all your replies and help, Chris -
Hi from a new face and... A major disaster! :-(
johnybgood18 replied to johnybgood18's topic in Model kits
Hey Grayson, the mushy appearance of the decal is actually what it is supposed to do. That is the effect the Sol has on the decal. You ABSOLUTELY have to let it sit for at least a day and it will come back to it's original shape. DO NOT TOUCH IT while it is in that state or it'll stick to your finger and be ruined! I know, it happened to me a few times! The problems happened when I used the Solvaset... it's even stronger than the Sol! Thanks all... I decided to not scrap or repaint the kit, I got some of the estra decals set and I'll do some of these versions eventually! So, the kit is safe... for now! And I love this forum... so many nice kits and the walktrough... simply amazing! Keep it up! Tchau tchau