rarityraider
-
Posts
130 -
Joined
-
Last visited
Content Type
Profiles
Forums
Events
Gallery
Everything posted by rarityraider
-
Hi, Is that the one you're talking about?! Here are my collected info. so far, hope can help you. Cheers,
-
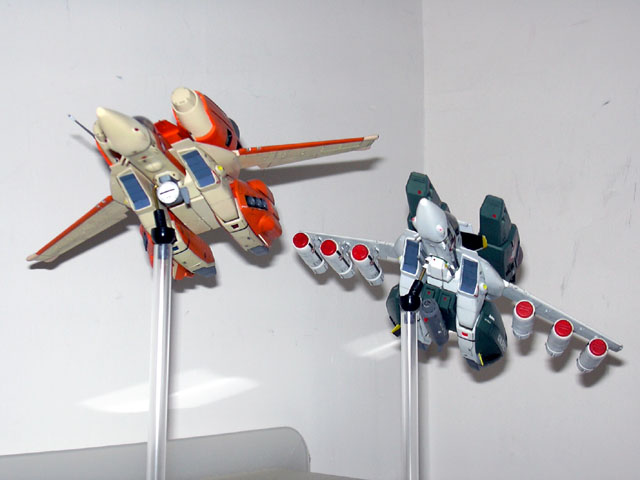
Looks beautiful. He come back after a big battle.
-
Woow! Very nice. I love the first one.
-
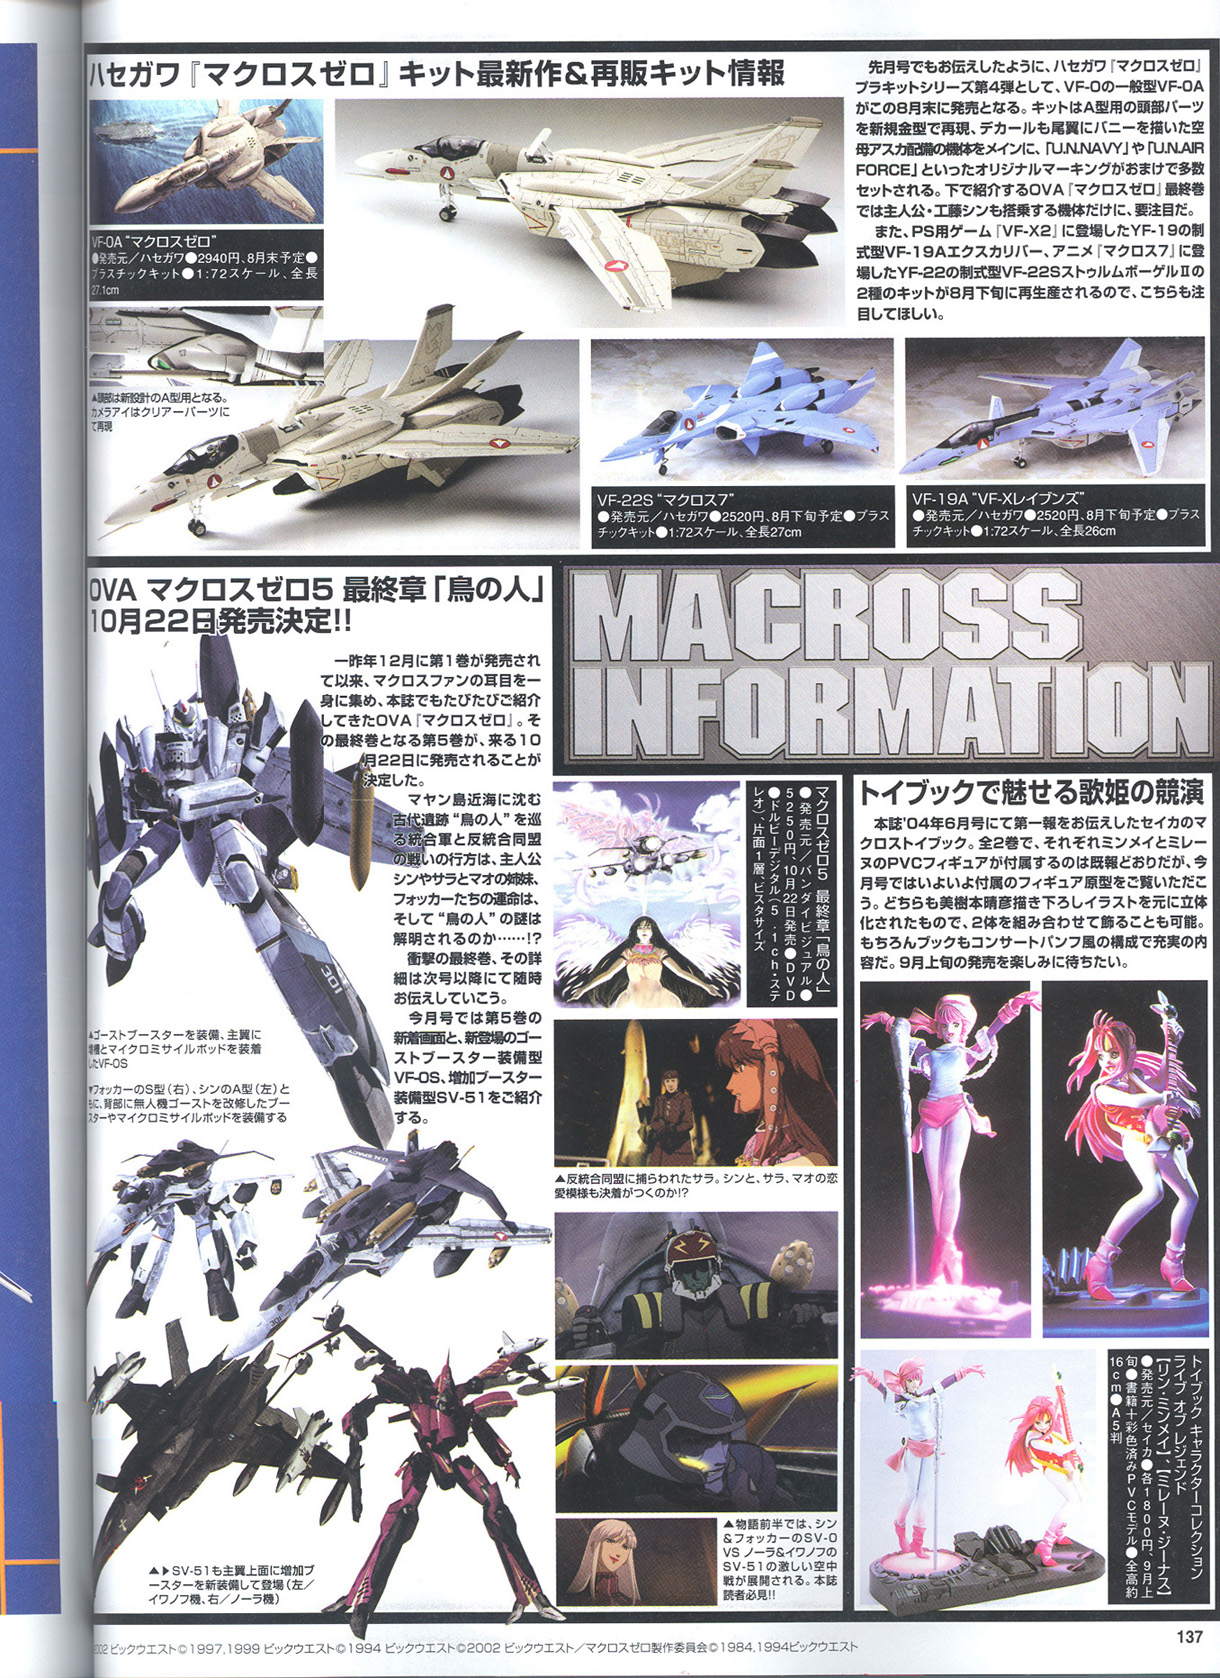
HLJ's got both of those models listed as an 'August Restock' but hopefully someone can translate the information from that article. Just try to translate (actually is GUESS) that information by my common sense of Japanese. That's say there a Playstation version of two planes will be released at late August.
-
Share myself scanning copy. Enjoy, P.S. For sorry about have made the duplicated post of "VF-0A Box art"
-
Seems a limited edition mentioned on the box Enjoy,

-
It's done by Photoshop.
-
As I say I need to finish this picture although somebody don't like my style. Hope you enjoy, P.S. This is a copy about 50% of original size

-
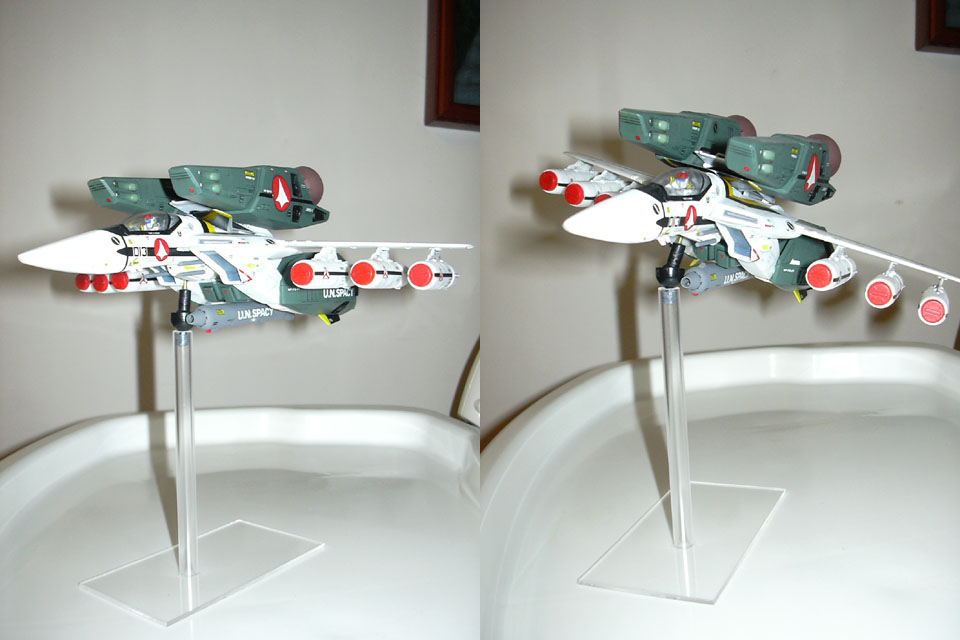
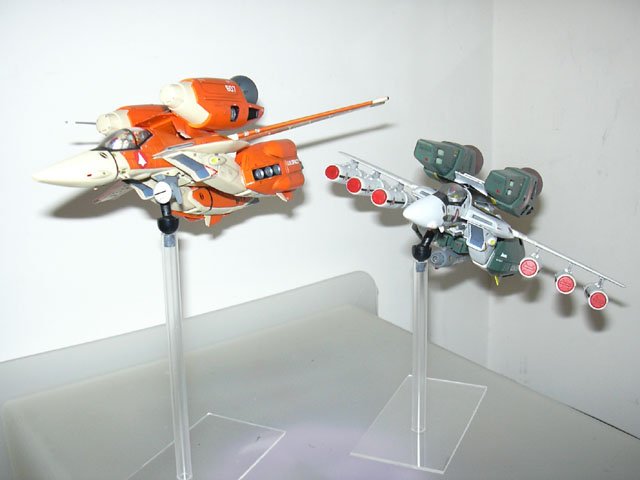
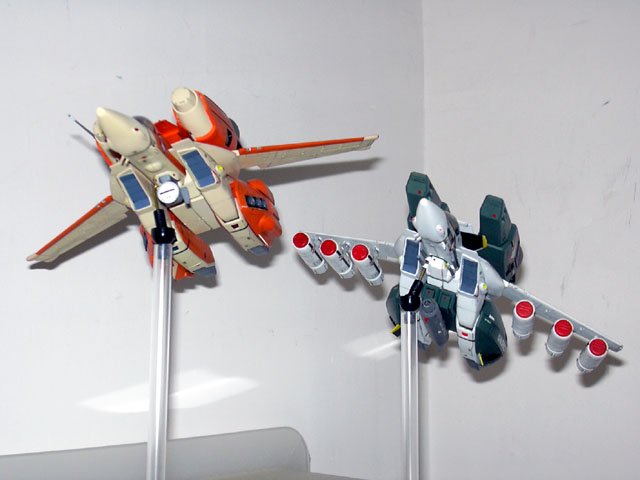
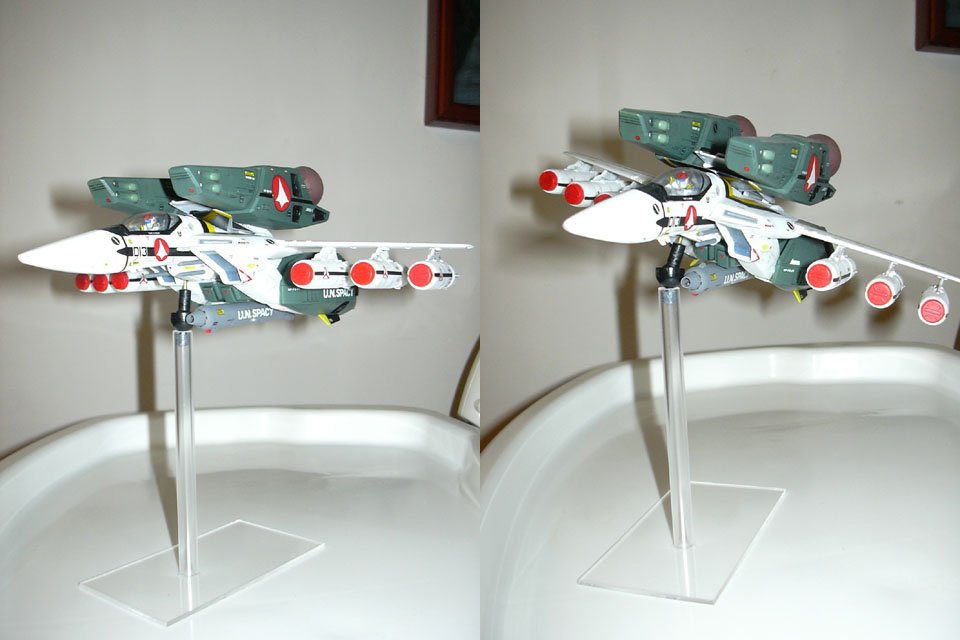
Just to remind if somebody want to make this stuff The "Ball joint" parts must to use medium to large size in order to have enough friction between the "Cup" & "Ball" after carried your VF plane. That could prevent the problem of stall. The hole of "Ball" needs to drill as deep as you need to hold the bzonze rod. The "Base" could use whatever you want: metal, wooden or plastic... (Made sensed size and shape) Only you must fix it well of the upper part. One more suggested additional function can be tried: Add another thinner pipe that can fit into the 8 mm pipe inner space to be a height adjustable display stand. Enjoy,
-
The last pic. Cheers,
-
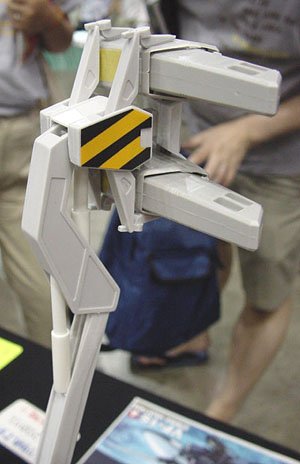
9. Two sample photos of my free flying planes.
-
8. You can easy to adjust any angle to your preferred flying pose.
-
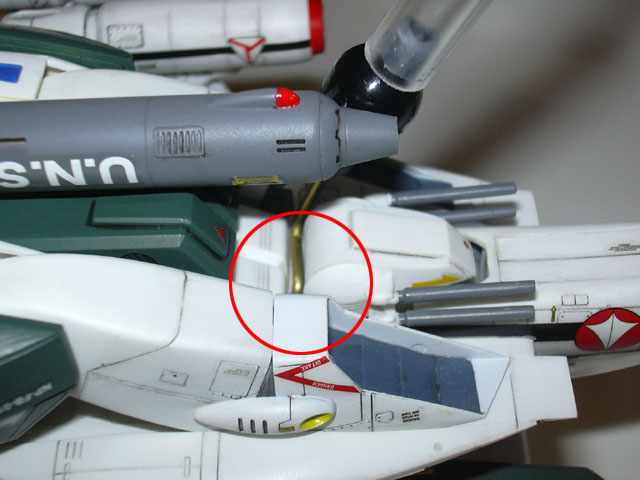
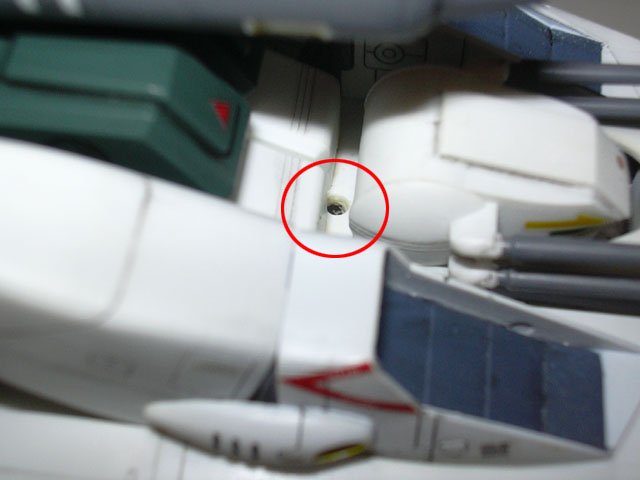
7. Put the completed stand to the plane together, please see highlighted red circle area.

-
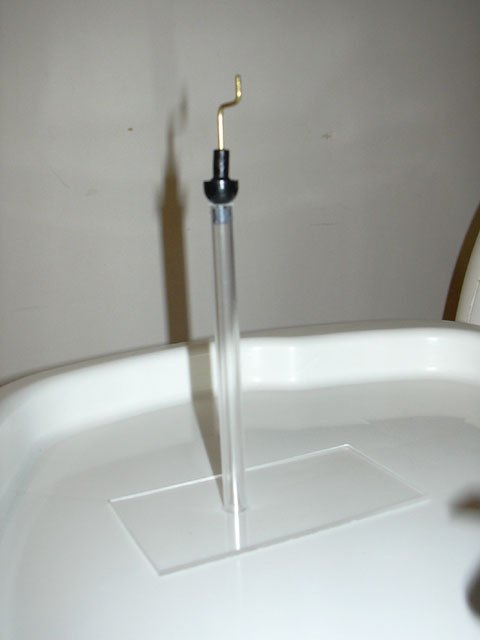
6. Join all the separated parts together, ball joint "Cup" to the pipe, glue the pipe to the base you've prepare ( this time I use a thin plate to be, remember to glue and stay overnight to let it fix well )
-
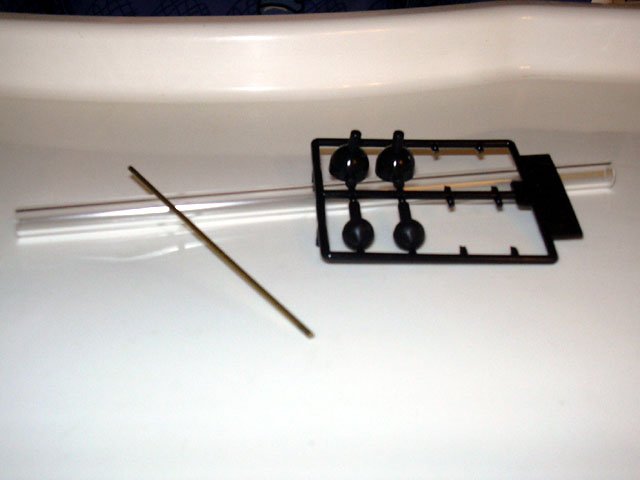
5. Drill a 1.5 mm hole on the bottom of the plane, near the head part at highlighted red circle area.
-
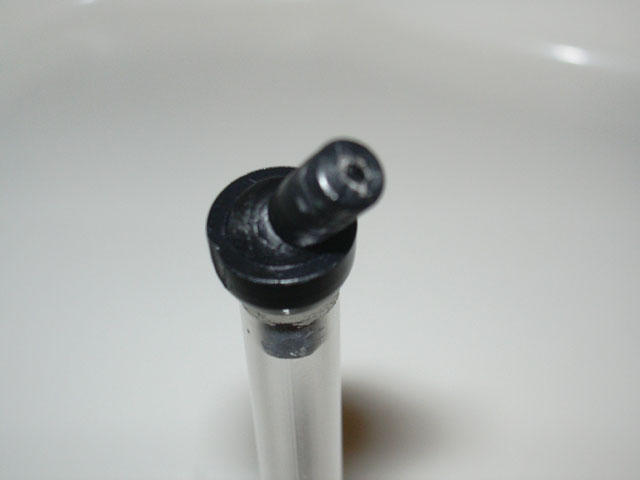
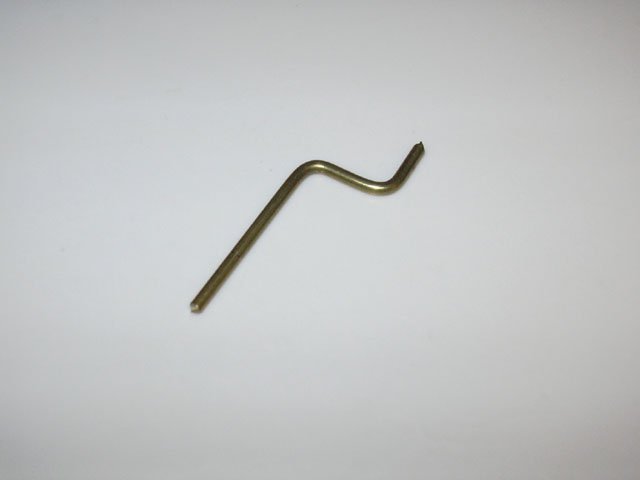
4. To bend the bronze rod with two right angles "Z" like the picture.
-
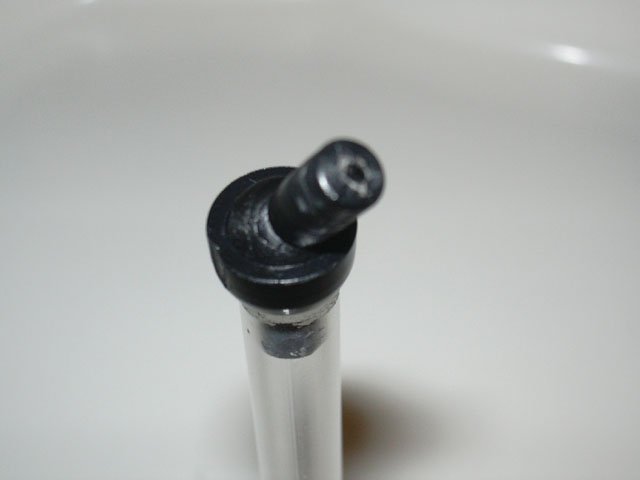
3. Drill a 1.5 mm hole to the "Ball" part.
-
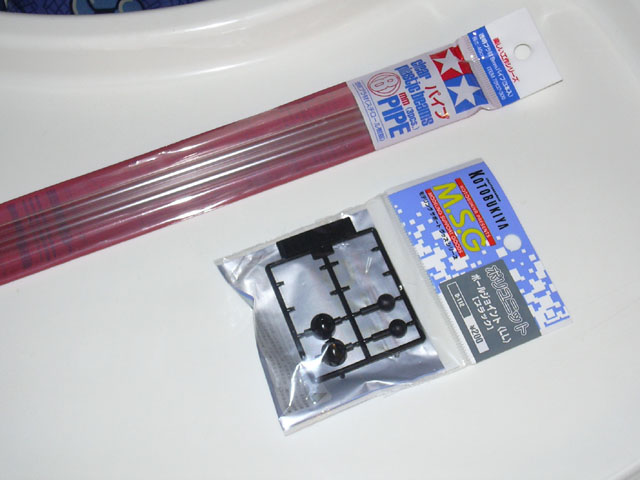
2. Measure and cut the clear pipe to the height as you want to display your plane. Suggested to cut within 15 cm long. ( A thicker or heavier base is need if you want to use full length of the pipe and must fix to the base by screw NOT glue )
-
1. Material: # Tamiya 8 mm pipe, # Ball joint, # 1.5 mm Bronze rod, # Plastic plate. (Not shown) Tool: # Hand Drill with 1.5 mm drill # Glue

-
Hi All, I think that there's should have somebody like me concern about how to display your 1/72 Hasegawa Valkyrie when they're finished one by one after the days ... Be honest, I'm not really like the one released from Hasegawa as it's looks too big and boring. So I start to think about make something by myself to instead of that heavy gear. Here is my result with simple step by step how to build to share for all buddy if you're interested in. Maybe it is not a very prefect finished stuff but just show you the concept of my idea.
-
Thanks for your wording...
-
Hello bigkid24, You're definitely know what's I'm going to do and help me explain to all very clear. Thanks a lot, Perhaps, I'm an Aisan (HK people) want Western style more than always do the works similar to Japanese. But for most of you, America comic is very common of your life... Just my opinion regard to the difference of our culture.
-
Maybe some body still don't like my style but I would complete this work. A shot of some more rendering from now:

-
Hi All, I just can't wait to let you see my progress, please take a first look of the colored head shot. A little changes of the nose more pointy and smaller lips. How do you feel it? Cheers,

-
Hi! Very good draw, pal! Really refreshing. Thanks for sharing... got more? Manu I'm drafting the next....