nickster
-
Posts
53 -
Joined
-
Last visited
Content Type
Profiles
Forums
Events
Gallery
Posts posted by nickster
-
-
On 5/23/2024 at 12:09 AM, Thom said:
15 years (almost) is not too late!
Been building a lot of old unfinished kits from 20 to 15 years ago like this one.
I guess it is really not that late 🤣
-
On 5/22/2024 at 11:32 PM, Urashiman said:
14 years later ...
hahahaha, but good thing you didn't quit on it, like I did with my SV-51 Nora, after I lost a piece while moving.
")
Same here, scratch built a few to replace missing or broken parts. A bit tiresome but worth it 😅
-
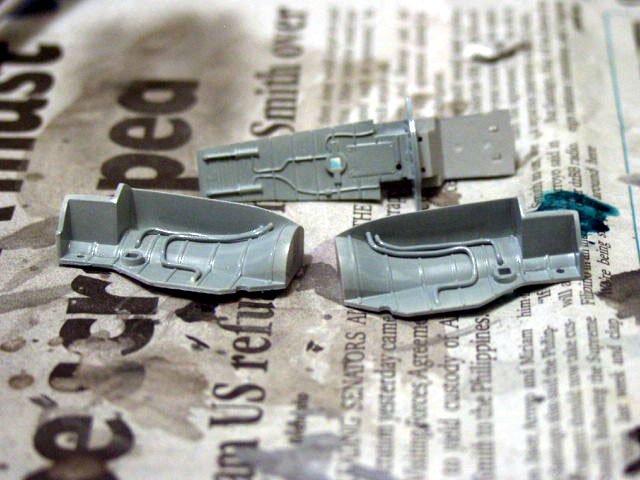
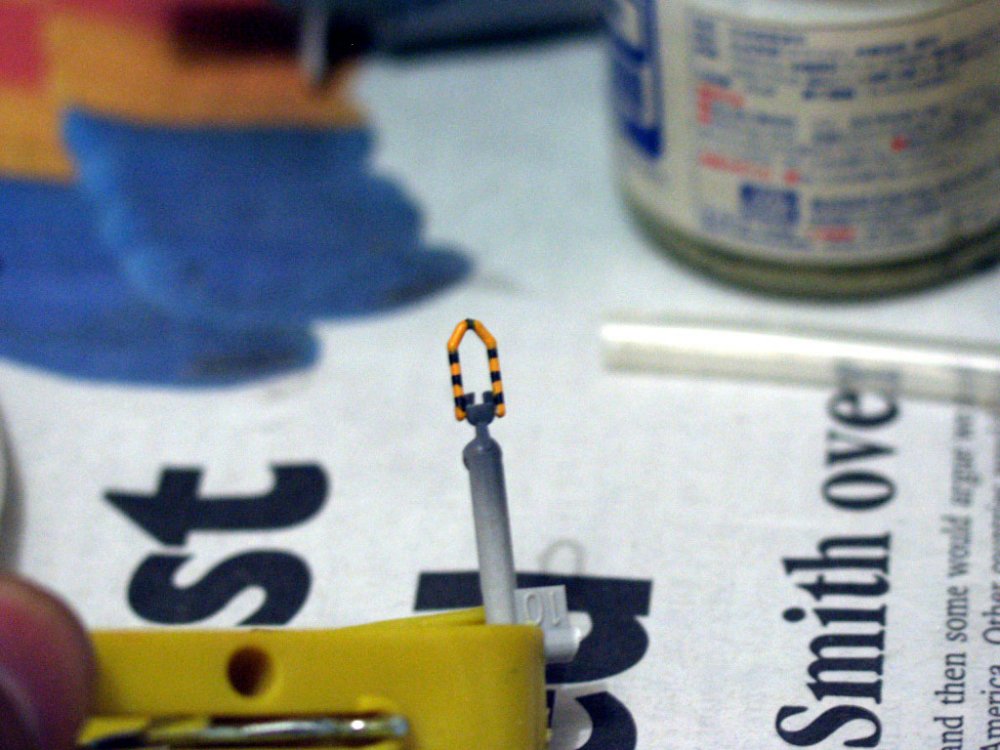
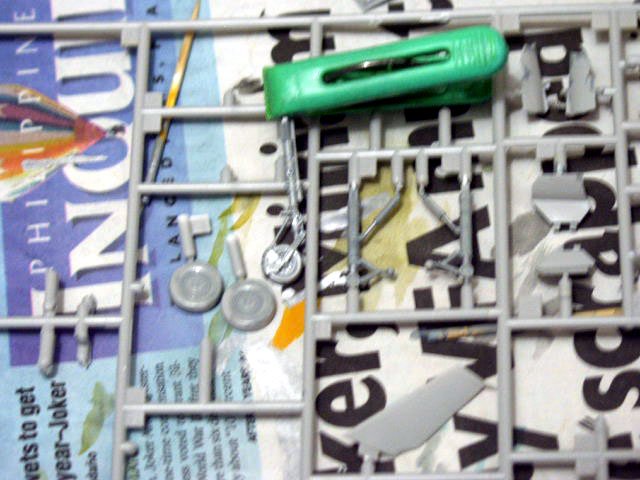
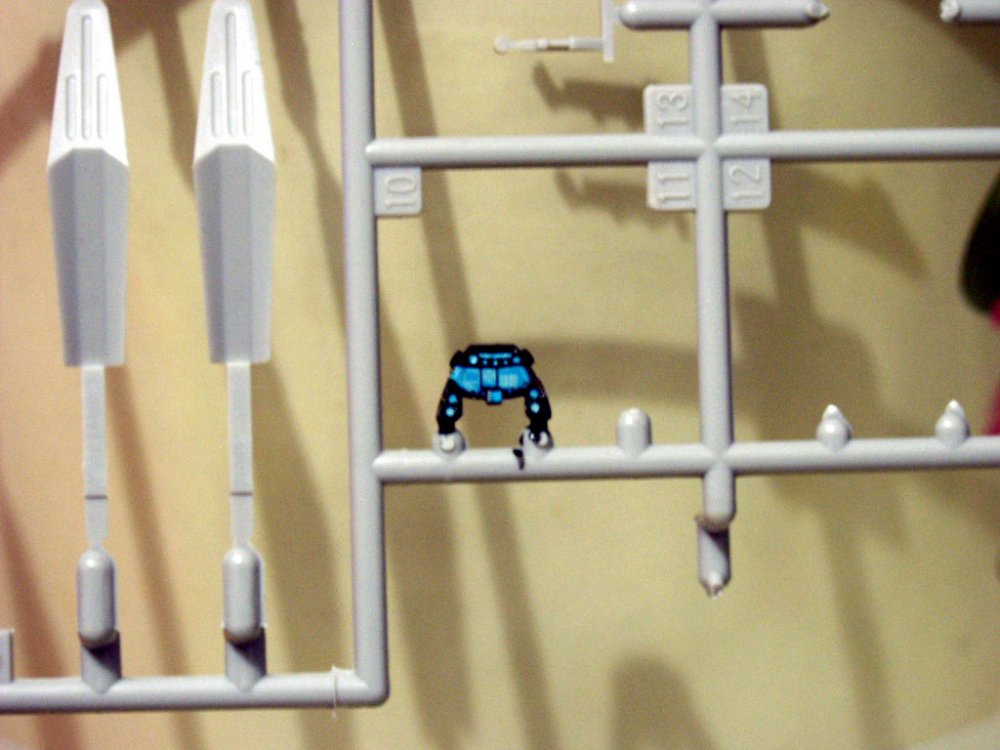
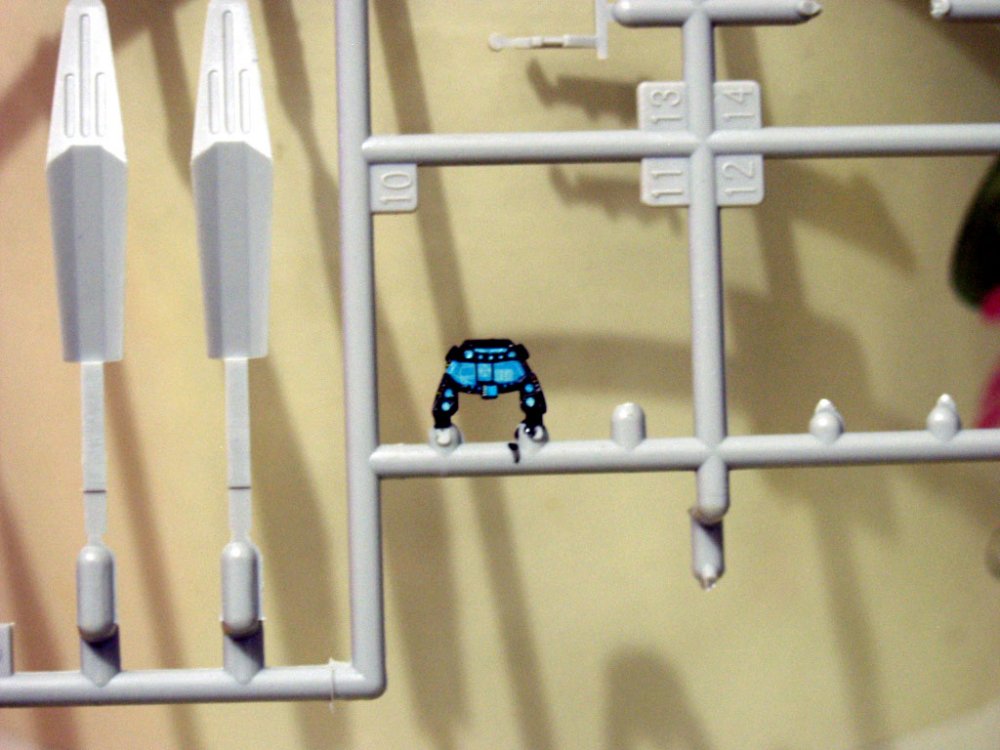
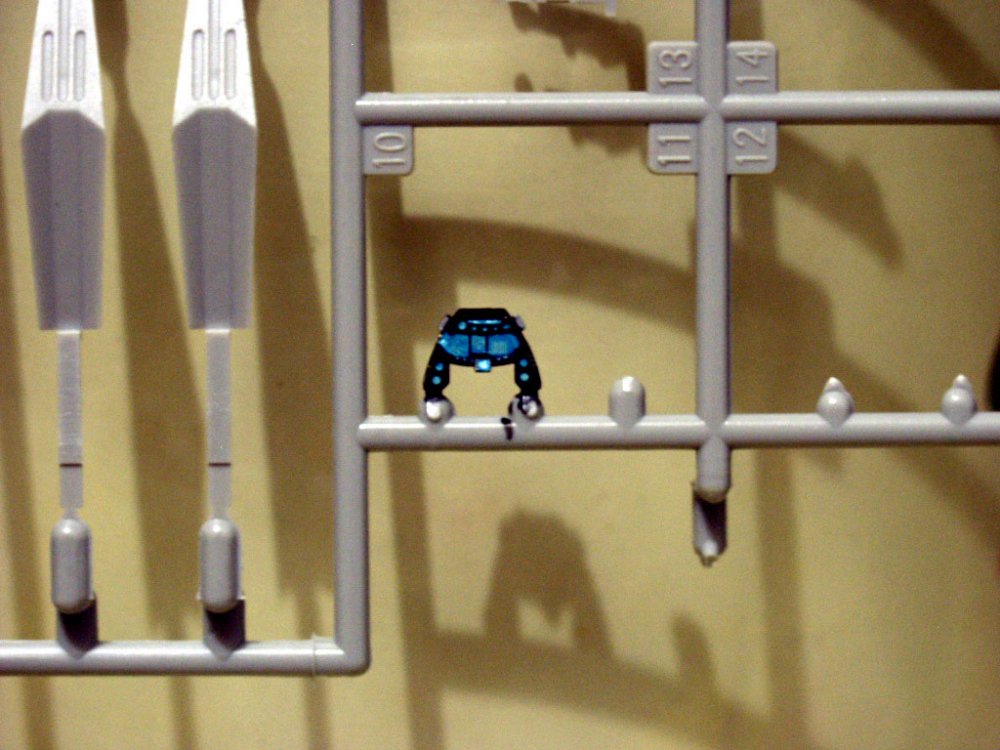
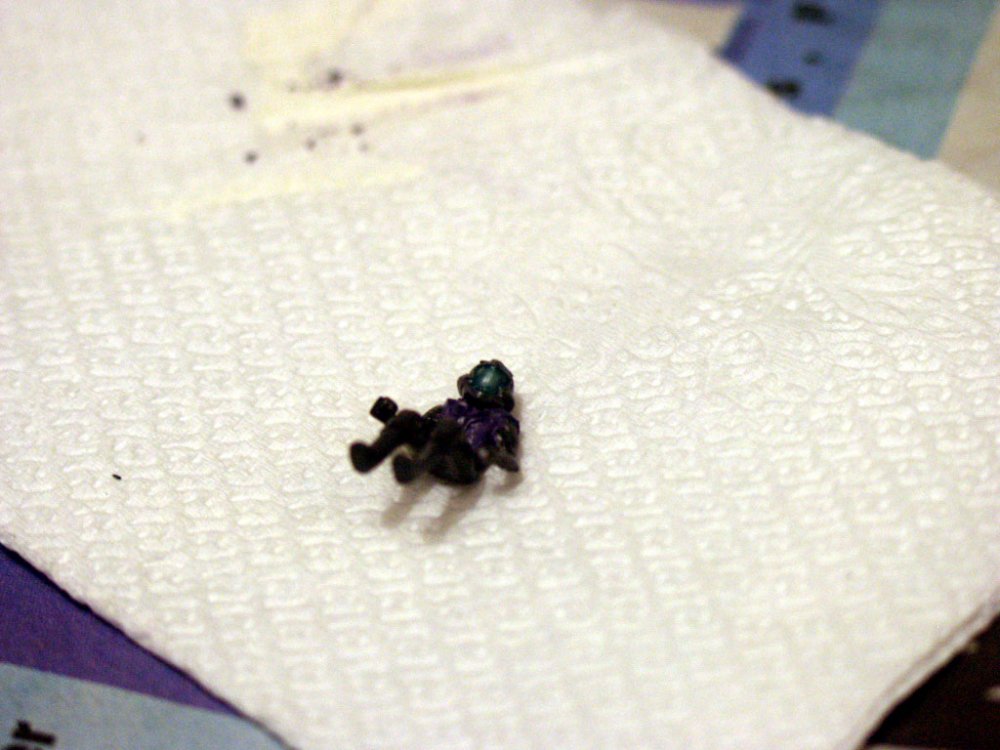
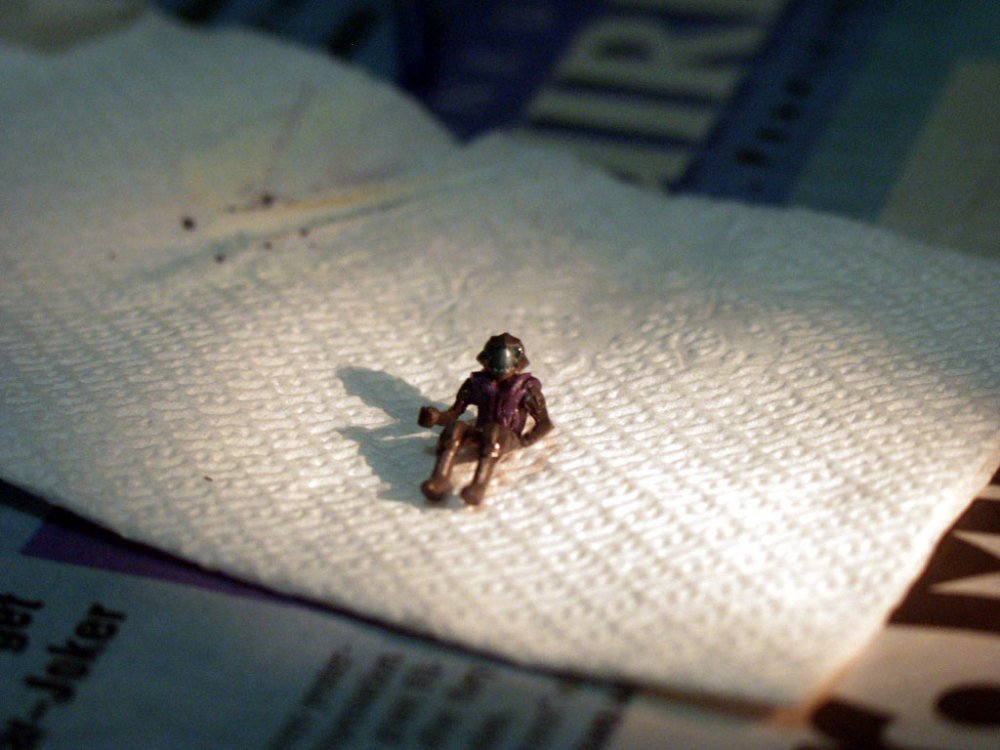
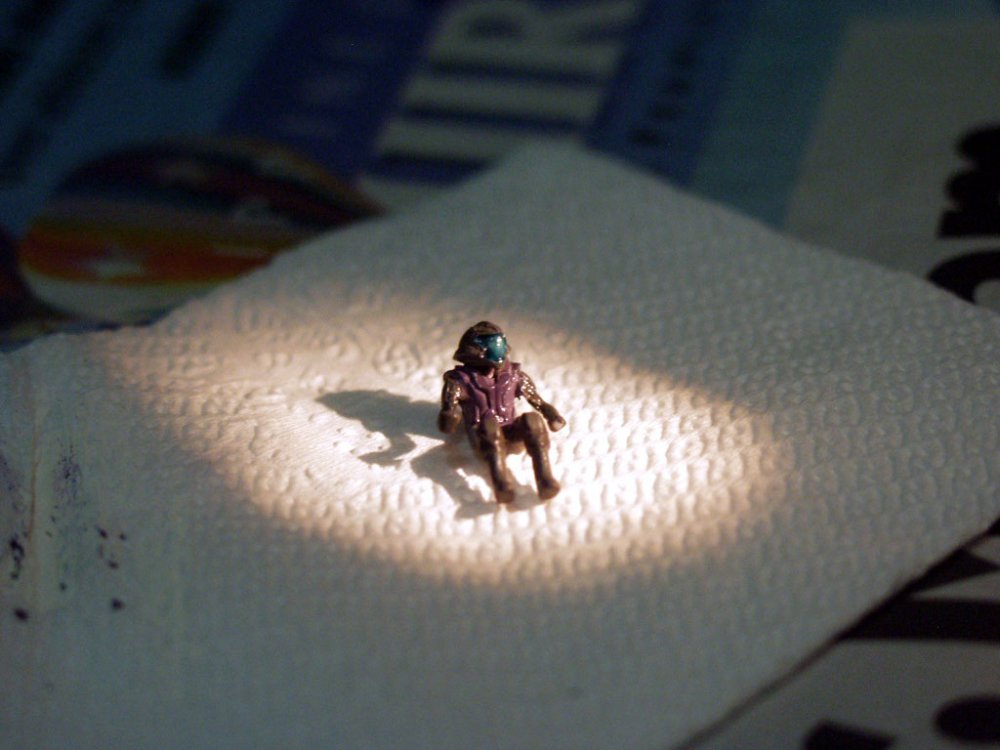
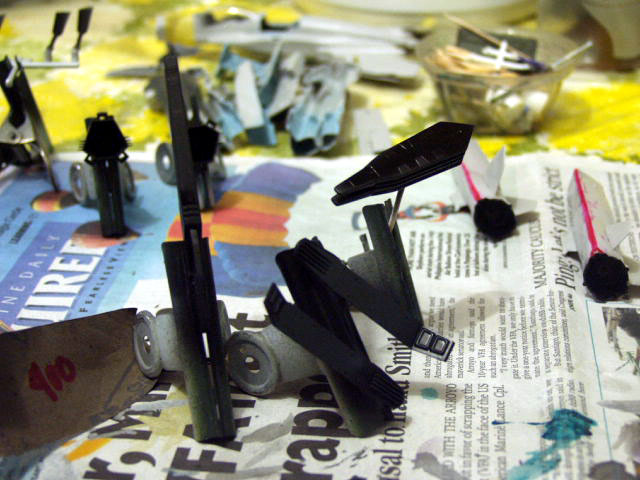
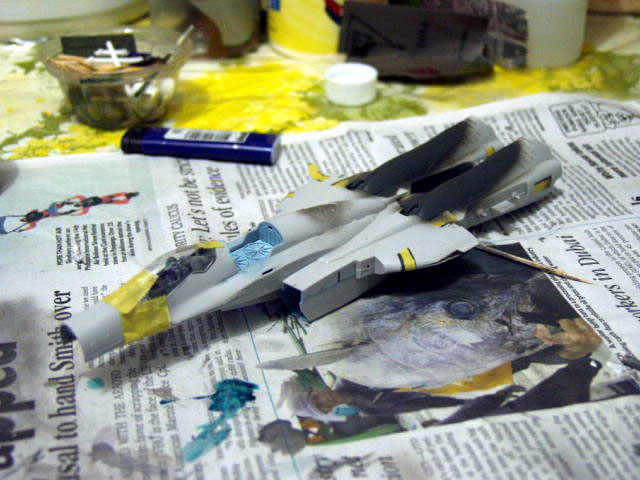
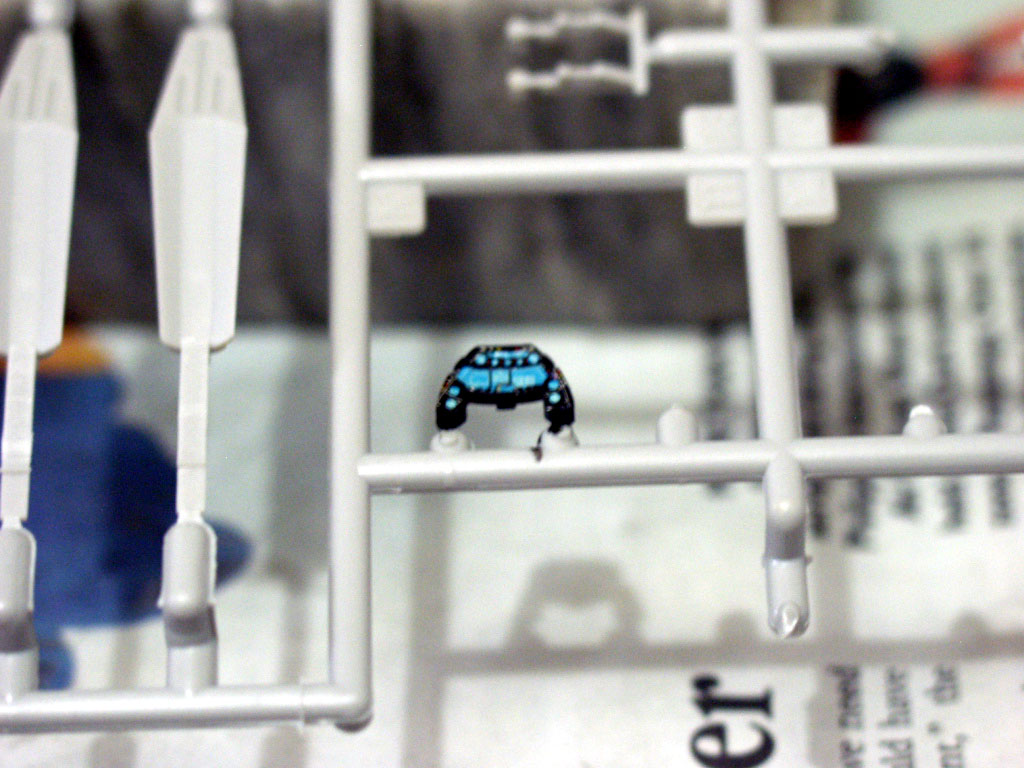
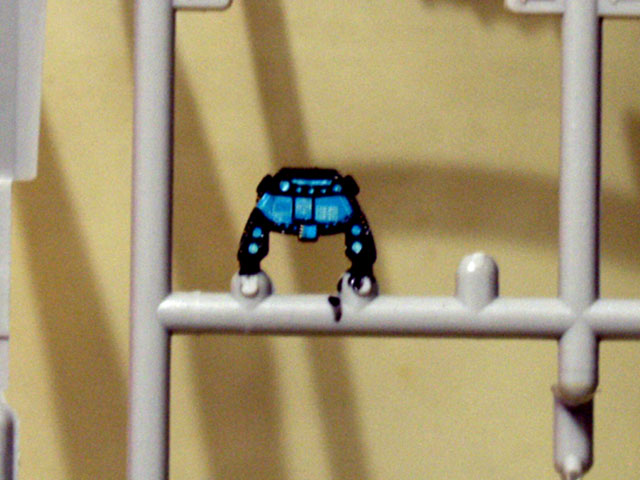
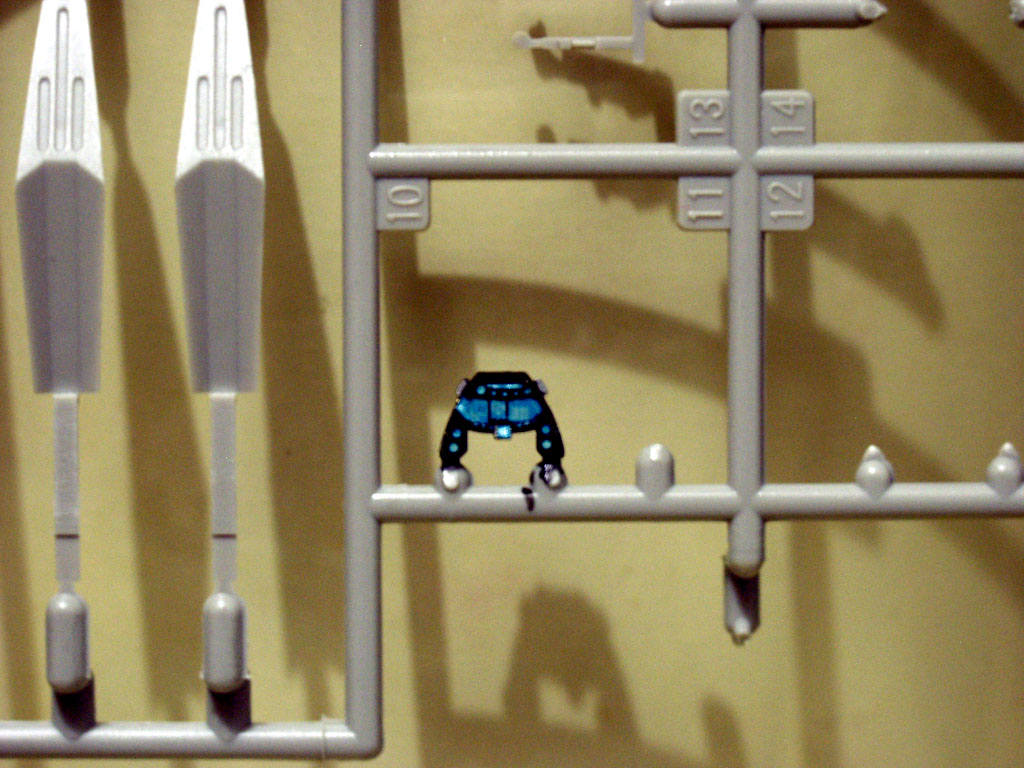
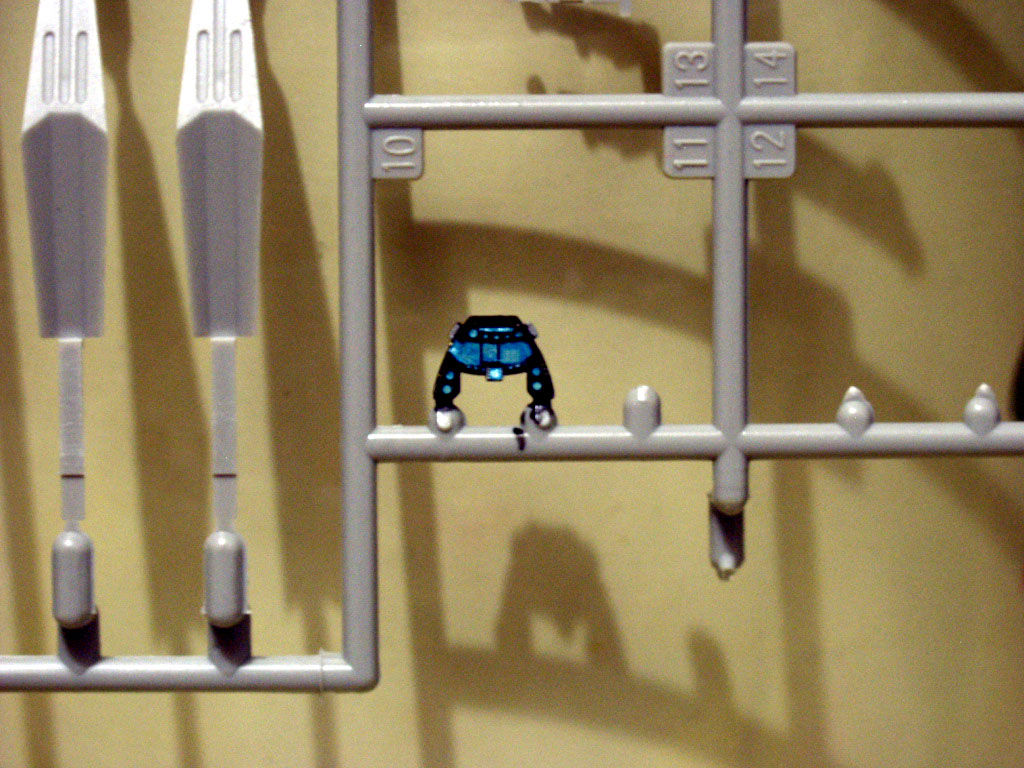
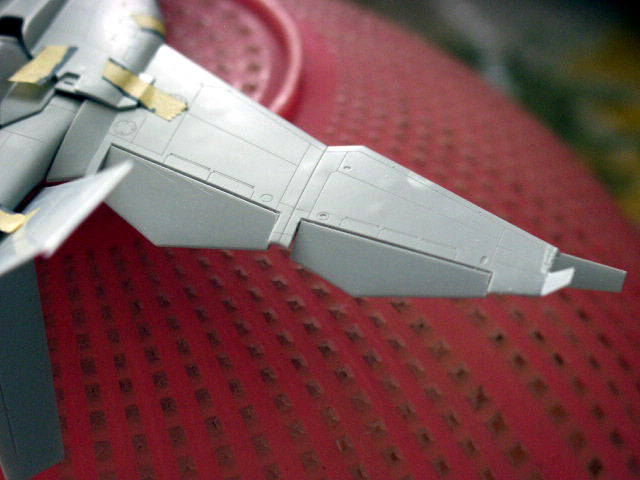
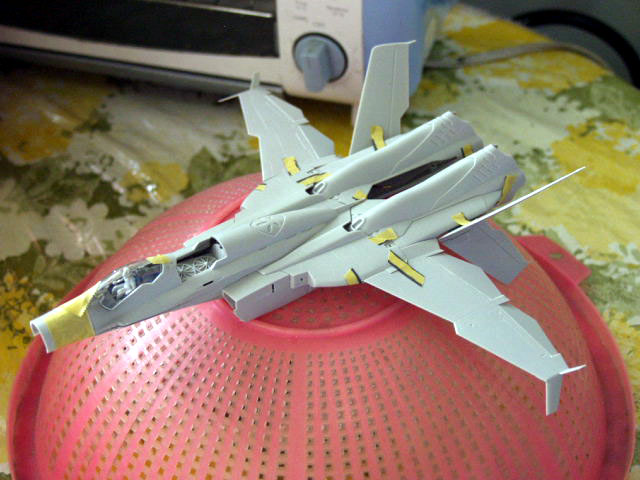
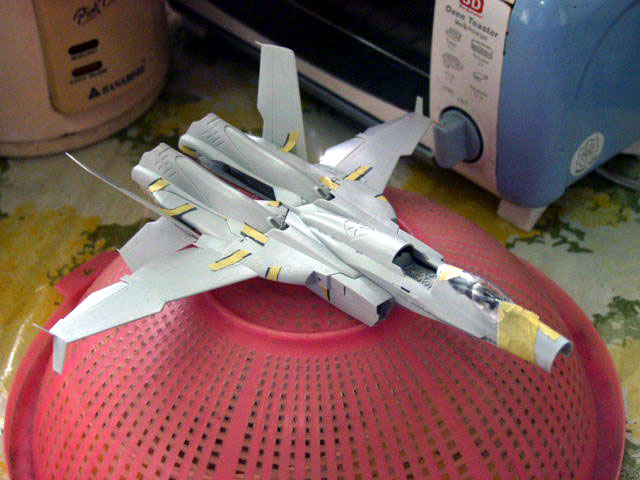
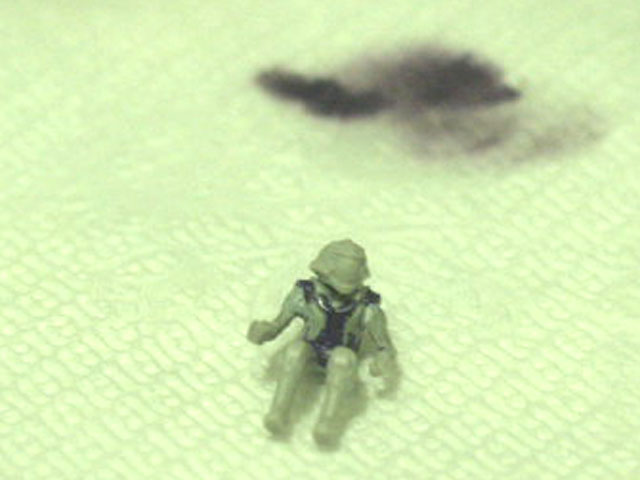
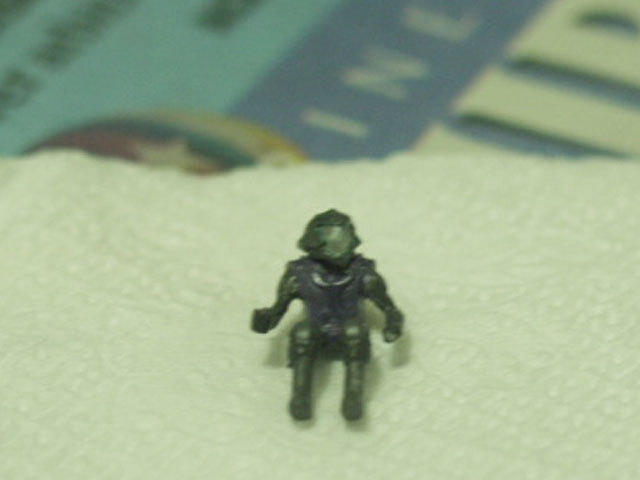
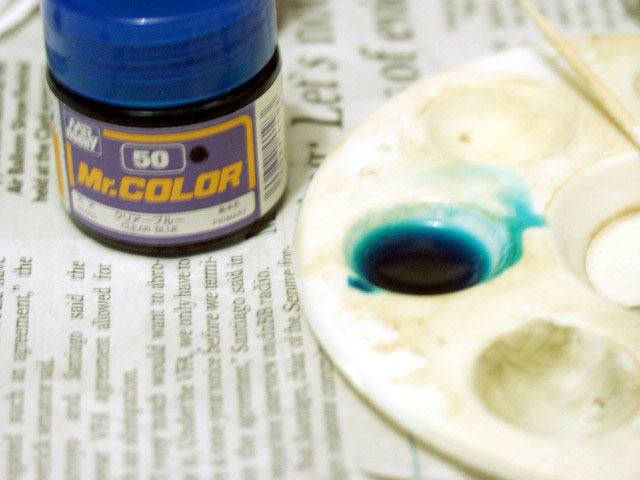
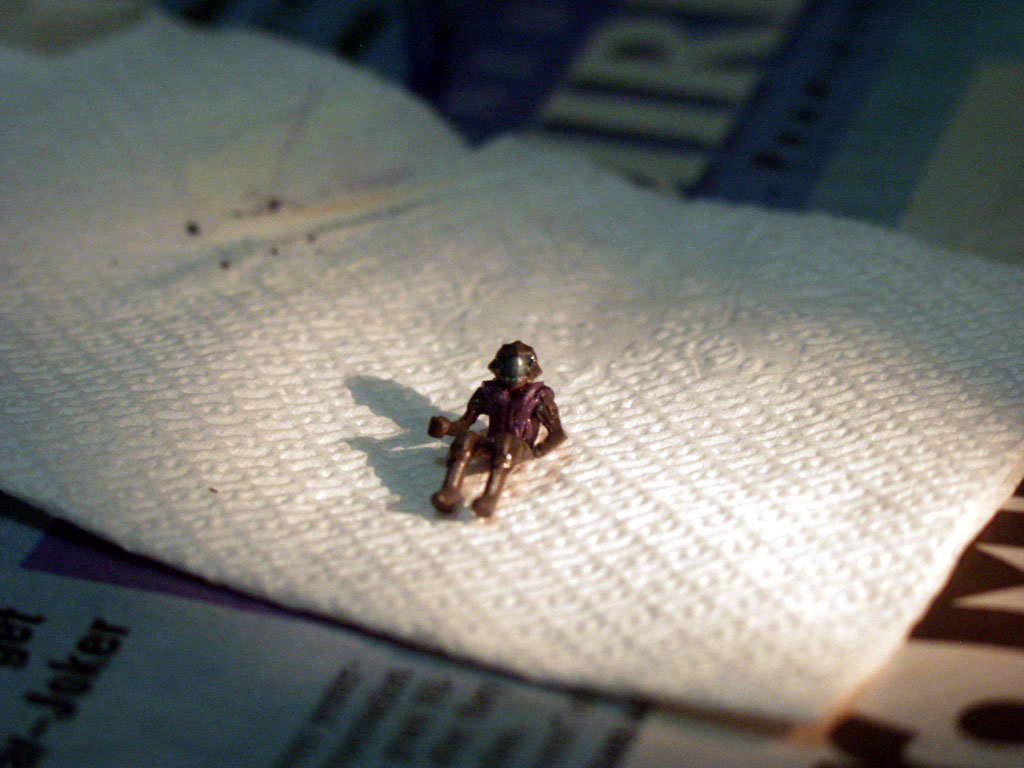
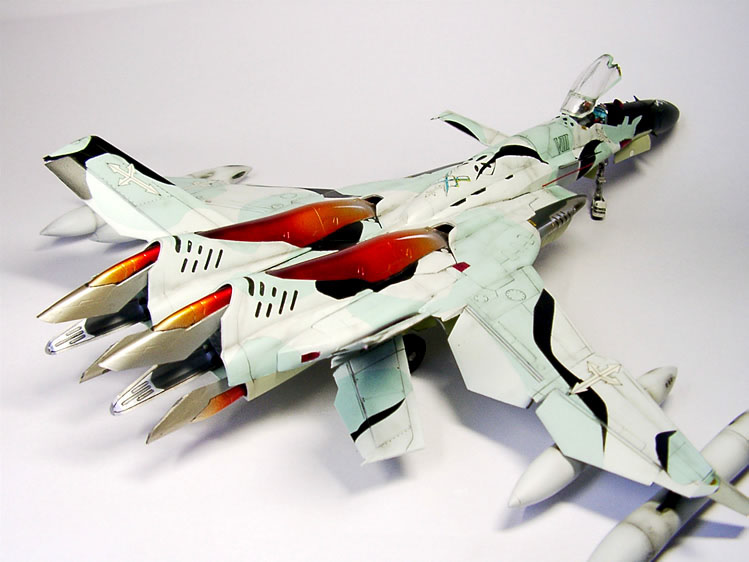
Just a little update after 15 years (almost)...
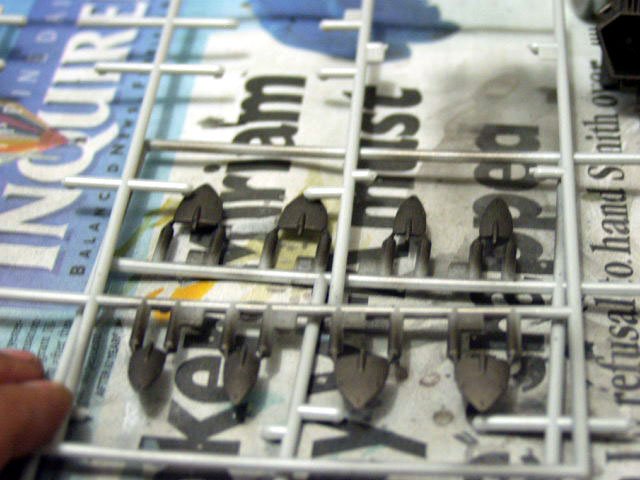
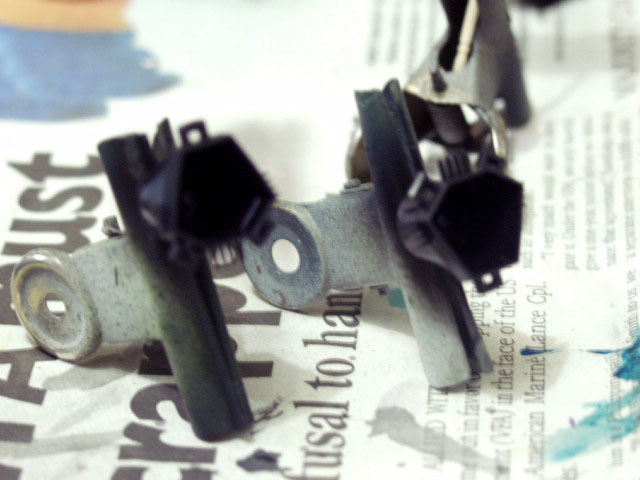
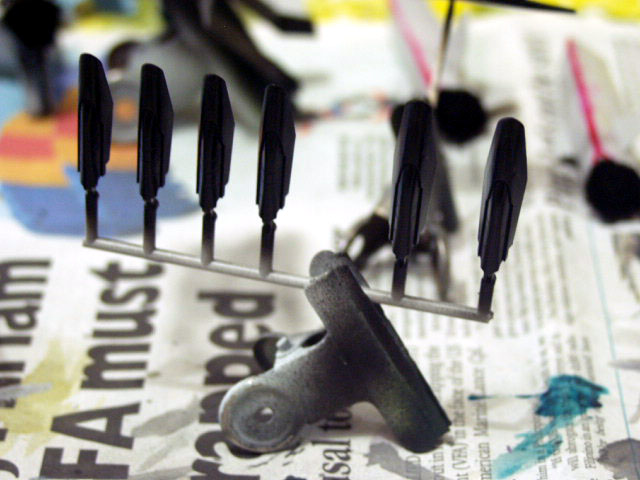
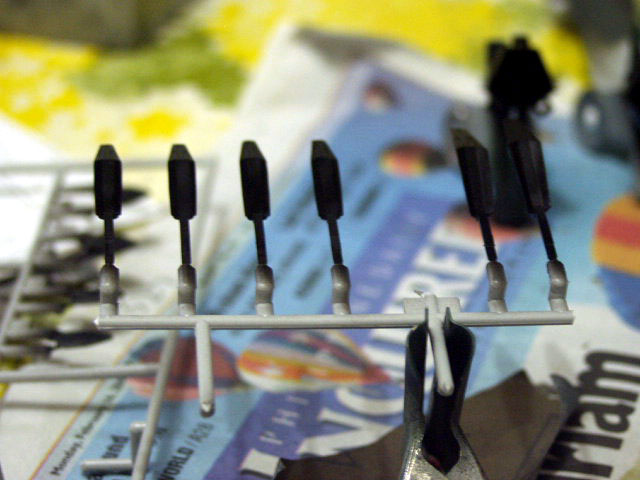
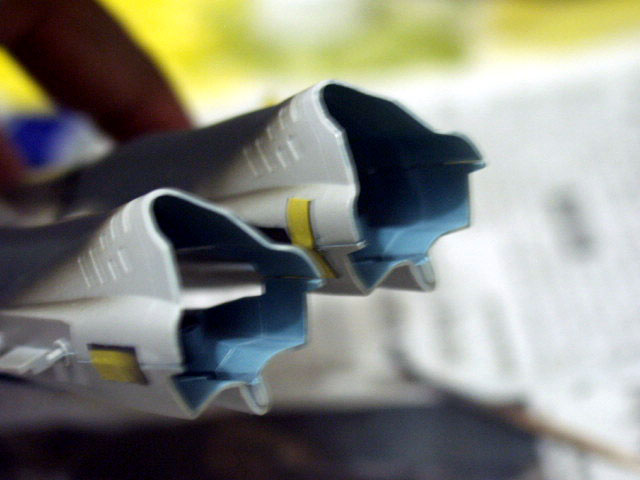
After painting the multi-purpose weapon pod with Mr color lacquers, I hand painted the slits for the gun ports with tamiya enamel titanium silver with black. When dried I used tissue with lighter fluid to clean the excess.
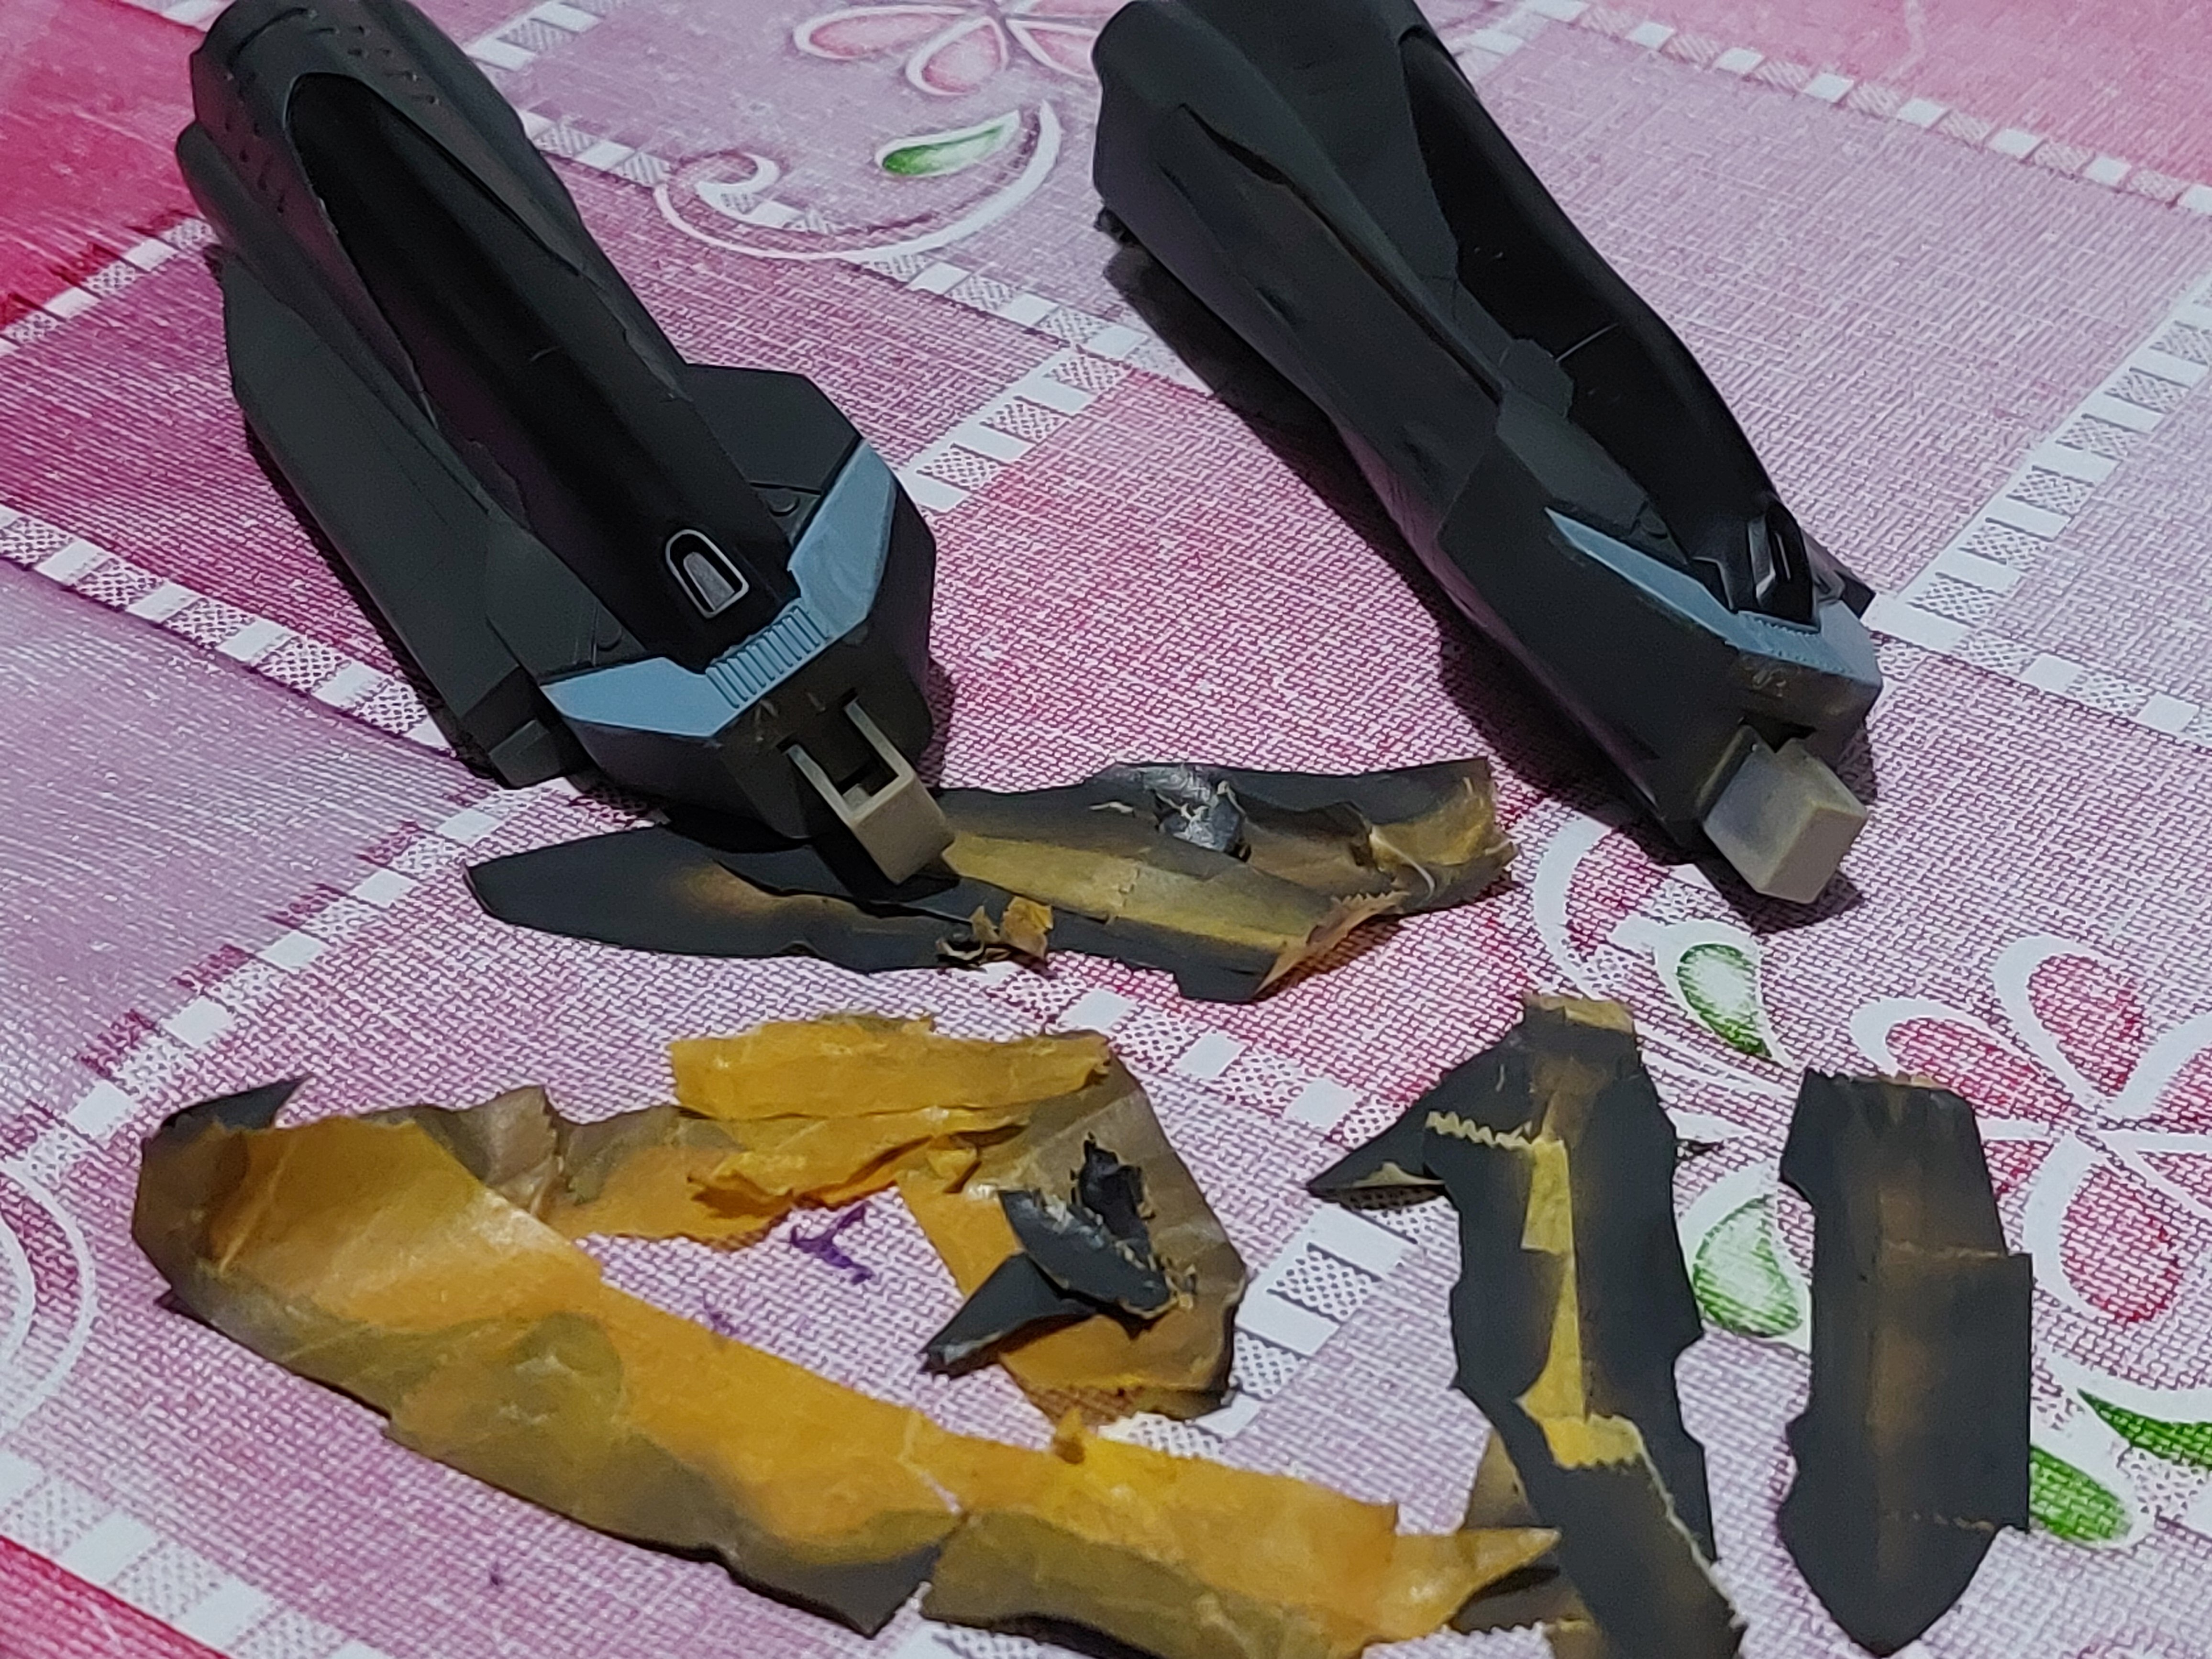
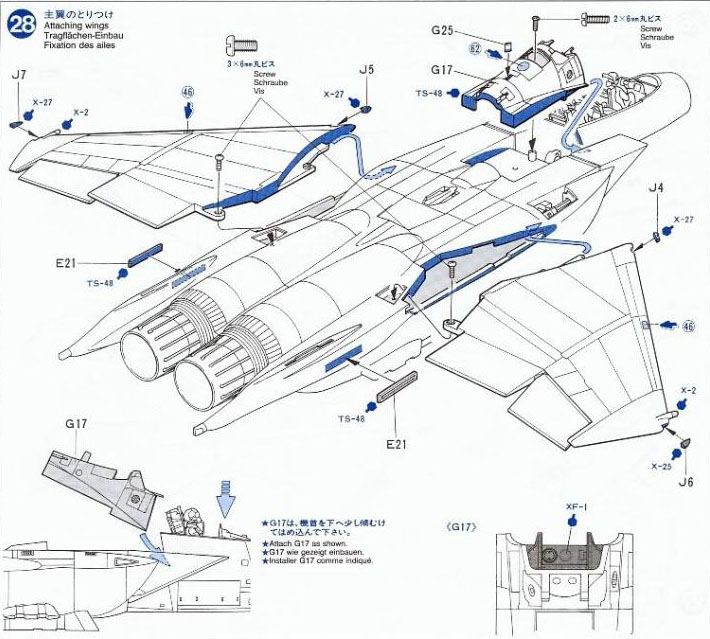
Painted the black parts with amix of tamiya lacquer black + white in 95:5 ratio. Added Mr color flat base clear flat smooth for that semi gloss look. Tamiya masking tape thats stuck in the model for almost 15 years is still sticky but brittle (left) vs new ones on the right.
for the decals, it is easy to damage even with microscale liquid decal film. Perhaps its the mark softer and the finger pressure is heavy enough to slide and damage it. Thinking of hand painting it before clear coating.
Hope to update more and sooner. 😁
Have a great week everyone
-
This build was the inspiration for my VF-0D... thanks again =D
-
Wow! Another masterpiece! Your work is very inspiring... cheers!!!!!! =D
-
Great build! I like the blue tone on your model. Congratulations!!!!!
-
awesome digital camo!!!!!!! thanks for sharing and hope to see more of your builds in the future.
-
For the fans, once you've painted them metallic, here's a trick.
Add some India Ink to Future - and brush it on, make sure to break any bubbles. Let it settle into the recesses, it will concentrate in the low areas and against raised details. It sucks down well. Then dullcoat. Ink glazing works for lots of stuff - like wheel wells - but remember it follows gravity, so you may need to tilt your parts if you want a shadow effect.
http://www.flickr.com/photos/ter-or/3818873253/
http://www.flickr.com/photos/ter-or/220796...57603704701438/
http://www.flickr.com/photos/ter-or/202405...57603176270104/
Great tip on the india ink and future Ter-or. I'll try it on some projects in the future.
Whew!!!!! Its been months since i've been here... been very busy with lots of stuff at work... and at home... I finished two HGUC kits... Kampfer and Zaku II FZ both from Gundam 0080 War in the pocket. At work, two 1/35 armor was finished, an M26 armored recovery vehicle and an M7 Priest. All of them will be posted next week on my blogspot... As for the SV-51, which i forgot to finish will be finished by next week.
Then, its vacation time for me... :-)
-
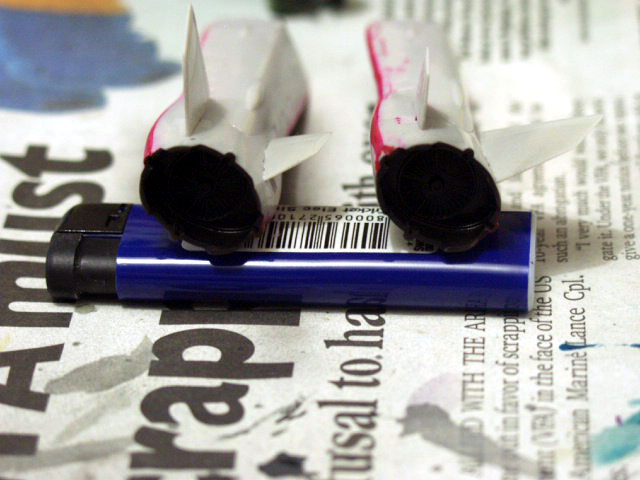
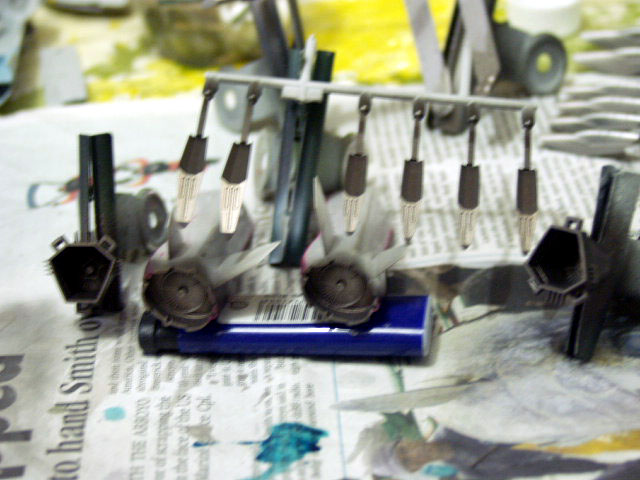
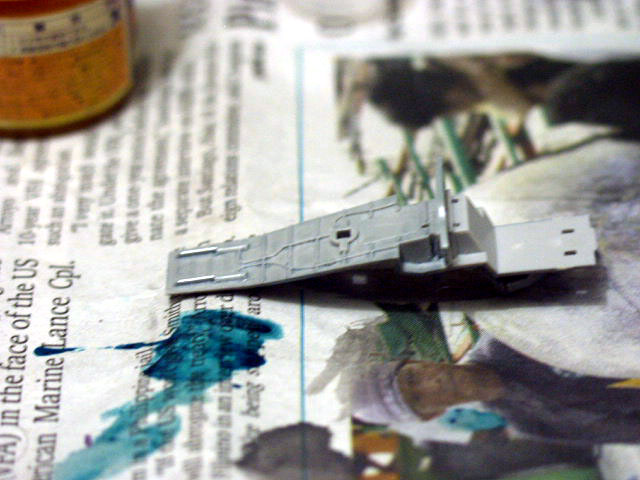
Early today... I've started painting the metallic parts of thie SV-51 Gamma.
Everything that needed to painted with metallic colors were airbrushed with Gloss Black (Mr. Color #2) as a foundation for the metallics.
The Bell of the exhaust, outer foot, insides of the foot, the gun, magazine pack and side walls that holds the magazine pack. The twin boosters exhaust and its exhasut fins were also covered with gloss black.


The next step that I did was to pull-out the mixed paint that I used in an F-15E strike eagle in 1/32 scale. This mixed paint is a combination of gold, silver, steel and clear orange. I Learned this paint mixture from Plamo tsokurou videos featuring the 1/32 Tamiya F-15E Strike Eagle (available in You Tube).
The parts painted were the outsides of the foot, Gun, magazine pack and the side holds that holds them.
By adding a bit of gloss black to darken the previously mixed paint, I have painted the bells of the exhaust, exhaust of the twin booster and insides of the foot which was generaly exposed to the main exhausts bells.

The fins of the twin booster was also covered by the darkened mix.
I was thinking of covering the metallic parts with Mr. Color's Super Clear III but the weather here is not good for clear painting. Too much moisture in the air will make the clear paint frost.
After sometime, before I put them back to the box, I decided to cover all the metallic parts in clear for a bit of sheen.
Hope to give you some updates tomorrow.
'Til then, Happy Modeling!
Nick
-
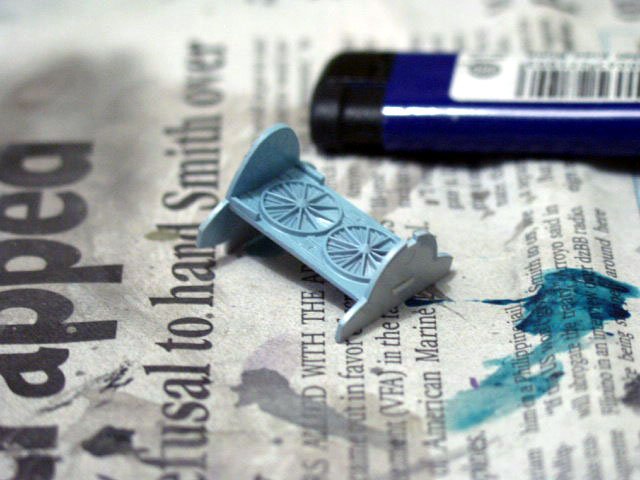
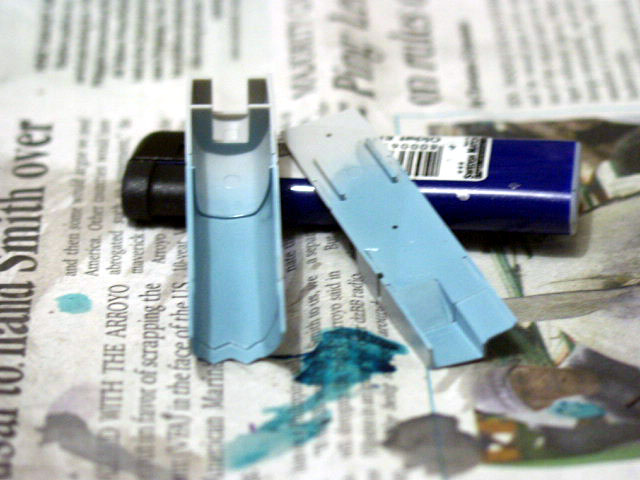
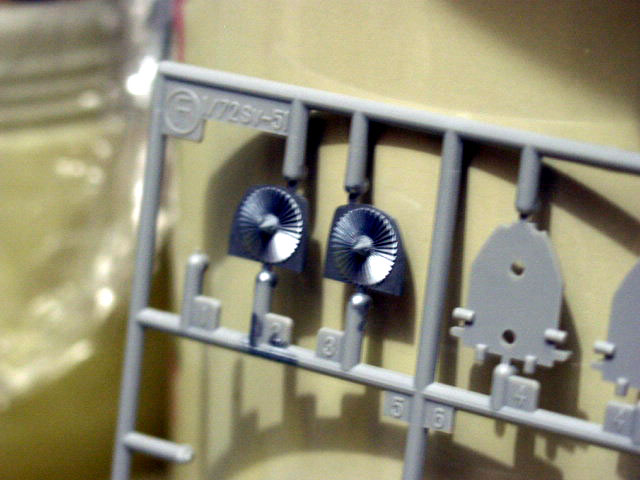
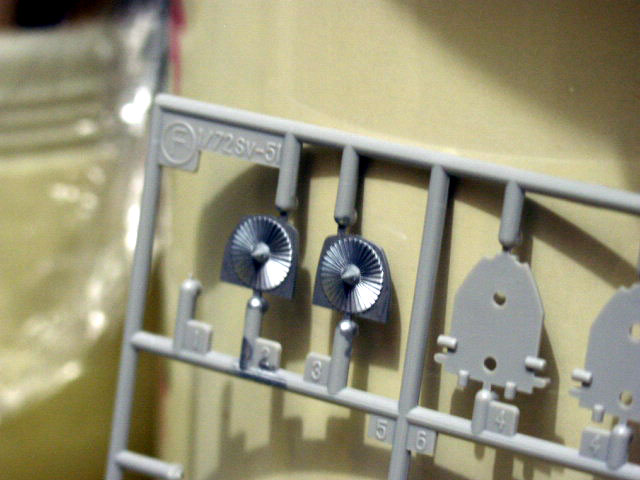
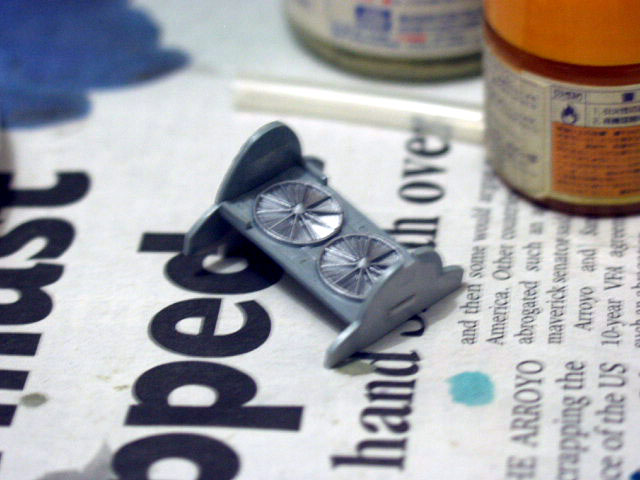
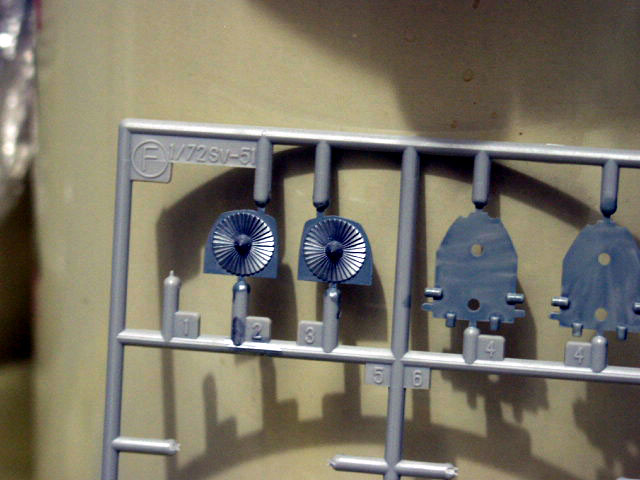
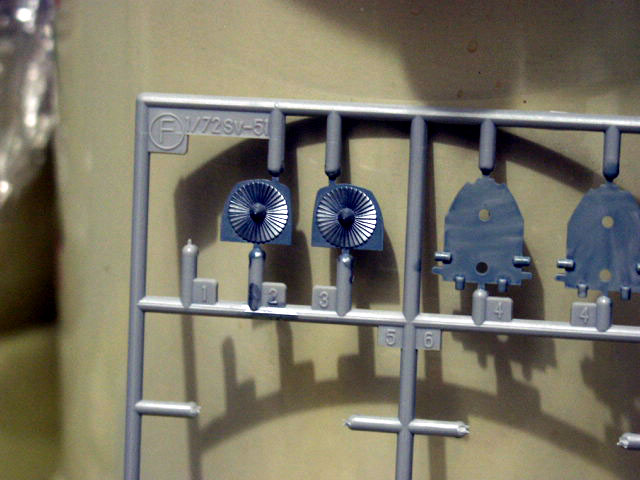
Hello Guys! Here's the pics of the parts painted with GSI's Air Superiority Blue (74) replacing Aircraft Gray (73) as per instructions.
The side walls of the exhaust...
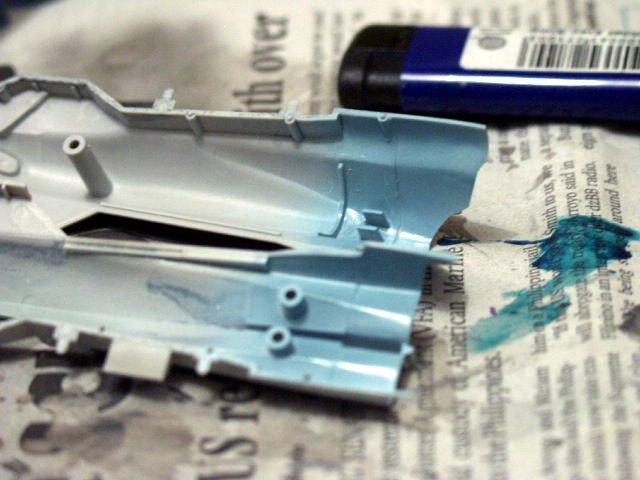
Air Intake tunnel

The Twin Fans on the back of the rear seat
Exhaust side walls when test-fitted

Twin Fans when test fitted
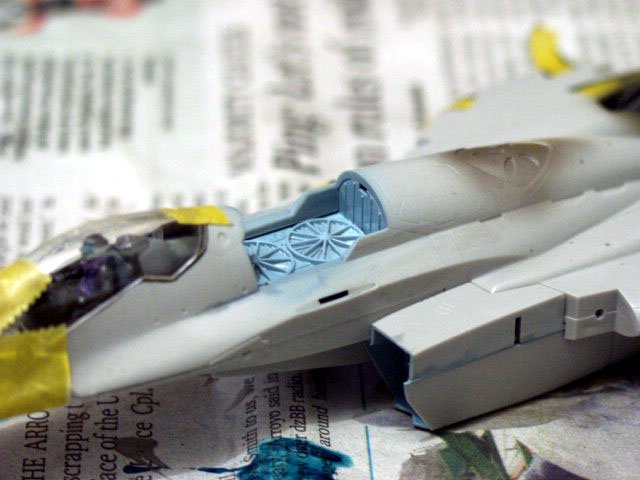
Another preview...

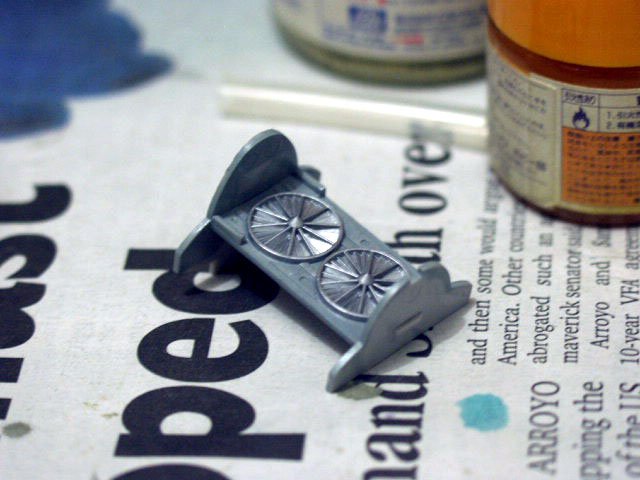
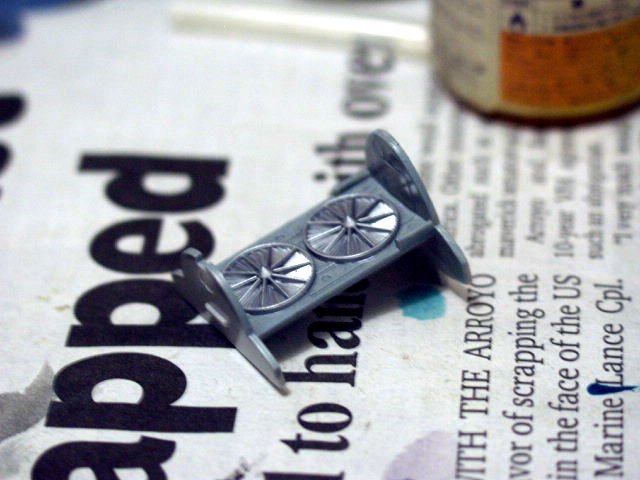
However the landing gear bays were still painted with Aircraft Gray as per instructions...
-
Hello Guys!
I've finally got the colors right for the intakes and the insides of the exhaust according to the previous photo I've posted. It took some test, two candidates were GSI intermediate blue (72) then Air Superiority Blue (74). Air superiority Blue hits the spot!
I'll be posting some progress pictures later.
See yah!
Nick
-
Glass fibers + polymer plastic. I haven't tried fiber glass before. But I always work with polymer plastics and other fillers. A lot of my modeler friends here always come to me for duplicating model parts with resin.
Thanks for sharing Vile.
Nick
-
MT, Paliodor, Schiz,
Thanks for the kudos guys!
Vile,
Are glass-reinforced plastics is the same as car windshield glass and the ones used in hi-rise glass structures?
If time permits, I may pull-up my airbrush tomorrow and start spraying primer on some parts. Personally, I find the aircraft gray a bit weird since the hasegawa display during its Macross Zero launch in Japan is different. I think they used GSI air superiority blue or something near to that.
Here's the photo:
Till then, Happy Modeling!
Nick
-
MT, I'm almost speechless! That's an outstanding build! I really liked the way you painted the 1/200 mechs, awesome. It will surely add realism on the Deadelus. The moving parts video is wonderful. Like I'm watching a documentary for Industrial Light and Magic!

Cheers! Looking forward to see your final build on this baby.
Nick
-
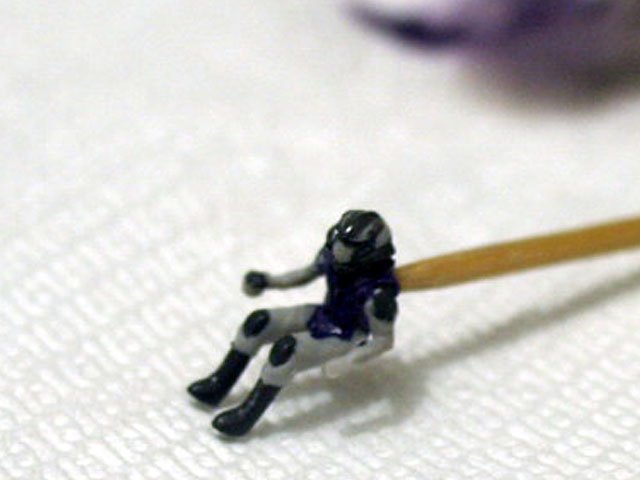
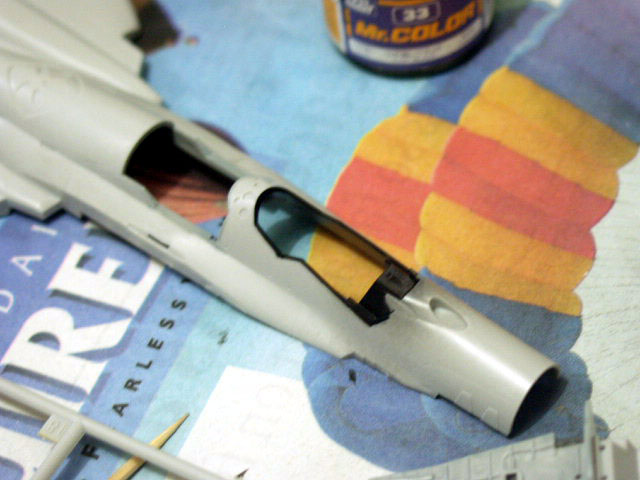
The bars that looked like ejection seat handles were also hand painted with a fine brush. Hand brushed a thinned Mr. Surfacer White 1000 on the part as foundation for yellow. Without this white, the yellow will appear dull. Then i brushed on character yellow, I have a strong liking on this yellow ever since i started gunpla. then the black stripes are Gunze #33 flat black.
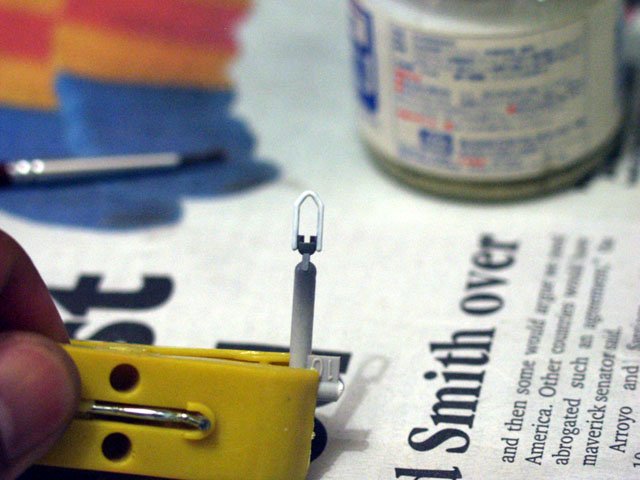
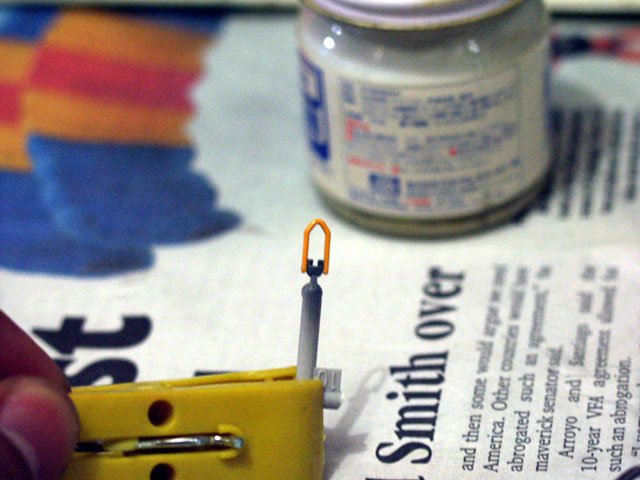
A very thin silver paint was brushed on to fans on the intake and the rear cockpit.


With the same thin consistency, aircraft gray was brushed on the side panels of the fans.


Front landing gear bay also recieves the same tratment and also the intakes and the landing gears.


painted the sides of the cockpit with #33 flat black

That's about it for this weekend. Hope to see you on the installment.
'Til then, Happy Modeling Guys!
Nick
-
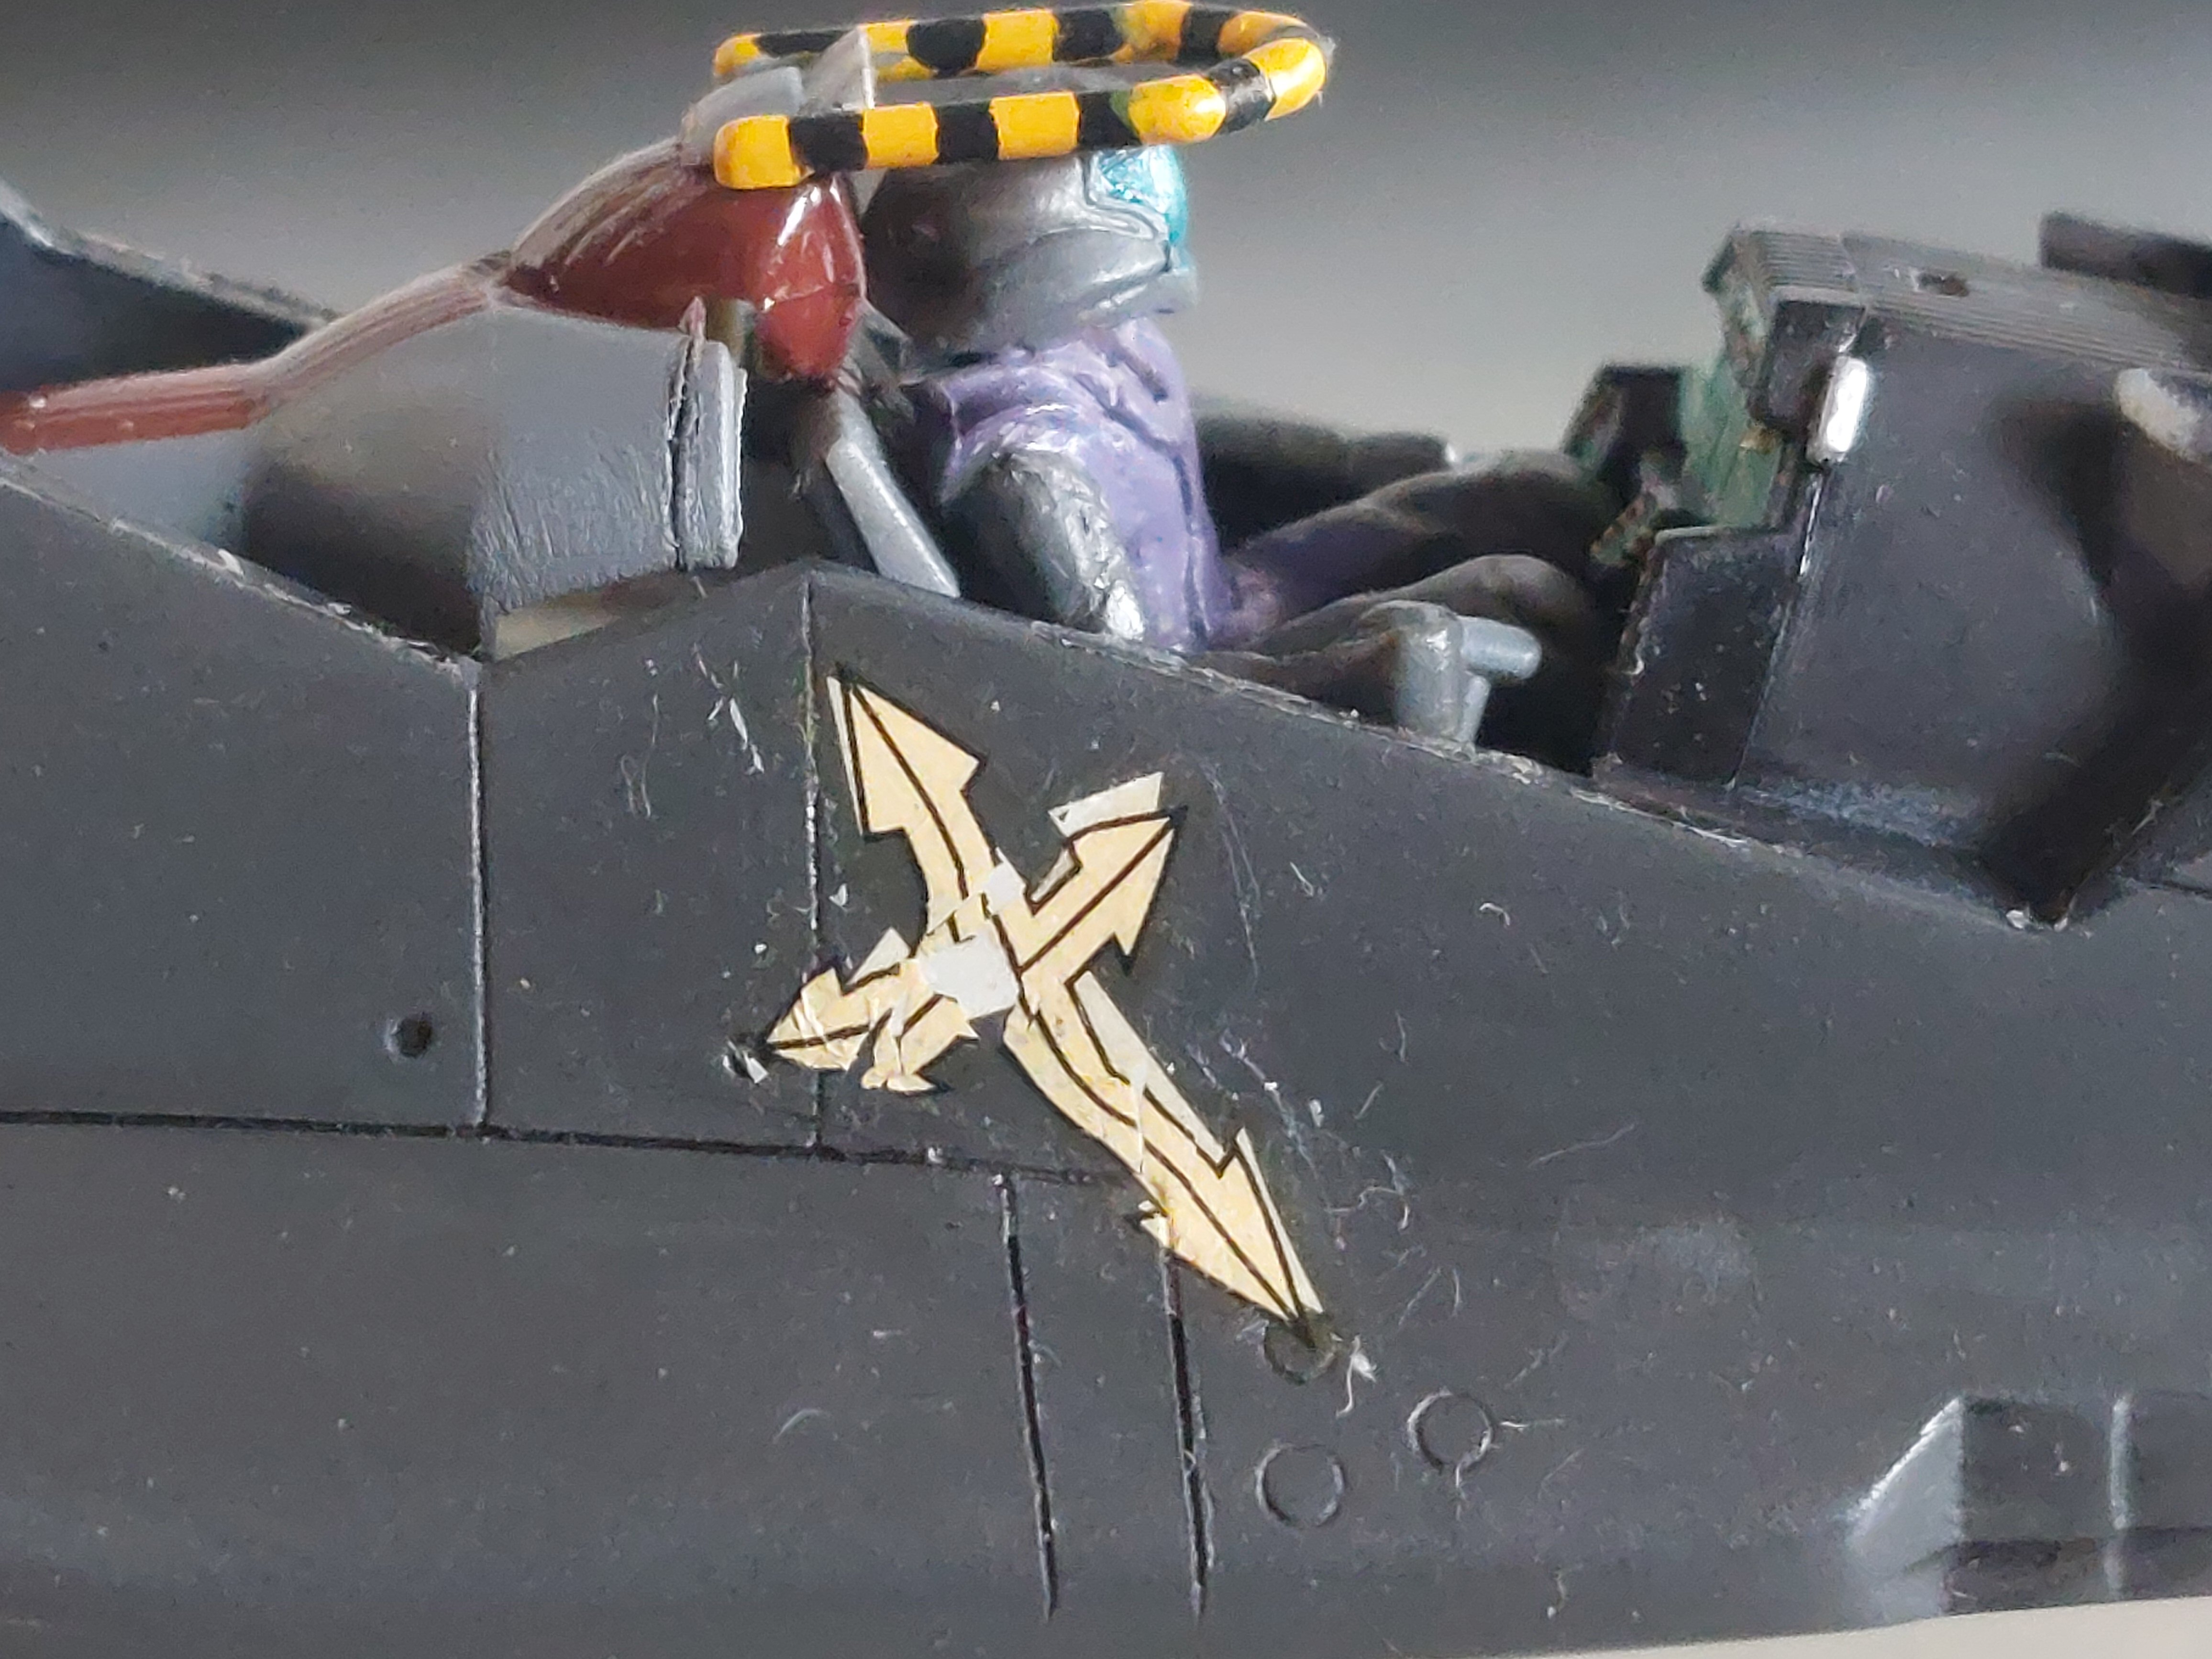
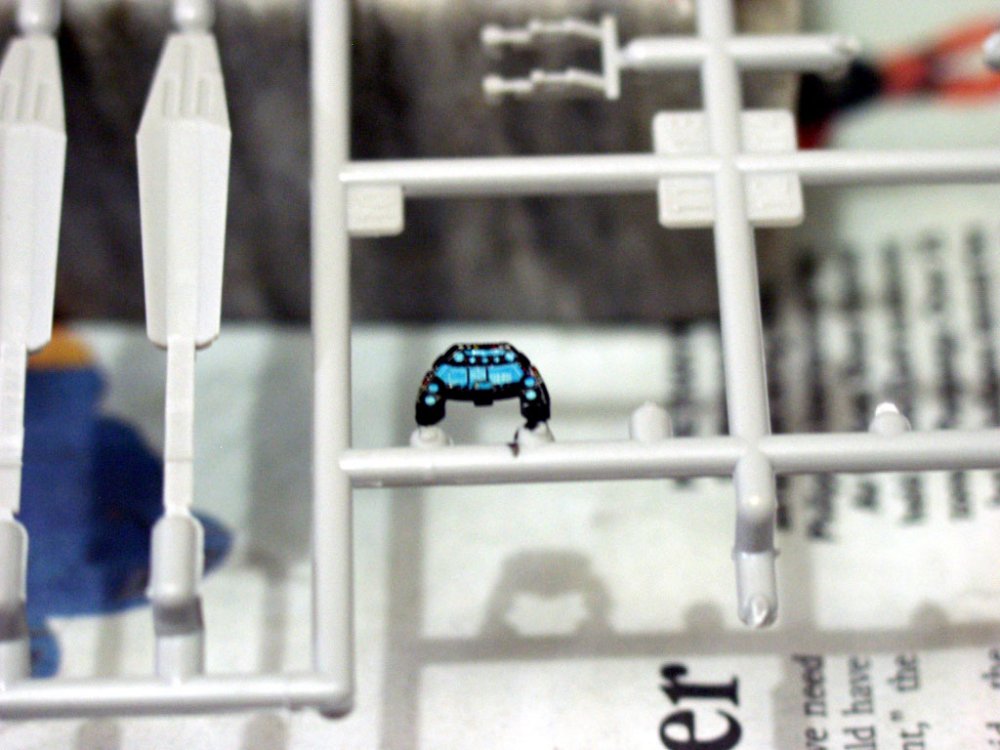
After the figure, here comes the "dashboard". Painted the part with gloss black first for the decal to cling on.
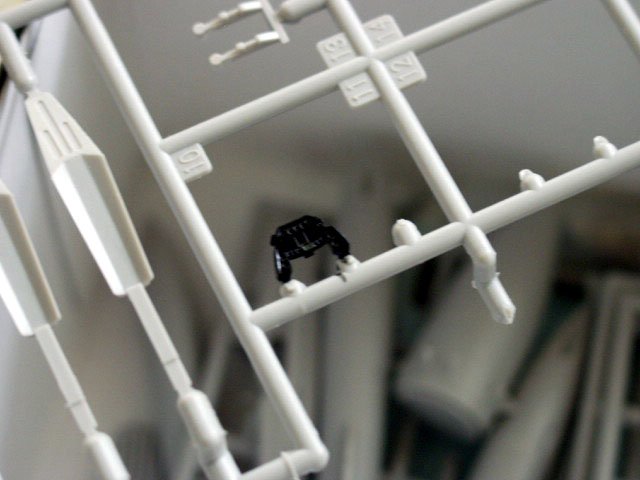
The decals were cut from the sheet using a design knife. It was cut on the edges of decal instead of cutting near to the decal to eliminate the clear film that can hinder the placement. Here's the sequence that i've used (numbers in red is the placement sequence):
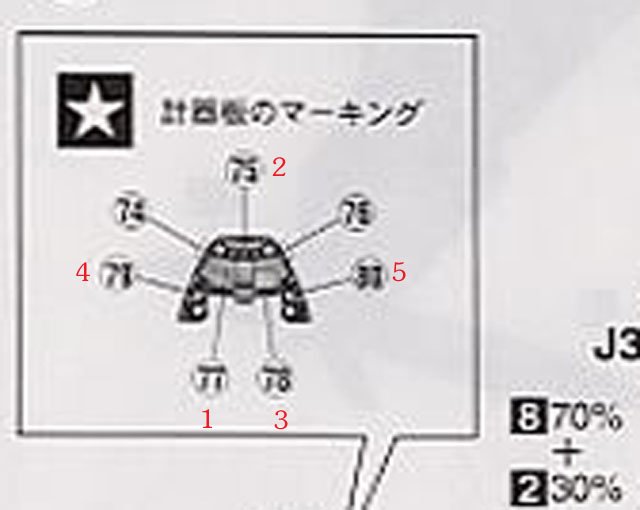
Decal No 77 was placed first, then 75. No. 78 was cut into 3 parts, with the center screen as the middle part because of the difference in height.
Lastly the side panels. 74 and 75 were not placed (rear view mirrors for i have painted it with silver. For the decals to conform, I have used microsol red for the decals to conform to its uneven surface. Sprayed clear gloss after letting it dry overnight. here's the pics:


-
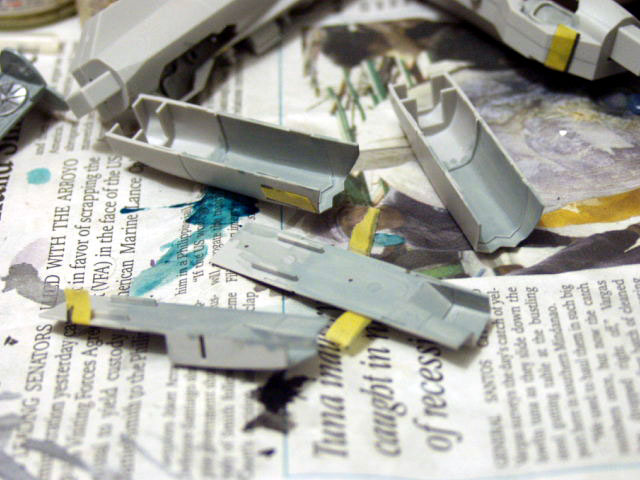
After a long week in the office, I finally got the chance to get back on this kit.
Started by cutting the flaps as suggested by WM Cheng.

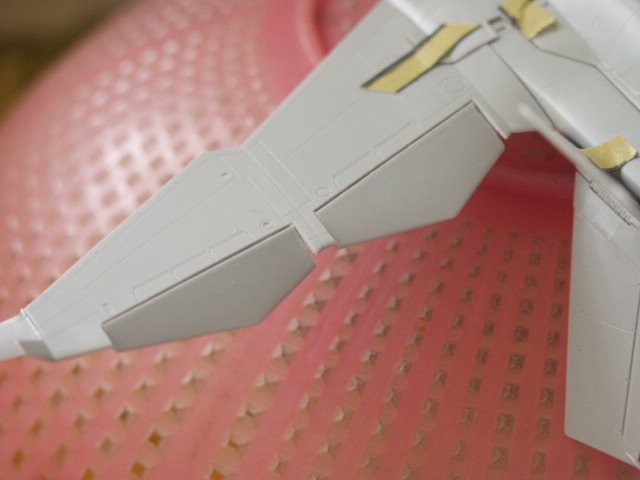

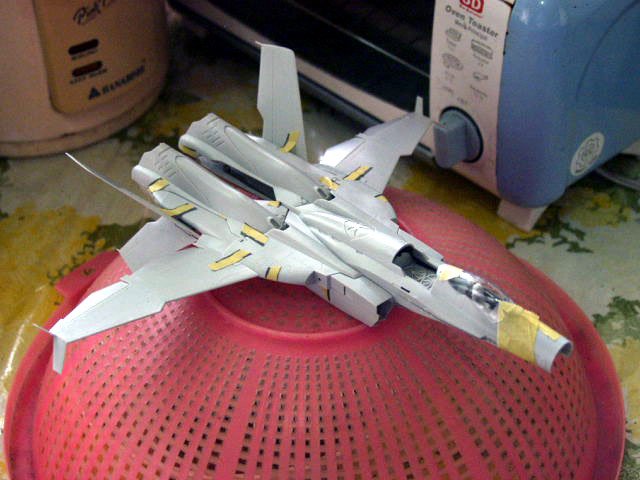
Figure painting follows:
Started by combining colors as per instruction sheet. The paints that i've used:
Using some toothpick, I combined the colors and added a few drops of gunze sangyo laquer thinner.

The step by step painting using a fine 00 brush. The face was painted with silver.


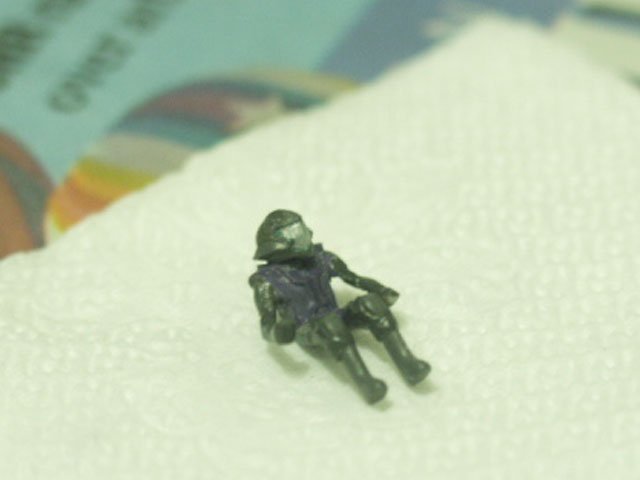
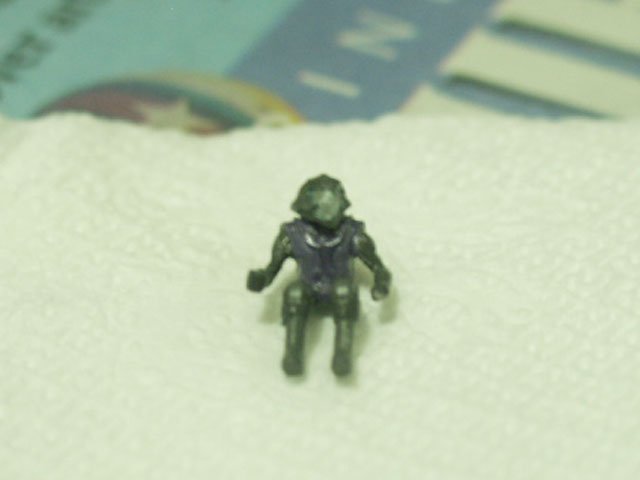

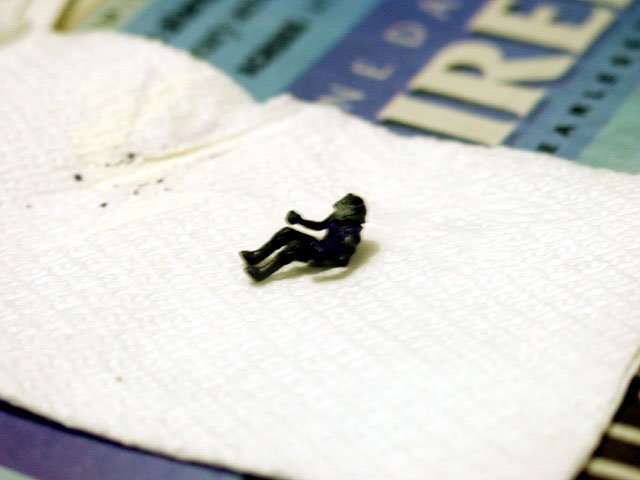
Since the silver paint is not enough. Added a very thin clear blue. Like wash consistency, more on the edges and less on the middle of the face mask.


-
Nice one Herve! Hope to see more of your progress.
-
Hello Shinigami,
Great work! Keep it up.
Happy Modeling!
-
Nice reference Nick! Notice he also "toed-in" the vertical stabilizers/rudders too (like F-18s) - not really liking the bright metallic orange legs though.
Hello Will,
The Japanese guy who made the sv-51 in the reference cuts almost all the moving parts. Not only the vertical but also the horizontal fins, just like smaller versons of the flaps on the rear fins. But I think I will just have to settle for the details on the main wings. That guy might charge me of plagiarism

Following your advice, I have just cut the flaps of the main wings (pictures coming this week). I will post some progress pics as soon as im finished closing the cockpit.
Thanks again and happy modeling!
Nick
-
looking good so far bro, you've got some techniques that i haven't heard of from skimming through some threads here.. and i never had an idea you're "pinoy" too 'til you dropped by my thread.. are you gonna stick with canon color scheme?
keep up the good work pare
Thanks Maverick. Man, you're great in scratchbuilding too and I also learn from your threads. I was surprised to know that there are still macross lovers here in Philippines. And I hope that the hobby will live on in our country.
About the color scheme, I think I have to stick with the Ivanov (Grey-Black) scheme since this is my first SV-51.
Happy Modeling, pare!
Nick
-
Hello Maverick,
Great build! Sayang, that you have to trash your DYRL sdf-1. Sana, you can build two versions in the future.
Anyway, If I have joined MW Forums earlier, we might have a chance to meet last year or early this year when were still working there, doing DVI work.
Hope you find more inspiration to finish your work and MABUHAY!
Nick
-
Hello David,
you may want to try Gunze Sangyo Spray. Their flat black is not dead flat, but it may have the sheen you want.
If you want a fine spray from any canned paints without ruining it, try to spray the model about 8inches away from the can and in faster motion.
It will be like misting the model with paint. Press the nozzle before the paint touches the model and move you hand over the model but make sure you depress the nozzle after the paint spray is out of the model.
You can go to tamiya site for the video, its in their tips and tricks corner.
Hope this helps.
Nick
-
Good progress Nickster!
A little tip, the outboard moveable surfaces on wings usually are ailerons (which are used to help in banking and rolling the aircraft to aid in turning) and the inboard moveable surfaces on the wings are the flaps (used to increase lift during times of low airspeed over the wingfoil - take off and landings). When an aircraft (real) is at rest, usually only the flaps may droop (unless they are tied to the ailerons in which case both will droop at the same angle, depending on the aircraft) - the ailerons only really move during flight.
I don't mean to nick-pick but I thought it might be educational for future reference. I still think moving the control surfaces are a great idea and do add a lot to the static quality of a lot of models. Just keep in mind that to add realism to sci-fi/anime models, its always nice to ground them in real world references. Please don't take these comments the wrong way, just thought it might be nice to know next time. I hope you don't take it the wrong way, I love your thread!
Thanks for the advice Will, no offense taken. I just followed the 1/32 Tamiya f-15 where the outer most moving surfaces are down. Thats the reason why I cut the ailerons of the SV-51. Your info educates me. Its just now that I have learned much regarding aircraft wings.
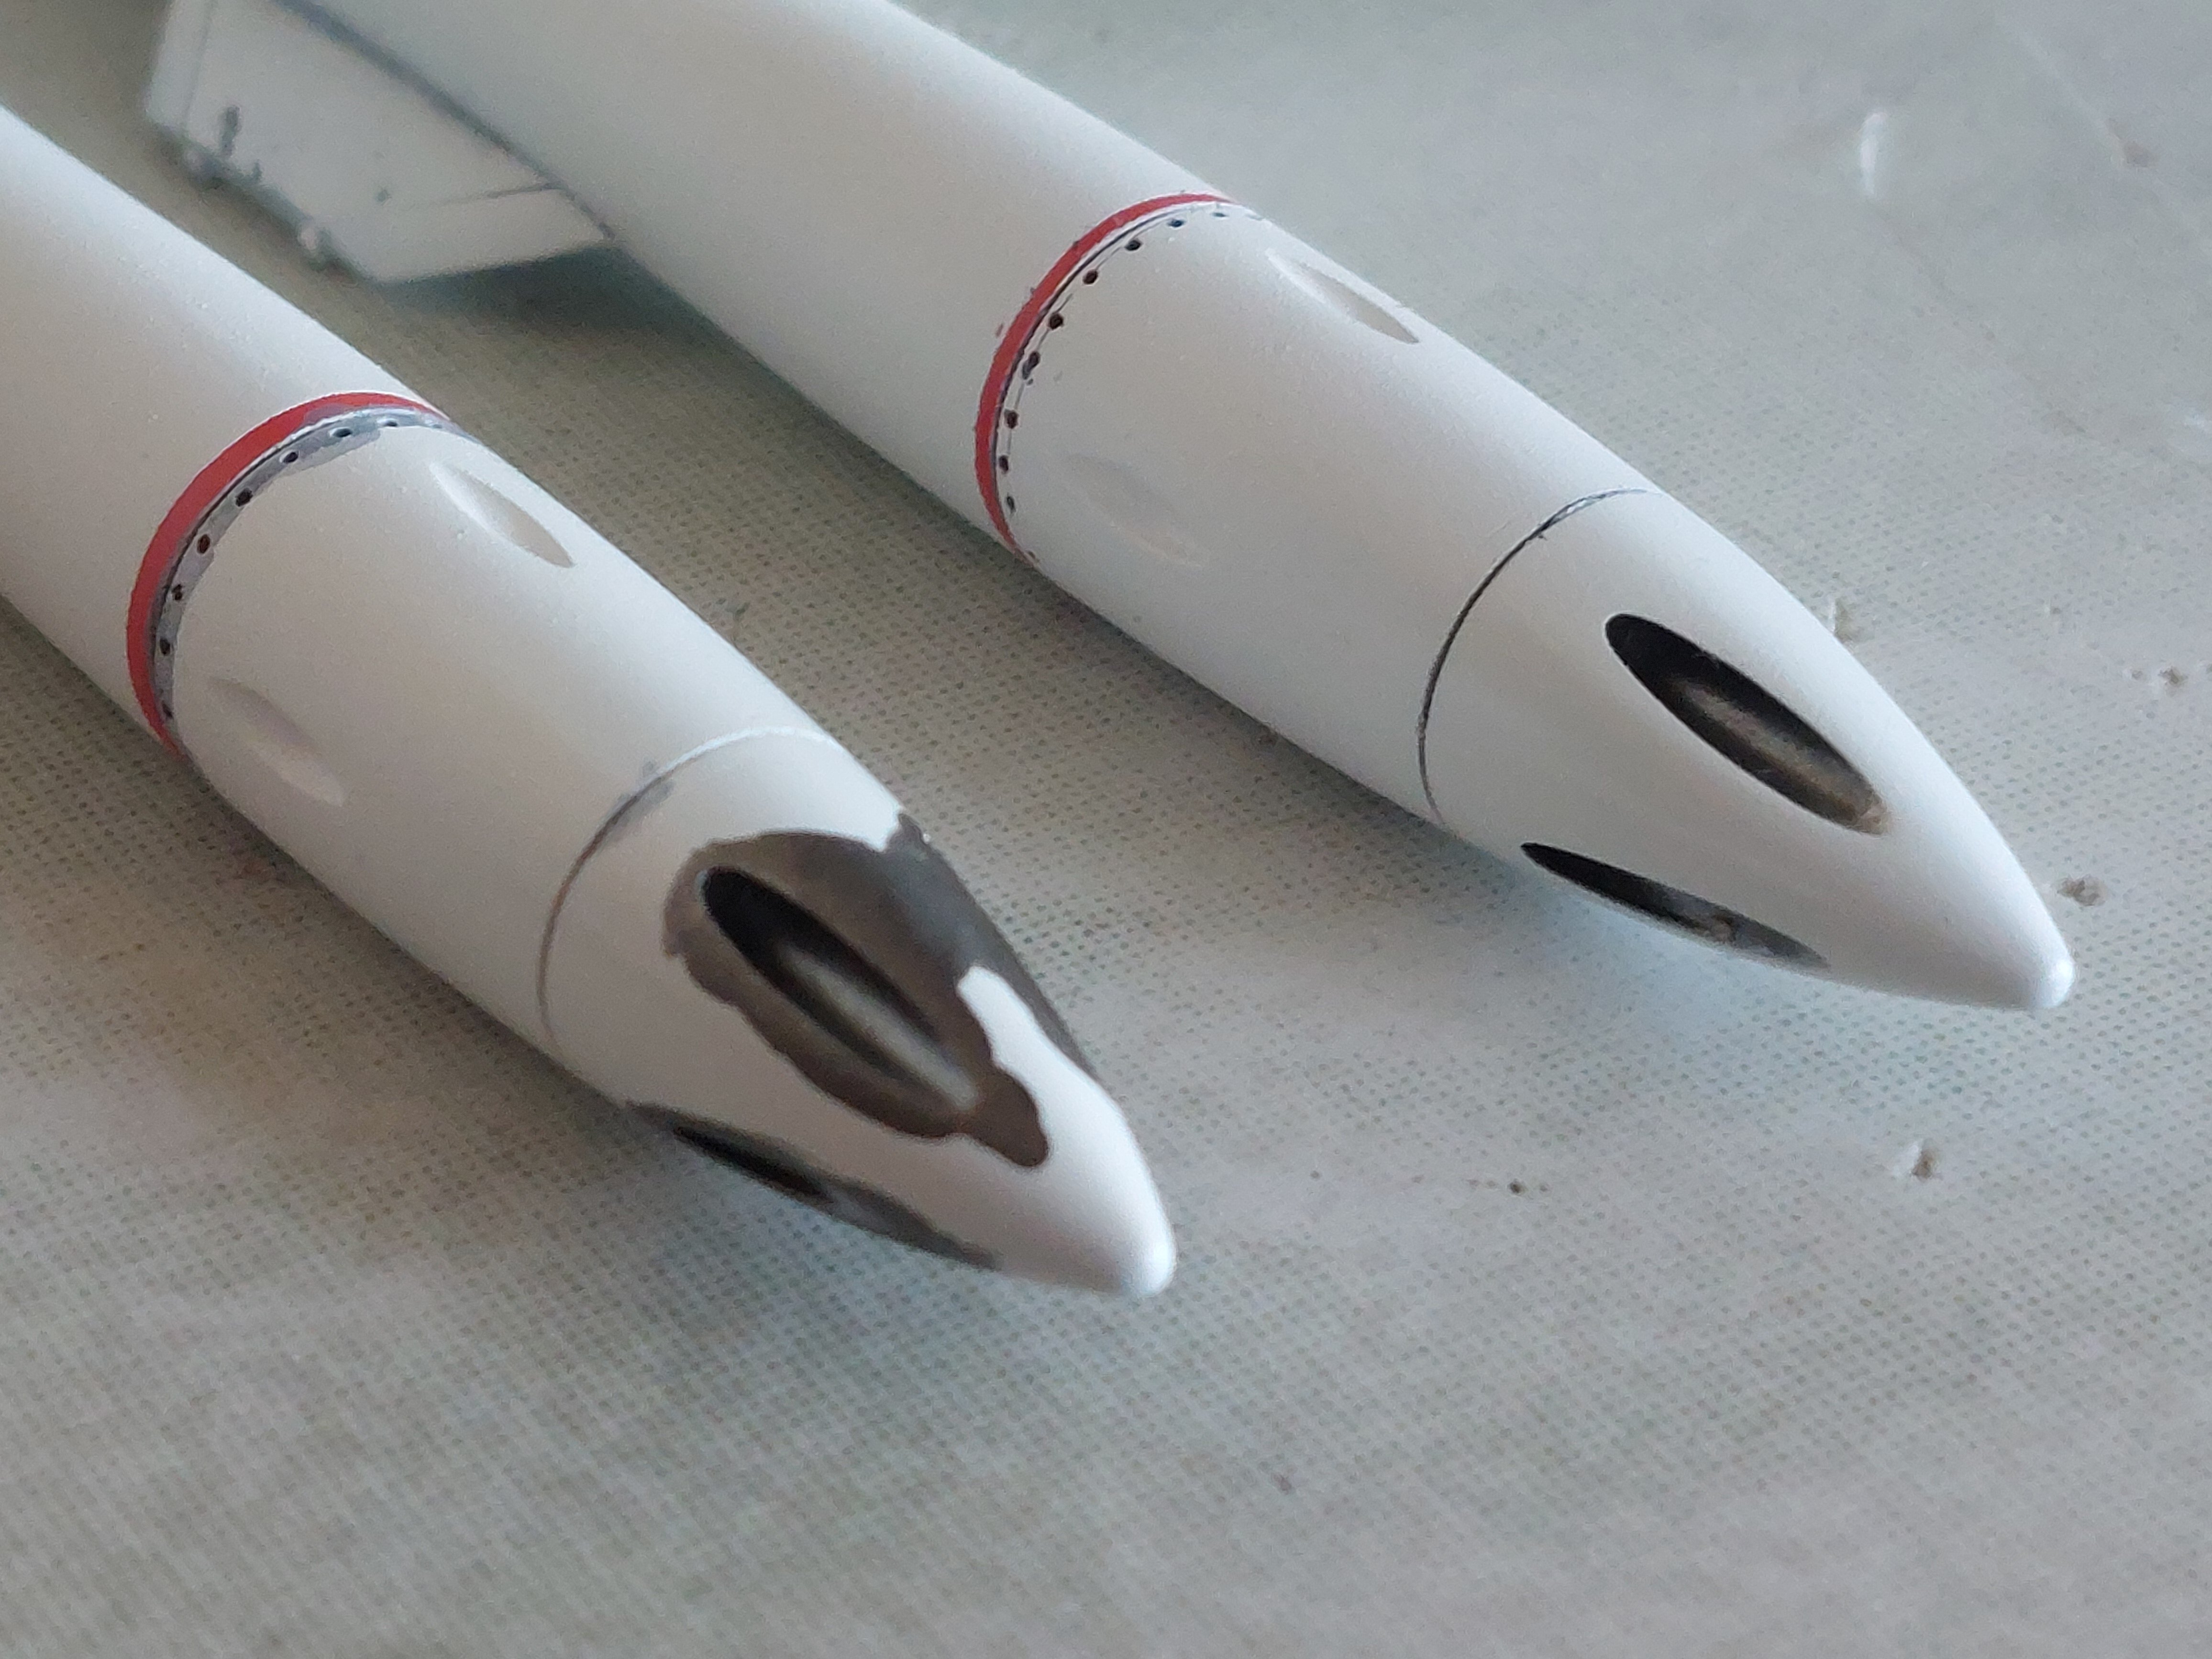
On the next progress, I will be cutting the flaps and bend it with the same angle with the ailerons. Here's some pics of the f-15E (my early reference) and a picture of SV-51 (the new reference) with flaps and ailerons on the same angle.
Old F-15 reference:
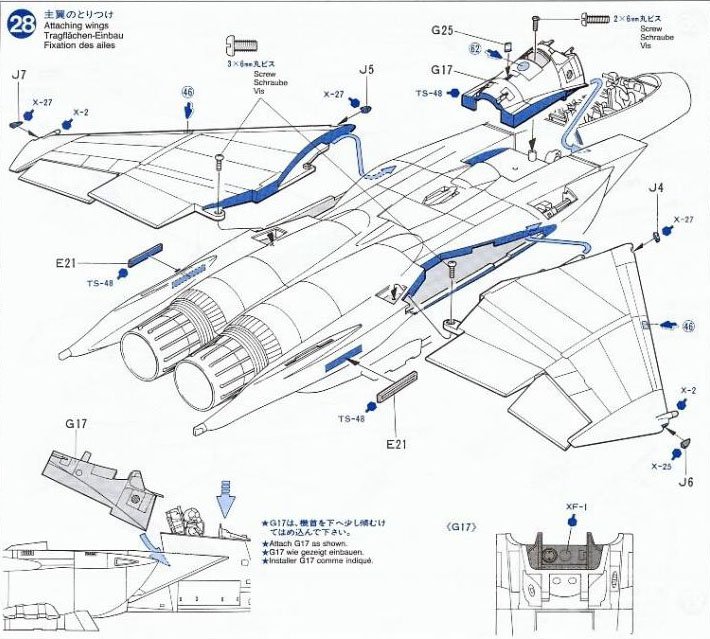
New SV-51 reference:
Thanks again and see you next update.
Nick


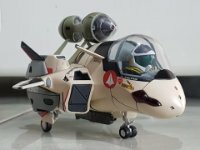
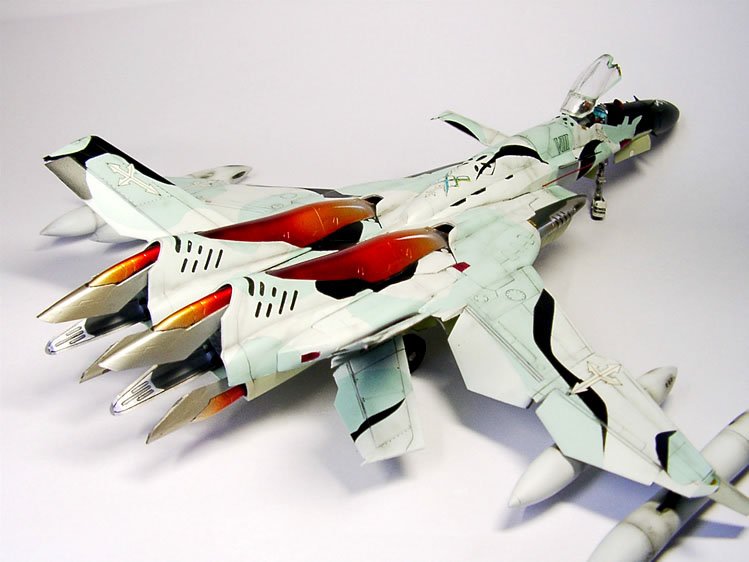
1/72 Hasegawa SV-51 Gamma w/ twin boosters (DD Ivanov type)
in The Workshop!
Posted
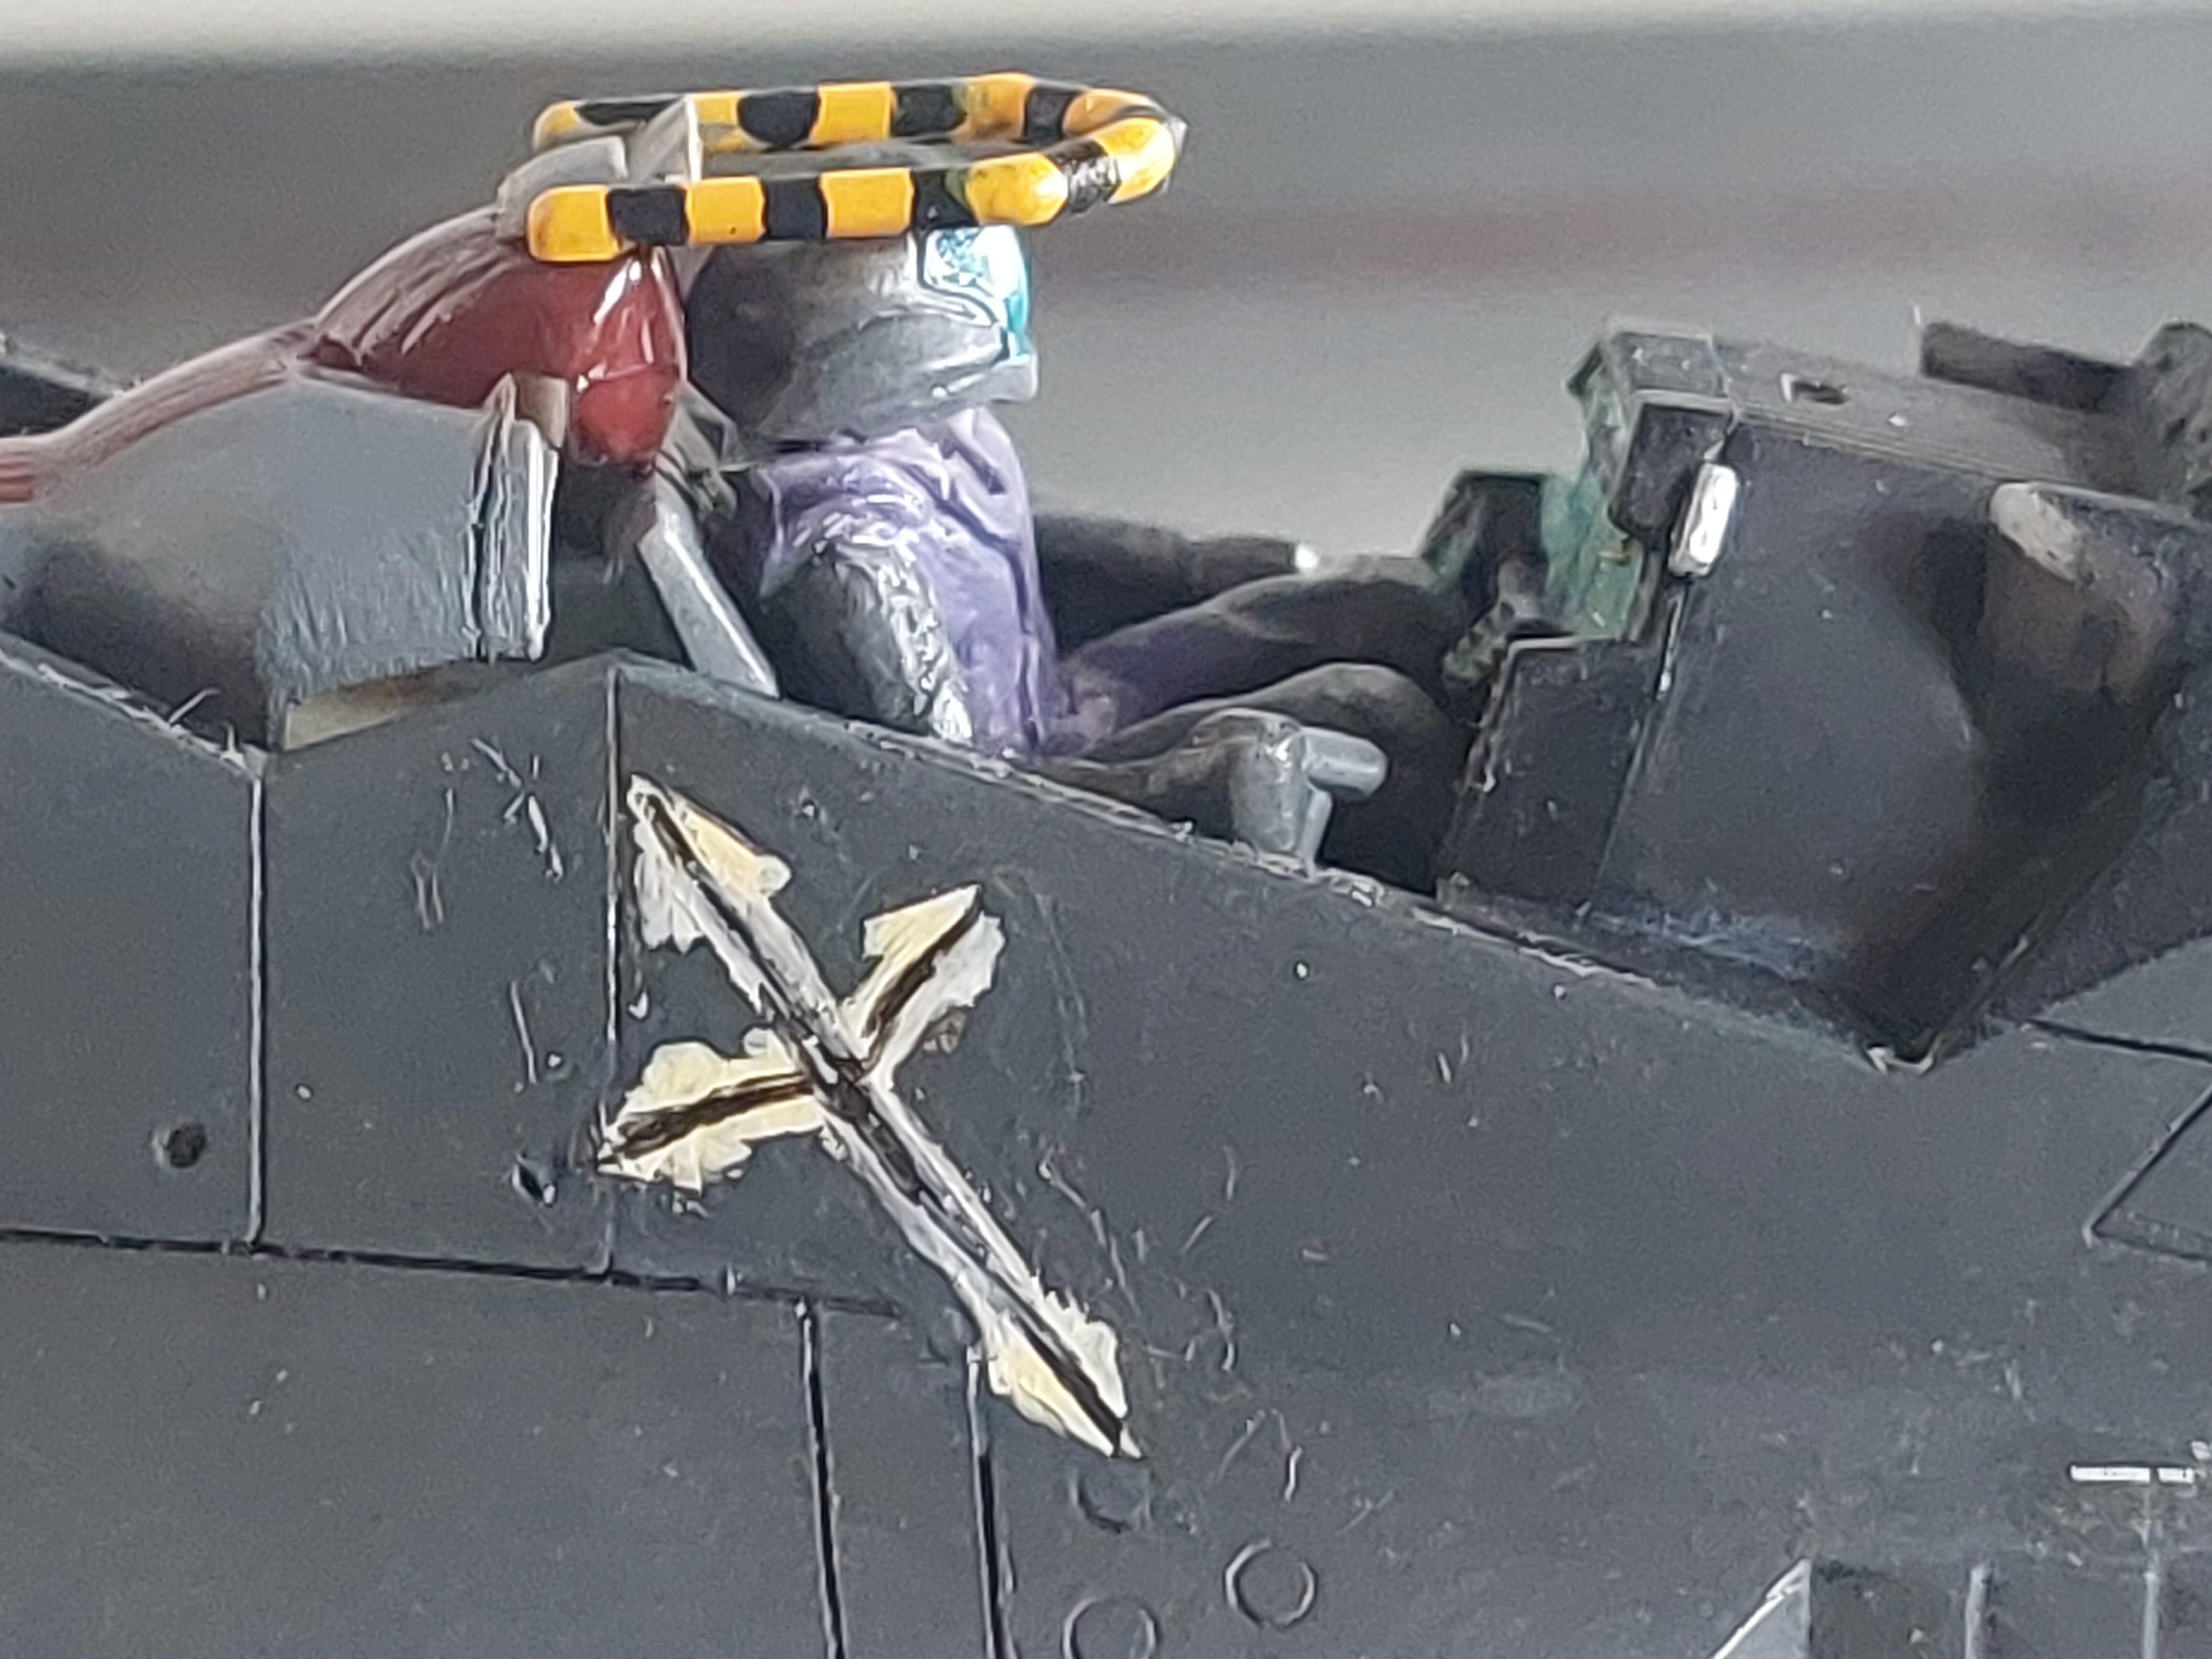
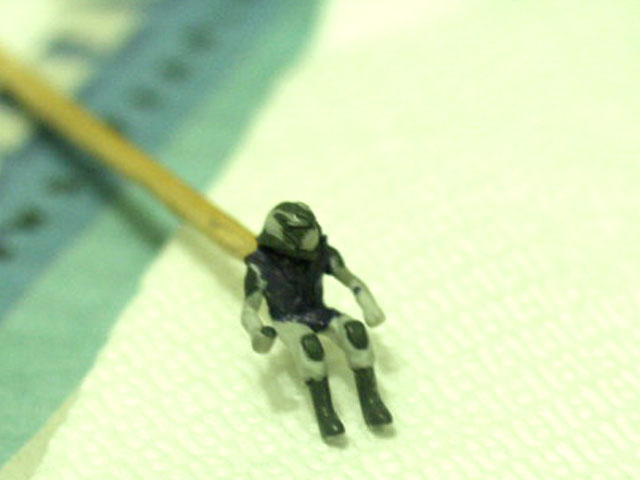
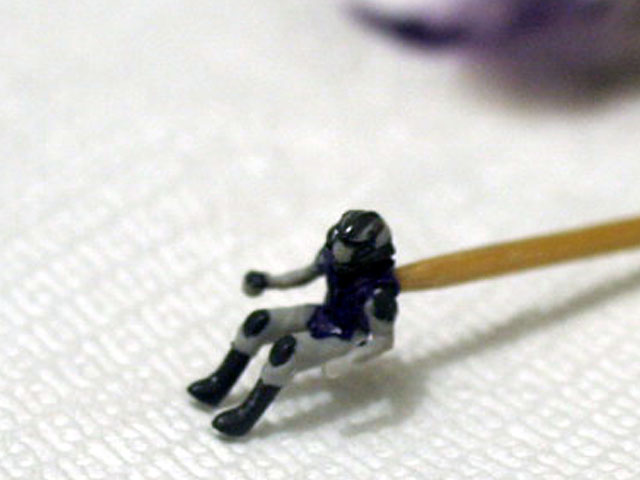
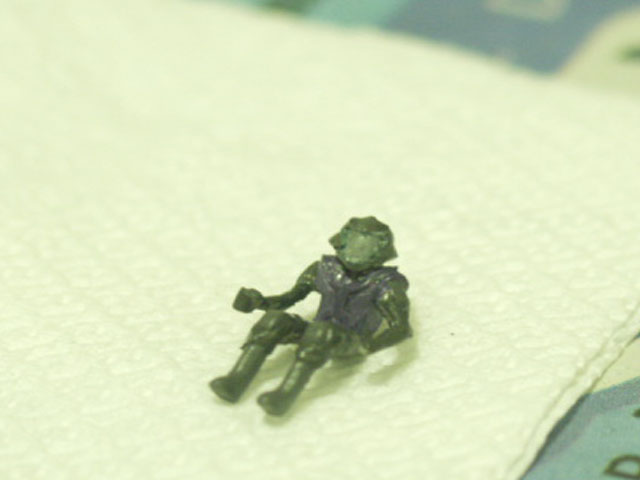
Here's the painted on version... my hand can muster 😂