-
Posts
49 -
Joined
-
Last visited
About nickster
- Birthday 08/22/1972
Contact Methods
-
Website URL
http://talyerpinoy.blogspot.com
-
ICQ
0
-
Yahoo
solid_snake_8
Profile Information
-
Gender
Male
-
Location
Manila, Philippines
-
Interests
Model Cars, Gundams, Macross, Armour, Aircraft... Just about anything... :-)
Recent Profile Visitors
2150 profile views
nickster's Achievements

Cannon Fodder (1/15)
0
Reputation
-
nickster changed their profile photo
-
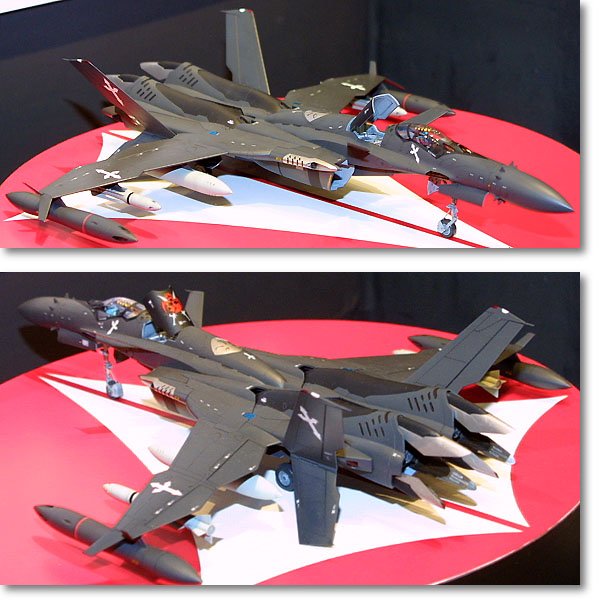
This build was the inspiration for my VF-0D... thanks again =D
-
Yamato 1/3000 SDF-1 modification and paint up...
nickster replied to wm cheng's topic in The Workshop!
Wow! Another masterpiece! Your work is very inspiring... cheers!!!!!! =D -
Great build! I like the blue tone on your model. Congratulations!!!!!
-
awesome digital camo!!!!!!! thanks for sharing and hope to see more of your builds in the future.
-

1/72 Hasegawa SV-51 Gamma w/ twin boosters (DD Ivanov type)
nickster replied to nickster's topic in The Workshop!
Great tip on the india ink and future Ter-or. I'll try it on some projects in the future. Whew!!!!! Its been months since i've been here... been very busy with lots of stuff at work... and at home... I finished two HGUC kits... Kampfer and Zaku II FZ both from Gundam 0080 War in the pocket. At work, two 1/35 armor was finished, an M26 armored recovery vehicle and an M7 Priest. All of them will be posted next week on my blogspot... As for the SV-51, which i forgot to finish will be finished by next week. Then, its vacation time for me... :-) -

1/72 Hasegawa SV-51 Gamma w/ twin boosters (DD Ivanov type)
nickster replied to nickster's topic in The Workshop!
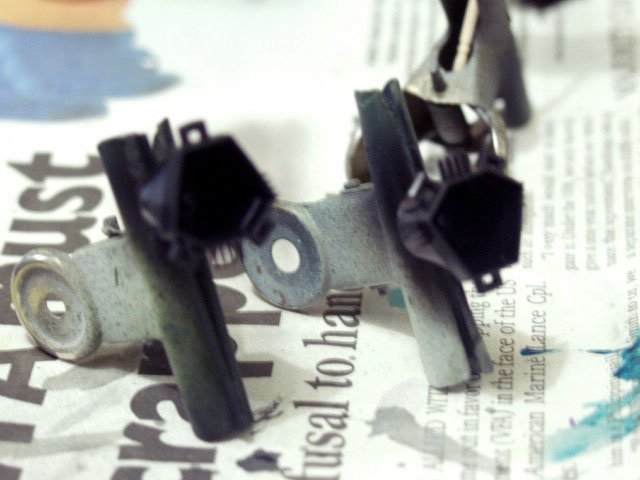
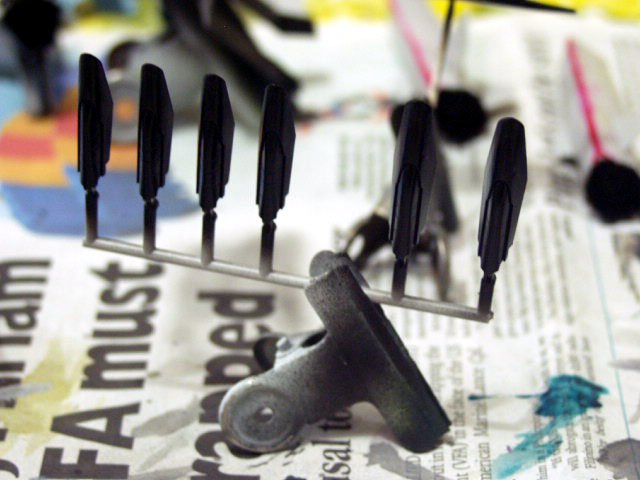
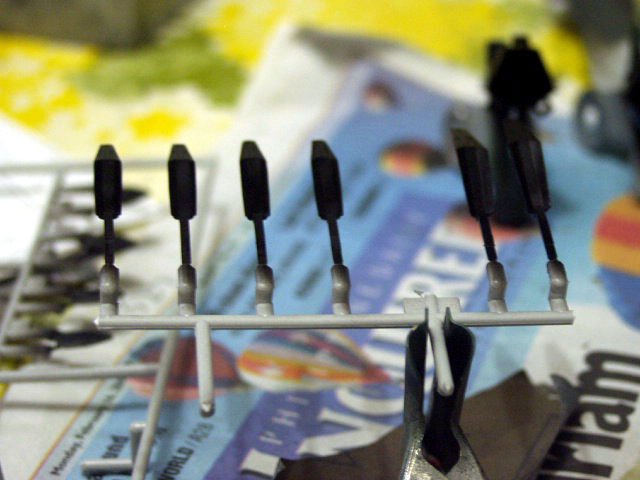
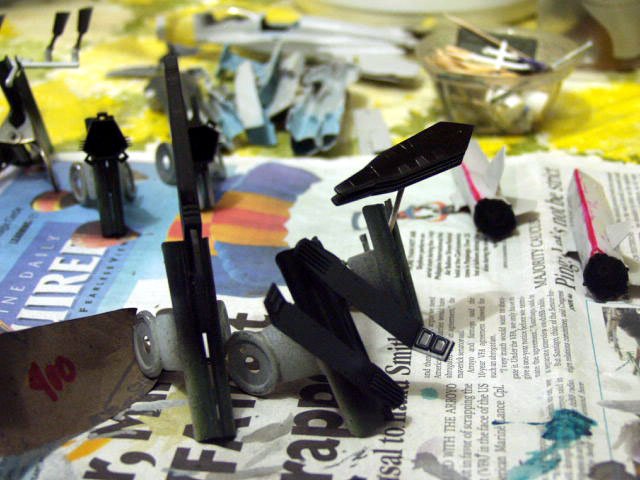
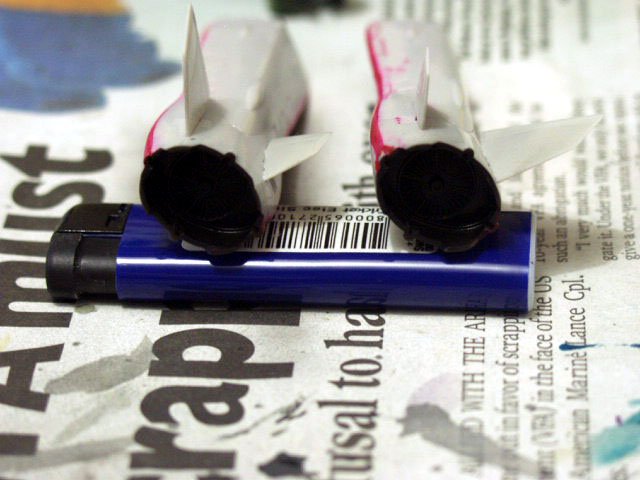
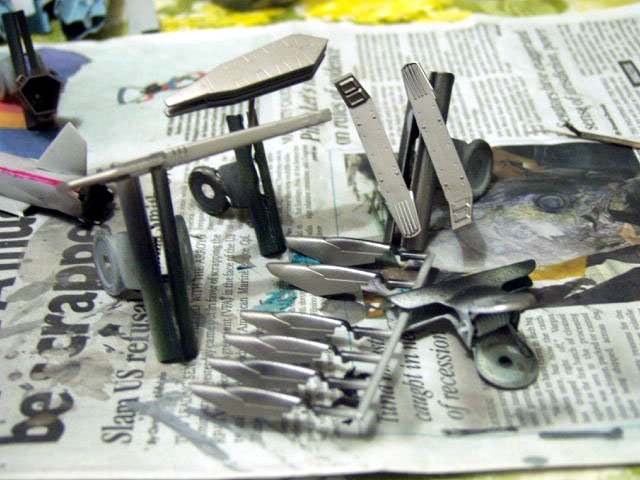
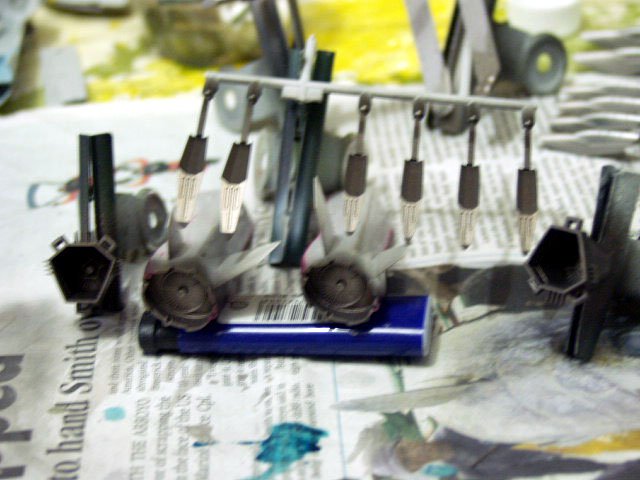
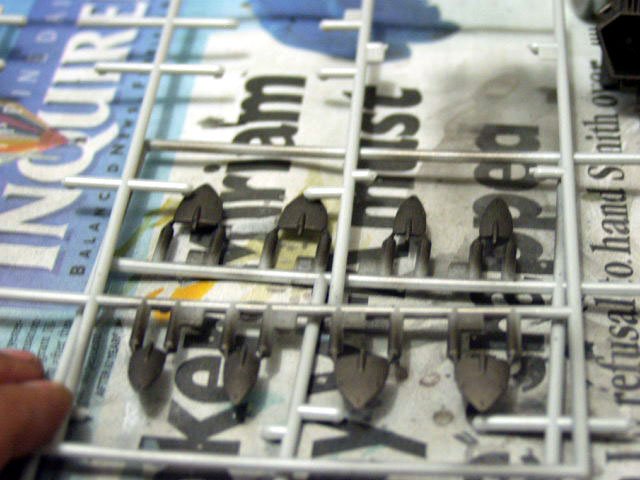
Early today... I've started painting the metallic parts of thie SV-51 Gamma. Everything that needed to painted with metallic colors were airbrushed with Gloss Black (Mr. Color #2) as a foundation for the metallics. The Bell of the exhaust, outer foot, insides of the foot, the gun, magazine pack and side walls that holds the magazine pack. The twin boosters exhaust and its exhasut fins were also covered with gloss black. The next step that I did was to pull-out the mixed paint that I used in an F-15E strike eagle in 1/32 scale. This mixed paint is a combination of gold, silver, steel and clear orange. I Learned this paint mixture from Plamo tsokurou videos featuring the 1/32 Tamiya F-15E Strike Eagle (available in You Tube). The parts painted were the outsides of the foot, Gun, magazine pack and the side holds that holds them. By adding a bit of gloss black to darken the previously mixed paint, I have painted the bells of the exhaust, exhaust of the twin booster and insides of the foot which was generaly exposed to the main exhausts bells. The fins of the twin booster was also covered by the darkened mix. I was thinking of covering the metallic parts with Mr. Color's Super Clear III but the weather here is not good for clear painting. Too much moisture in the air will make the clear paint frost. After sometime, before I put them back to the box, I decided to cover all the metallic parts in clear for a bit of sheen. Hope to give you some updates tomorrow. 'Til then, Happy Modeling! Nick -

1/72 Hasegawa SV-51 Gamma w/ twin boosters (DD Ivanov type)
nickster replied to nickster's topic in The Workshop!
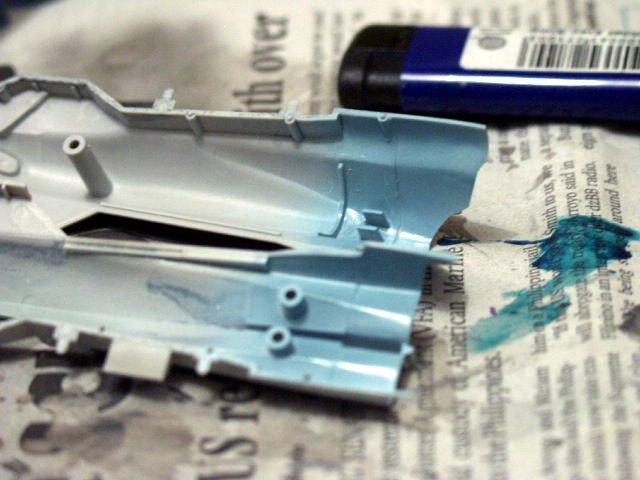
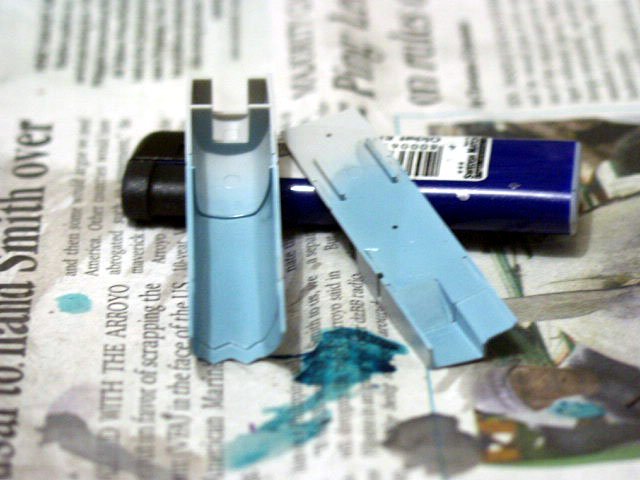
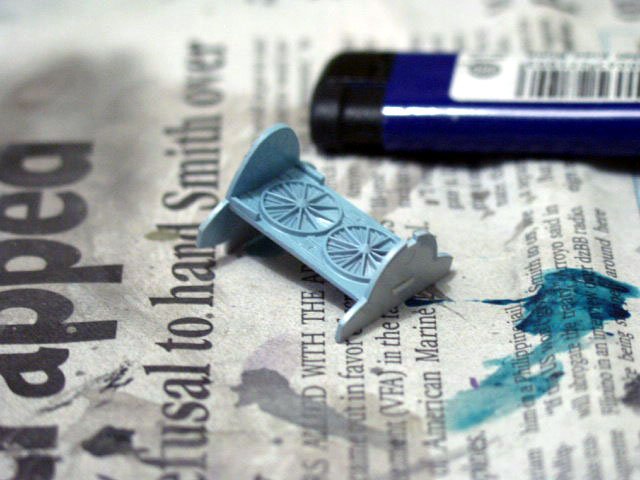
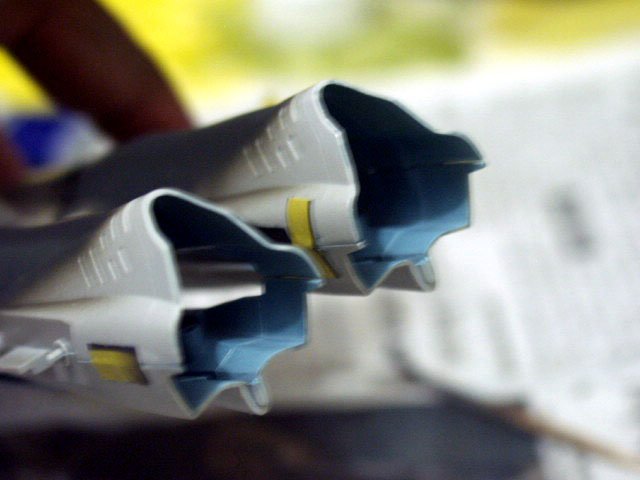
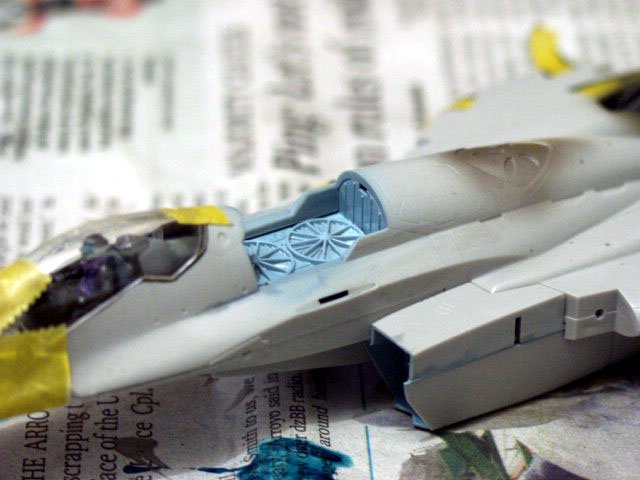
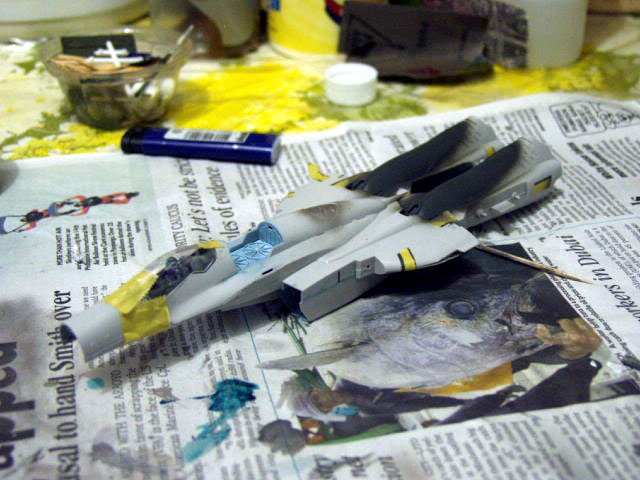
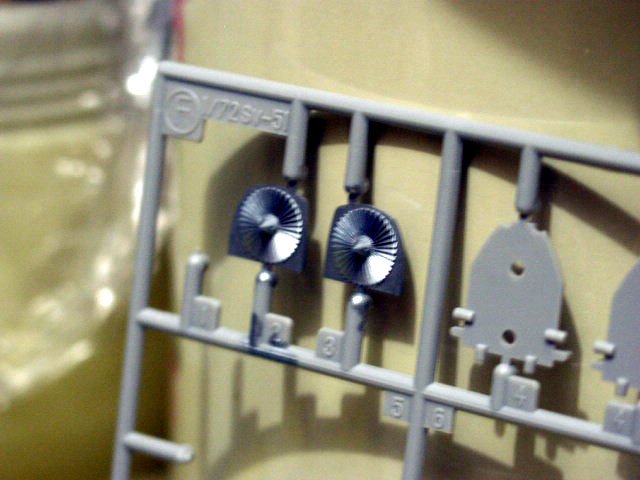
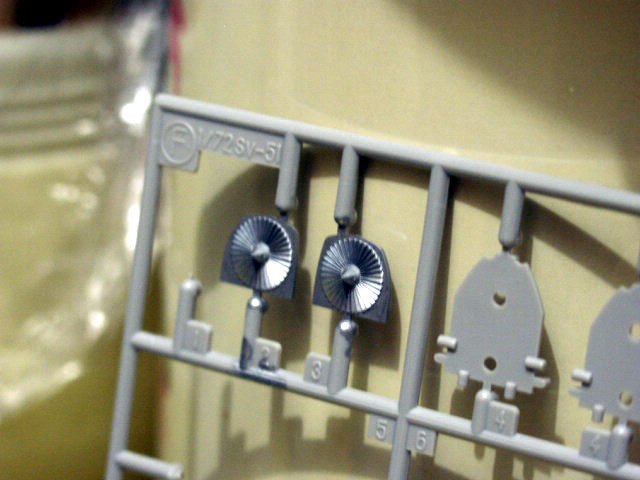
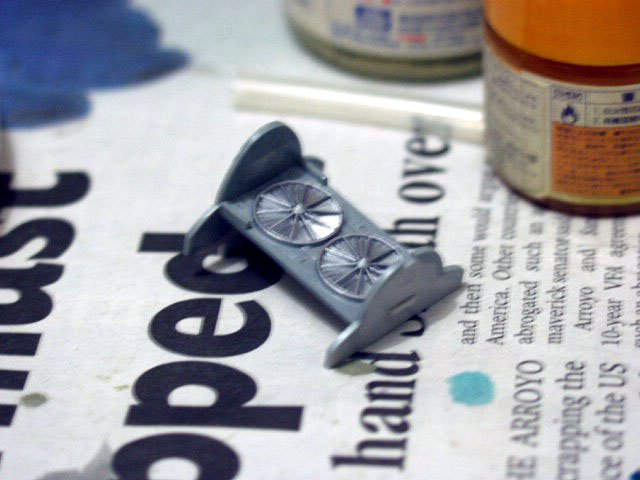
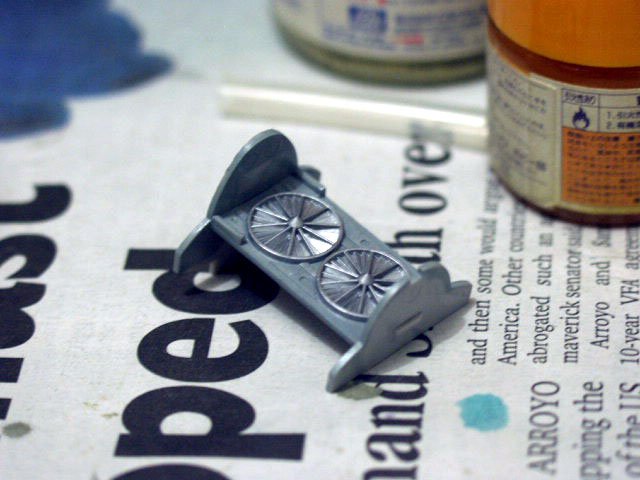
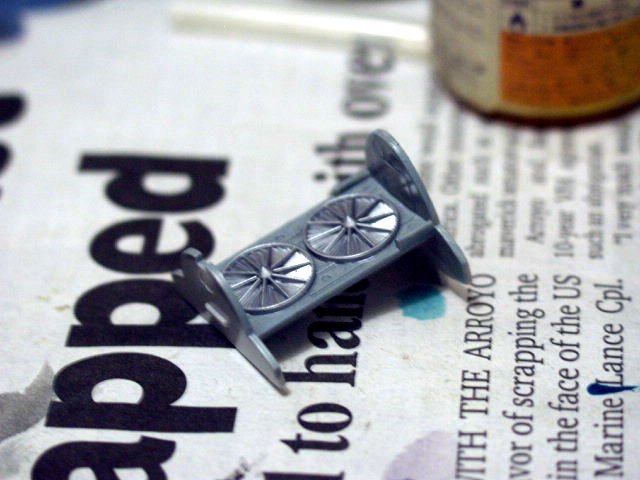
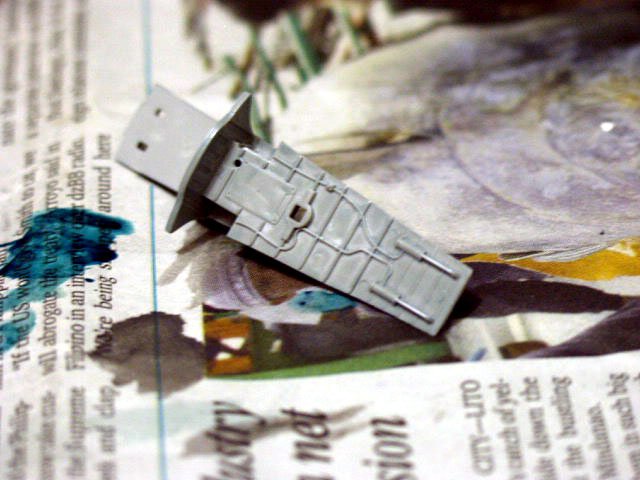
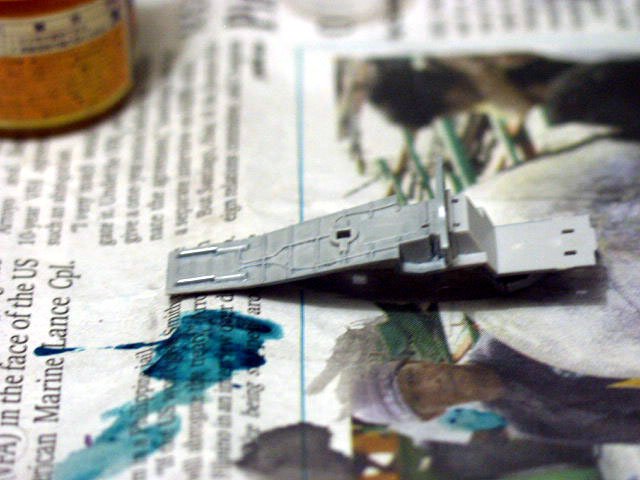
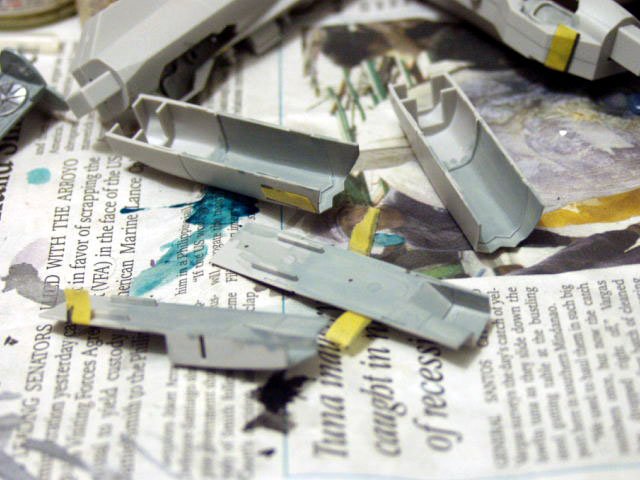
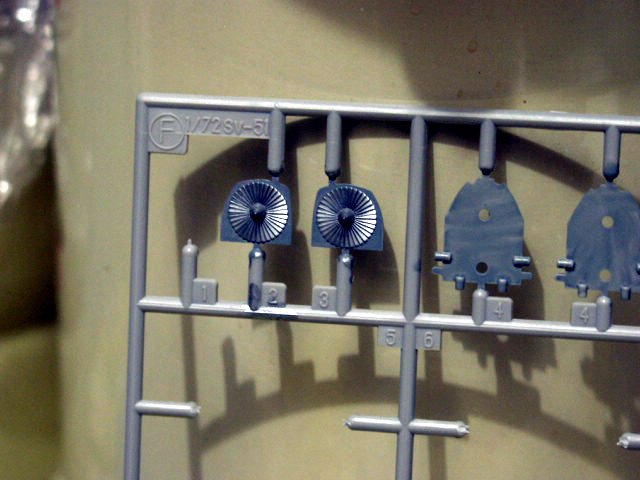
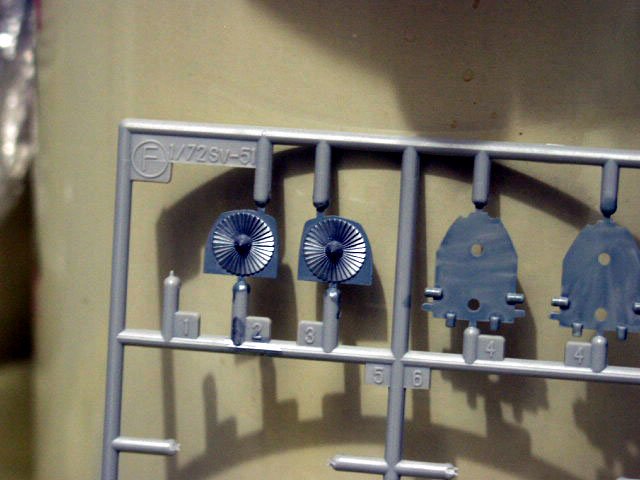
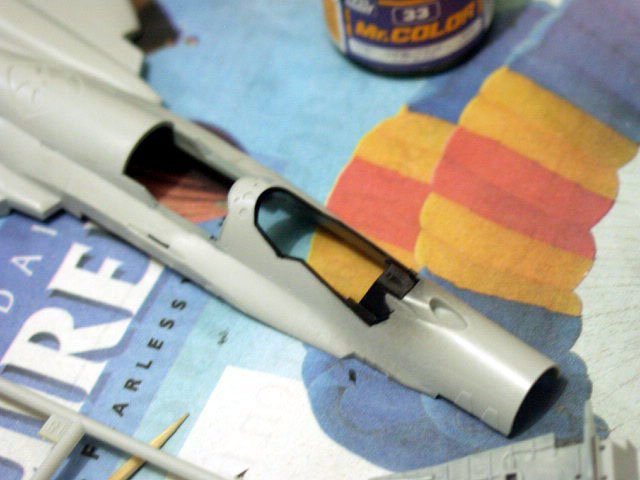
Hello Guys! Here's the pics of the parts painted with GSI's Air Superiority Blue (74) replacing Aircraft Gray (73) as per instructions. The side walls of the exhaust... Air Intake tunnel The Twin Fans on the back of the rear seat Exhaust side walls when test-fitted Twin Fans when test fitted Another preview... However the landing gear bays were still painted with Aircraft Gray as per instructions... -

1/72 Hasegawa SV-51 Gamma w/ twin boosters (DD Ivanov type)
nickster replied to nickster's topic in The Workshop!
Hello Guys! I've finally got the colors right for the intakes and the insides of the exhaust according to the previous photo I've posted. It took some test, two candidates were GSI intermediate blue (72) then Air Superiority Blue (74). Air superiority Blue hits the spot! I'll be posting some progress pictures later. See yah! Nick -

1/72 Hasegawa SV-51 Gamma w/ twin boosters (DD Ivanov type)
nickster replied to nickster's topic in The Workshop!
Glass fibers + polymer plastic. I haven't tried fiber glass before. But I always work with polymer plastics and other fillers. A lot of my modeler friends here always come to me for duplicating model parts with resin. Thanks for sharing Vile. Nick -

1/72 Hasegawa SV-51 Gamma w/ twin boosters (DD Ivanov type)
nickster replied to nickster's topic in The Workshop!
MT, Paliodor, Schiz, Thanks for the kudos guys! Vile, Are glass-reinforced plastics is the same as car windshield glass and the ones used in hi-rise glass structures? If time permits, I may pull-up my airbrush tomorrow and start spraying primer on some parts. Personally, I find the aircraft gray a bit weird since the hasegawa display during its Macross Zero launch in Japan is different. I think they used GSI air superiority blue or something near to that. Here's the photo: Till then, Happy Modeling! Nick -
MT, I'm almost speechless! That's an outstanding build! I really liked the way you painted the 1/200 mechs, awesome. It will surely add realism on the Deadelus. The moving parts video is wonderful. Like I'm watching a documentary for Industrial Light and Magic! Cheers! Looking forward to see your final build on this baby. Nick
-

1/72 Hasegawa SV-51 Gamma w/ twin boosters (DD Ivanov type)
nickster replied to nickster's topic in The Workshop!
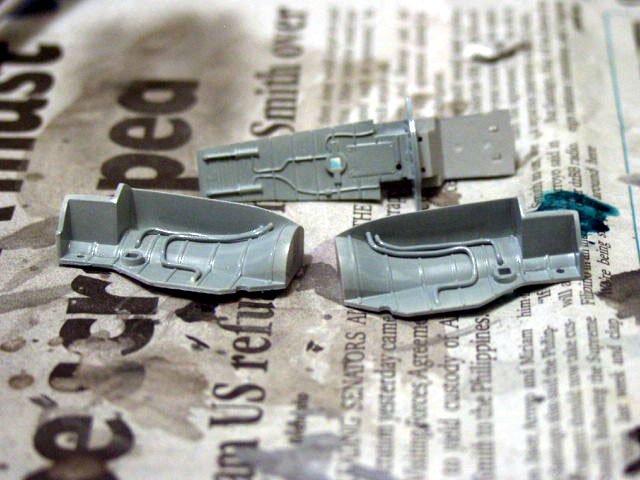
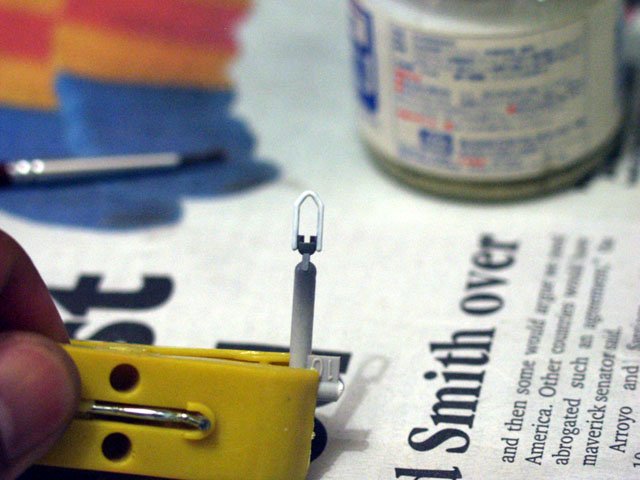
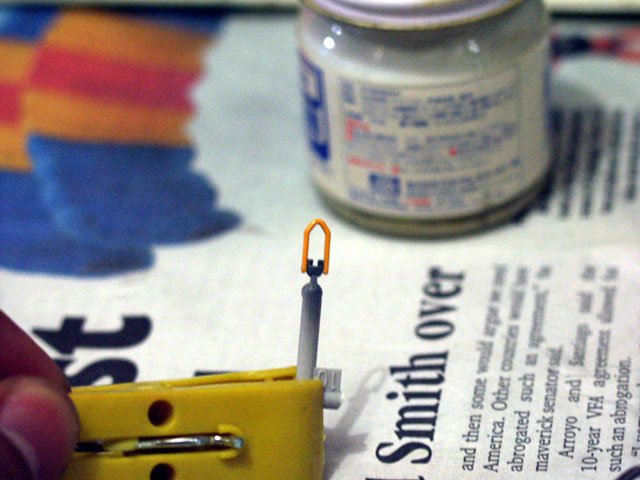
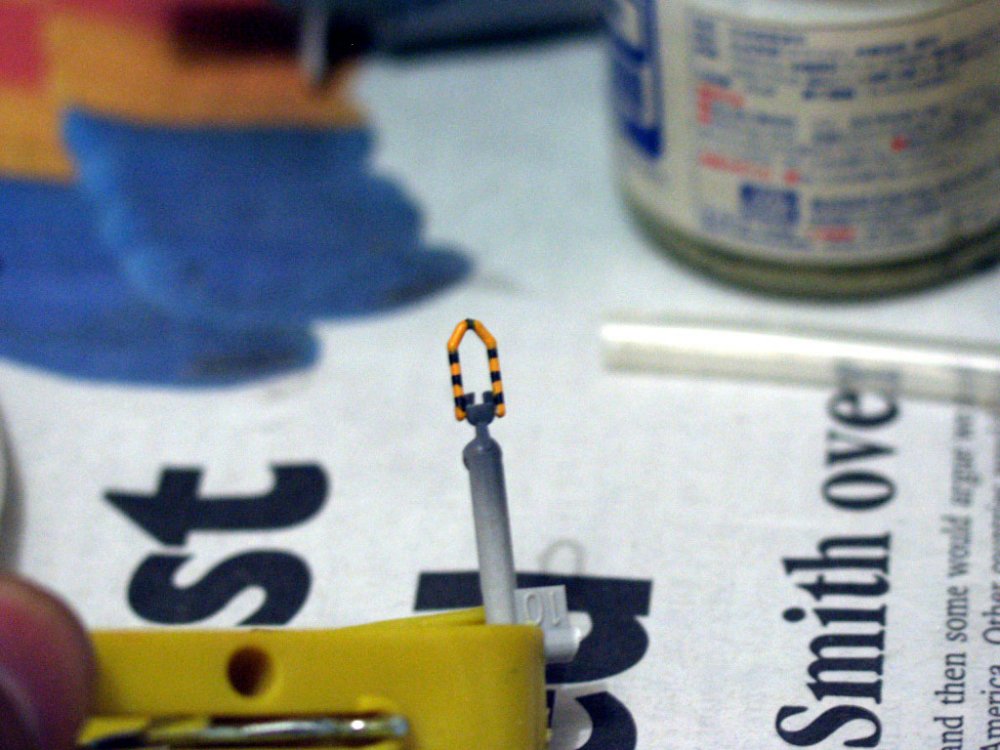
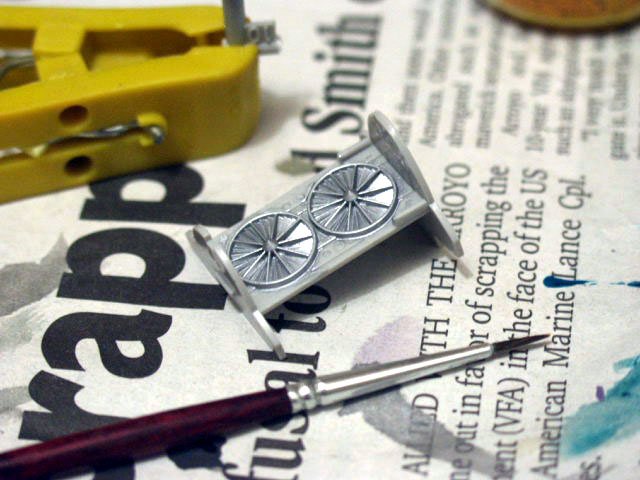
The bars that looked like ejection seat handles were also hand painted with a fine brush. Hand brushed a thinned Mr. Surfacer White 1000 on the part as foundation for yellow. Without this white, the yellow will appear dull. Then i brushed on character yellow, I have a strong liking on this yellow ever since i started gunpla. then the black stripes are Gunze #33 flat black. A very thin silver paint was brushed on to fans on the intake and the rear cockpit. With the same thin consistency, aircraft gray was brushed on the side panels of the fans. Front landing gear bay also recieves the same tratment and also the intakes and the landing gears. painted the sides of the cockpit with #33 flat black That's about it for this weekend. Hope to see you on the installment. 'Til then, Happy Modeling Guys! Nick -

1/72 Hasegawa SV-51 Gamma w/ twin boosters (DD Ivanov type)
nickster replied to nickster's topic in The Workshop!
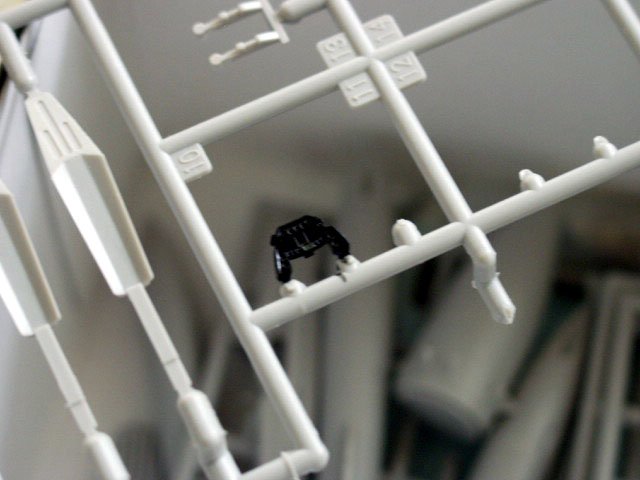
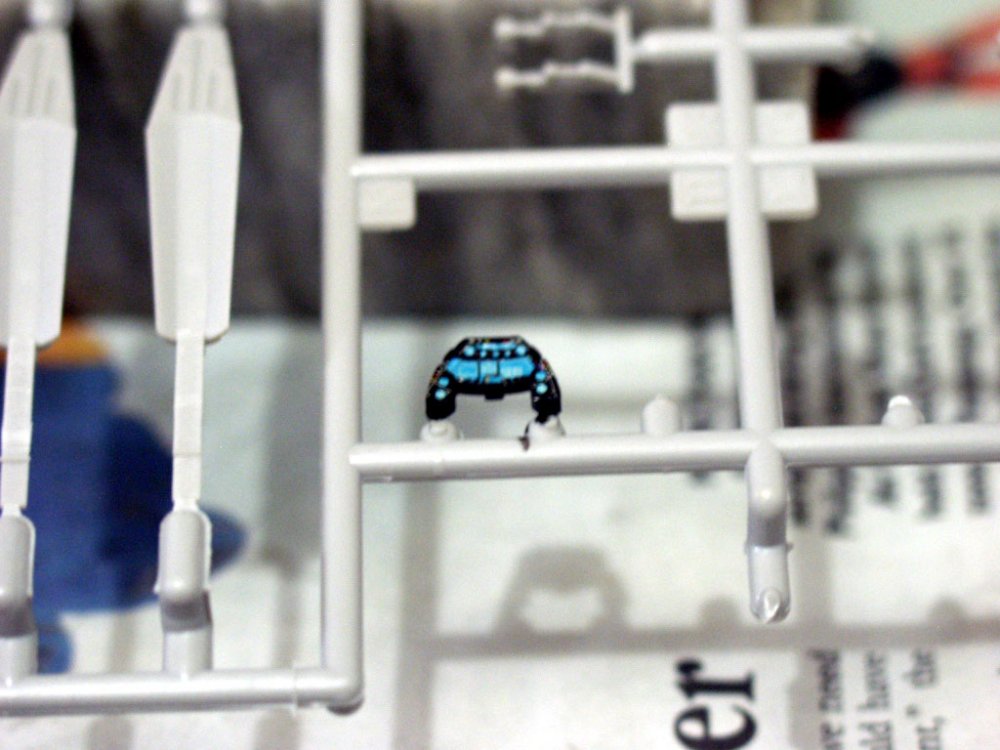
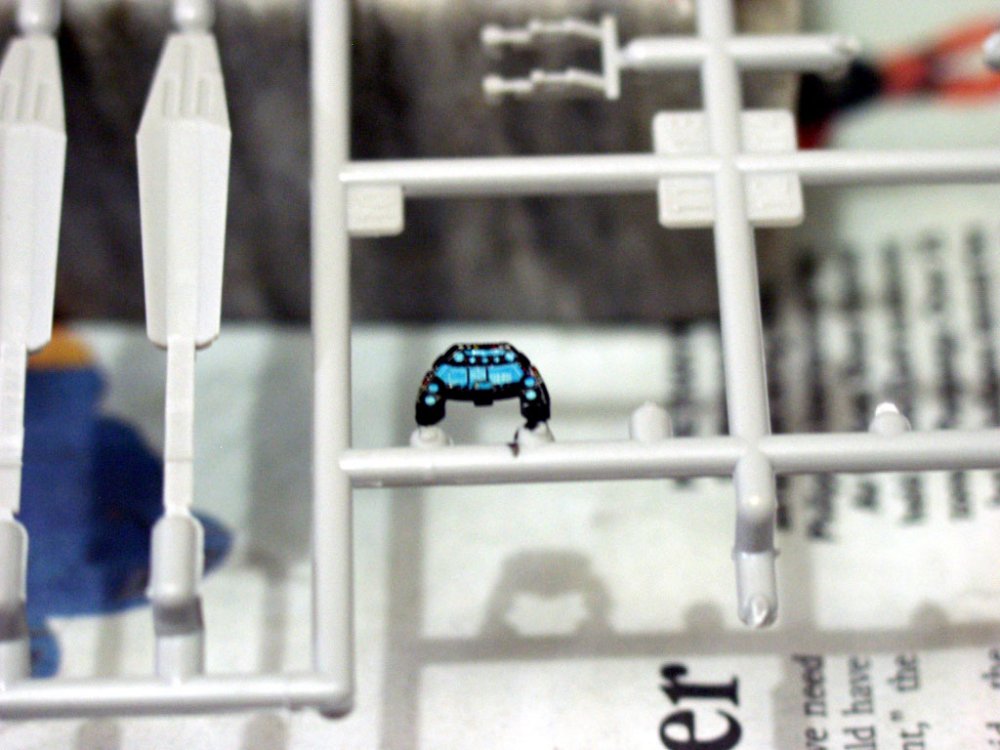
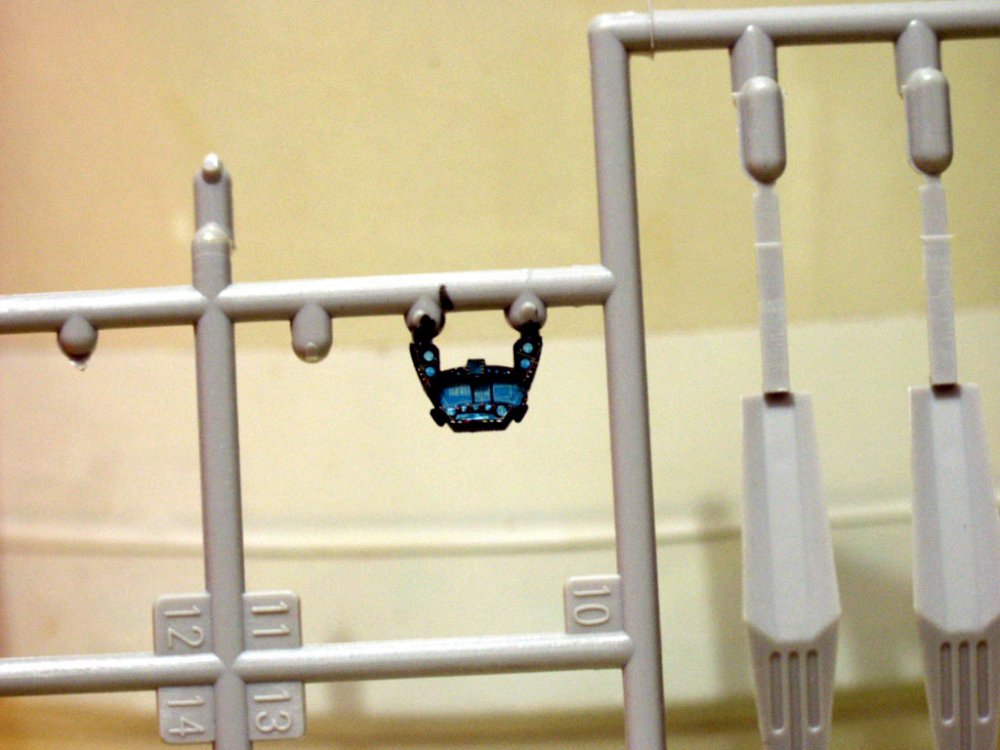
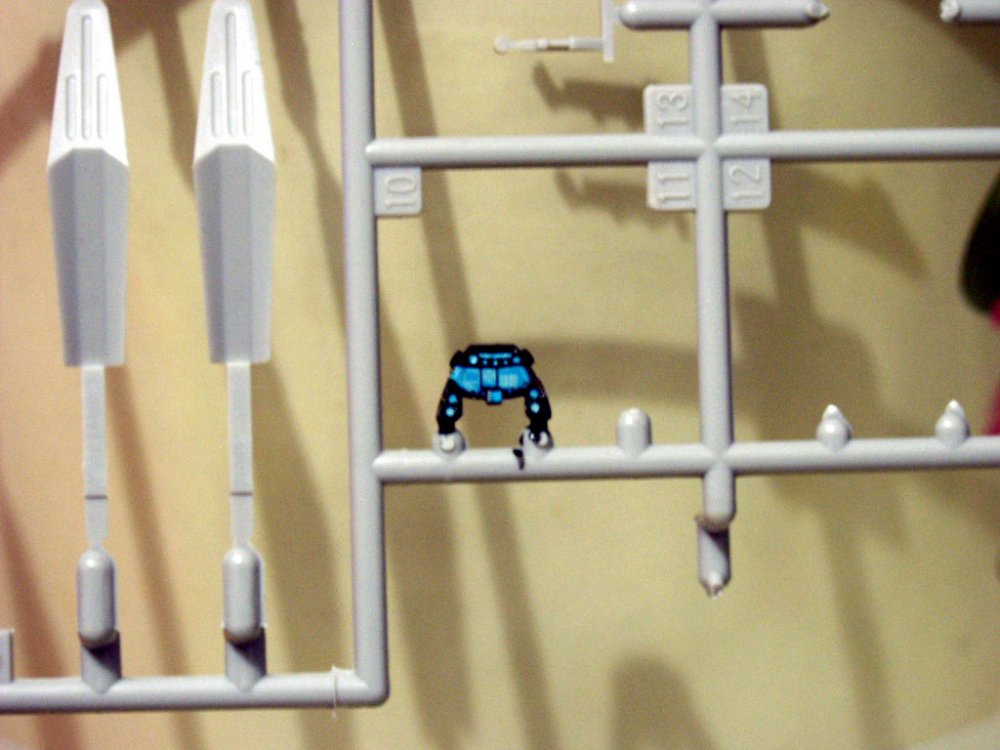
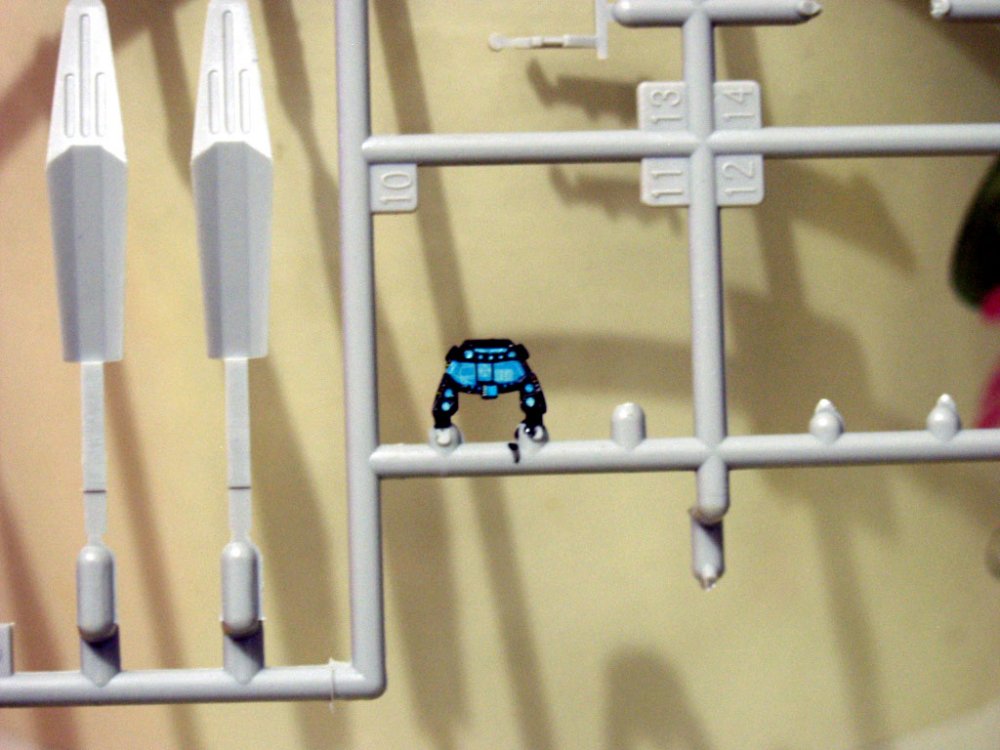
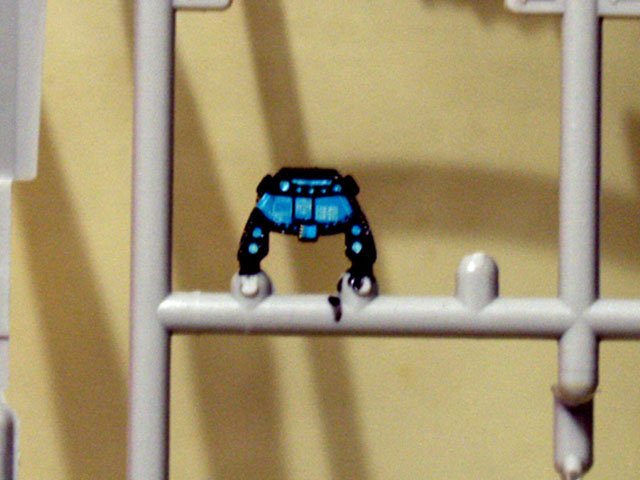
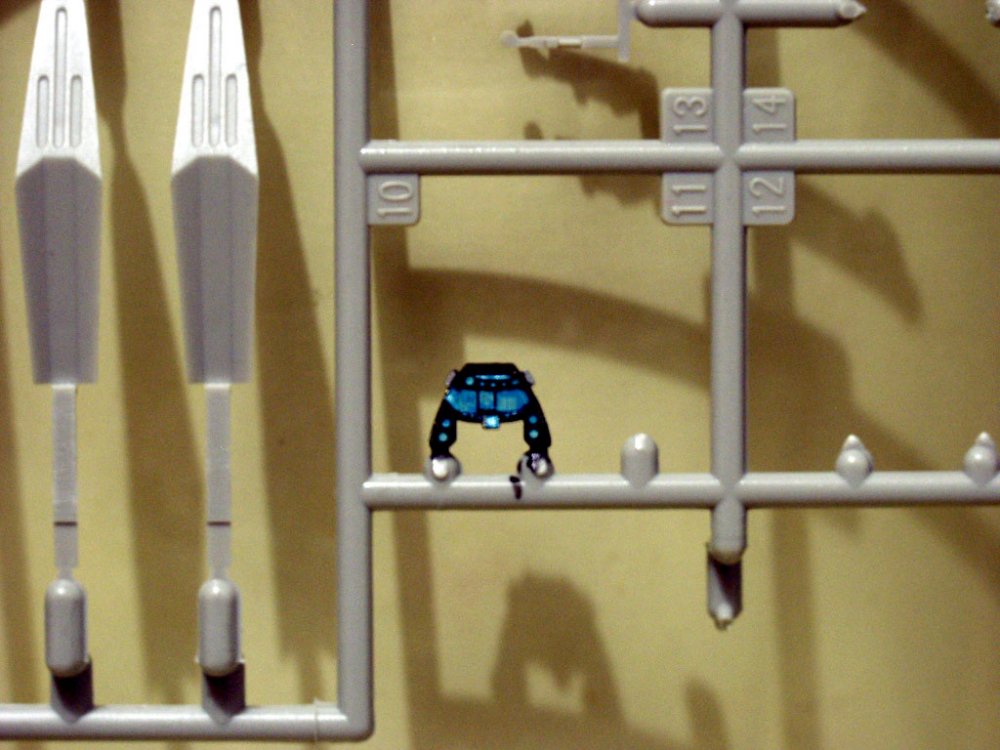
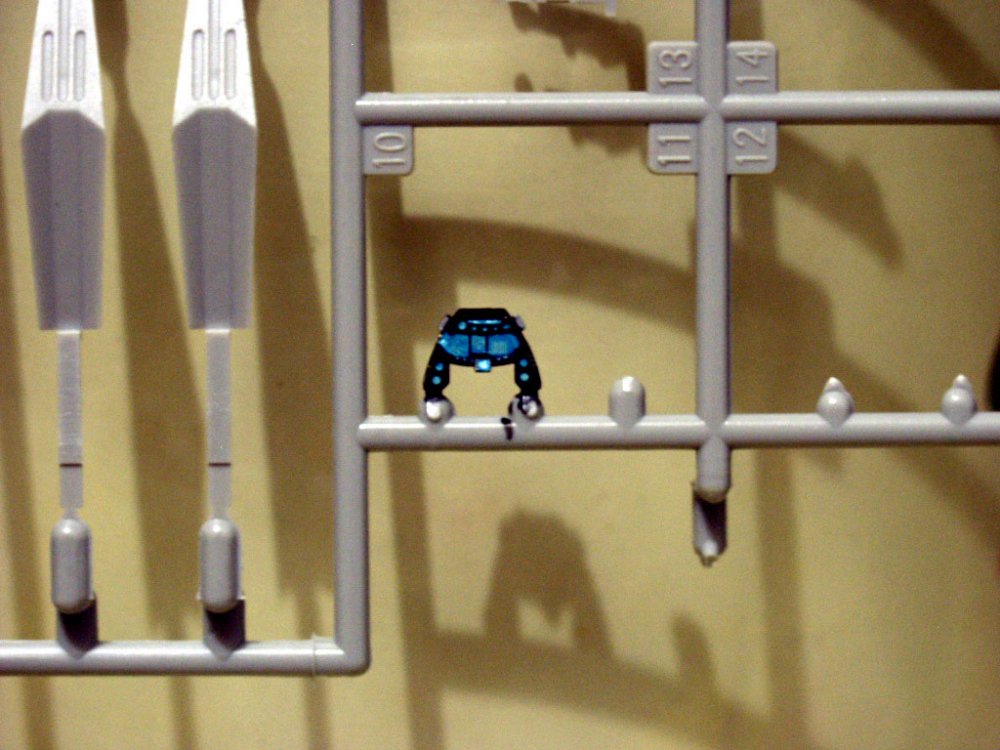
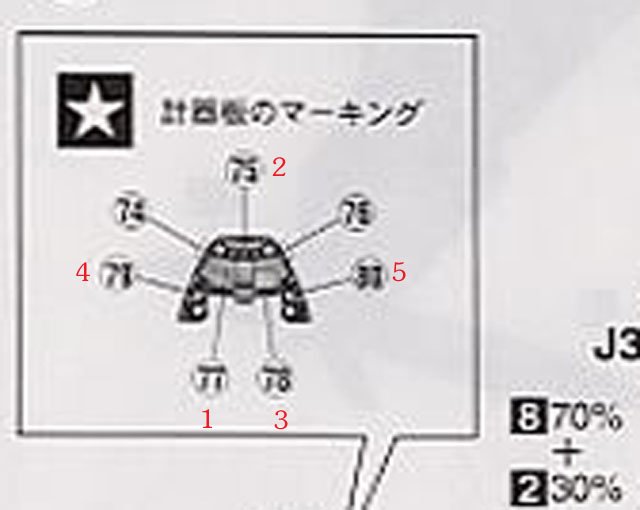
After the figure, here comes the "dashboard". Painted the part with gloss black first for the decal to cling on. The decals were cut from the sheet using a design knife. It was cut on the edges of decal instead of cutting near to the decal to eliminate the clear film that can hinder the placement. Here's the sequence that i've used (numbers in red is the placement sequence): Decal No 77 was placed first, then 75. No. 78 was cut into 3 parts, with the center screen as the middle part because of the difference in height. Lastly the side panels. 74 and 75 were not placed (rear view mirrors for i have painted it with silver. For the decals to conform, I have used microsol red for the decals to conform to its uneven surface. Sprayed clear gloss after letting it dry overnight. here's the pics: -

1/72 Hasegawa SV-51 Gamma w/ twin boosters (DD Ivanov type)
nickster replied to nickster's topic in The Workshop!
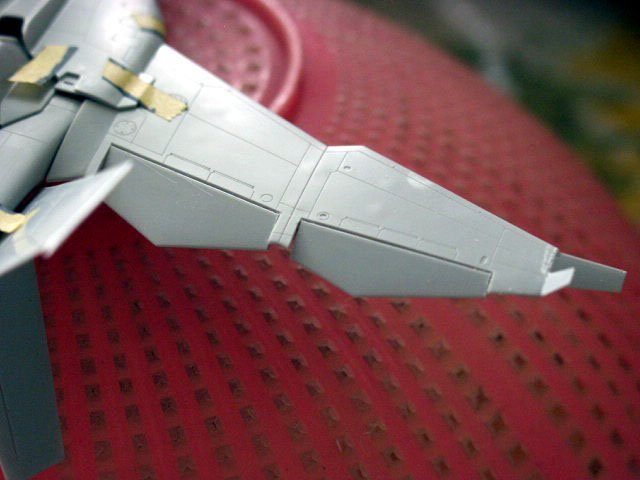
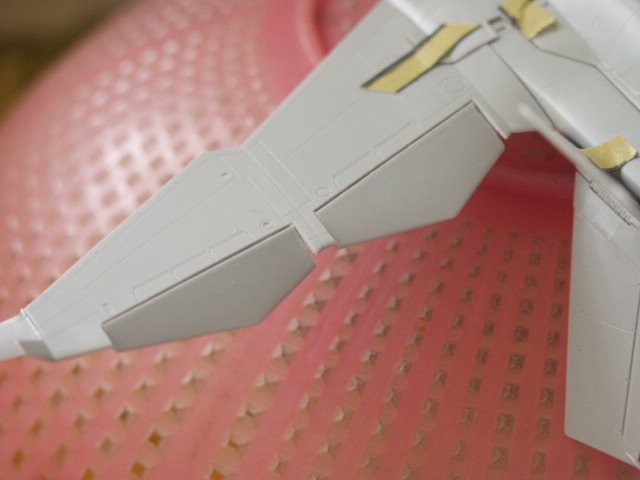
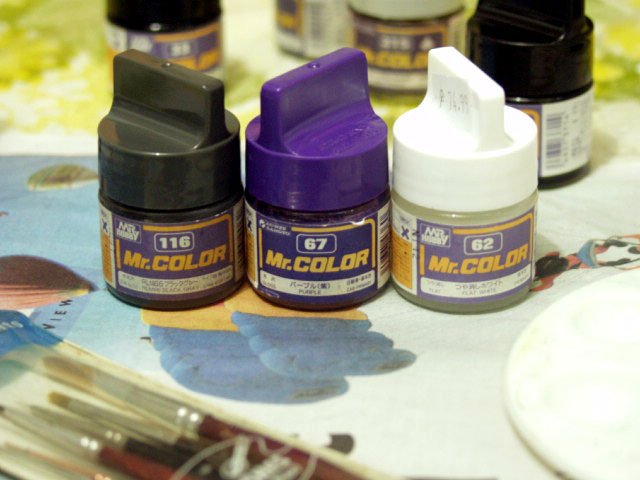
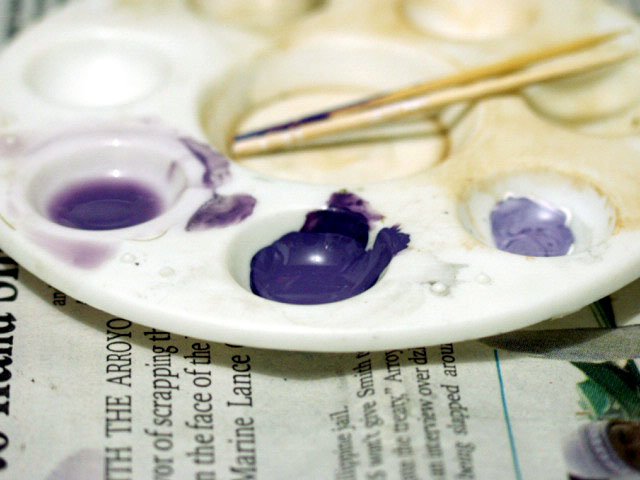
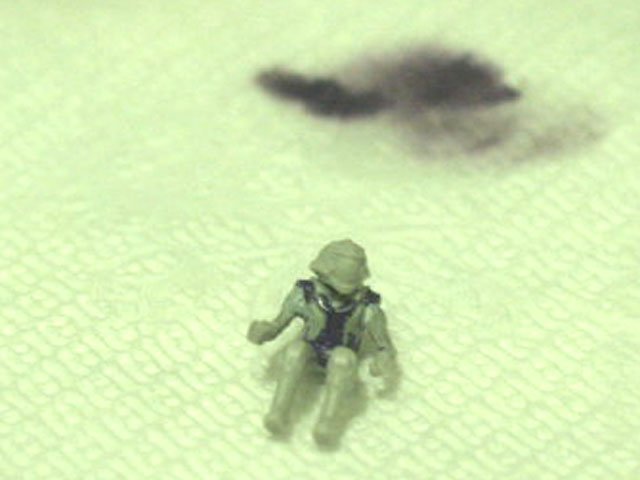
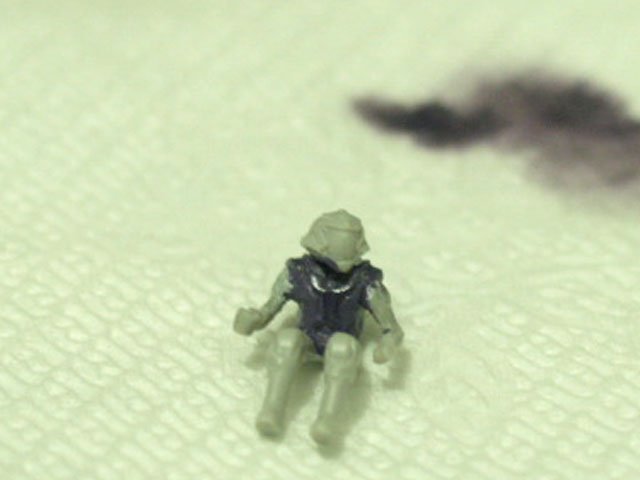
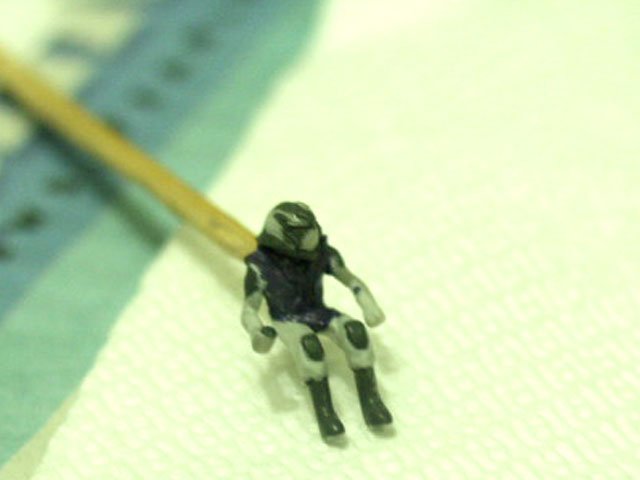
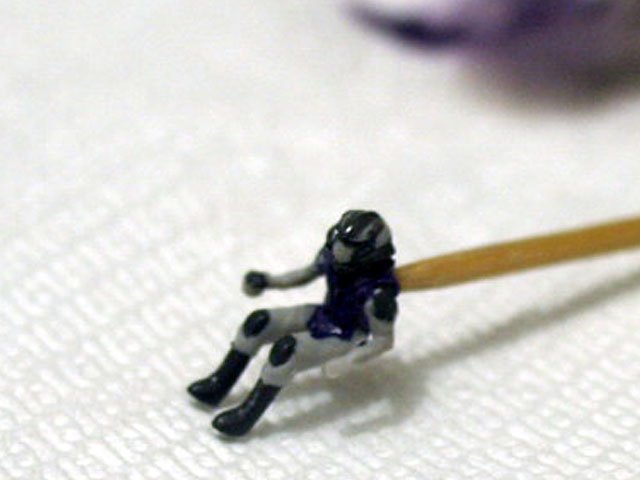
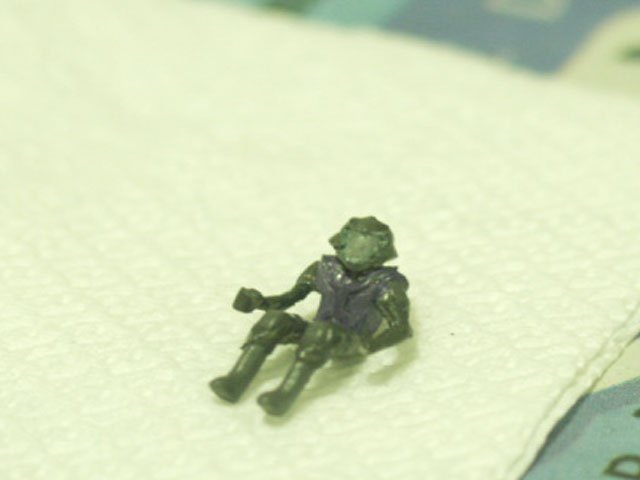
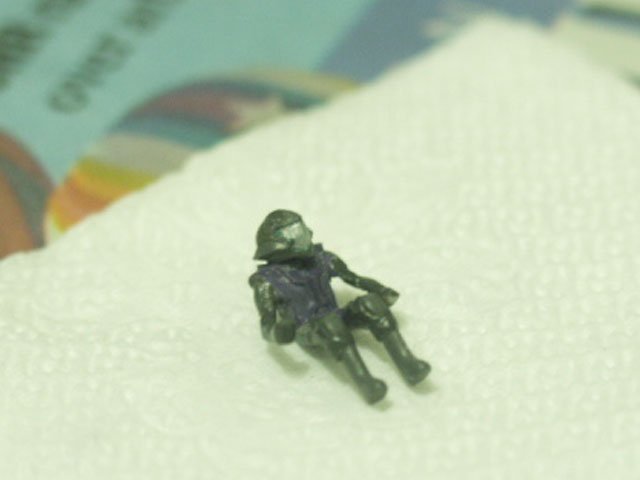
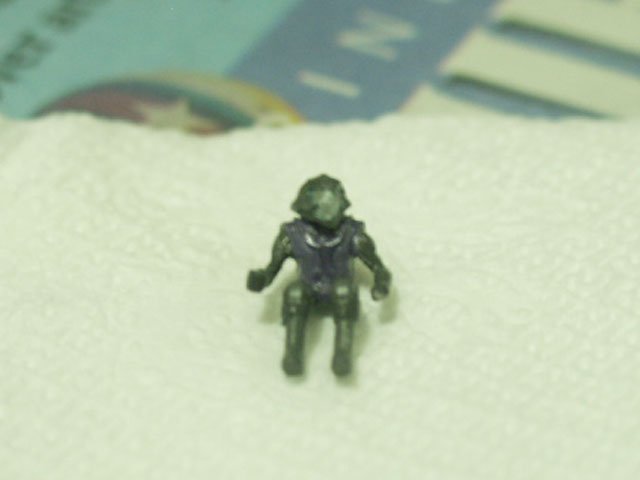
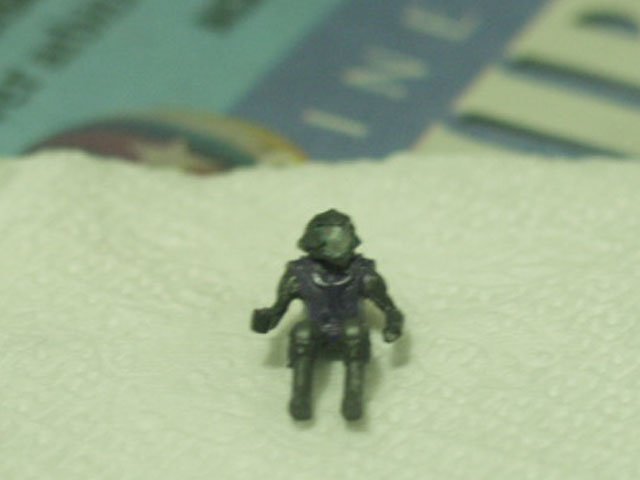
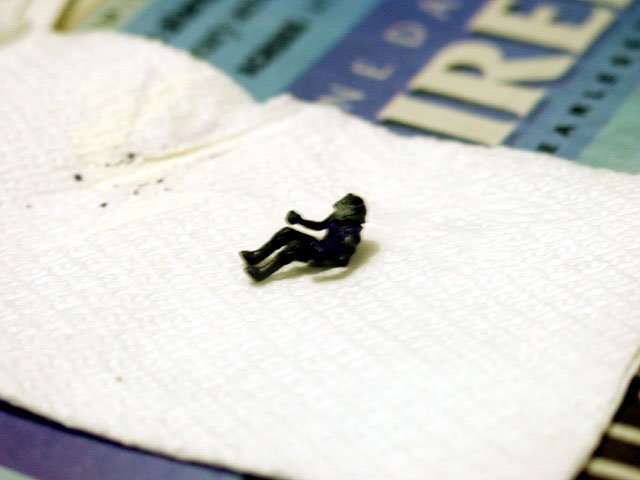
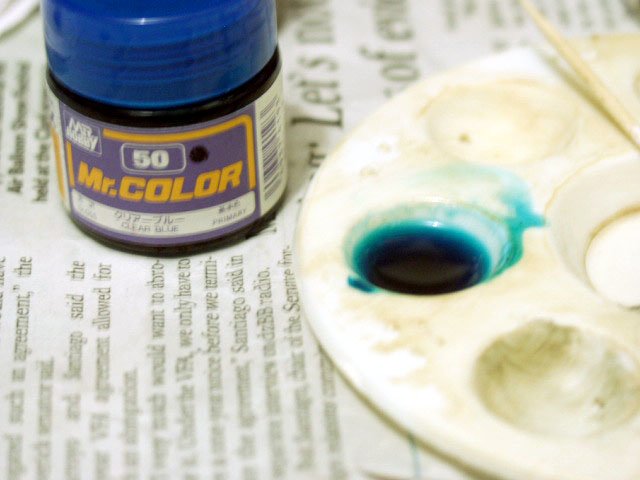
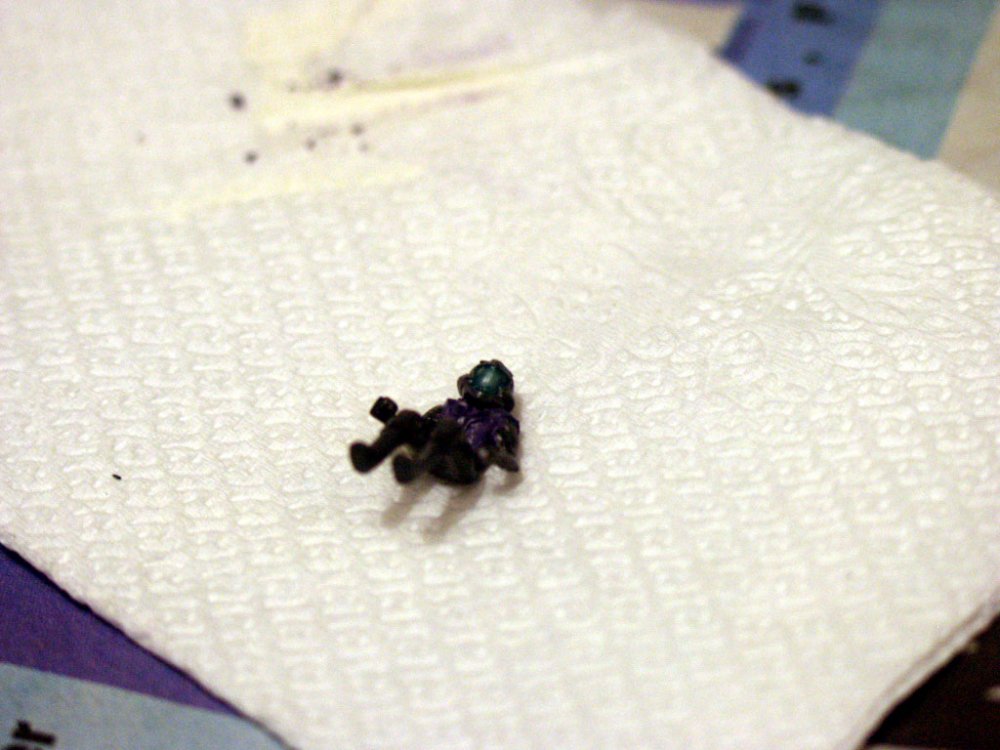
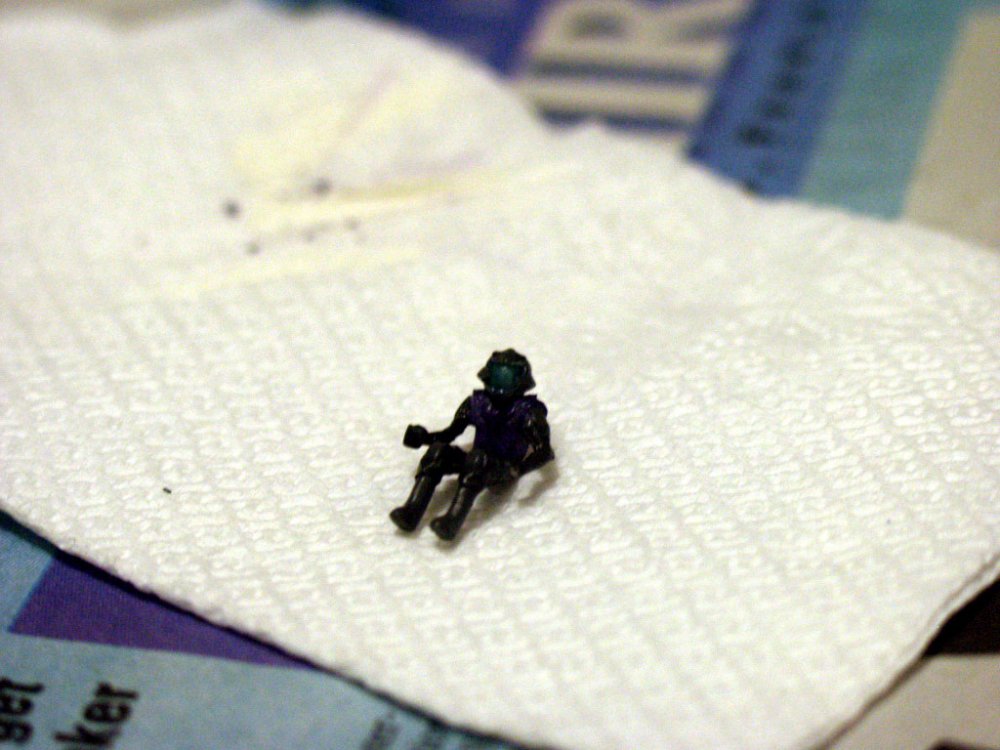
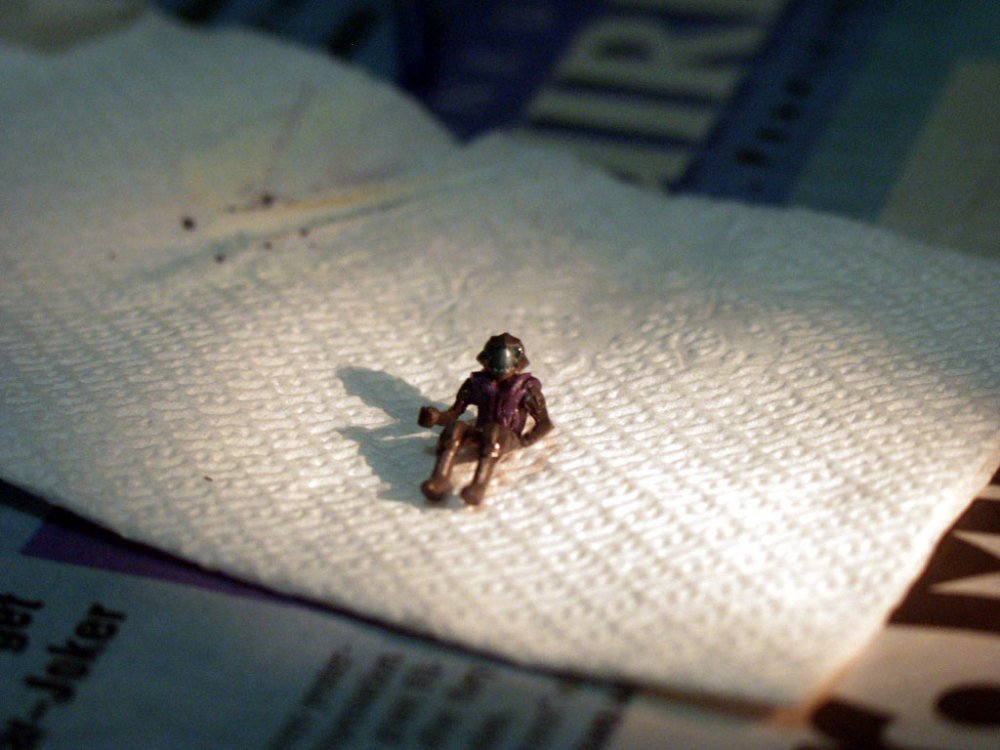
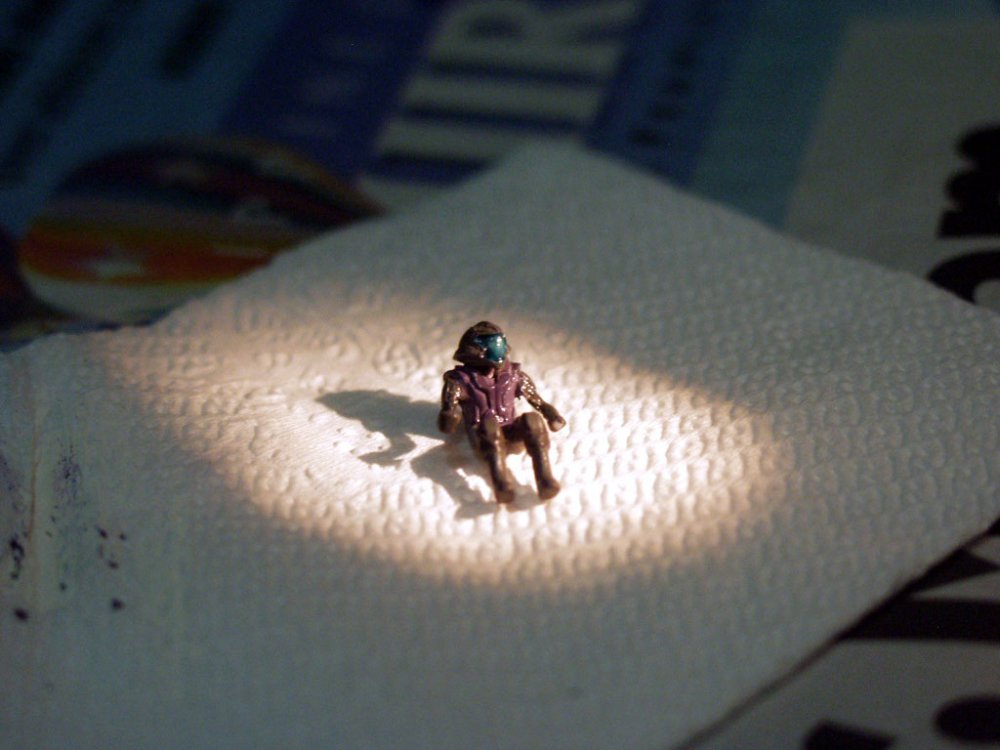
After a long week in the office, I finally got the chance to get back on this kit. Started by cutting the flaps as suggested by WM Cheng. Figure painting follows: Started by combining colors as per instruction sheet. The paints that i've used: Using some toothpick, I combined the colors and added a few drops of gunze sangyo laquer thinner. The step by step painting using a fine 00 brush. The face was painted with silver. Since the silver paint is not enough. Added a very thin clear blue. Like wash consistency, more on the edges and less on the middle of the face mask. -
Nice one Herve! Hope to see more of your progress.

