

shinagami
-
Posts
120 -
Joined
-
Last visited
Content Type
Profiles
Forums
Events
Gallery
Posts posted by shinagami
-
-
thanks for the nice words, a little update on the progress...
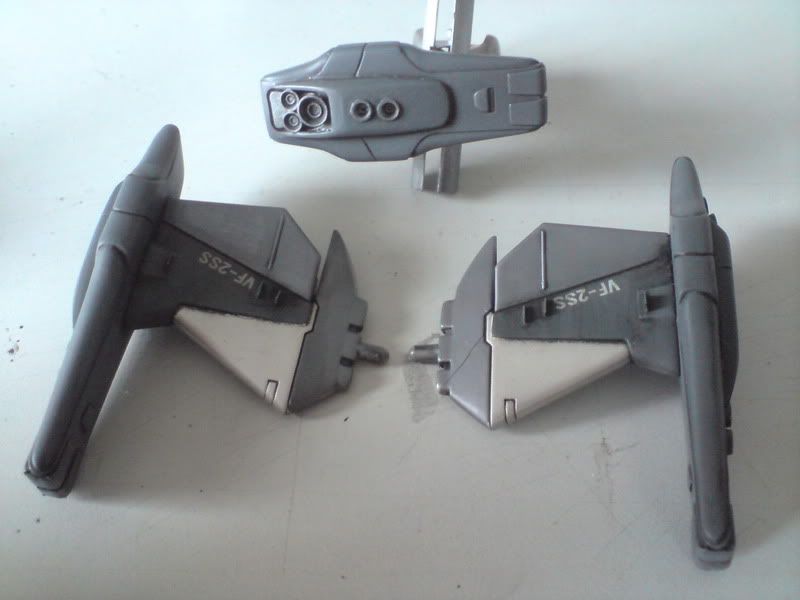
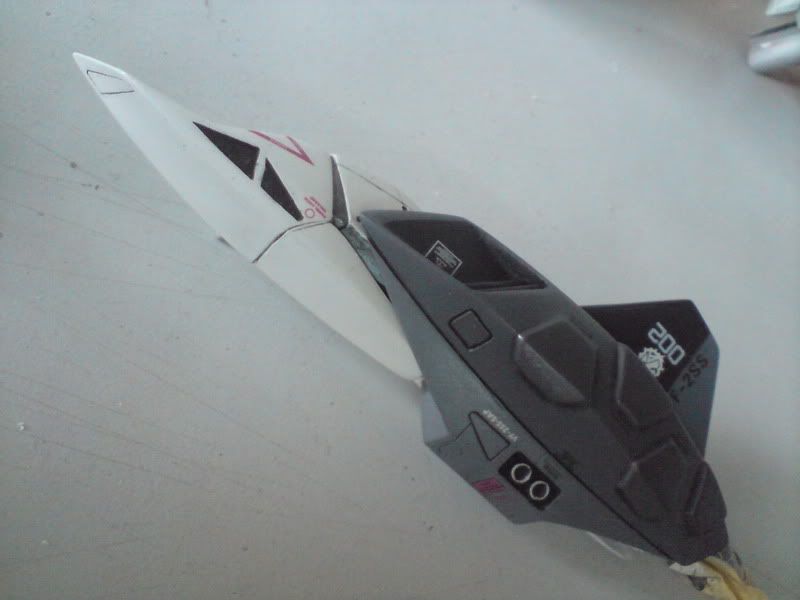
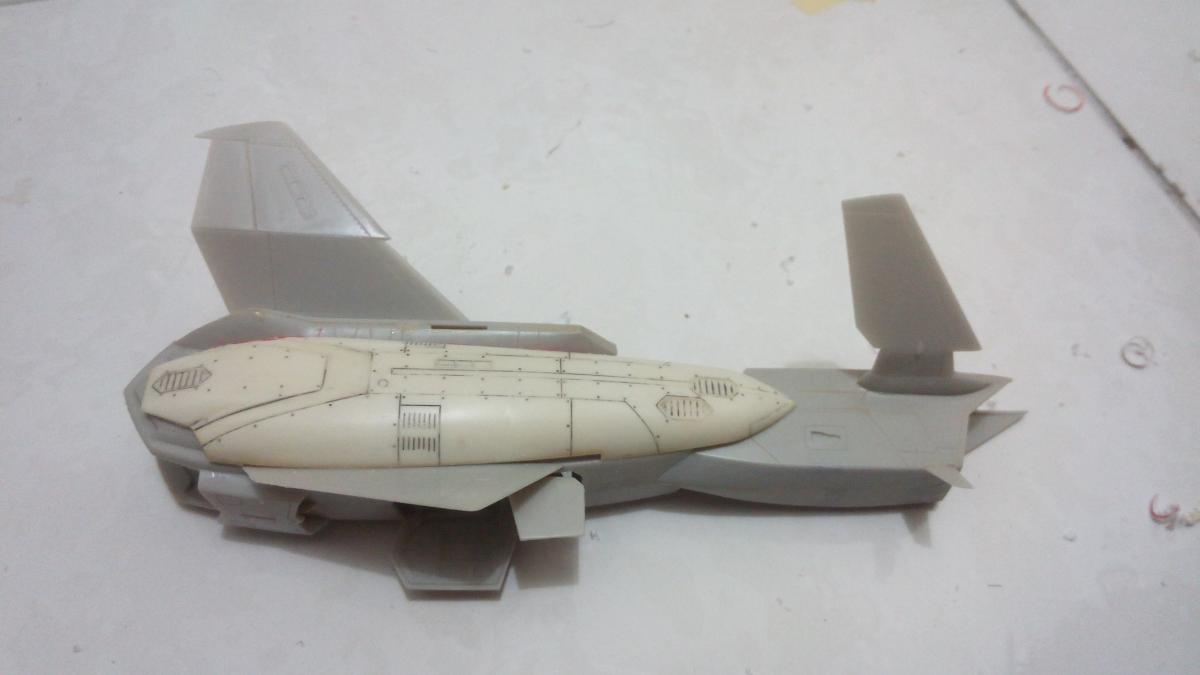
built the legs for the vf-0c last night, and while checking the parts for the vf-0b, there's an extra fast packs which is not needed for the vf-0b (since the vf-0b is an experimenting/ test type jet, while the 0c is a fighter jet, i want the 0c to look more aggressive with the fast packs on it...) i'm customizing the fast packs for the vf-0c...
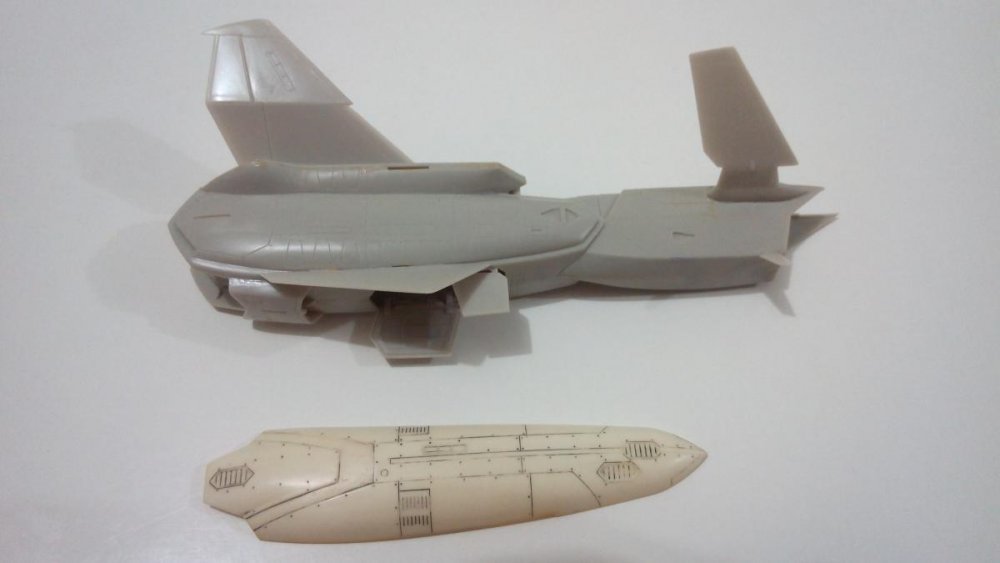
the 0c legs + 0b fast pack

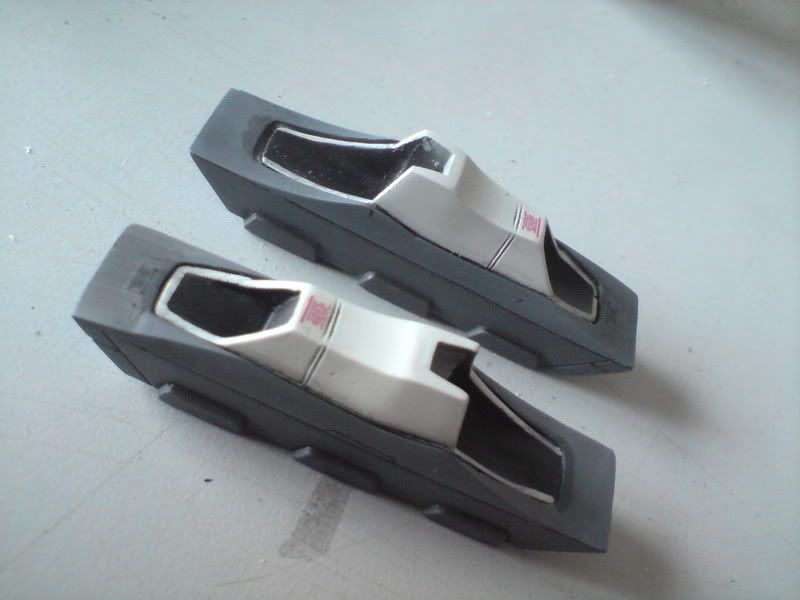
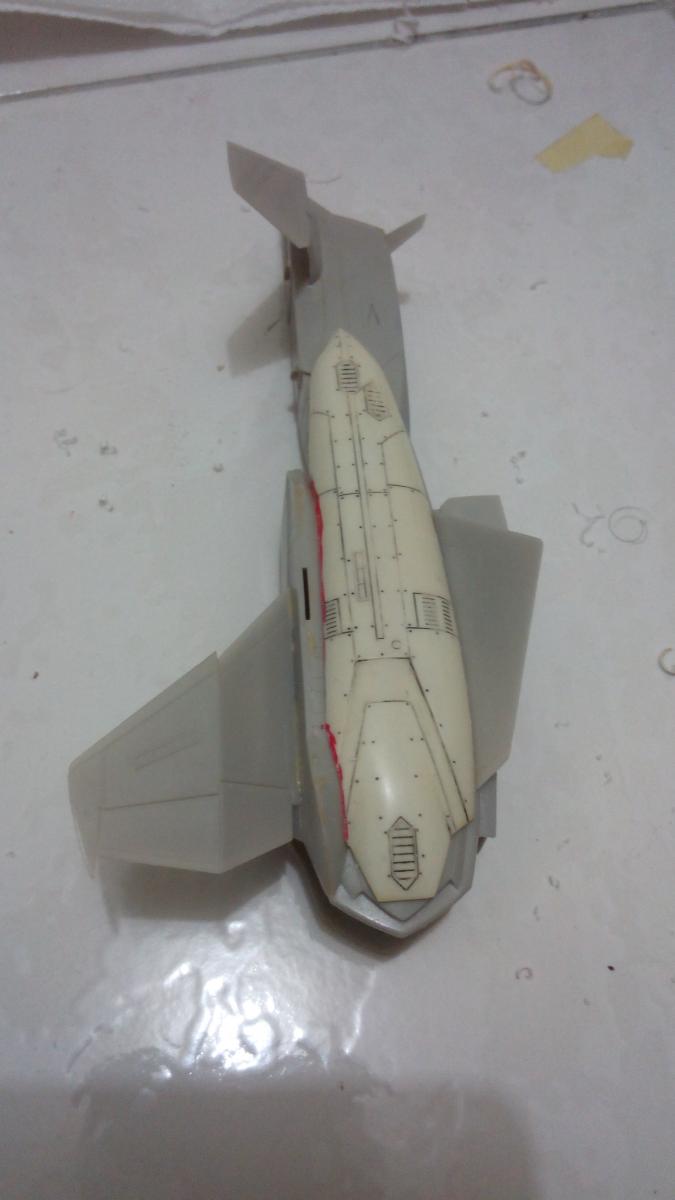
the fast packs did not fit to the 0c legs...need to cut the fast packs to fit on the leg
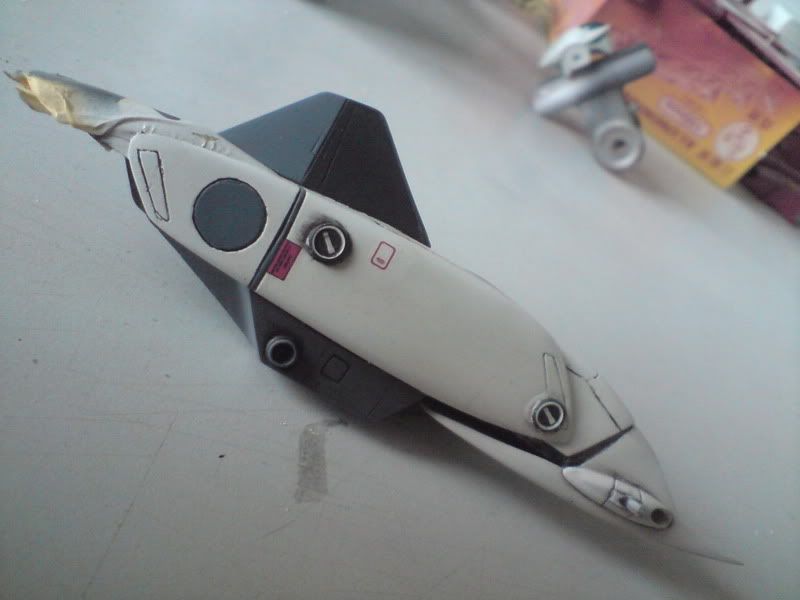
area to cut is marked in red...

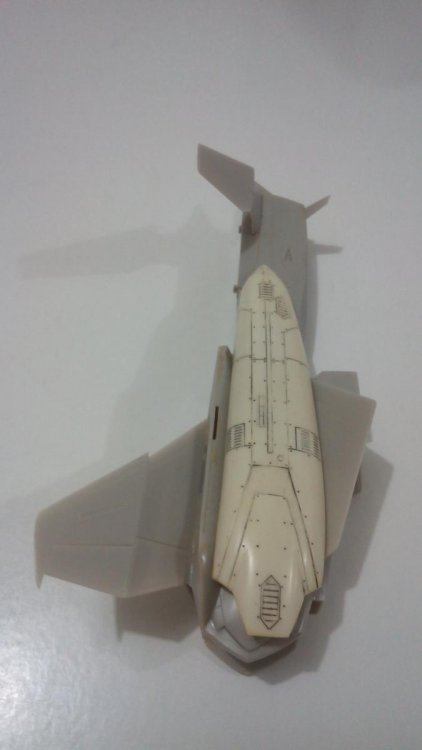
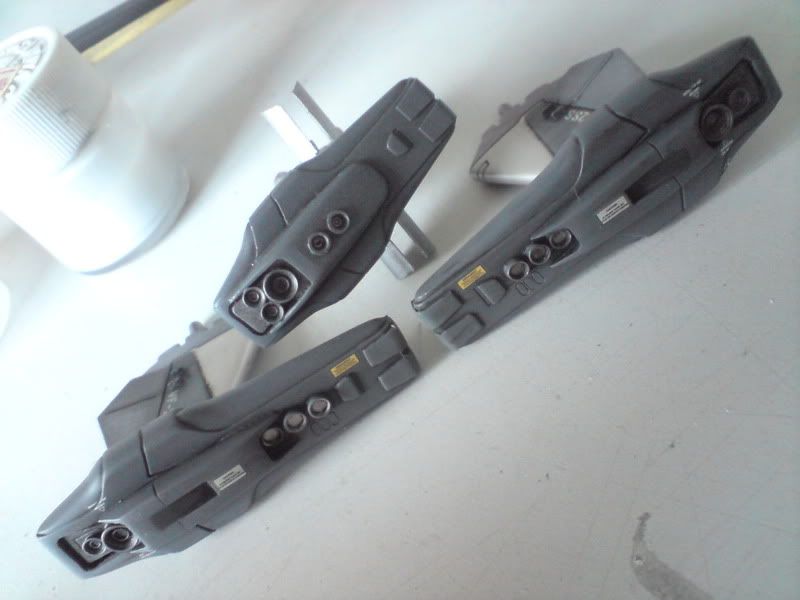
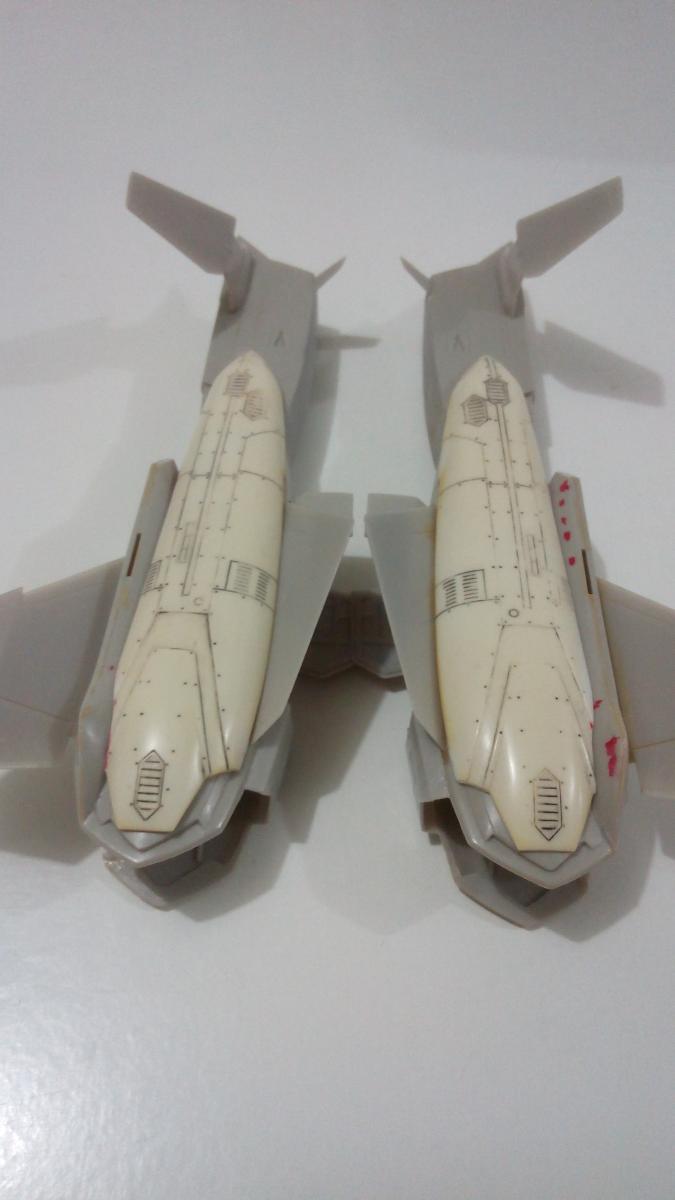
test fitting of the fast packs

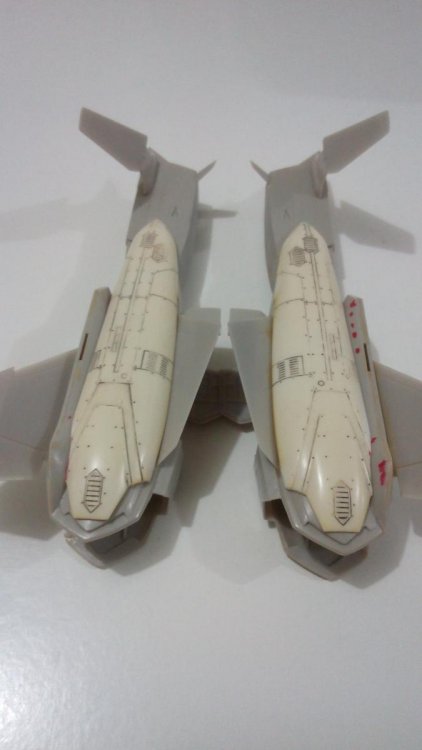
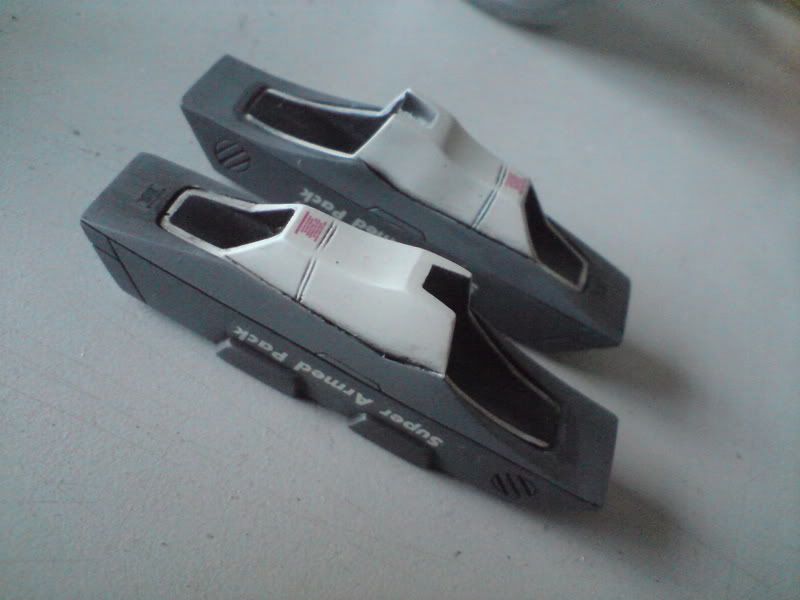
fast packs fitted to the legs...
-
Hi all, this is my first WIP since 2011...been busy with kids and all...and am still busy + this is a 5 in 1 WIP thus this will be kinda slow progress (i mean very slow) with very brief write-up...
Bought these few years back...
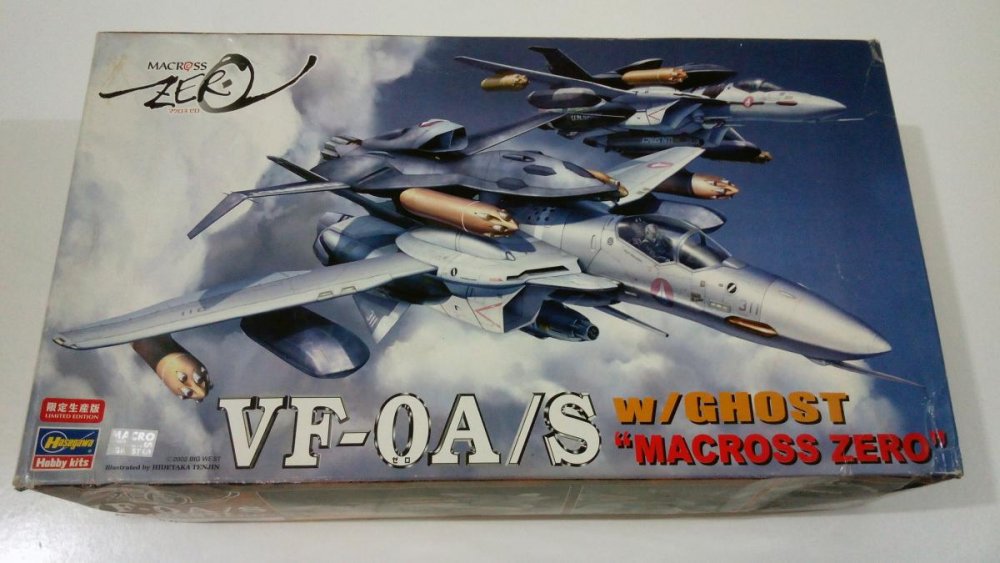
1/72 hasegawa VF-0A/S with Ghost

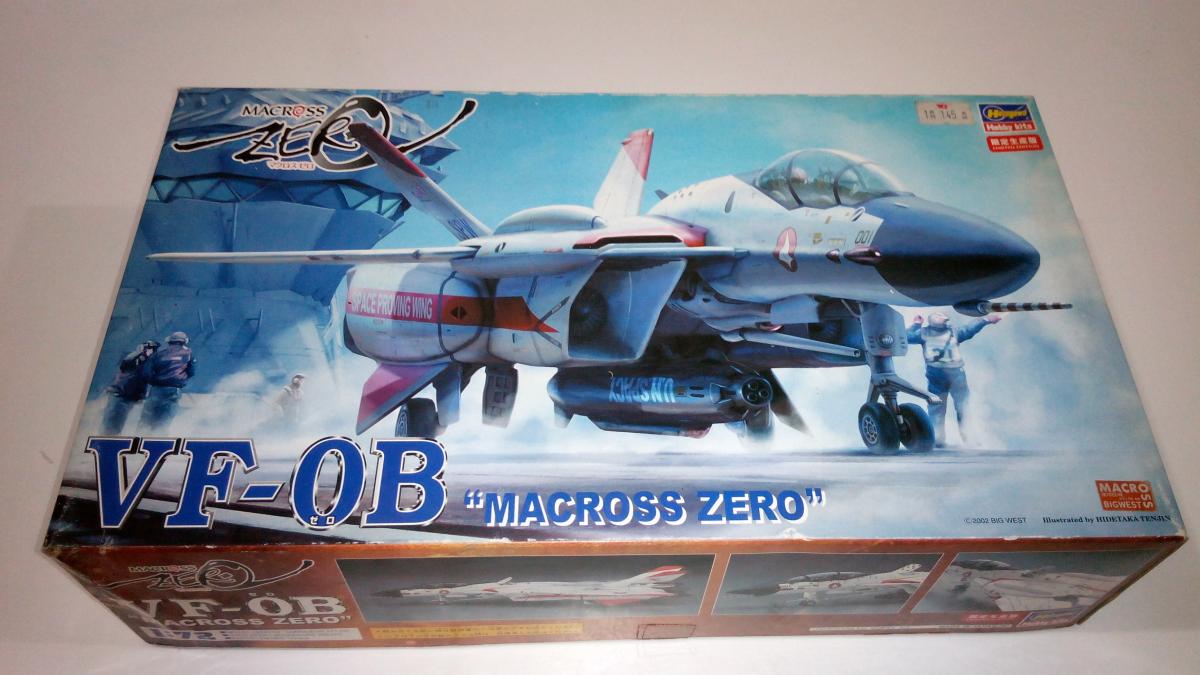
1/72 hasegawa VF-0B
1/72 hasegawa VF-0C
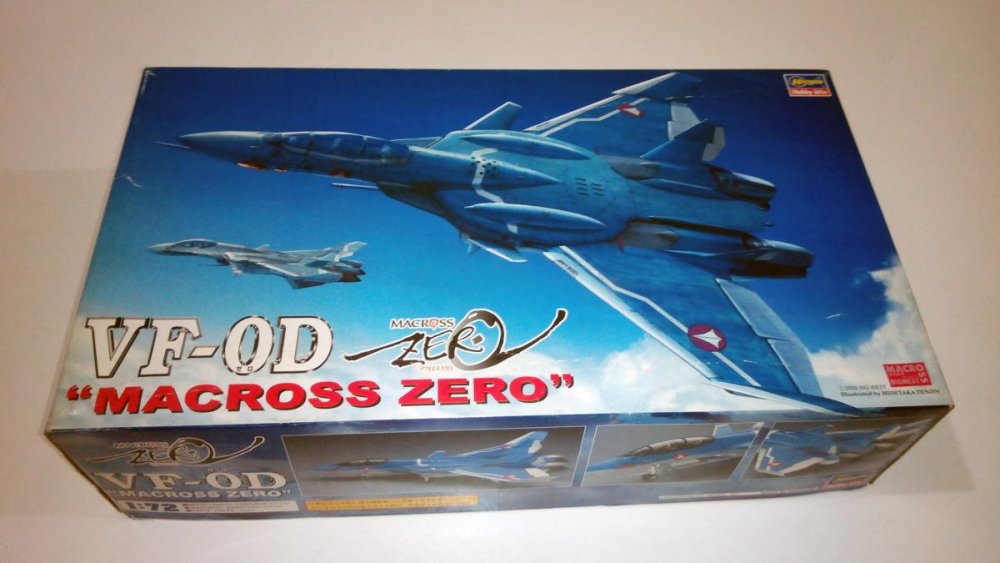
1/72 hasegawa VF-0D

1/72 hasegawa VF-0S
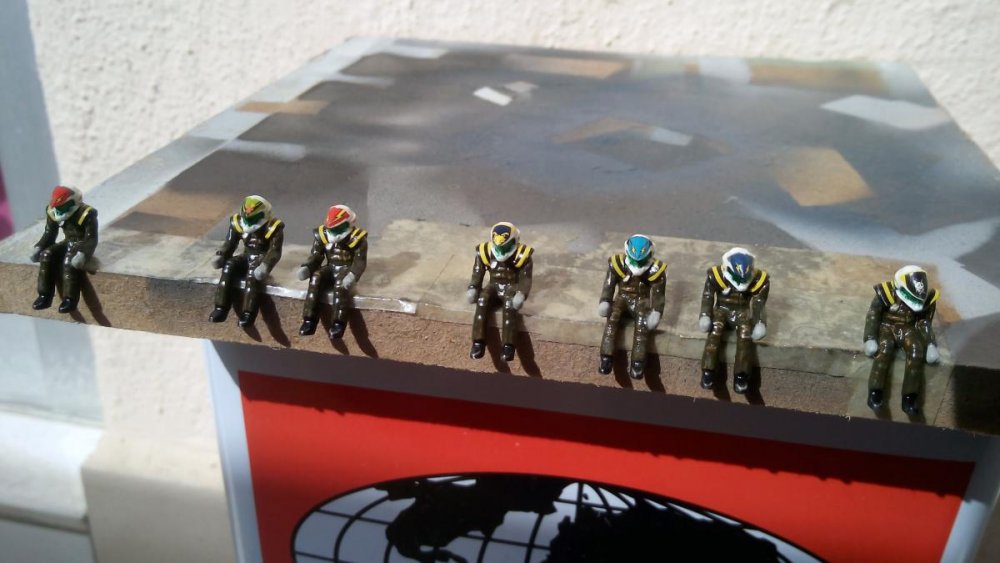
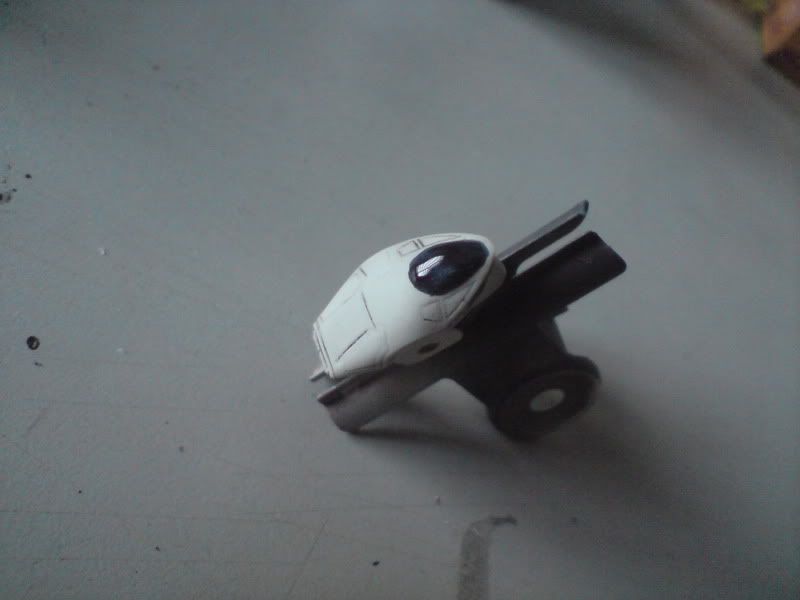
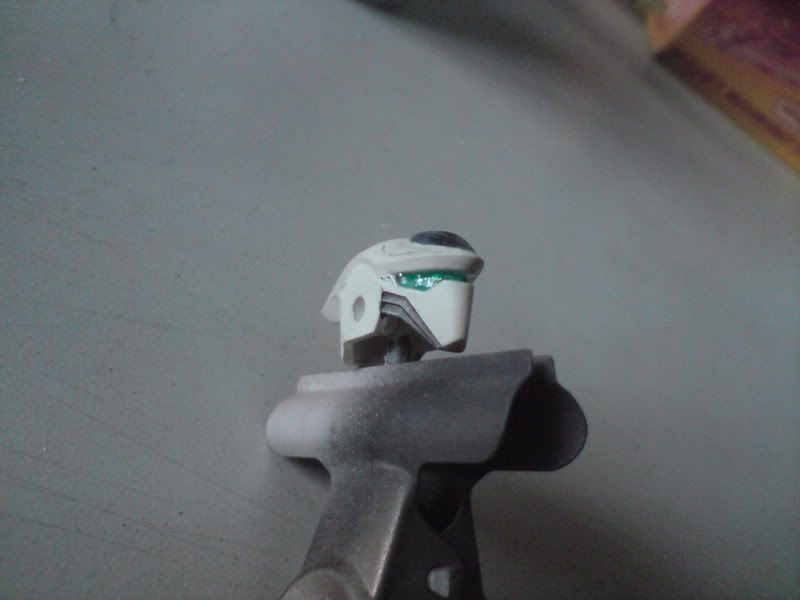
painted all the pilots...
-
hasegawa 1/72 scale vf-25g pre-order...
-
great job petar, ....and i think you should do the WIP as well....so realistic

-
i'm soooo jealous....love your works..as always...cant wait for the final shots
-
hi Valk009, i didn't notice the pre-order thread, just wondering whether u still have extra kits? I'd really like one....by the way, how much does it cost?
-
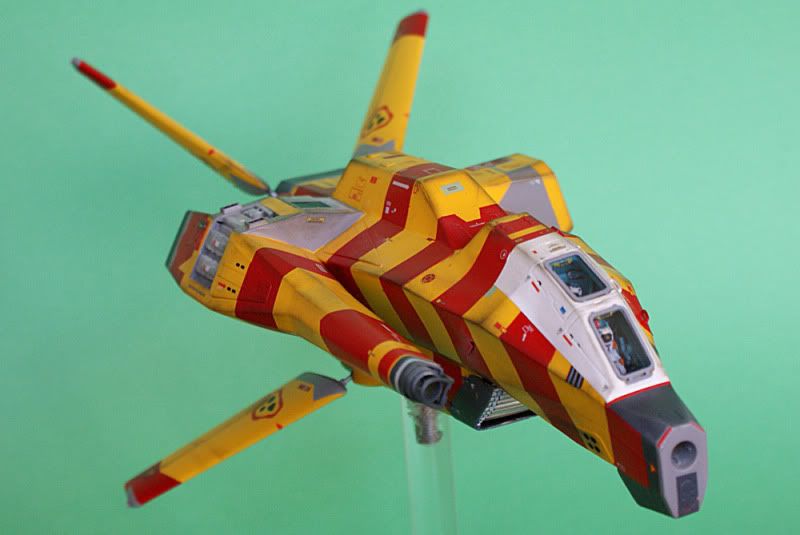
More, including construction pics, here.
love it man, love homeworld....and congrats. any plan to mass produce this? ....any future plans for other spacecrafts from homeworld series?
-
vf-25g custom color click here

-
thanks all for the encouraging words....
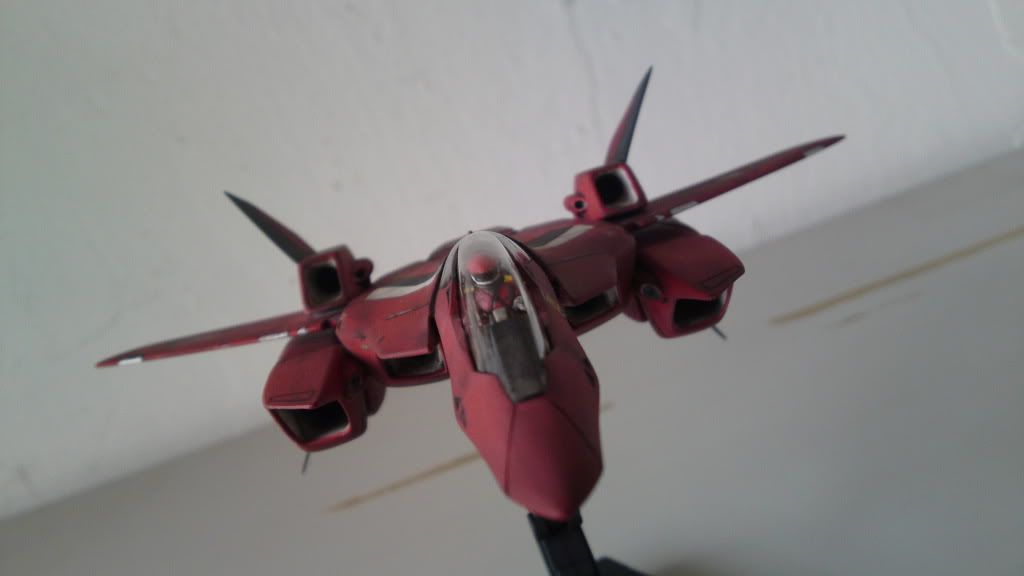
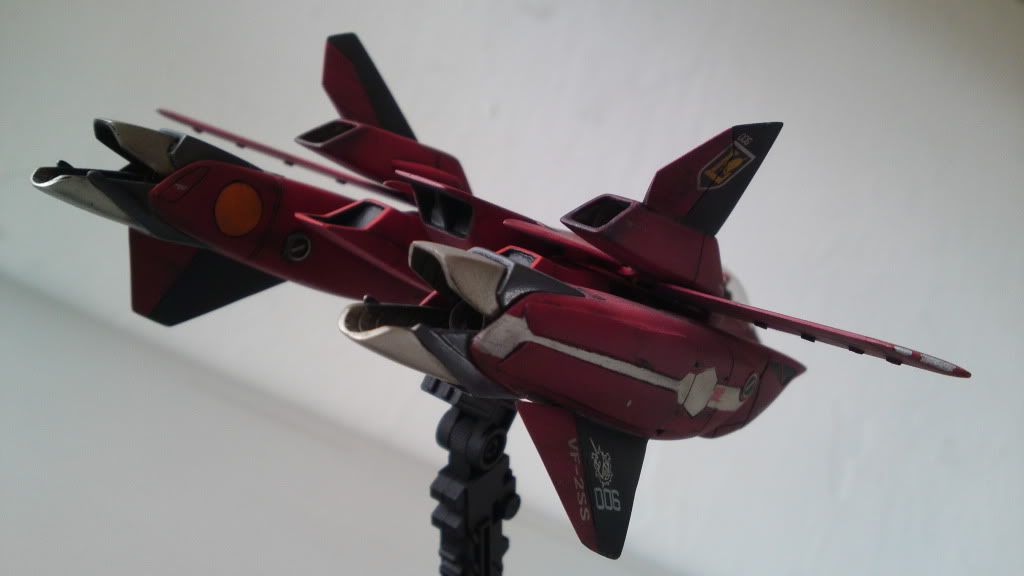
Just got back from holiday a few hours ago. Came to MacrossWorld to see what's been a-building and Shinagami delivers the goods!
I've been waiting to see this baby finished for so long.
On my monitor the original work in progress pics are actually a purplish colour, but these final pics are red to me. So they look a lot better, but with monitor colour calibrations being what they are you never know.
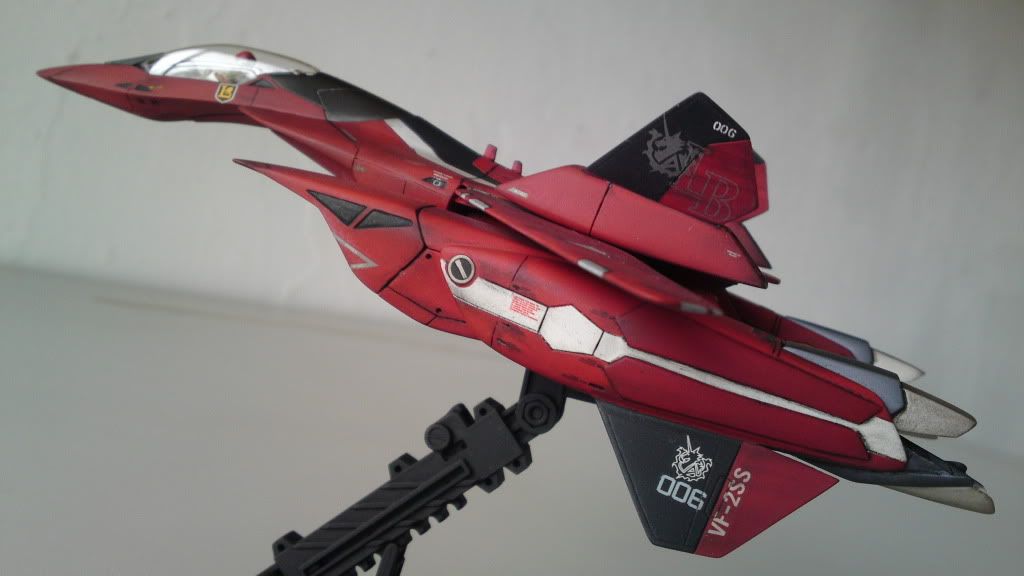
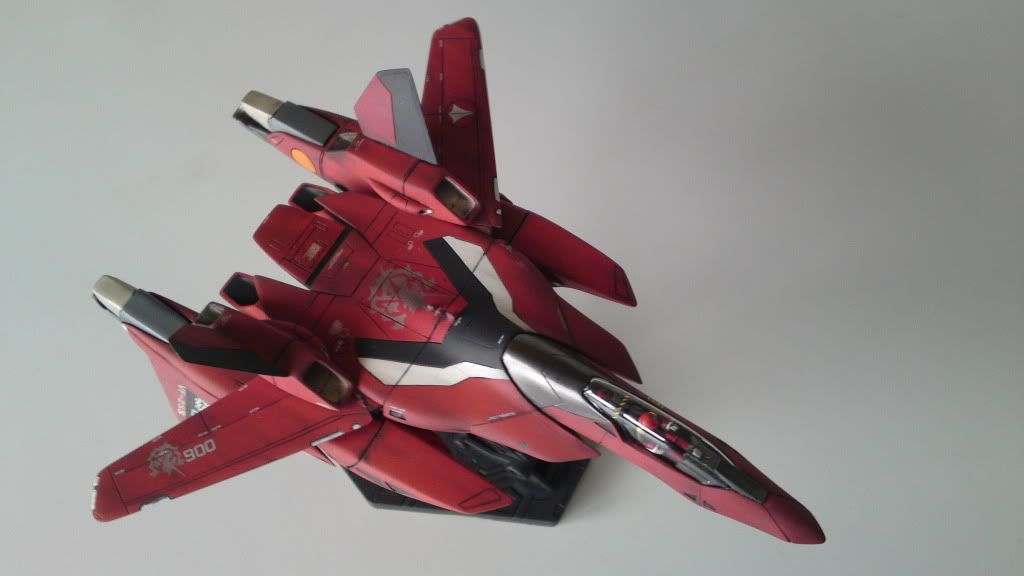
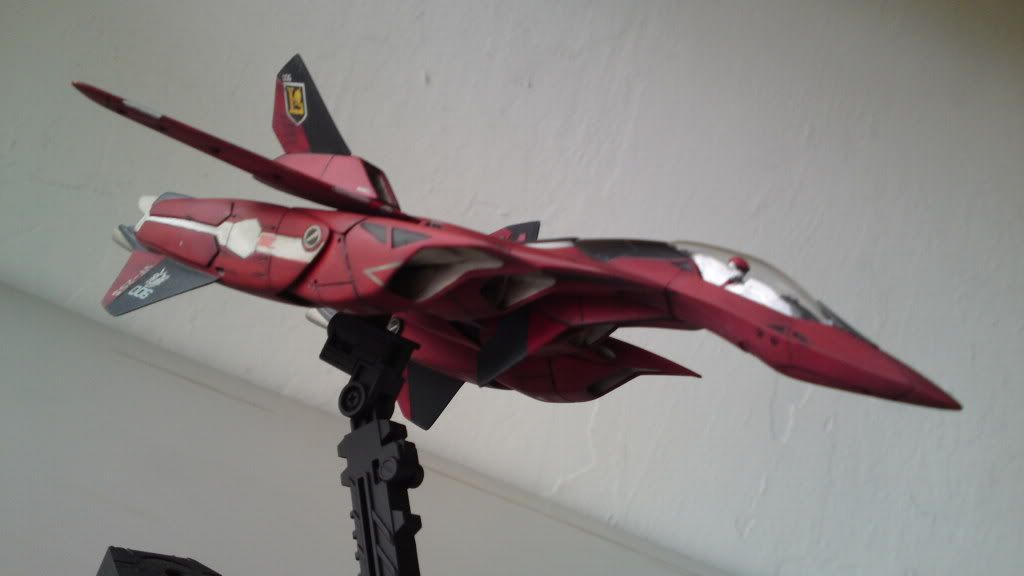
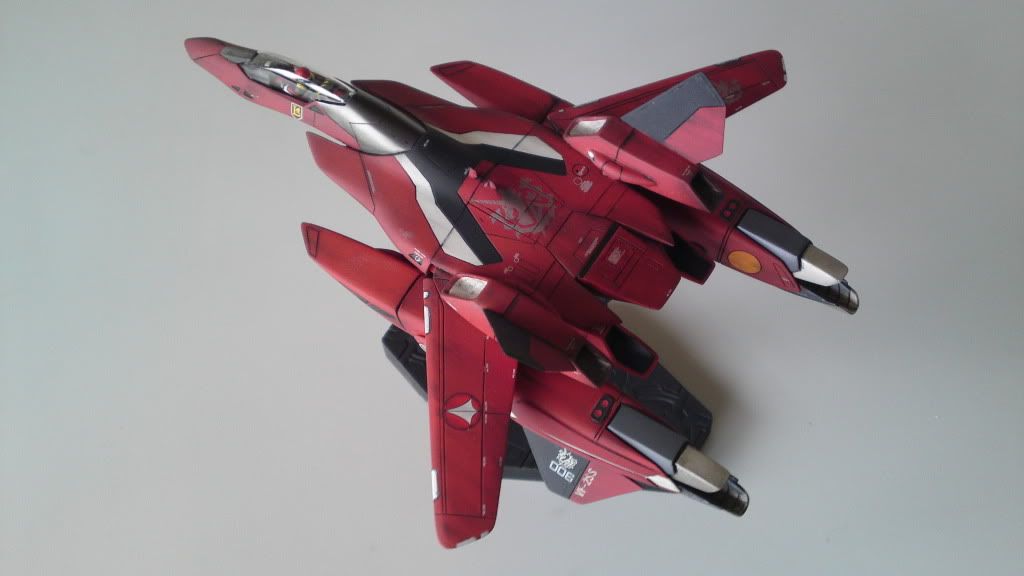
Firstly, I have to say, fantastic job! But you know that, looking at your work! You certainly took the colour scheme to the next level, along with the decal choices, it looks amazing. Is that the supplied pilot in there, I can tell? All the extra work on this shows (especially to one who's built 1 and a half!). The canopy looks great, hope it didn't give you too much grief.
The weathering looks great, but is perhaps a bit more appropriate to a fighter and not a racer, never the less, it sells the scale. The only thing I'm not sure about is the Gundam mount you have it on. I feel they actually detract a bit from the model - the sleek lines of the this bird against the heavy angular look of the mount, but that's just my biases.
Anyway, excellent work and thanks for sharing all the pics.
I hope to reciprocate with another VF-2SS build this year! I love this mecha - and you did a beautiful job.
hi petar, the final pics are as close as the real model, it's actually red not purplish, i think there's nothing wrong with ur monitor color calibration, its just that in the work progress i used a different camera and most of the pics were taken during night time. the final pics was taken at day time near a window with a better/higher quality camera.
yes, it is the supplied pilot. the canopy was great, i dip it in future shine, let it dry....and it fits just great! (with some mods at the cockpit according to ur instructions...)
the weathering....hmmm, i thought of the same only after i finished the weathering, haha

the base...its true, doesn't really blend with the kit, actually i couldn't find other sleeker base than this (or i just lazy to look around for other options) will look further later this weekend.
aneways, thanks all for the support and stay tune for my upcoming WIP from macross zero...
-
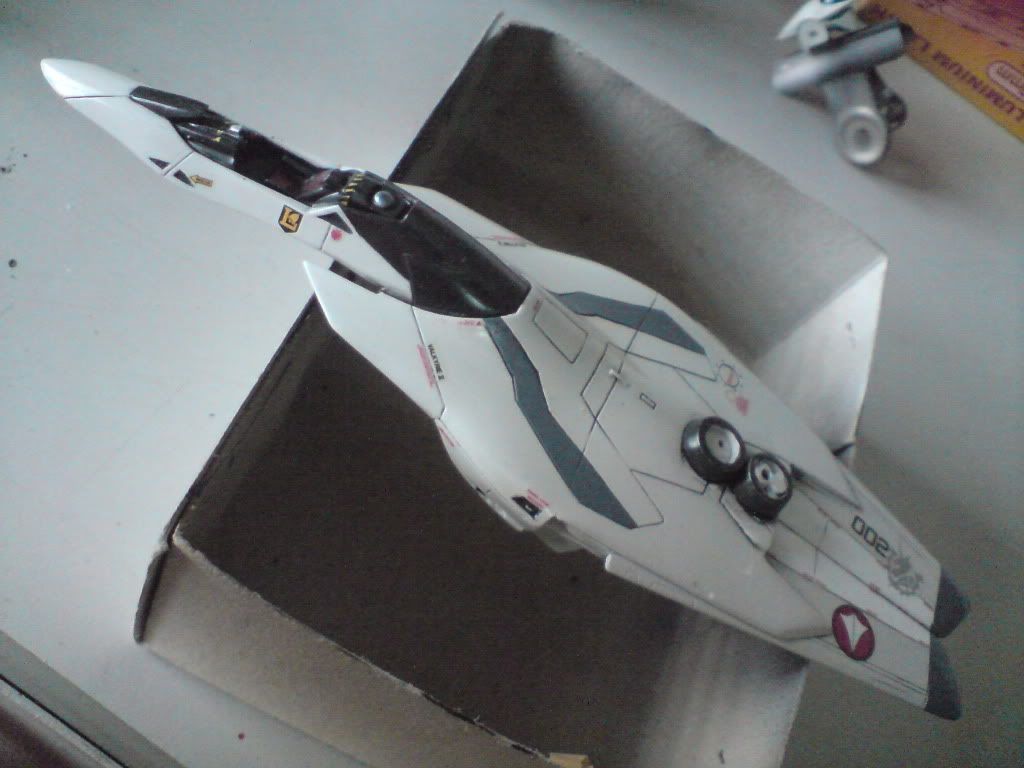
just finished a simple model from hasegawa...1:72 scale VE-1 elintseeker. started last month....completed last night. comments are most welcome


-
thanks everyone for the kind words....really appreciate it.
hi shinagami,
great work till now. Was wandering what you mean by "oil wash" and using "Mr Hobby Flat Clear". What does each of these step do exactly.
hi Arthurius, oil wash is one of the techniques many modelers use to enhance the look of their models, especially aircraft, to enhance panel lines and other detail.
mr Hobby Flat Clear is just a miniature clear coat spray which will give the non-shine or flat or matte look finishes....and the brand is Mr. Hobby...not recommended though, if sprayed to thick, the final finishing will look like kinda hazy...would prefer tamiya flat clear spray.
-
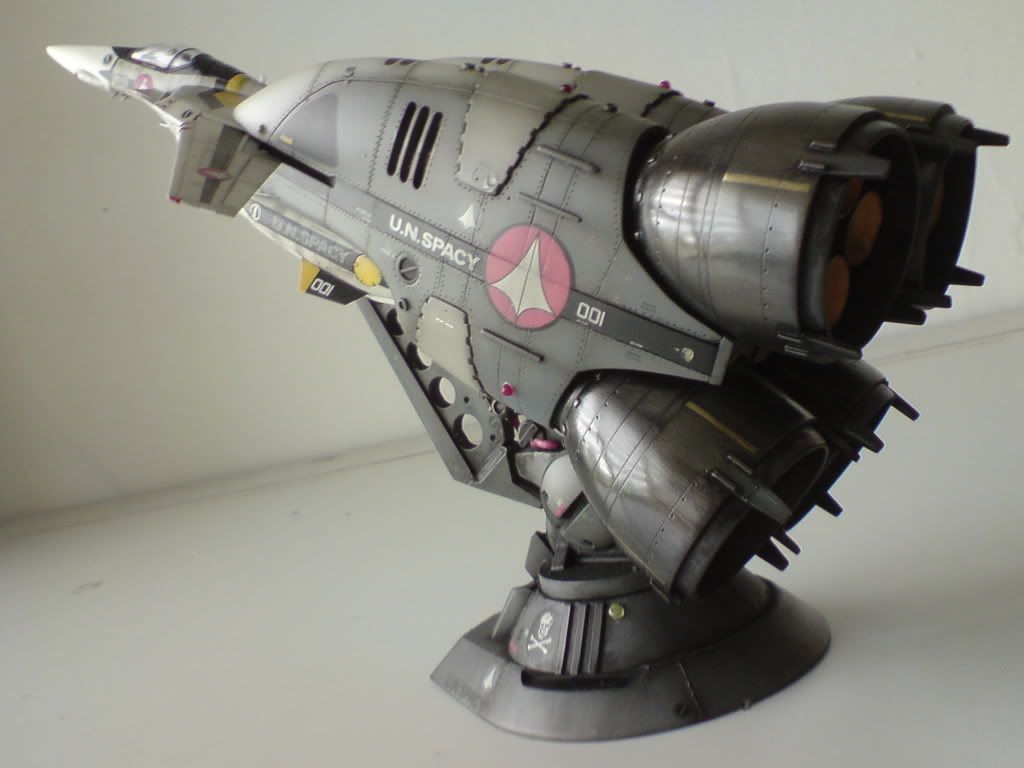
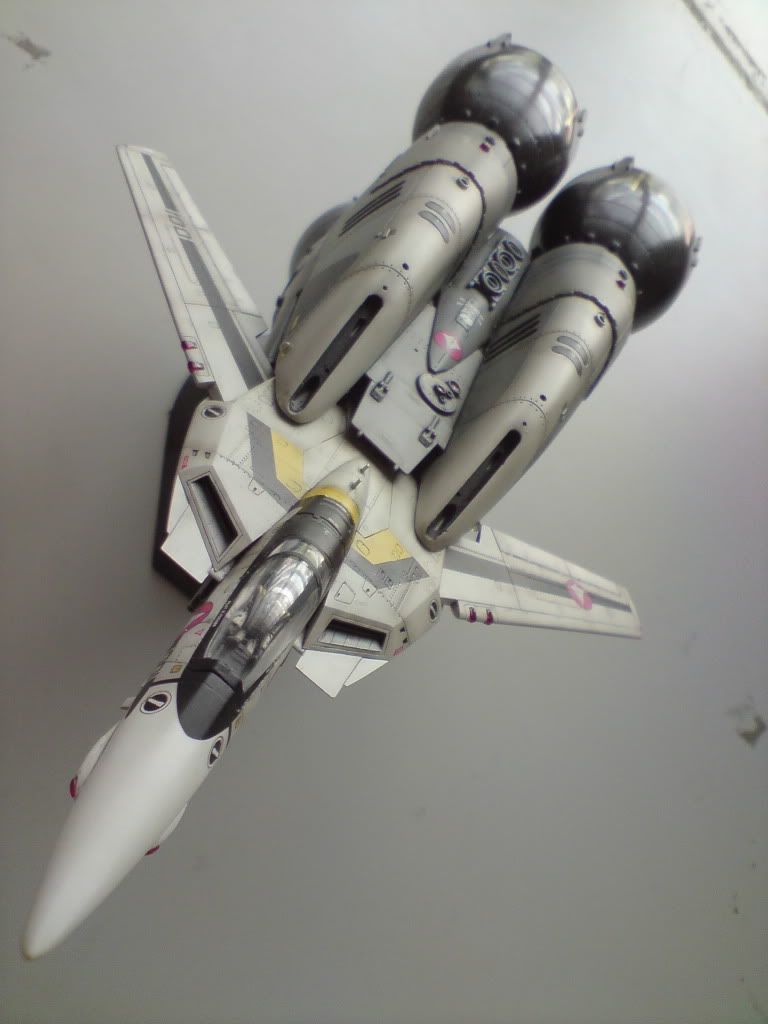
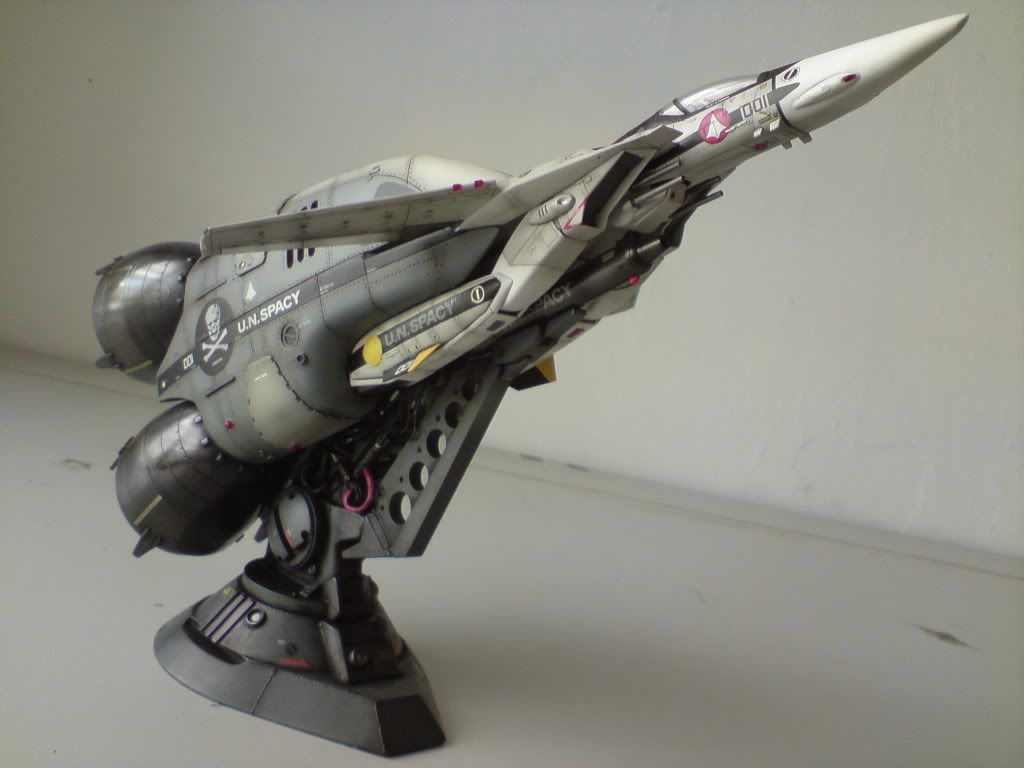
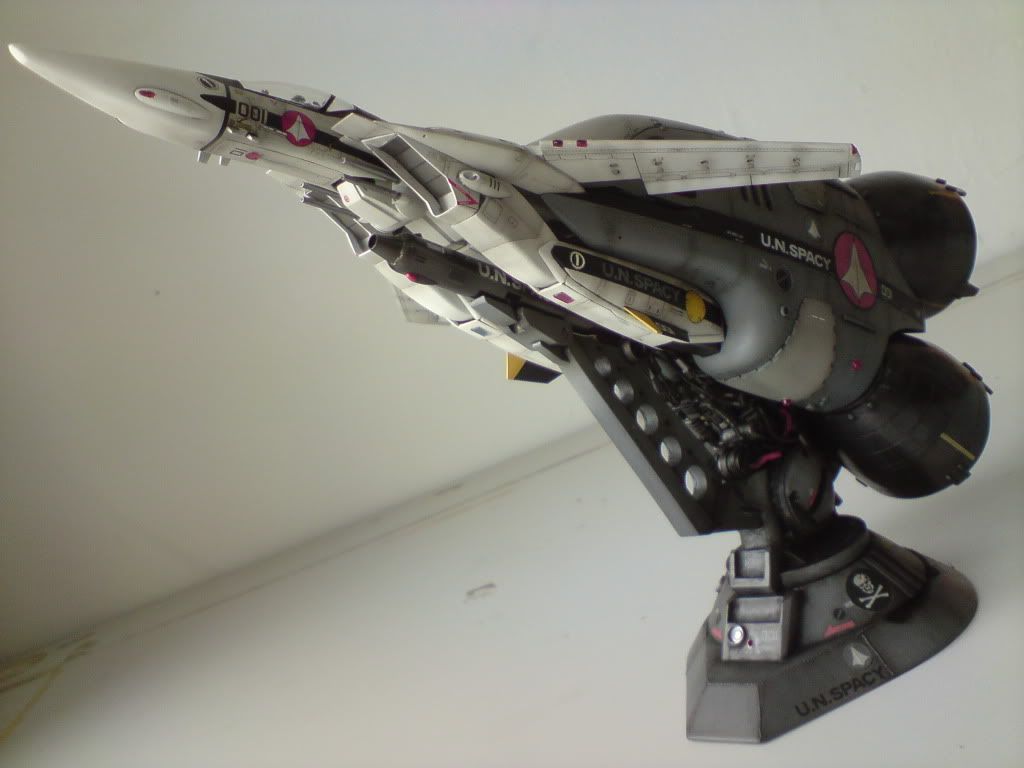
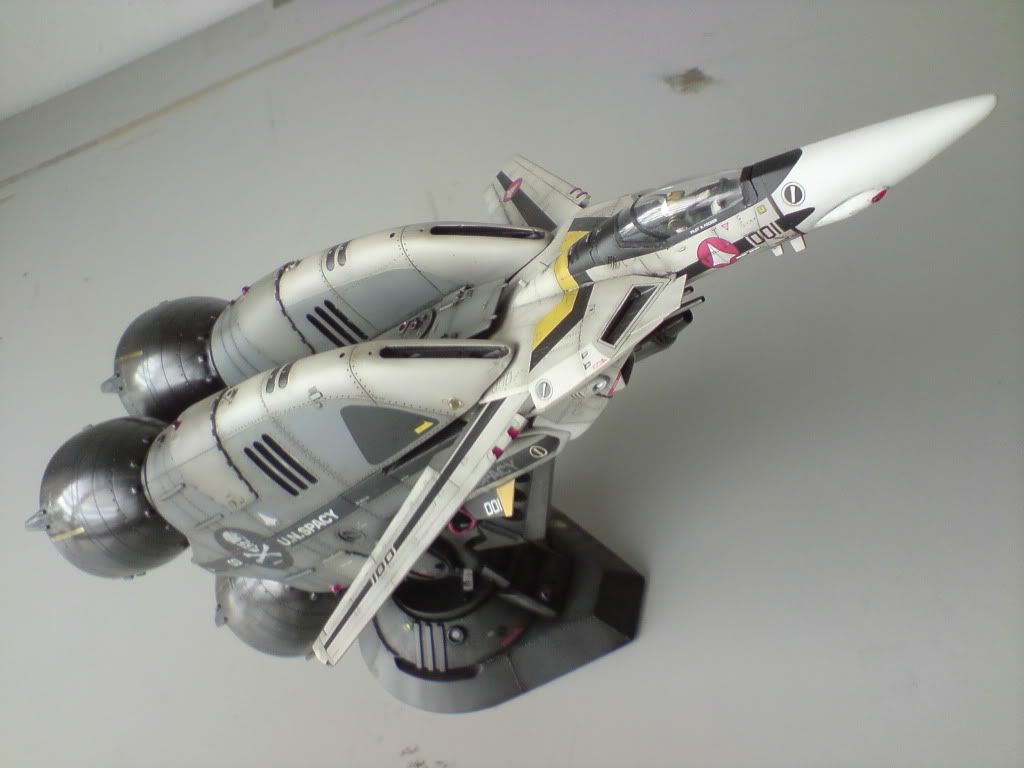
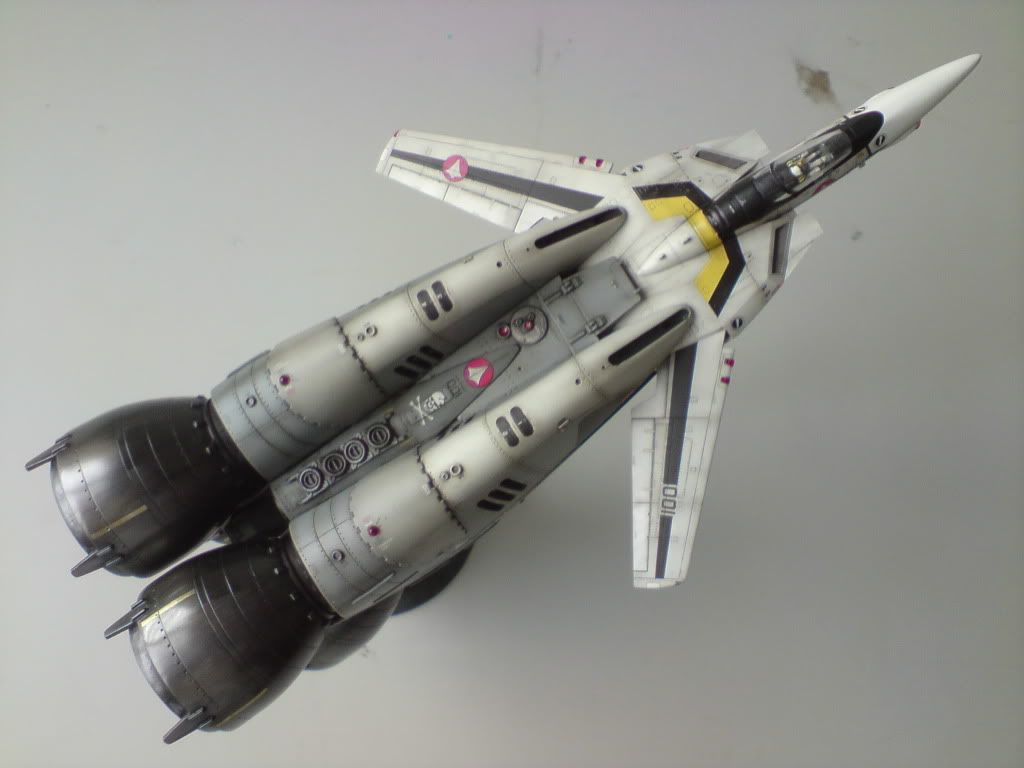
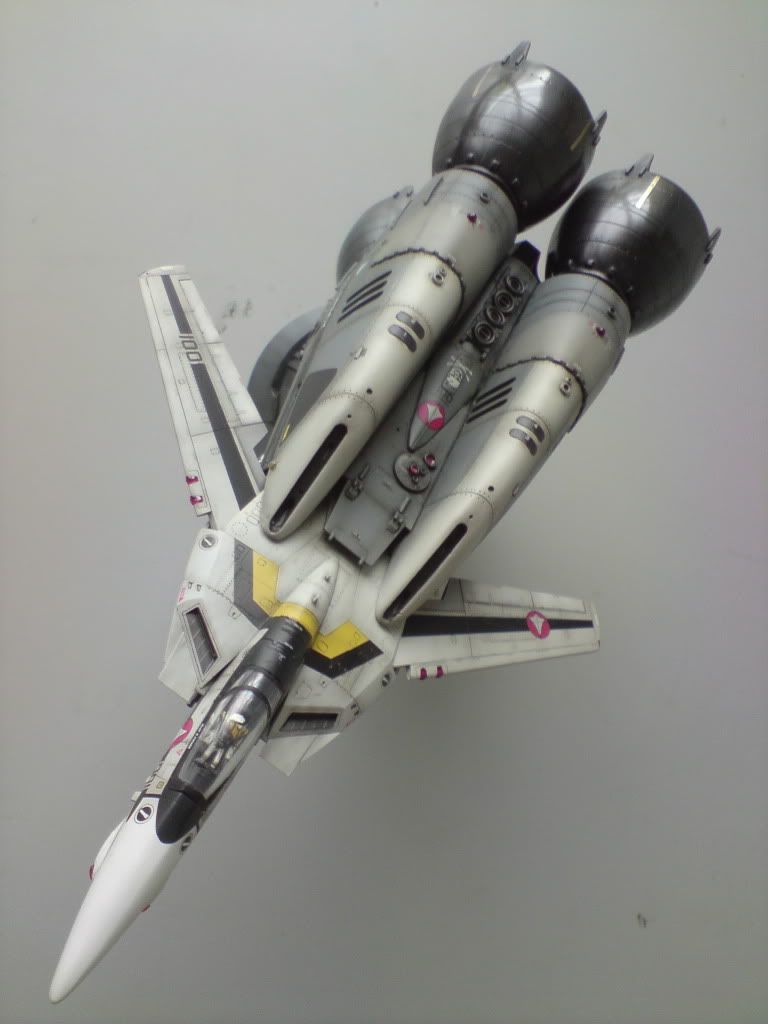
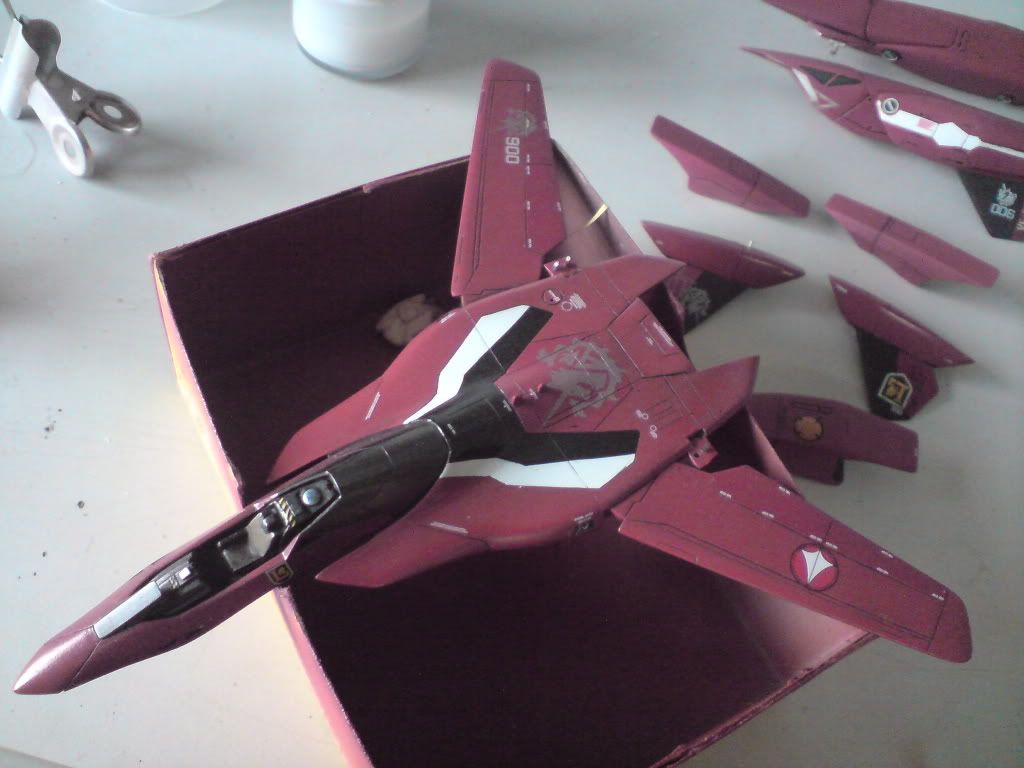
finished at last!!!!!
sorry guys for the very long delay  ....life was pretty hectic.
neways, enjoy the pics. i'll appreciate any comments from the model masters here...
-
mine...

-
i dont know how u did it....but if I were u i'd given up brush paint and use airbrush instead...it's faster. i've tried brush paint on my models few years back...guess i'm not as patient as u r. anyways, really admire ur patience and hoping to see the final painted G version of yours...soon
-
hi all, sorry if u all feel this post is inappropriate.... i'm planning on building a gundam UC hardgraph diorama and thinking of sharing the WIPs with our macrossworld fans.... but in which section shud i post the thread? thanks
-
some progress, painted red, black n white....decaled, and oil washed.....plus a layer of mr.hobby flat clear can spray....
next wud be the weathering....pilot, display stand.....hmmmmm....a lot more to go
-
mostly all the paint works, decaling and oil washes r there....and a layer of mr hobby flat clear... next wud be the weathering, some touchups, pilots, canopy and display stand.....hmmm, still considering about scratchbuilding the AABs.....

-
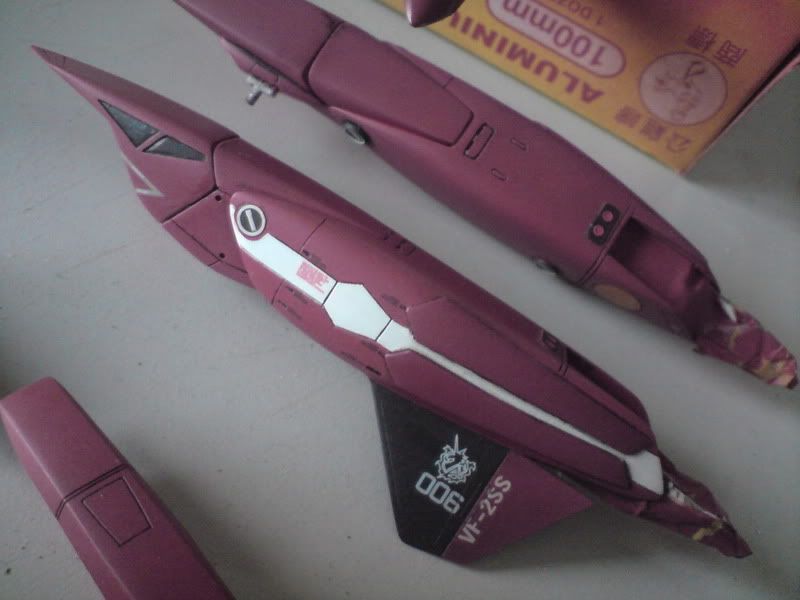
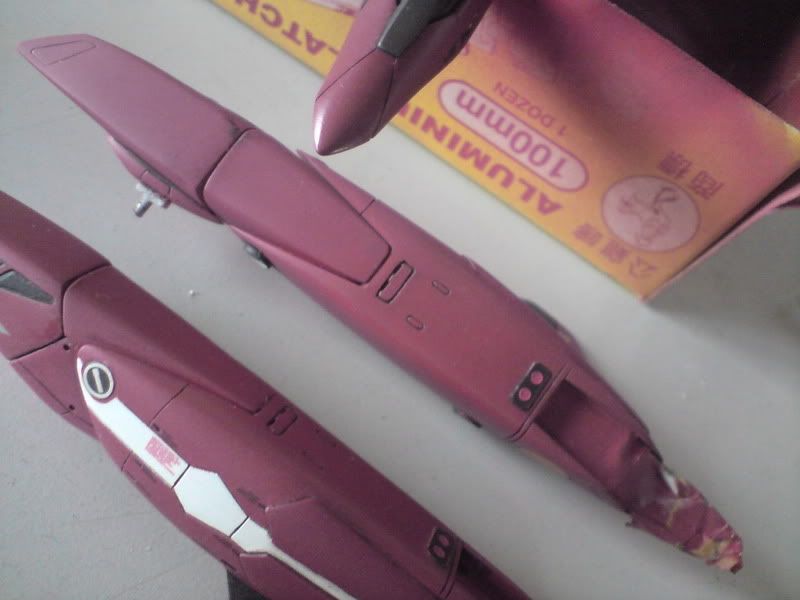
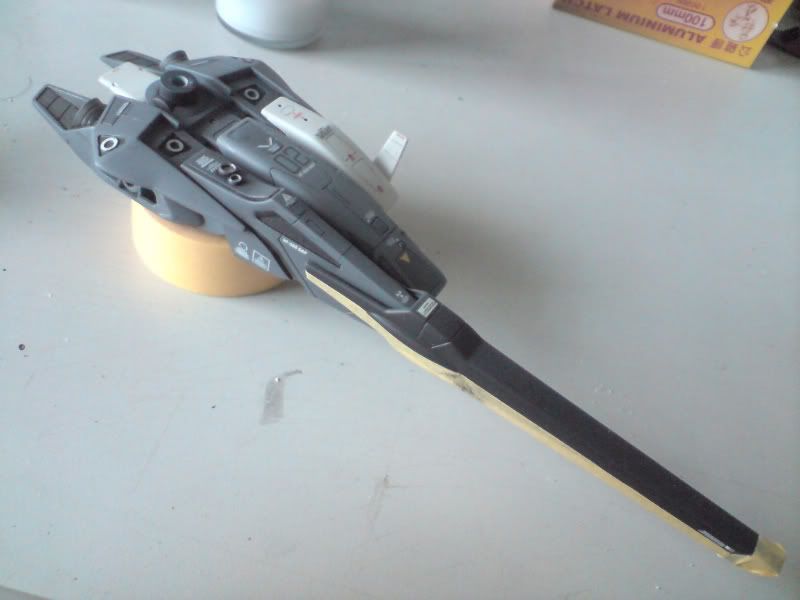
at last i had a few days to progress on my vf-2ss, (had a few days off from work plus my kids are at my hometown)....hehehhe, so here r some progress....
-
agreed, the dx looks much better....now i have to modify mine to make it looks closer to the dx..


regult, can u please take a picture of the dx in battroid mode also...just for references
-
pardon me, but what is CF-25? CF stands for.....?
which variation is it? -
some updates....
detailing the legs....notice that the panel lining isn't that sharp, unsymmetrical and look almost like handrawn....hmmmmm

i start by tracing the panel lines onto cheap masking tape
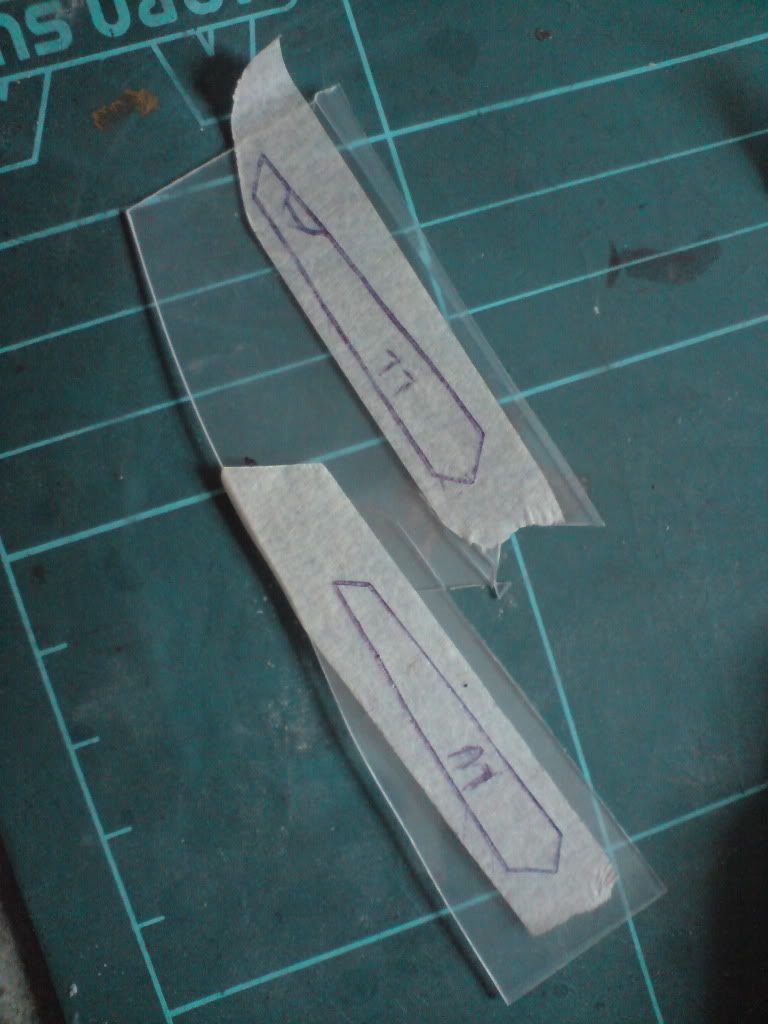
then, transfer the masking tape onto a soft plastic sheet so that later on it would be easier to glue and to conform the plastic sheet onto the convex surface

glued and primed
some closeup detail
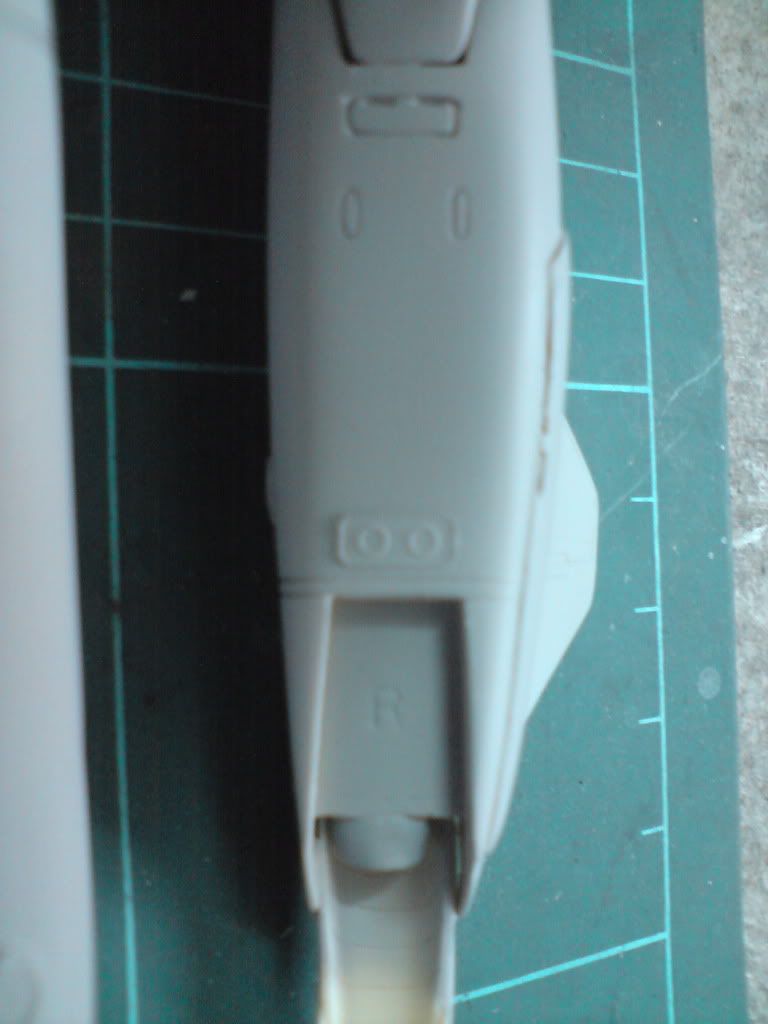
details added with photo etch part taken from my vf-1d hasegawa kit set
detail taken from the same photo etching parts
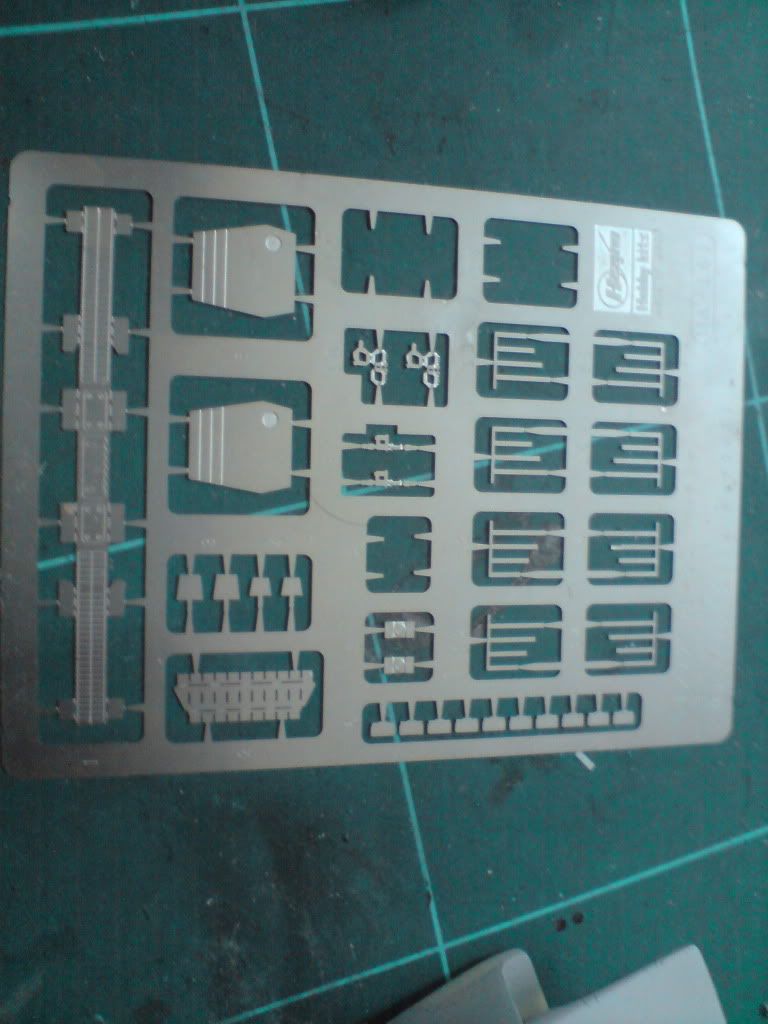
photo etching sprue from hase vf-1d plastic kit
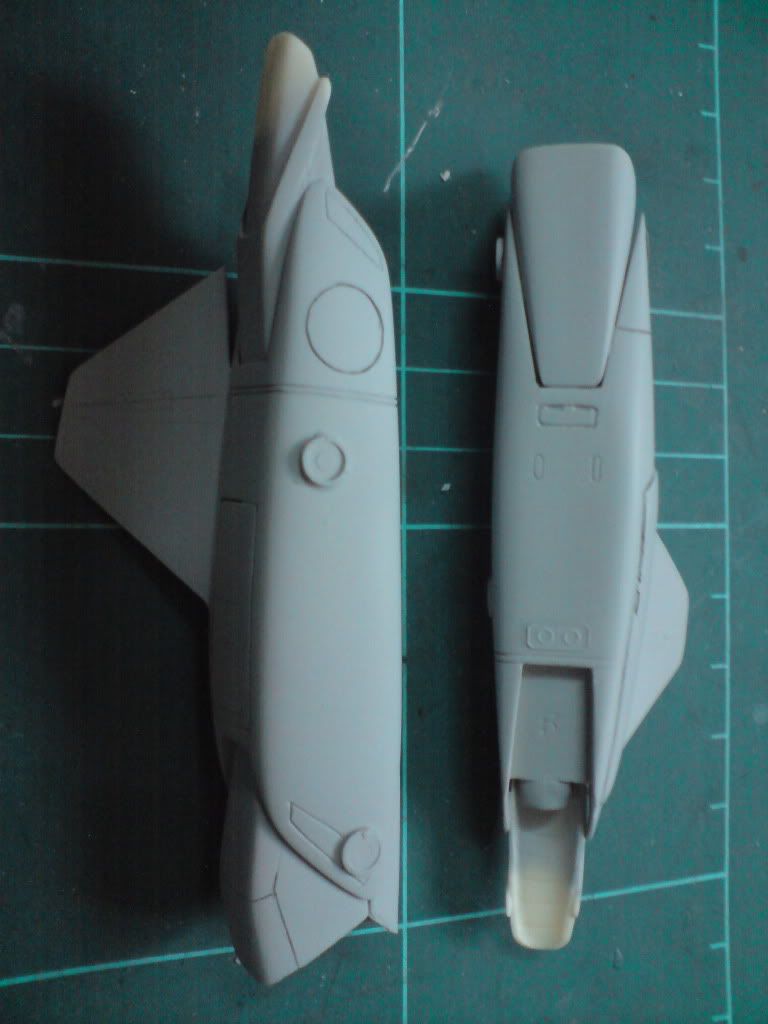
overall main fuselage primed with some minor custom panel lines
-
No real tips or advice to throw your way, but 2 big thumbs up that your building both a Sylvie Gena & Lt. Nexx VF-2SS at the same time, too cool!!
I think a heavy weathered appearance would look great on this one!
thanks for the kind words and confidence, and for noticing the Lt. insignia for gilbert nexx...i thought he was a captain.... bout the weathering, haven't consider anything yet, at the moment all the thoughts would be on the detailing parts
Looks good. I like your idea with the intakes, and if I'm courageous enough - when I do mine - I may attempt that!thanks, i think u should try it out, its not as hard as it may seem to be, u just need a drill bit, some jewelery file or reamers and sand papers.....try it out on an unused plain resin block....when u r confident enough, go for it....at least that's what i did b4 starting on the real resin kit....just my 20 yen worth of suggestion
I agree! The intakes look better than even those of the Yamato figs, and actually look like real intakes instead of just fixed turbines carved onto a black-painted square.Top marks!
I hope this isn't considered hijacking the thread (a thousand apologies if it is), but I've always hoped that Yamato would someday manufacture a 1/60 scale full transformation VF-2SS, despite the nigh impossible odds. I realize the anime got some pretty bad reception after its release, and was further damned by the fact that Kawamori never participated in it, but at the end of the day, the VF-2SS still has enough fans of its design to warrant at least a limited release.
thanks, i sincerely don't think this is hijacking, even if it is hijacking i won't mind as long as the topic is on macross....
-
Very nice!!
I love build up progress threads when they are tuning up the kits with third party brands, I can recognice kotobukiya vernier nozzles??? Wich model? 113, 109?
Are you going to use the stock canopy or a replacement?
Keep going!!
yes sir, i'm using some kotobukiya nozzles from 113, 106 and 123 series. the canopy would be a replacement from studiostarforge.....mine which comes with the recast kit was too hazy....
505th airborne, thanks for the kind words.....
-
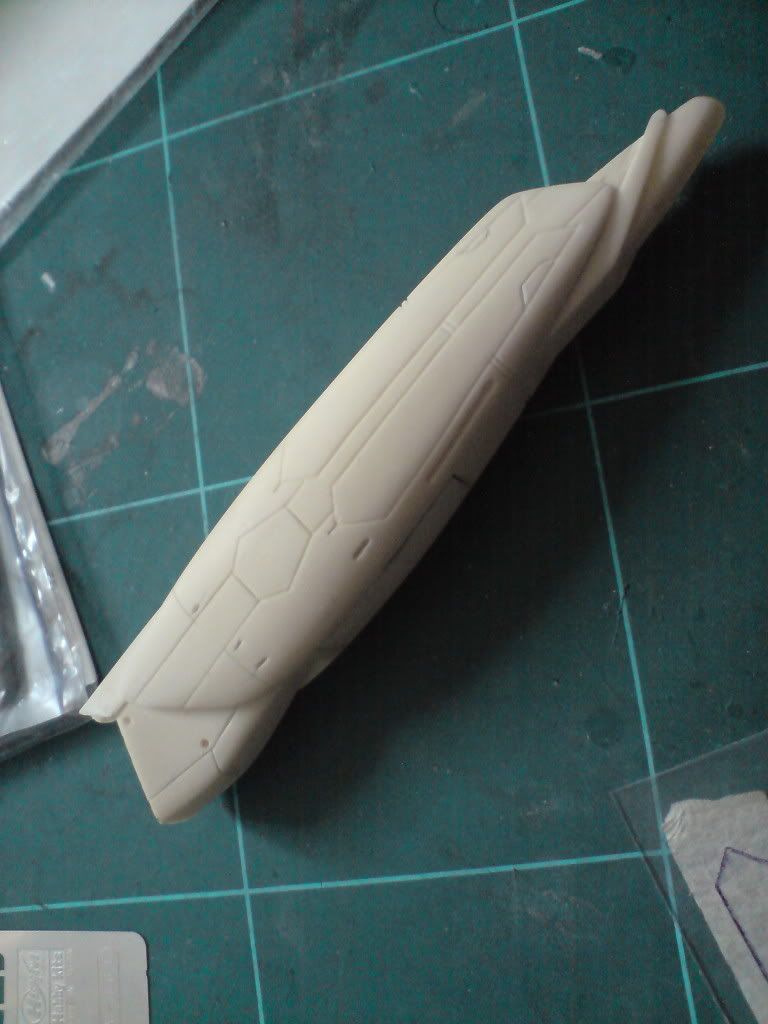
SAP from bandai 1/100 scale plastic injection kit
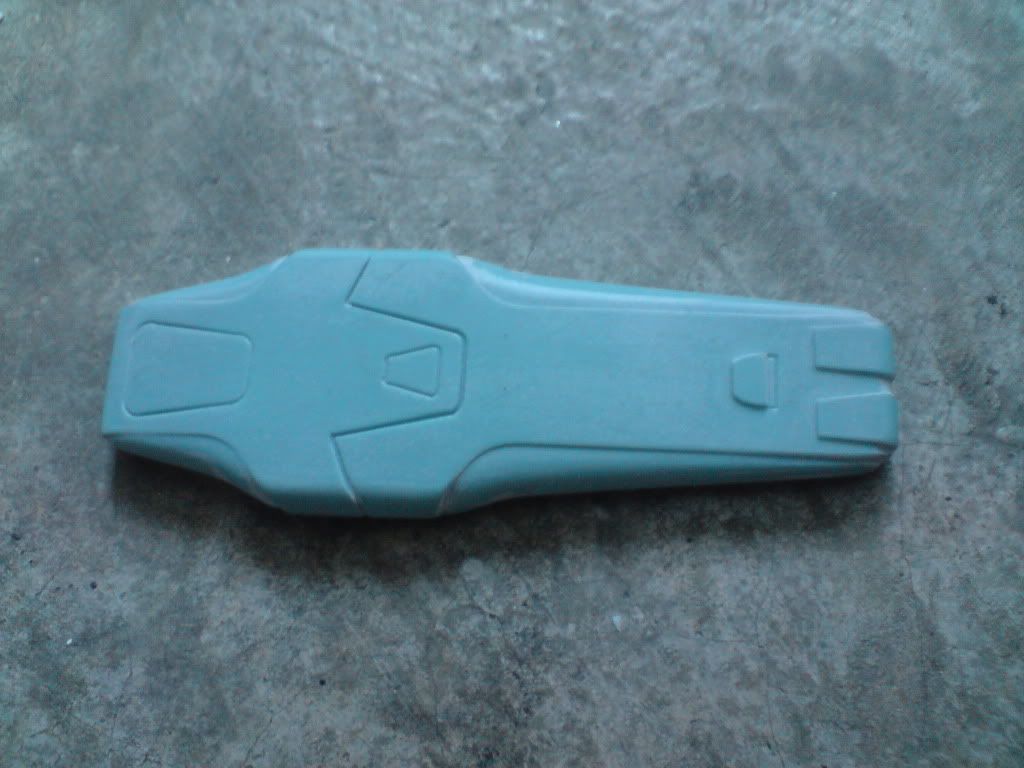
note the 'wing end of the SAP is too flat....not liking it....
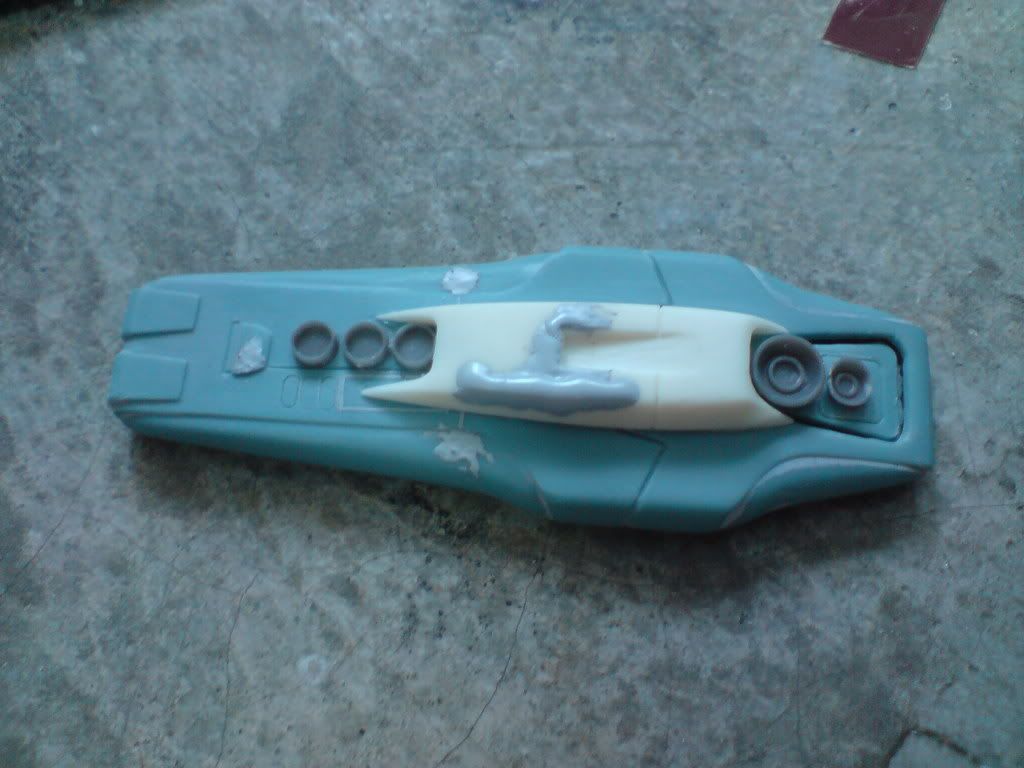
some kit bashing...


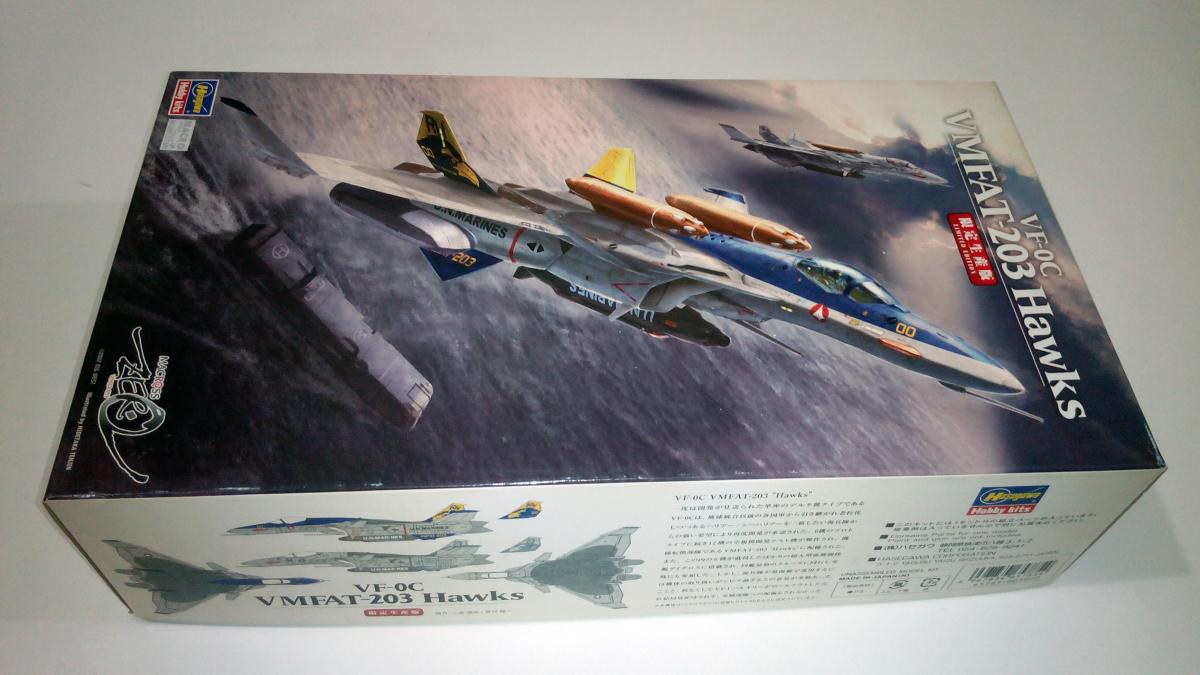

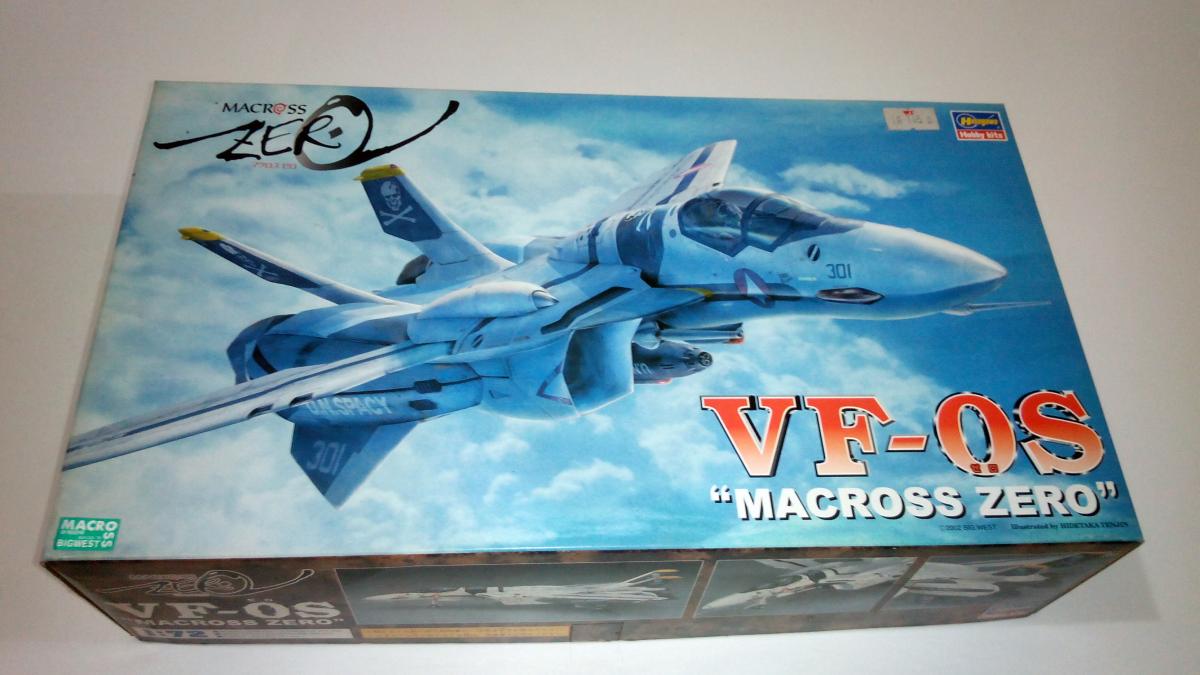

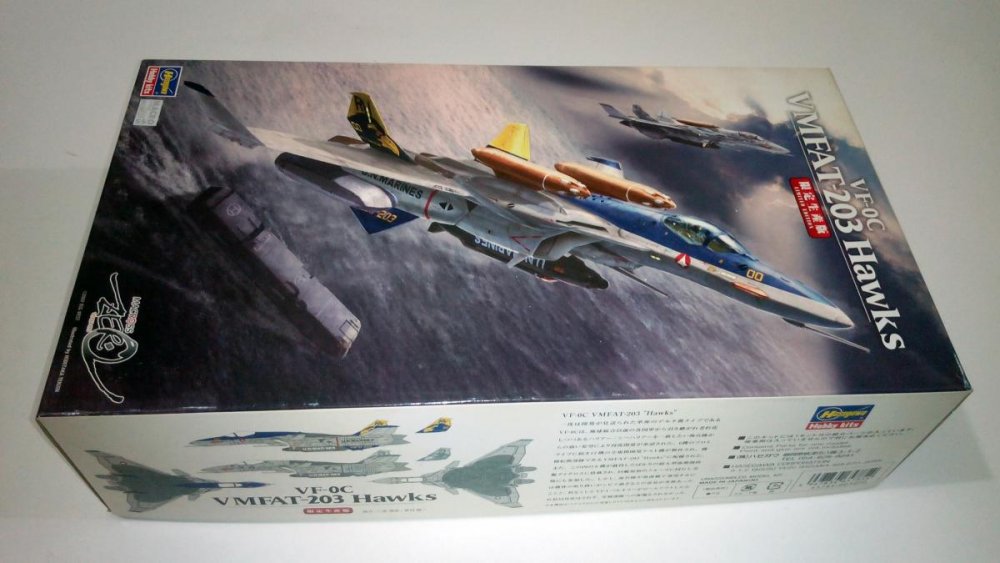
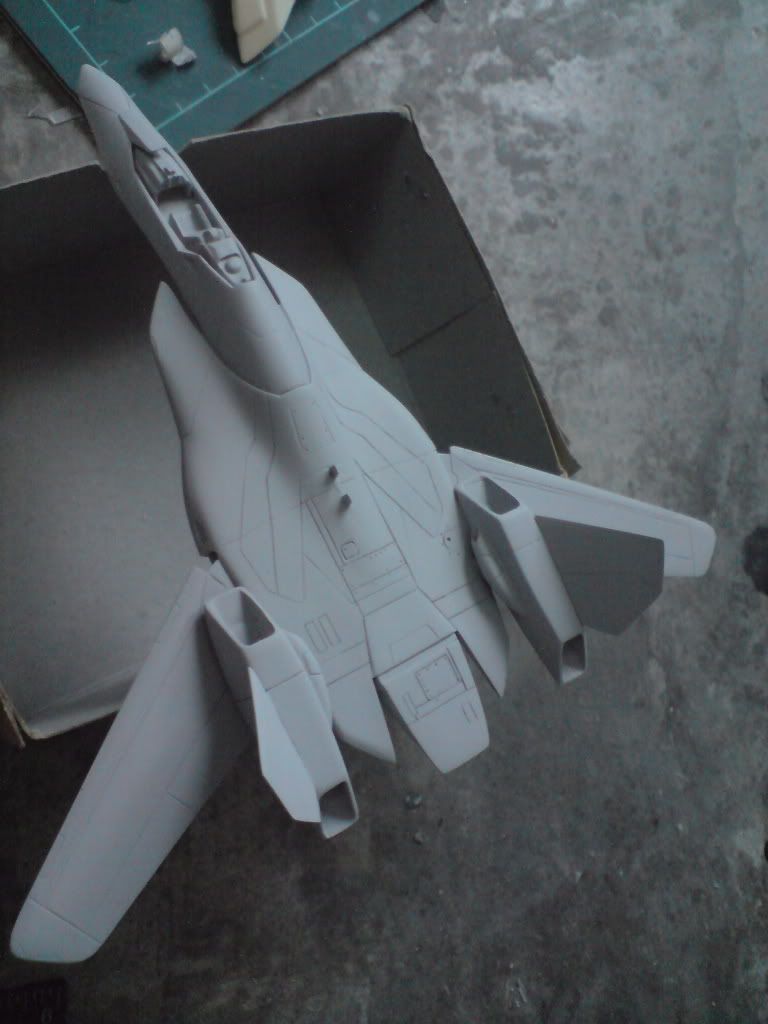
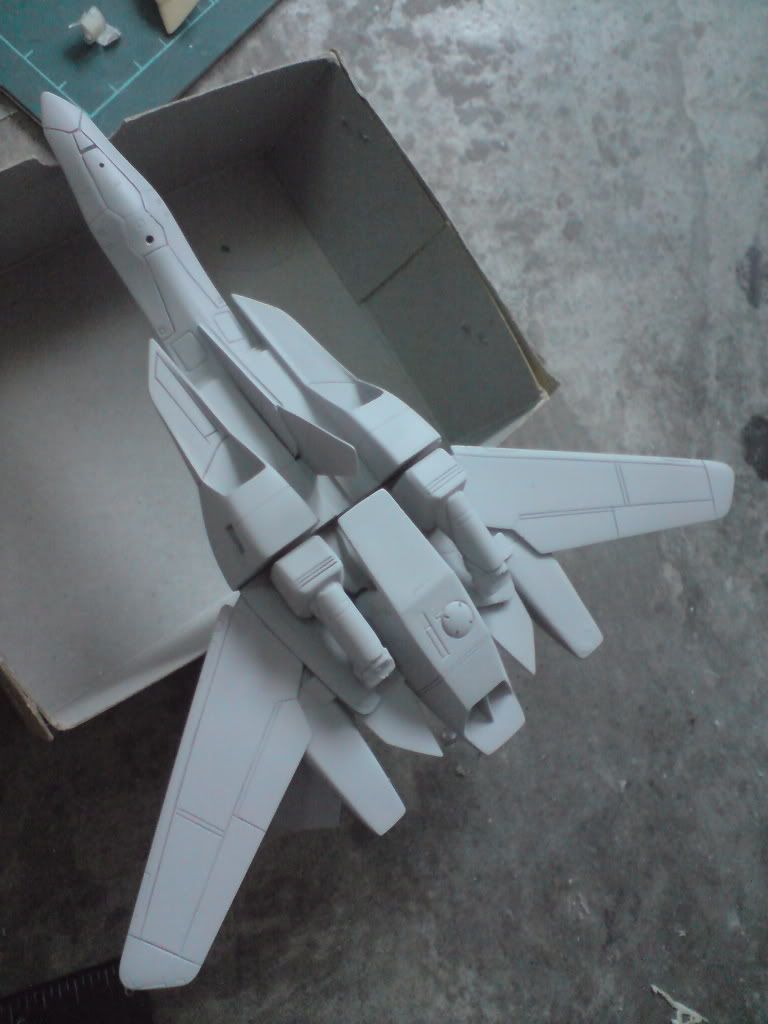
All That Phoenix: 1/72 Hasegawa VF-zeroes...A,B,C,D and S + Ghost
in The Workshop!
Posted · Edited by shinagami
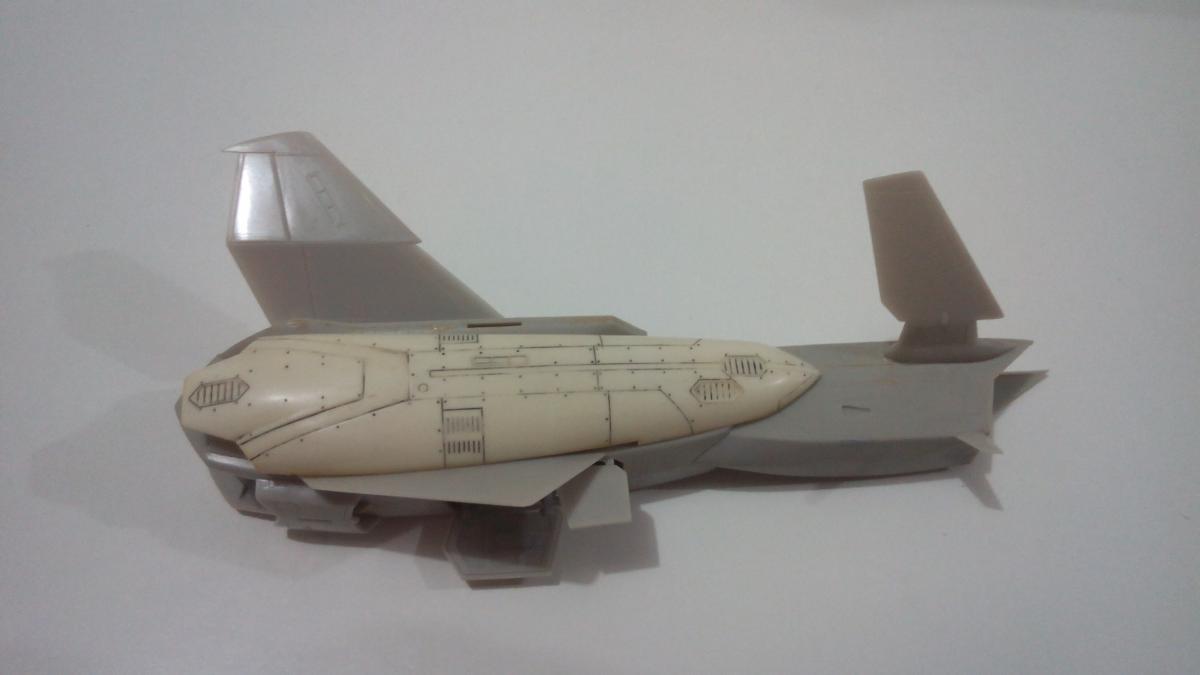
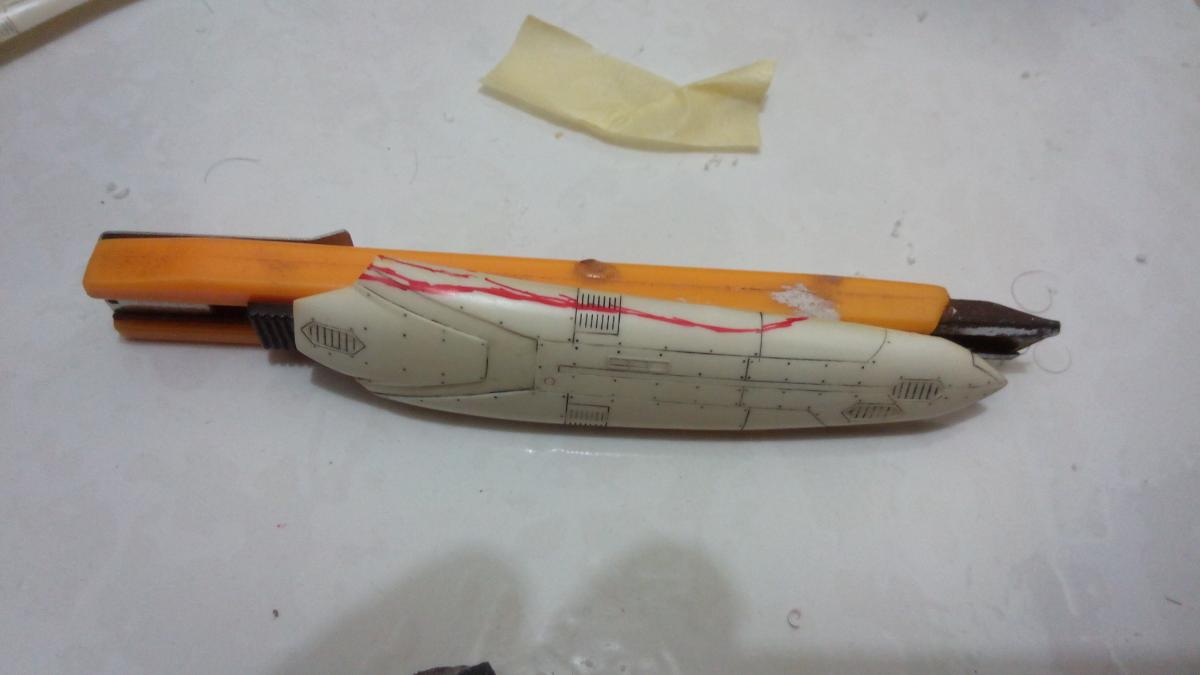
Hi everyone, managed to steal some time into macross modeling (sorry for my long absent). its been almost like 3 years since my last updates.
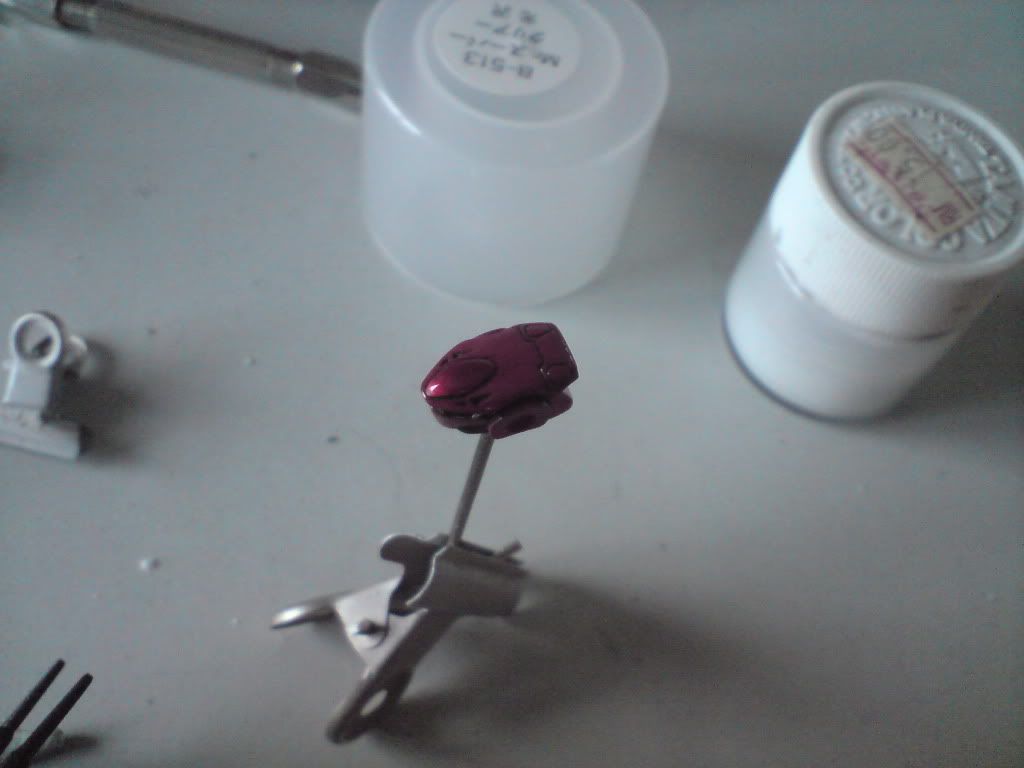
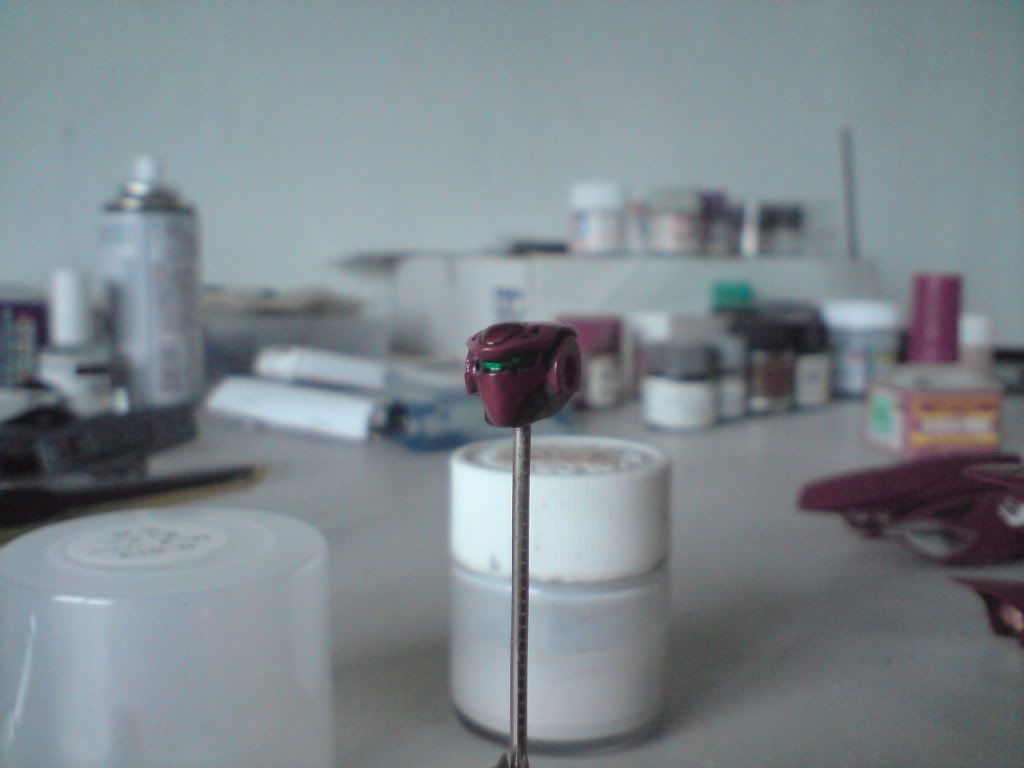
Did the cockpit of the zeroes, most of it were hand painted...(yeah, got problem with my airbrush compressor, the air pressure regulator cracks) ....
....
vf-0s roy focker
vf-0a shin kudo
vf-0b H tenjin and L itano
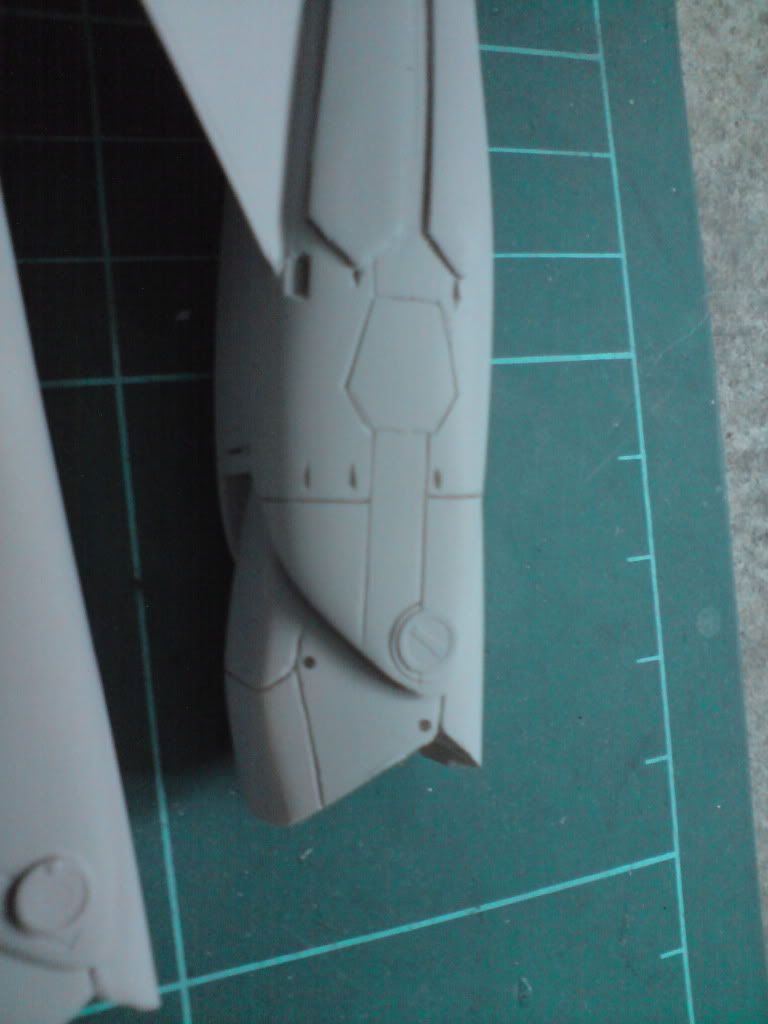
vf-0c
vf-0d shin kudo and edgar la salle
sorry for the quality of the paint job and the pictures... need to touch up abit here and there, especially the pilot helmets... will update later, thanks for viewing...