-
Posts
41 -
Joined
-
Last visited
Content Type
Profiles
Forums
Events
Gallery
Posts posted by Andrea
-
-
My dear friends,
thank you very much for your several and enthusiastic comments!!
I'm really happy and proud!
Thanks, thanks, thanks!
-
Let me say thank you to everybody!
Your enthusiastic words have touched my heart! :-)
Thanks a lot!
-
Dear friends,
after more than two years of works, I finished my VF-1J “S-FAST PACK” model and the related diorama. I hope you like it and the final result is able to show my great passion for the “Macross” animated series.
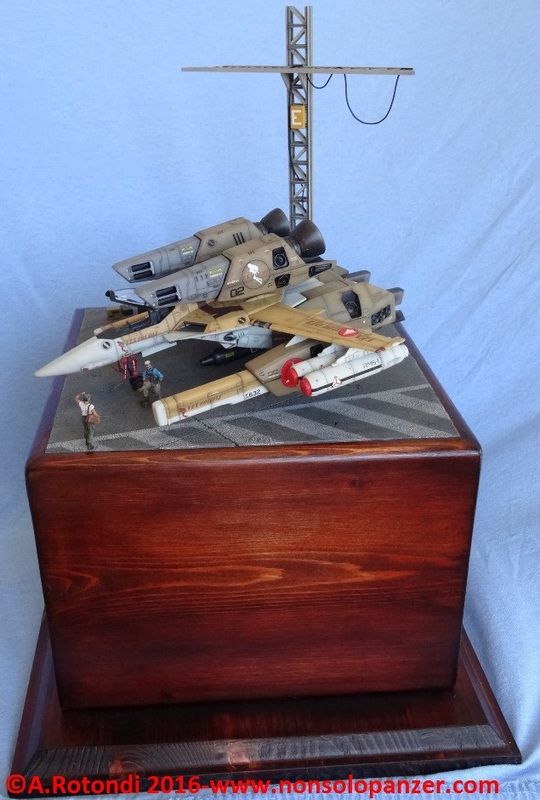
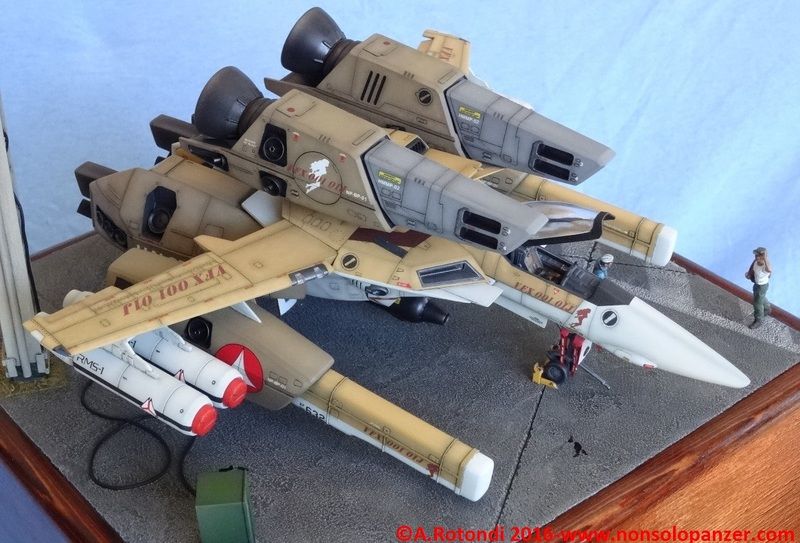
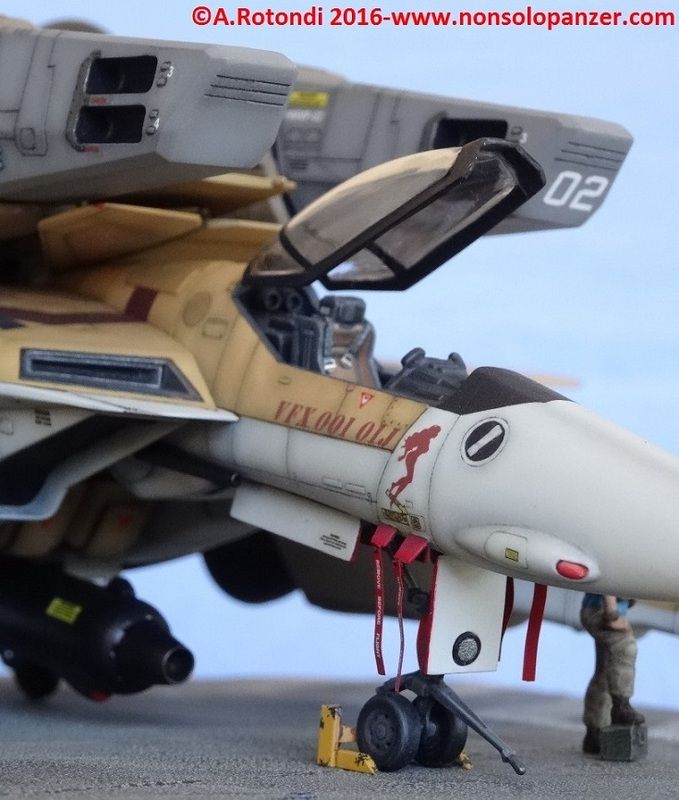
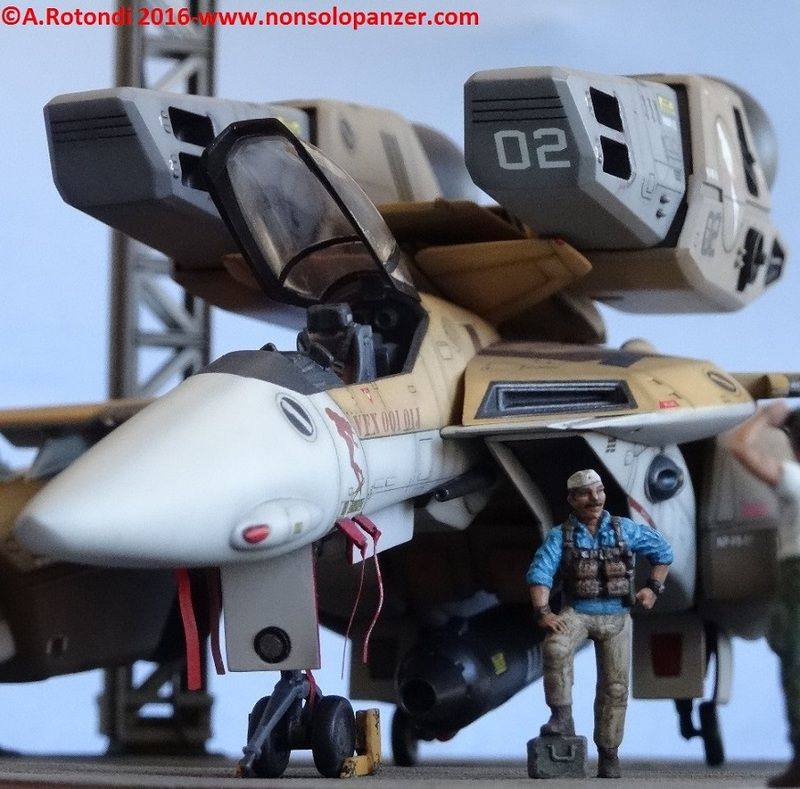
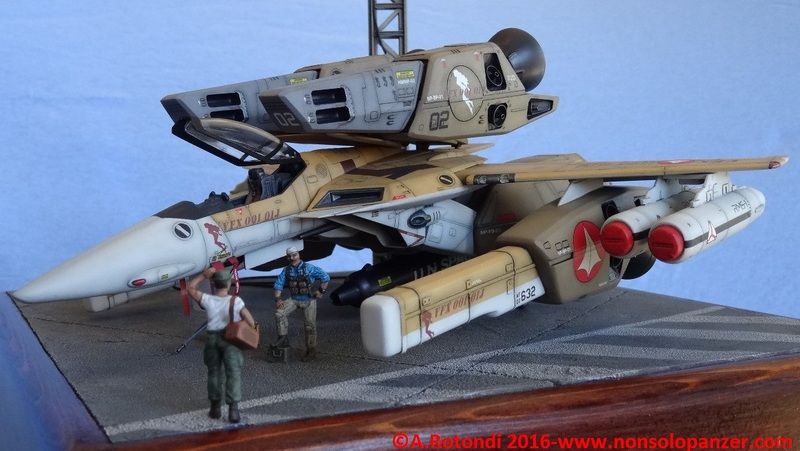
As usual, you can find more information and pictures on my Blog at the following link:
https://nonsolopanzer.com/category/my-models/macross-variable-fighters/vf-1j-s-fast-pack-2016/
You can see the diorama construction here:
Let me say thank you to everyone who have followed me until now.
-
Let me say thank you so much to everybody!
I'm very happy to read your appreciations of my work.
I hope you’ll like also the little diorama where I’ll place this VF-1.
Thom, you can find some other pictures (from the rear too) in my blog.
Grunt, I prefere not to modify the model at this stage. Thank you for your suggestion that I’ll apply in my future models.
Thanks, thanks, thanks again!

-
Dear friends,
after a too long waiting from your part, I finished my model of VF-1 fighter. After two years of works, I can say to be very proud of the results. I like very much this kit, its colors and its details. In this model, I make my best and I hope you like it too. Obviously, any comment is much appreciated and, for your information, I’m now making a little diorama for this VF-1.
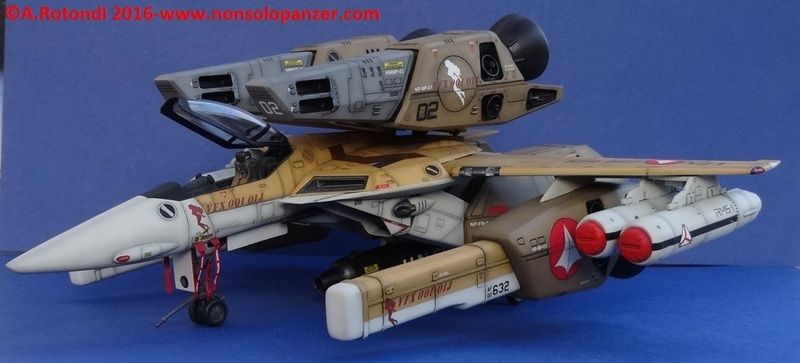
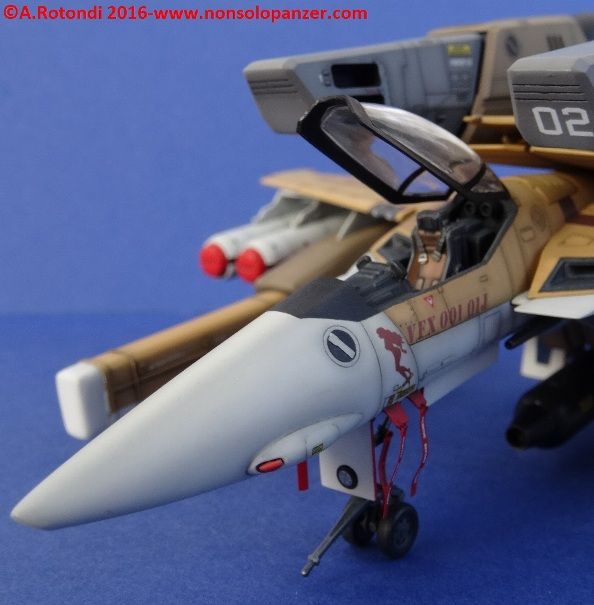
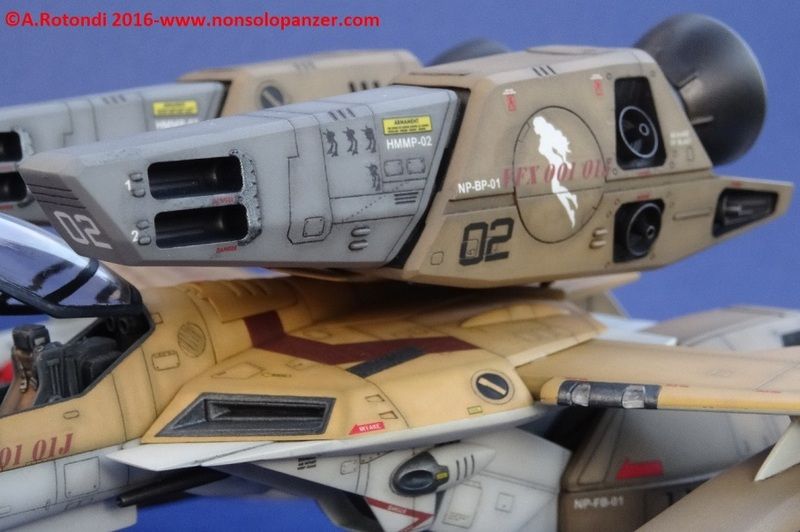
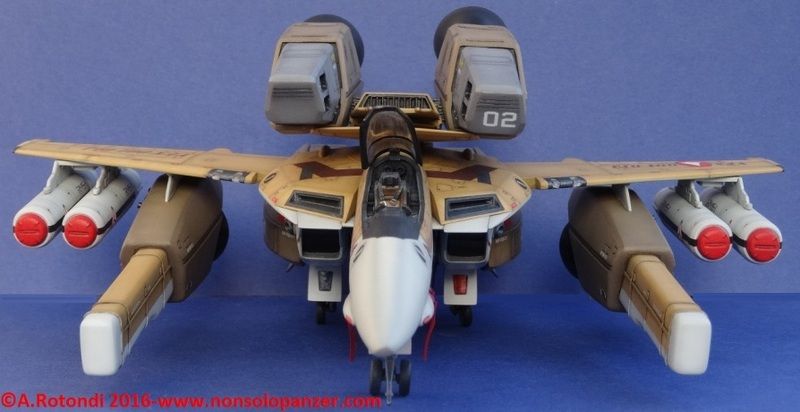
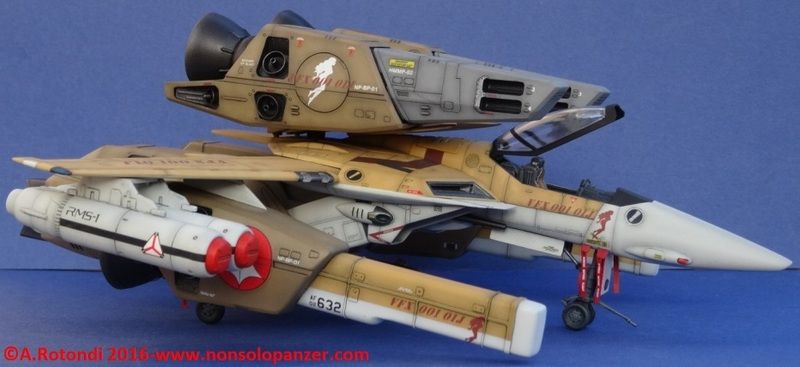
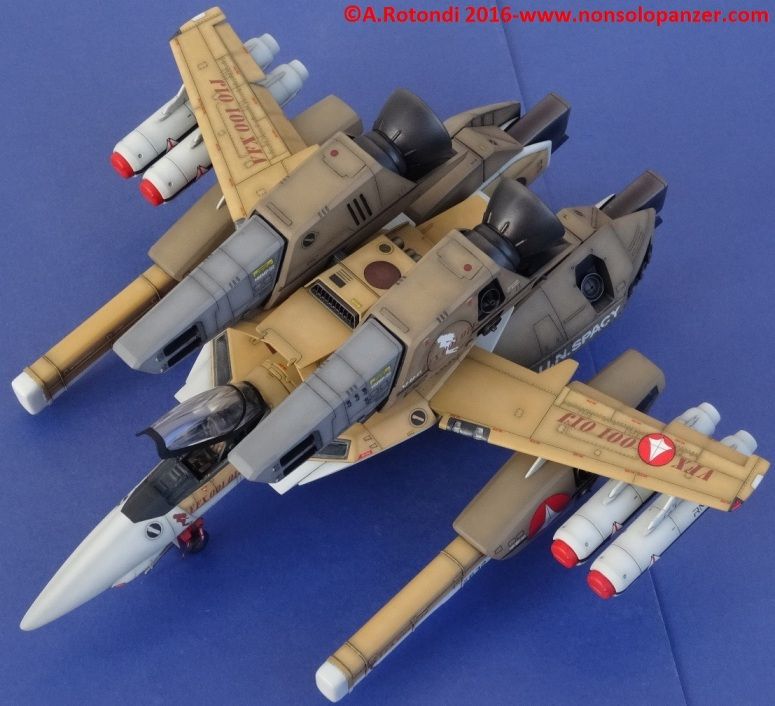
As usual, you can find more information and pictures on my Blog at the following link:
Many thanks!
-
I confirm that the Regult kill markings come from the decal sheet included in the Studio Forge pilots set.
-
Let me say thanks so much to everybody!
I’m doing my best in order to finish this model as soon as possible. I hope to show you it within few days.
Of course I’m talking about the VF-1 only. I’m going also to do a little diorama but for that I will need another month at least.
Grunt, thank you very much for visiting my blog!
Yes, the pterosaurus head was a very hard work that I loved to do. J
-
Dear friends,
I have completed another important step of my VF-1 works: the weathering with oil colors. As usual, I used the oil colors in order to accentuate each particular of the model. The oil colors must be used well diluted and applied only where is necessary. Thanks to the previous clear coating, an excess of color can be easily deleted using a clean brush wet of thinner.
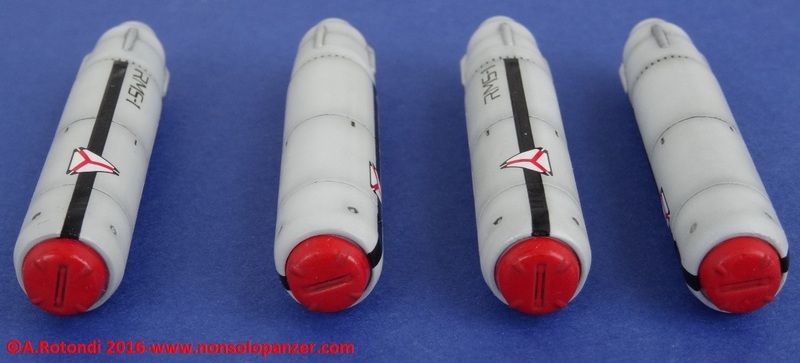
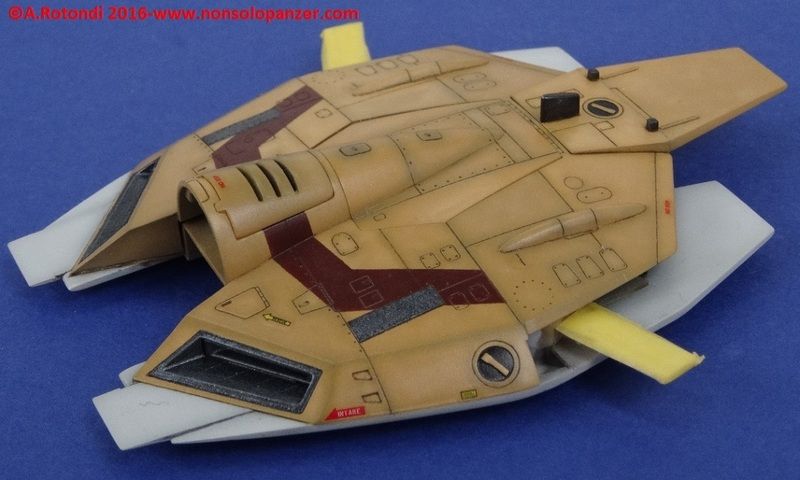
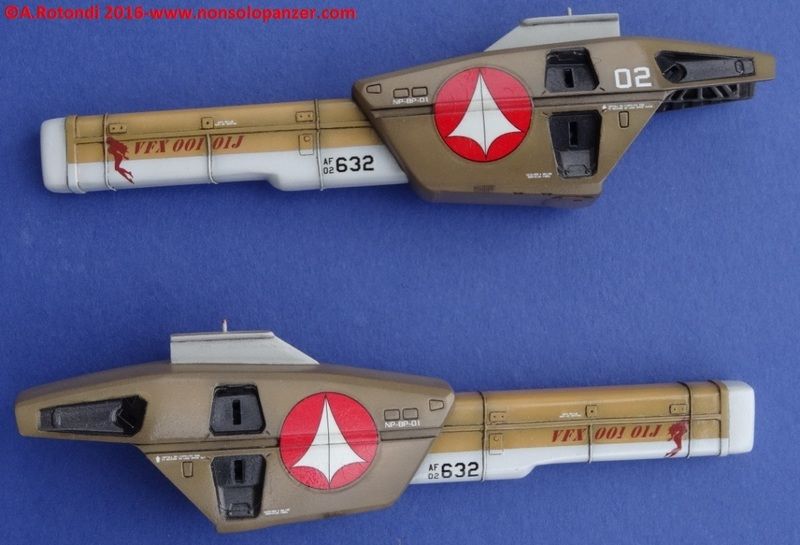
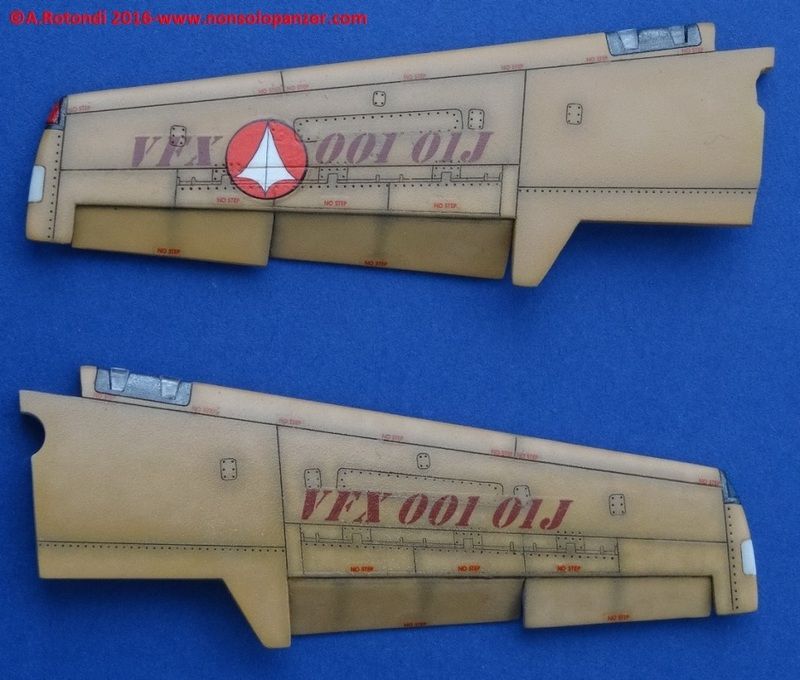
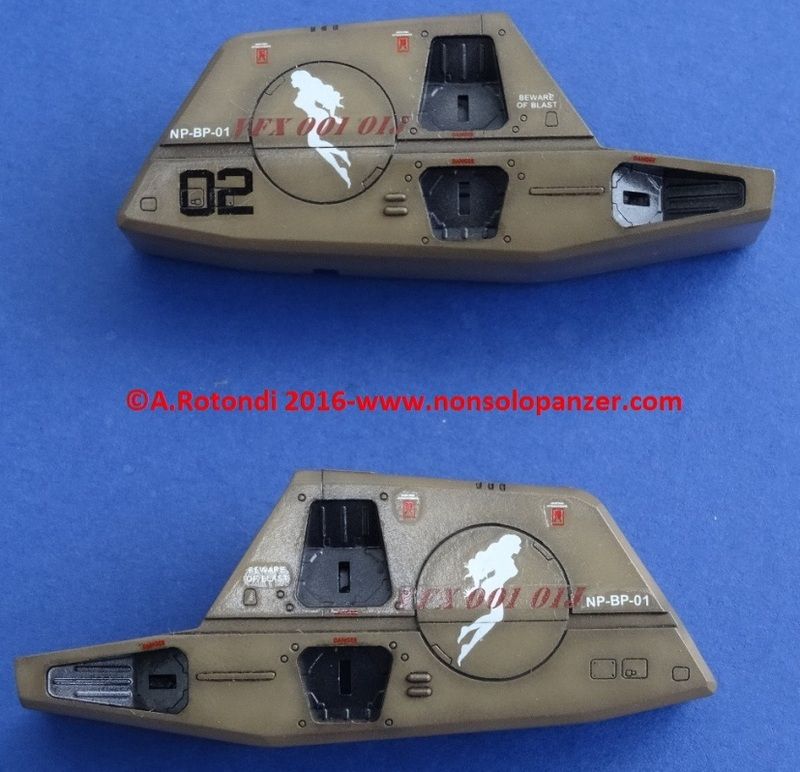
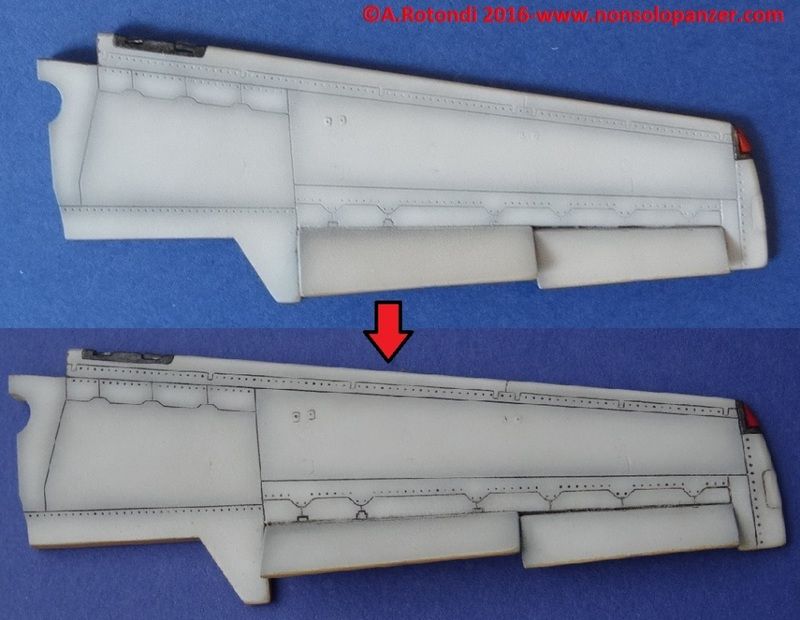
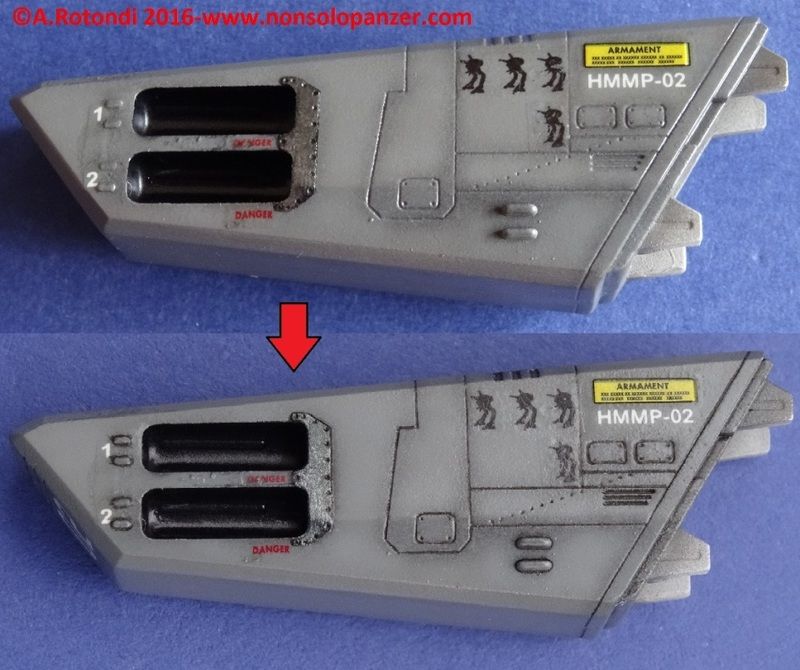
As usual, you can find more information and pictures on my Blog at the following link:
At last, the end of this model is not very far now!
-
Thank you again for your enthusiasm!I’m working now with the oil colors for the weathering.Please, stay tuned!

-
Dear all, let me say thank you again!
I'm very happy to know that my SV-51 is still able to be appreciated by great Macross fans like you notwithstanding I made it six years ago.
I'm very touched and I really hope the VF-1 that I'm making now, will be subject of the same appreciations.
Cheers
-
Hi guys!
Thank you very much for all your comments and compliments!


I'm very happy!
I'm working for you in order to finish this kit as soon as possible.

Please, be patient a little longer.

-
Dear All,
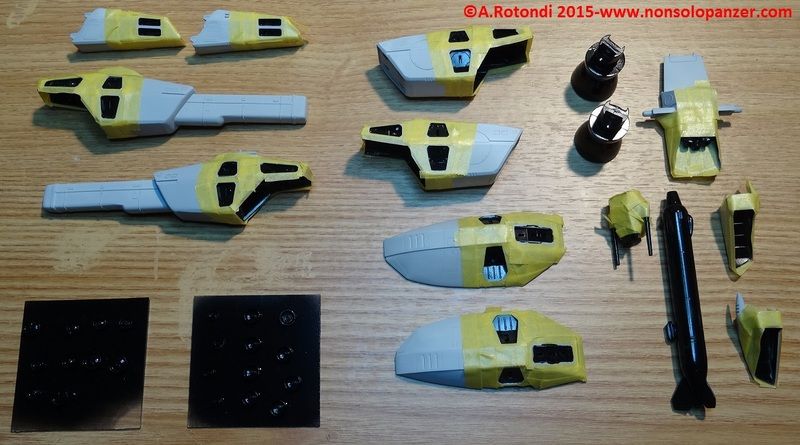
at last, I have finished the paint works on my VF-1 model. I have painted all the additional parts required to allow the plane to fight into the space and typical of the “Super Valkyrie” version. As usual, I sprayed by airbrush three different tones of the color (dark, middle and light) chosen accordingly to the paint scheme of reference.


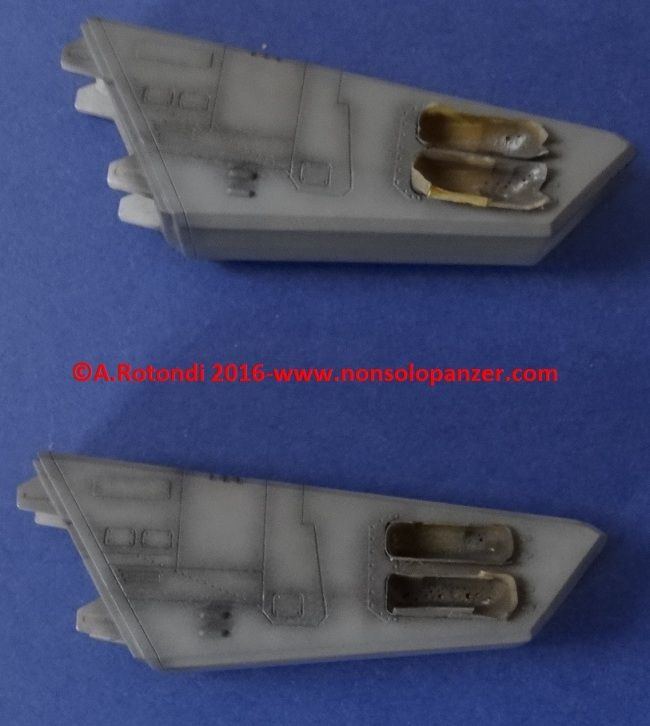
For the under wing boosters, I developed a paint scheme that makes reference to which on the nose of the aircraft.
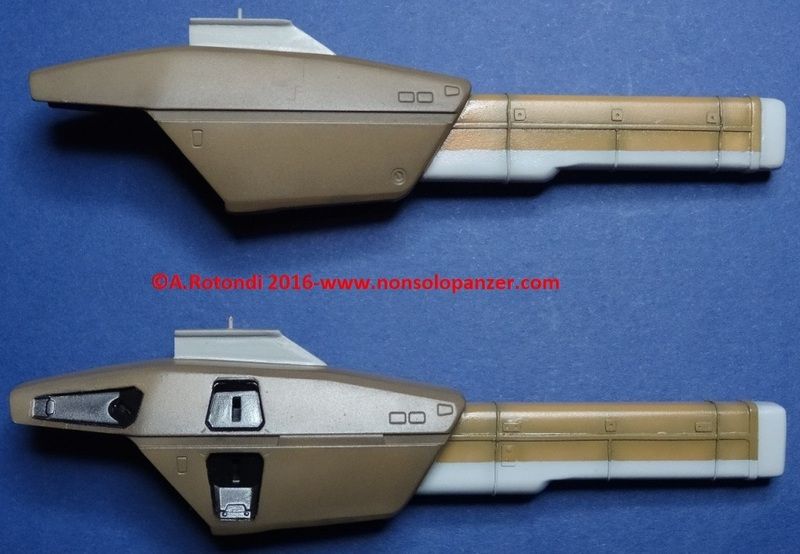
After that I have painted the other details and applied a first clear coating to offer a smooth base for the decals. A second and final clear coating has ended the works on these parts protecting the colors, cancelling the thickness of the decals and preparing them for future oil colors works.
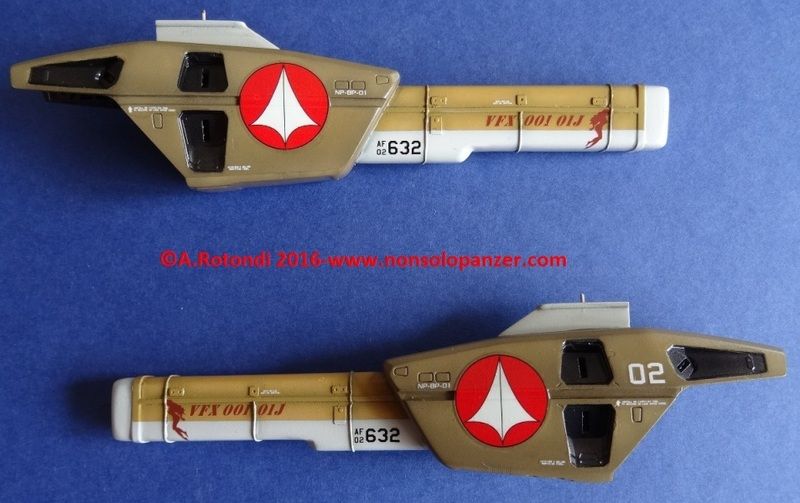
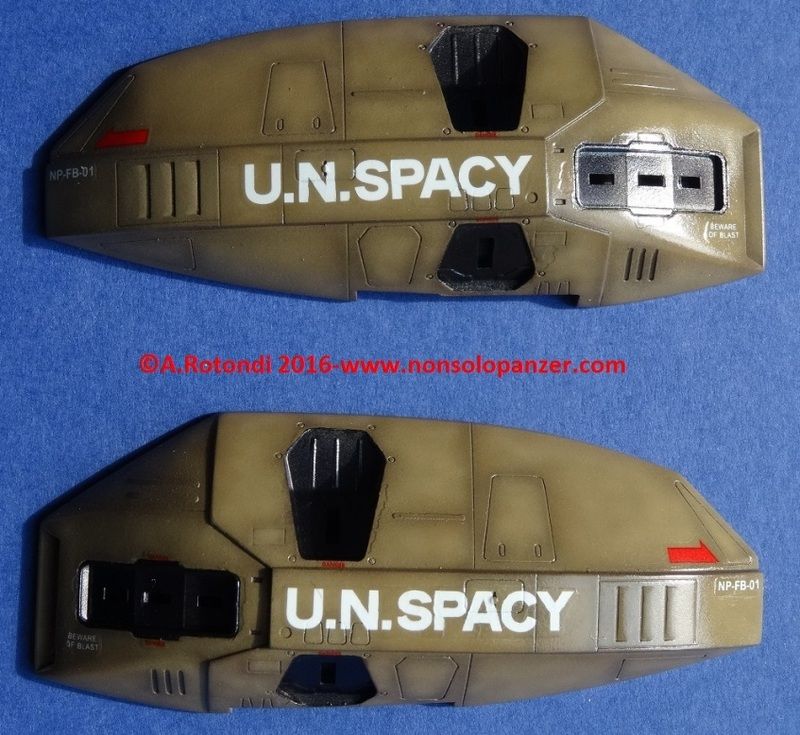
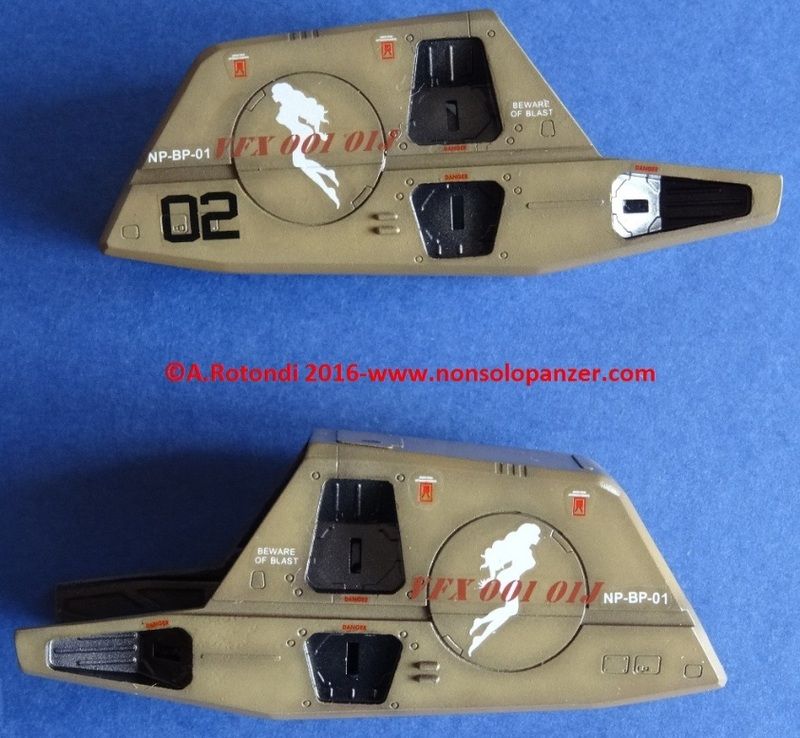
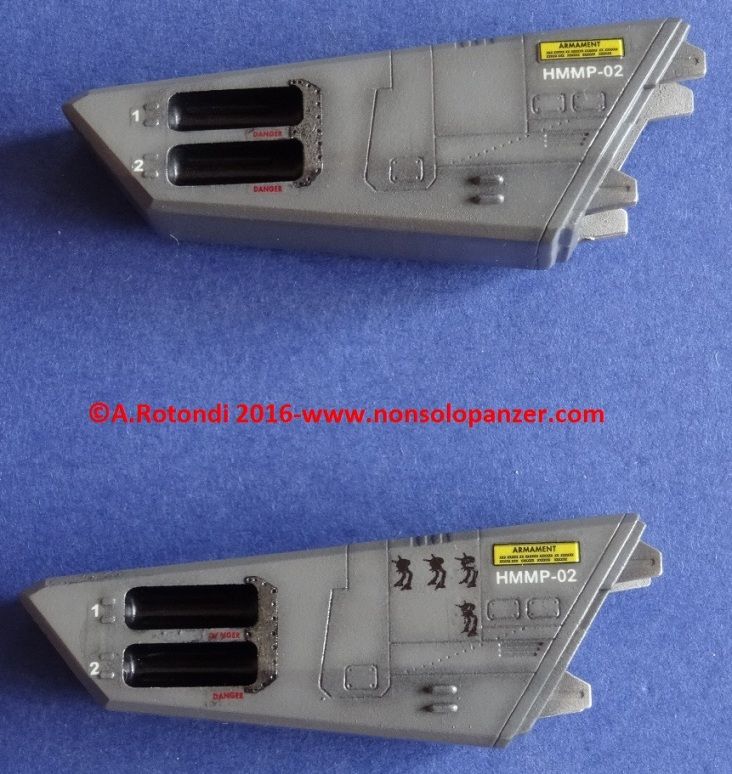
As usual, you can find more information and pictures on my Blog at the following link:
http://nonsolopanzer.com/category/my-models/macross-variable-fighters/vf-1j-s-fast-pack-wip/
Thank you!
-
Dear All,
let me say thank you! I've seen this model in the today home page of Macross World and I'm very proud for that!
I'm very happy, thank you again!
-
Dear friends,
thank you very much for all what above!
I asked the help of Jefeumon and I hope what already done by Jvmacross could help him.
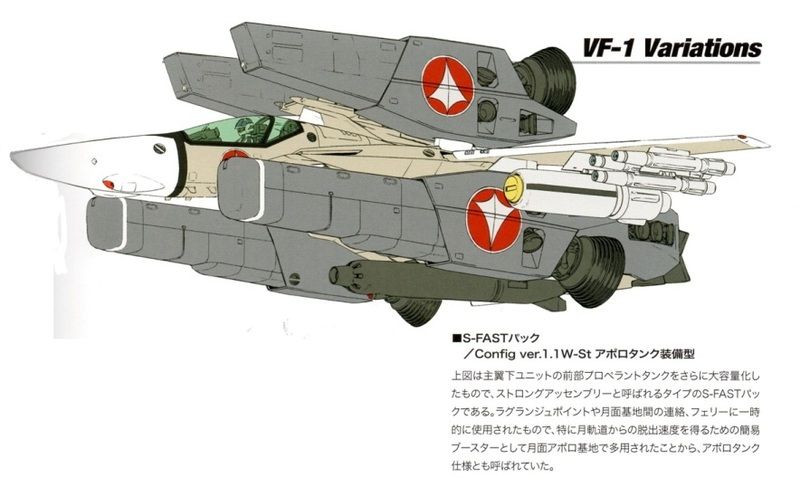
Maybe for the mistake of Google translator, I’m not able to understand all the text but it seems true my initial idea that the underwing double boosters (and its front extra propellant tanks) have the duty to give to fighter the power necessary to exit easily from the gravity of moons or little planets without atmosphere.
I think it is great the idea to apply the same system to a VT-1. I like also the idea of special units for long range heavy recon missions. I’m working on my model thinking to this last one possibility.
So, the text under the decal drawing doesn’t include information about the VF-X001 01J?
I’m sad!
-
Very hard modification and great work, Jefuemon!
I like it very much!
I'll follow you!
-
Thank you, Nzeod!
So, I have to hope that Jefeumon reads this post...

-
Dear All,
the new year brings with it an update of my VF-1 model. In this case, I have finished the works on the fuselage of the fighter together with all other parts painted in yellow. As usual, I sprayed by airbrush three different tones of sand-yellow color (dark, middle and clear). Of course, it was needed a very careful work to protect all the previous parts painted in white. Each yellow panel was painted in order to make the best real effect possible.
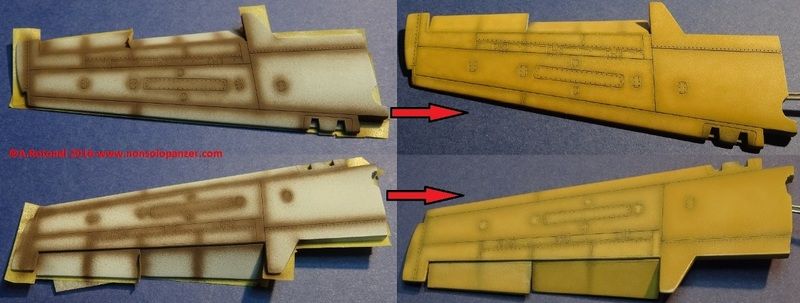

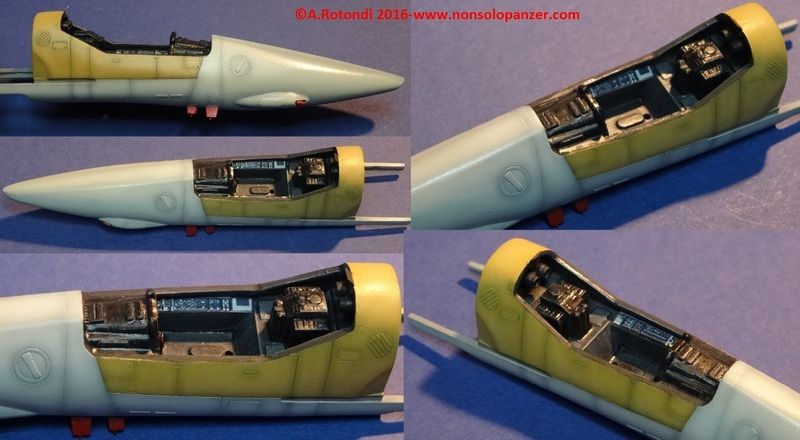

Where necessary for a better effect, I replaced the decal of the kit with a paint work by brush (black area in front of the cockpit) and airbrush (the hull red stripe on the center of the fuselage). In each case it was important granting the symmetry of the shapes.

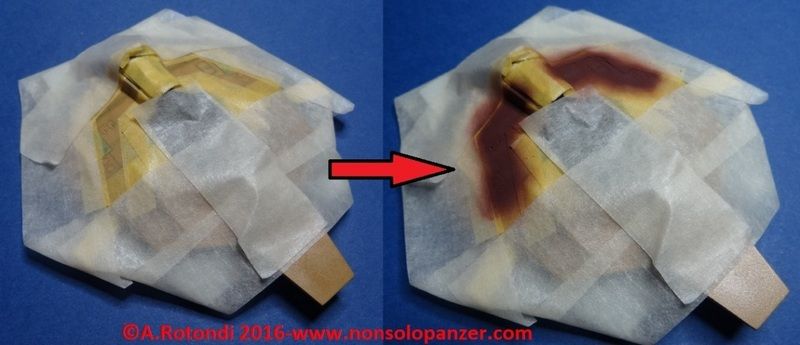
Then, I painted other details and applied the decals. A final clear coating has closed the works on these parts protecting the colors, cancelling the thickness of the decals and preparing them for future oil colors works.
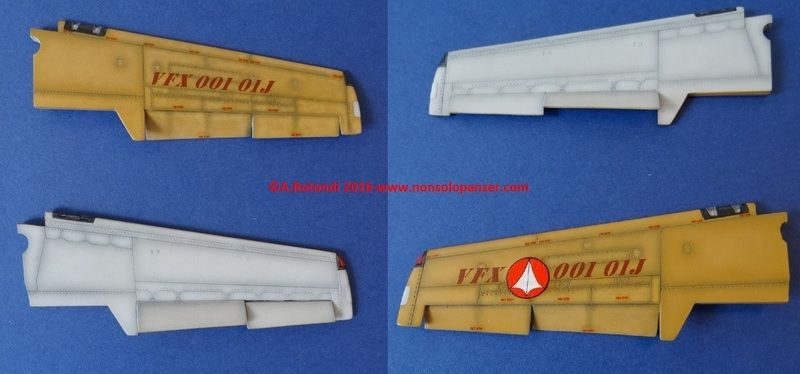
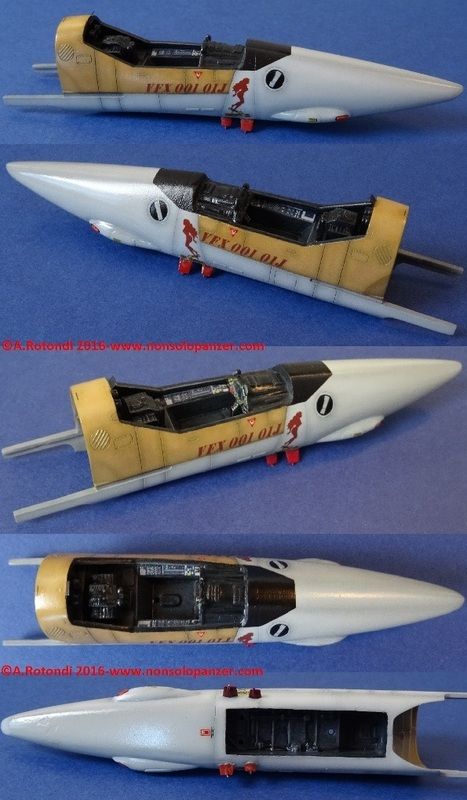
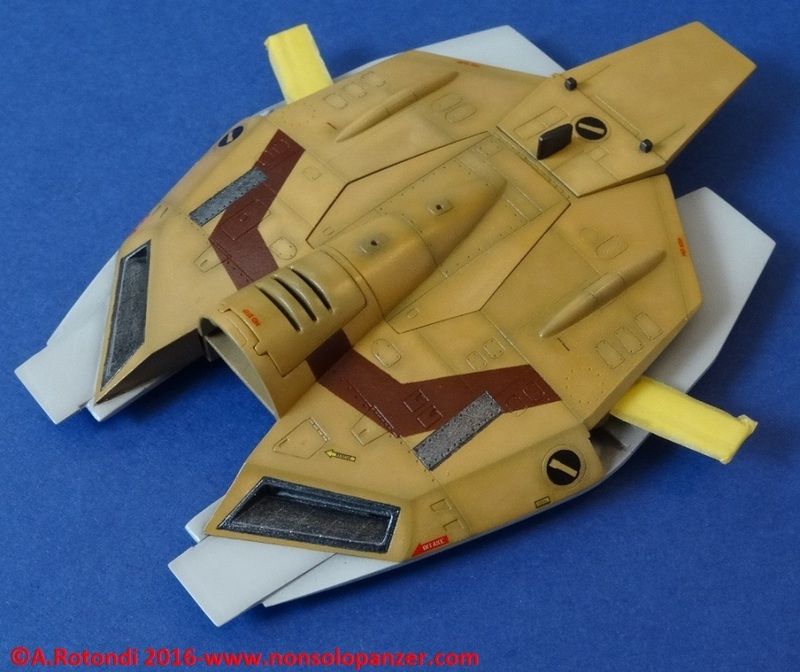
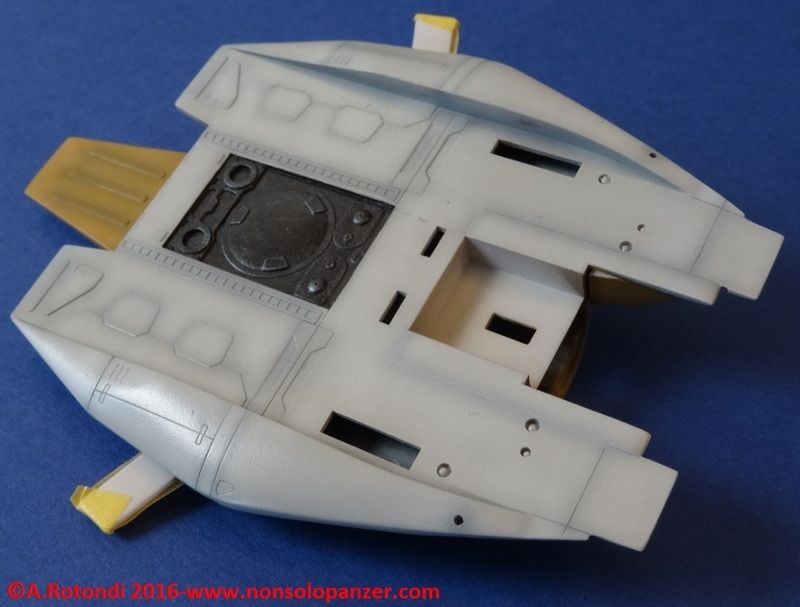
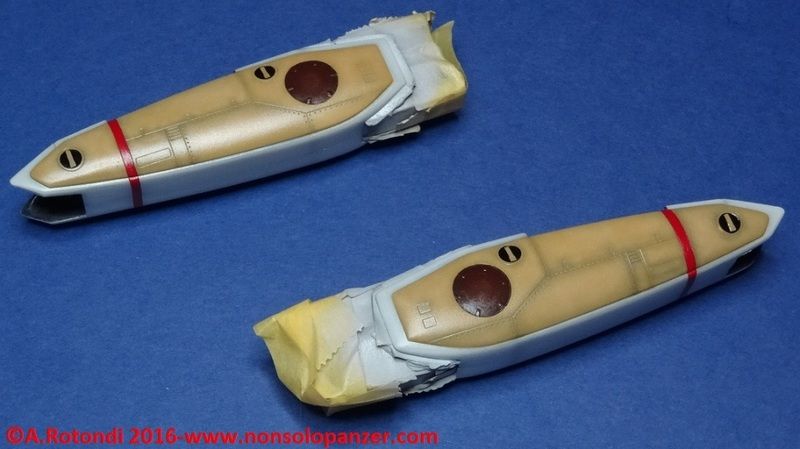
As usual, you can find more information and pictures on my Blog at the following link:
With the same problem, the profile description:
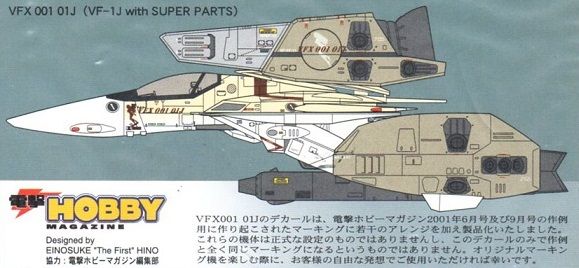
Thank you!
-
Dear All,
First of all, let me say thank you again for your compliments and also for the migration of this discussion into the right category.
Well, after another long delay, my VF-1 model has finally gone ahead with a new step during which I painted the white parts previewed by the color scheme chosen. I would underline that I didn’t use a white color but three different tones of gray. I think that the gray is easier to shading than the pure white. For this reason I replaced this last one with a very light gray. Each panel received three different tones of gray, from the darker to the lighter in order to reproduce the most real effect possible.
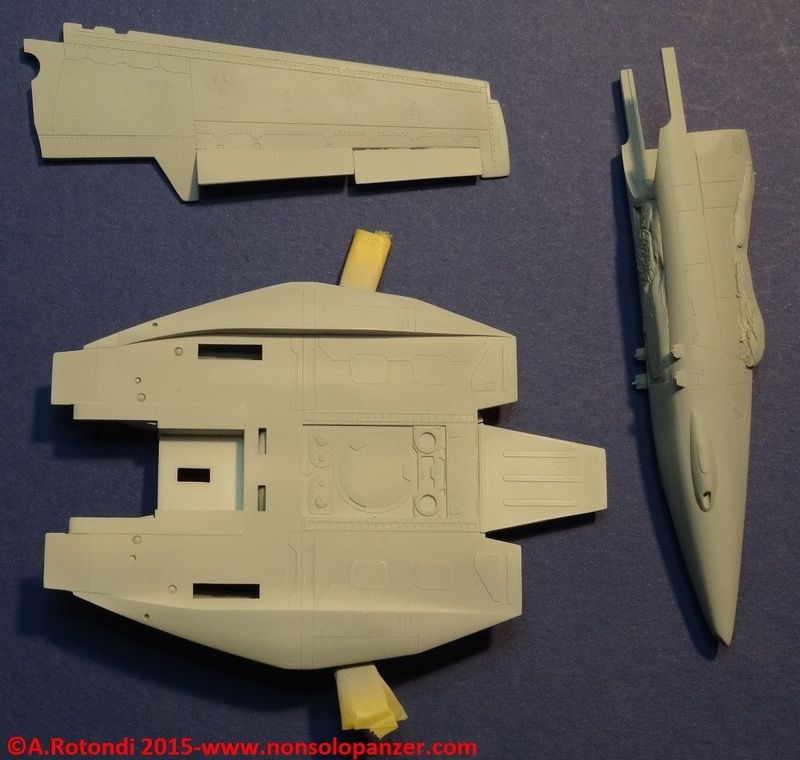
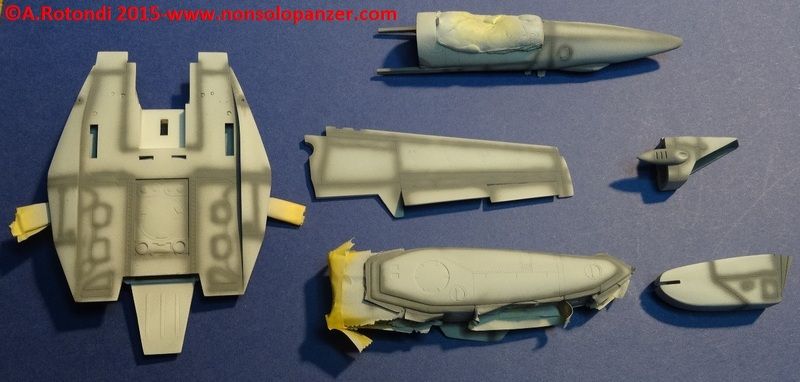
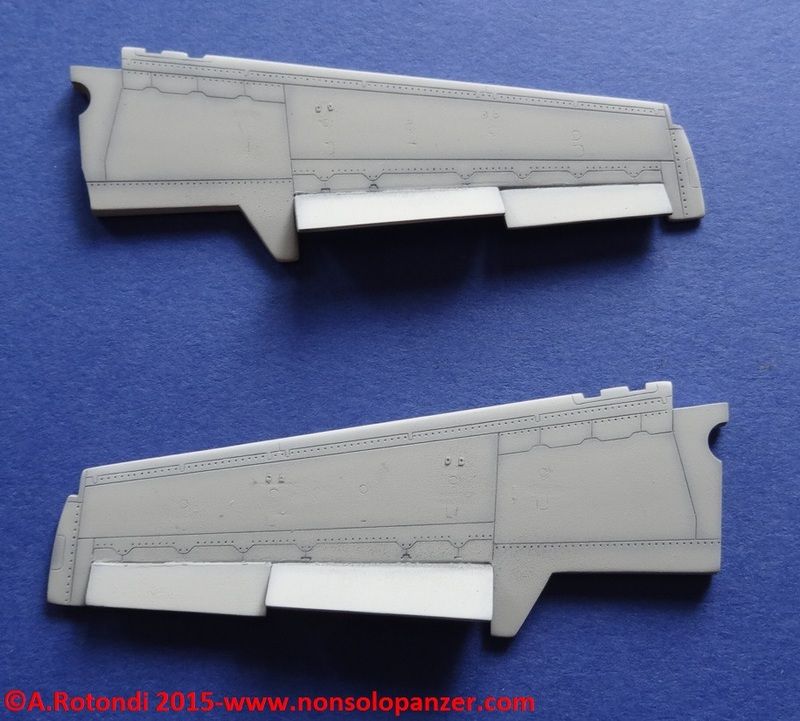
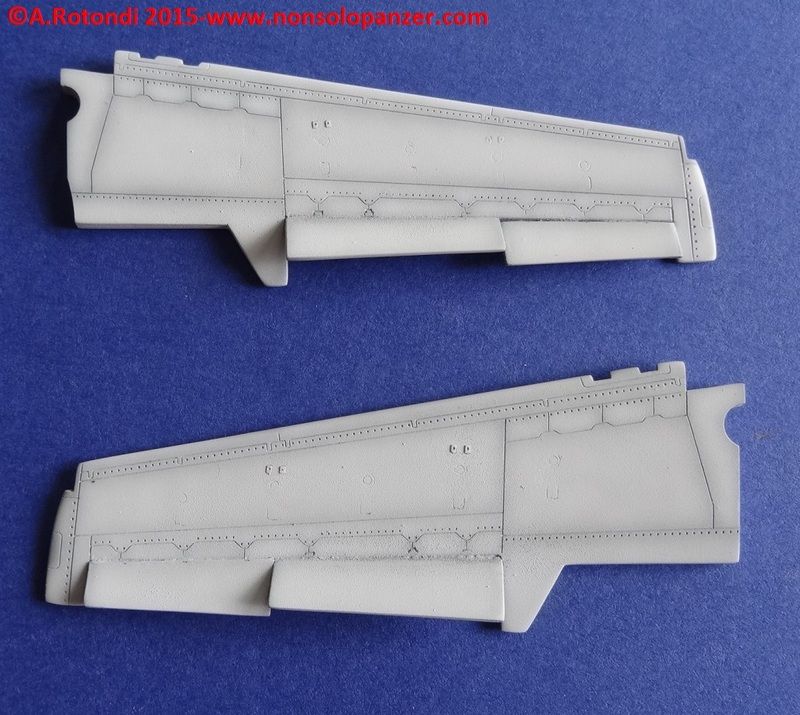
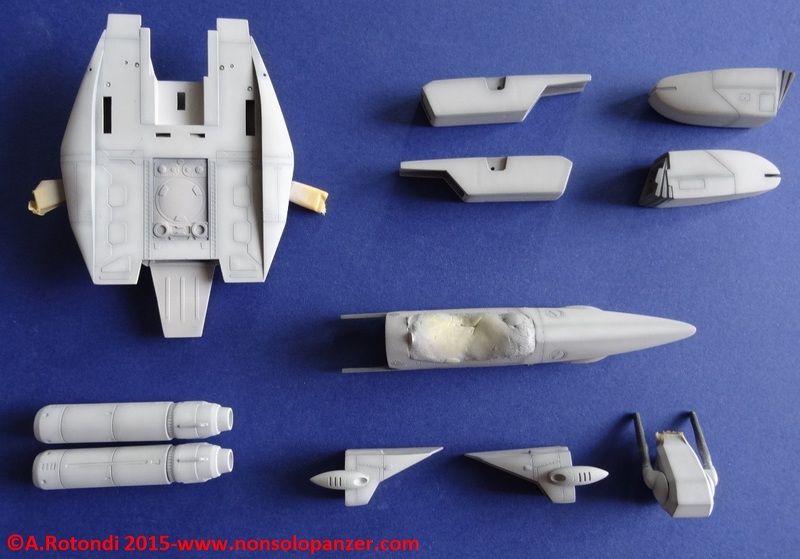
After that, I painted other details, applied the clear coating and, where necessary, the decals.
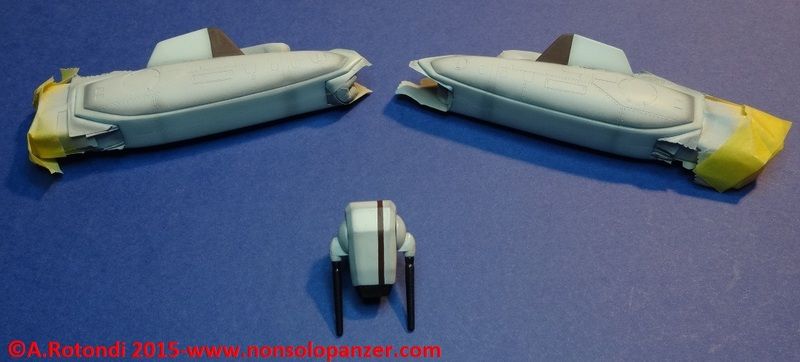
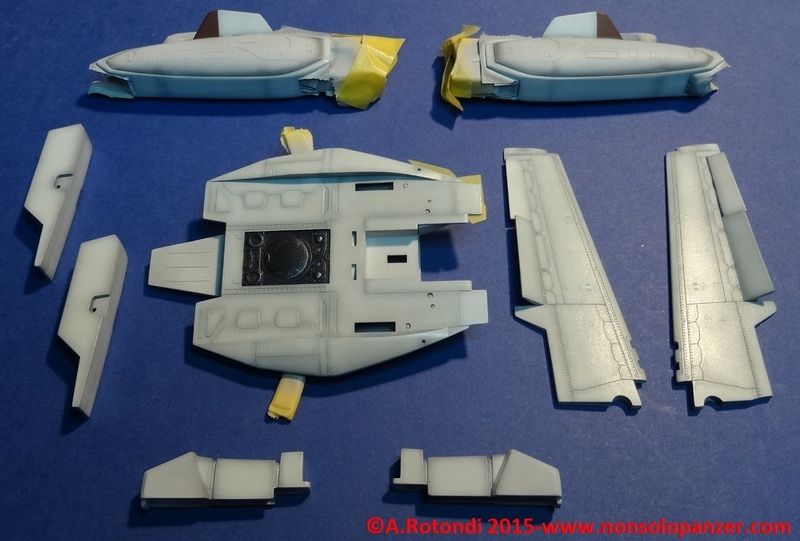
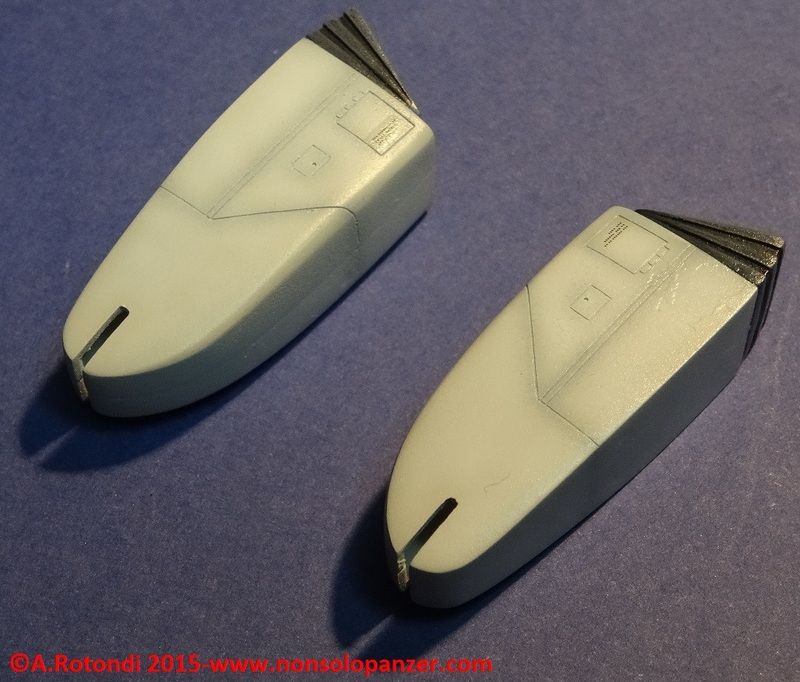
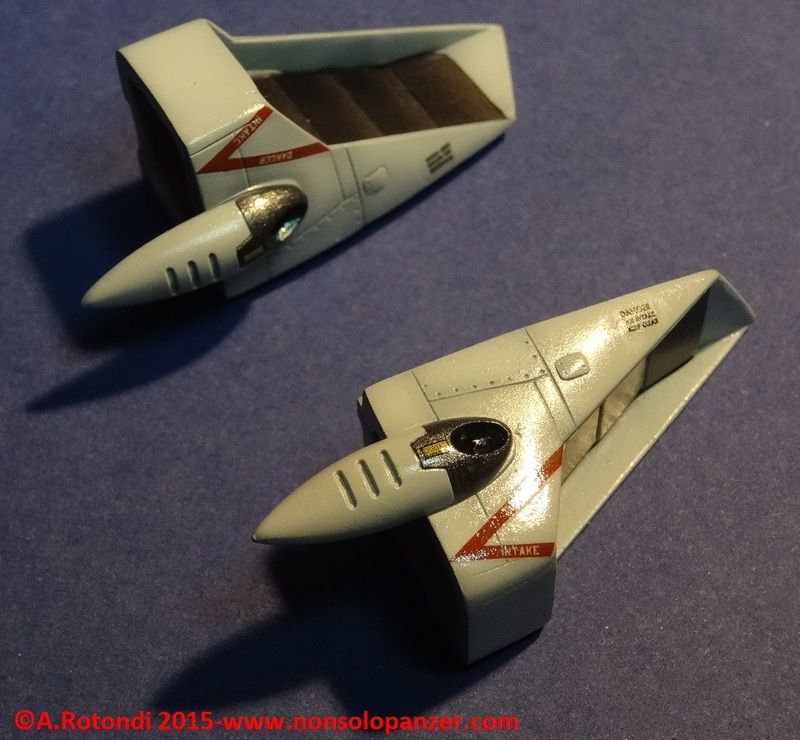
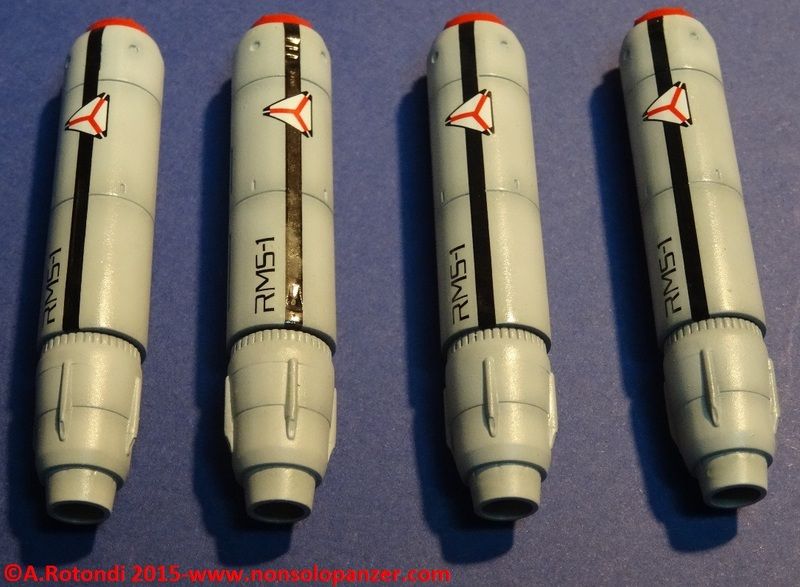
I’m sorry for this very small update but, if you want, you can find more information and pictures on my Blog at the following link:
Thank you!
-
Dear All,
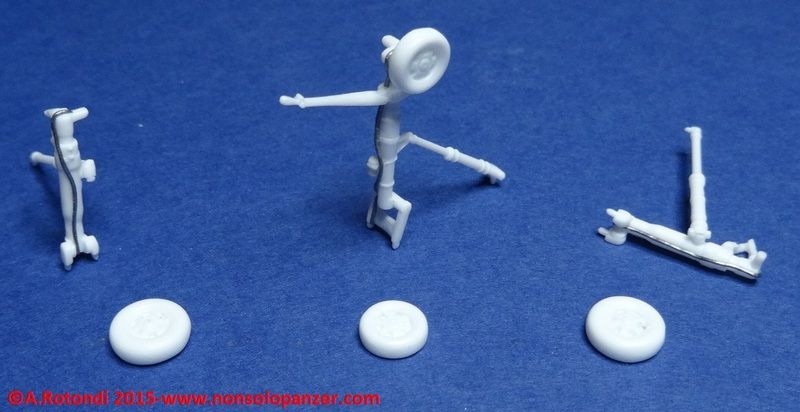
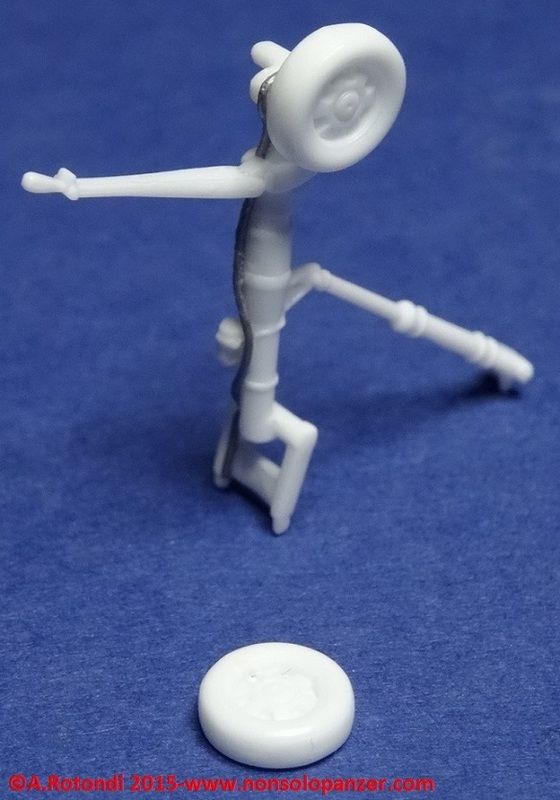
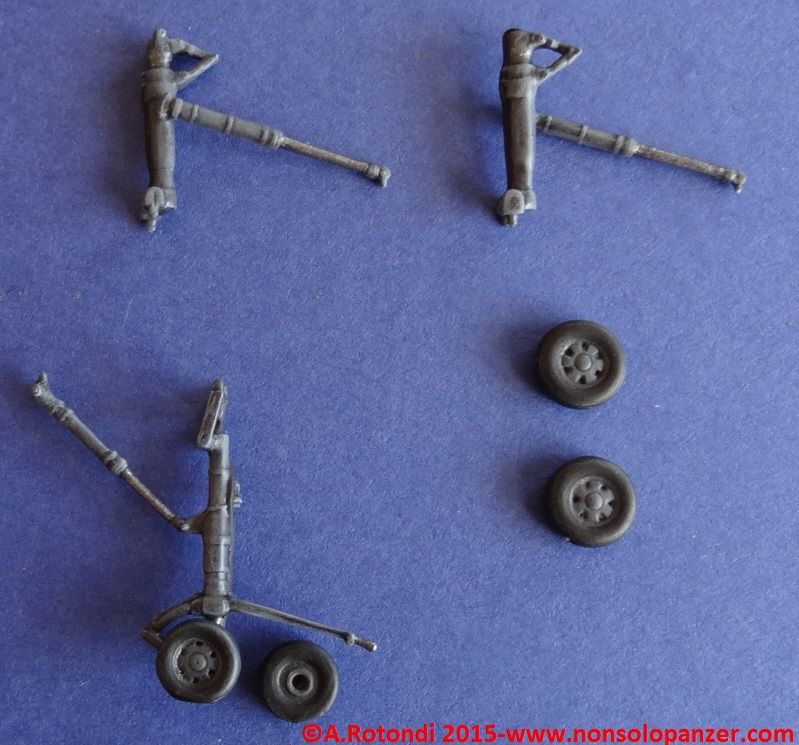
notwithstanding a long delay, the works on my model have gone ahead. Studying the technical drawings of the VF-1 and the real pictures of fighters like the F-14 “Tomcat” or the F-18 “Hornet”, I finished the landing gears reproducing the brakes and I painted them in grey.
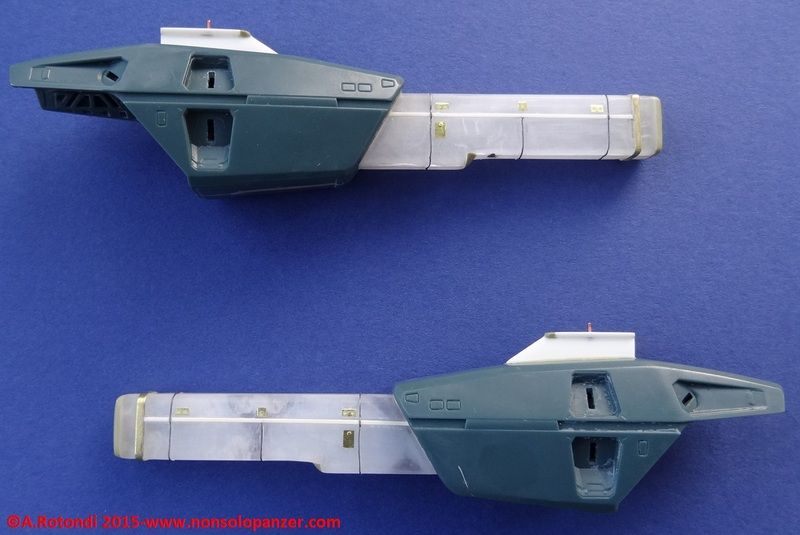
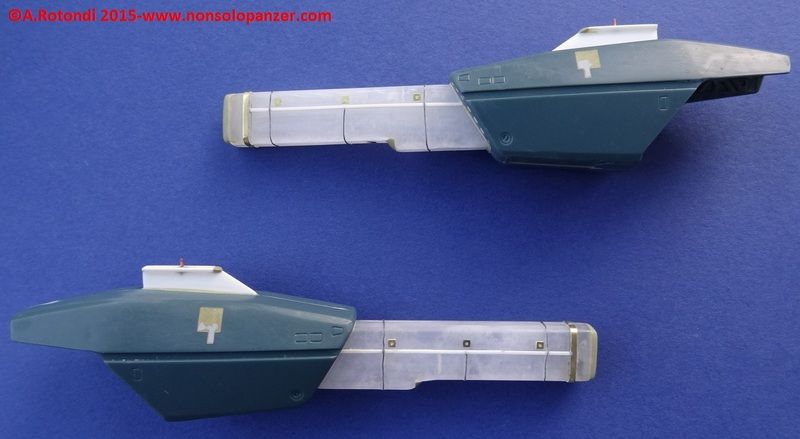
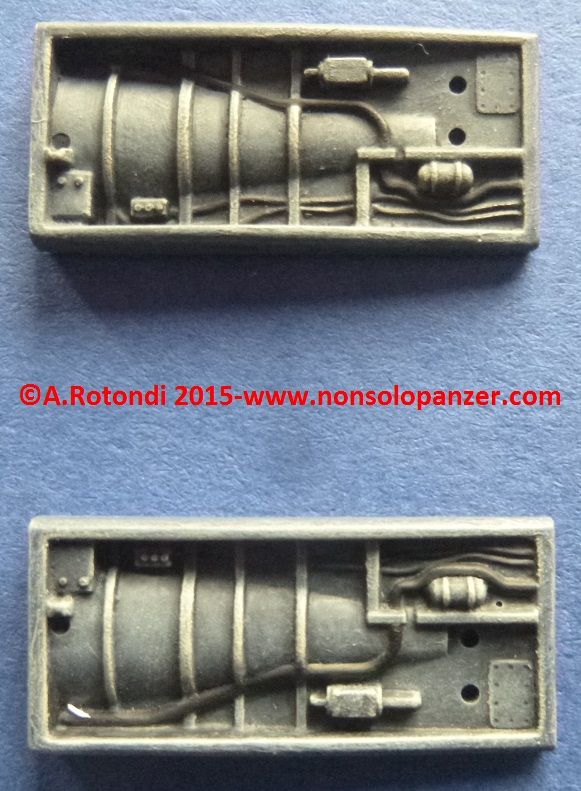
I also increased the details of the underwing double boosters built by myself. I used for this task some old photoerched parts derived from military sets in 1/35 scale.
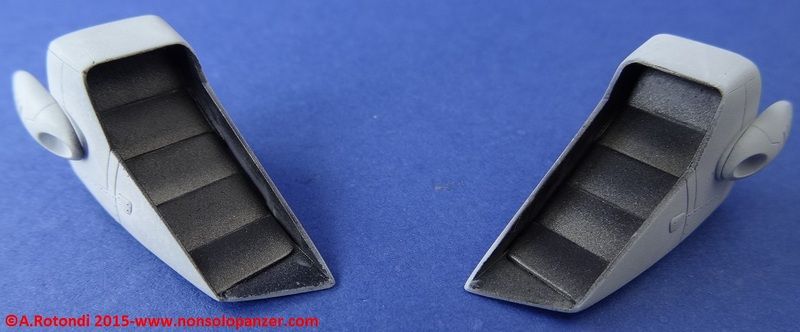
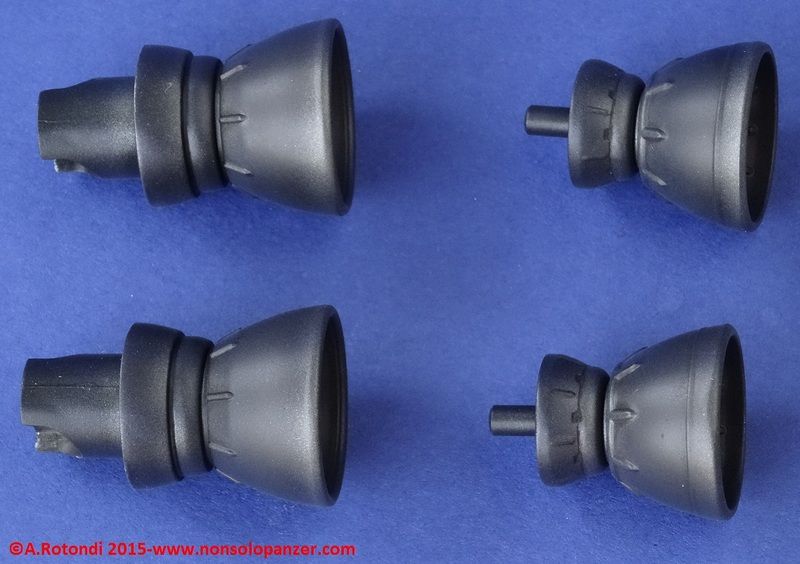
Completed the building of the main sections of the model, I painted the metallic parts using the Alclad colors. Obviously, I sprayed at first the black Alclad Primer for the involved parts and the standard grey Primer (Tamiya) for the others.

I tried to make the best metallic tones variations and I also finished the GU-11 adding the related decals.

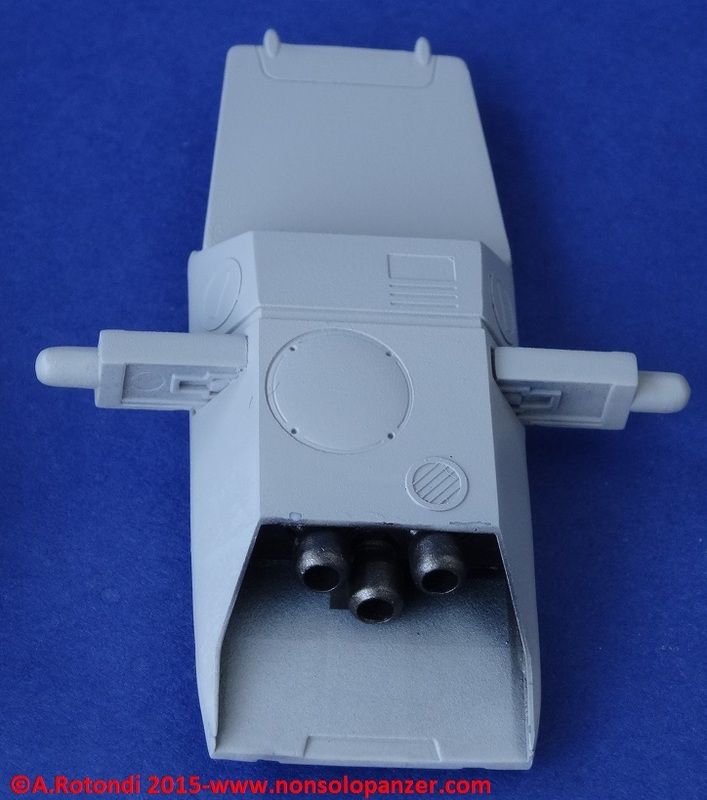
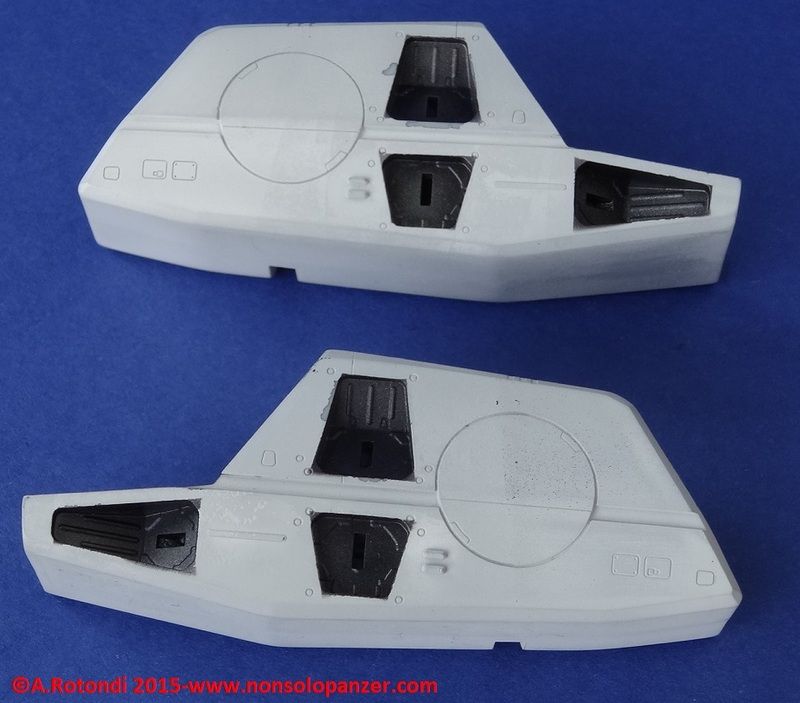

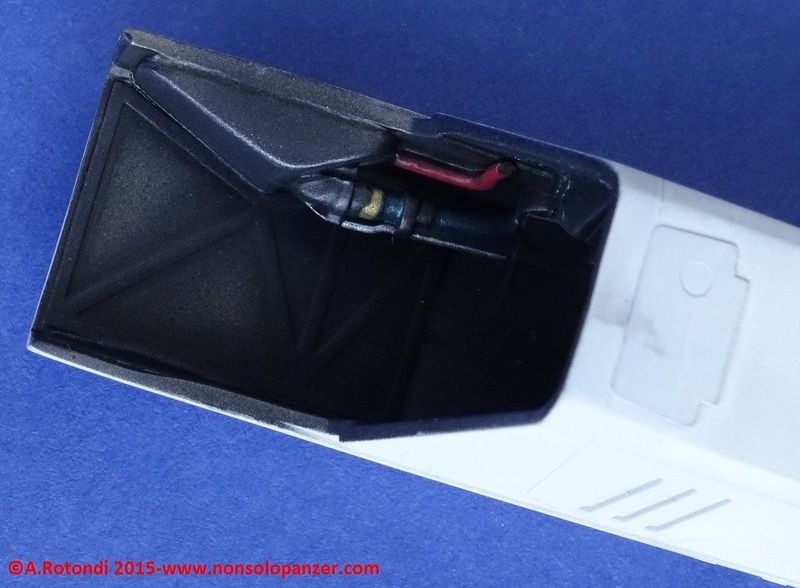
If you want, you can find more info and pictures on my Blog at the following link:
http://nonsolopanzer.com/category/my-models/macross-variable-fighters/vf-1j-s-fast-pack-wip/
Thank you!
-
Wow! What an incredible work!!
I love it!!

-
Thank you very much for your comments, my friends!
The work is hard and long but I'll up to date you constantly.
Chyll2, I didn't understand if you have posed a question, in any case: no, I have not any information about a special launch sistem of this VF-1 version. I think it could be utilised the standard arm but I exclude the atmospheric booster because the connected VF-1 is in standard version, not Strike or Super.
GMK, thanks for your visit of my Blog!
Ciao
-
Dear All,
after a long break, I come back to “Macross” universe to make a VF-1 fighter. Since I like to look for the best originality of my models, I decided not to do a standard VF-1 “Super Valkyrie” but a special version appeared on the Soft Bank Publishing “SDF-1 MACROSS VF-1 SQUADRONS”
(http://nonsolopanzer.com/2014/05/11/sdf-1-macross-vf-1-squadrons/).
On the pages of this very good publication, it is possible to see the VF-1 “S-FAST PACK” Config. Ver. 1.1 W-St. The underwing double boosters have the duty to give to fighter the power necessary to exit easily from the gravity of moons or little planets without atmosphere.
I'm immediately fallen in love of this fighter and, so, the resolution to make a model of it was taken instantly!
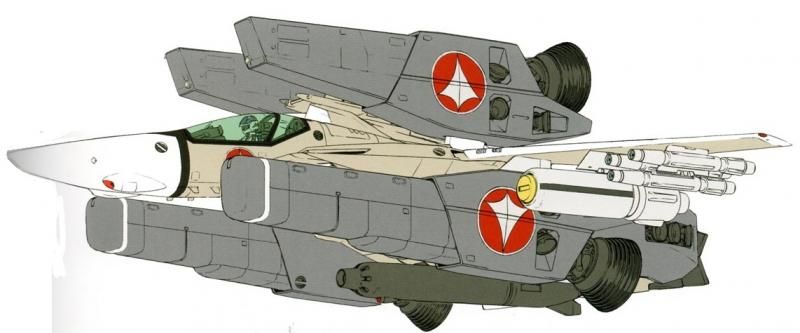
If you want, you can find more info and pictures on my Blog at the following link:
http://nonsolopanzer.com/2015/01/28/vf-1j-s-fast-pack-config-ver-1-1-w-st/
The first step was to collect the kits required by this task:
-
VF-1A “Super Valkyrie” – 1/72 Hasegawa Kit, code 65704;
http://nonsolopanzer.com/2014/08/25/172-vf-1a-super-valkyrie-65704-hasegawa-model-kit/ - VF-1 Photoetched Set – 1/72 Hasegawa, code 72103; http://nonsolopanzer.com/2014/08/09/set-fotoincisioni-72103-per-macross-vf-1-valkyrie-172-hasegawa/
- VF-1 “Super Valkyrie” Part Set – 1/72 Bandai Kit; http://nonsolopanzer.com/2014/07/22/u-n-spacy-sdf-1-macross-vf-1-valkyrie-super-part-set-172-bandai-plastic-kit/
-
“Macross” Option Decal Set - 1/72 Hasegawa, code 65760;
http://nonsolopanzer.com/2014/08/05/172-macross-option-decal-sets-codes-65760-65766-65757-2/
F/A 18E “Super Hornet” Photoetched Set – 1/72 Eduard, code 73 226.
The Hasegawa kit not allows to move the control surfaces. For this reason I cut them from the wing and I repositioned them with different orientations.
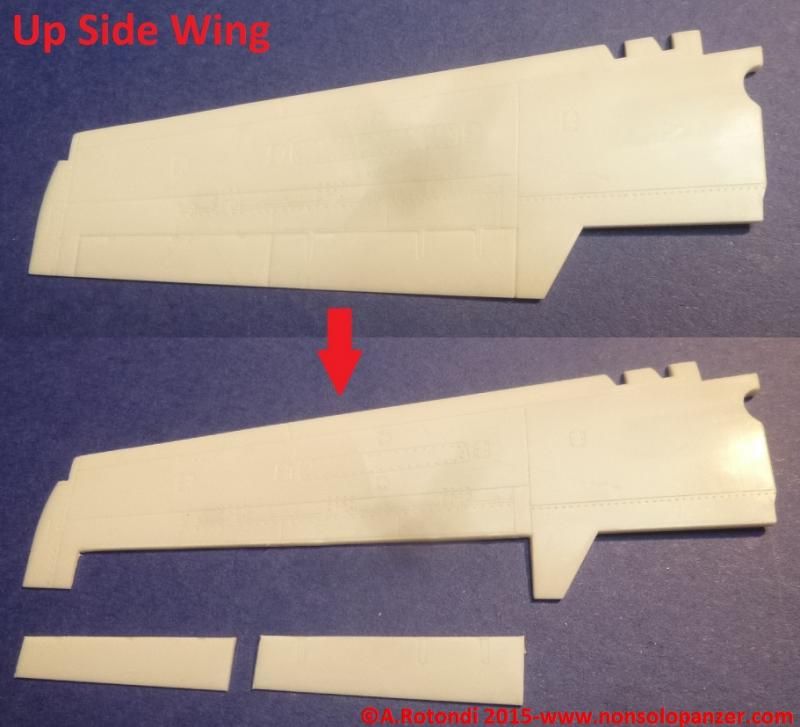
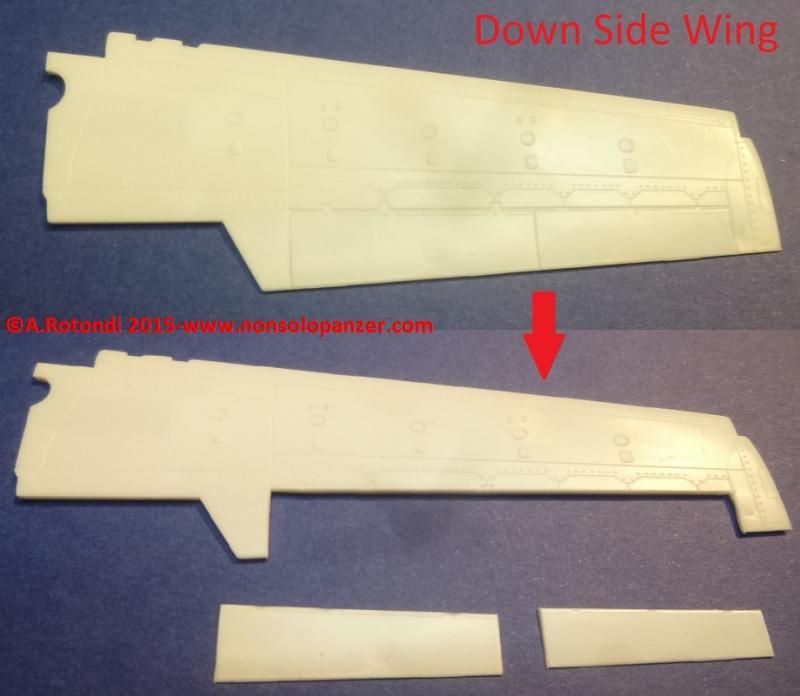


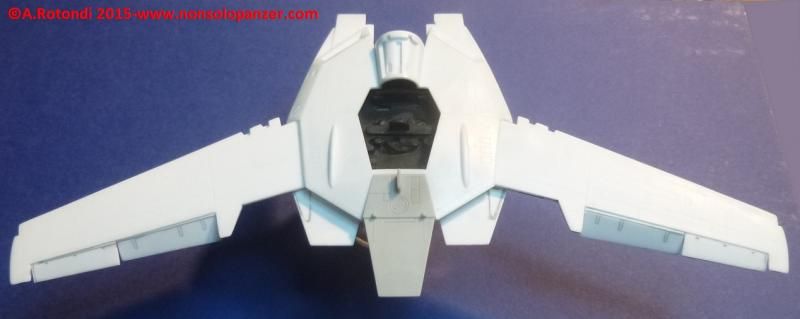
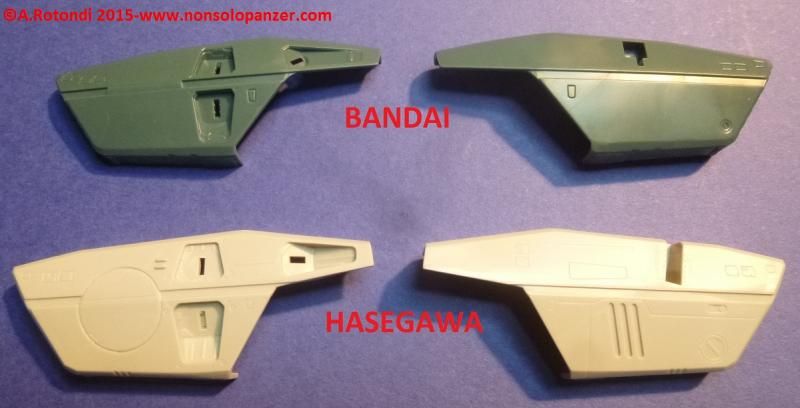
Then, I assembled the underwing boosters using the Bandai set. It’s important to note the great difference between the Hasegawa and Bandai parts. These last ones have a quality lower than Hasegawa and it is so true that the Bandai kit can be considered a simple toy and not a model.
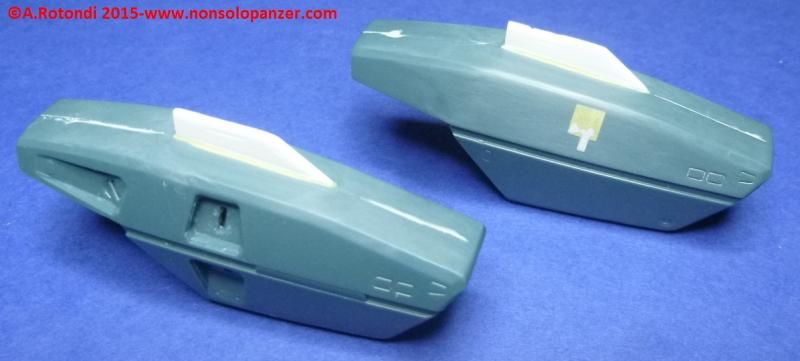

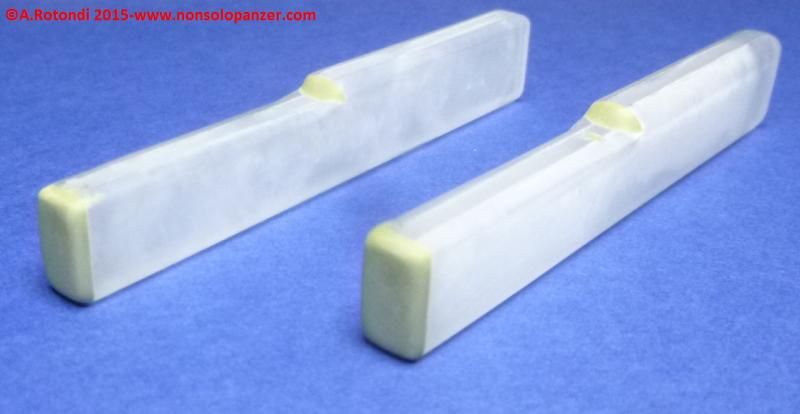
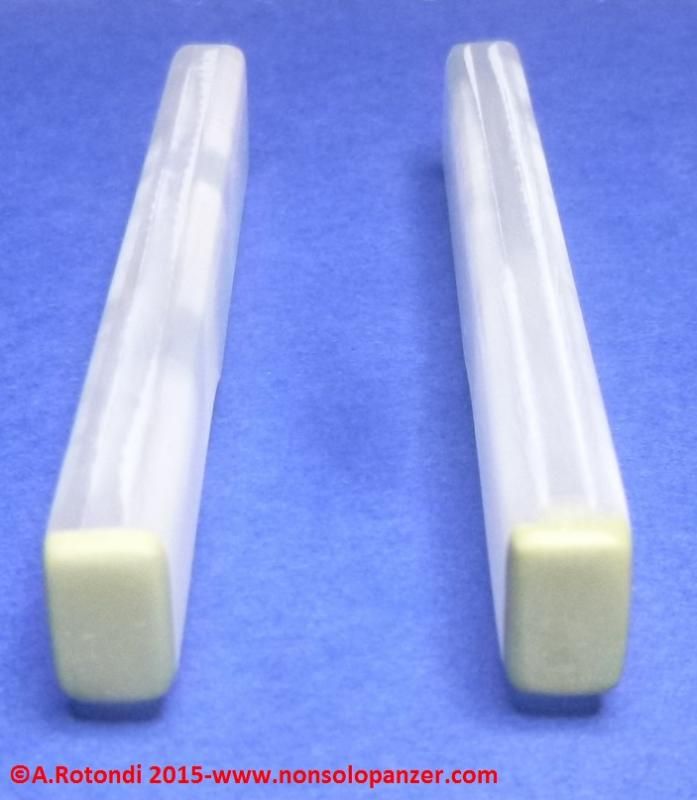
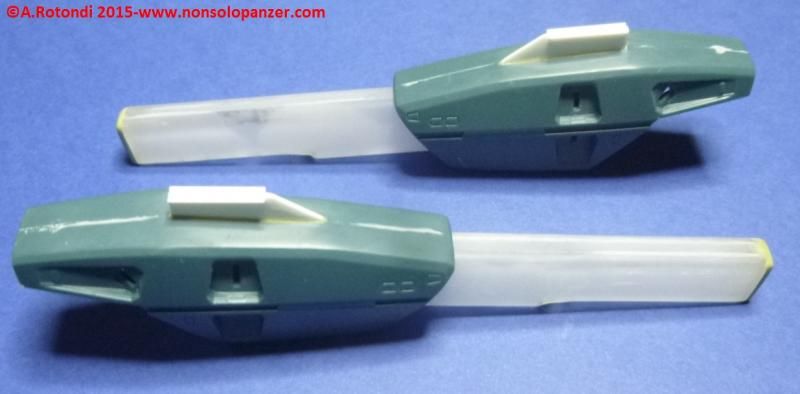
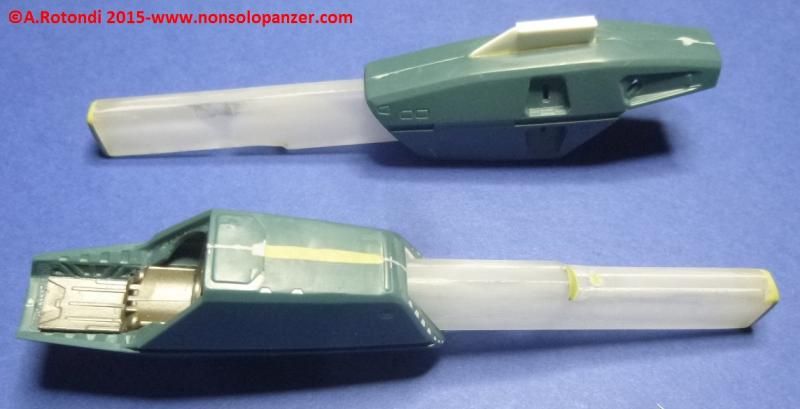
To build the booster extensions distinctive of this VF-1 special version, some plexiglass sheets have been cut and crawled properly. At this stage, these self-made parts are not fixed in place in order to allow to cut them. In fact, until the whole fighter is not assembled, it is not possible to know the right length of these parts able, if too long, to hit the ground as consequence of the rear landing gears higher than the frontal gear.
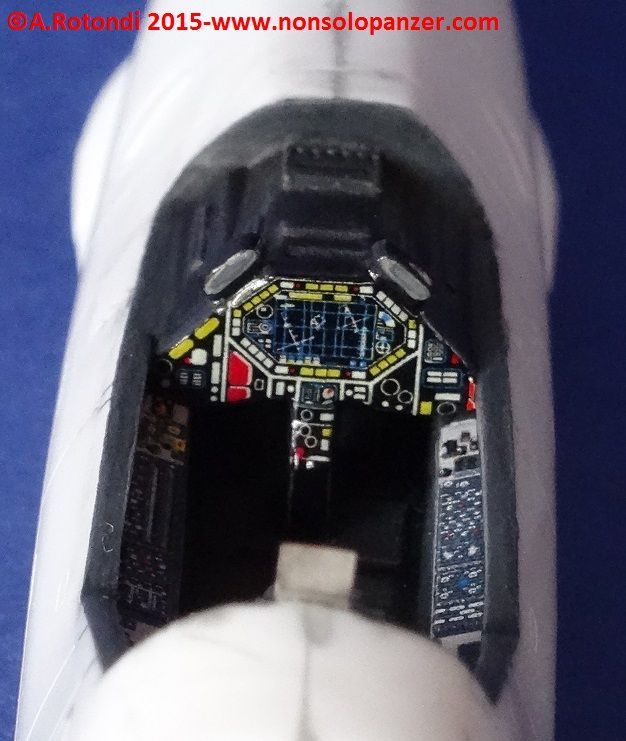
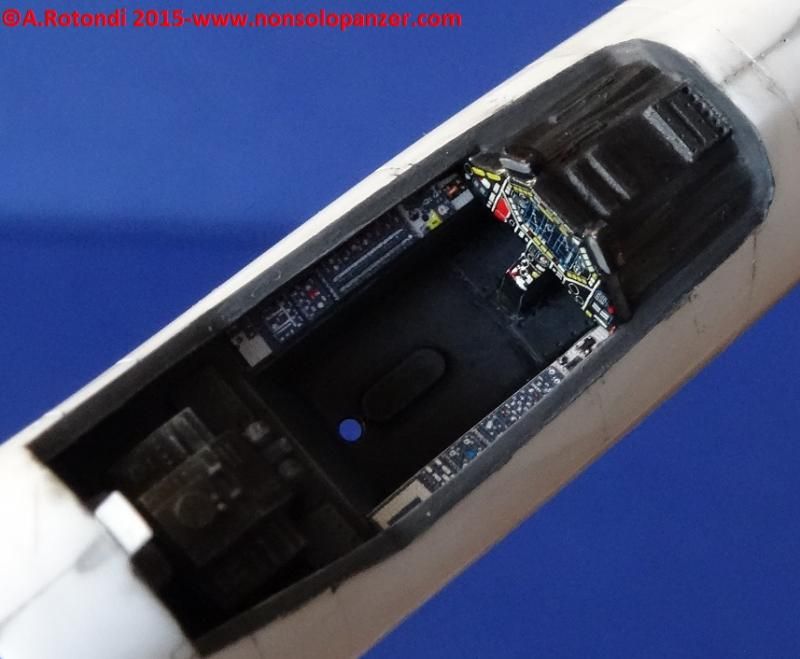
After that, I build and painted the interns using Vallejo acrylics colors in different gray tones. Making the cockpit, it is possible to note two great faults of Hasegawa VF-1 kit: the first one is the line crossing the canopy; the second one is the absence of the support for it. As consequence, the cockpit can not be made opened but closed only. I found a solution using a little piece of brass but I’m sure that modelers more experienced than me could make a better work.
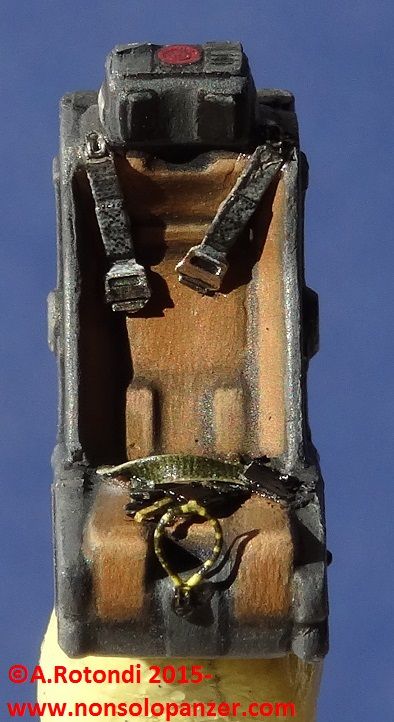
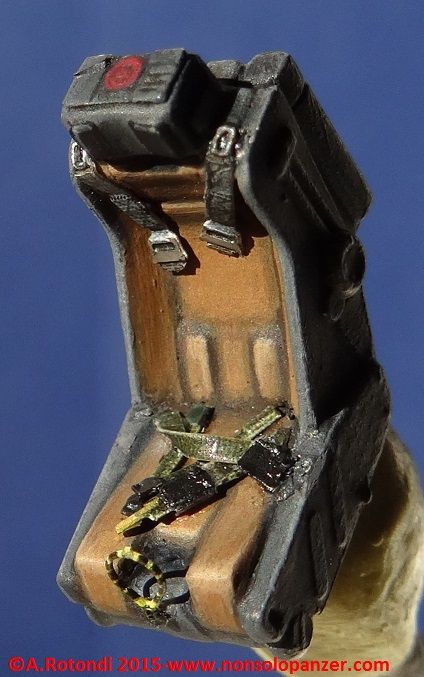
The cockpit was detailed making reference to VF-1 technical drawings and using both the Hasegawa and Eduard photoerched sets. No great works are necessary to adapt the parts of this last set to VF-1 cockpit thought released for F-18 fighter. I really appreciated the possibility to detail the ejection seat offered by Eduard set.
That’s all for the moment.
Thank you for your comments and appreciations!
-
VF-1A “Super Valkyrie” – 1/72 Hasegawa Kit, code 65704;
-
I love it!!!

-
Oh, my God!!
A new Kia Asamiya’s manga about “Silent Mobius”!?!
Unbelievable!! And with the present, excellent Asamiya’s art!
I need the first tankobon!!!
Is it already available?
Do you know on which on-line seller?
That’s incredible! I’m very happy!
I hope a new line of resin figure will be released soon!
Thank you for this very good news!!


Latest completed kit- VF-1J Kai Valkyrie
in Model kits
Posted
Dear Jefuemon,
your model is very beautiful! I love "Macross the First" and your VF-1 is the best model I've never seen with the new look showed in this manga! I have also the same figure and you done a great work to make in better!
Great job!!!