

Bushwood3006
-
Posts
62 -
Joined
-
Last visited
Content Type
Profiles
Forums
Events
Gallery
Posts posted by Bushwood3006
-
-
Well got all the electronics in this week. Good think i watched some youtube vids on arduino. Everything i want to run off the boards exceeds the current limits for all the pins. But quickly solved, got a pack of transistors on order. The CPU fan and duct idea for the smoke generator however is a total fail.
 I was hoping it would act like a airbrush and siphon smoke from the e-cig tip, but with 1/4 airline tubing it just builds back pressure and blows the smoke out the wrong side of the e-cig.
 -
quite fascinating!
can't wait to see it in action!
what flavor of vapour are you going to make it smell like?

Unless someone knows of a gunsmoke flavored vape juice..... I went with Coffee
-
*raised eyebrow* Fascinating...
how will you get it to actually puff vapor? most e-cigs don't actually produce that much unless you're actively sucking on it...
a small computer fan, and ill 3d print a funnel to manifold it all up.
-
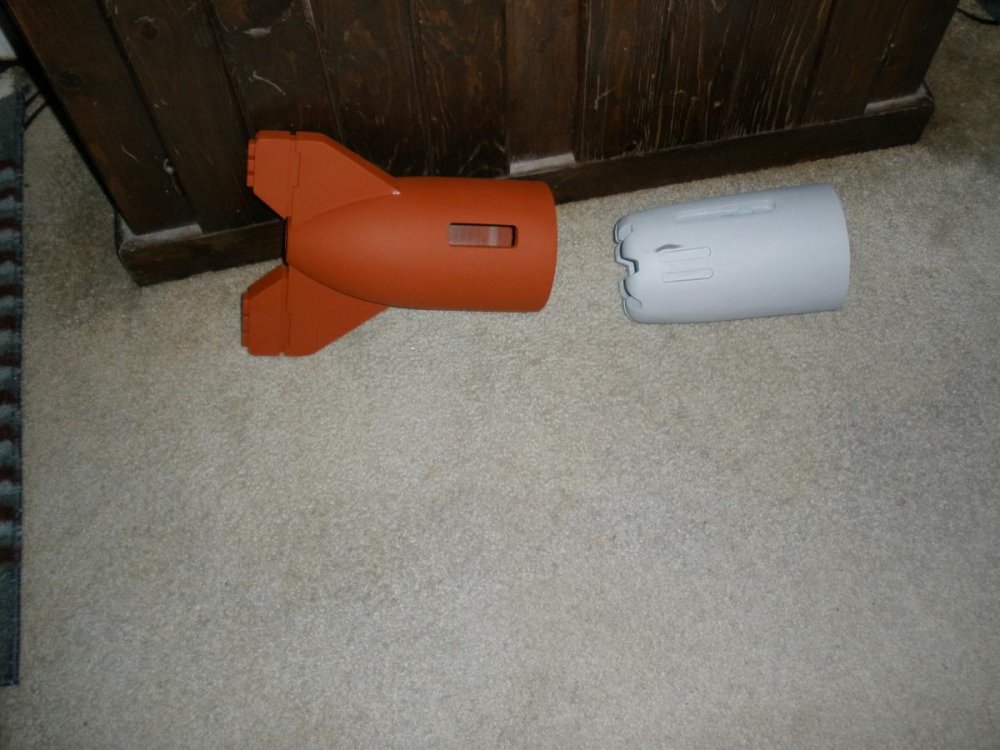
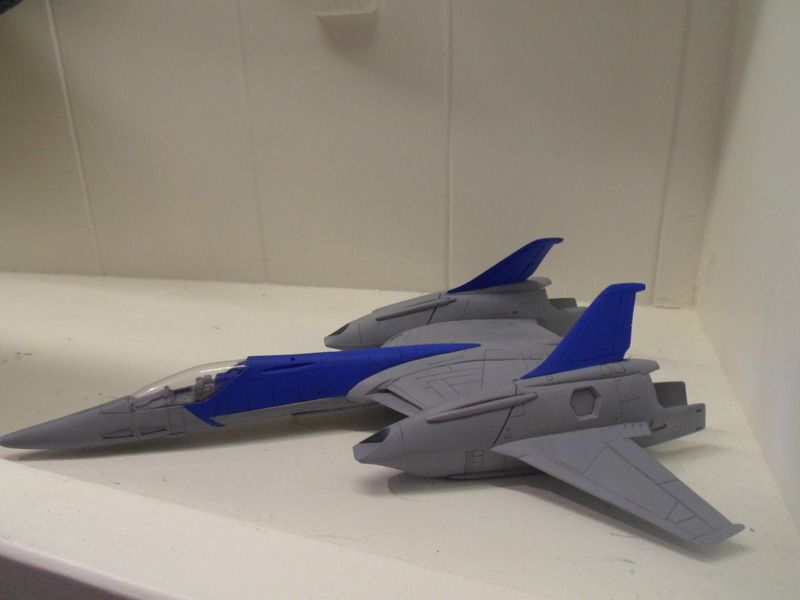
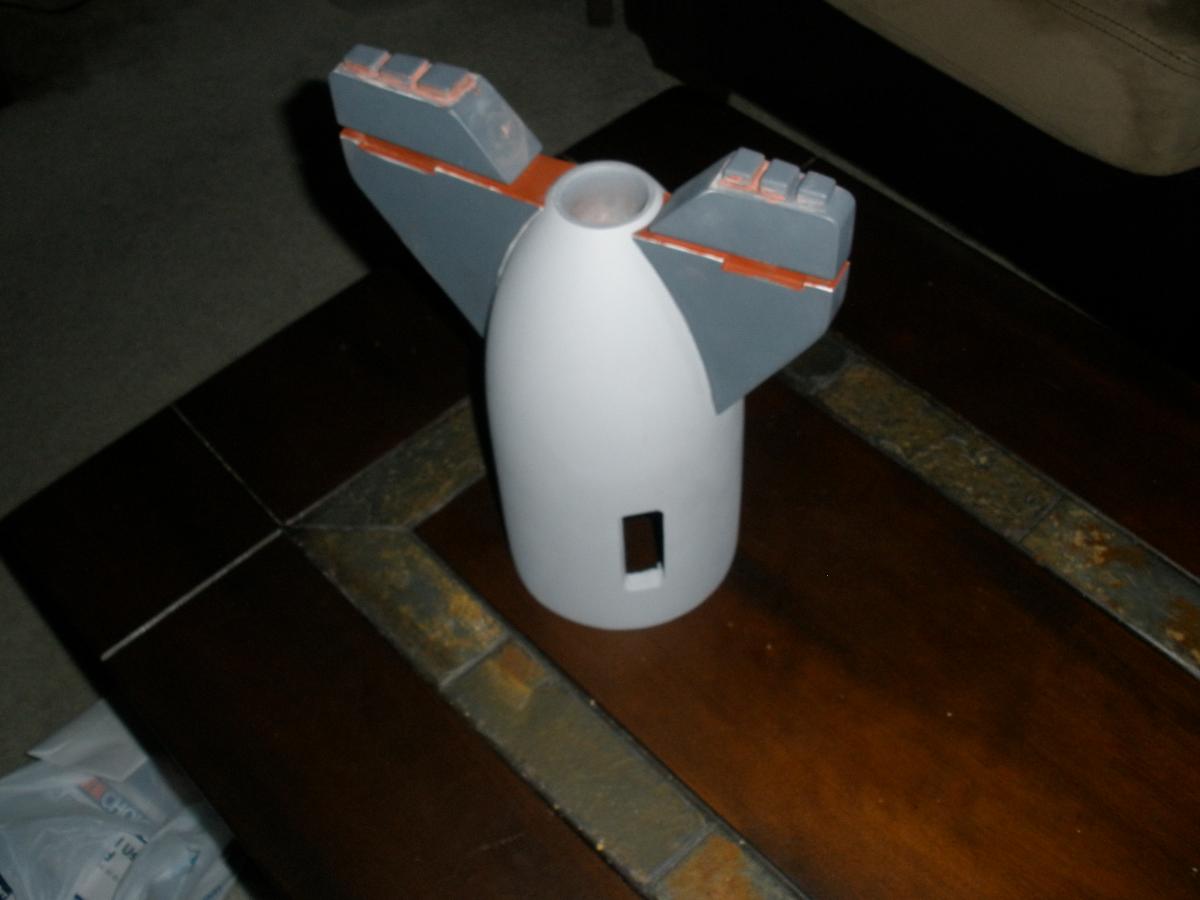
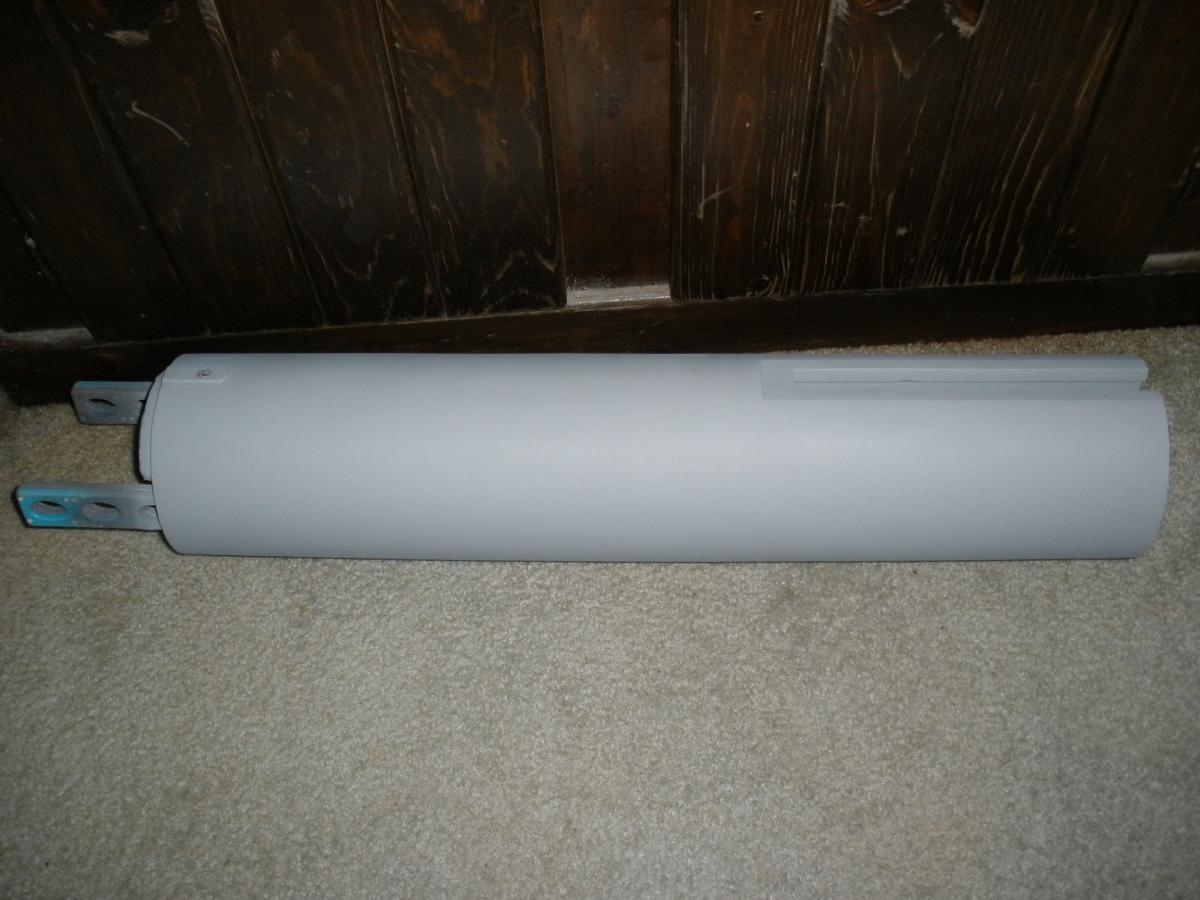
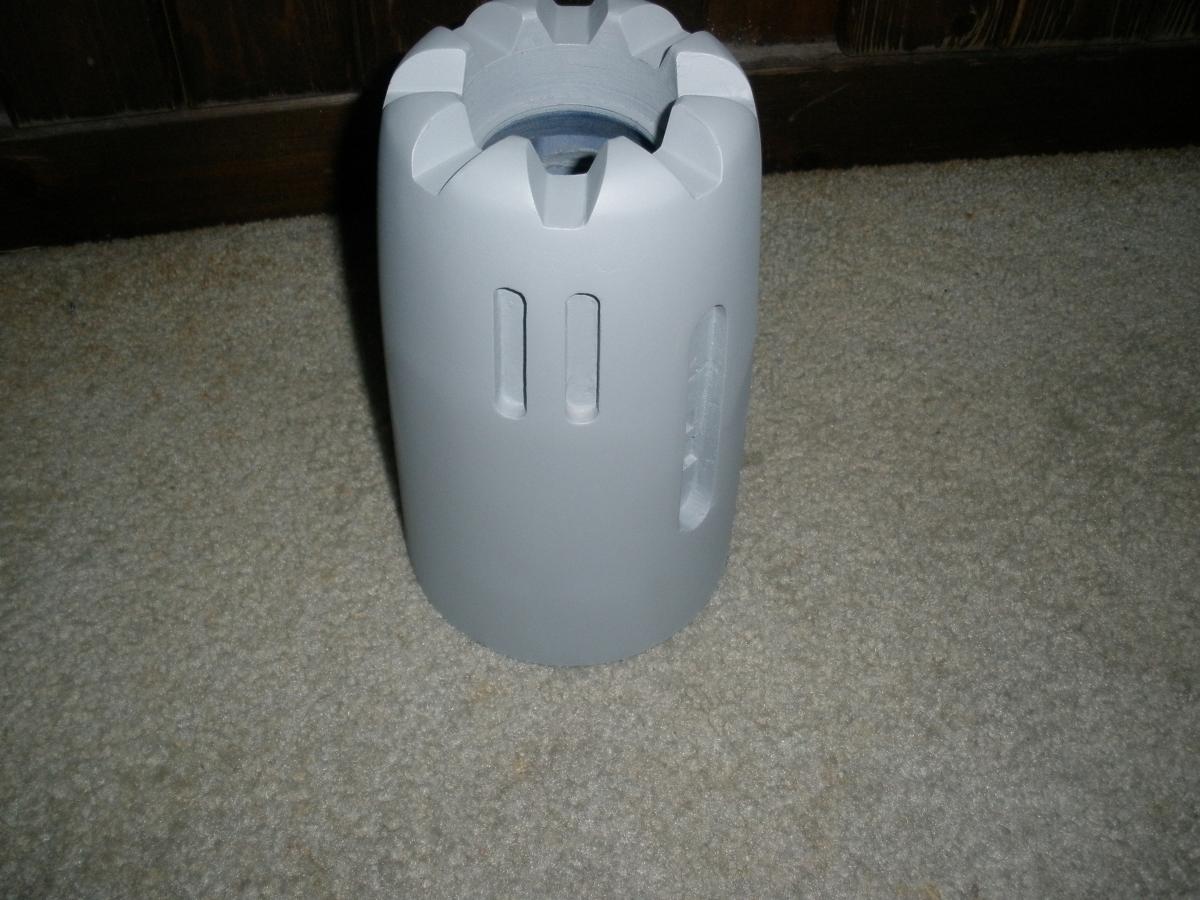
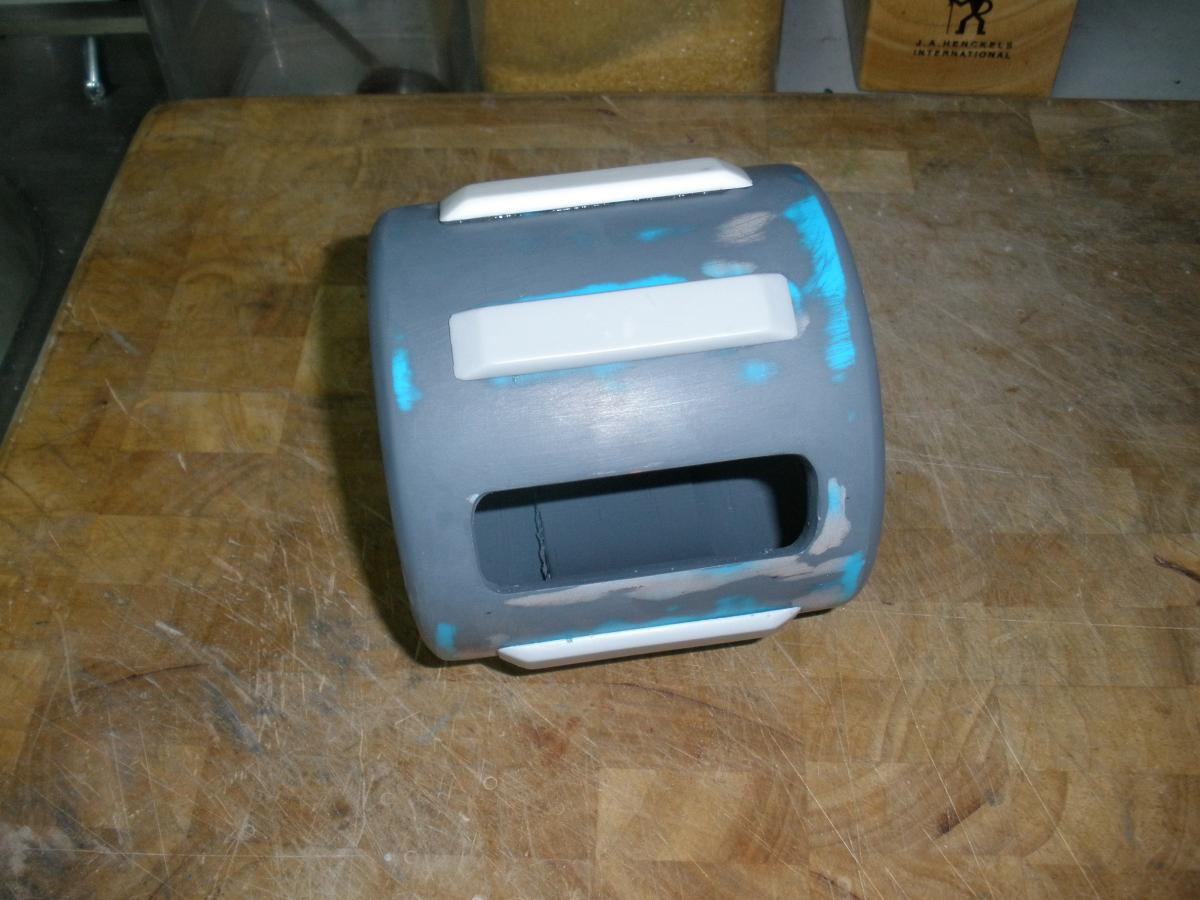
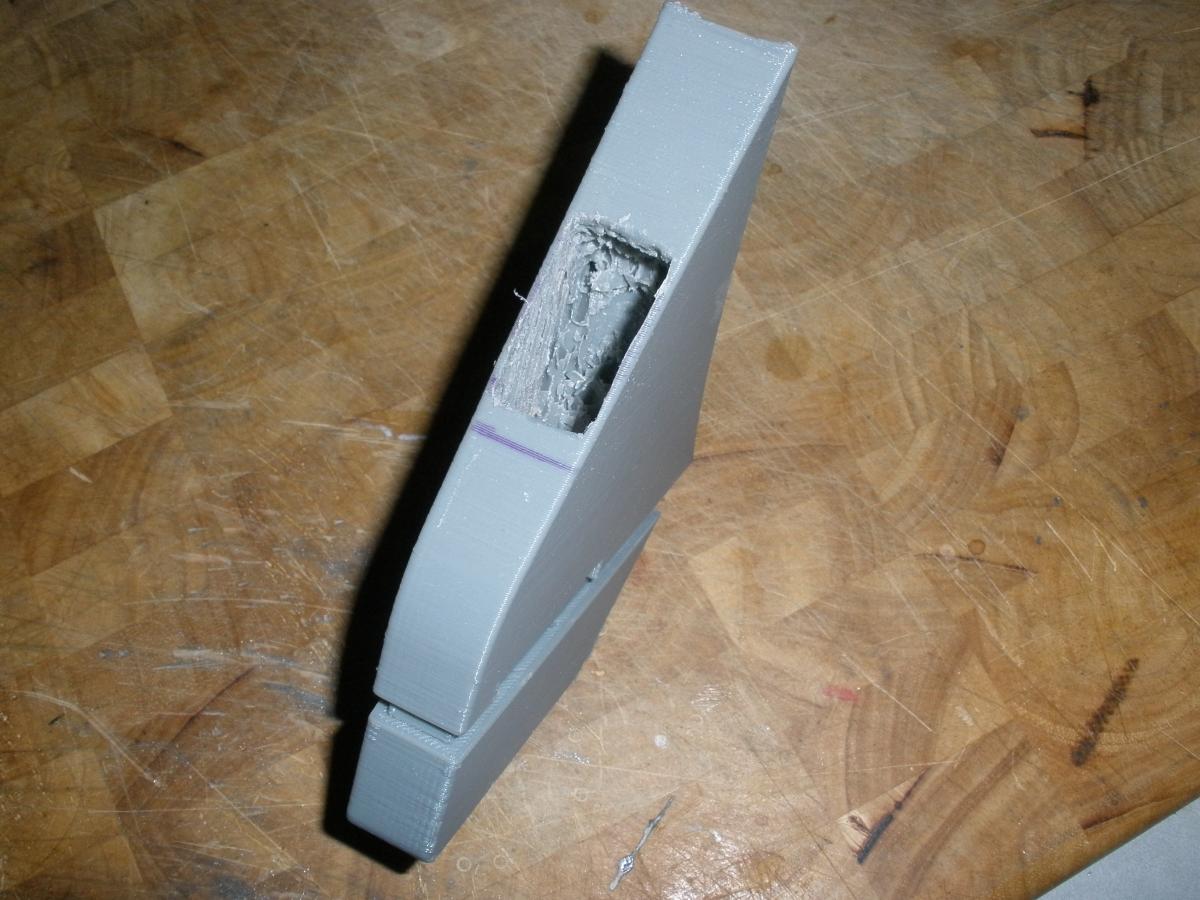
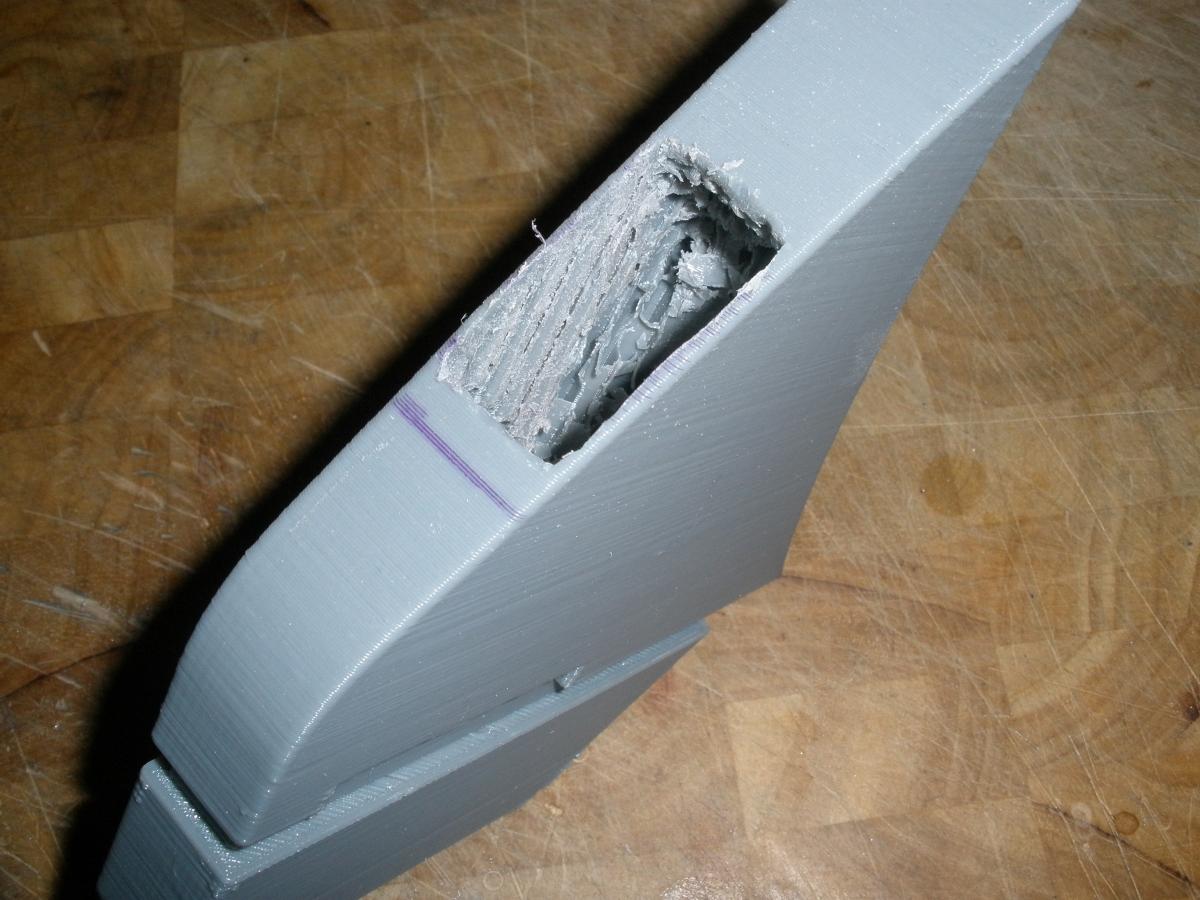
Both buttstock pieces are full assembled. I think ill leave it as a 2 piece assembly. The friction fit between the two is pretty snug and secure. The lower (sling mounting) fin is also bolted on for extra strength.


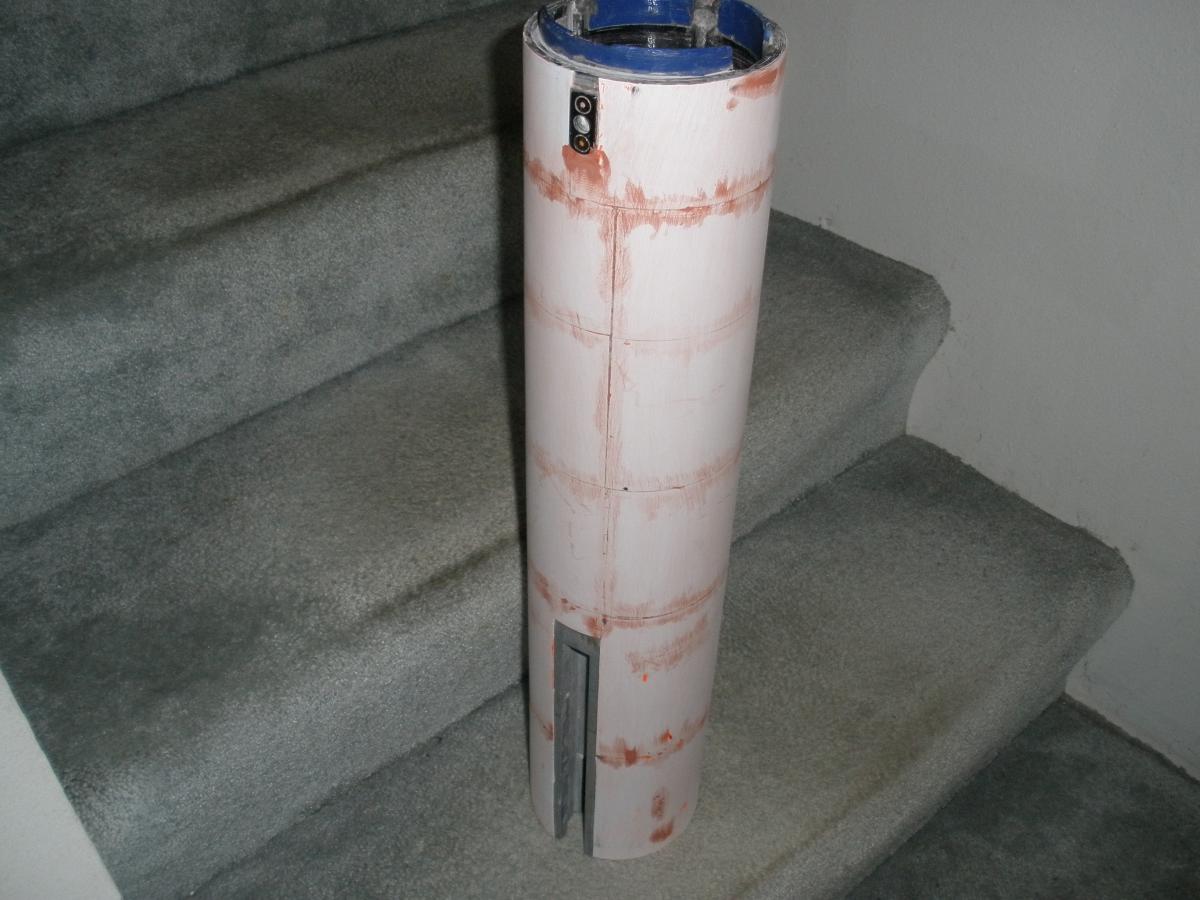
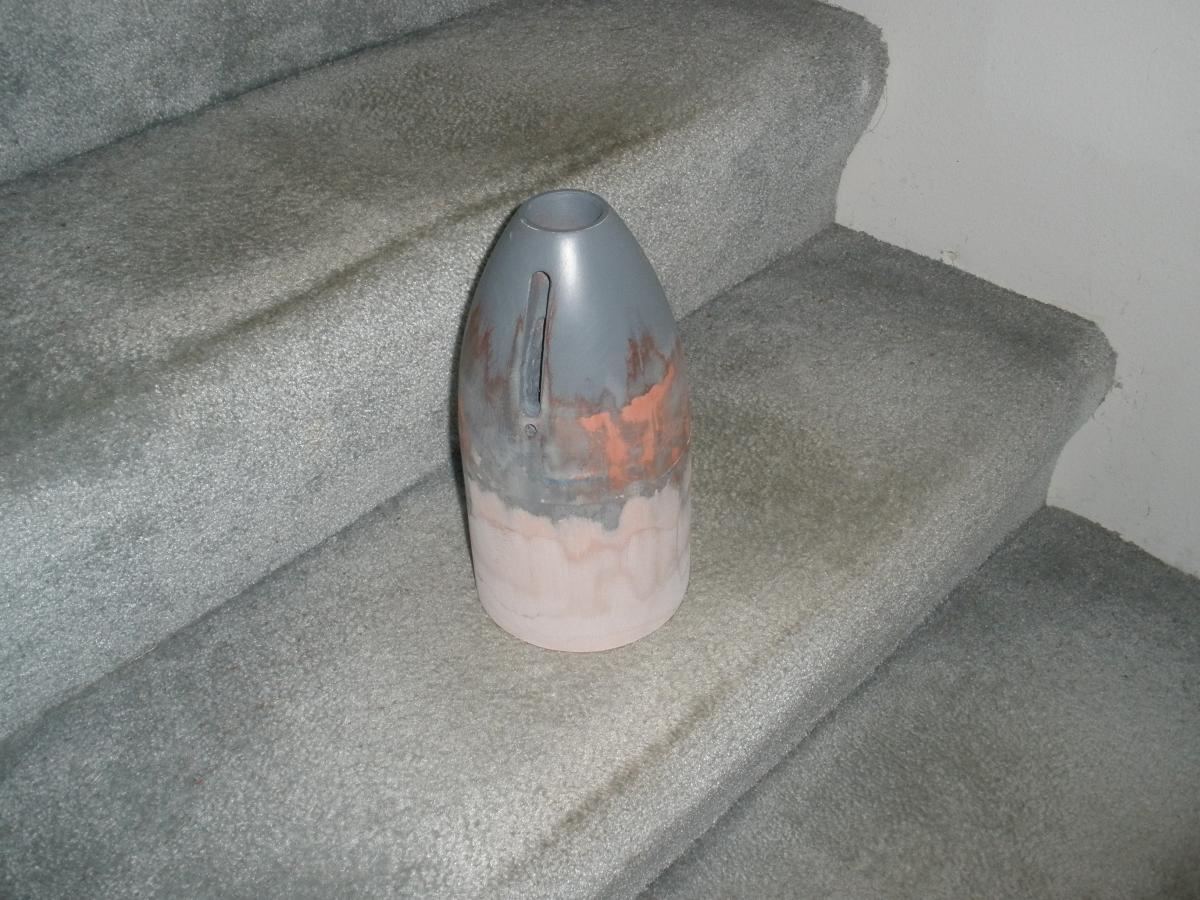
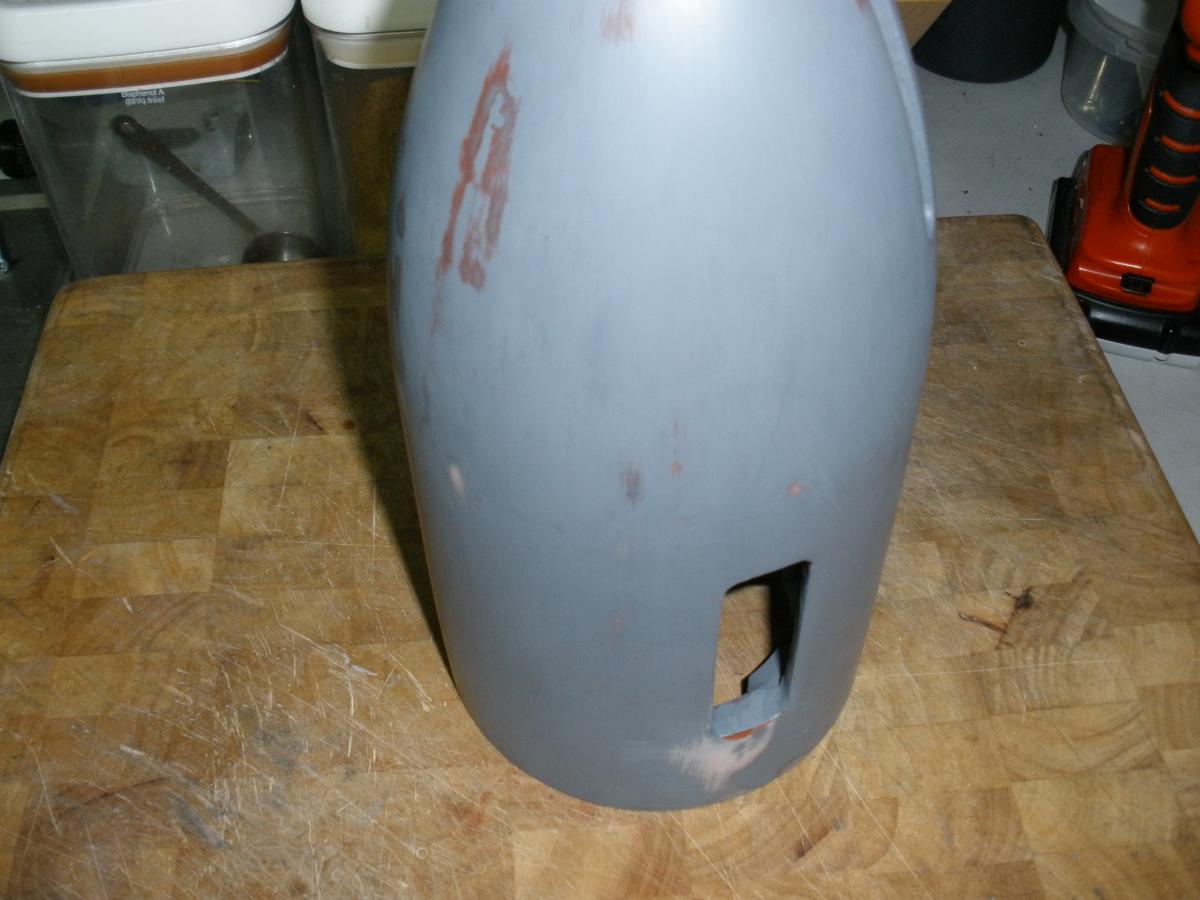
All the body pieces are now primed. I had to do some re-work on the buttstock. I use some bandage wrap with epoxy coating to bulk up the outer diameter, faster. which worked great....... as long as I don't leave the thing out in the Florida heat. In some areas it hasn't reacted well and softened the epoxy so I had to cut out and bondo the soft spots, and re-prime.

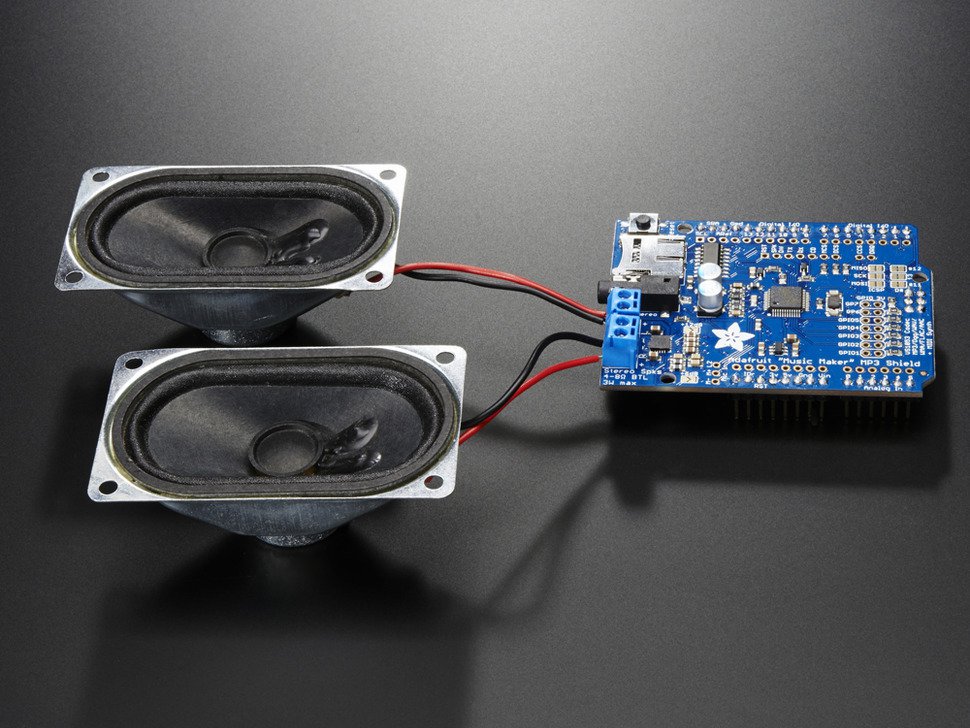
Also bought most of the electronics. Its all gonna run on a Arduino Uno & MP3 Shield, and a couple of E-Cigs for smoke generators. Along with some extra components. But 200 dollars worth of stuff total.


-
Before


After priming


Needs a few more coats to get rid of that porous texture Bondo leaves. Also using Dulpi-color primer now.
-
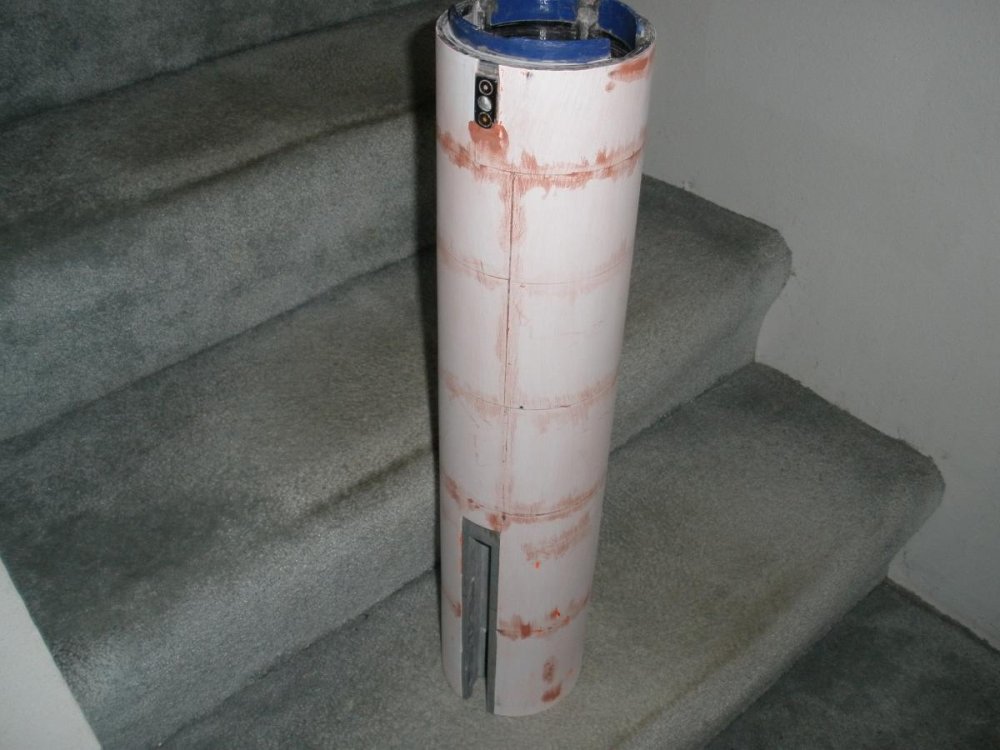
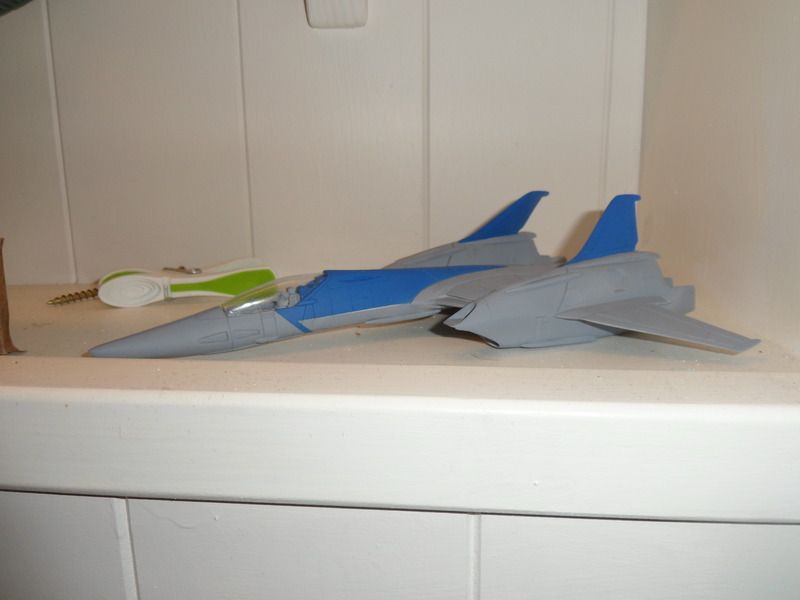
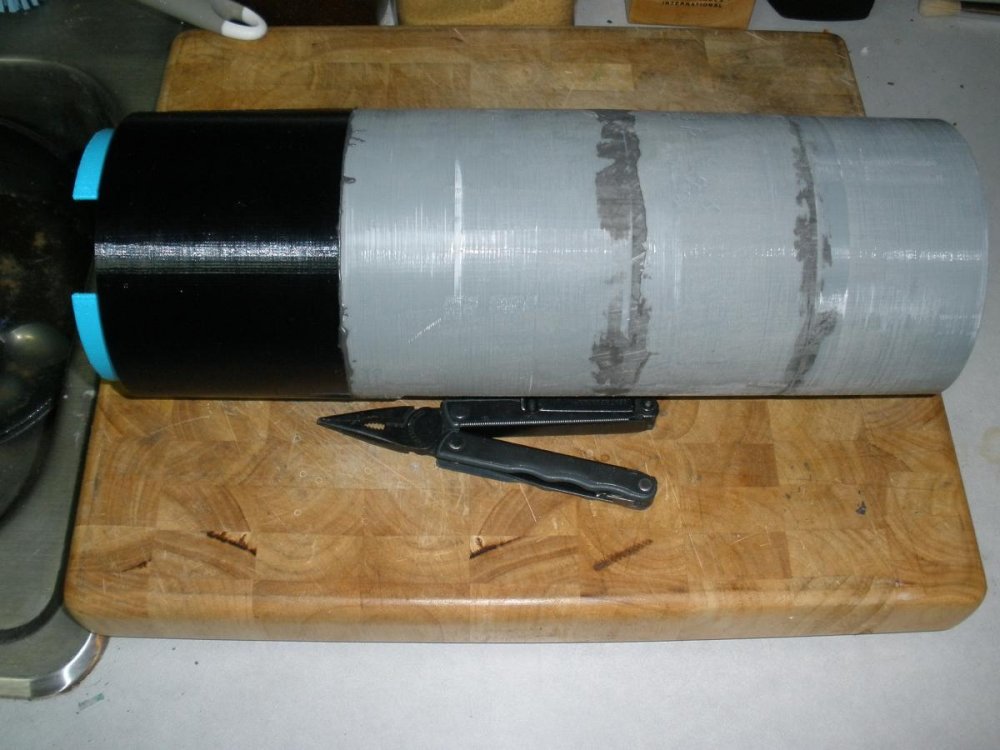
Thing is starting to look like a cannon now. Kinda stuck in the vicious " Prime, Fill, Sand....... Repeat " cycle at the moment. Note NEVER use rustoleum filler primer. That crap is garbage.
-
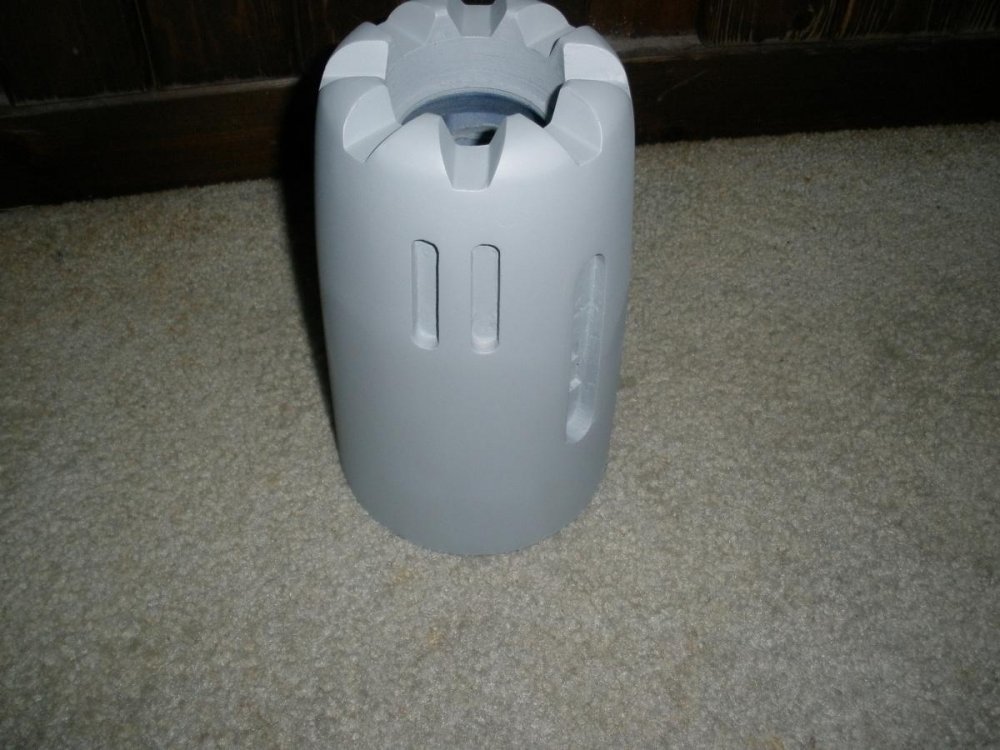
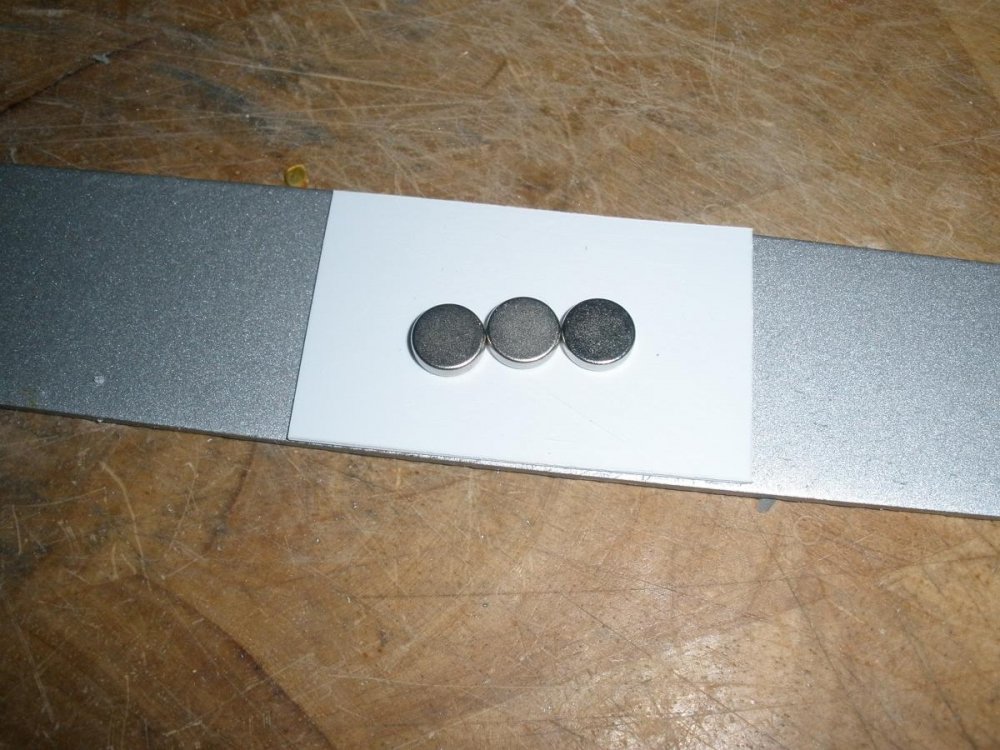
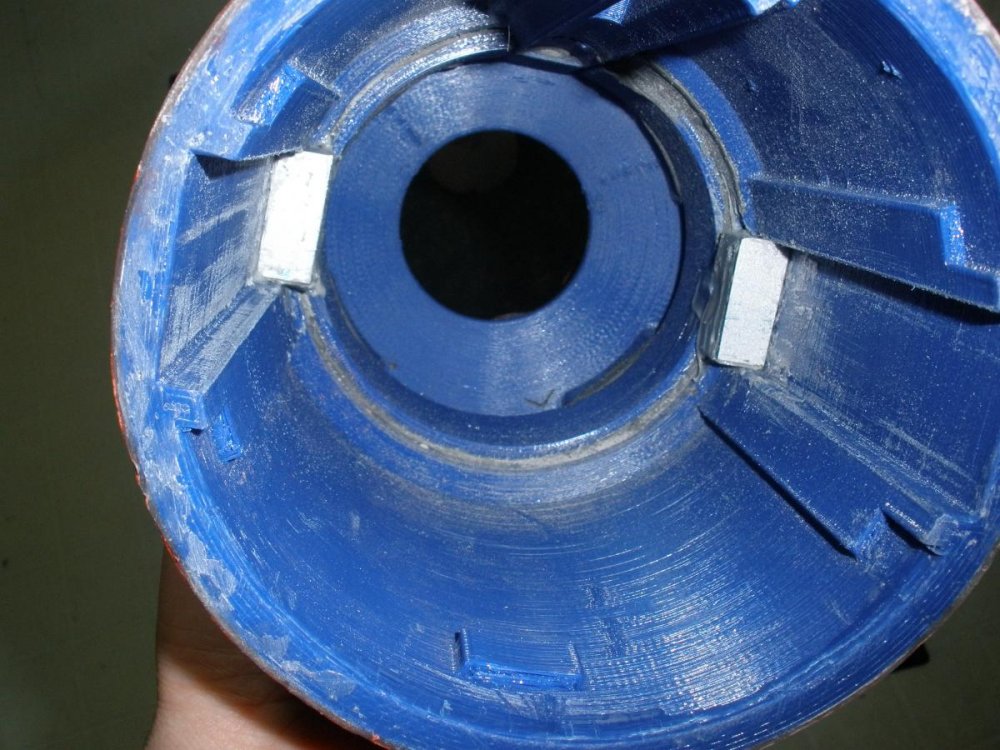
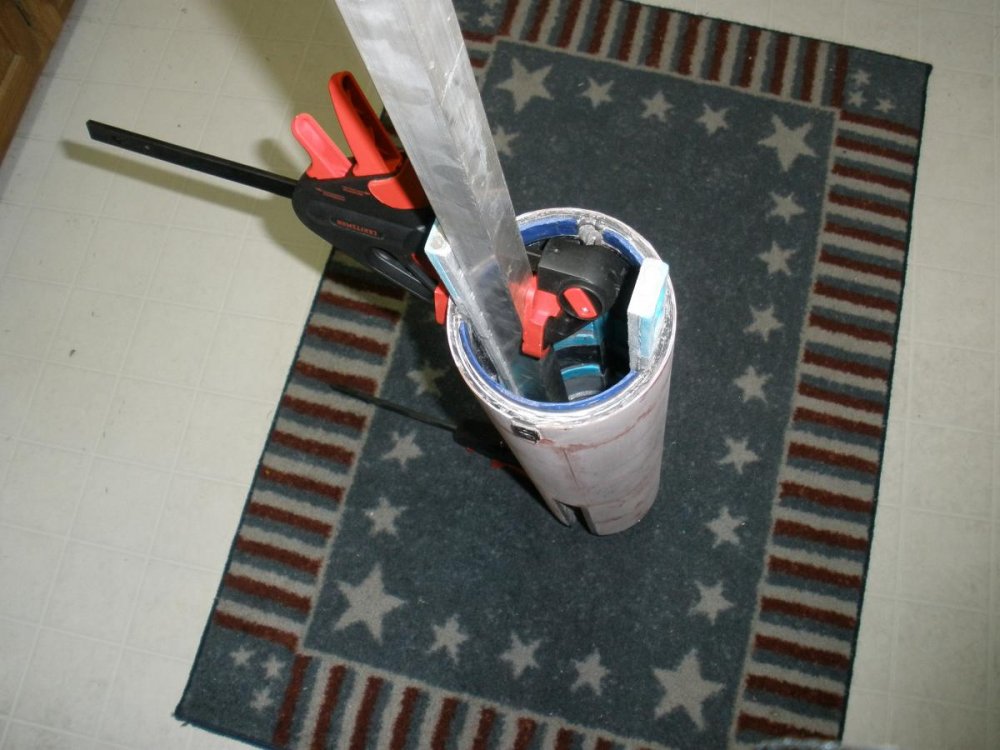
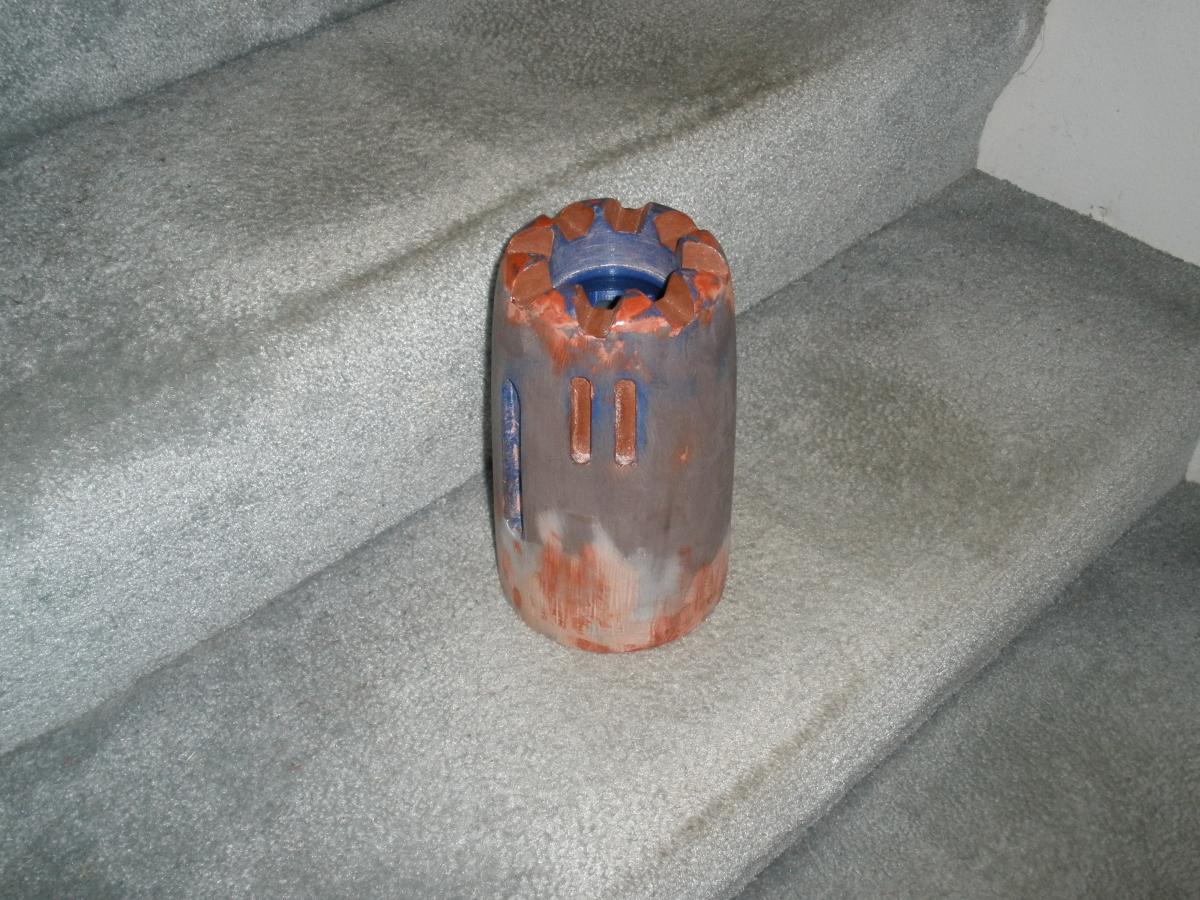
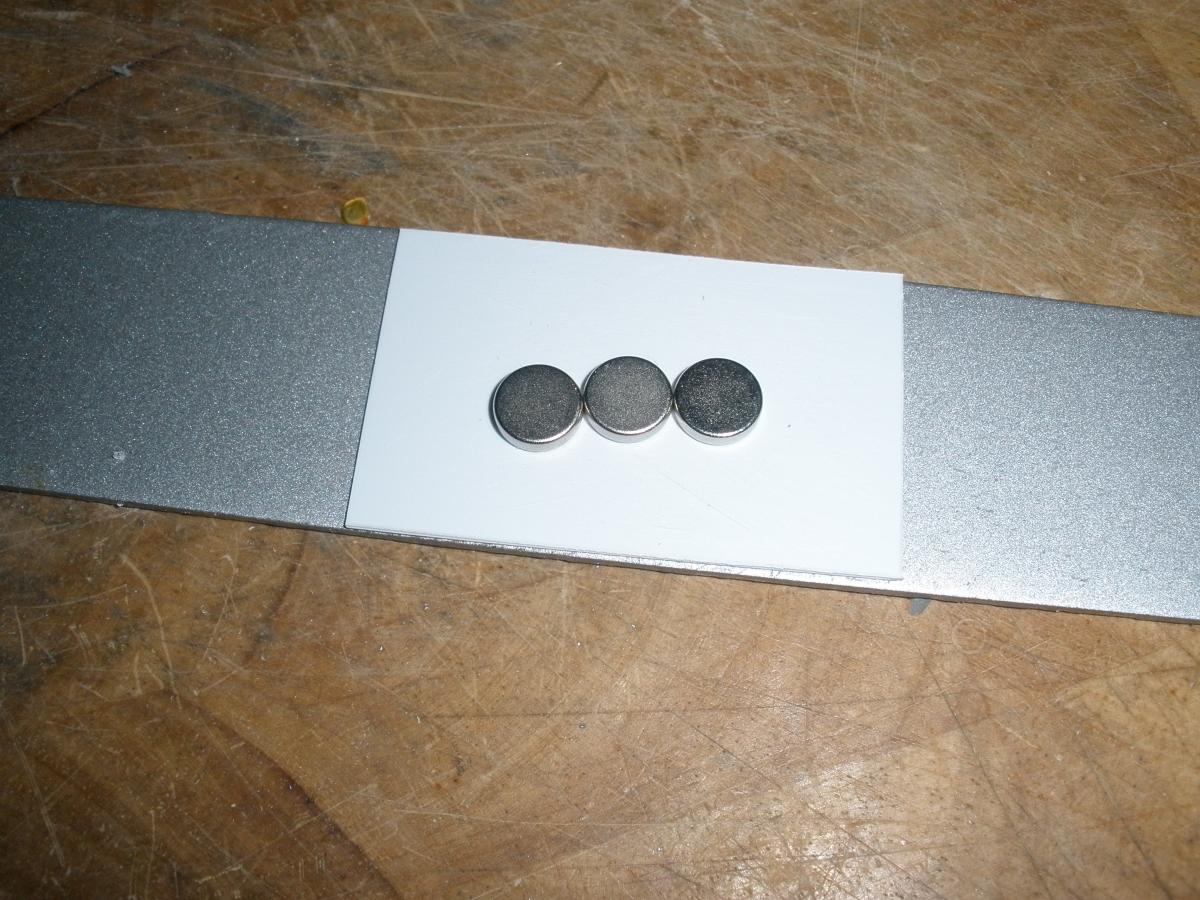
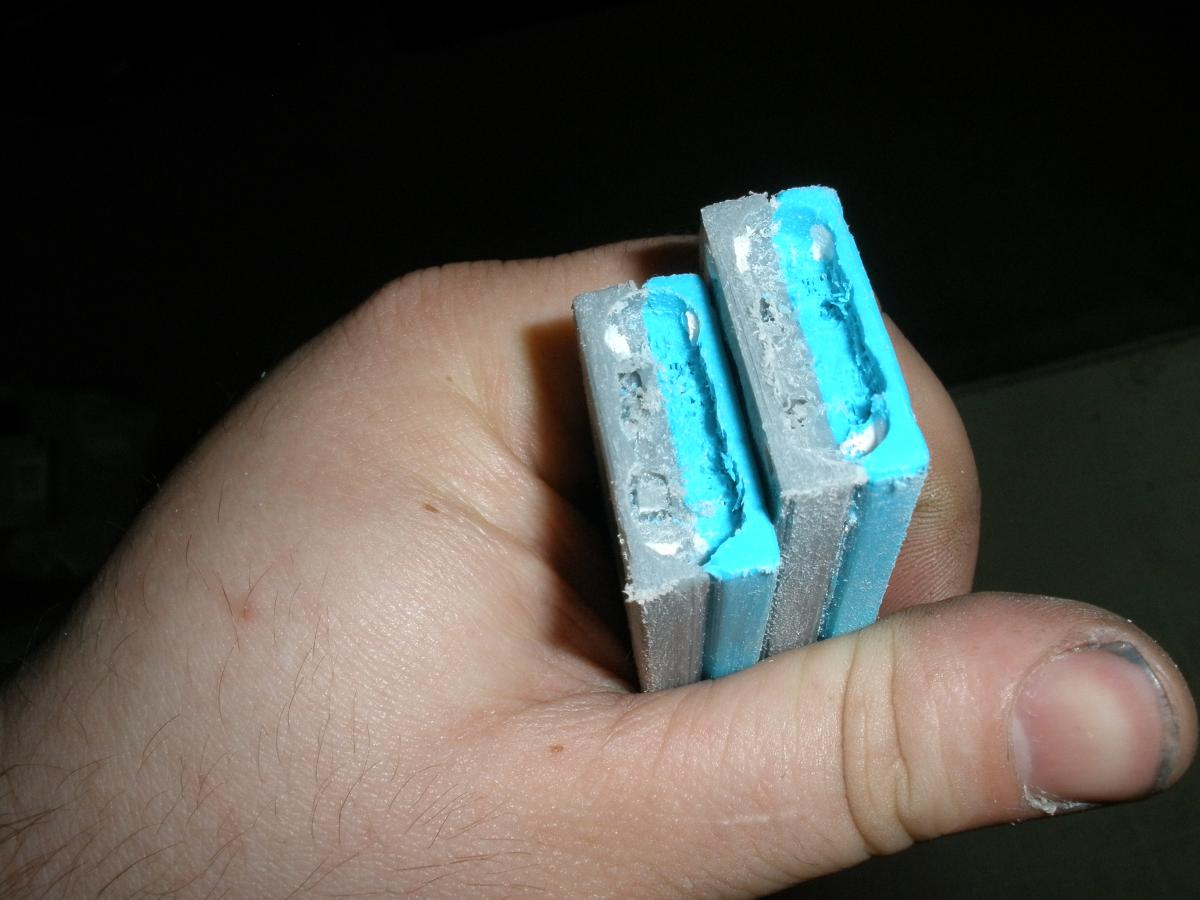
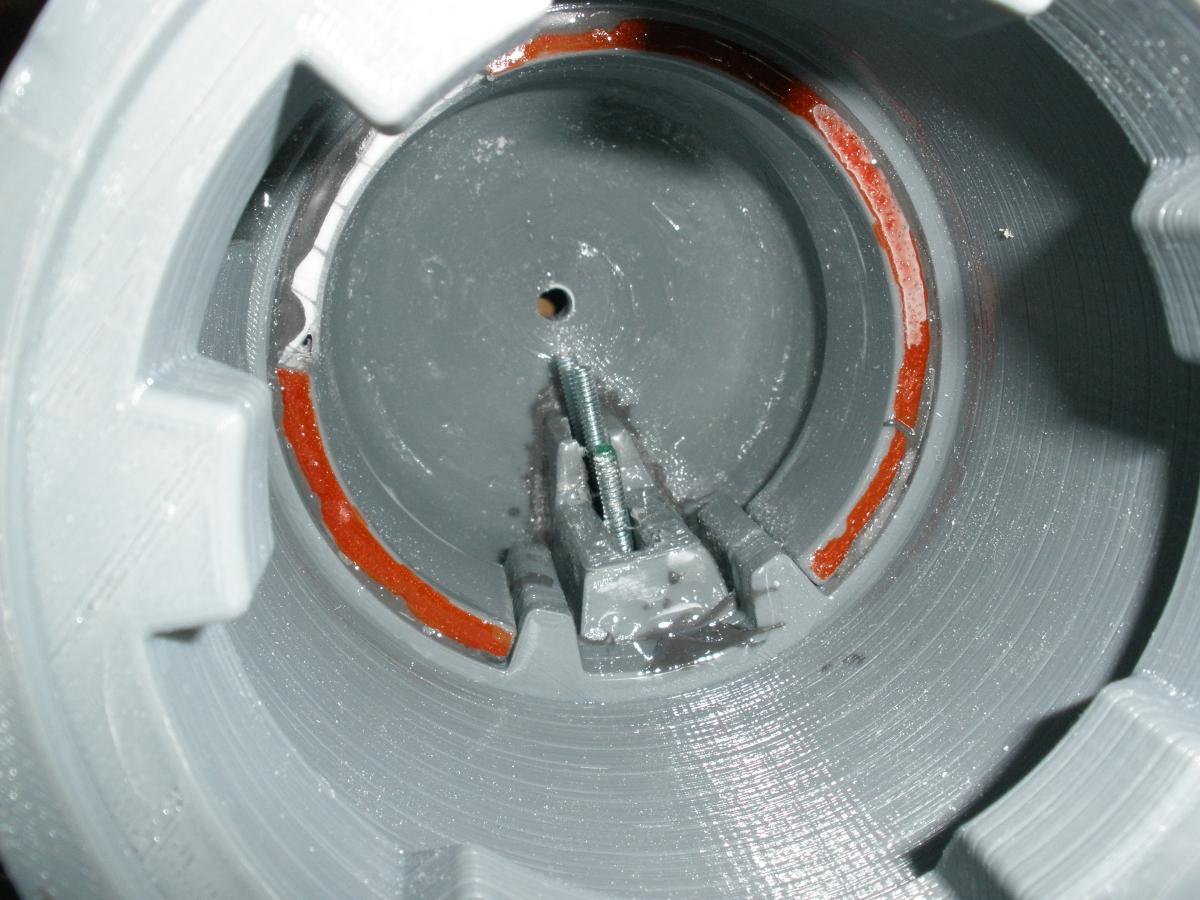
Got the chassis rails installed. Added magnets to each end and stops inside the muzzle to help hold it secure. Might be a bit over kill friction alone might be good enough to hole it on, got to use my feet to hold the body to pull it apart.

Glad I still had some aluminum square tube hanging around. made for a perfect clamp.
-
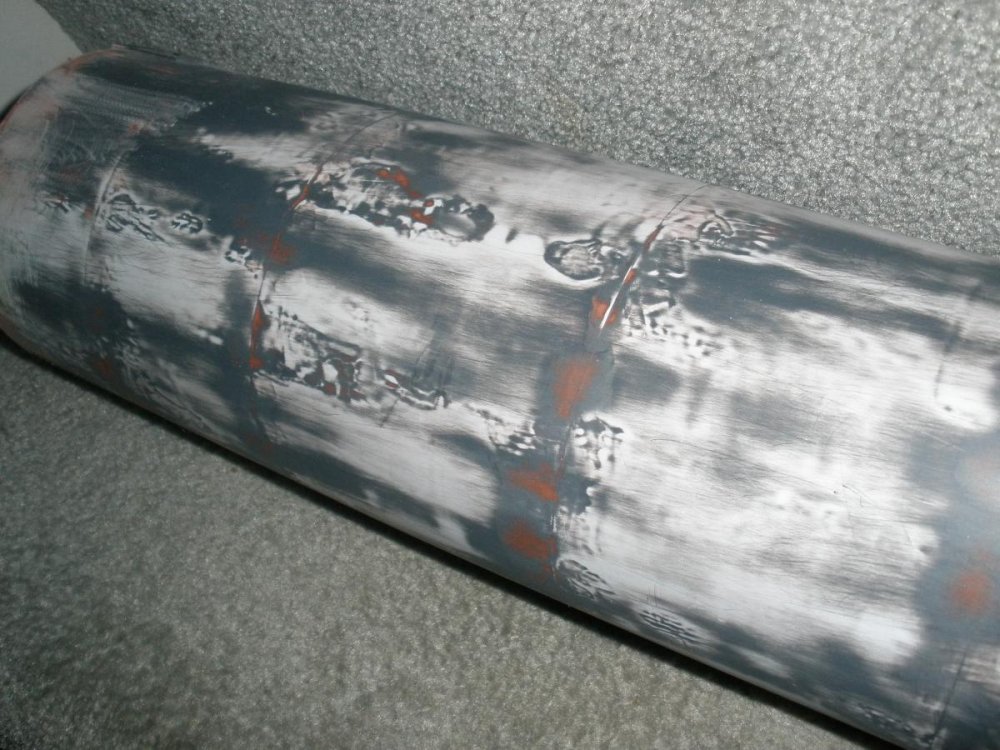
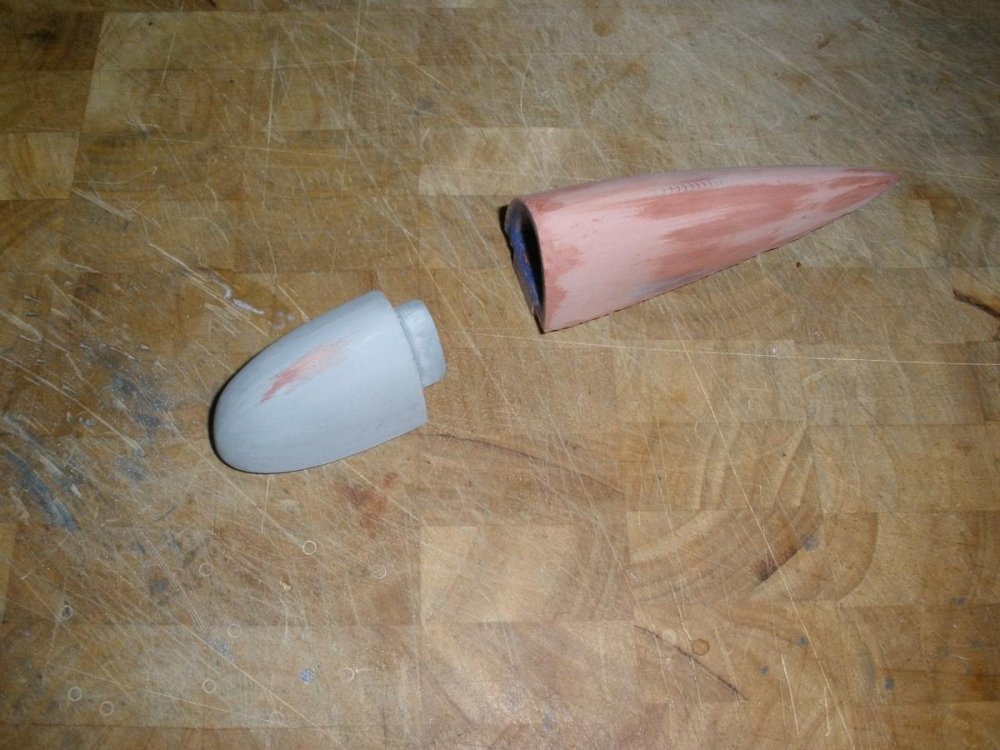
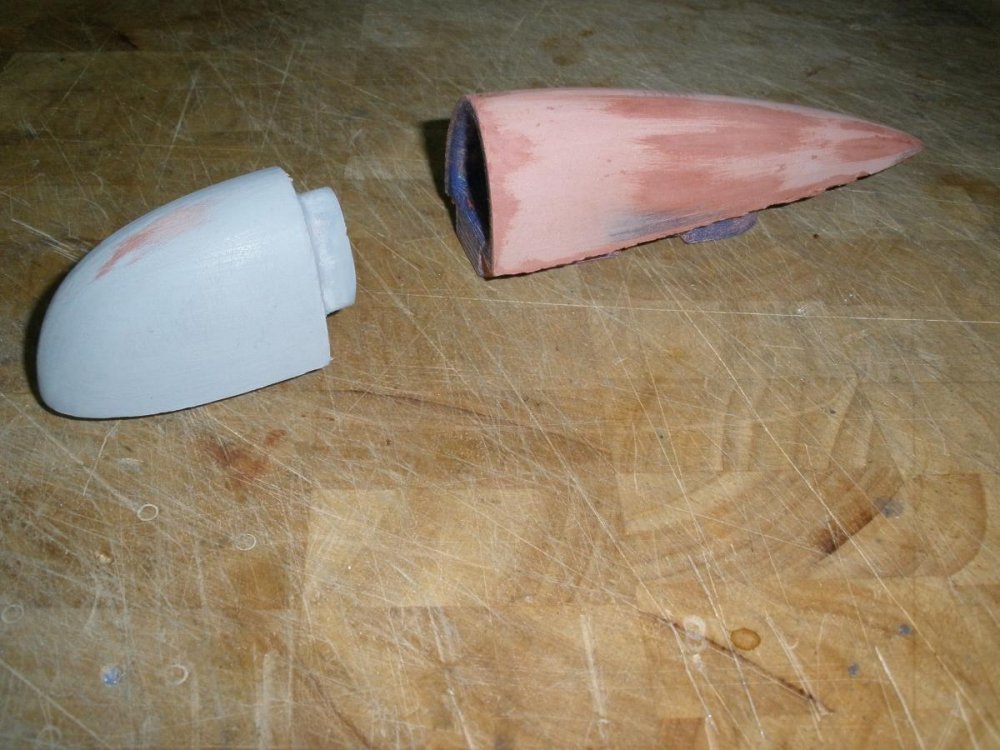
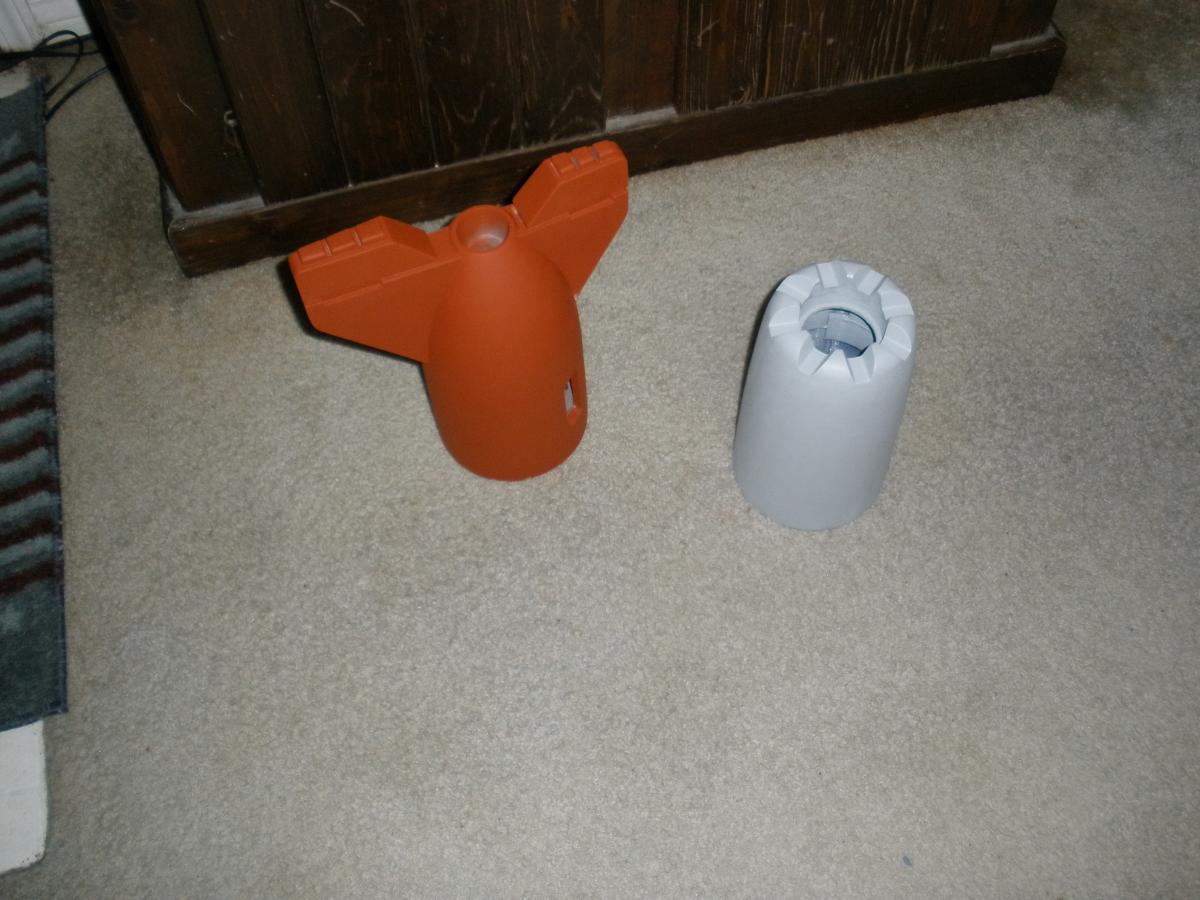
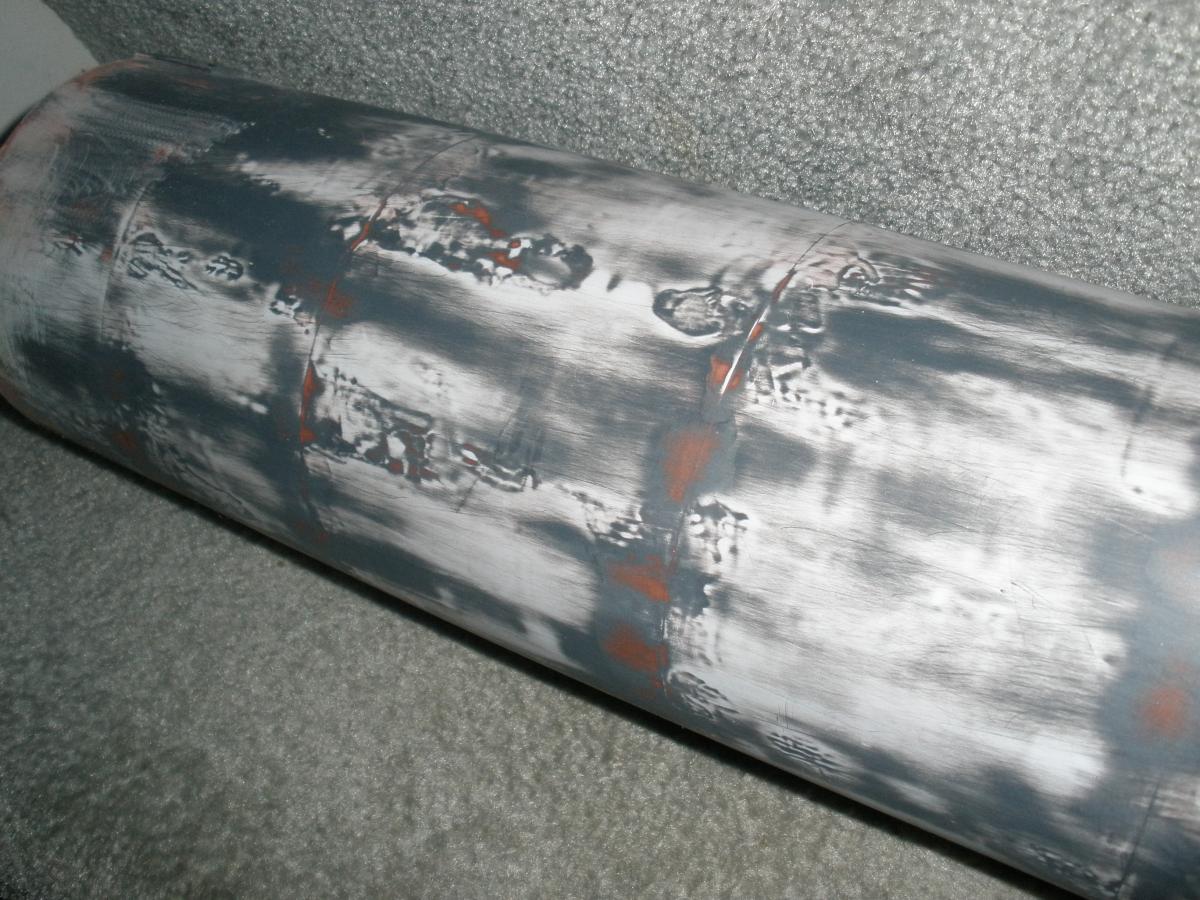
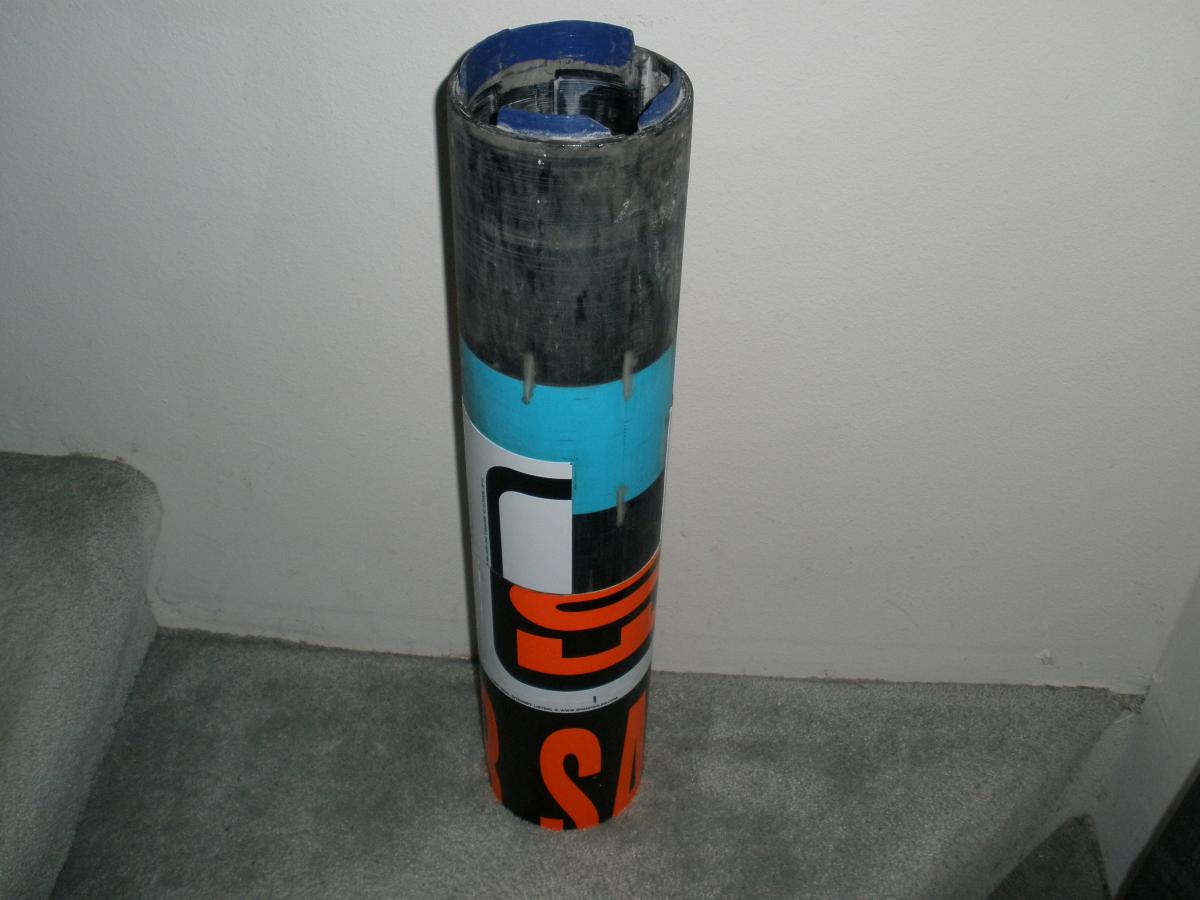
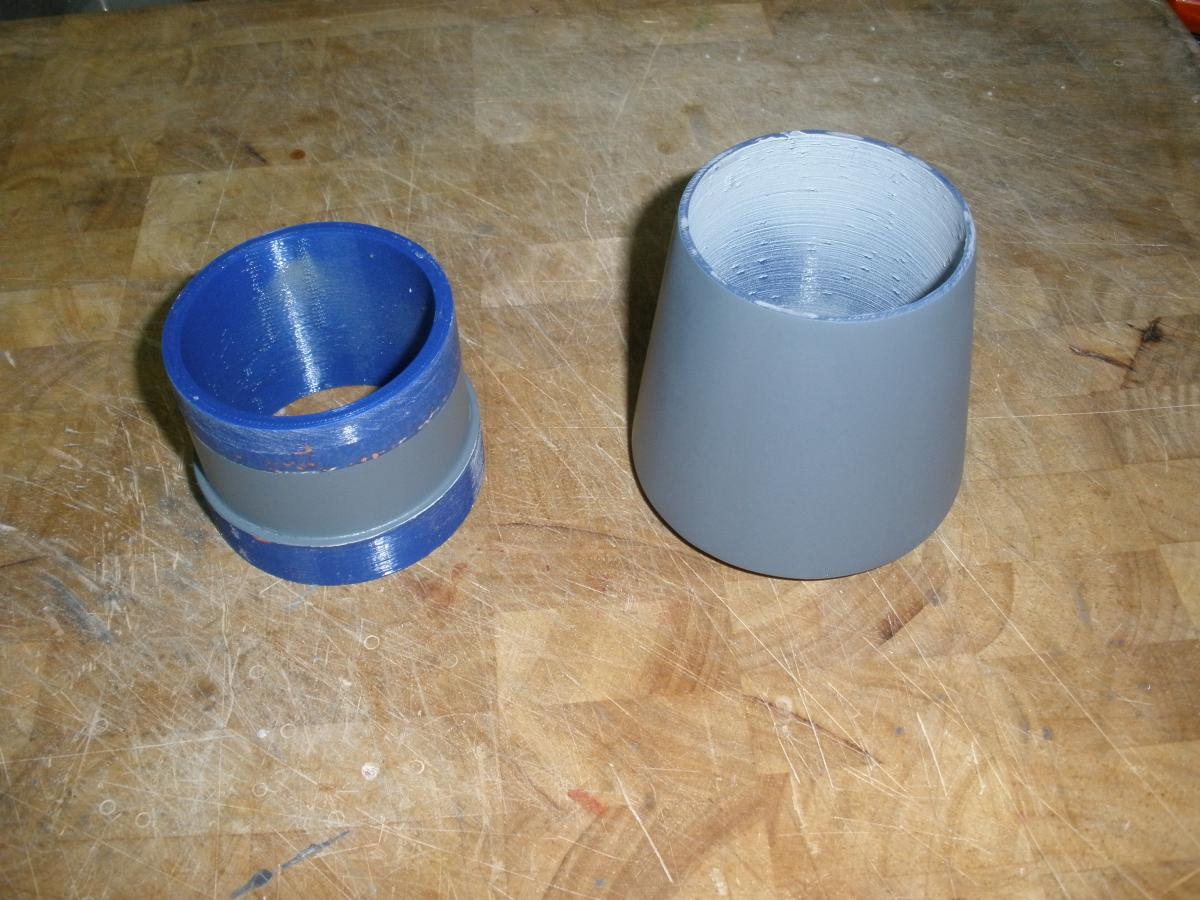
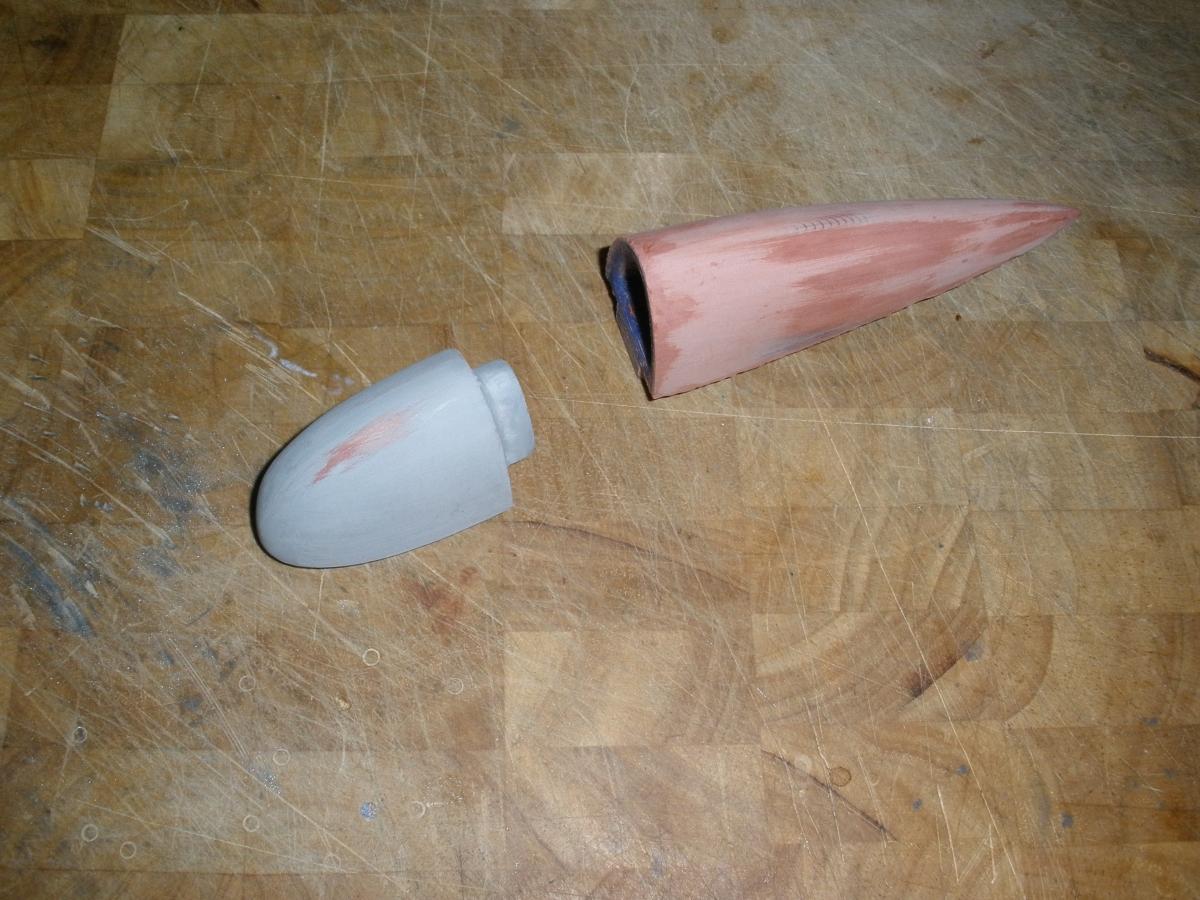
So. Learned a valuable lesson. When using signs for a source of styrene. Remove the printing first then glue. It took forever for the solvents to off gas. But it gave me a chance to add more epoxy layers to the front and back cone so the all have about the same outer diameter. Now lots lots more sanding Yeaaaa.
First layer glued with contact cement

second layer glued on with testors glue
end caps thickened
-
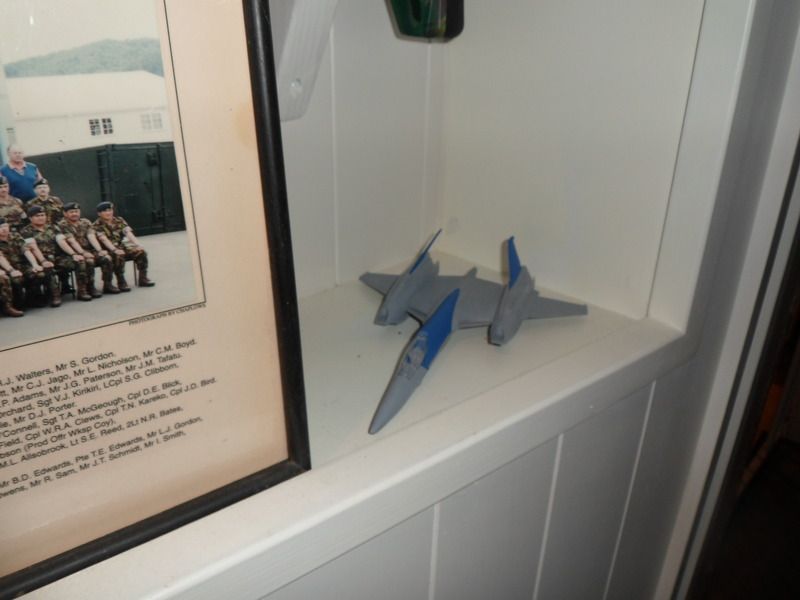
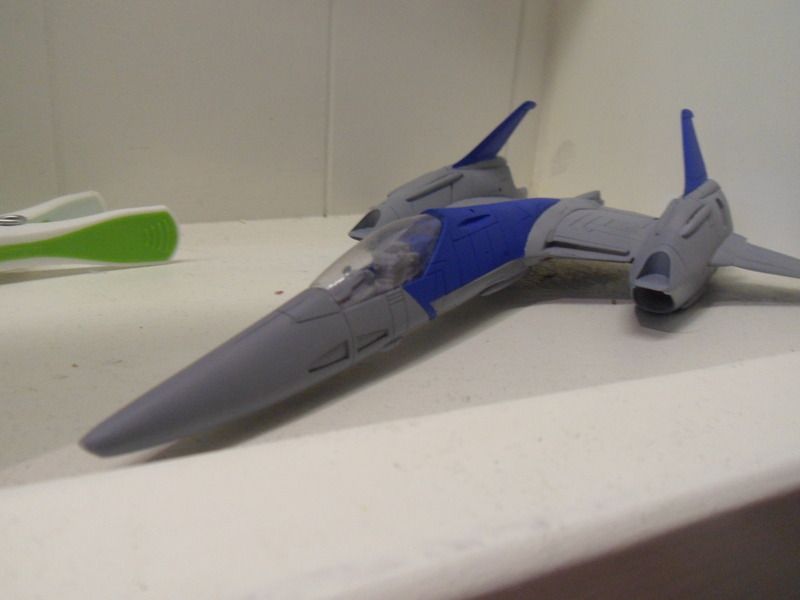
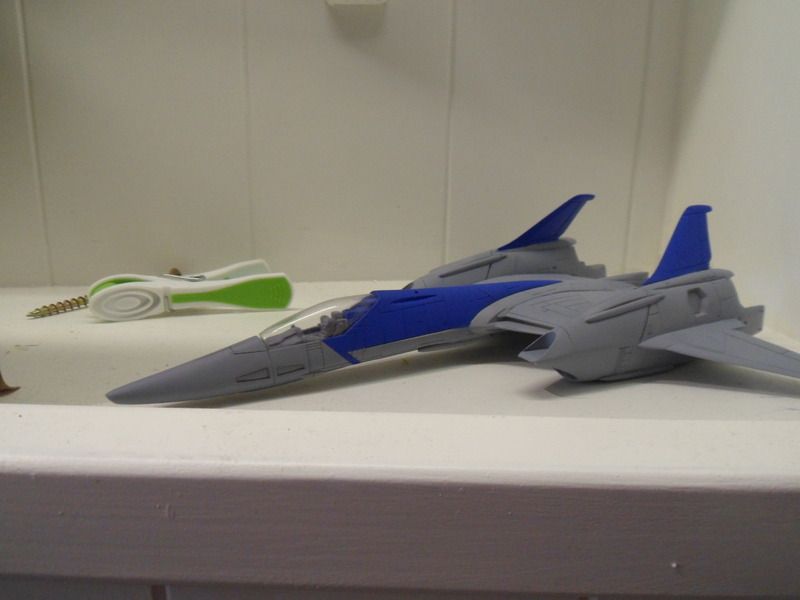
This is my current 1/60 macross collection on display. All my stuff its still boxed.
Both the VF-1A and the YF-19 came from Hiriyu, thanks a lot bro.
LOL Funny My V1 1A is yellowed on almost exactly the same parts.
-
In-canon the casings are stored in the gunpod, right? Or they're caseless? I seem to recall ammo being ejected, but it might have been creative license.

Crappy screen cap but you can see the arch of spent cases from the 1A on the left. (just a series pf black specks)
-
Looks like the ejection port is large enough to handle .308? Would be cool to see a fully functioning one firing real ammo

Know any metal fabricators and a gunsmith?
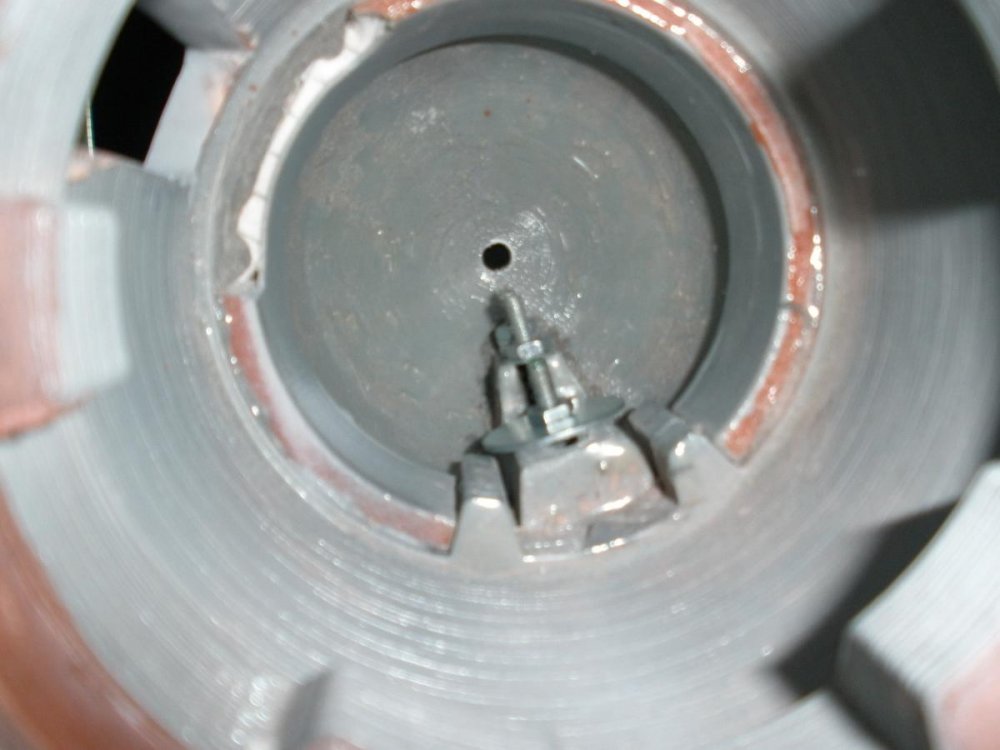
Not quite big enough for a complete .308, Which It should be big enough for a complete round. It is however big enough for a .50 Beowulf. I thought about making it eject spent cases, but it just would have used up too much space to make a magazine and something to force out the cases. Maybe next time.
-
Success!!
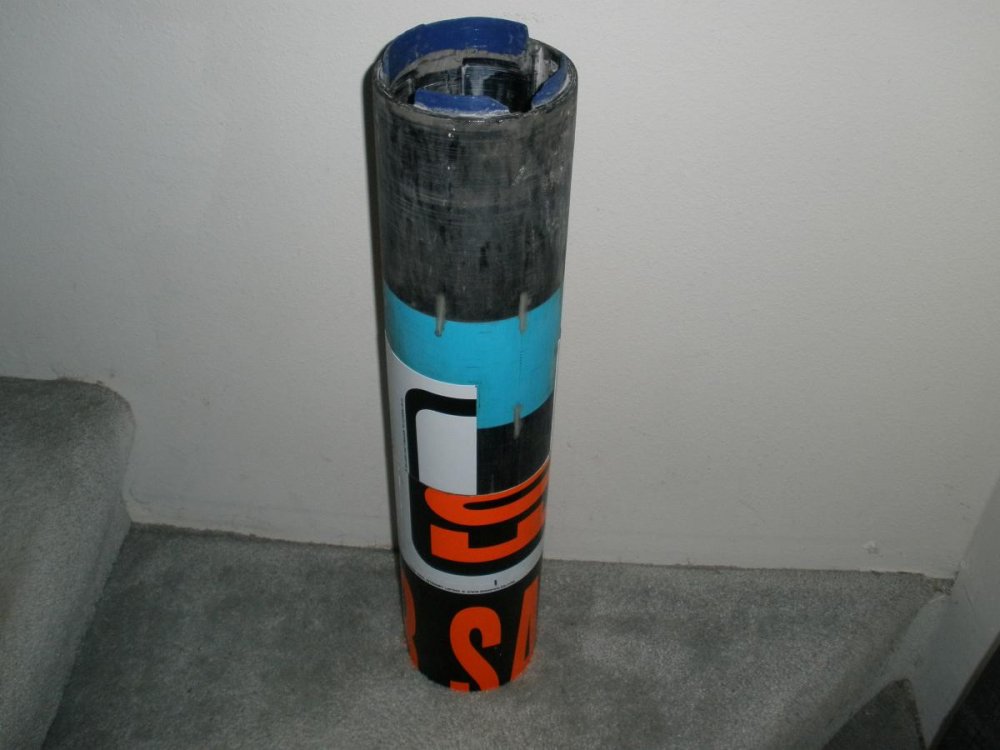
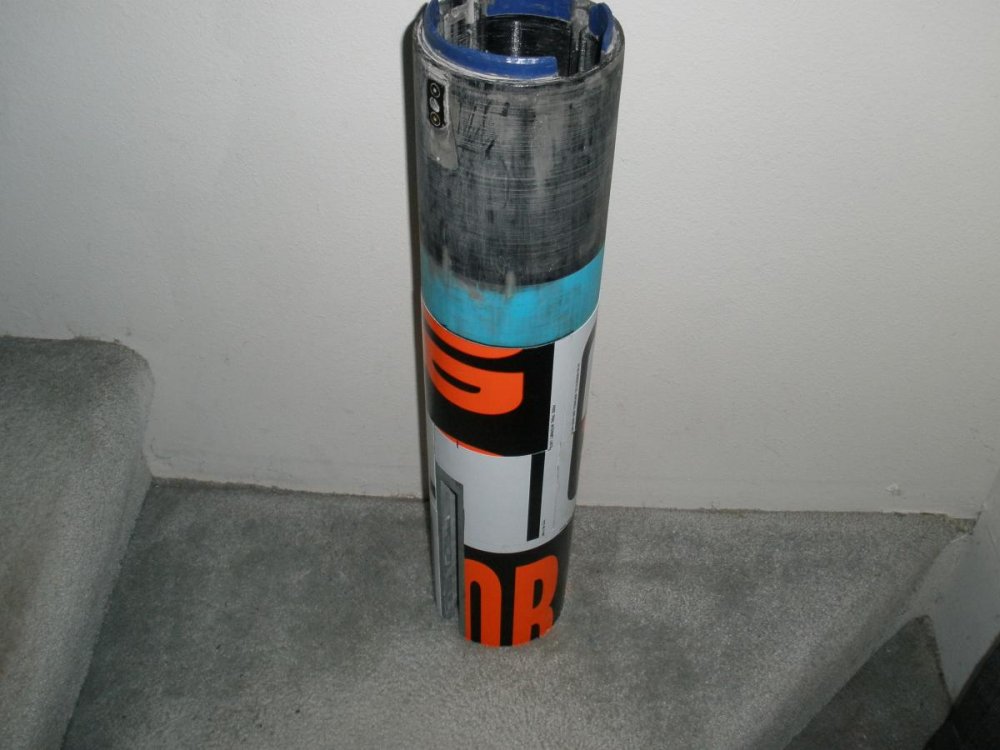
It would appear that contact cement loves to bind to PLA. Not quite so much to styrene. But more than strong enough for my needs. I need to make a run to Walmart and pick up more. The small craft bottle did not go quite as far as I thought it would. Ignore the fact it's covered in "For Sale" signs...... Just a cheap source for large styrene sheets.
-
Just Got mine today. Even with part swapping I think it looks great. Only wish they included a couple more fillers, for the top of the shoulders @ the gun, and top of the leg when in attacker mode.
-
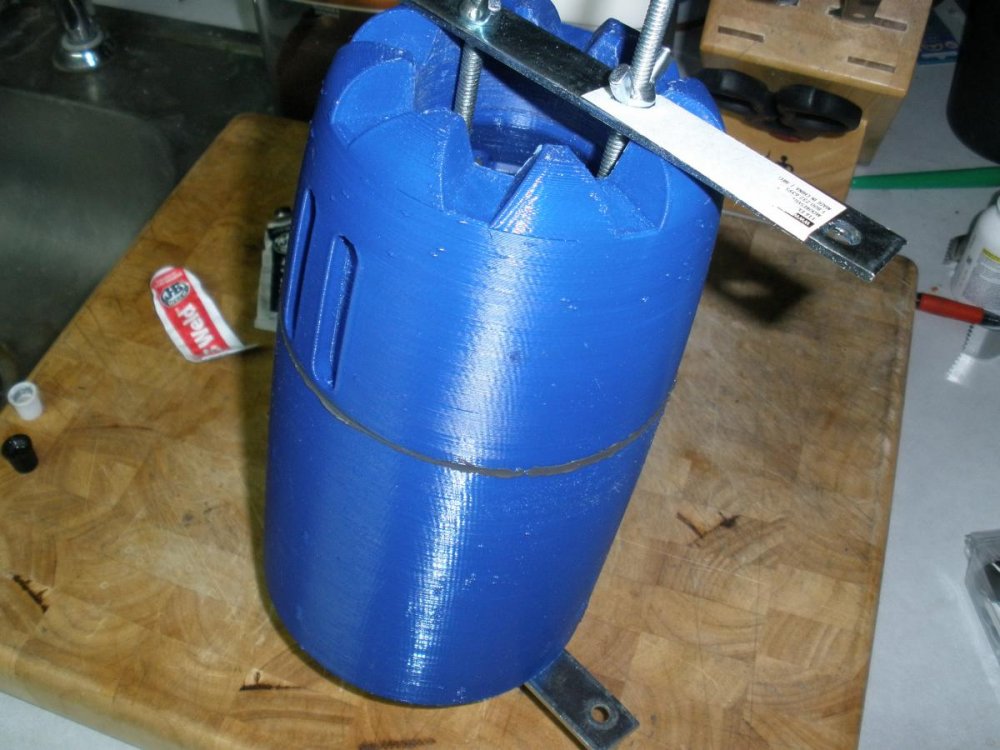
Ok soooo. After many, many, many hours of sanding( I put that JB-weld on way to thick). Finally got the point were I was ready to start skinning the main tube. I did a couple test with failed prints, and superglue worked awesome on the test pieces. Tried it in the main tube for real and not so much. Big Time Fail. Pieces are just too Big to do with super glue. Leaves too many air pockets and no bond areas. Peeled all that off, re-sanded and went with Plan B, Lock-tite brand spray Contact Cement. Sooo. fail number 2, (that crap doesn't bond to anything and it just makes a gummy mess like that crap they use to glue on address labels to magazines.) So I'm on plan C, Dap Weldwood. So far so good. i doesnt just peel off PLA or styrene when its dry. So got some test pieces glued up and gonna let them cure a while.
-
Been a while since last update. Sorry, fell in to a bit of an uber-lazy kick.
Did a lot of filling and priming. A lot of parts were not at strait as I had hoped. But I think that was because a software/setting thing on my part


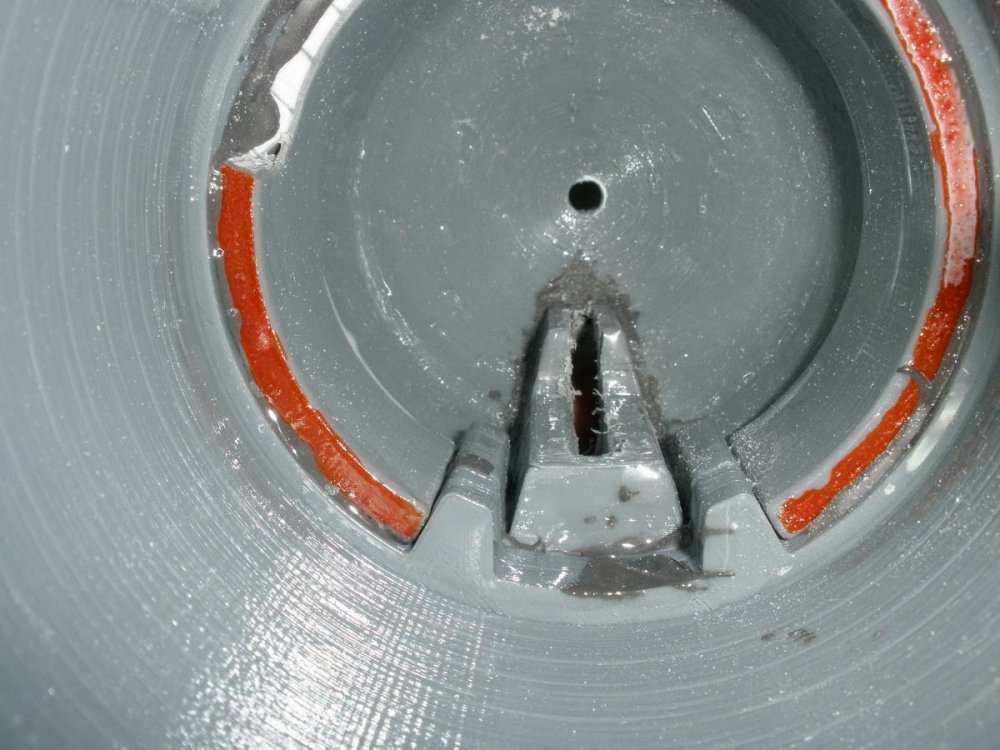
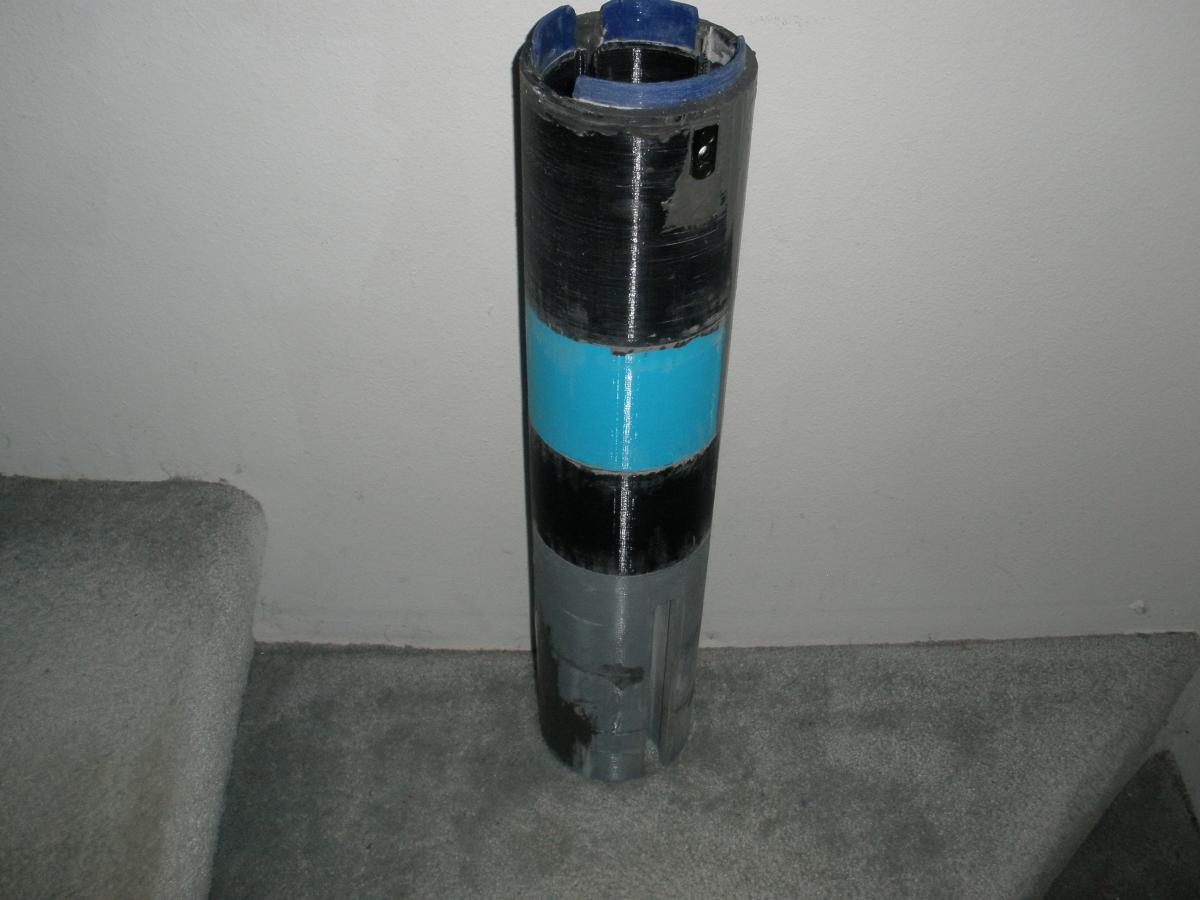
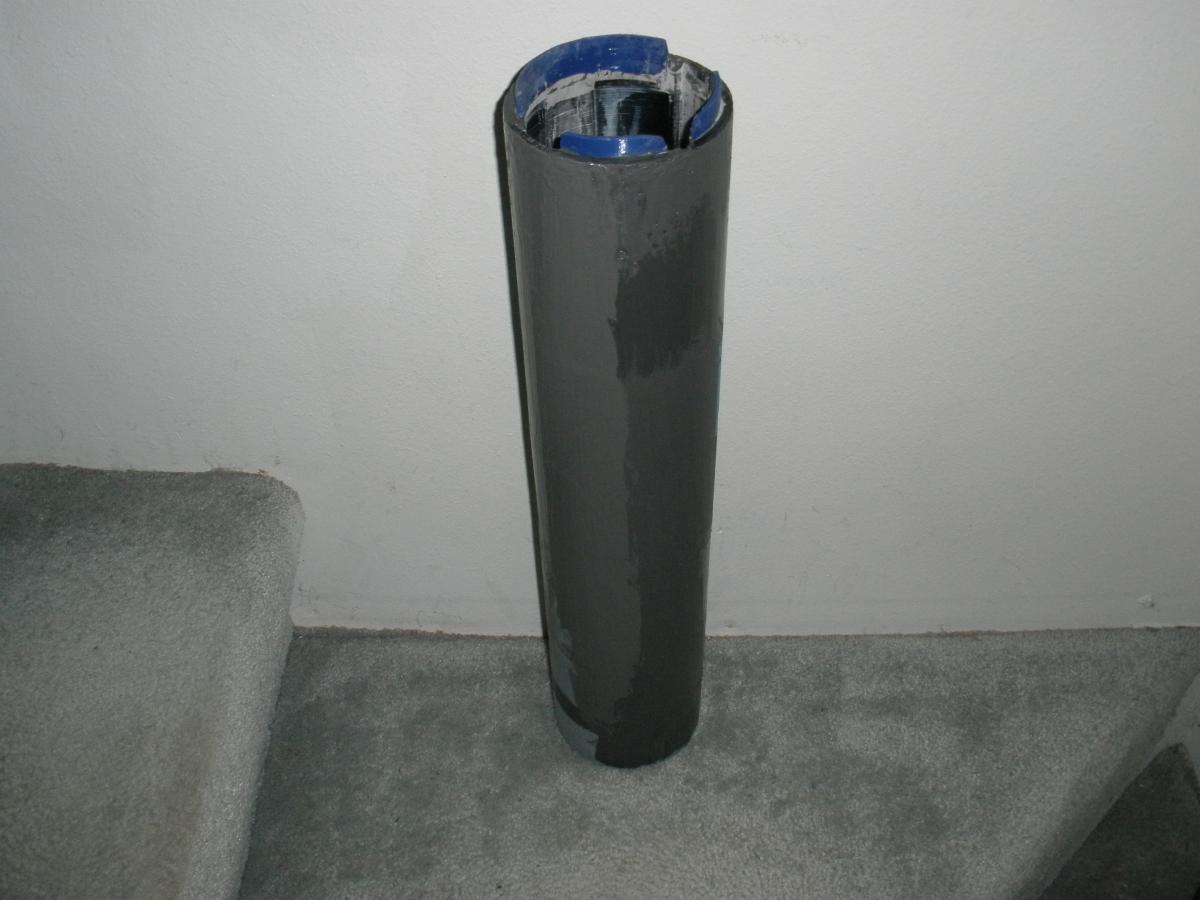
Finished gluing up the main body. When I cleaned up all the excess on the seams I notices the segments were slightly staggered. Not by much but i would be noticeable. So my solution is a layer of JB-Weld over the whole thing and that will get sanded smooth. I'm not to worried it its not perfectly circular, just need to level all the high and low spots

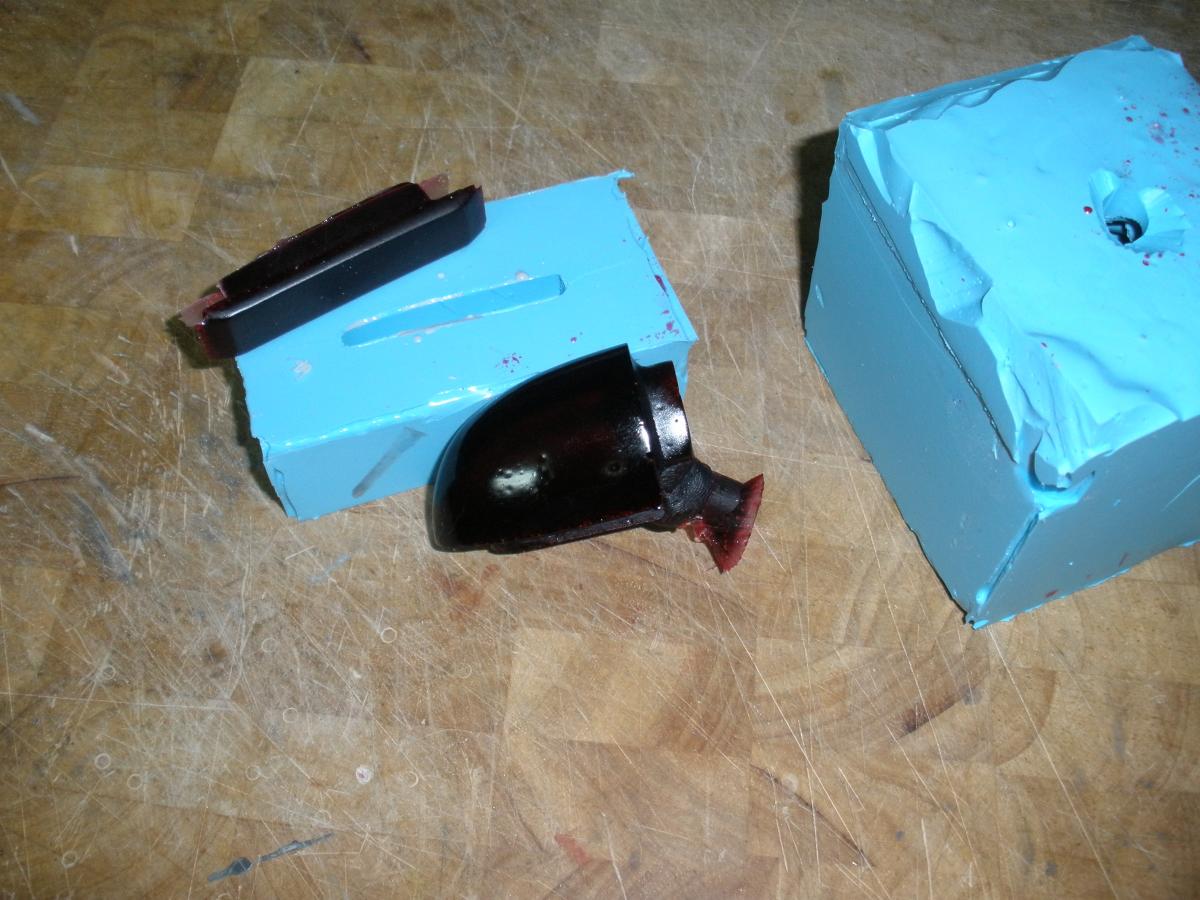
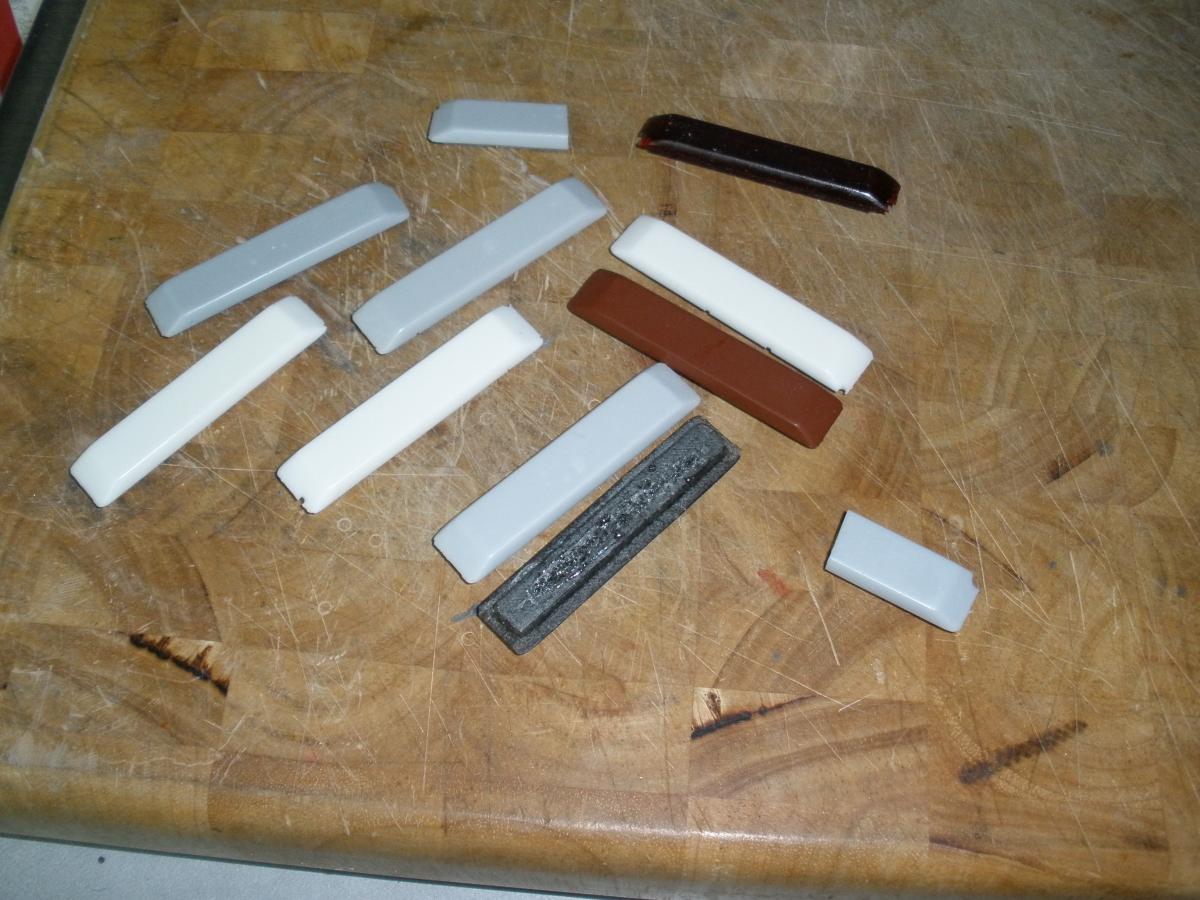
Also got the flutes and sensor lenses molded and cast.

-
This post brought to you by Smooth-On XTC-3D....LOL. After 3 coats of epoxy and a lot of sanding
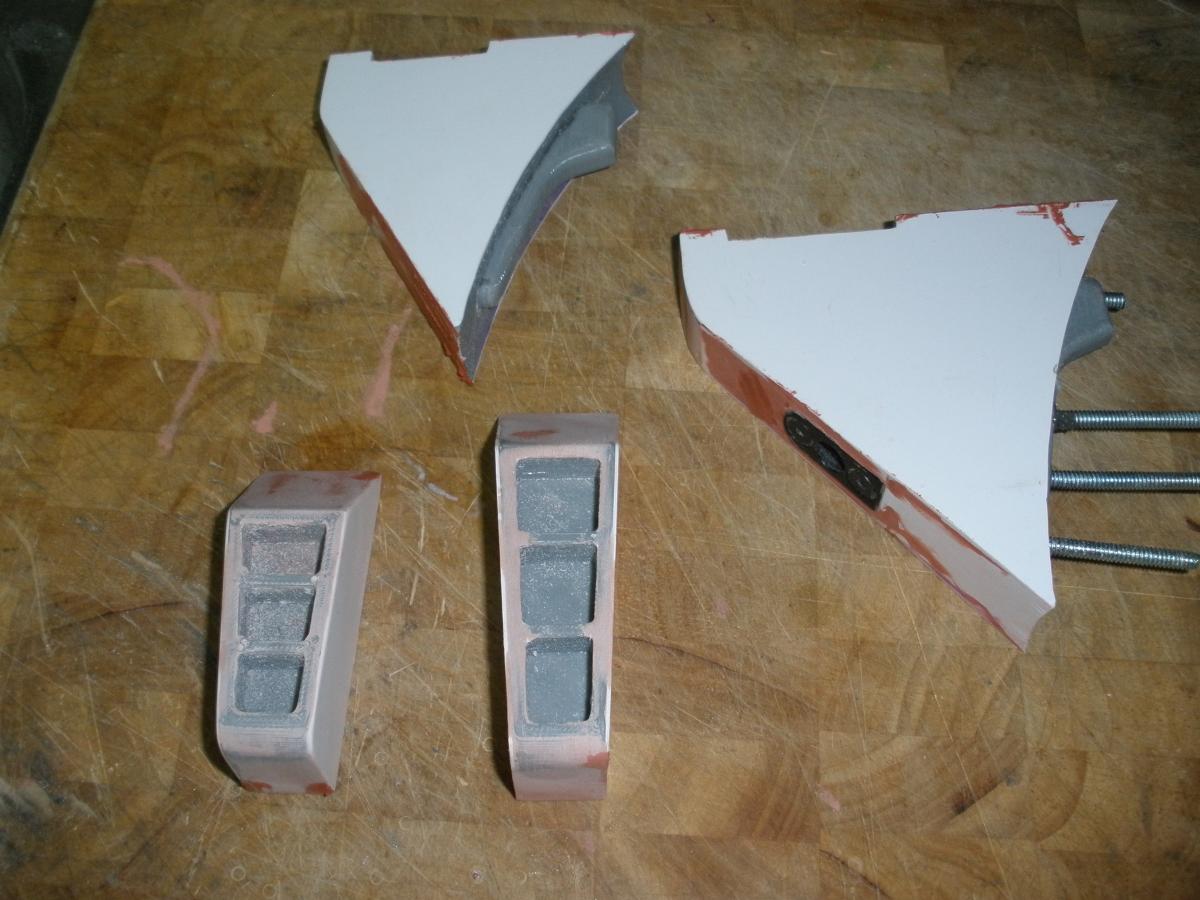
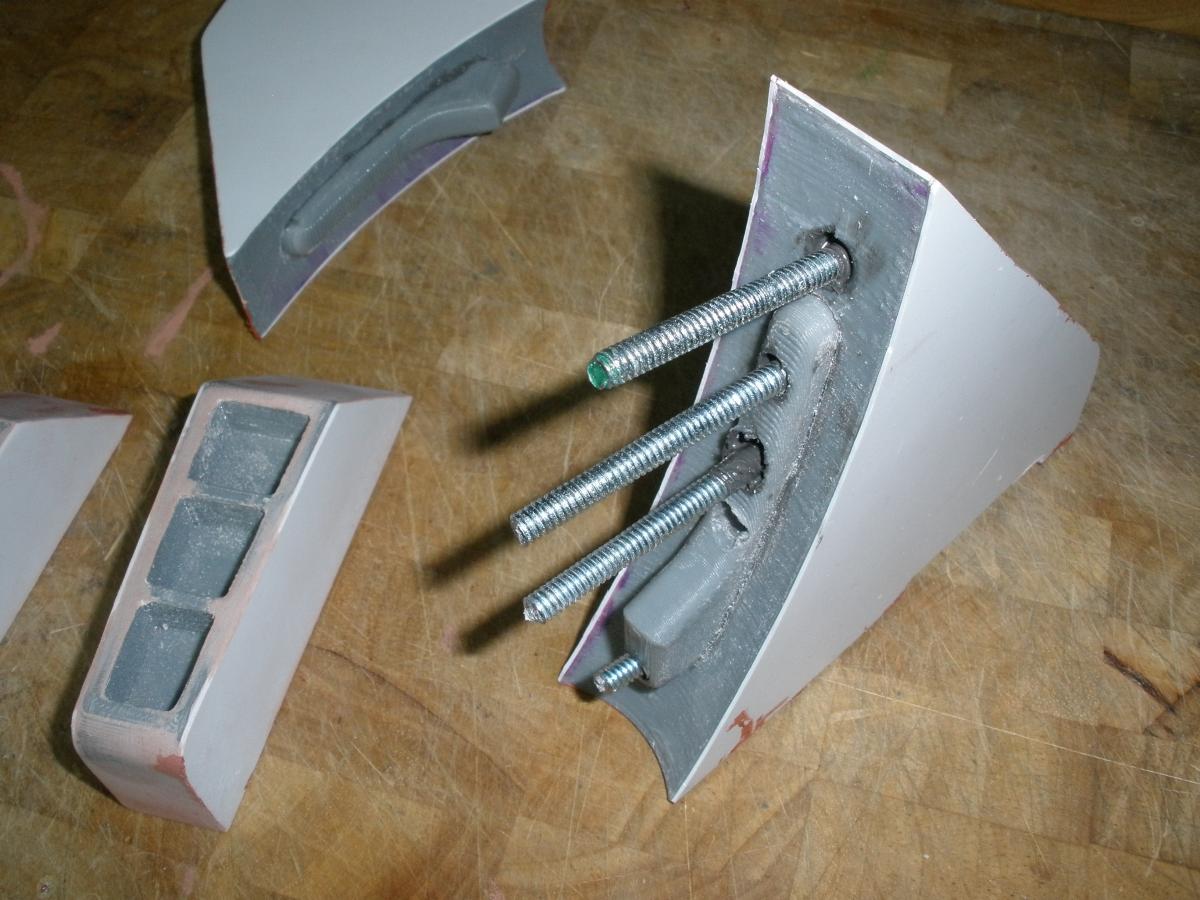
The fins got a layer of sheet styrene and bondo.

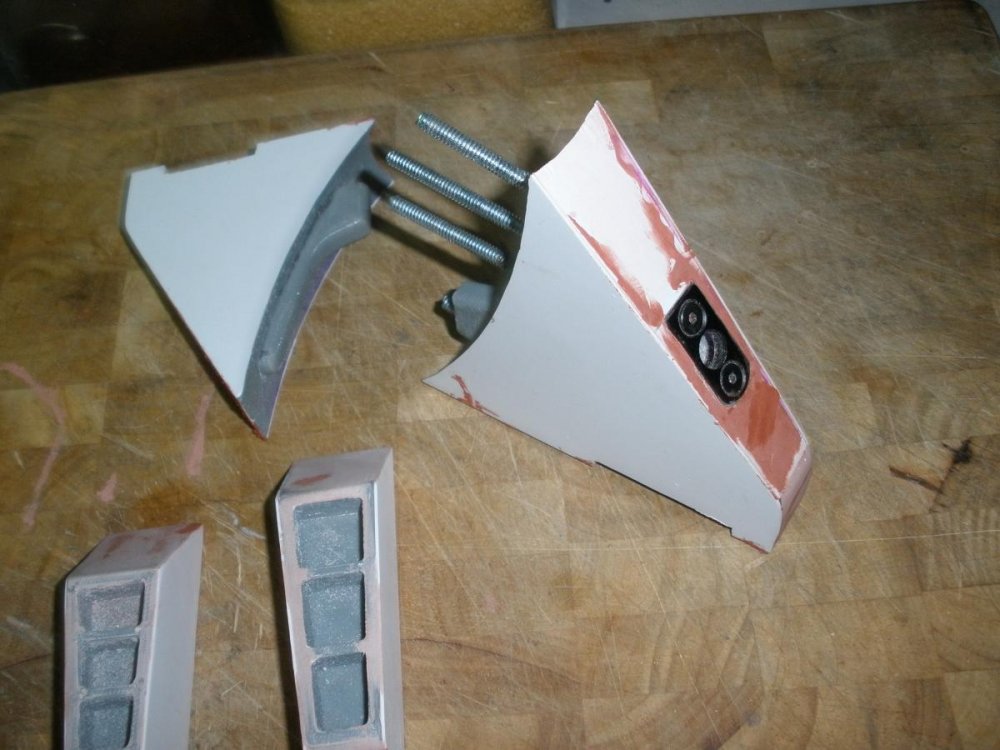
the bottom fin got mod'ed with all-thread rod, cut to length and JB-weld in. Along with a small filler for the rear cone so i can bolt and epoxy the fin on. The mating surfaces between the pieces were not as large as I was hoping for. And I didn't want to rely on just the shear strength of epoxy.


-
The blister will be the targetter. In other words the "where is my gun pointing" device given the weapon will be in a manipulator off bore axis. You could cast in a mini flashlight reflector to look like a camera lens assembly behind the resin. If you wanted to get techo with it you could add a laser pointer as a laser designator/rangefinder.
I have a cavity in the rear half. Just going to wire up 2 or 3 red LEDs and mount them inside.
-
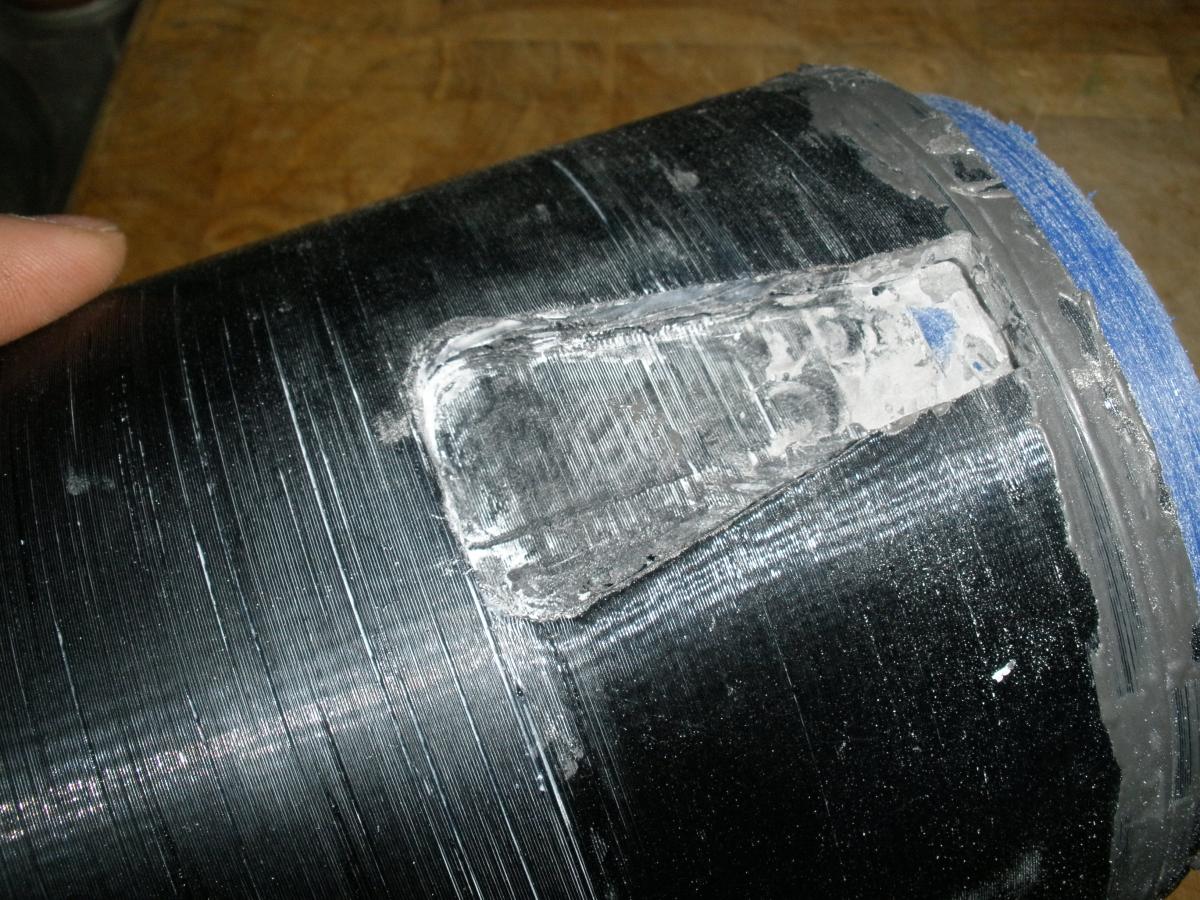
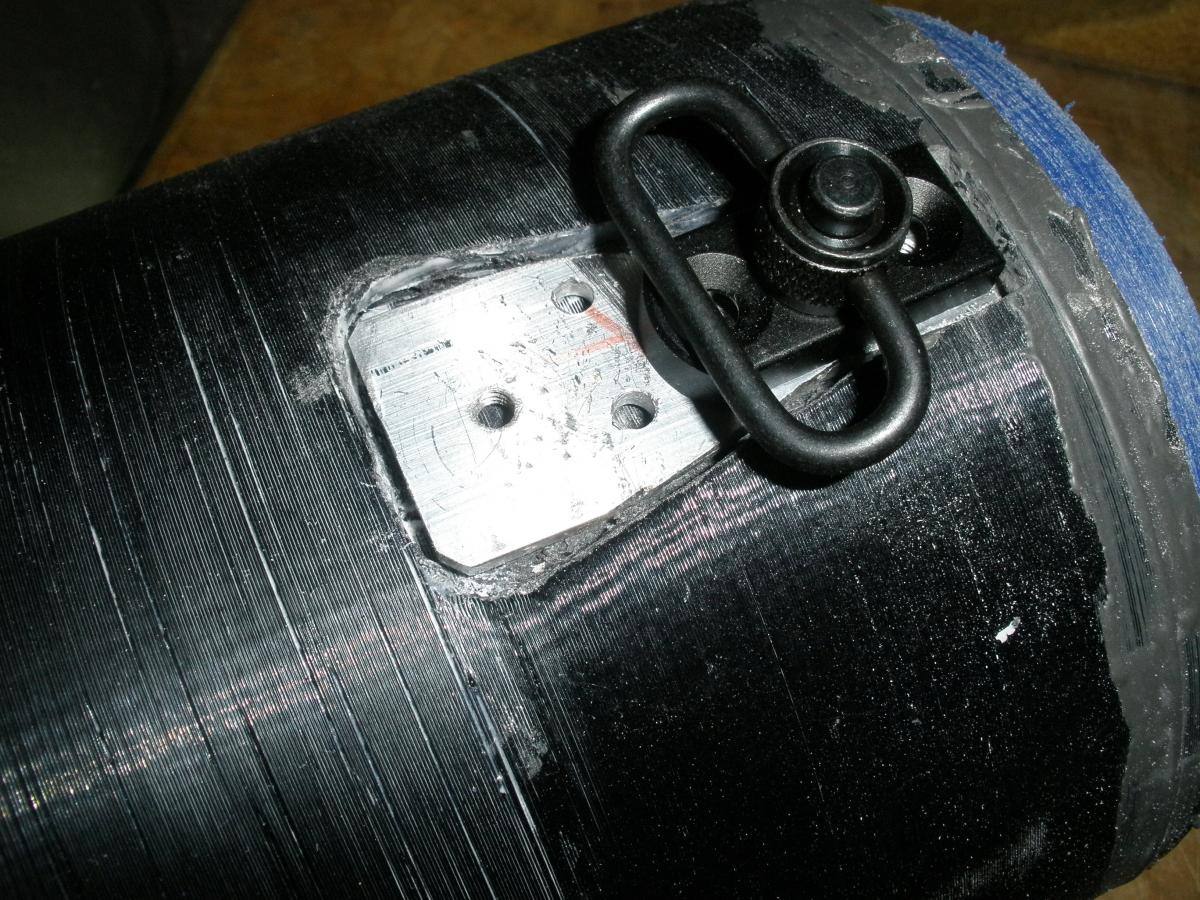
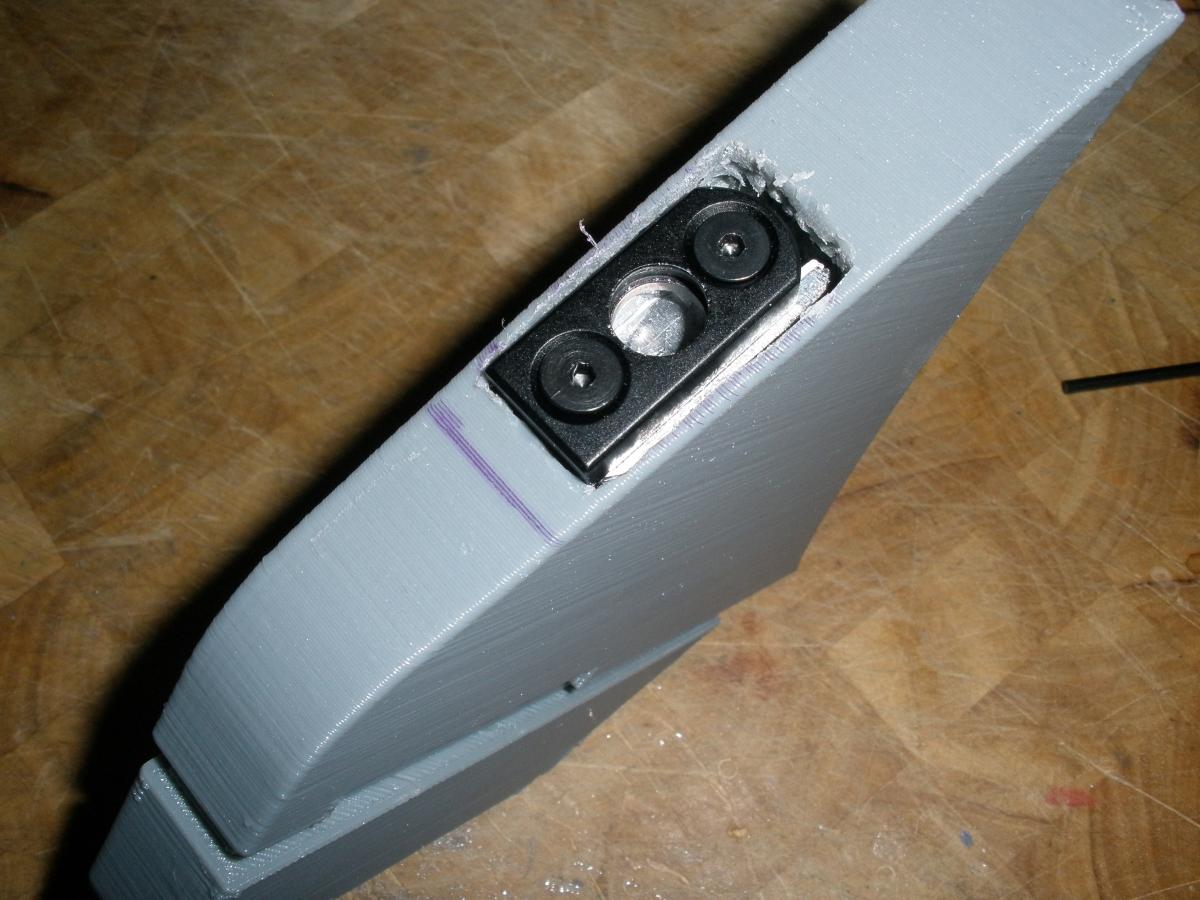
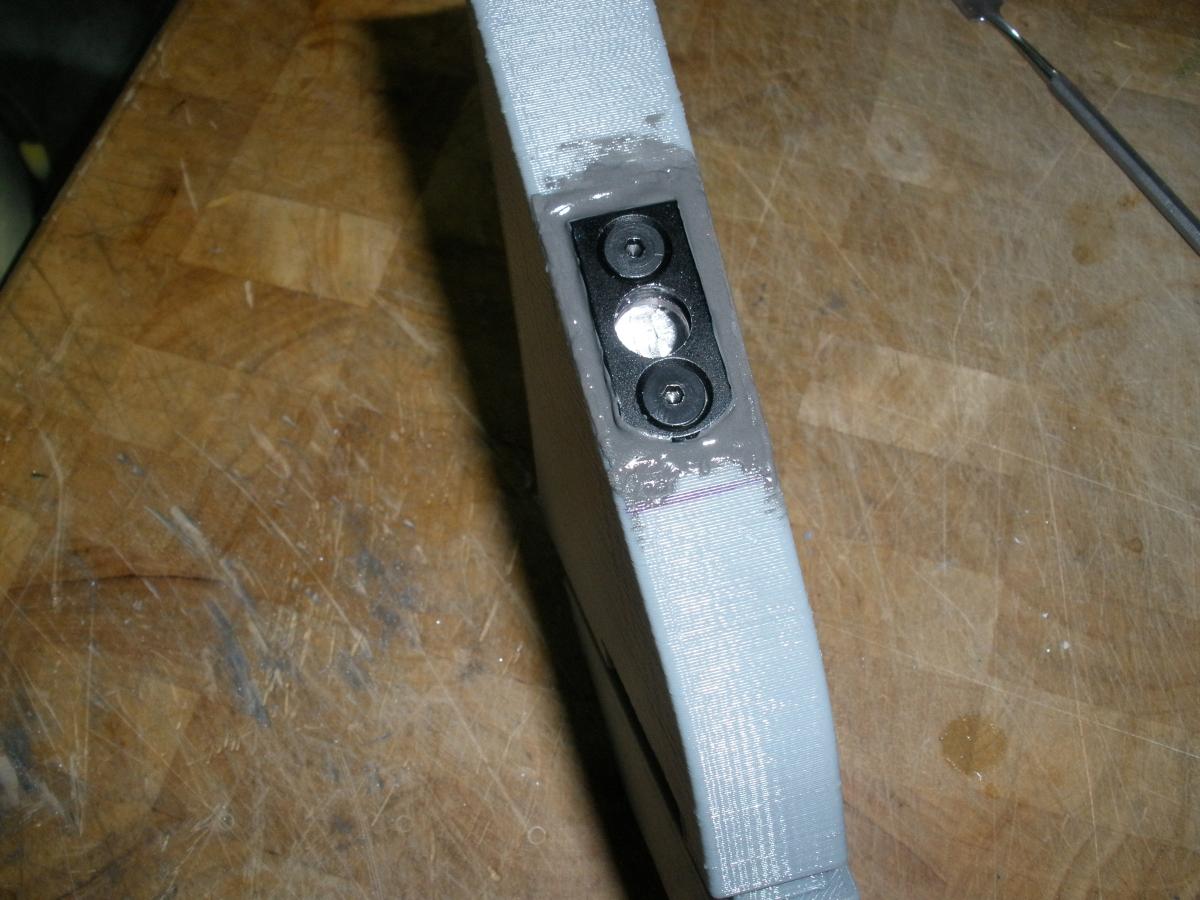
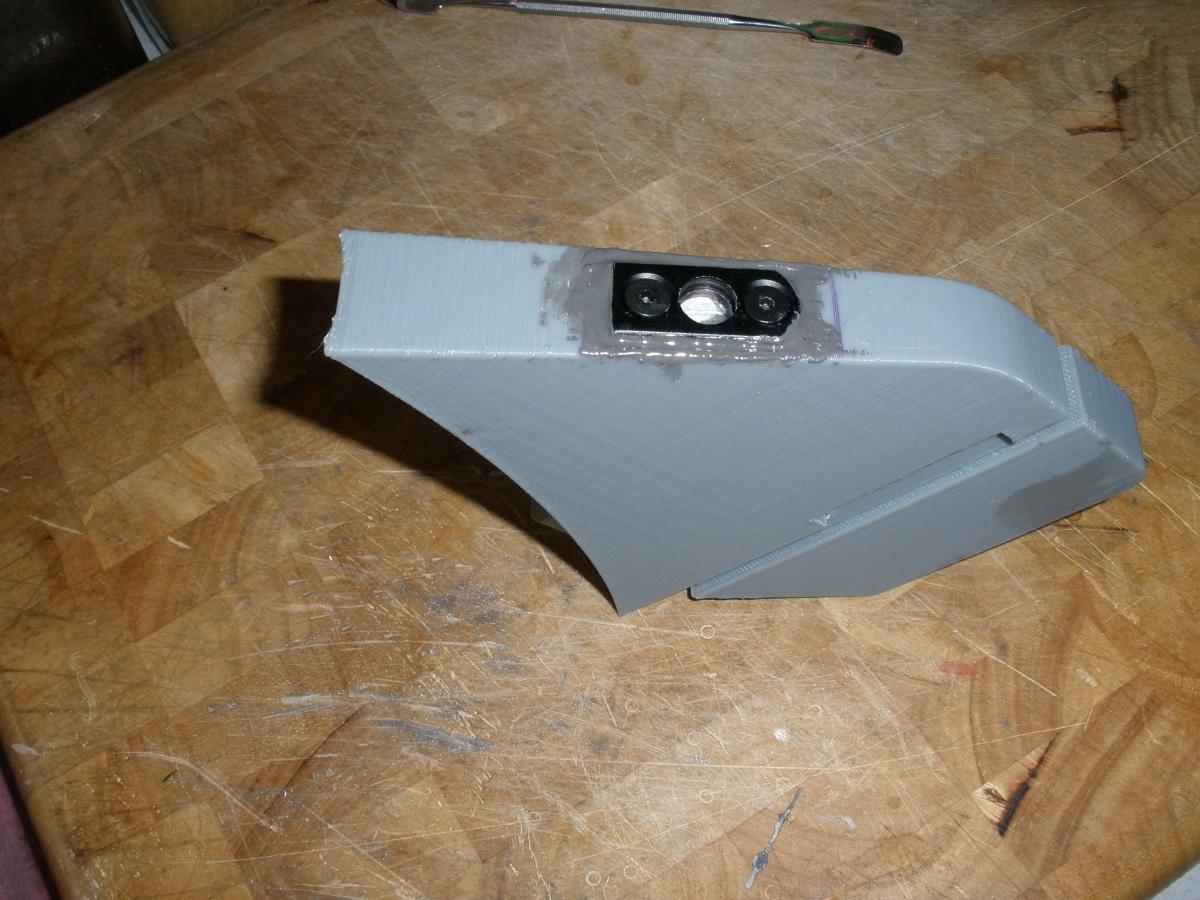
So i think i came up with a way to mount the sling and not have it look like complete crap.
Key-mod QD sling swivels....
Front fling mount. Made an aluminum plate that fit in the recess for my original idea. Drilled and tapped it to fit the sling mount.
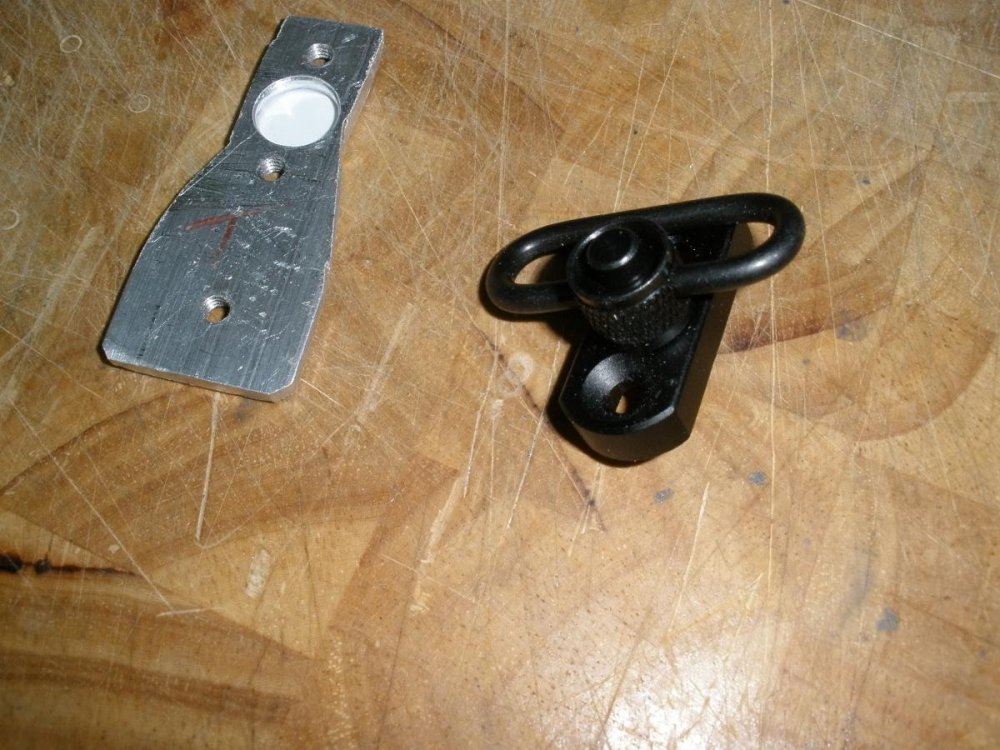

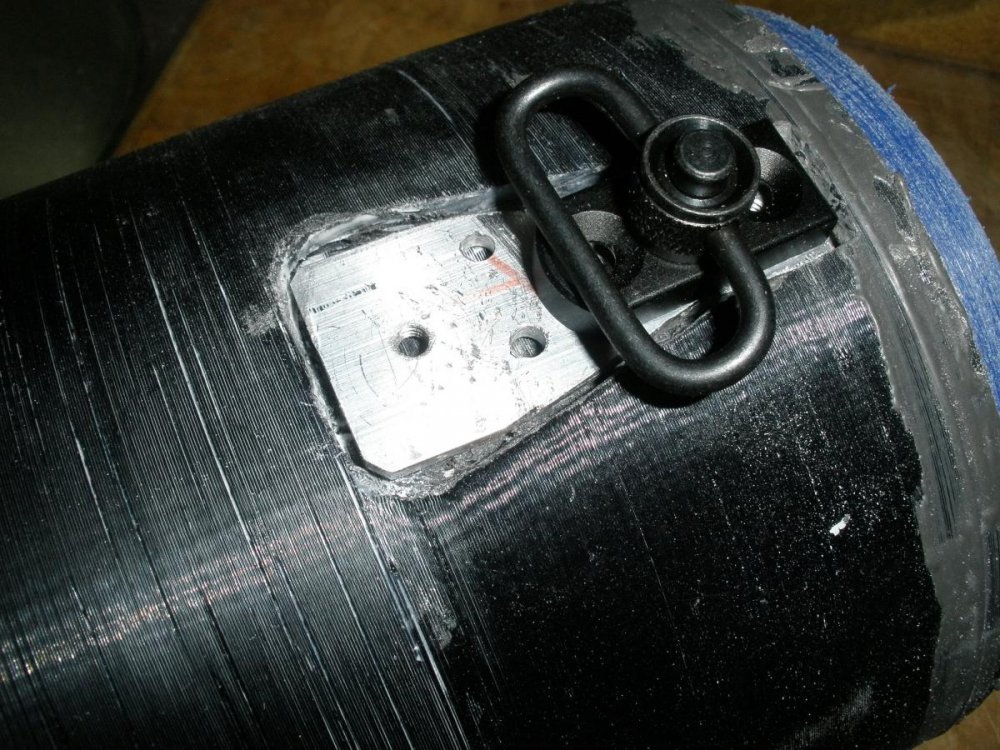
And then embedded it into the recess with JB-weld
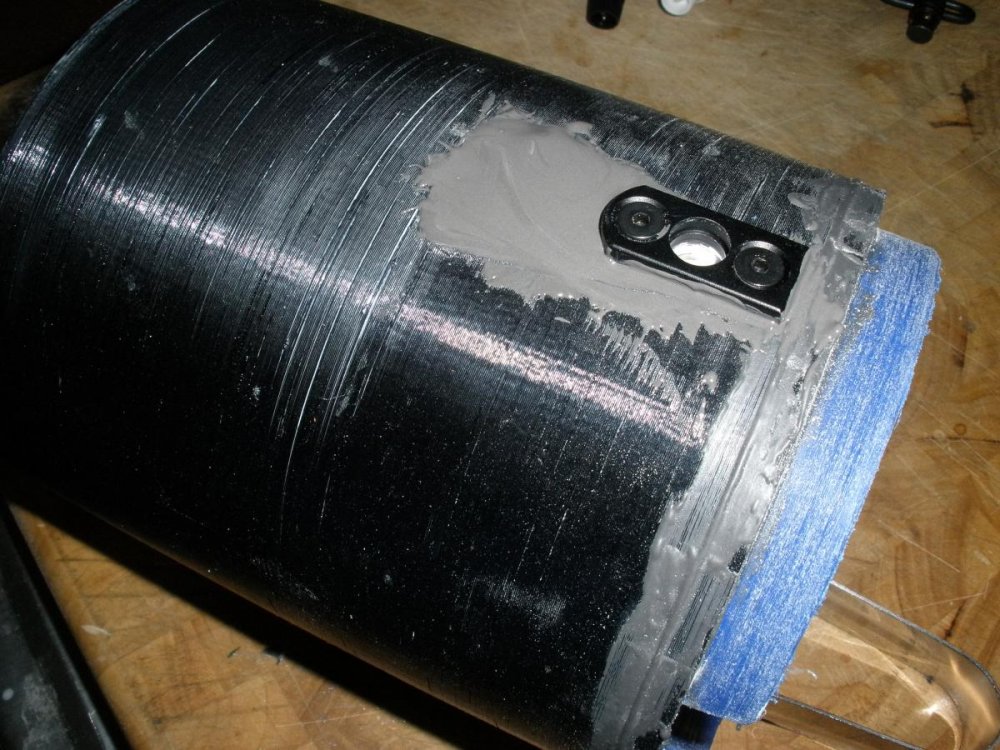
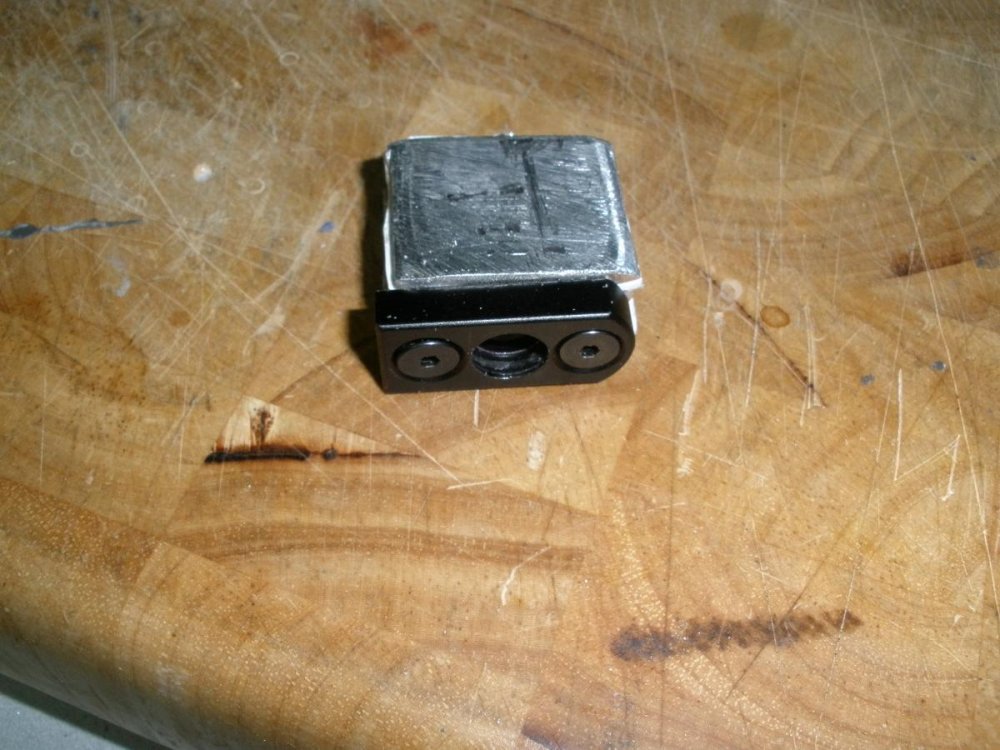
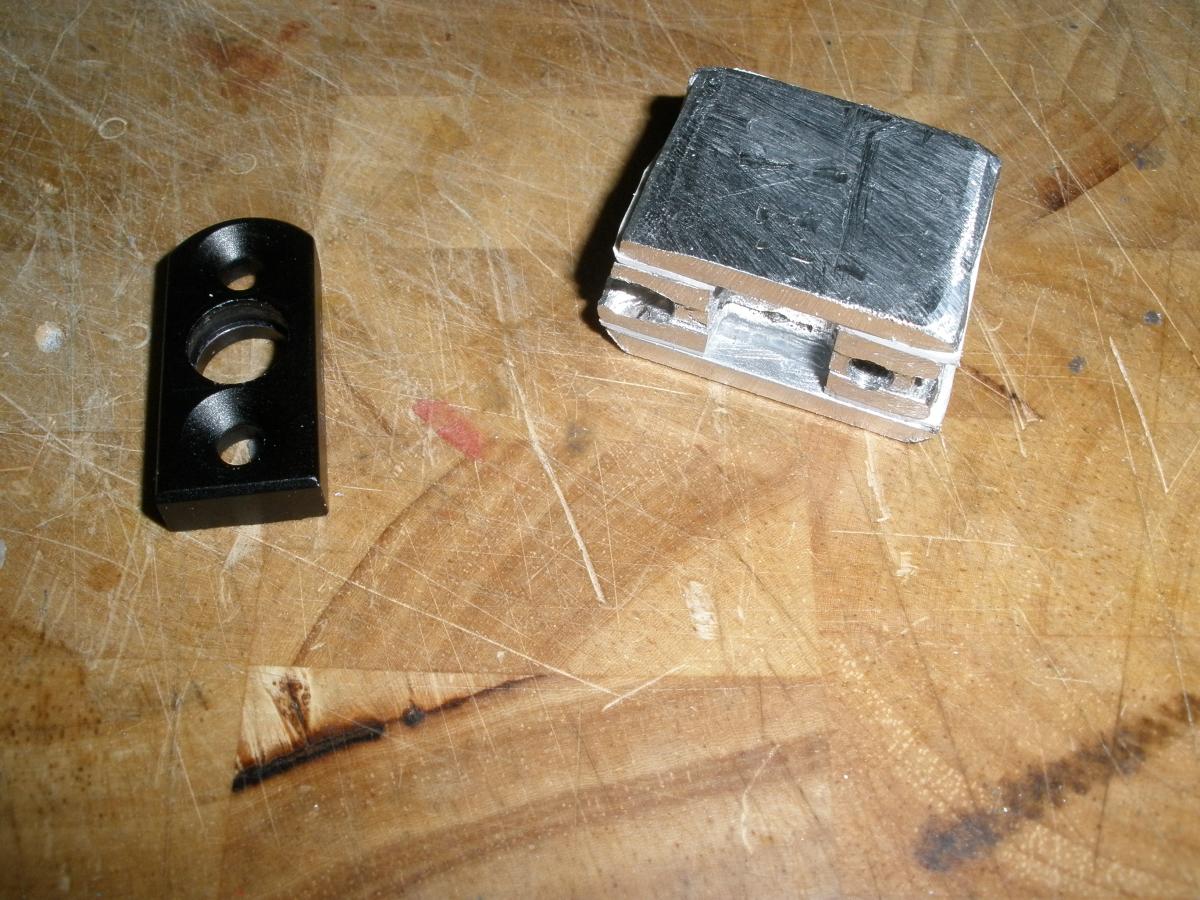
The lower fin got the same thing.. glued up a block of aluminum out of strips, drilled it up, and JB-welded it into a pocket I hollowed out in the leading edge of the fin.


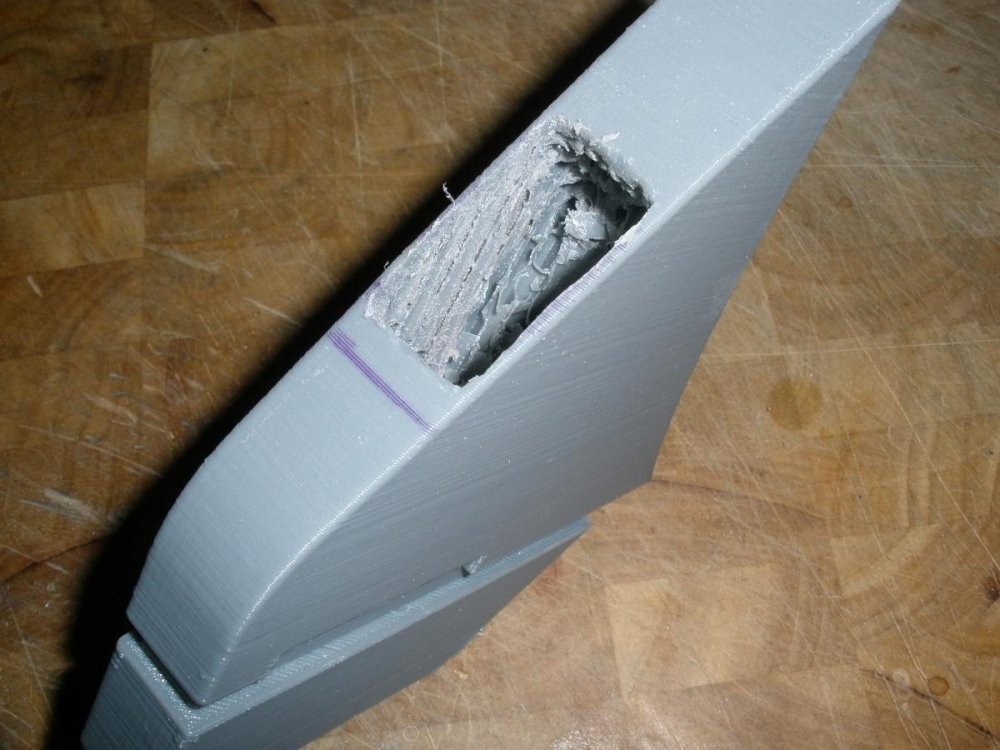

 . the fin got back filled partially with resin for more strength.
 -
Working on this one over the weekend. Lots of filing, filling, sanding, refilling, but I enjoyed it right up until I discovered the kit was missing an entire sprue of parts. One intake door, 2 canards and 2 lower stabilizers.
Hopefully Model-junkie still has these at his place somewhere.
With the flash on, the colour changes to how I wanted the blue to look... go figure
Redoing the blue as its too blue. Need it to be a little paler - more baby blue.
Need to remove some more seam lines I missed and scribe some panels back on, then work out what to do about the missing parts.
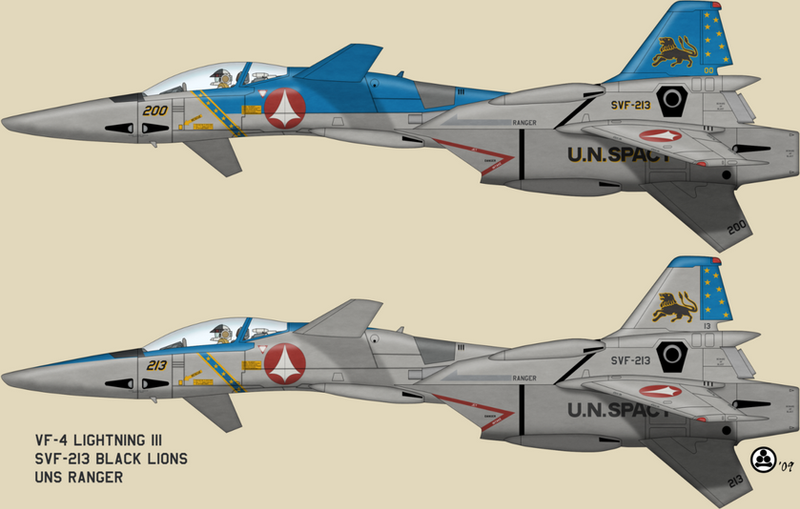
Using this image as a template so thanks to the guy that drew this up originally.
Dam, thats dead sexy!! What kit is that? I think i need to add it to my waiting to build pile.
-
Ooh, nice. Good luck on the casting. Will that be a solid chunk of clear resin, or will you be making a hollow cast?
Solid, I got slow cure resin.
-
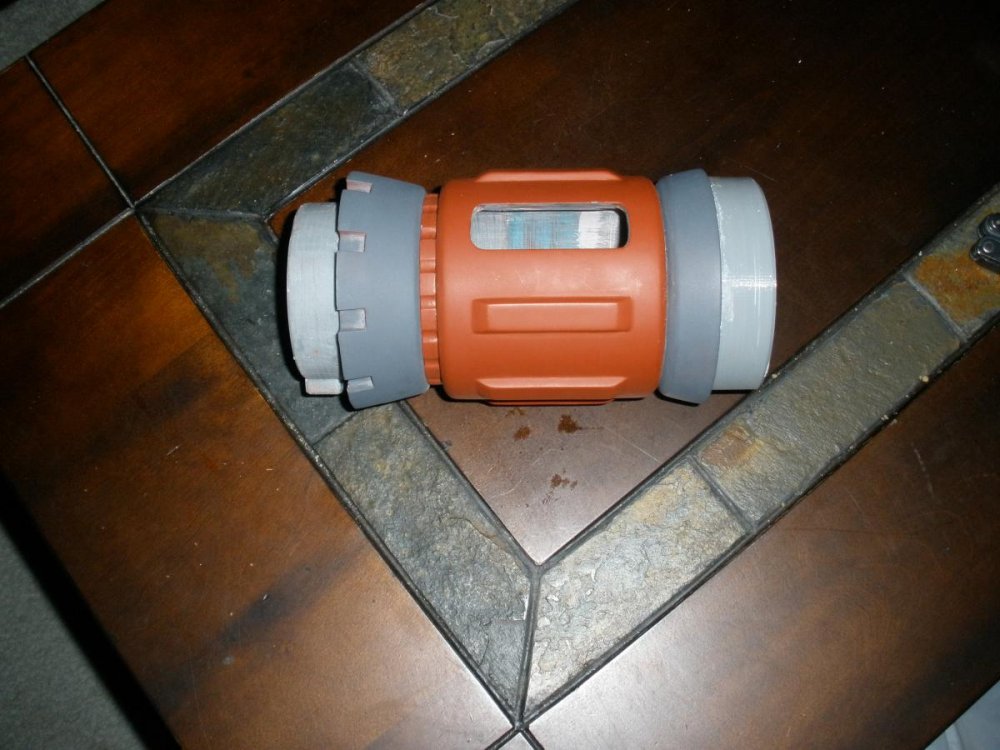
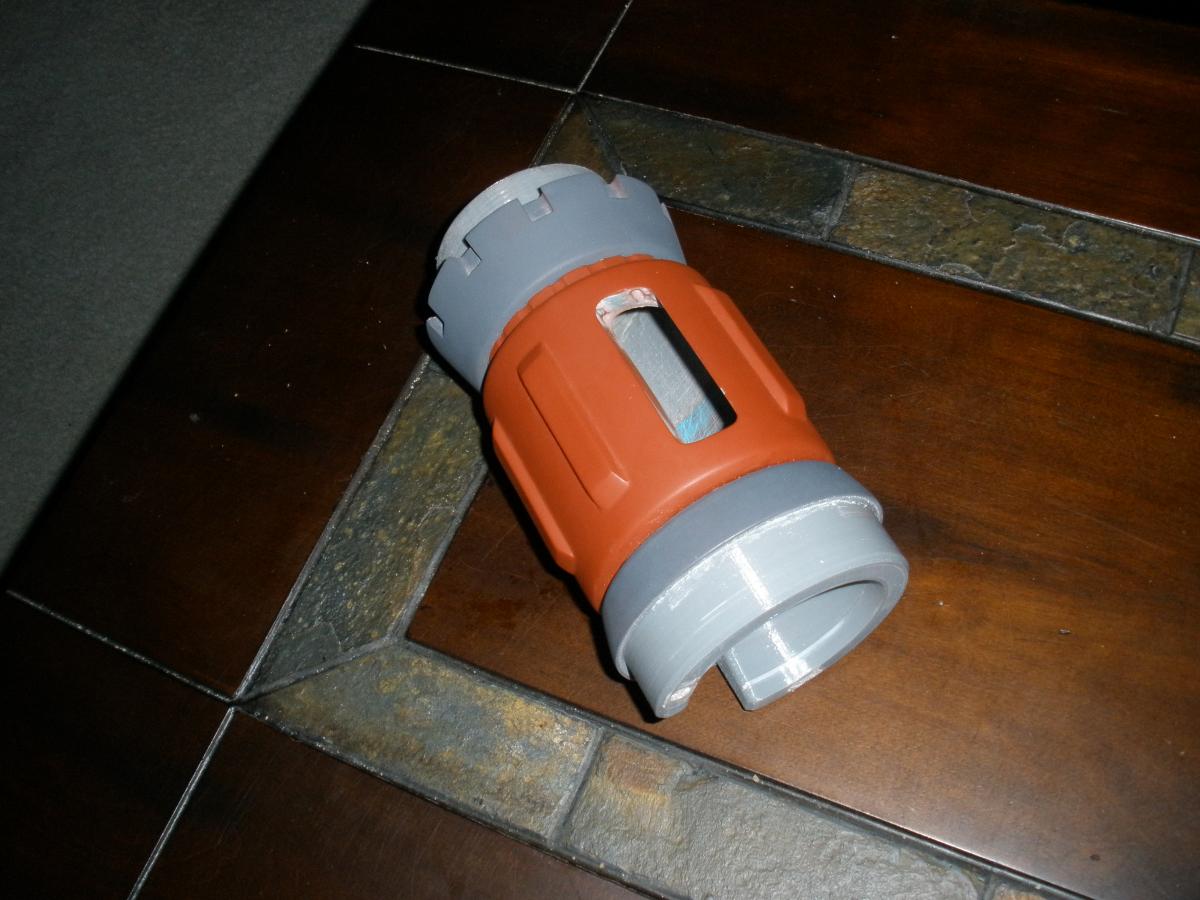
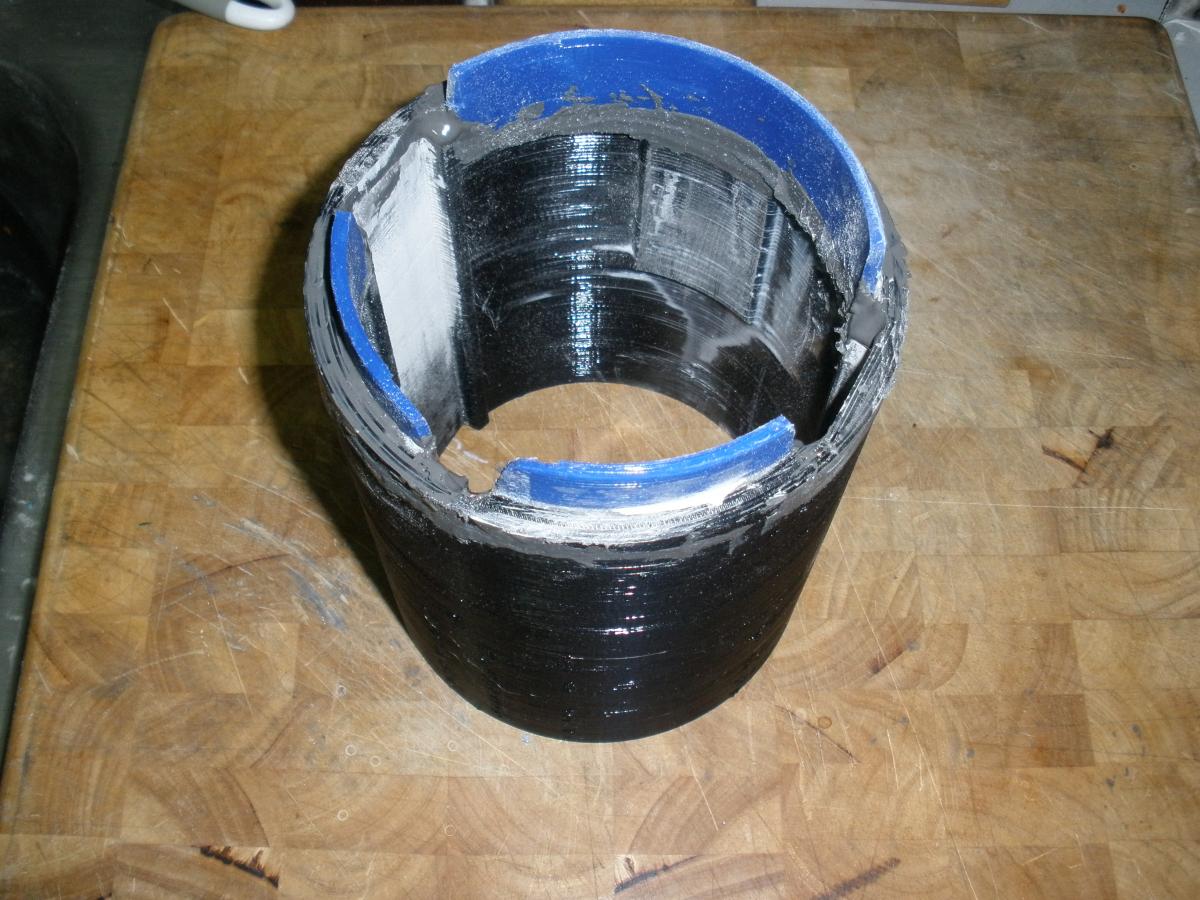
More glue ups. Body and Muzzle cap assemblies.


I love the smell of Bondo in the morning...... Smells like.... Prop making.
Bondo'd up the sensor/ fwd light thing. Needs a lot of priming and sanding to get it ready for molding. I'm gonna cast it in a transparent red resin.
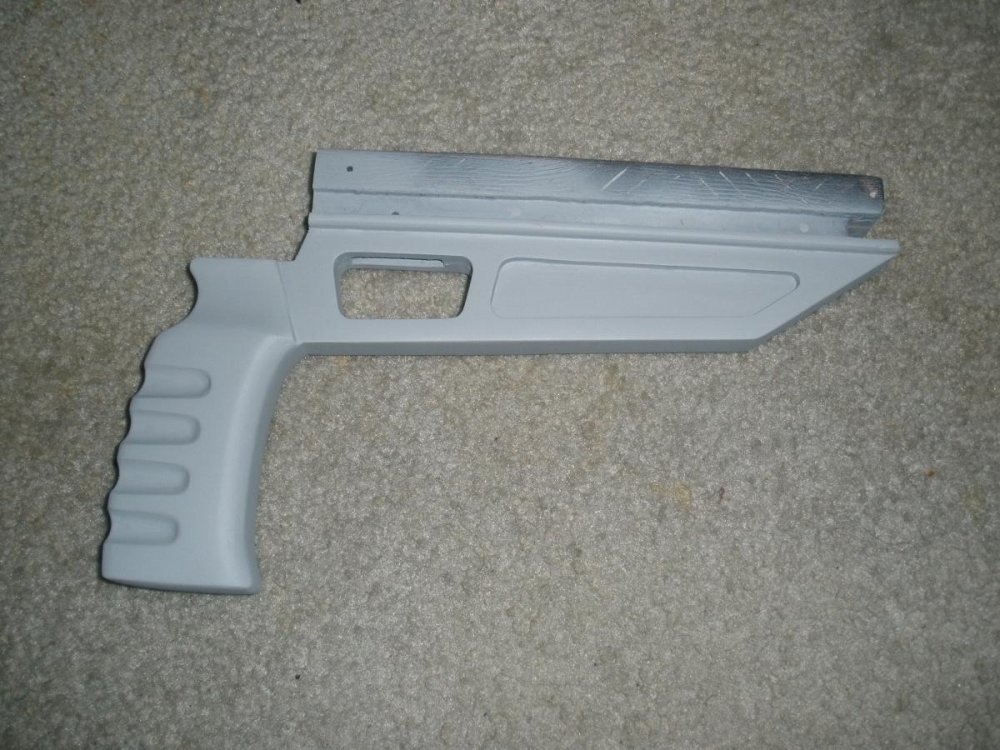
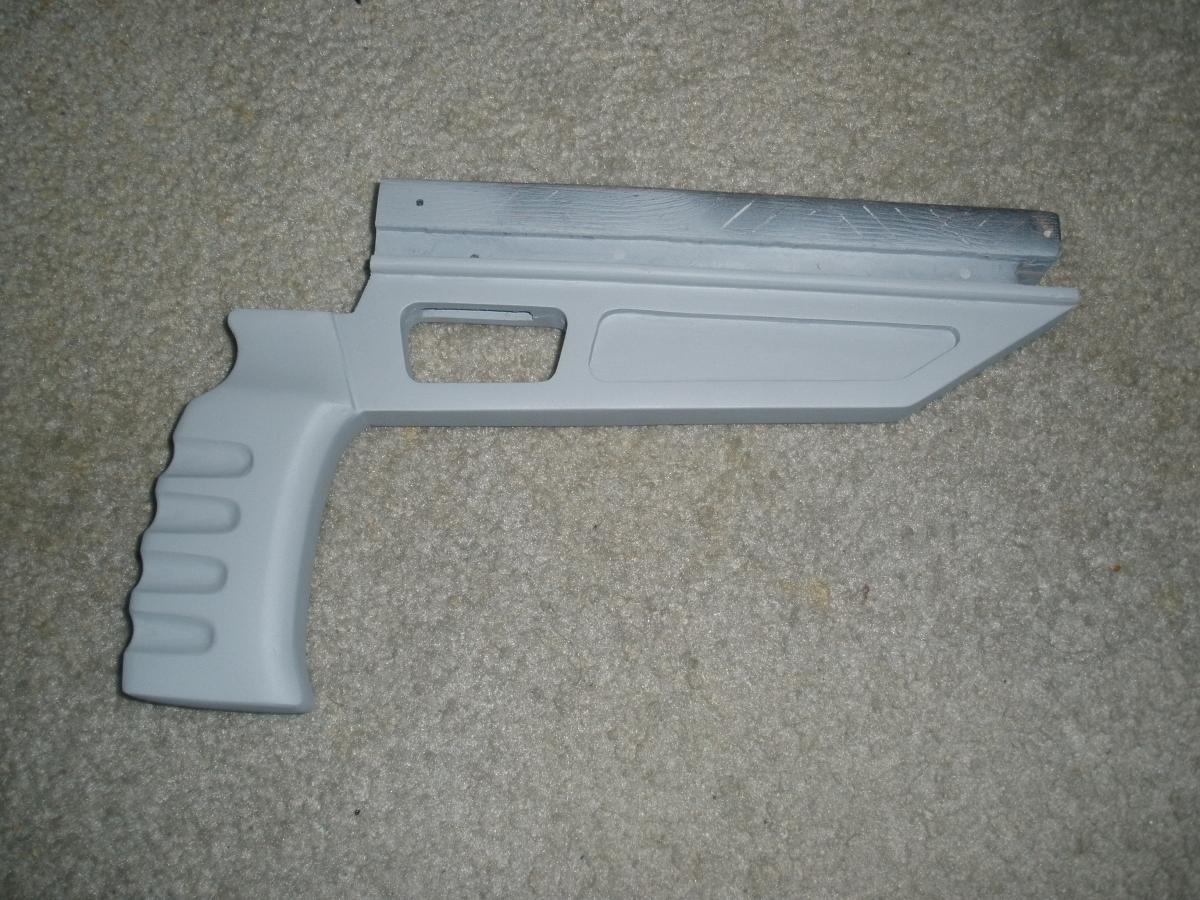
Started to bondo up the pistol grip.
-
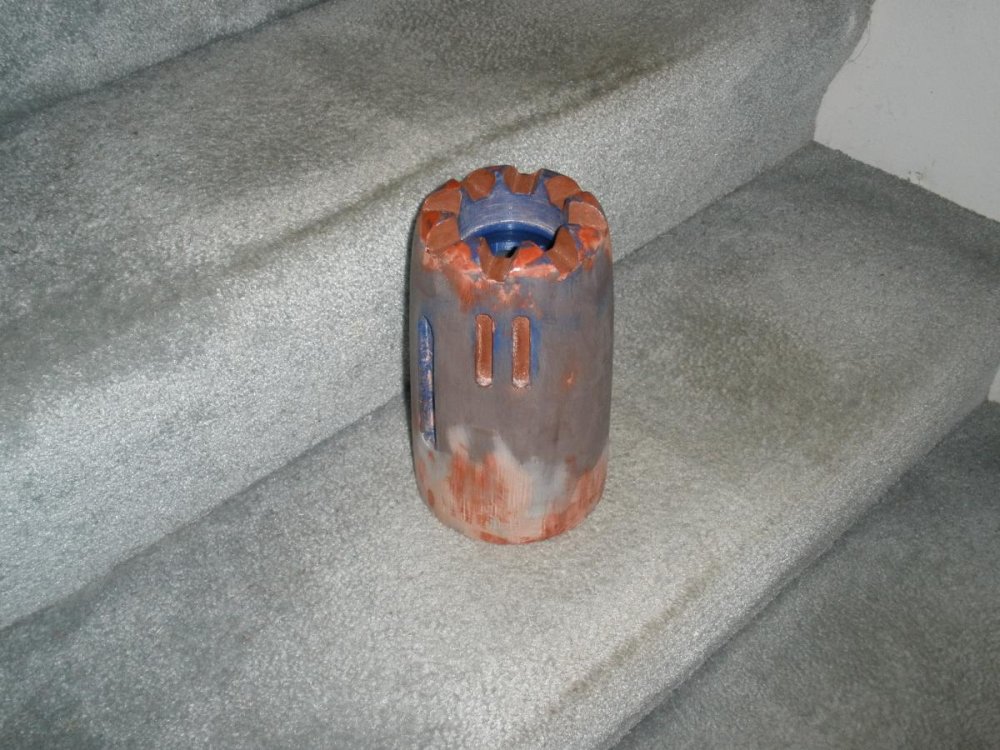
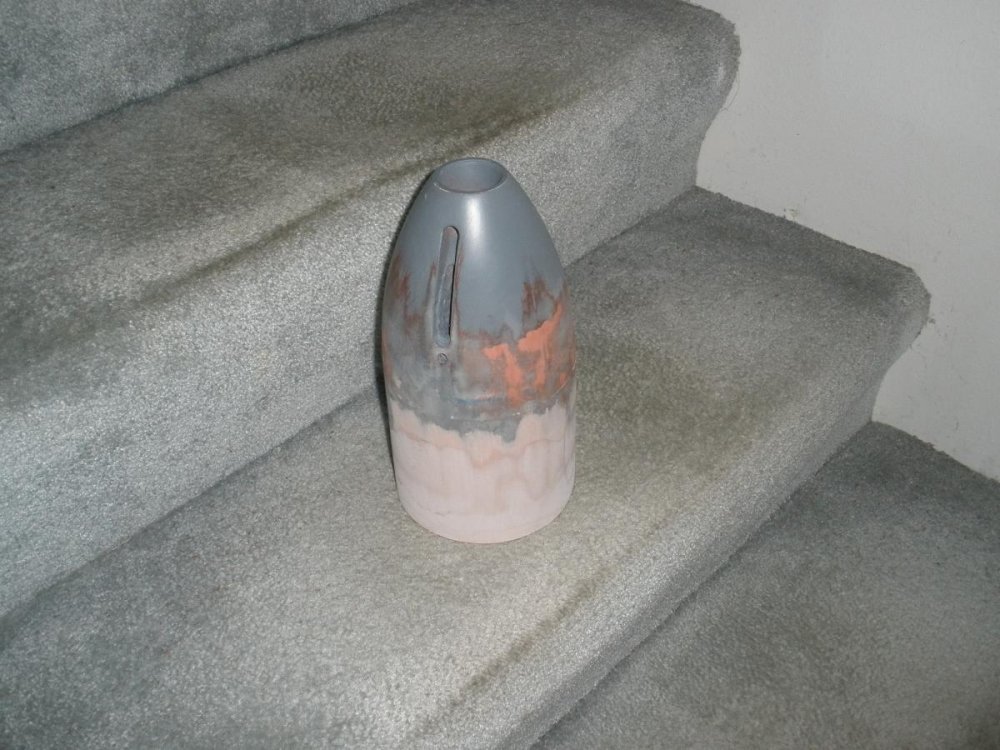
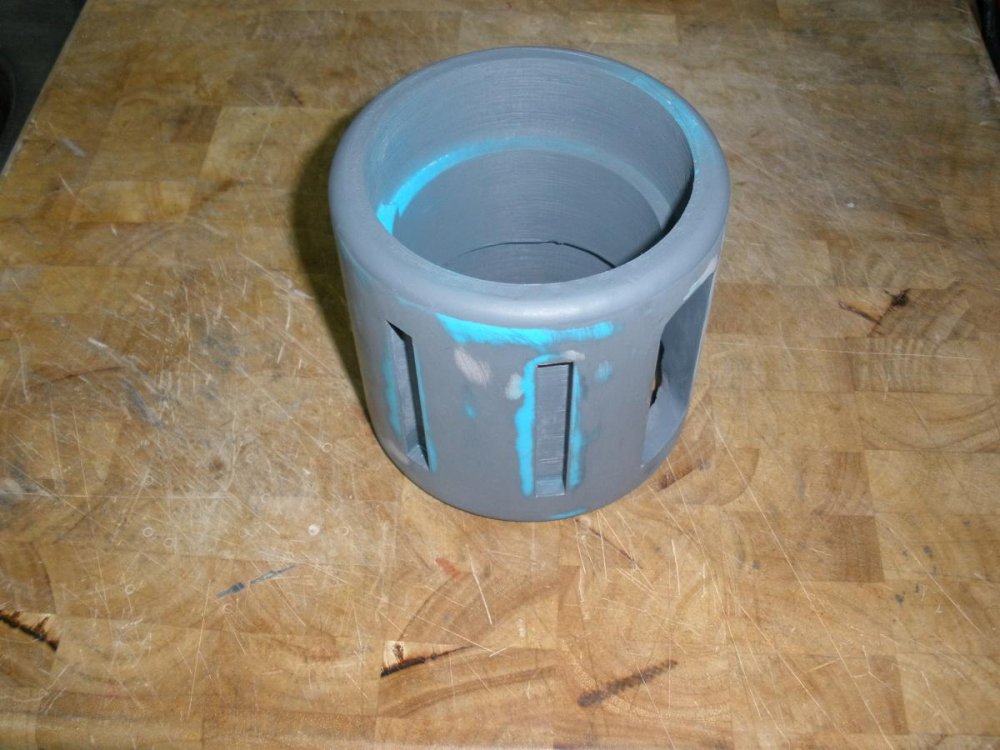
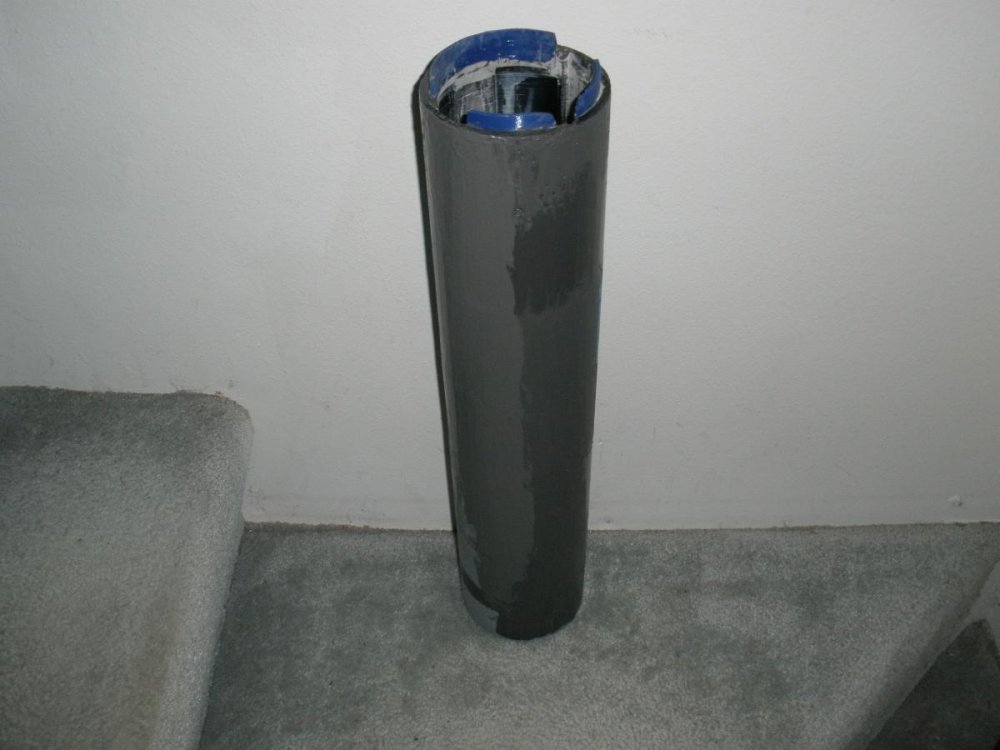
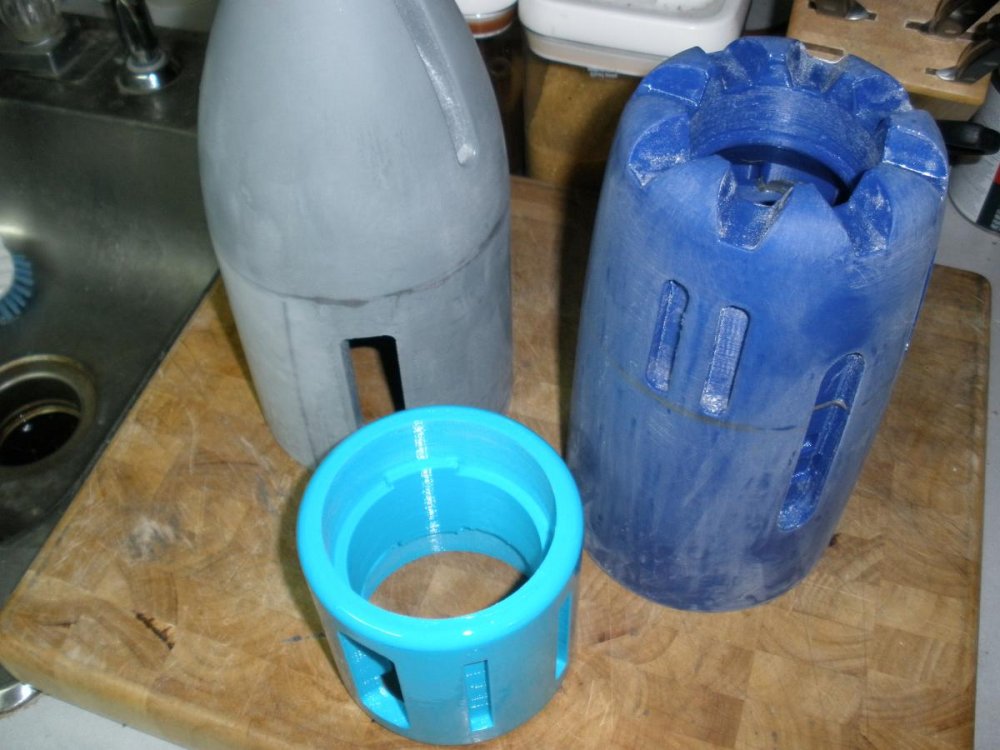
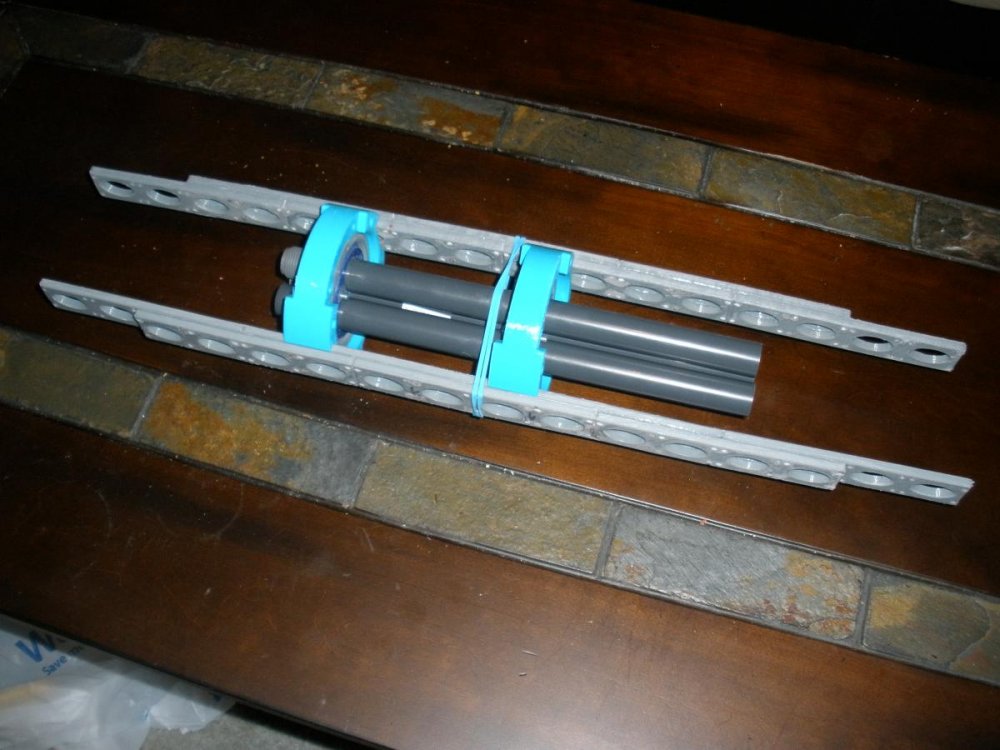
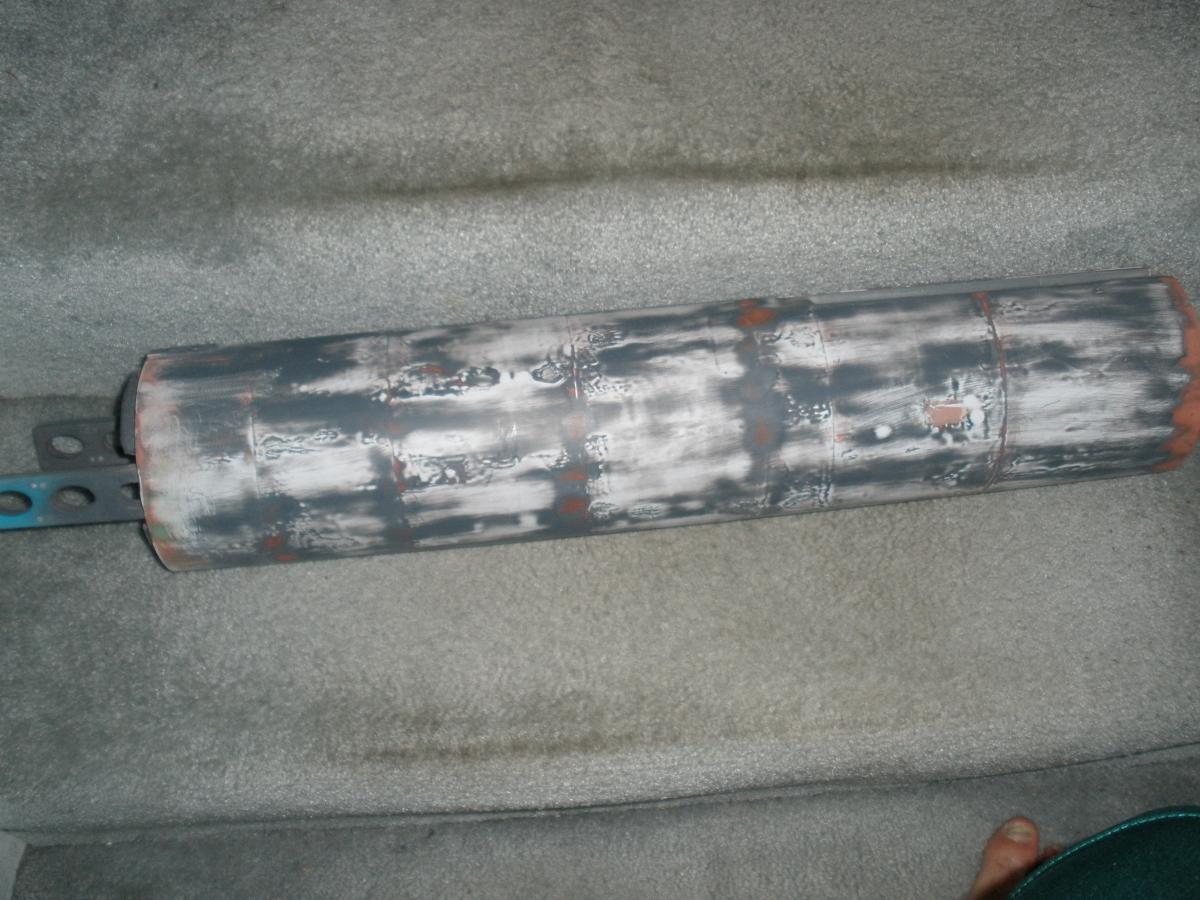
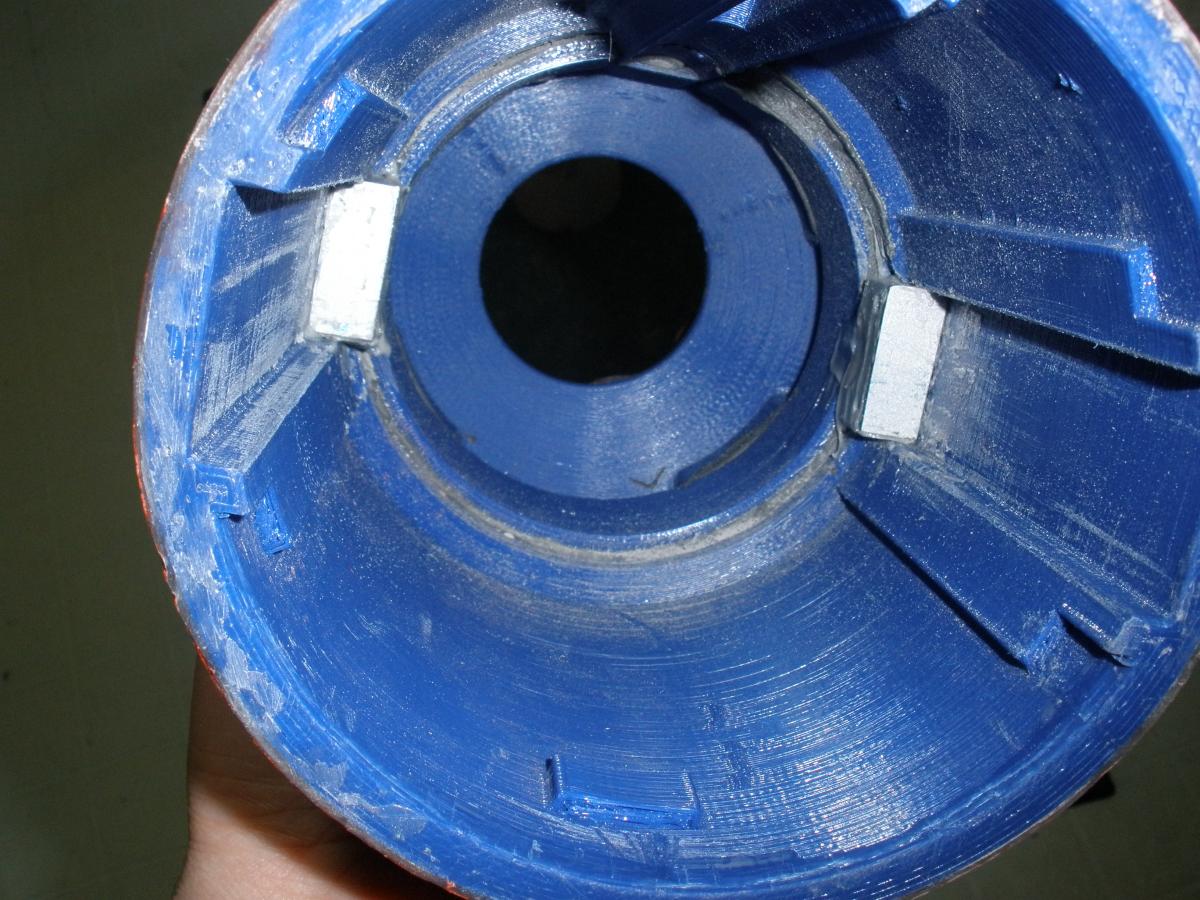
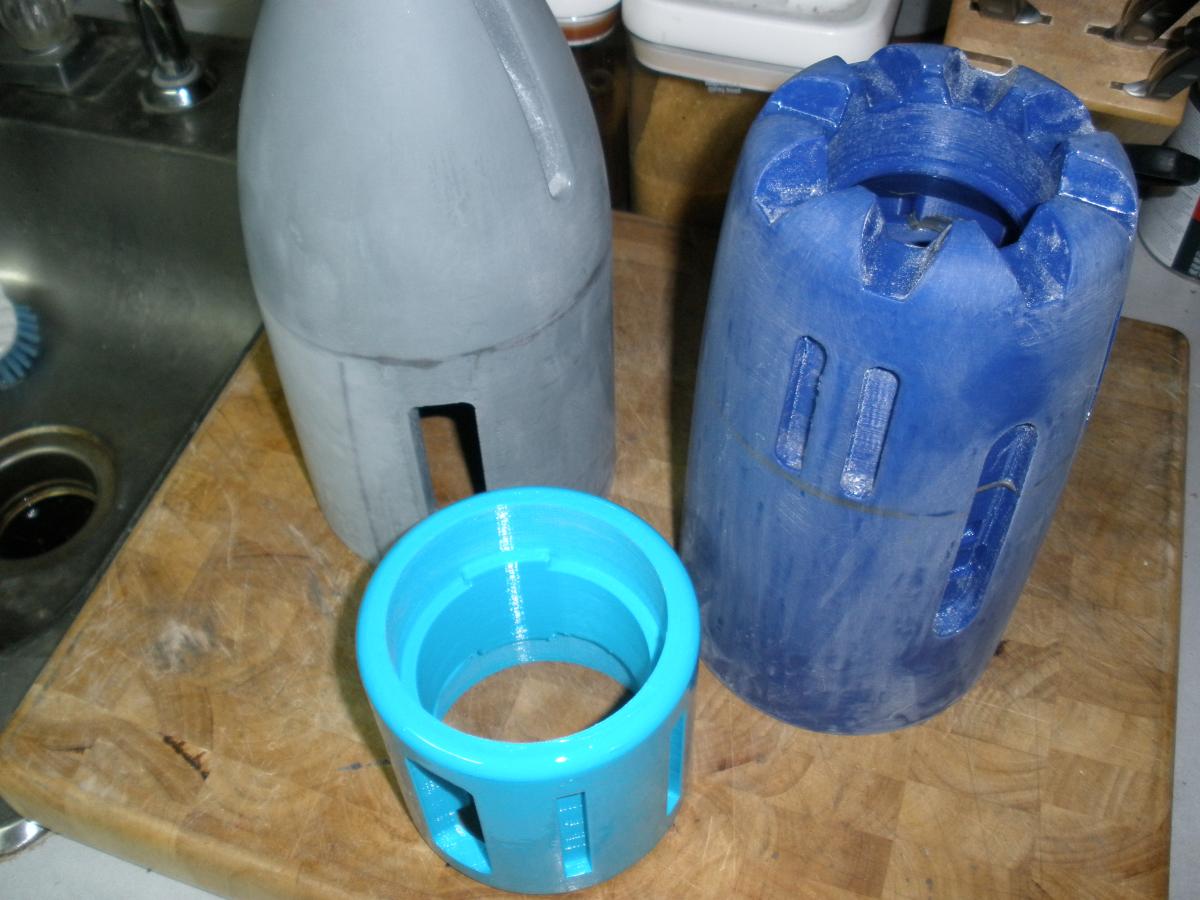
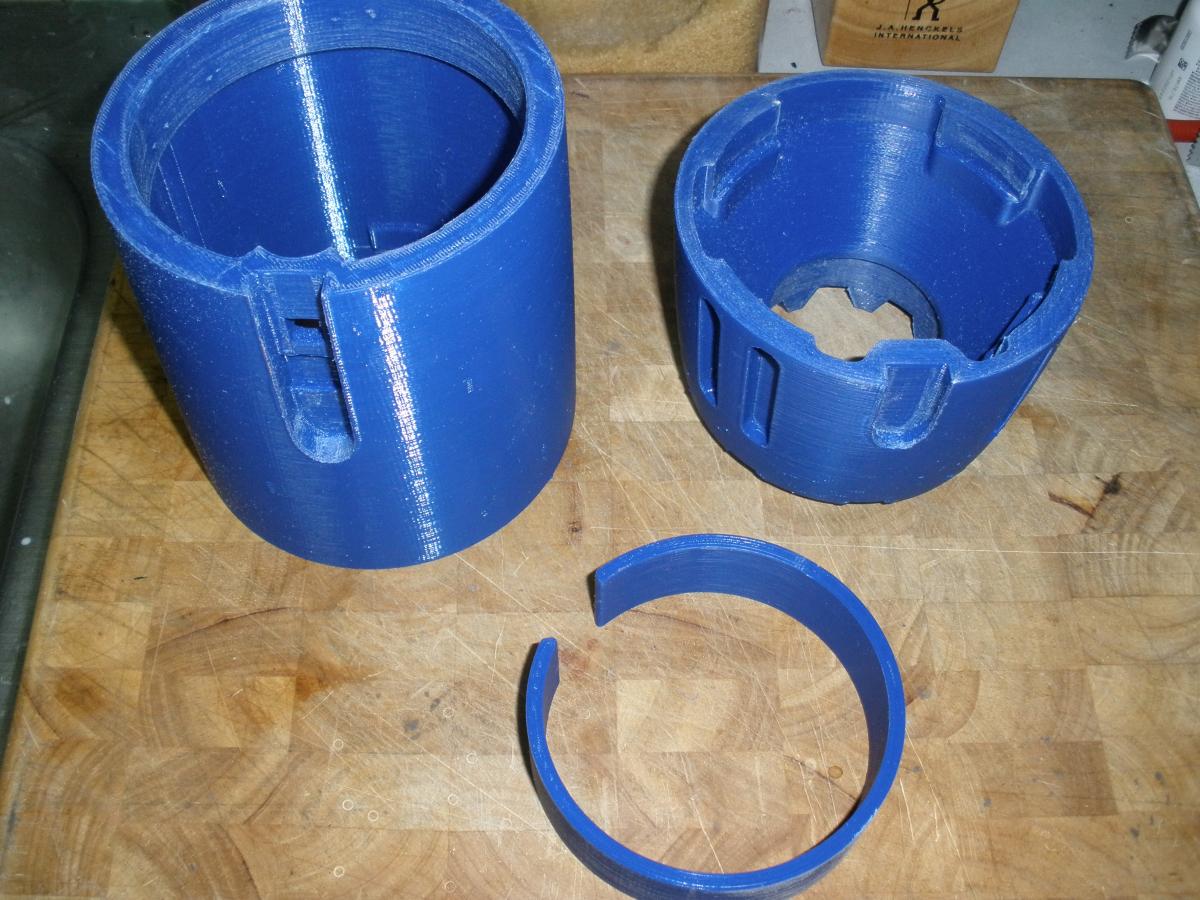
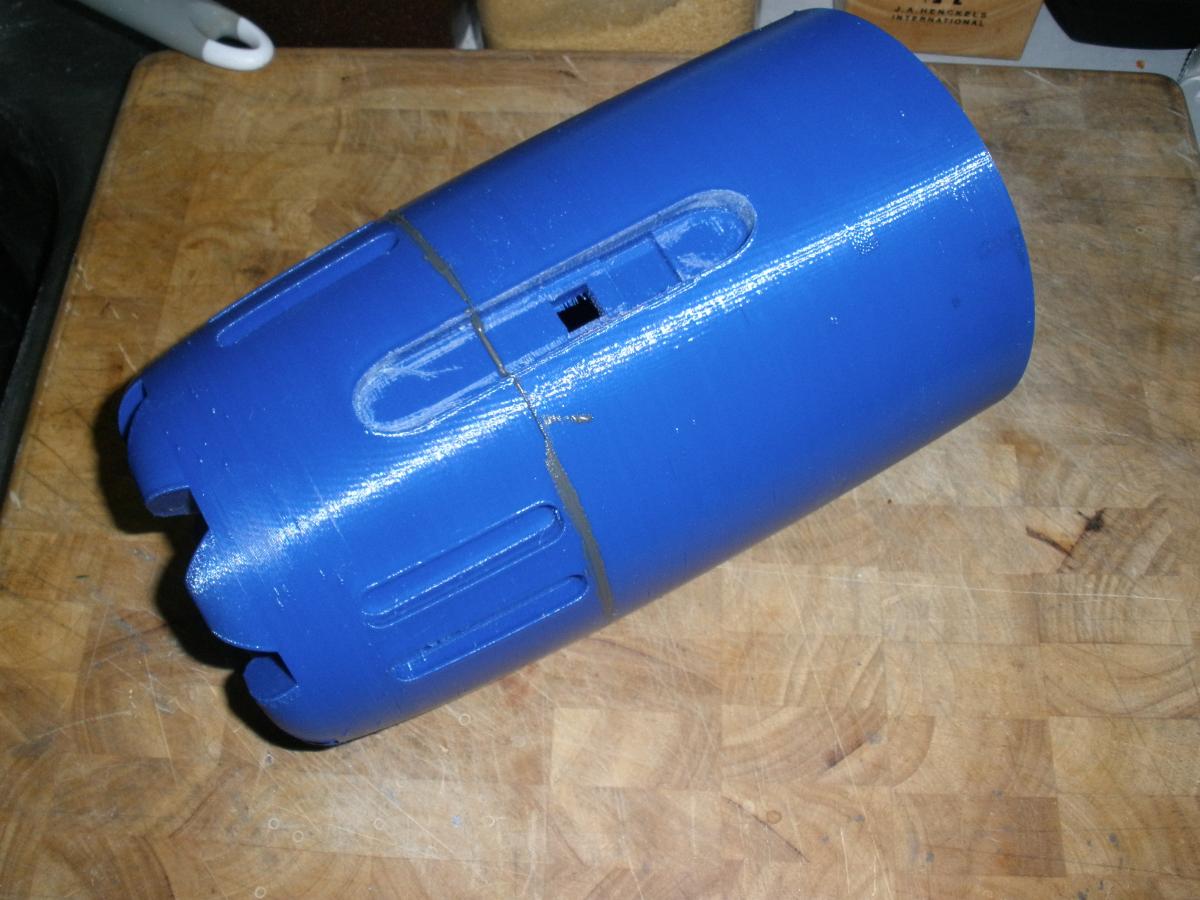
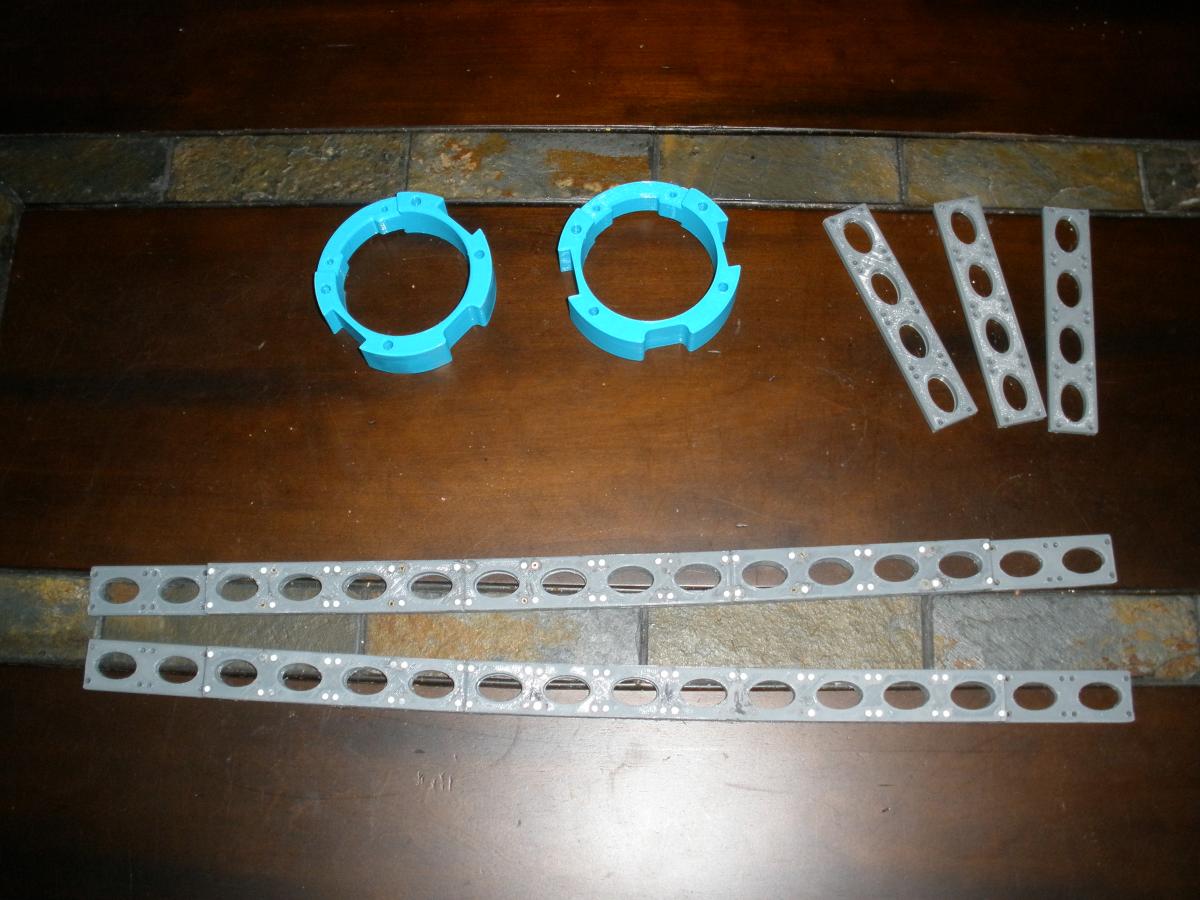
Little update. Been a little lazy over the holidays. but got some more stuff done. I have been printing out some of the internals. There is going to be a set of parallel rails running the length of the forward body. they are going to be both to add some strength and to provide something to find all the layers together. There will be a 3rd running at the top but thats just going to be a strip of extruded aluminum. The turquoise rings are going to be the chassis the barrels and guts will mount in. And then hopefully slide inside the body along the rails as a self contained unit. The rails took forever to build up. 24 segments that i printed out on at a time so i could use up all my partial rolls of filament. Then another couple weeks to glue it all up and trim it.


-
how much does it weigh?
killer project

looks awesome

Not sure. most of it isn't glued up yet. Cant exact pick it up and weigh it right now.
-
OMG I want!! You're planning to make this an airsoft gun right? That will be beyond epic.
Also what 3-D printer are you using?
No it's not gonna be airsoft. just lights and sound. Robo 3D R1


3D printed GU-11 pod
in The Workshop!
Posted
Been a while since my last update, Been tinkering, finally found a motor that works for the smoke generator, But it literally was on the slow boat from China. (I didn't look at the sellers location before I ordered it)
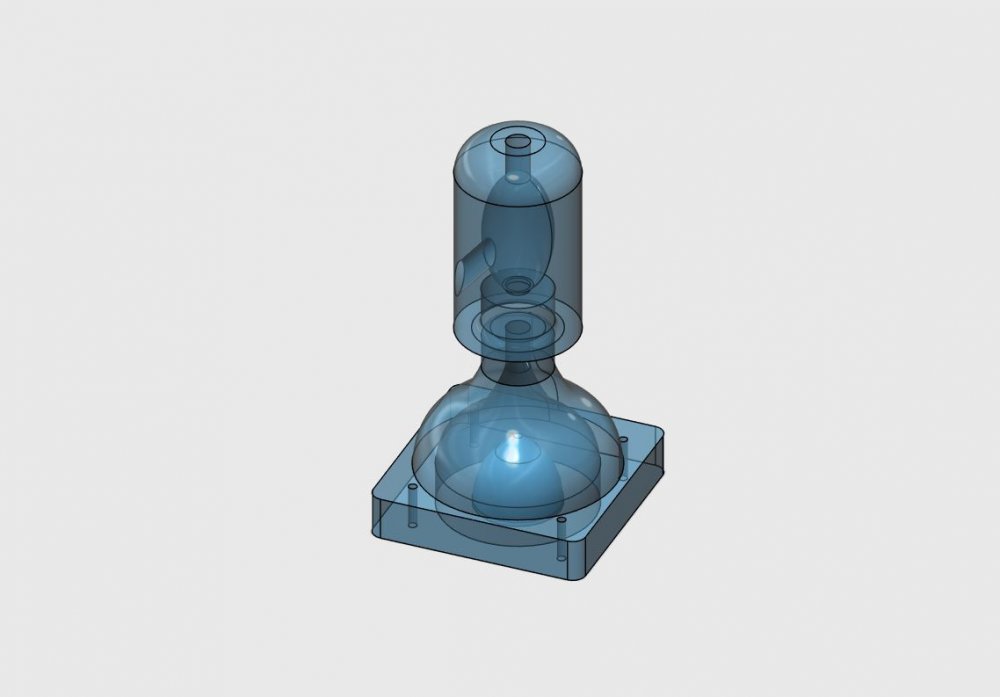
The CADS for the guts. They will just stack up on 1/4" threaded rod
Motor/ light mount,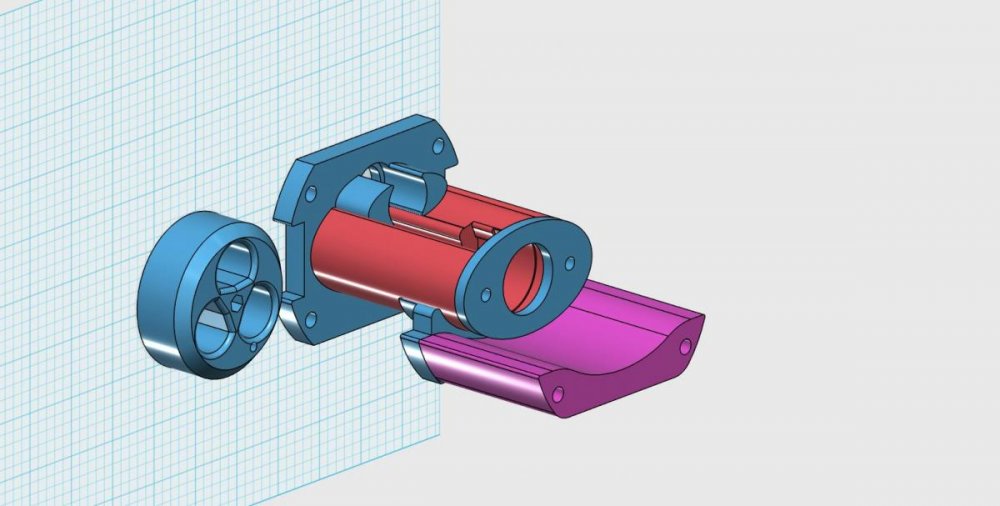
Smoke generator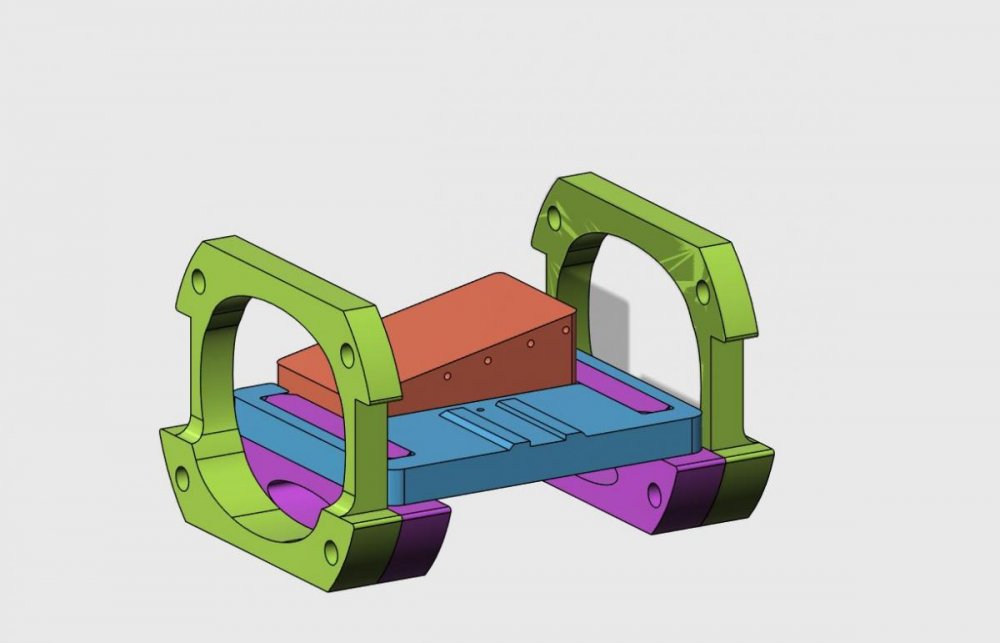
Arduino section
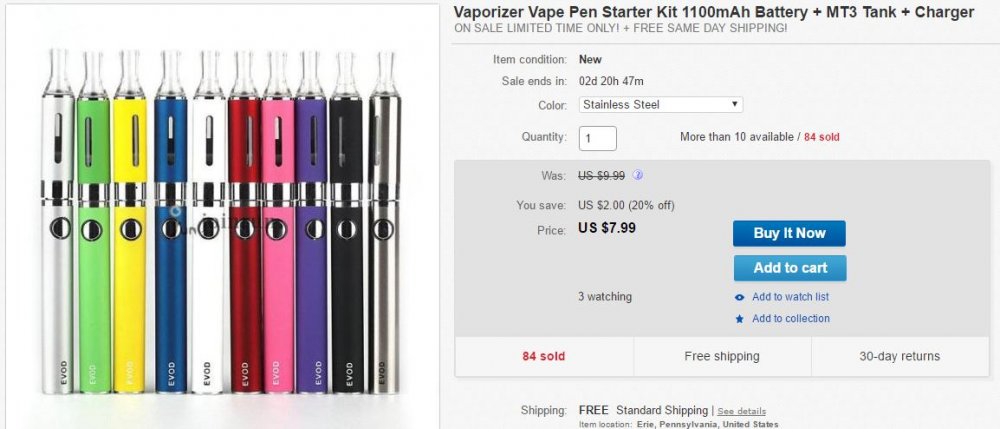
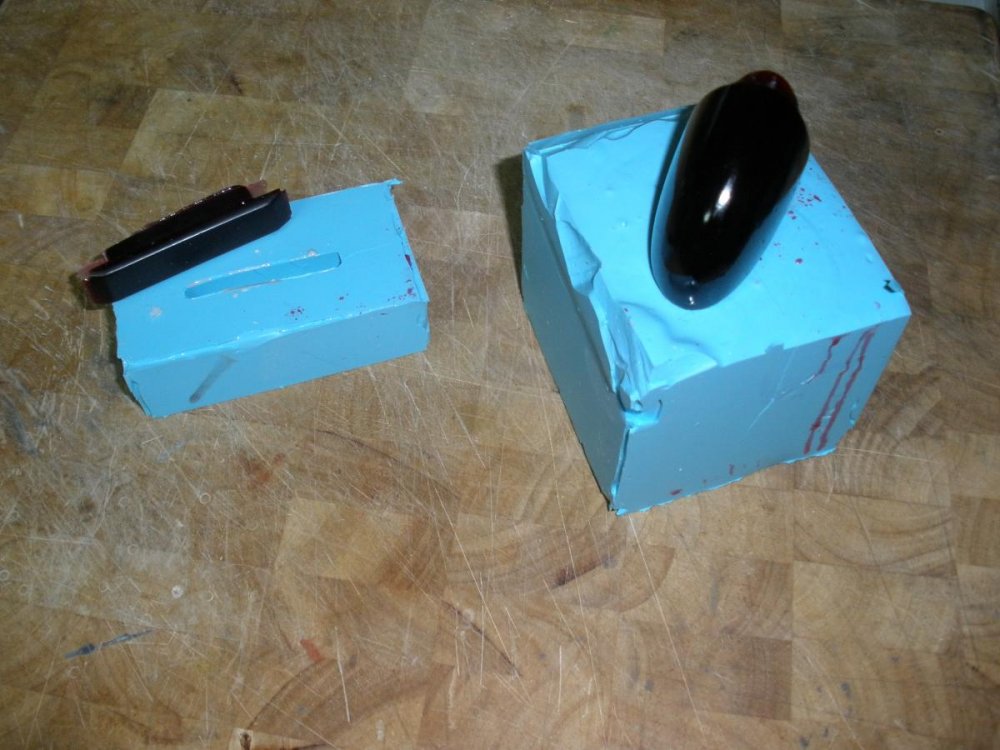
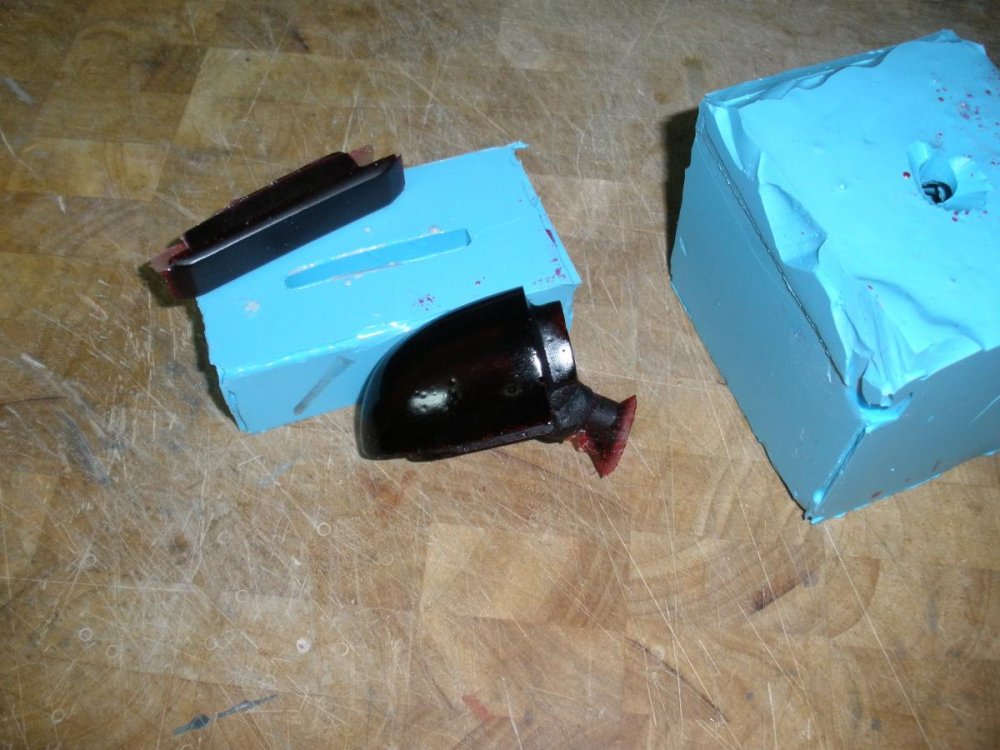
All mocked up, Using a spare LED brake light, and a motor/gearbox from a cordless screw driver, 1 or 2 Vape pens running of a 12 air pump, and the arduino with sound shield( still needs mounting brackets)
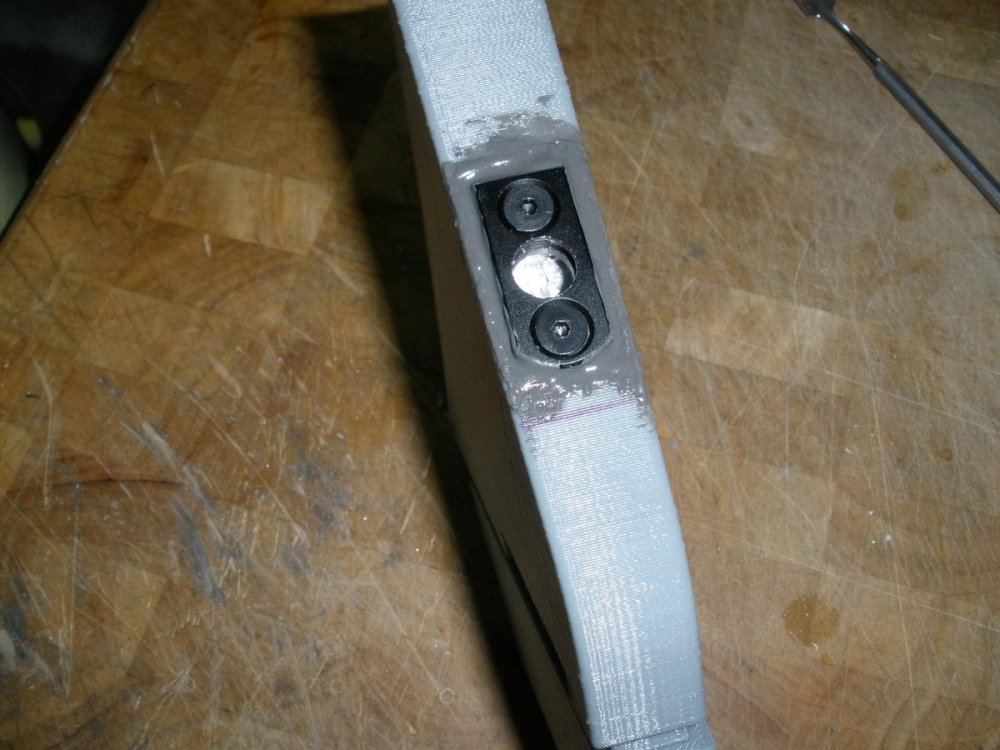
Also got the trigger setup, Made a quick 3d print to get a close template then make the actual thing out of layered styrene to get the shape of the cam for the micro switch right
Got the micro switch mounted int the grip. I cut a wide grove in the grip on used a doubled up copper plate and back filled it with epoxy putty.