

william02
-
Posts
50 -
Joined
-
Last visited
Content Type
Profiles
Forums
Events
Gallery
Posts posted by william02
-
-
On 6/14/2022 at 4:29 AM, Nyankodevice said:
first low res test print (took 1 hour and 27 minutes)
looks quite alright

Amazing
-
Awesome. Are you planning to sell the files?
-
On 8/15/2021 at 9:21 PM, beaster99 said:
Same, If you are willing to sell the STLs I'd be keen to buy a copy.
You've done all the hard work you deserve to get paid for it.Same here
-
God knows how to try. I did not succeed, I had to use masking tape to paint. I think it's glued.
-
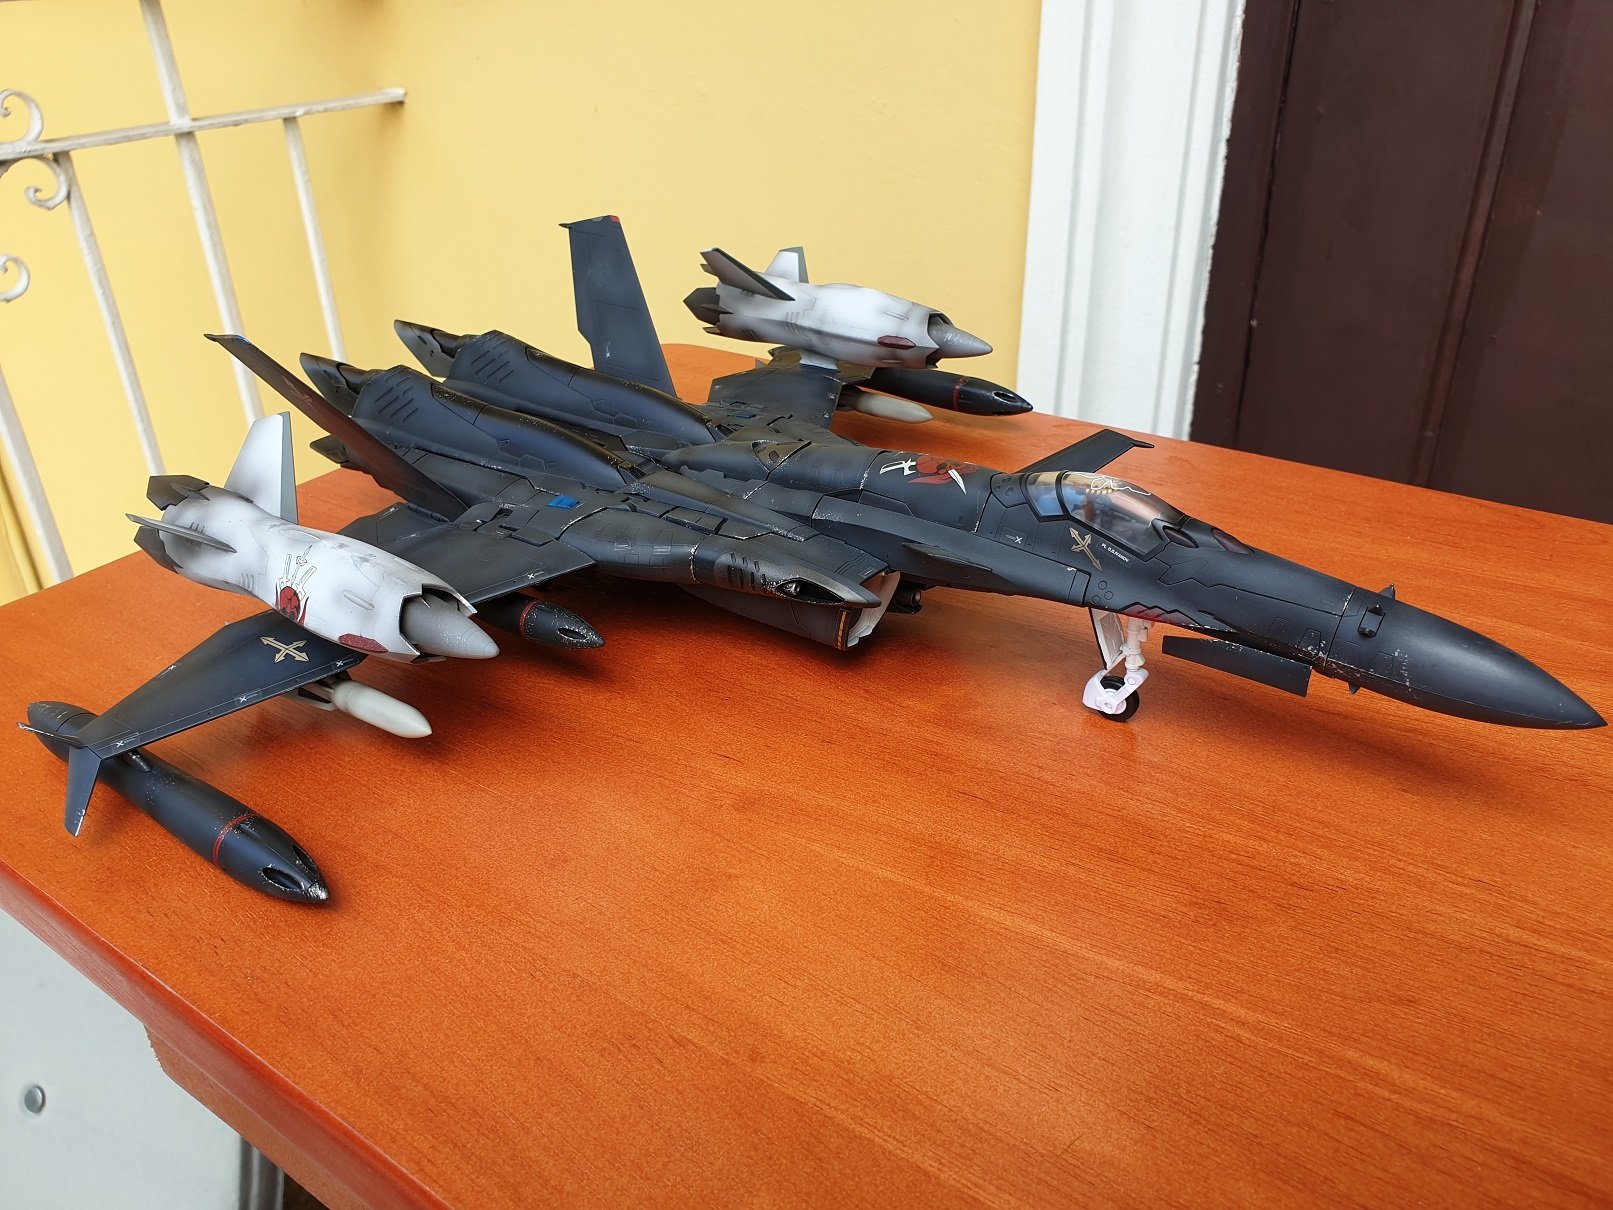
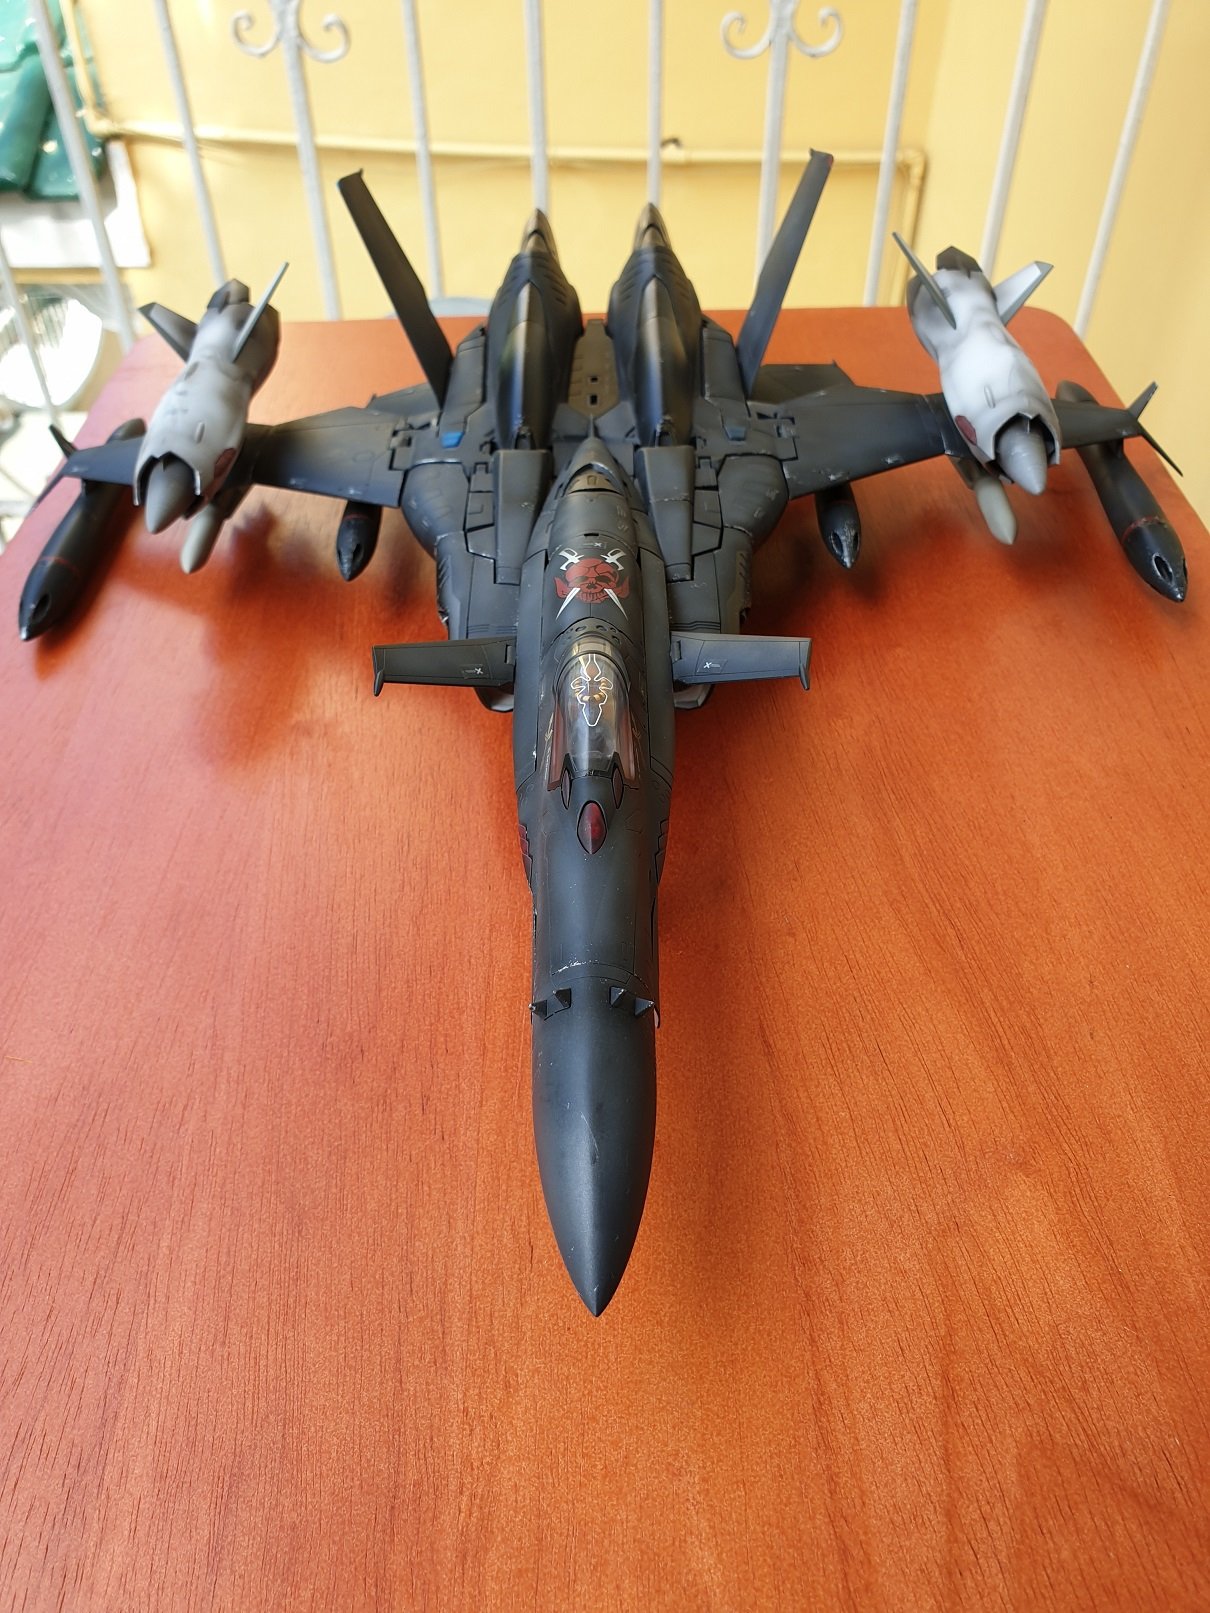
On 10/15/2019 at 2:08 AM, ArchieNov said:
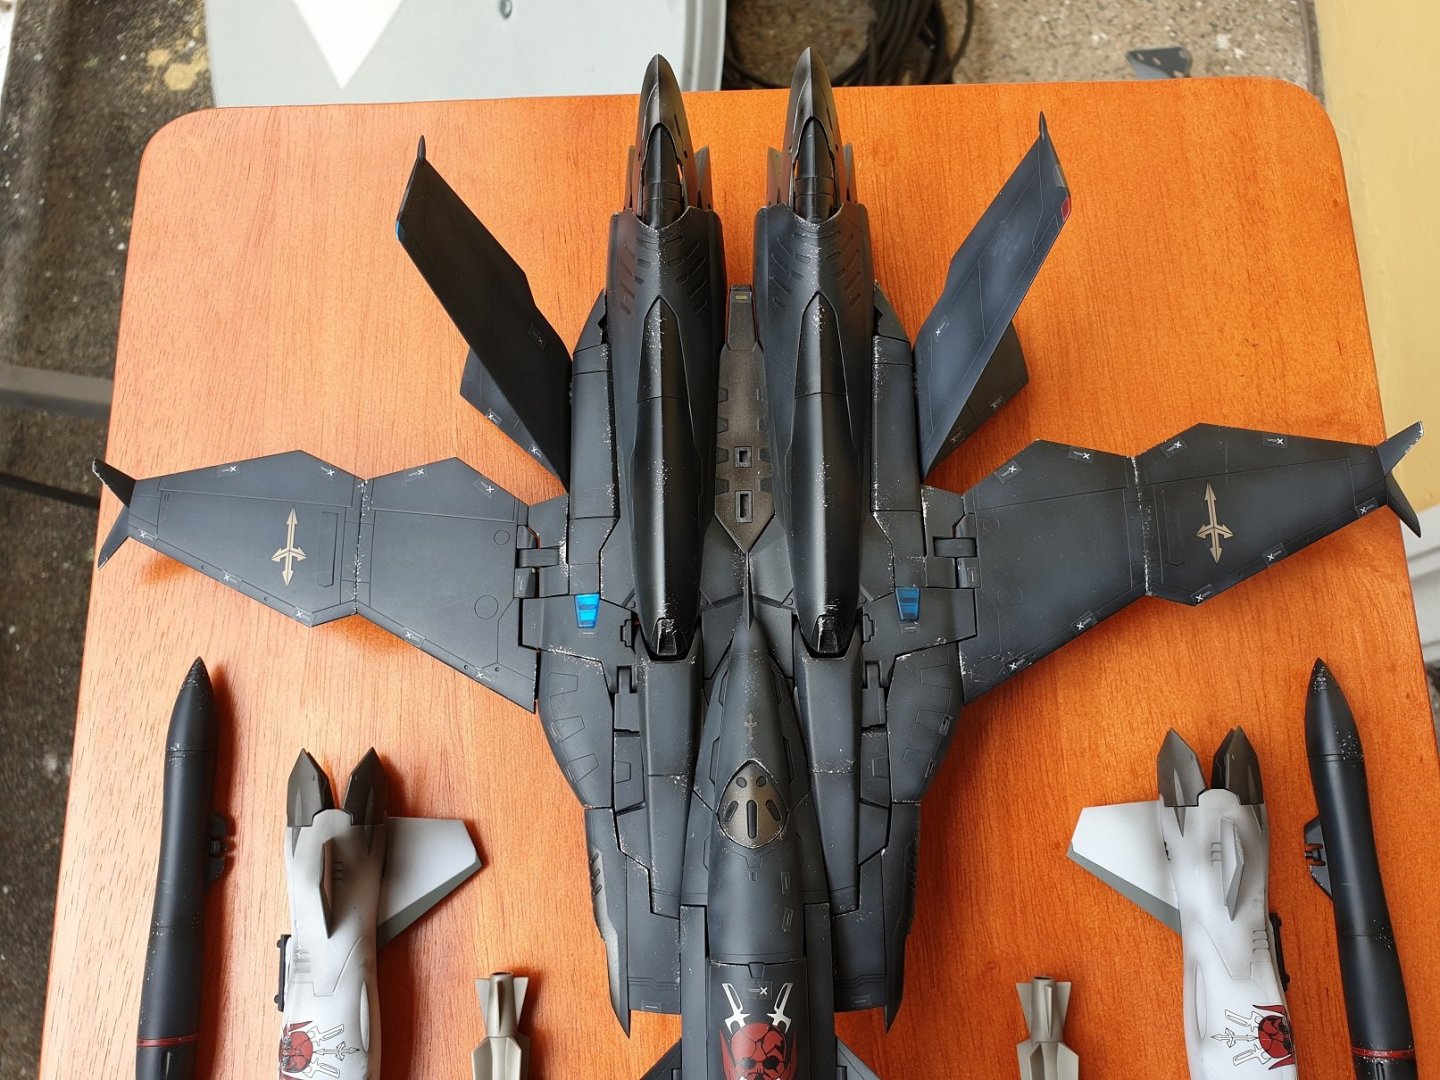
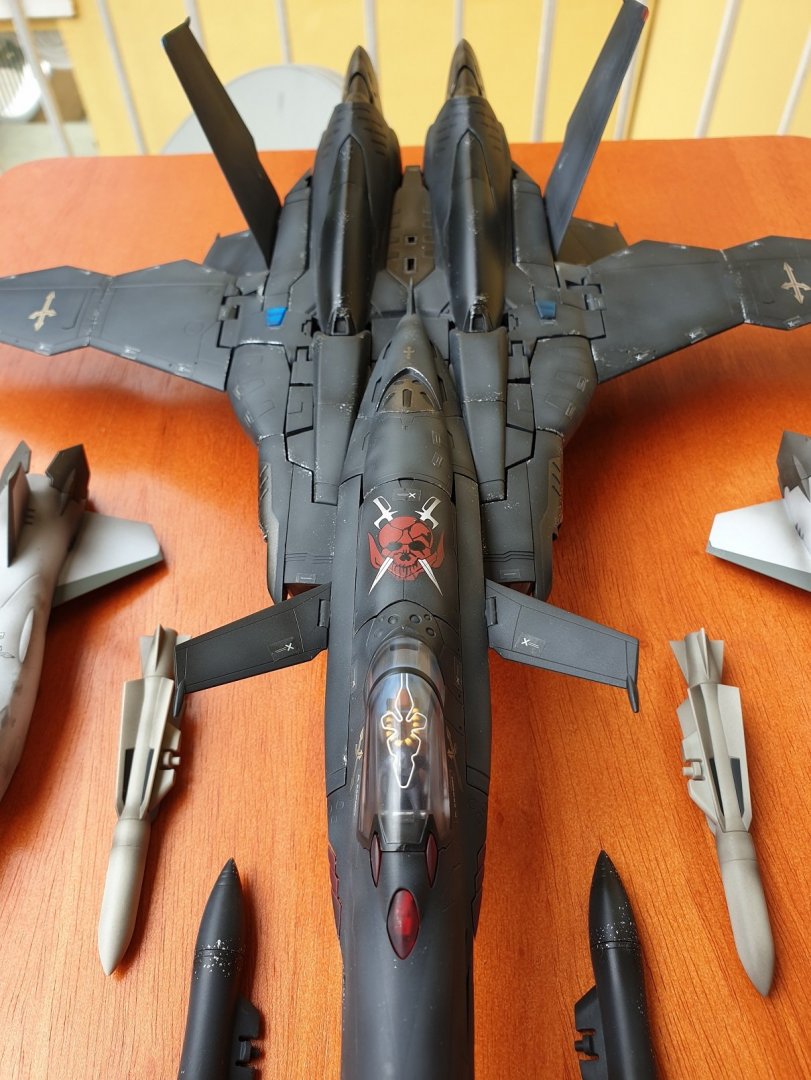
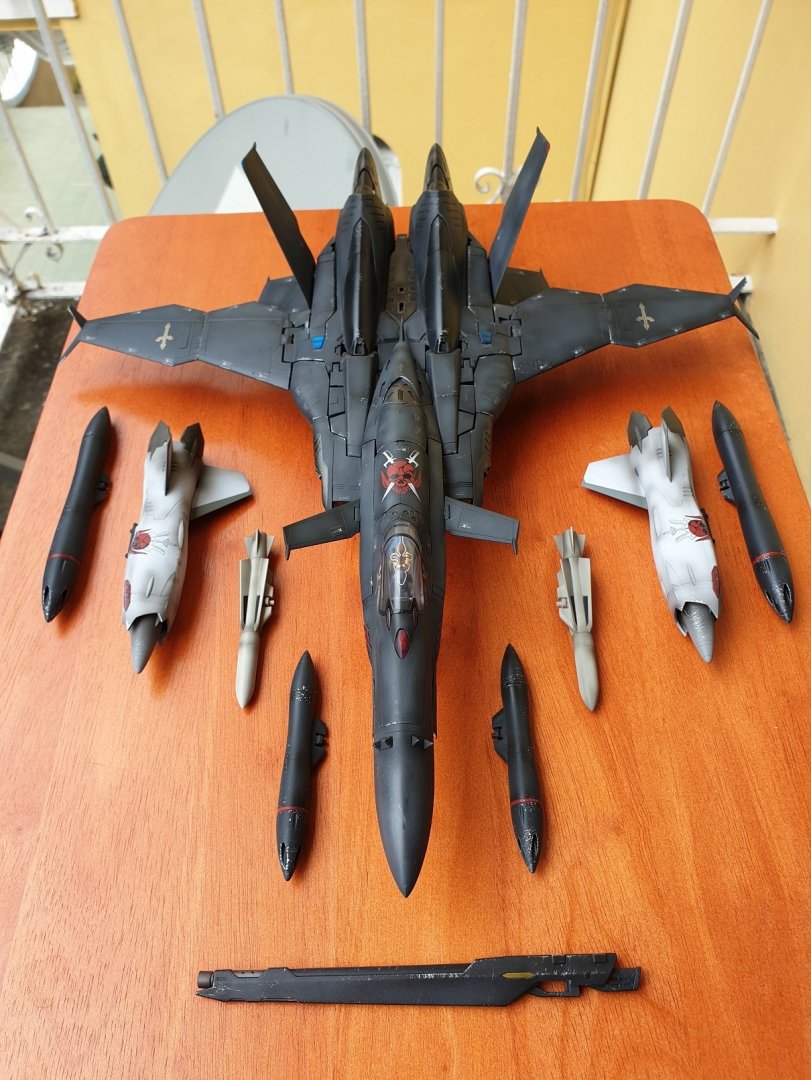
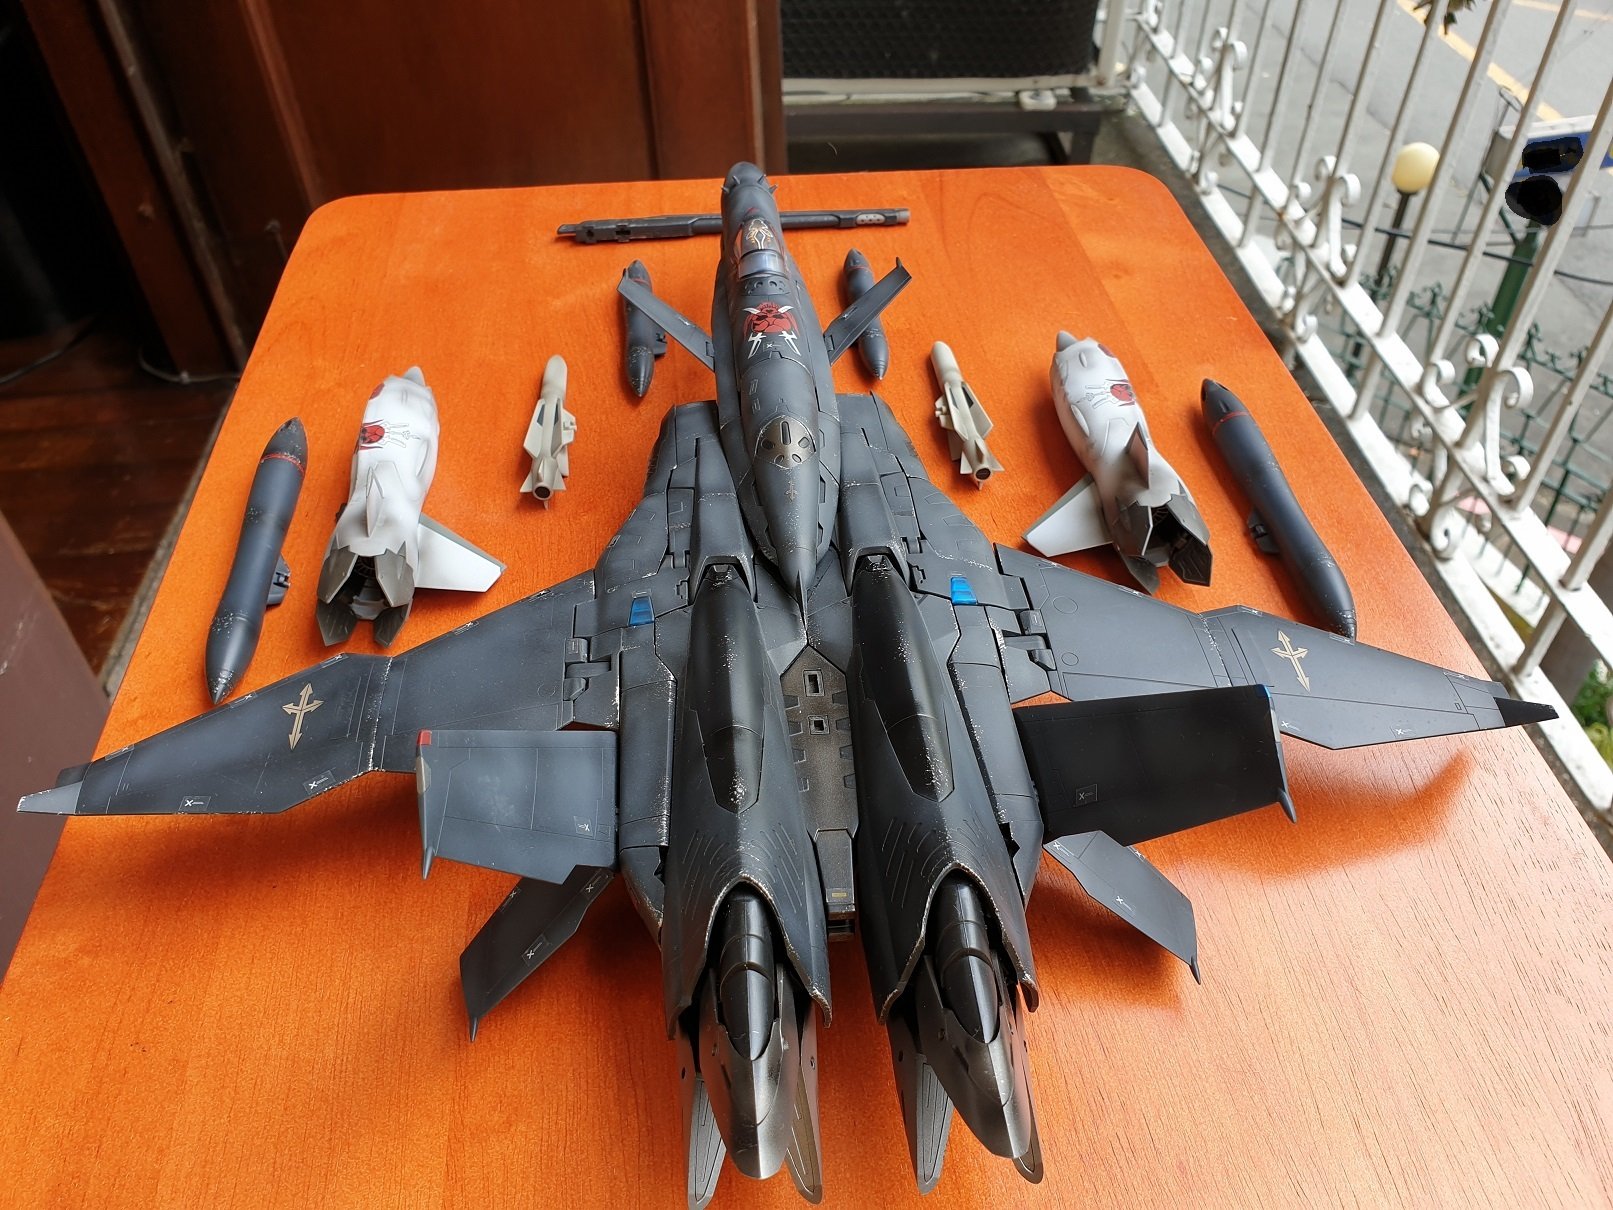
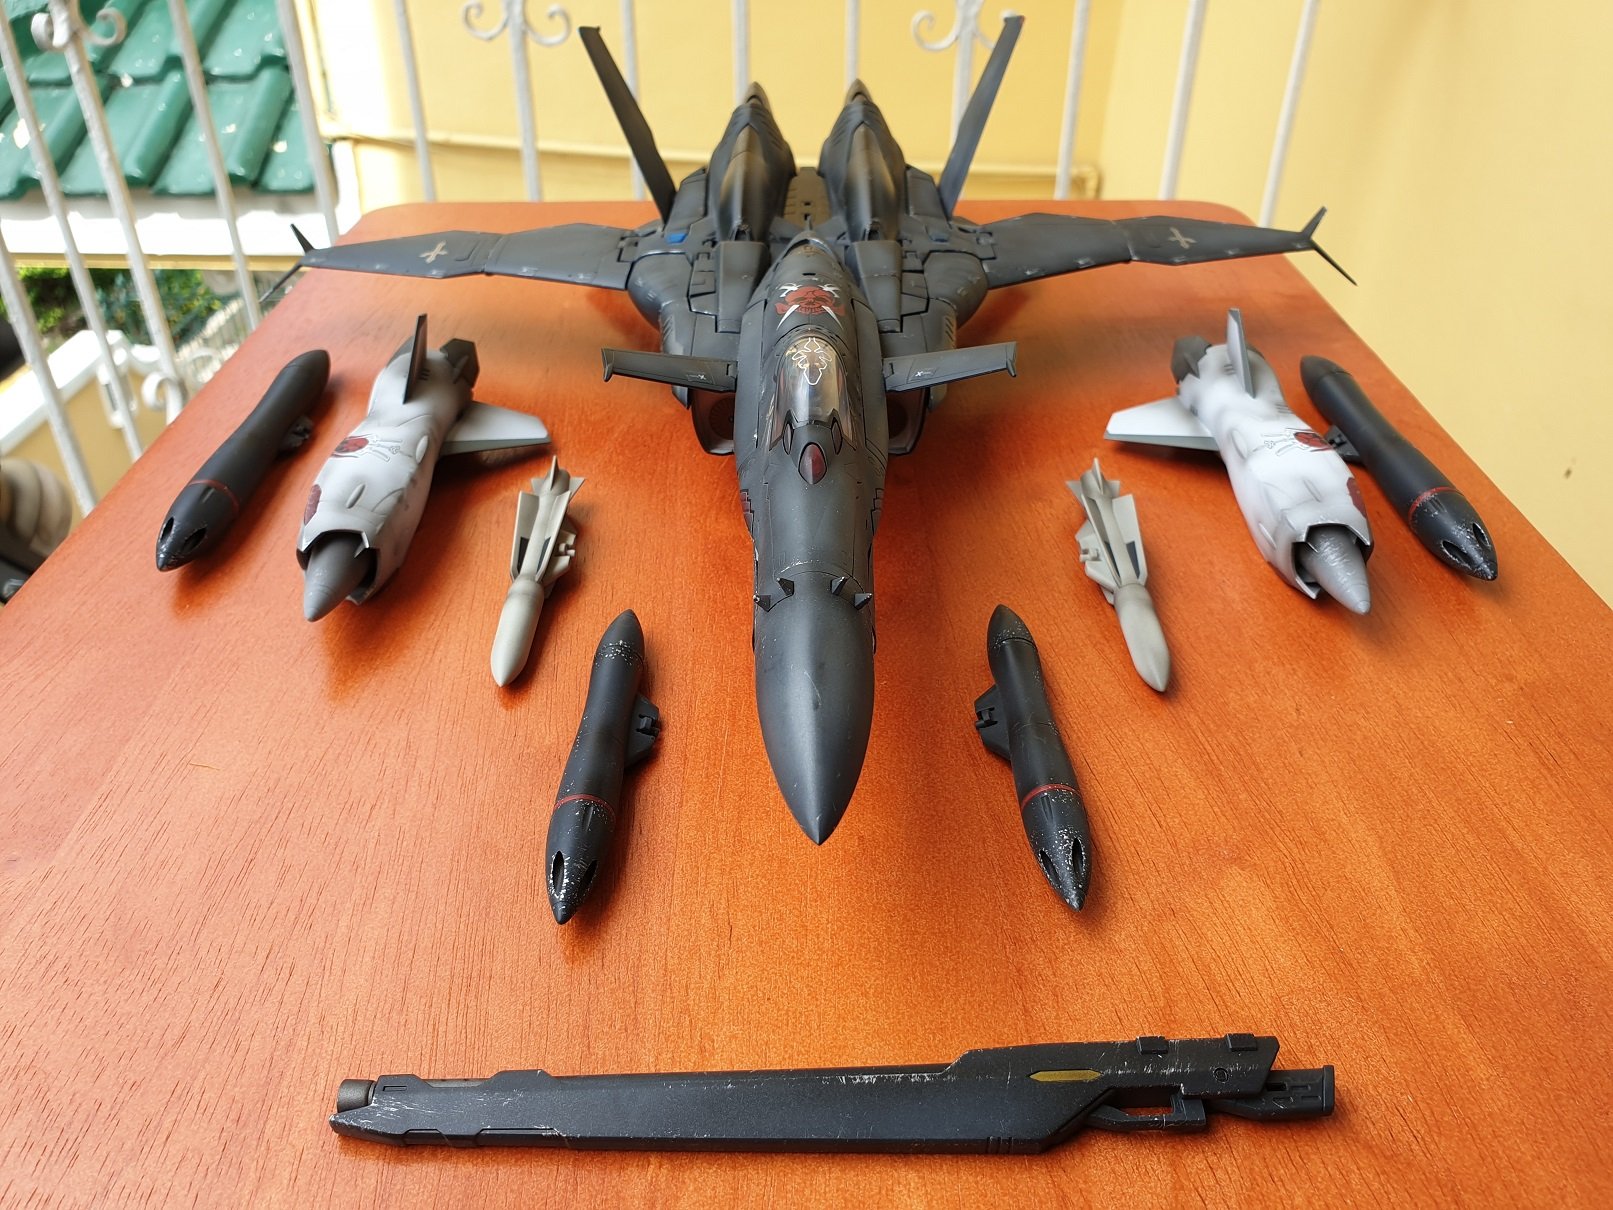
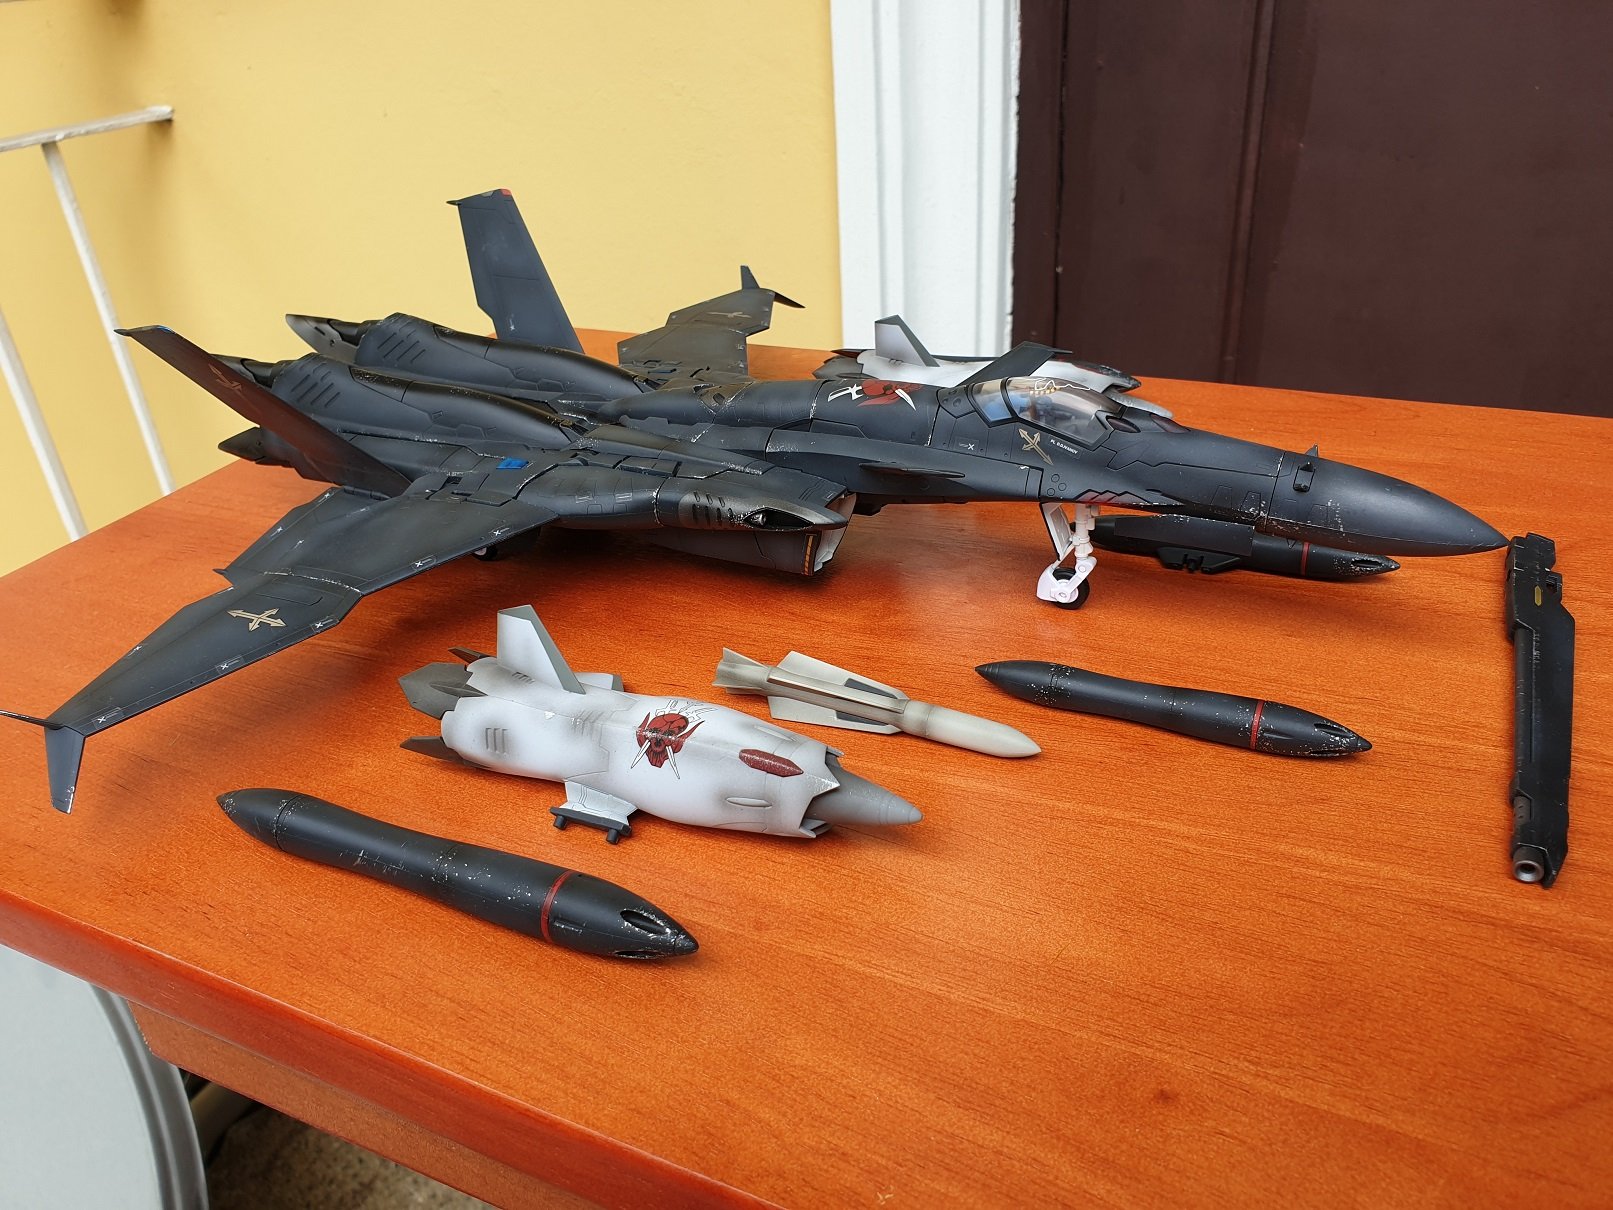
So here's my SV-51 after I got it back from having it weathered. What do you guys think? (Pardon the crappy pics). Good news is it covered up the mess I made when I used clear nail polish to tighten the wing (looks better too IMO). Bad news is the right wing is still floppy as hell.


wow!
-
its heavily glued together. i dont recomend use force to break the glue. maybe some googone in the seams? i try some time ago with a vf-1s with no luck. but maybe you can find the manual to a seemble the "no paint" version to see where the parts get together.
-
On 7/12/2012 at 3:16 AM, danbickell said:
Thanks for the opinions. I'm still leaning toward V1, but I might experiment with a V3 somewhere in the middle.
I made some good progress working out the LERX leg transformation mechanisms, but I've been side-tracked for the last few days experimenting with preparing the S head for a first attempt at 3D printing. Of the few areas of the model that weren't already water-tight, the eye detail area was the biggest offender. It took a good 16 hours to boolean every little detail together and clean up the geometry (could just boolean it together and not bother with the clean up, but I'm pretty OCD about clean geo). The eye detail piece is a 65k poly model, by itself.
I experimented with uploading a 1/24 scale version of just the S head guns to Shapeways. The first version (solid) came out to $32 each in the frosted ultra detail material. So, I made a hollow version, and got the price down to $15 each.
Learning from that, I made hollowed out versions of the rest of the S head parts, and made a 2-piece neck (neck rings can't be slipped over a 1 piece neck). Almost everything STL checked with zero errors on the first try, but nobody's perfect!
Here's what it currently looks like, all apart and laid out:

Next I need to figure out how best to lay it all out, and whether to connect parts with sprues or not.
There's a few potential problem areas I forsee:
Scale - I want to try 1/24, but it is pushing it. The only material with minimum wall thickness and detail size that looks like it might work at this scale is the frosted ulltra detail. Even then, the smallest of details would be smaller than the 0.1mm limitation. The thinnest walls look like they might be the gun barrels (they are hollow, and go all the way back), but at the thinnest point it should still be at least 0.5mm, and the FUD minimum wall thickness is 0.3mm.
The clear pieces will probably have to be left out for now. The visor is 8mm thick at 1/1 scale, and there is no room for it to get thicker without re-modelling and moving details around (there are lips for the visor to sandwich into). 1/24 scale put that at 0.33mm thick. That's barely within the minimum for FUD (which doesn't look clear enough anyway), and the transparent detail material needs to be 1mm thick. The smaller lenses are much thinner, so no way to do those in such a small scale.
I'm guessing the whole thing would be well over $100 in FUD in 1/24 scale. The guns alone would be $30. 1/12 scale would be nice, and would probably get around any detail size and potential wall thickness issues, but I assume that would be getting pretty expensive for a test.
Any tips or tricks for how to lay out parts and/or connect them before I do a trial upload would be appreciated!
Hi. Do you plan to sell the STL files at some point? -
I been using the decals from a Yamato No paint kit. those are the only good ones i had.
for matte finish i use this:
-
On 5/11/2013 at 10:08 AM, master of macross said:
...preview...

im know im really really late, but how many of those kit did you have to buy for this?
-
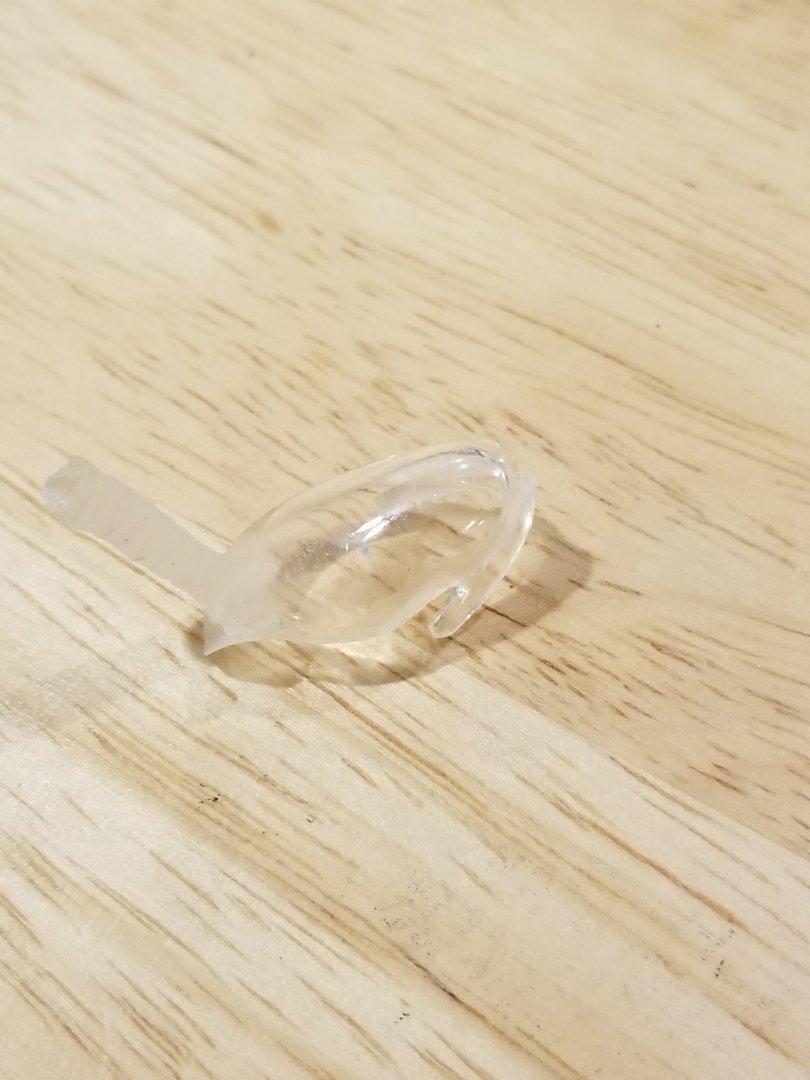
22 hours ago, Xigfrid said:
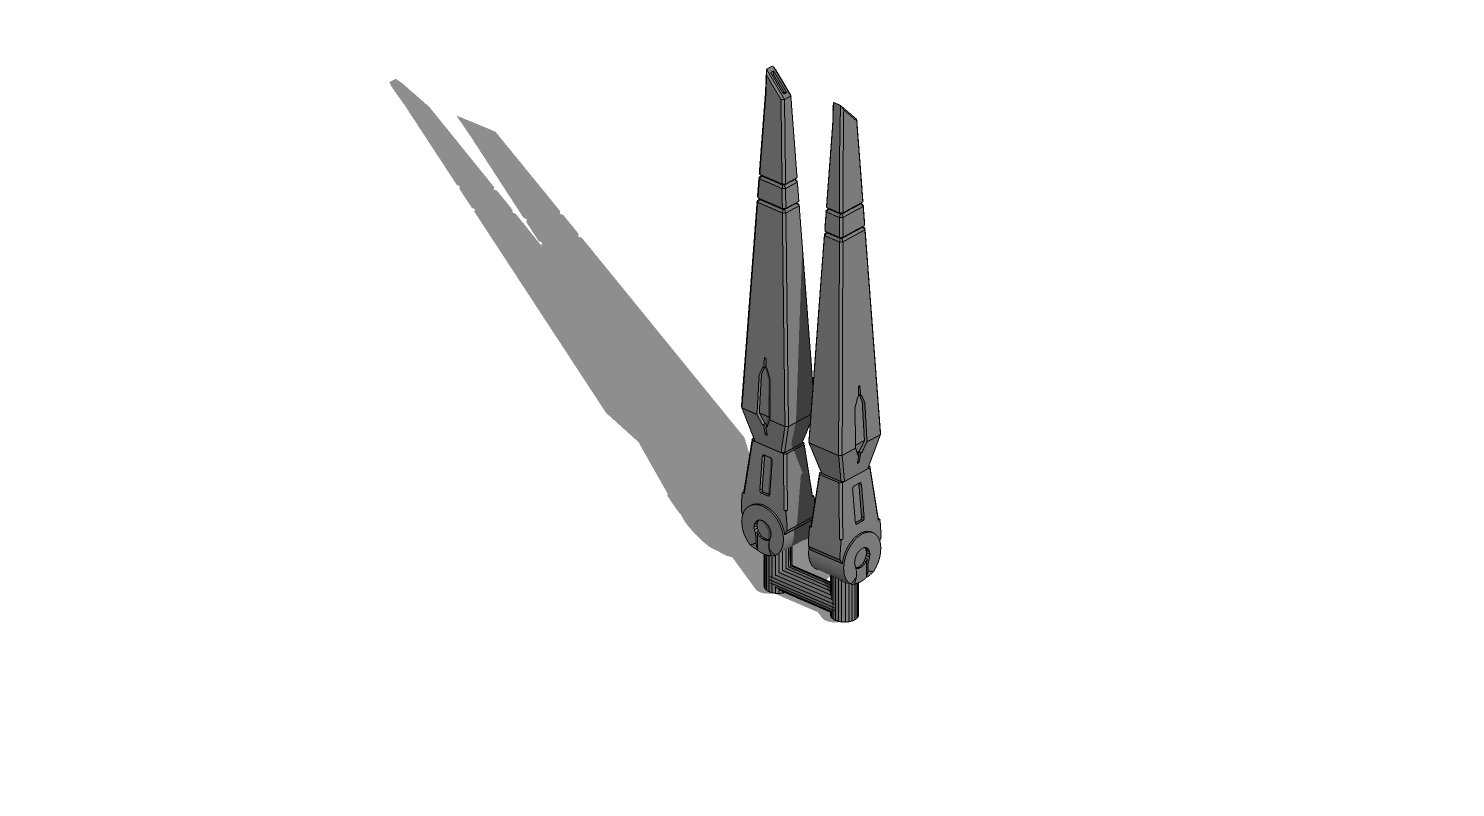
My YF-19 antenna came fine, but I can understand the feeling of loosing an antenna because I lost my VF-31J's one last year ... So since I was taking measurements to make new heels and feet, I made up a replacement antenna, and uploaded a pack of 2x antennas for those who would need them.
I haven't printed them yet, but I have double checked and they should be good to print. I wouldn't place an order for just this pack alone, but if ever you have a Shapeways order running, you can add them for an additional 4 USD.
Great. Do you know how to disarm the head of the figure to make the replacement? I would hate to have the antennas but no way to replace them. Sorry for the terrible English.
-
-
Maravilloso trabajo, de un modelista a otro, tengo mucho que aprenderte viejo
-
No había visto que postearon mi vídeo jajajaj, que bueno que les sirvió. Lastima que es una reparación temporal
-
tengo un recast y puedo conseguir mas, "respaldamos" la versión clear, si necesitas, contactame.
-
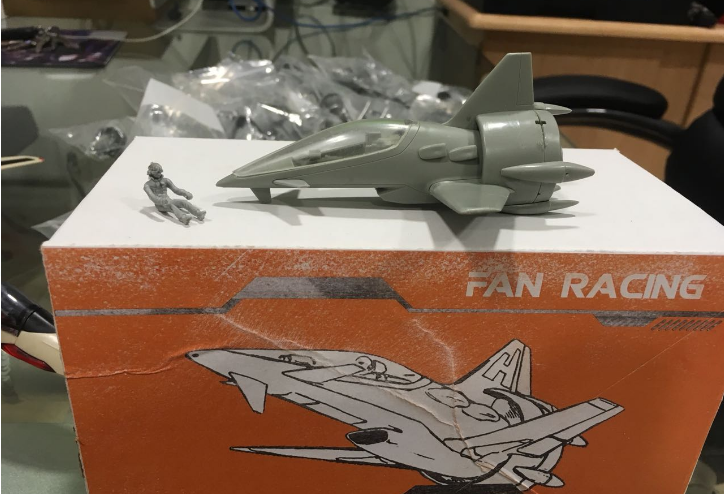
are the helmets 1/1 scale?
-
On 26/12/2017 at 6:59 PM, Jasonc said:
I will. I'll try to do it during the week.
I've spent the better part of 4 months tweaking the angles and measurements of the front head glass just to get it where it is now. I'm quite happy to say that it now fits and works as it should. Dome may ask why I'm recasting it, instead of just putting it up on Shapeways. Well for one, you can never get this clarity in any shapeways print work. This allows me to continually recast them and not have to spend a fortune getting any sort of frosted xtreme detail parts made. Plus, FXD is extremely brittle. The idea is to have you guys not have to buy anything from shapeways, with the exception of 1 part that I simply cannot recast due to the complex design. In any case, this is an actual recast part, and you can see how clear it is. I'm very happy with this.
Wow, what kind of resin are you using?
-
I'm excited to see the final result. I hope you find the time to finish this amazing project
-
On 18/11/2017 at 6:26 PM, Hikaru1234567890 said:
Just curious if this projects is still going to happen? its been quite a while.
Same thing here, what is going on?
-
What brand of silicon/resin did you use, im trying to do the same thing
-
it's been a while since i check out this forum. this SDF-1 looks amazing
-
Mr. K at the 4 hour 19 minute mark.
That japanese girl i freaking me out
-
i love this post. it's a an inspiration for a rookie like myself
-
oh My God! is so beautiful!
-
now I'll have to call you Sensei


Ropefish's Workbench
in The Workshop!
Posted
that looks really great. amazing job