

dbh1973
-
Posts
24 -
Joined
-
Last visited
Content Type
Profiles
Forums
Events
Gallery
Posts posted by dbh1973
-
-
My first HI-Metal Rs!


-
Looks great! The Spartan is my favorite Destroid. What putty did you use? I was thinking of using Citadel's Green Stuff on mine.
-
Good looking unseen Warhammer!

-
Looks great so far, can't wait to see the completed kit!
-
Those are gorgeous! What are you using as the stands?
-
Did you mount an LED for the "eye" or is that just a reflection of light?
-
Have they released blueprints of the VF-1's yet?
-
There is some good stuff in here! Thanks for resurrecting and pinning this thread!
-
PM sent regarding VF-25S.
-
Please put me down as interested. I'd love a VF-11 in Battroid and full armor. I'm also good with $70 down and the rest when ready to ship.
-
Pre-ordered from Hobby Search. Thanks Hasegawa!
-
The "forest camo" VF-1 looks great. I'll have to try that on my next kit.
-
Great looking build! Did you use a thin layer of super glue over the polycaps to reinforce the joints?
-
Looks great! What two kits did you combine for the Gerwalk?
-
Boxart!! And this one is a limited kit, so if you're not buying now, don't plan on buying later.
Reserved mine at Hobby Search.
-
When I get my hands on a nice Valkyrie model, I'm making it a state trooper: http://www.modeltrainsoftware.com/crown-vic-lights.html
Might even put a siren in it.
Creating a Patlabor-style Battroid with police lights and a siren would be pretty cool.
-
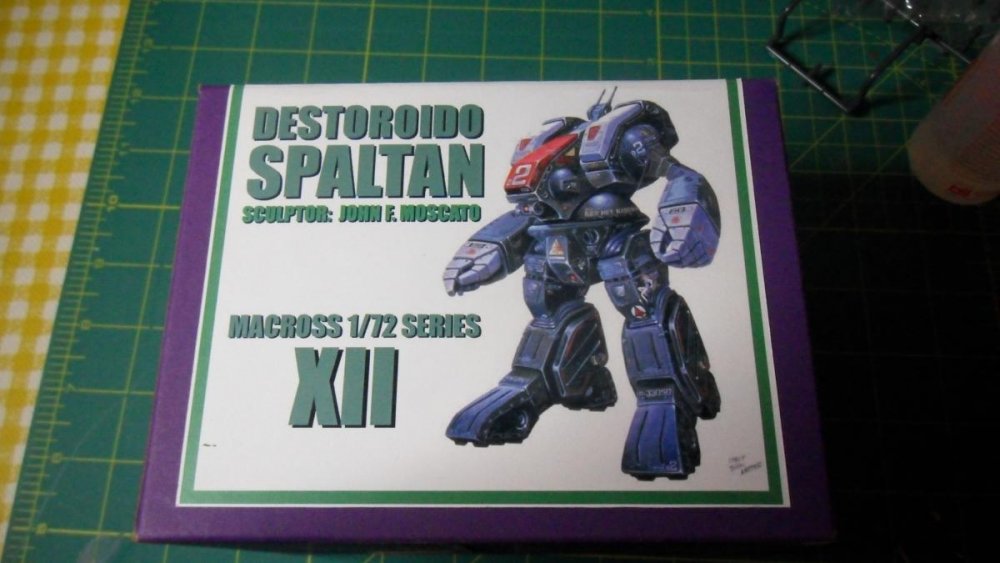
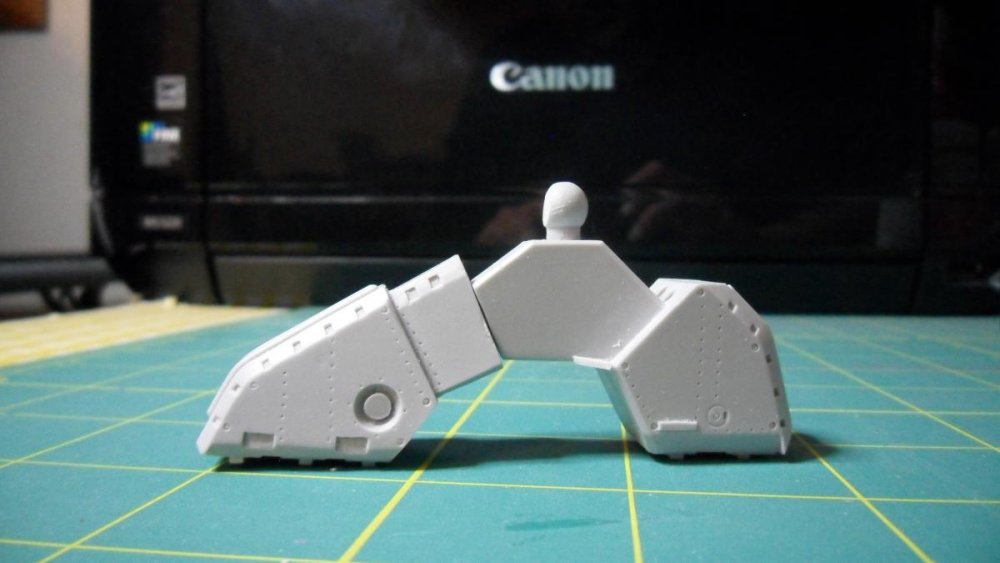
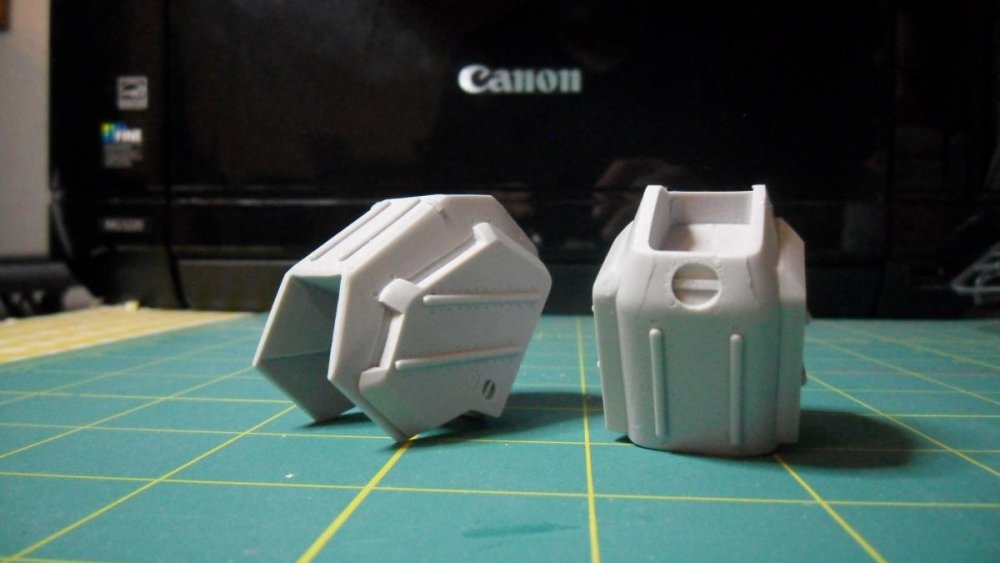
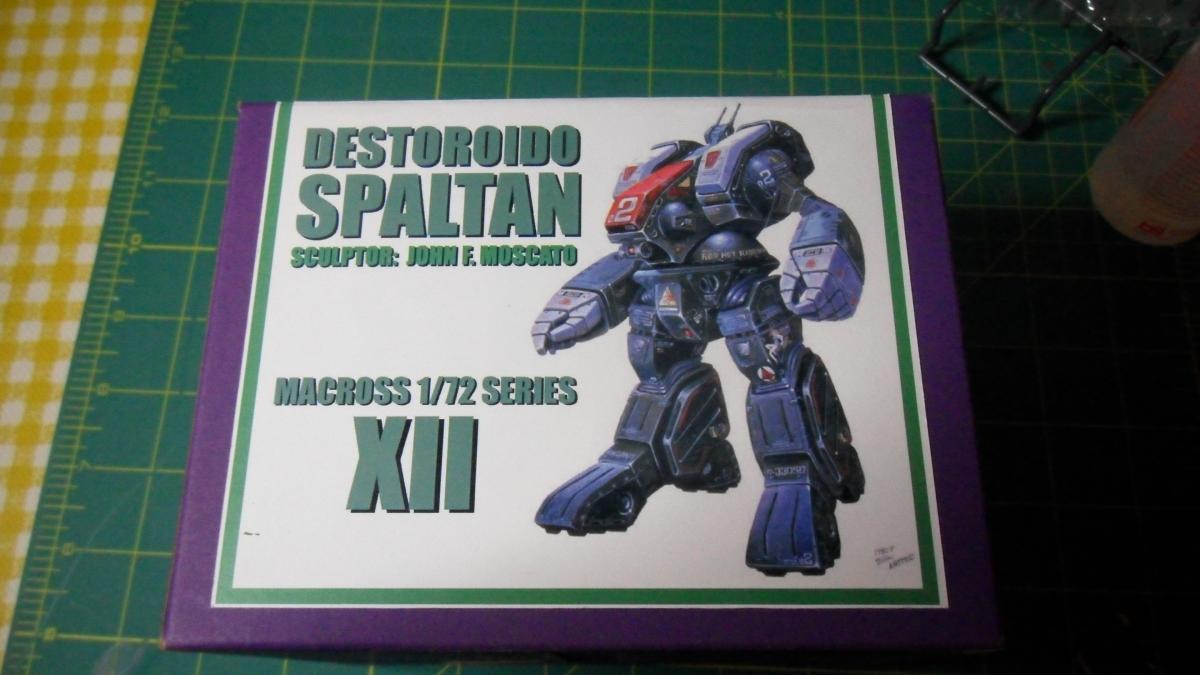
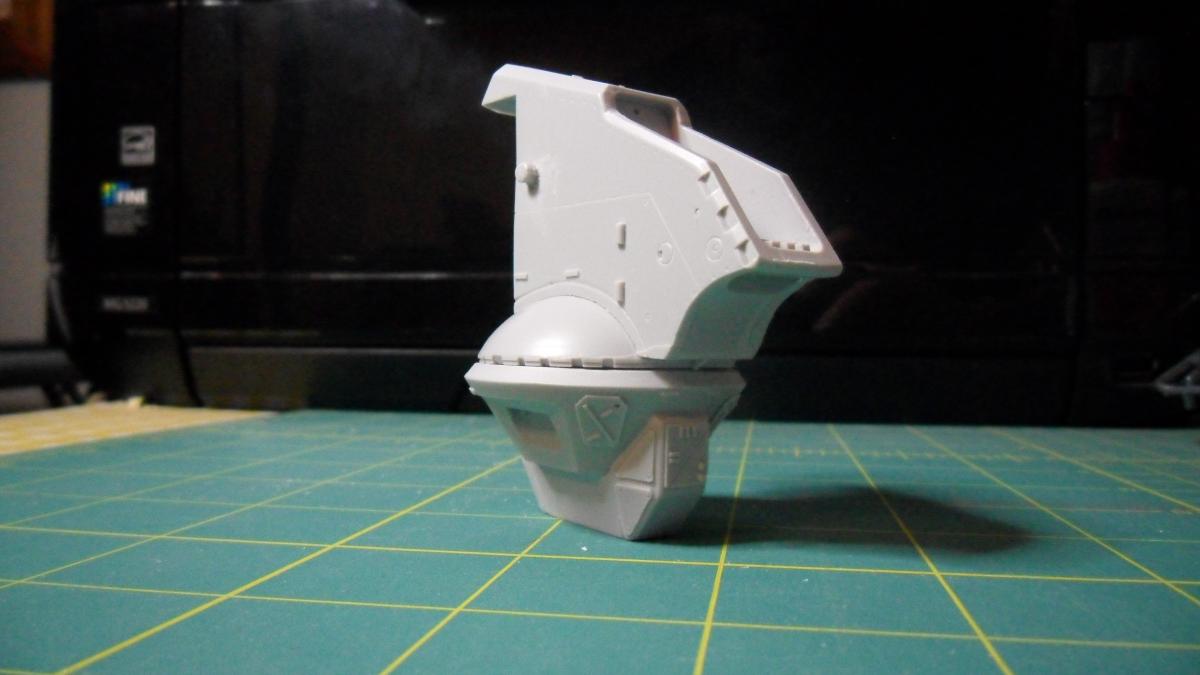
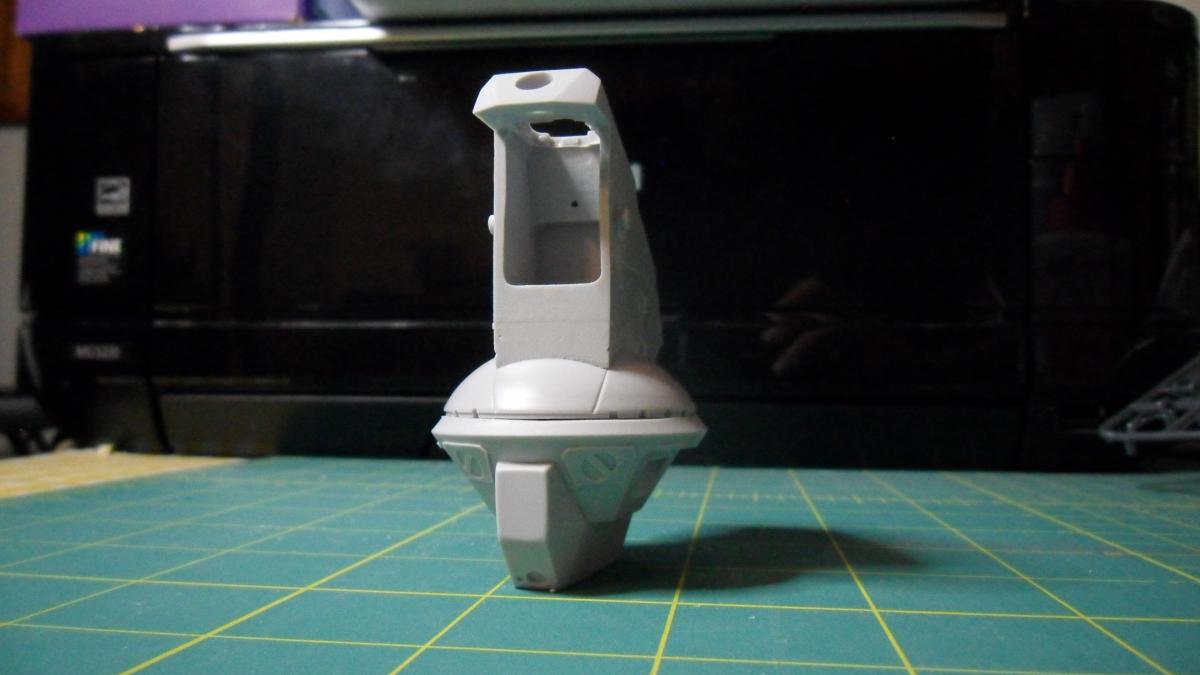
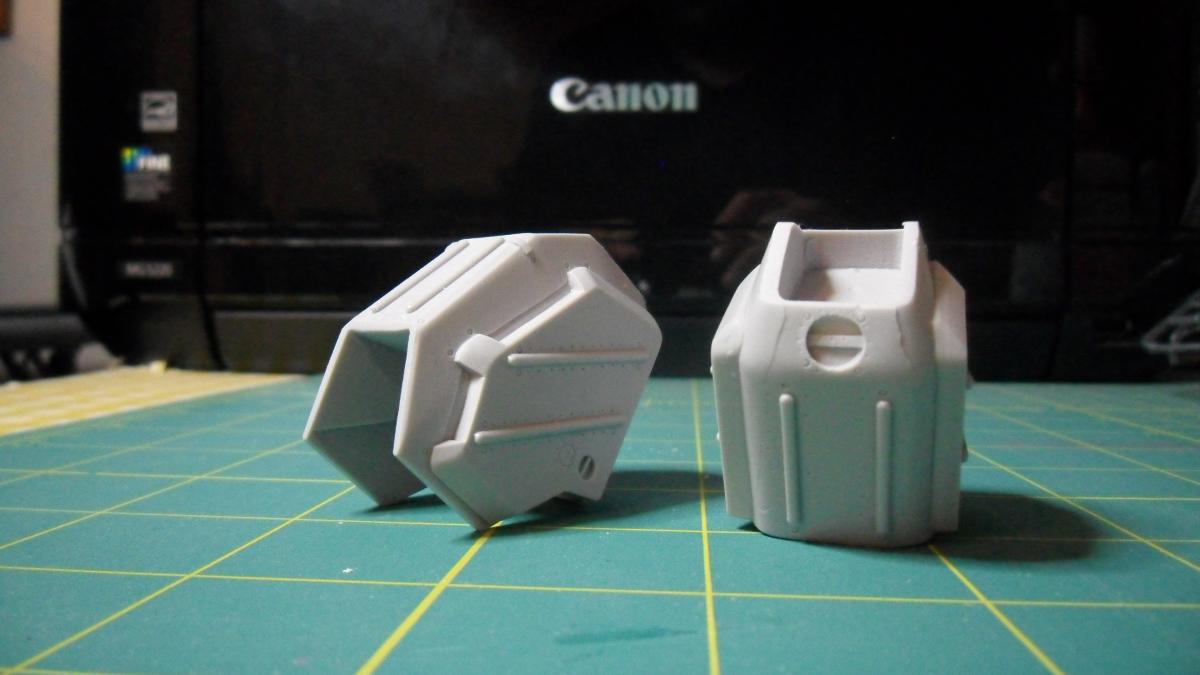
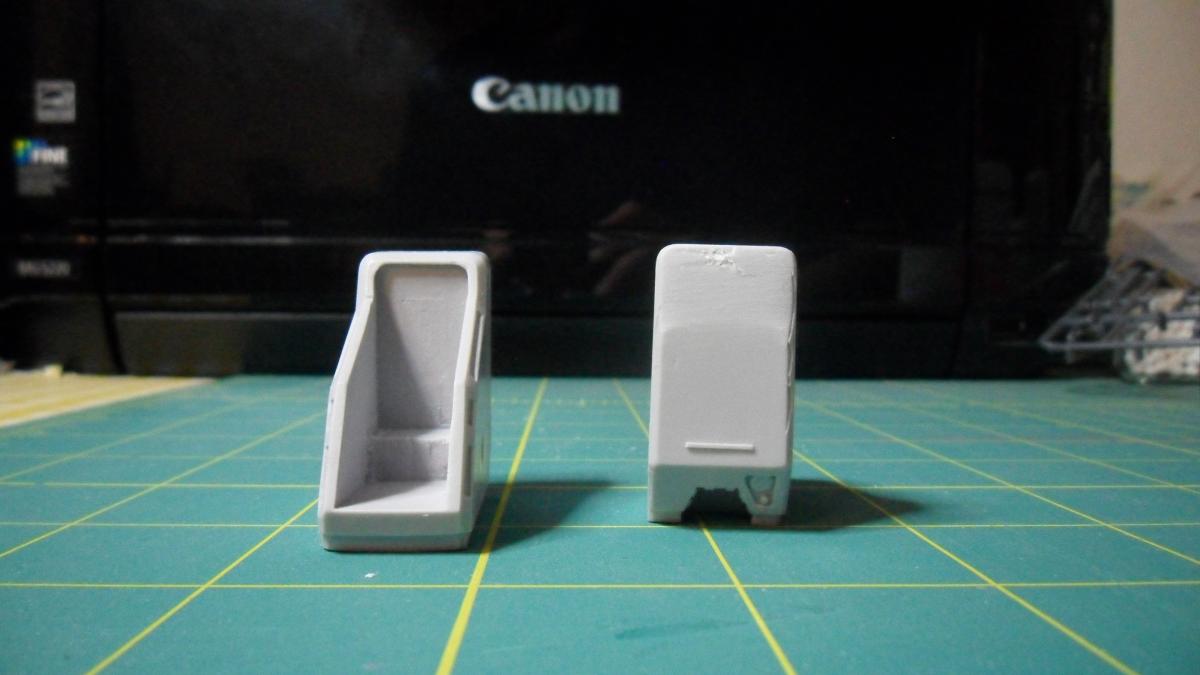
Here is my WIP of a Moscato 1/72 Destroid Spartan. Thanks to Viceland for selling it, Gabe Q for the instructions, and Mr. Moscato for creating the kit.
This kit is an interesting challenge. I've never worked with resin before, and I've had to really pull out my bag of tricks: Dremel tool, 3 different types of Xacto knives, sanding sticks, and side cutters. These are the first set of pieces that have gone through initial cleaning and sanding. There is a lot more work to be done. The waist piece had a little too much Dremel, but that actually ended up being a good thing as the center torso and waist fit together almost perfectly.

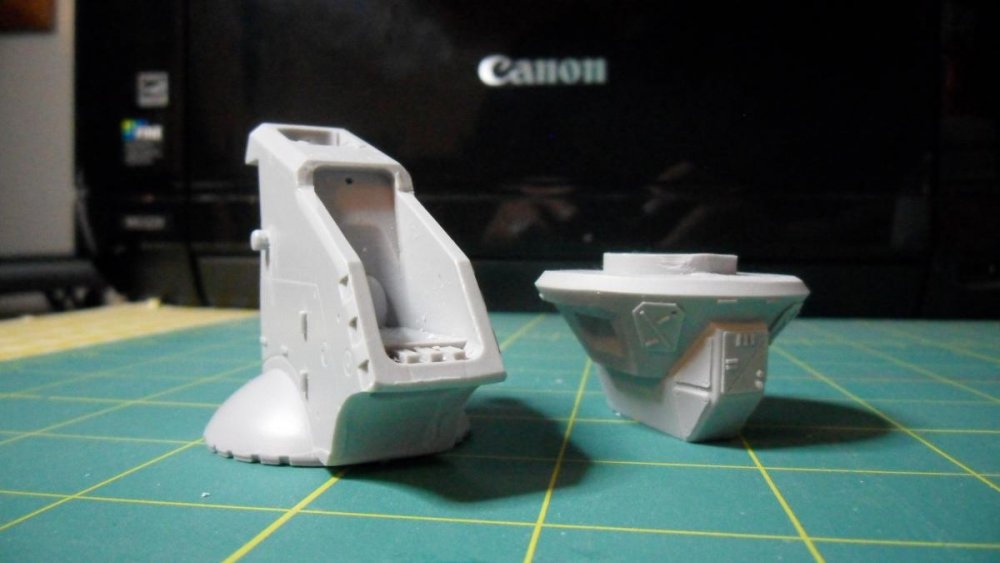


I'm also glad I followed some advice I found about working with resin kits: wear a respirator. I was not prepared for the amount of dust these pieces would produce, even with wet sanding. I hope to have more soon!
-
Thank you Viceland for the fast shipping of my "Destroido Spaltan!"
-
Unfortunately, the Google Translate App is a bit hit or miss, in my opinion. I was hoping for an online resource but there doesn't seem to be one available. I've got a friend who has put LEDs in Warhammer 40k models before, so we're going to see what we can do. Thanks to Jefuemon for his link to Evan Designs. We will be placing an order with them soon.
-
I posted this in another thread, but I would recommend Tamiya Panel Line Accent Colors in a single pack from Amazon: http://www.amazon.co...s/dp/B00M58FWVC. They are enamel based and pre-thinned with an applicator built into the lid.
-
You can purchase all three Tamiya Panel Line Accent Colors in a single pack from Amazon: http://www.amazon.com/TAMIYA-Panel-Accent-Color-3-colors/dp/B00M58FWVC. It's what I did and it included Prime shipping. I've used the gray color on a Gundam Astray model and they work really well. The capillary action over the Future'd pieces is fantastic.
-
Have you tried the Google translate phone app? You can point your camera at Japanese text, select the text, and it will translate it for you. Of course it's often a pretty rough machine translation, but it might be good enough for you to get the information you want. Here's the text translated from the first column at the bottom of page 63 using this app:
The ACL of the vertical tail, even for embedding he scraped the red LED of 5m, further sharpened reproduced out the form to. The LED because those are cemented to the light emitting element with a resin, it is possible to light-emitting element is crowded cut a portion of the resin around until the last minute exposed. However, the device is divided into two, and are connected by a fineness of line of about invisible to the naked eye between them. Since not emit light as would cut this, it is necessary to cut while acceleration while watching some margin Yu. It is necessary to embody - so this not part of the tail is thin LED is tail b rather than to be embedded. Purpose to prevent the leakage of gap and dents after molding also doubles as using the black instant adhesive of wave. LED yelling shaving thin to the extent that the metal of the device is slightly exposed. Perimeter of the resin Rashiku epoxy, by scraping large in rough water sandpaper the eyes of about 100 number so hard scraping and work fast hard.
I wasn't even aware there was a translation app for Android devices. Thanks for this!
For very simple to use LED's, I recommend Evan Designs. Everything is already wired up. All you have to do is connect to a battery, and you're done.
Have you mounted LEDs into a Valkyrie before? If so, how was the process?
-
Hey all,
Long time lurker, etc. etc.
I've been inspired by chaff.g's 1/48 build and decided, for my big summer project, to customize a Hasegawa 1/48 YF-19 with both photo-etched parts and LEDs. I've never put LEDs into a model before, and I was hoping someone could point me in the right direction or assist me with translating pages 063 and 113 of the Variable Fighter Master File - VF Modeling Manual. While page 113 is specifically for the YF-19, I'd like to have page 063 as well just as a reference. I apologize if this is the wrong forum to ask.
If anyone has any tips or tricks to share about installing LEDs into a Hasegawa model, I'd really appreciate them.


1/60 VF-5000 3D Printing
in The Workshop!
Posted
Please add me to the list as well. Your engineering is fantastic!