

Pedro2k6
-
Posts
735 -
Joined
-
Last visited
Content Type
Profiles
Forums
Events
Gallery
Posts posted by Pedro2k6
-
-
5 hours ago, Anasazi37 said:
Anime Export has the second release GBP armor set available for ¥15,800 (pay up front):
https://www.anime-export.com/index.php?product=52302
It will probably go fast....
Thank you.
-
22 minutes ago, Lolicon said:
HLJ already collected payment and is in my private warehouse ready to ship. So I'm pretty sure it's legit and not a listing error.
Same here.
-
Got one

-
Today I got my VF-4 (regular edition) from NY.
-
LOL...maybe we can do that...just EMS me a big haul of Macross stuff...

-
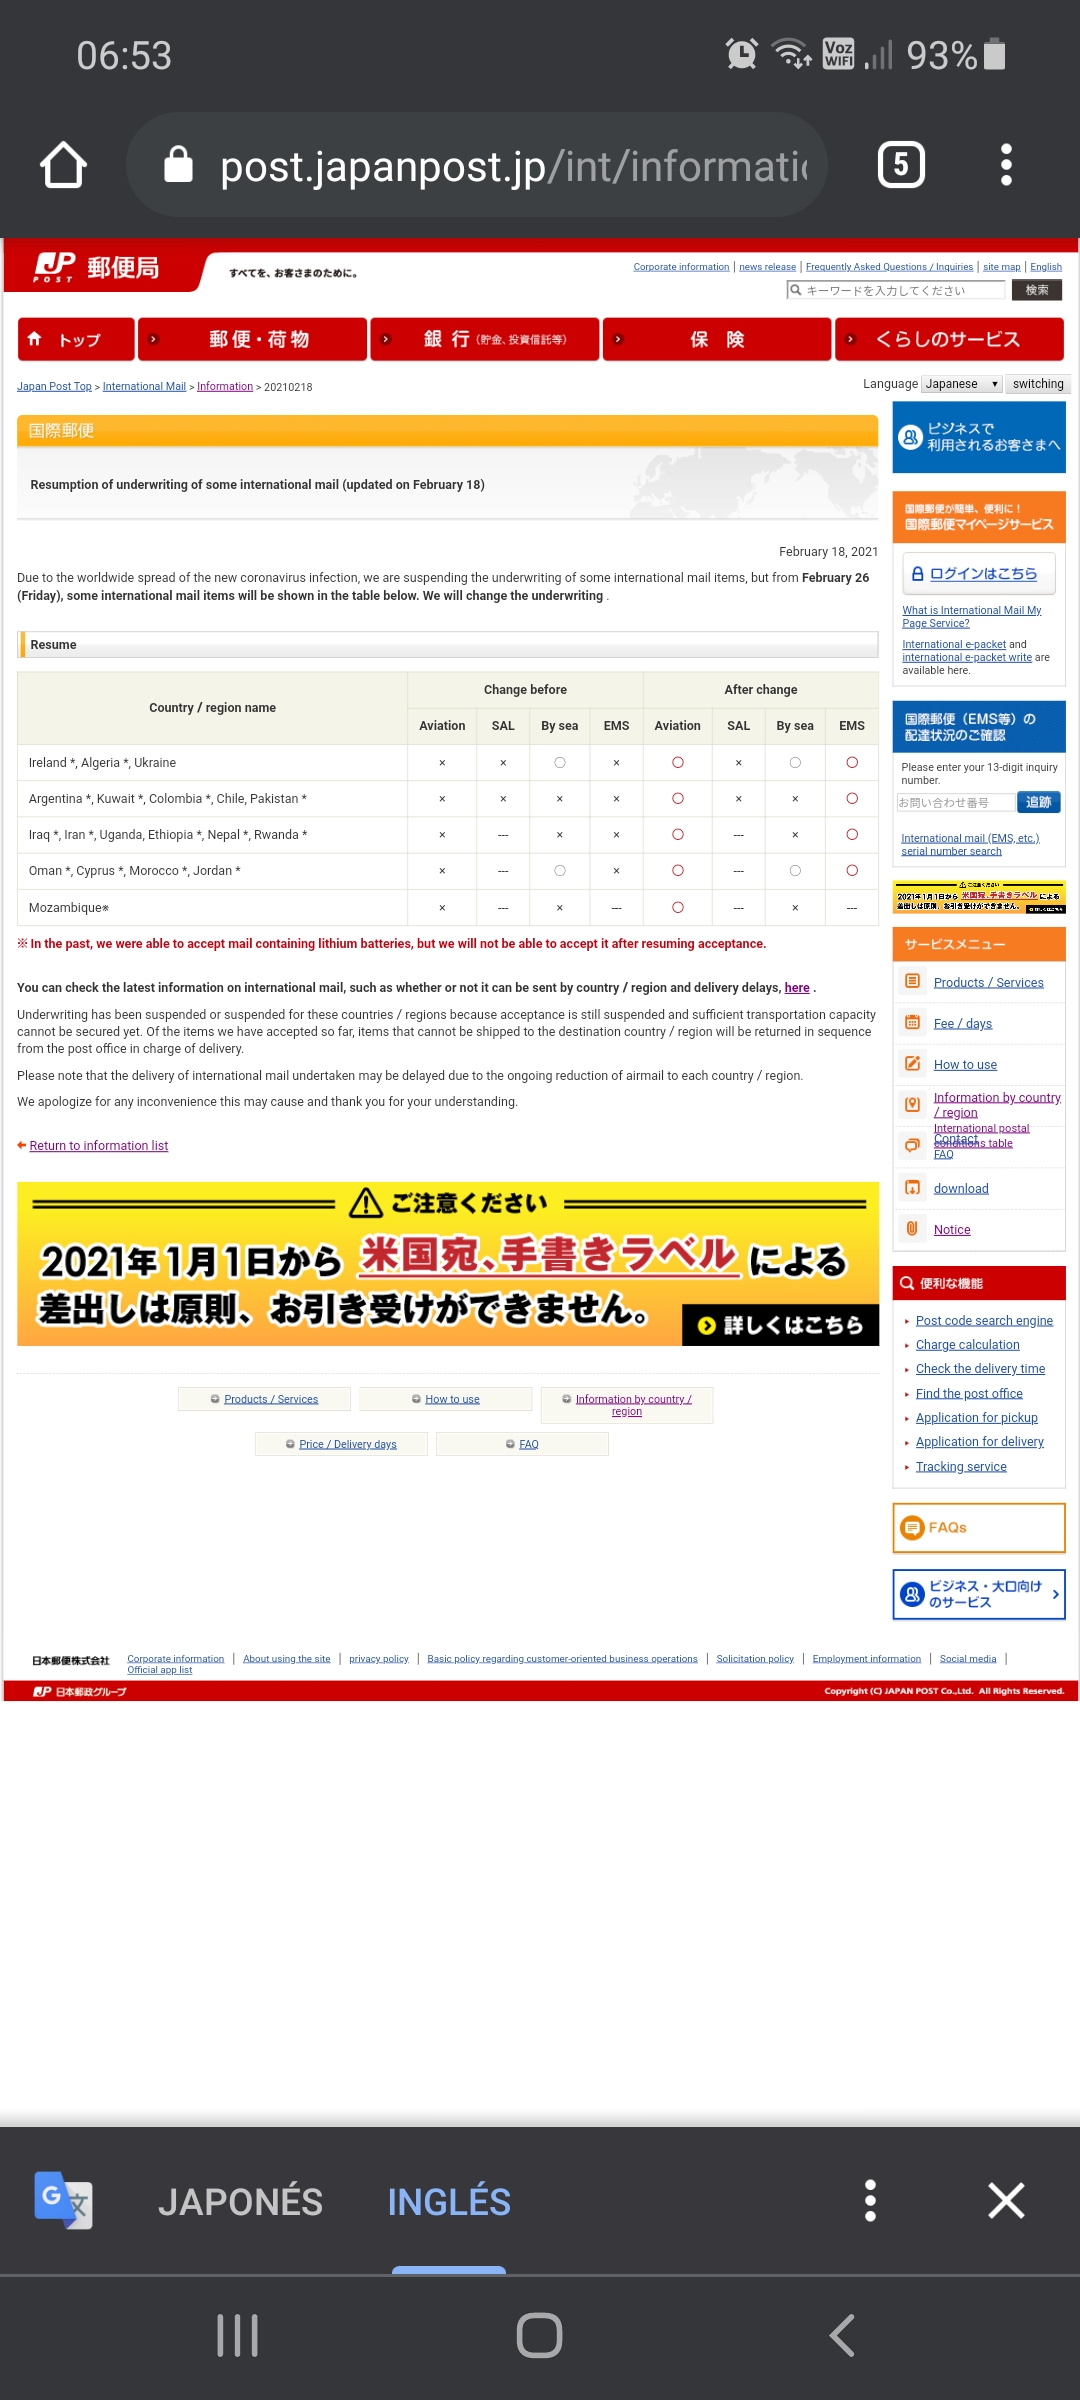
Japan post is now shipping to south america. Finally.

-
Anyone has trouble with AE?...Still no news about my TV SP, one week ago they send me a email, telling me that they will calculate shipping price.
-
1 hour ago, vladykins said:
I just got notice from AE as well, so they are getting to them.
Me too...I found it in SPAM.
-
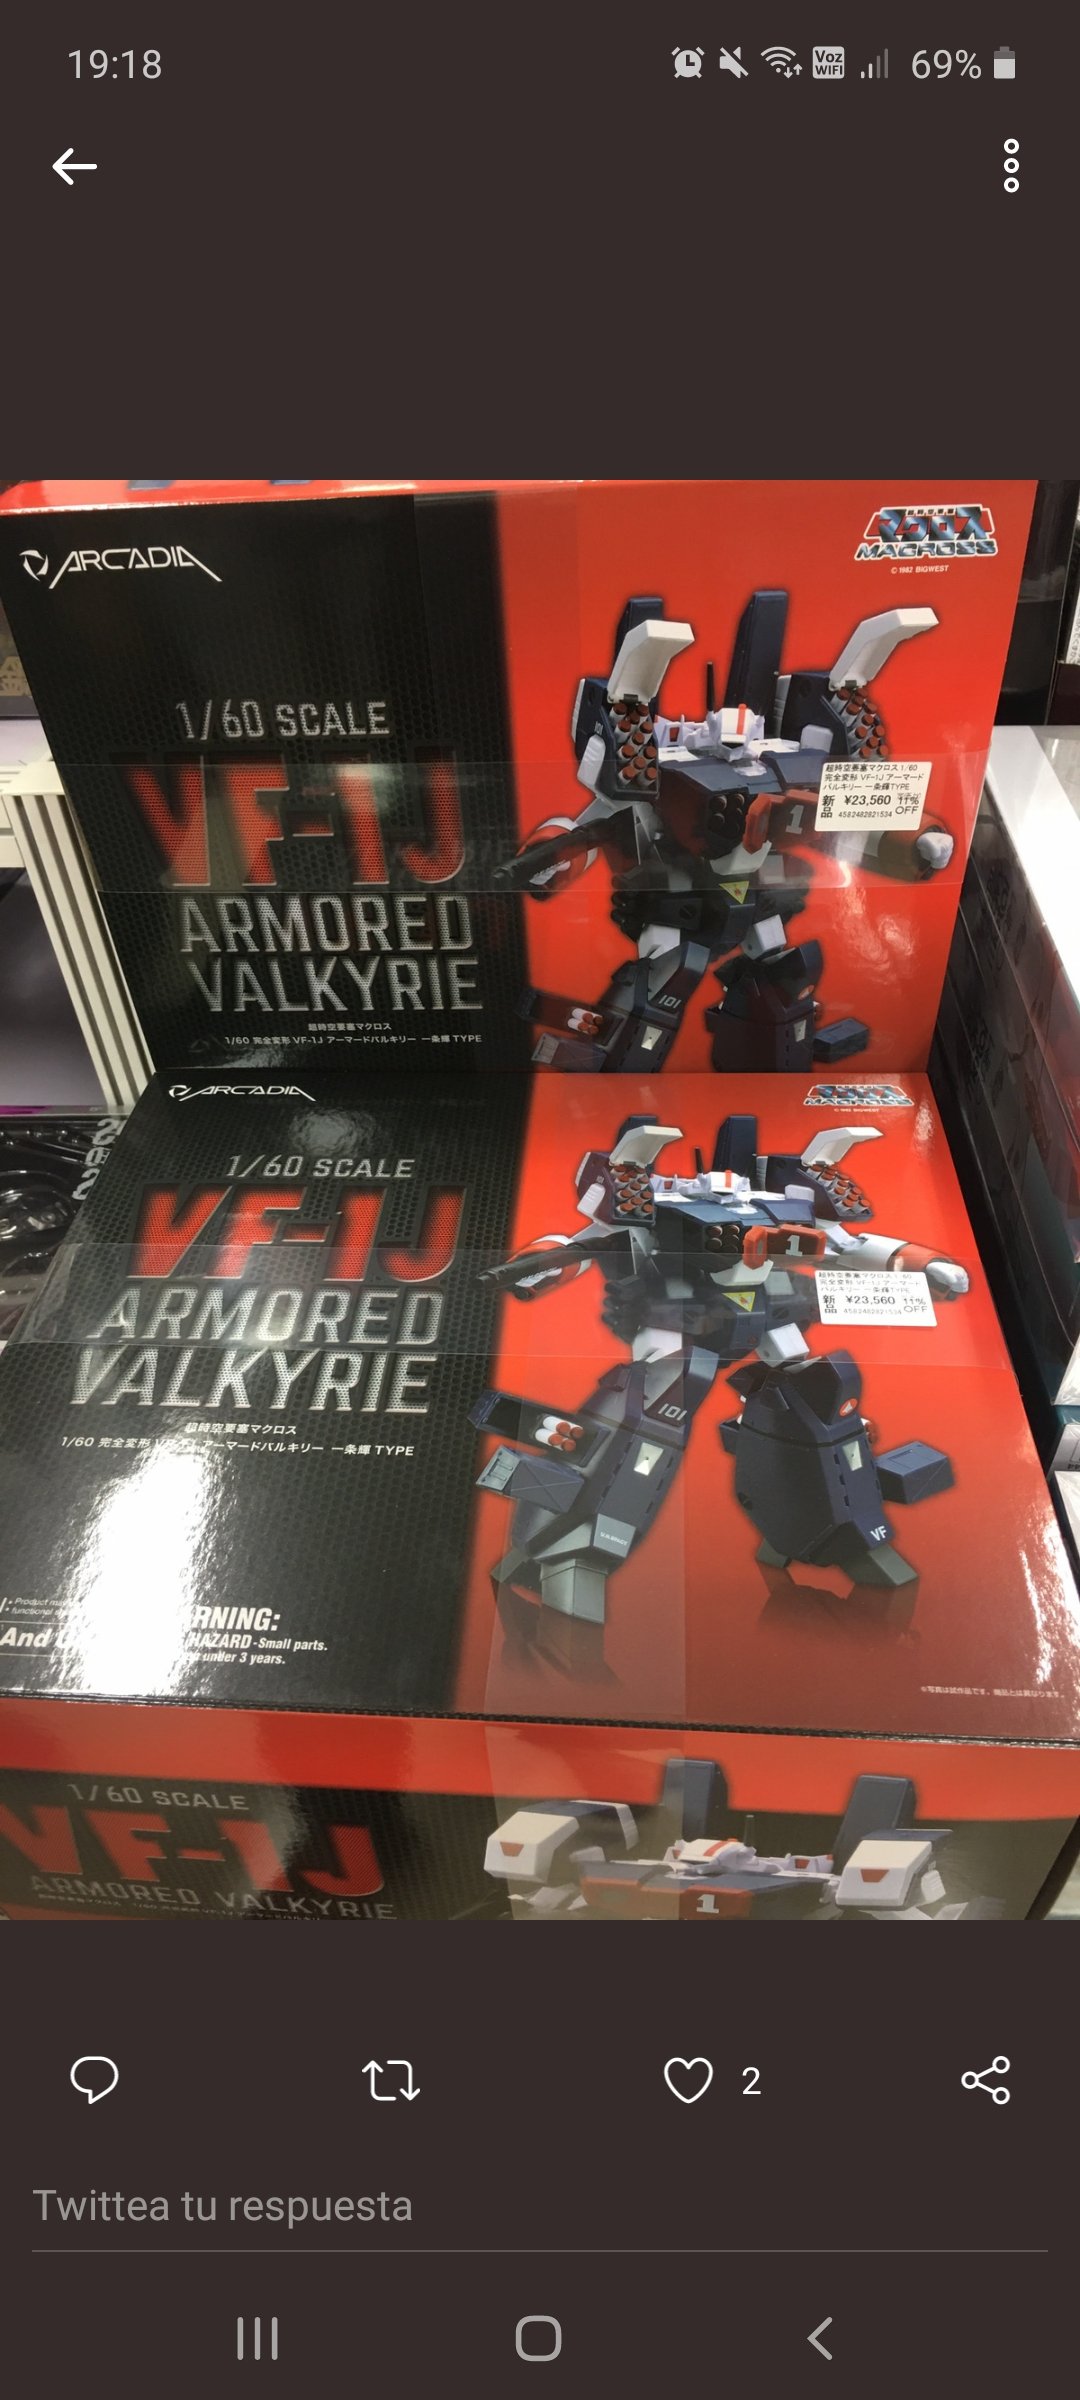
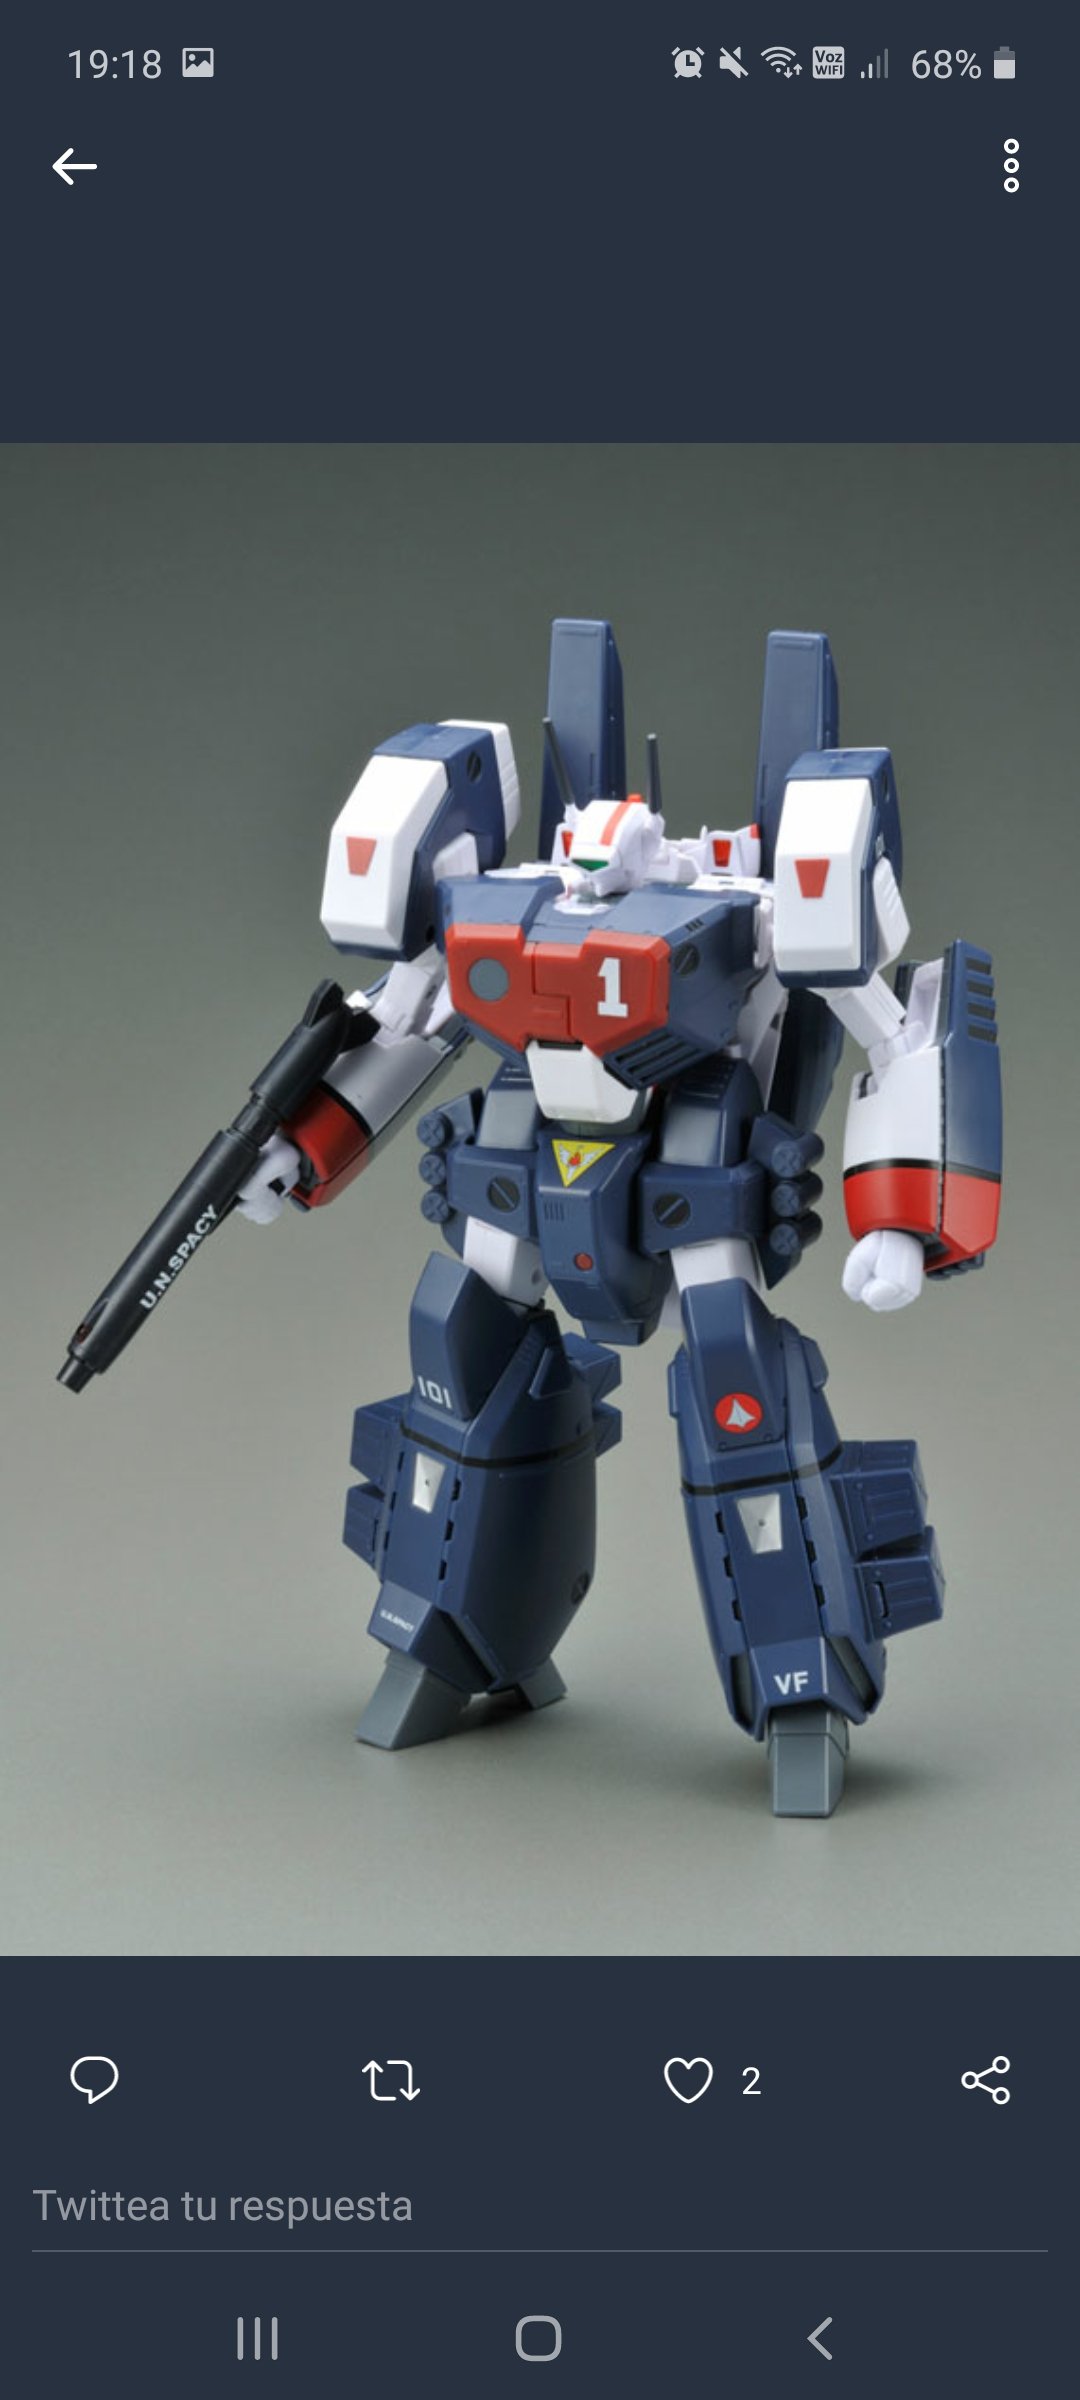
I got this pics from Twitter.
-
Got one...thank you.
-
-
FJ cancel my PO (like many Said it) but got one on AE.
-
1 hour ago, seti88 said:
Got the FJ cancellation and refund on the way.
If bandai dont want my moolah, it be silly to force it down thei
FJ just sent me payment request.
-
1 hour ago, VF-Zer0S said:
Hoping this line works out. Definitely I’m for one.
here’s the link to pre order onehttps://www.amazon.co.jp/gp/aw/d/B089M2QTN7/ref=ppx_yo_mob_b_track_package_o0_img?ie=UTF8&psc=1
Got 2 of thoses last night...no PO madness this time.
-
8 hours ago, RedComet said:
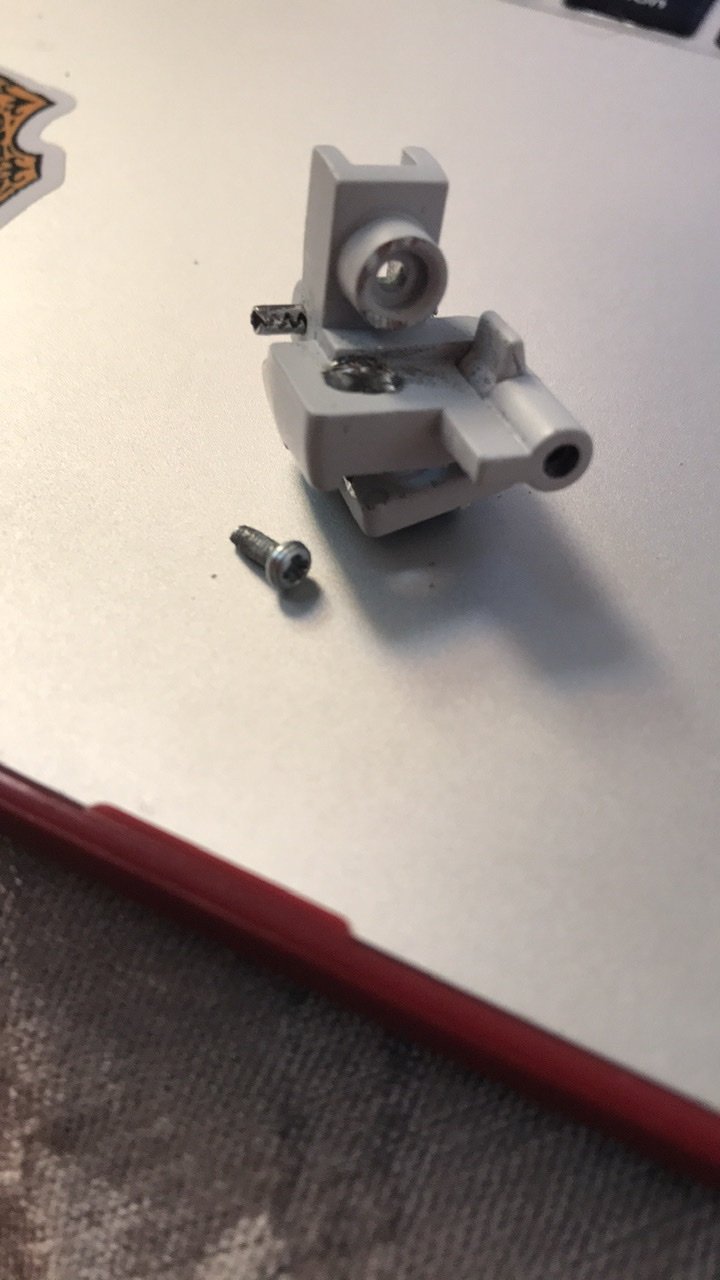
I fixed mine after getting some advice from a guy on FB. First, get yourself a baggie of this exact size tiny screw It’s Only 1mm longer than the original, but makes a big difference (Found mine at the Home Depot, <$1 for 2)

Put loctite on it, let it sit for 30 minutes while you do the next step.
then you will need to disassemble the leg, starting with the cover as said. After that screw is out you have to gently but firmly pull the thigh apart. This will give you access to the gray accordion looking piece of plastic. There is a screw attaching that to the metal part of the hinge, unscrew that.
Now comes the really fun part, bend the hinge out as far as you can, then With the side that broke off flat on the ground, take a drill and drill down as straight as you can (Which will kind of go through the hinge top piece of metal at a diagonal angle directly towards where the screw is to make a hole just wide enough to put a small Phillips head screwdriver through. (Sorry the picture isn’t a bit better) Then it will look like this. This will let you actually put in a screwdriver in a way that will let you turn the screws you need to turn to fix the break.
Then before actually trying to reattach it to the top piece with the new screw, I would undo the three screws that hold it to the hip join. Now you should be able to re-screw it in, one of my tabs was broken so I also applied a good amount of modeling glue that is supposed to be able to bind metal to plastic All around where the screw goes in the hole, but not in the actual hole itself, which is what Loctite is for. Line the screw up, gently re-screw it into the hole, it should connect snuggly, and let that part all dry for an hour. Then just carefully reassemble everything. It isn’t what I would call an easy fix, but better than just writing off a $300 figure right?
Great tutorial...can you do a video?...:) thank you.
-
This is what I got from delta.

-
release date ....march 2020.
-
NY just Shipped my legs part replacement.
-
Nice...Thank you Ignacio.
-
10 hours ago, EmilianoAlfaro said:
Como estas Ignacio, podrias decirme cual fue el proceso exacto? Lo desarmaste? aplicaste igual en partes pintadas o de color? voy a realizarlo en un vf-1a 1/60 de kaki. Saludos!
tengo la misma consulta Ignacio...ademas que producto compraste?...una marca conocida en Sudsmerica?
-
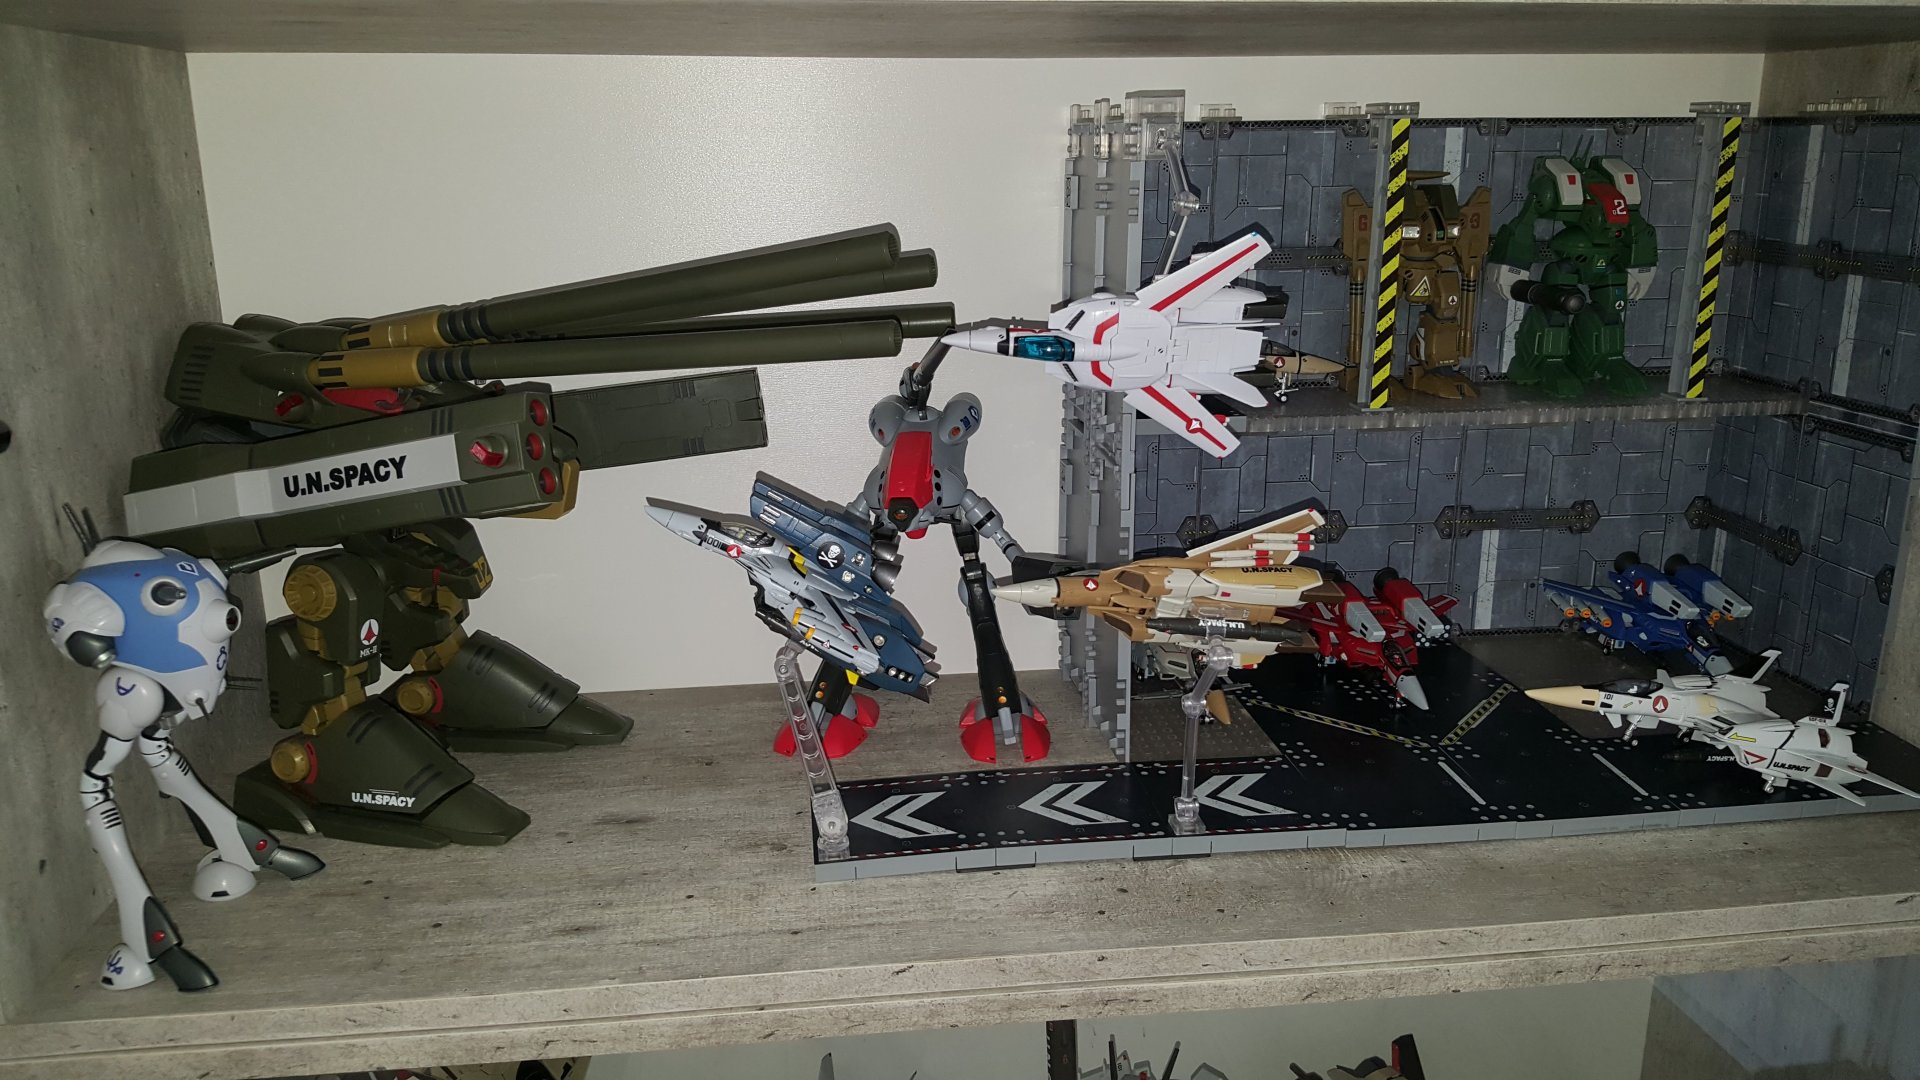
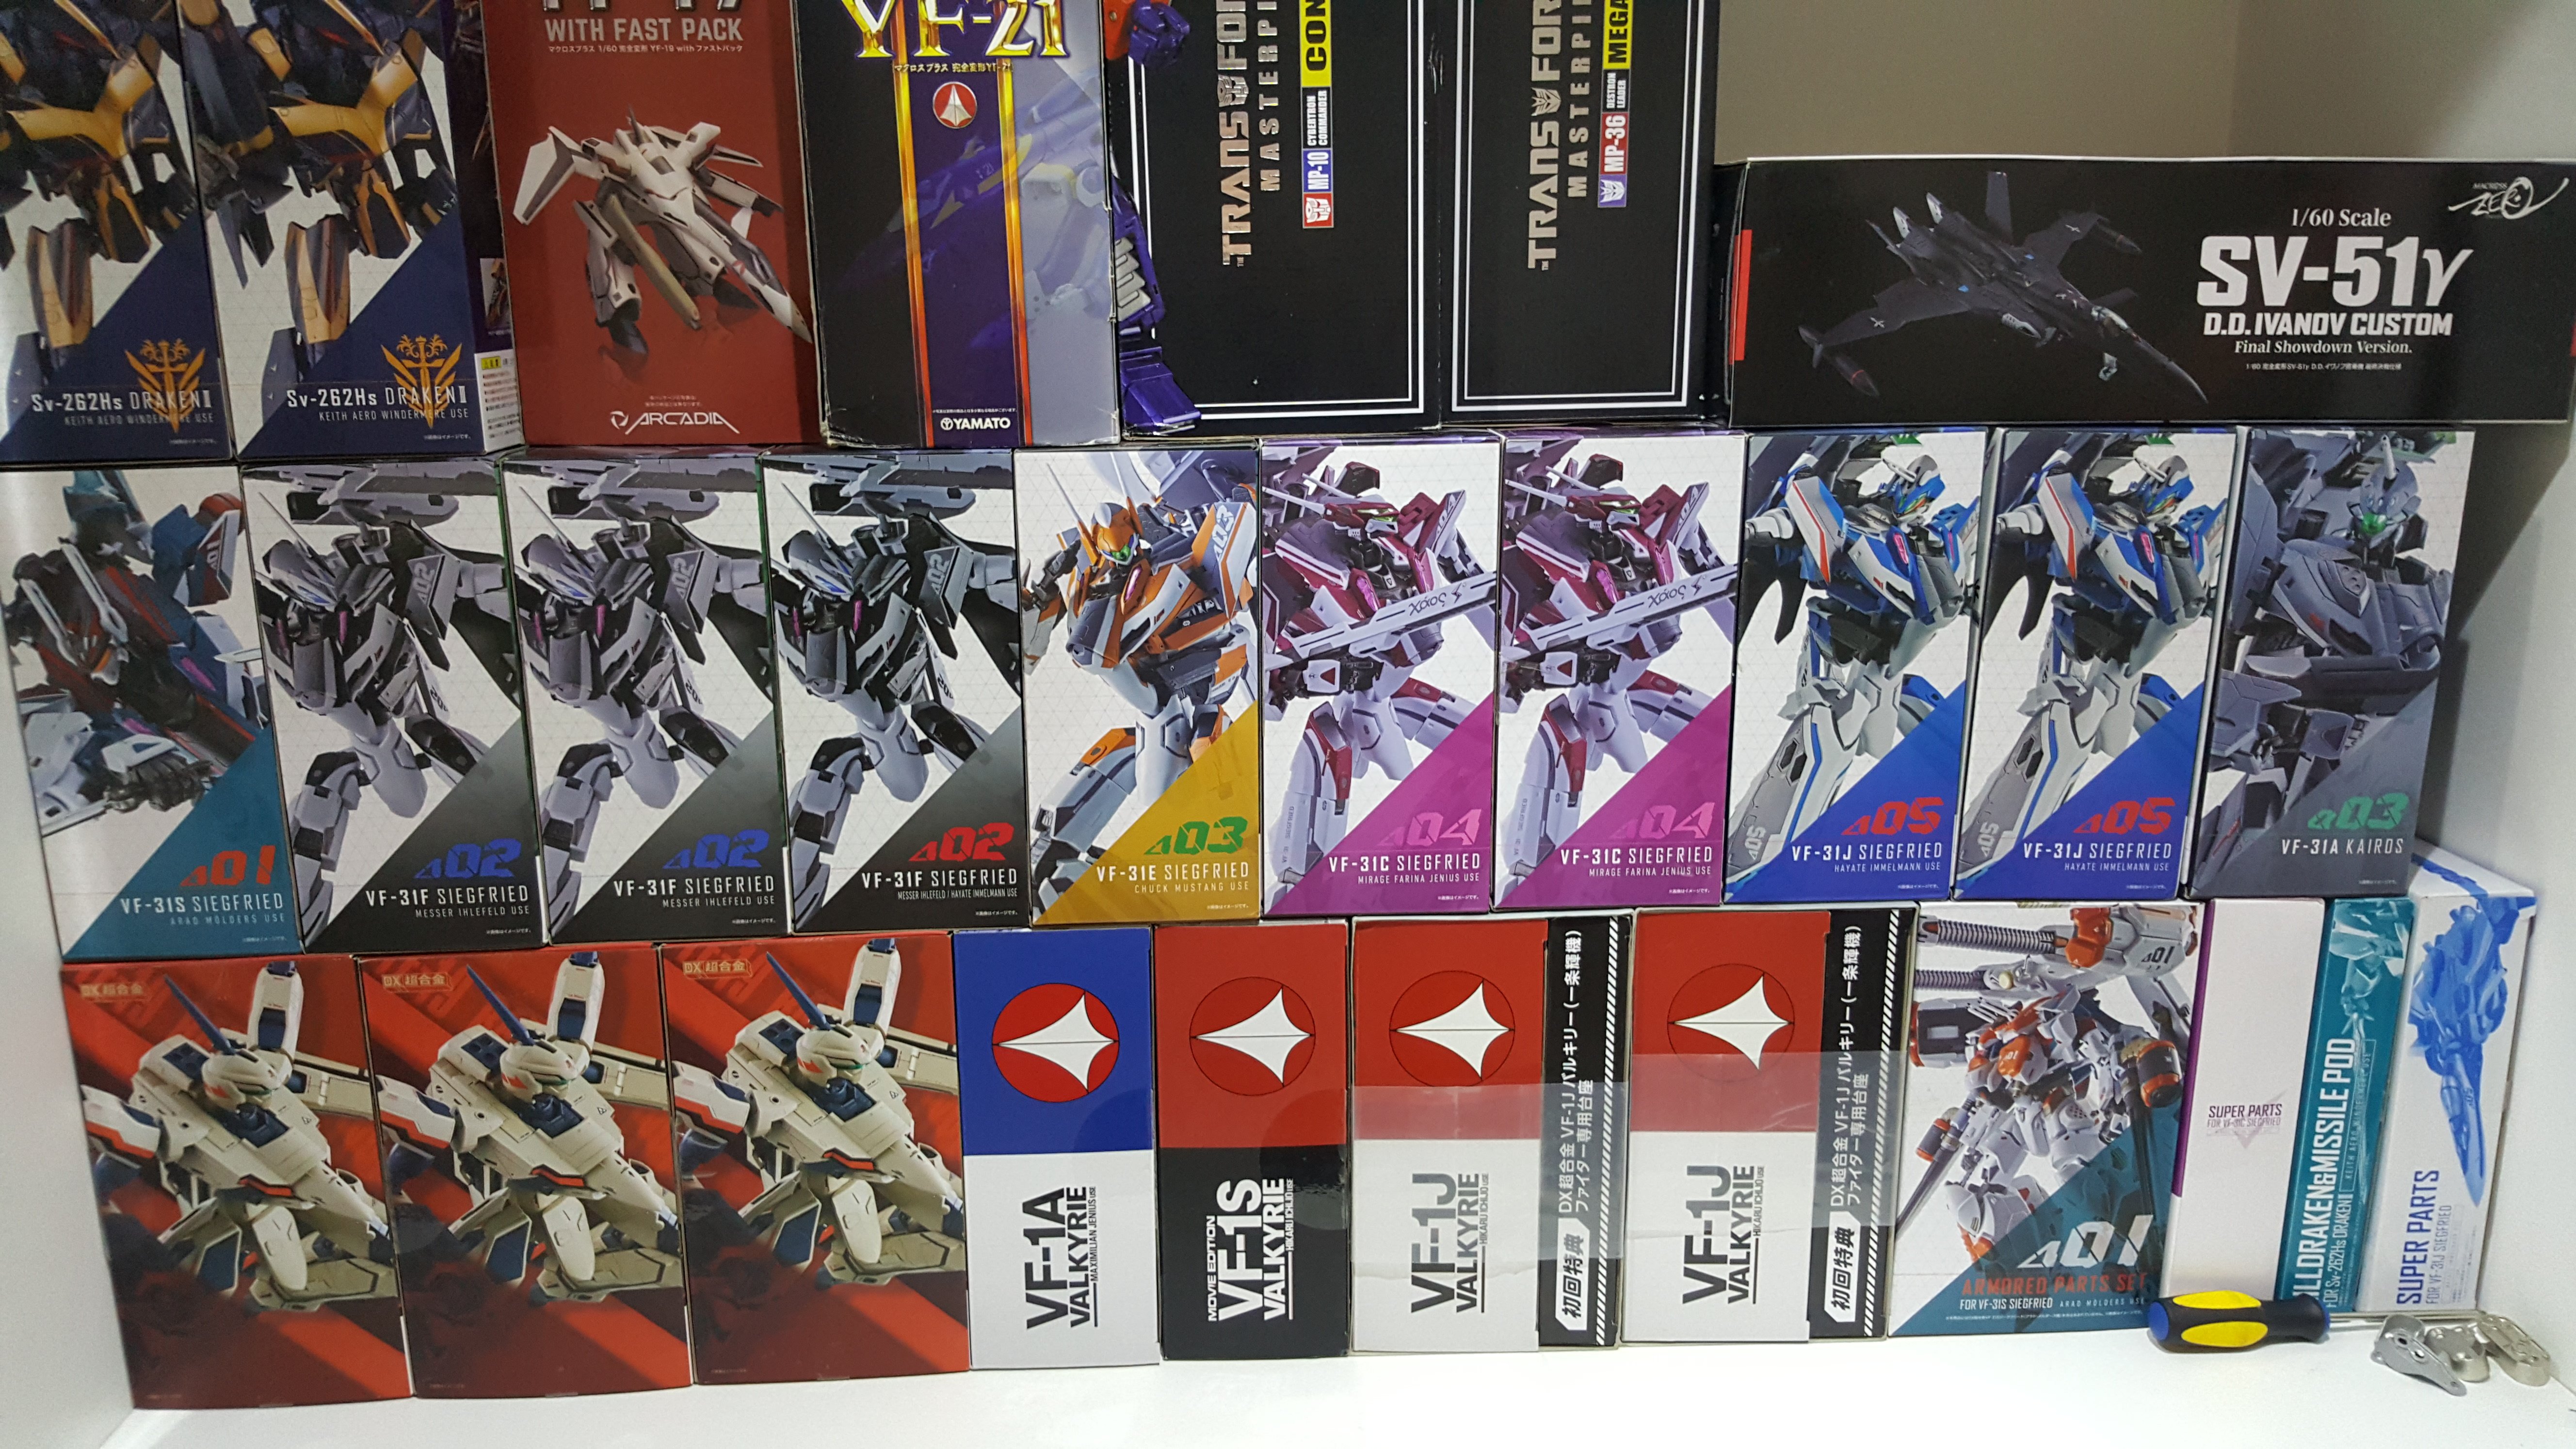
The whole squad....Display only?
-
Arcadia is shipping the replacement parts.
-
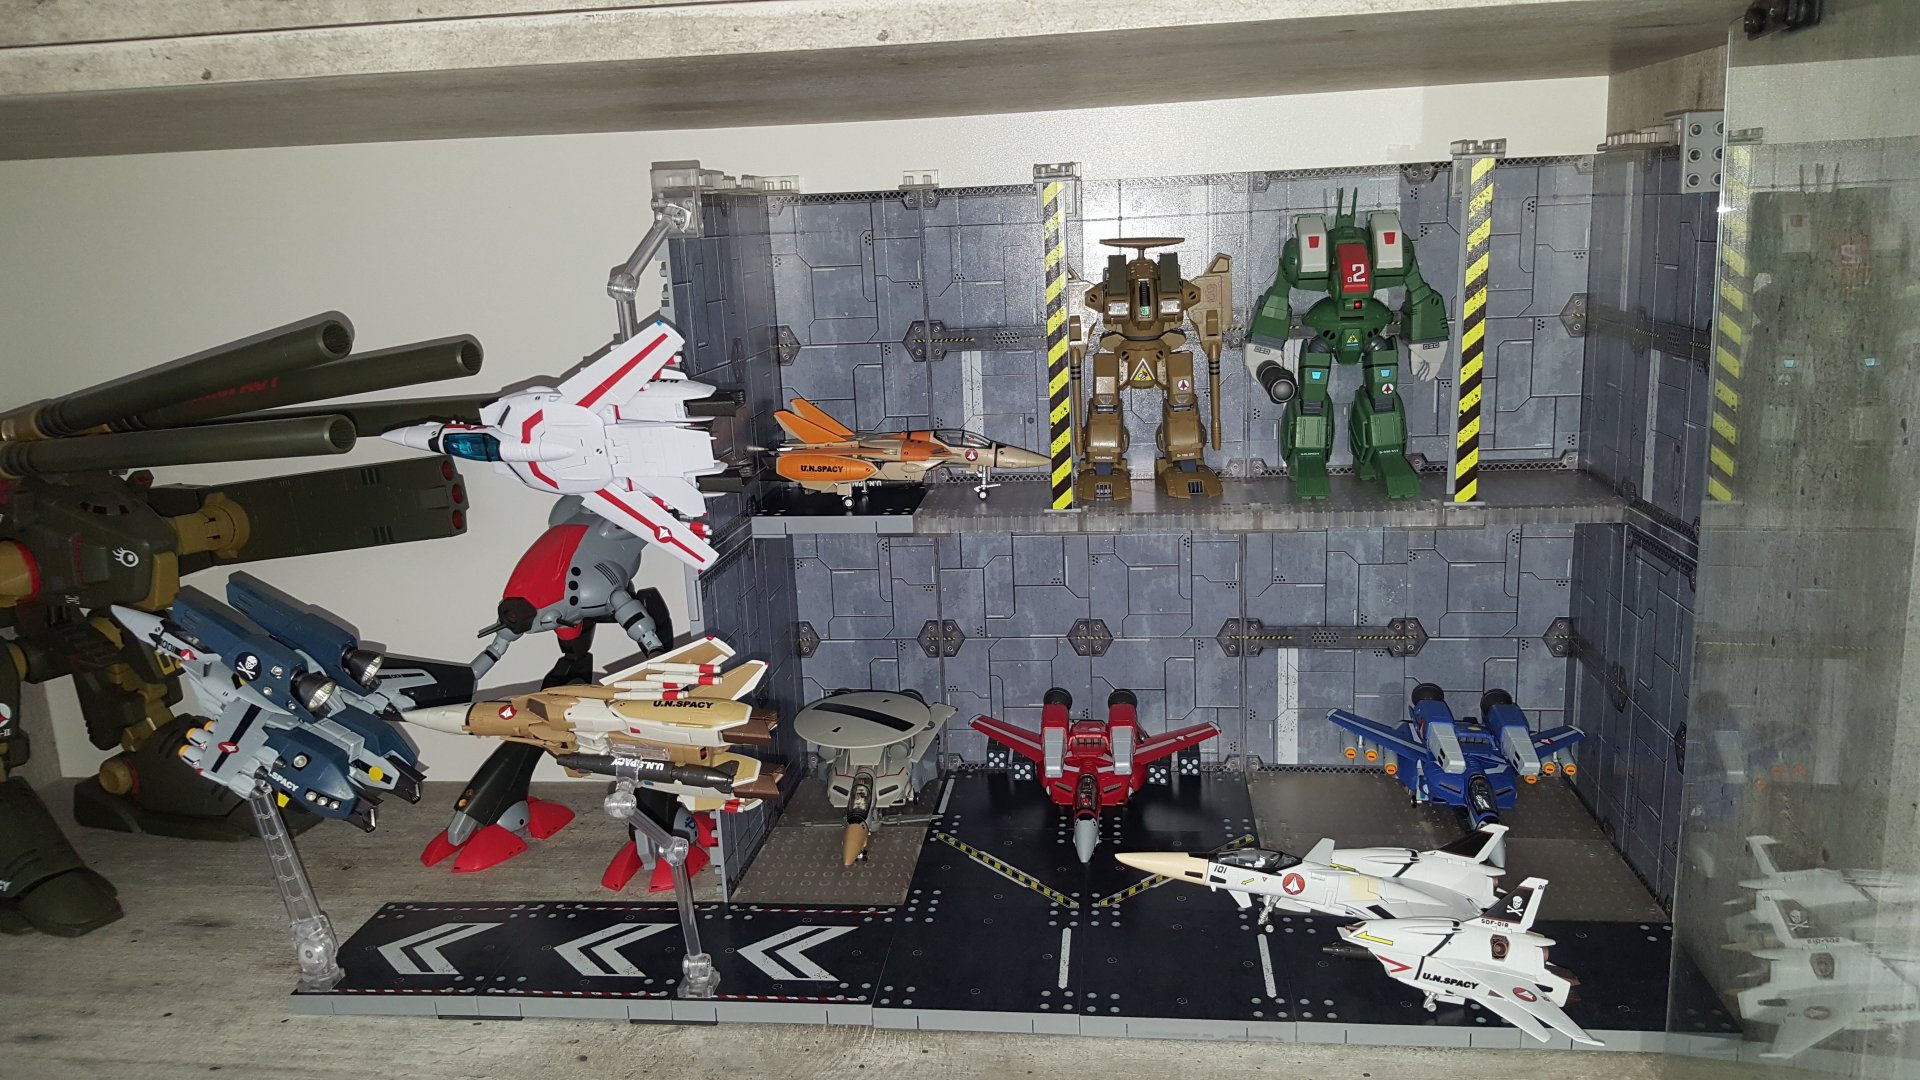
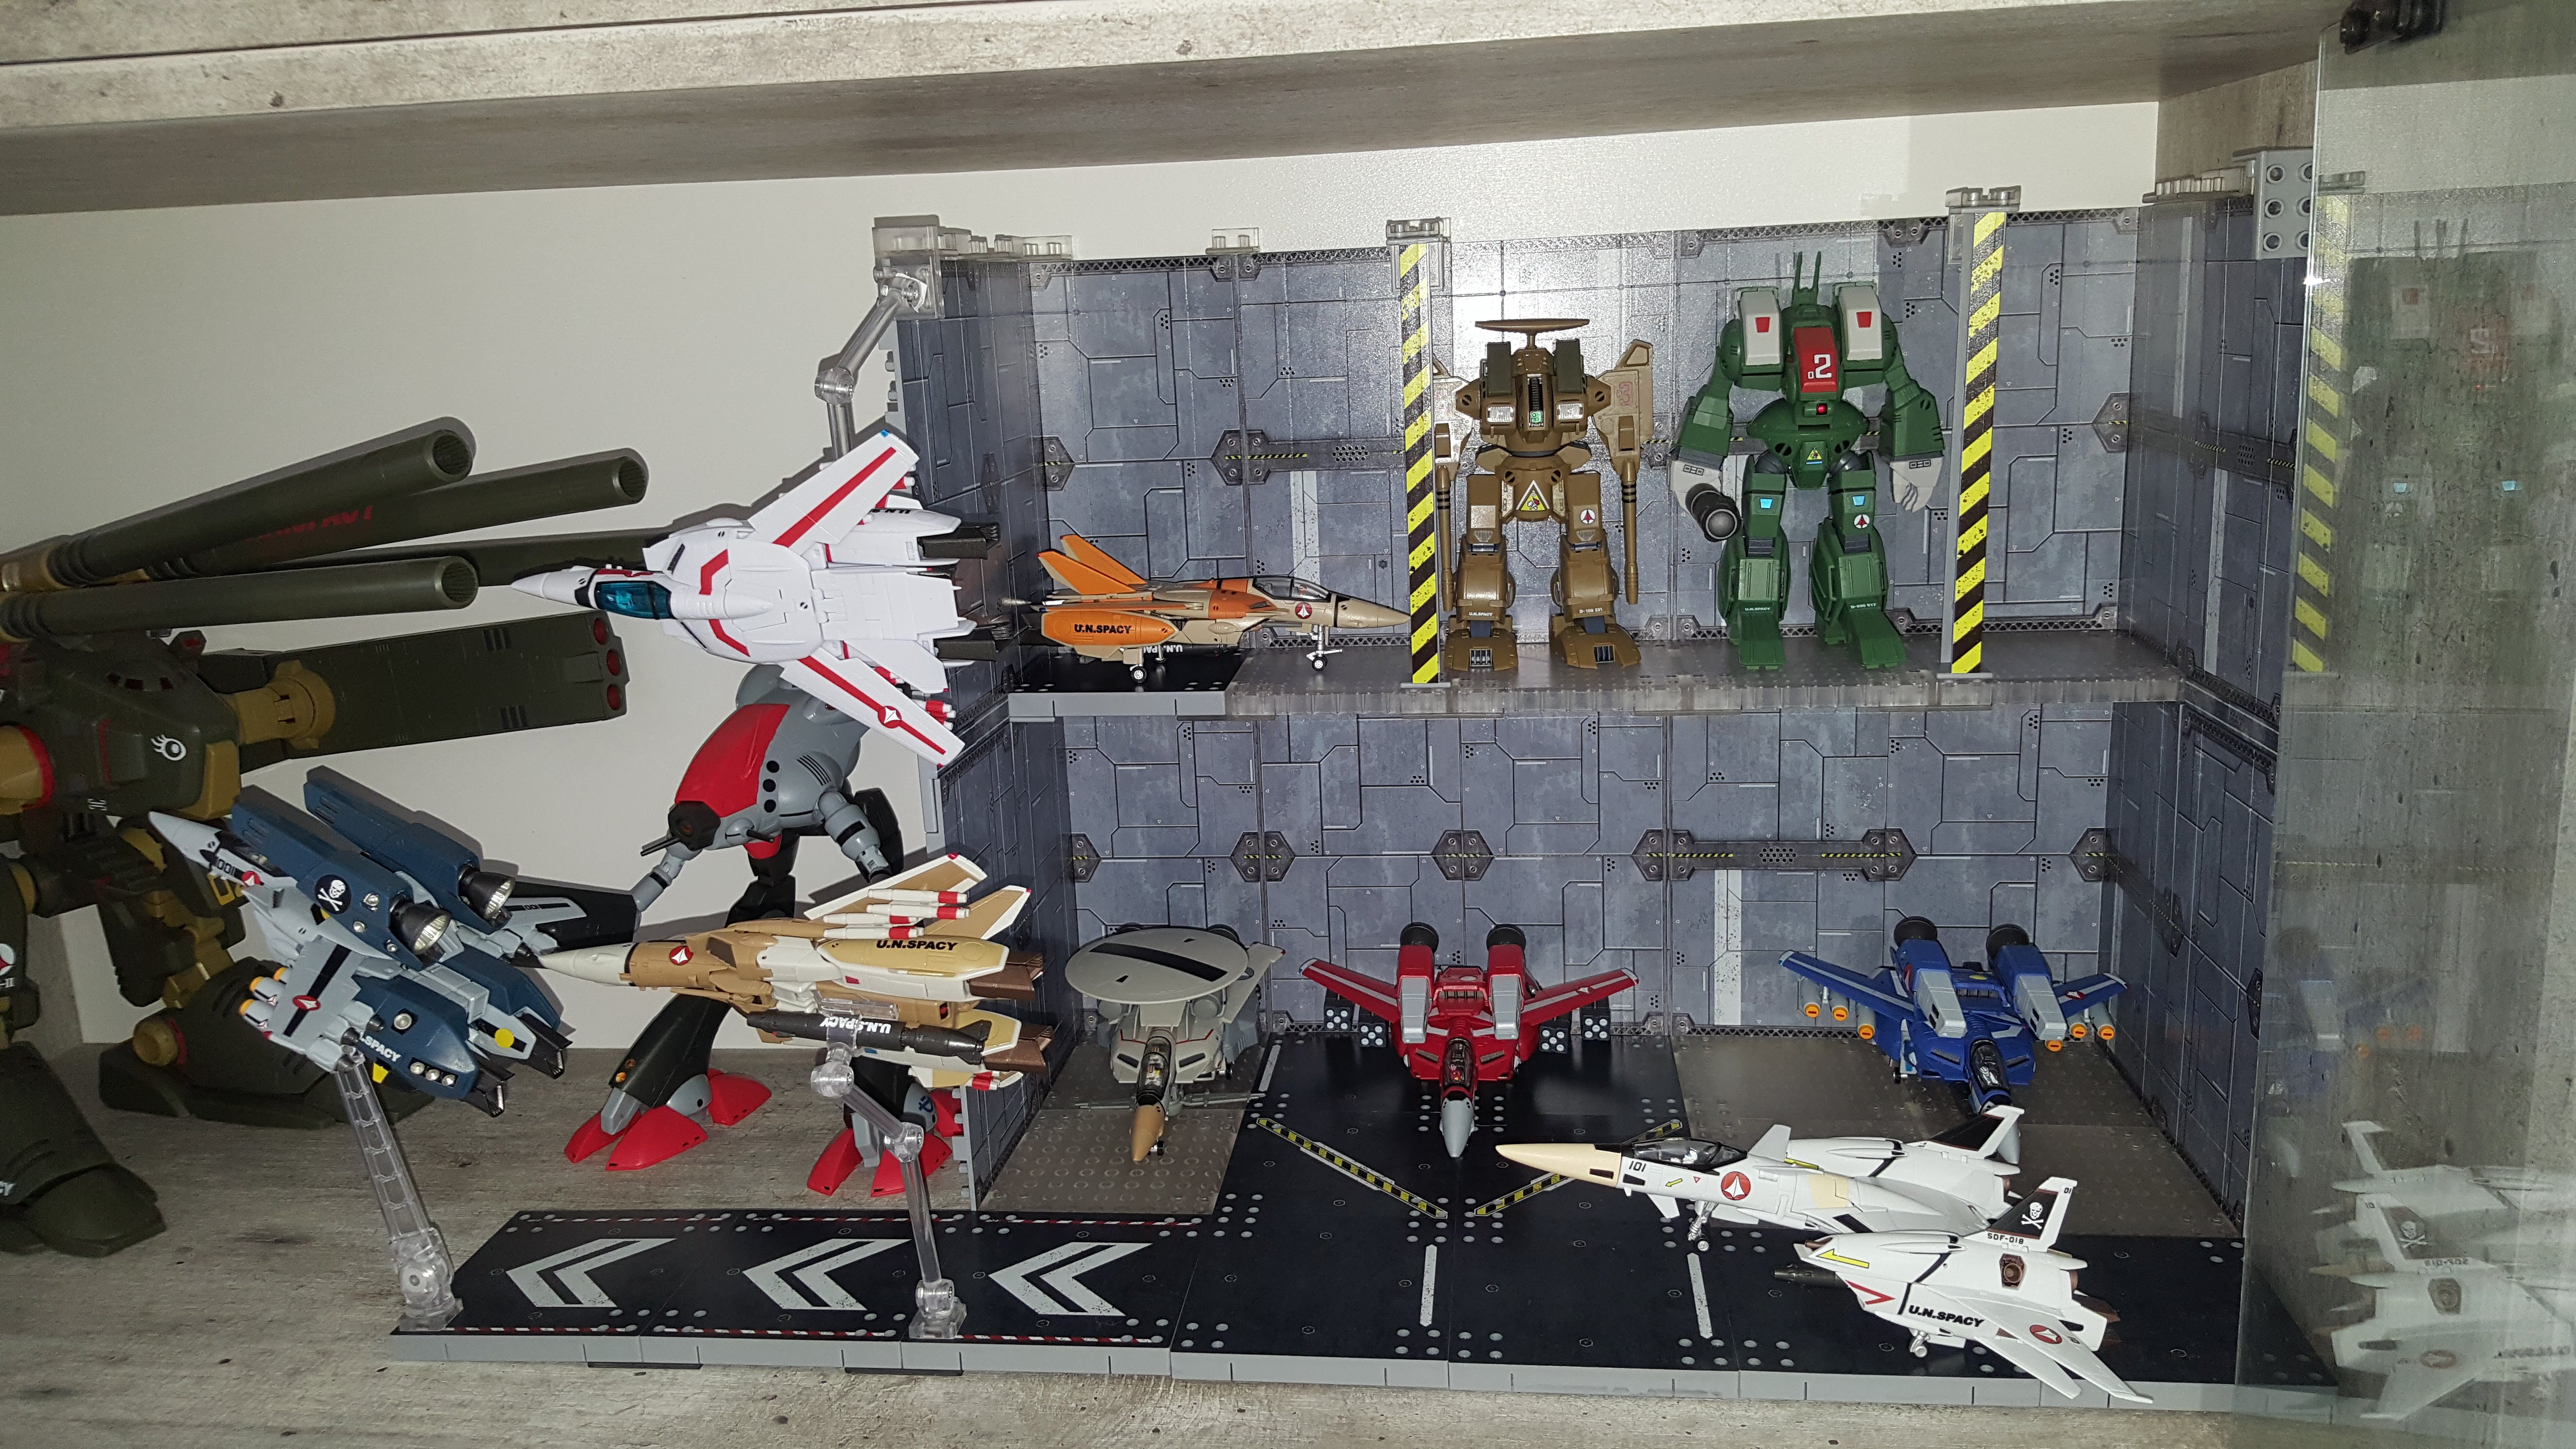
After a few days...I make a configuration for my HMR toys. Only have 1 set.
-
double post.
Sorry

MacrossWorld's PO Thread - NEXT PO of 2024 will be 4TH at 4PM JST...HI-METAL R VF-4 Lightning III - Flash Back 2012...a WWM Release...POST LINKS TO AVAILABLE PO's and KEEP DISCUSSIONS ON POs HERE
in Toys
Posted
Thank....got one