Search the Community
Showing results for tags 'ship'.
Found 2 results
-
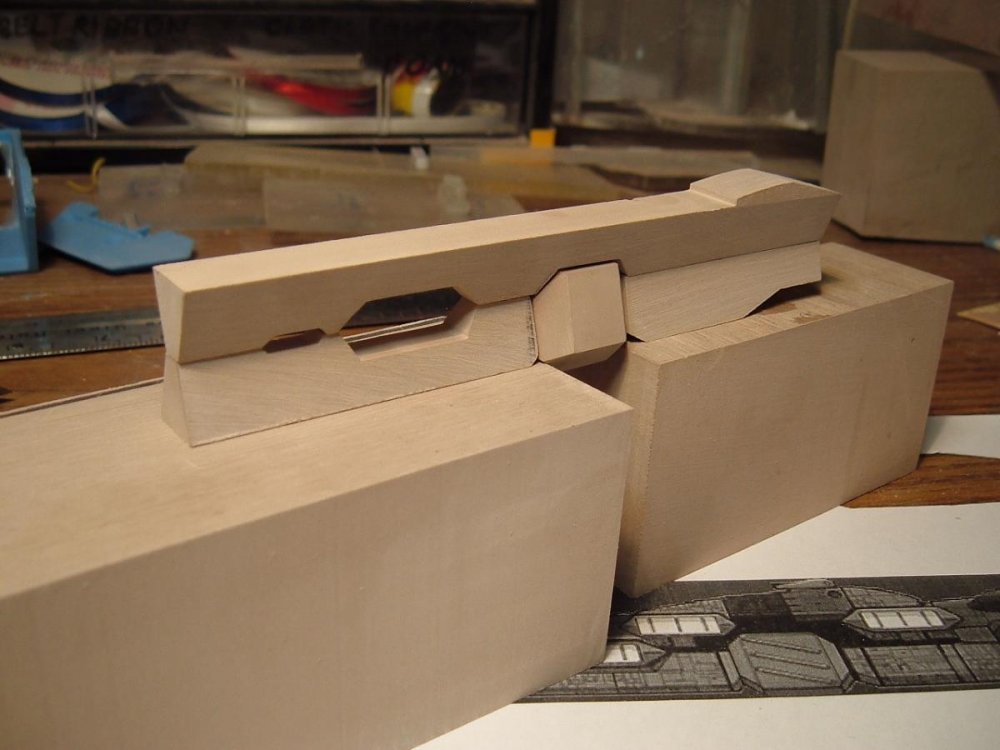
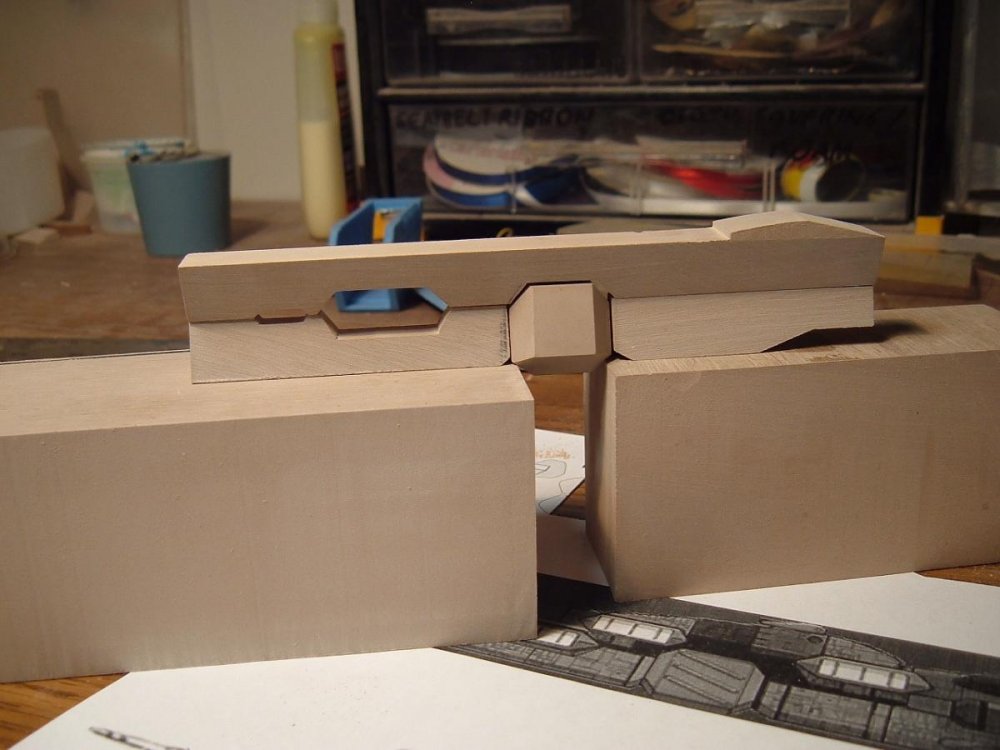
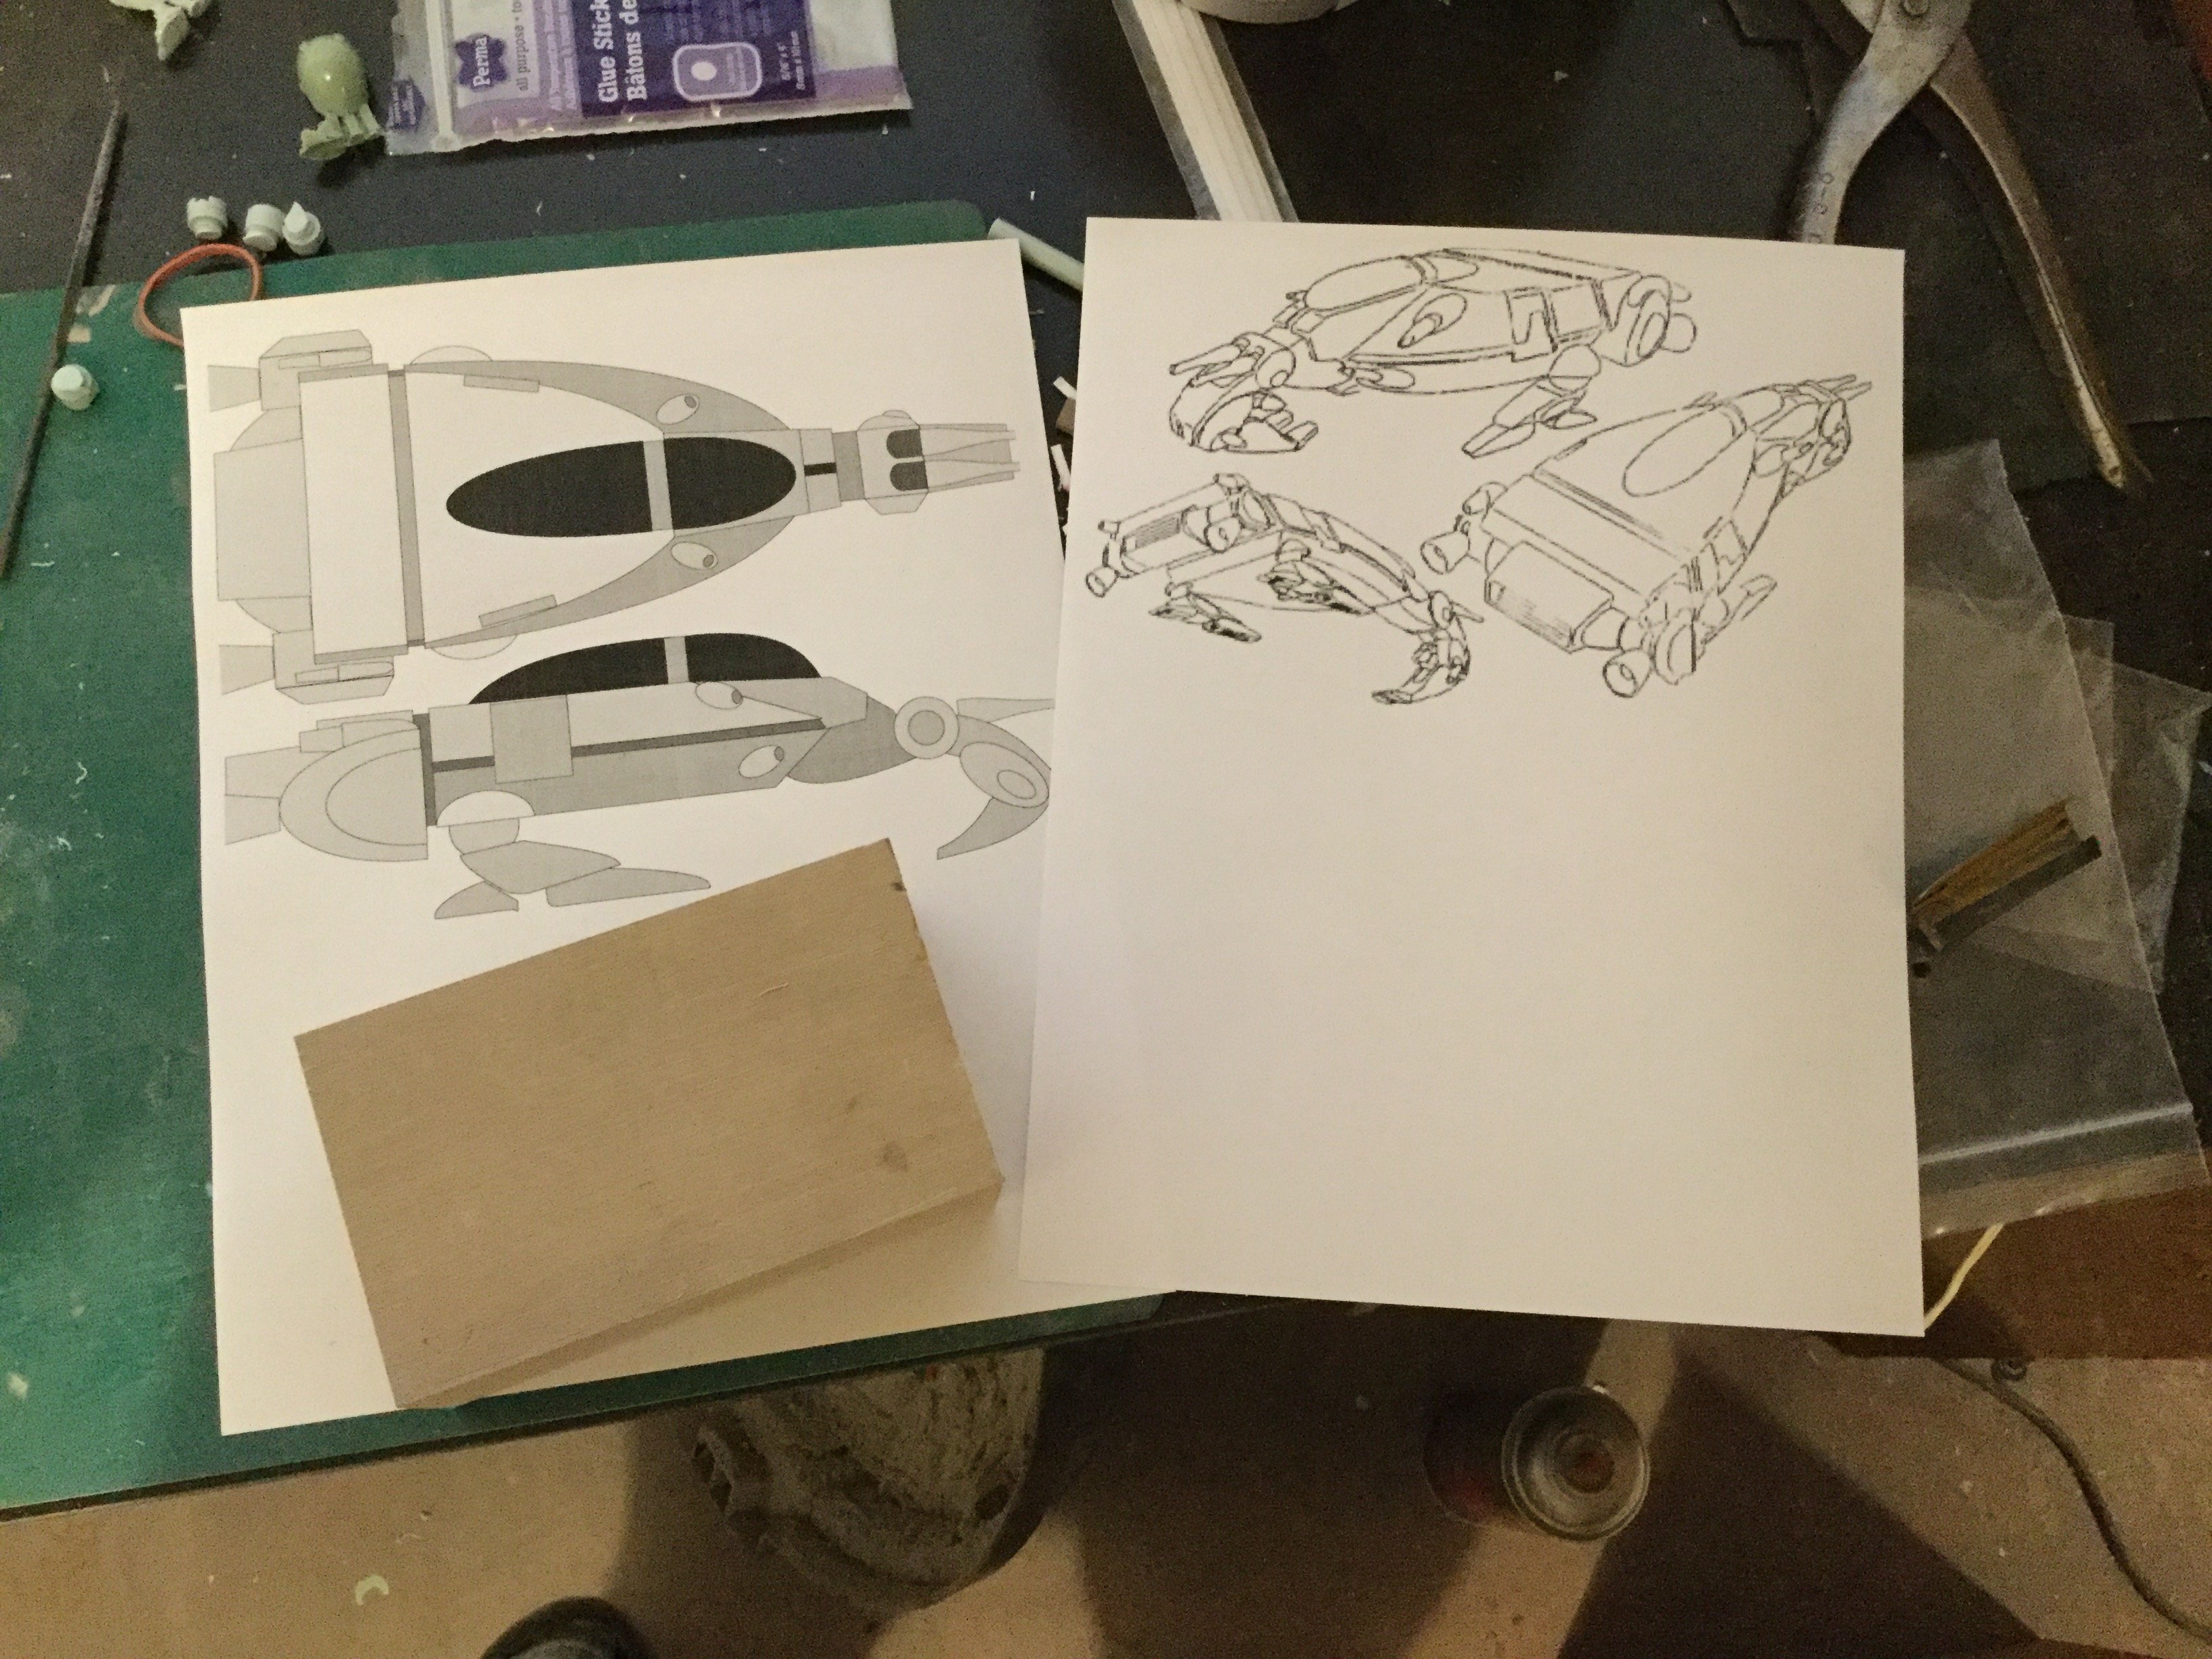
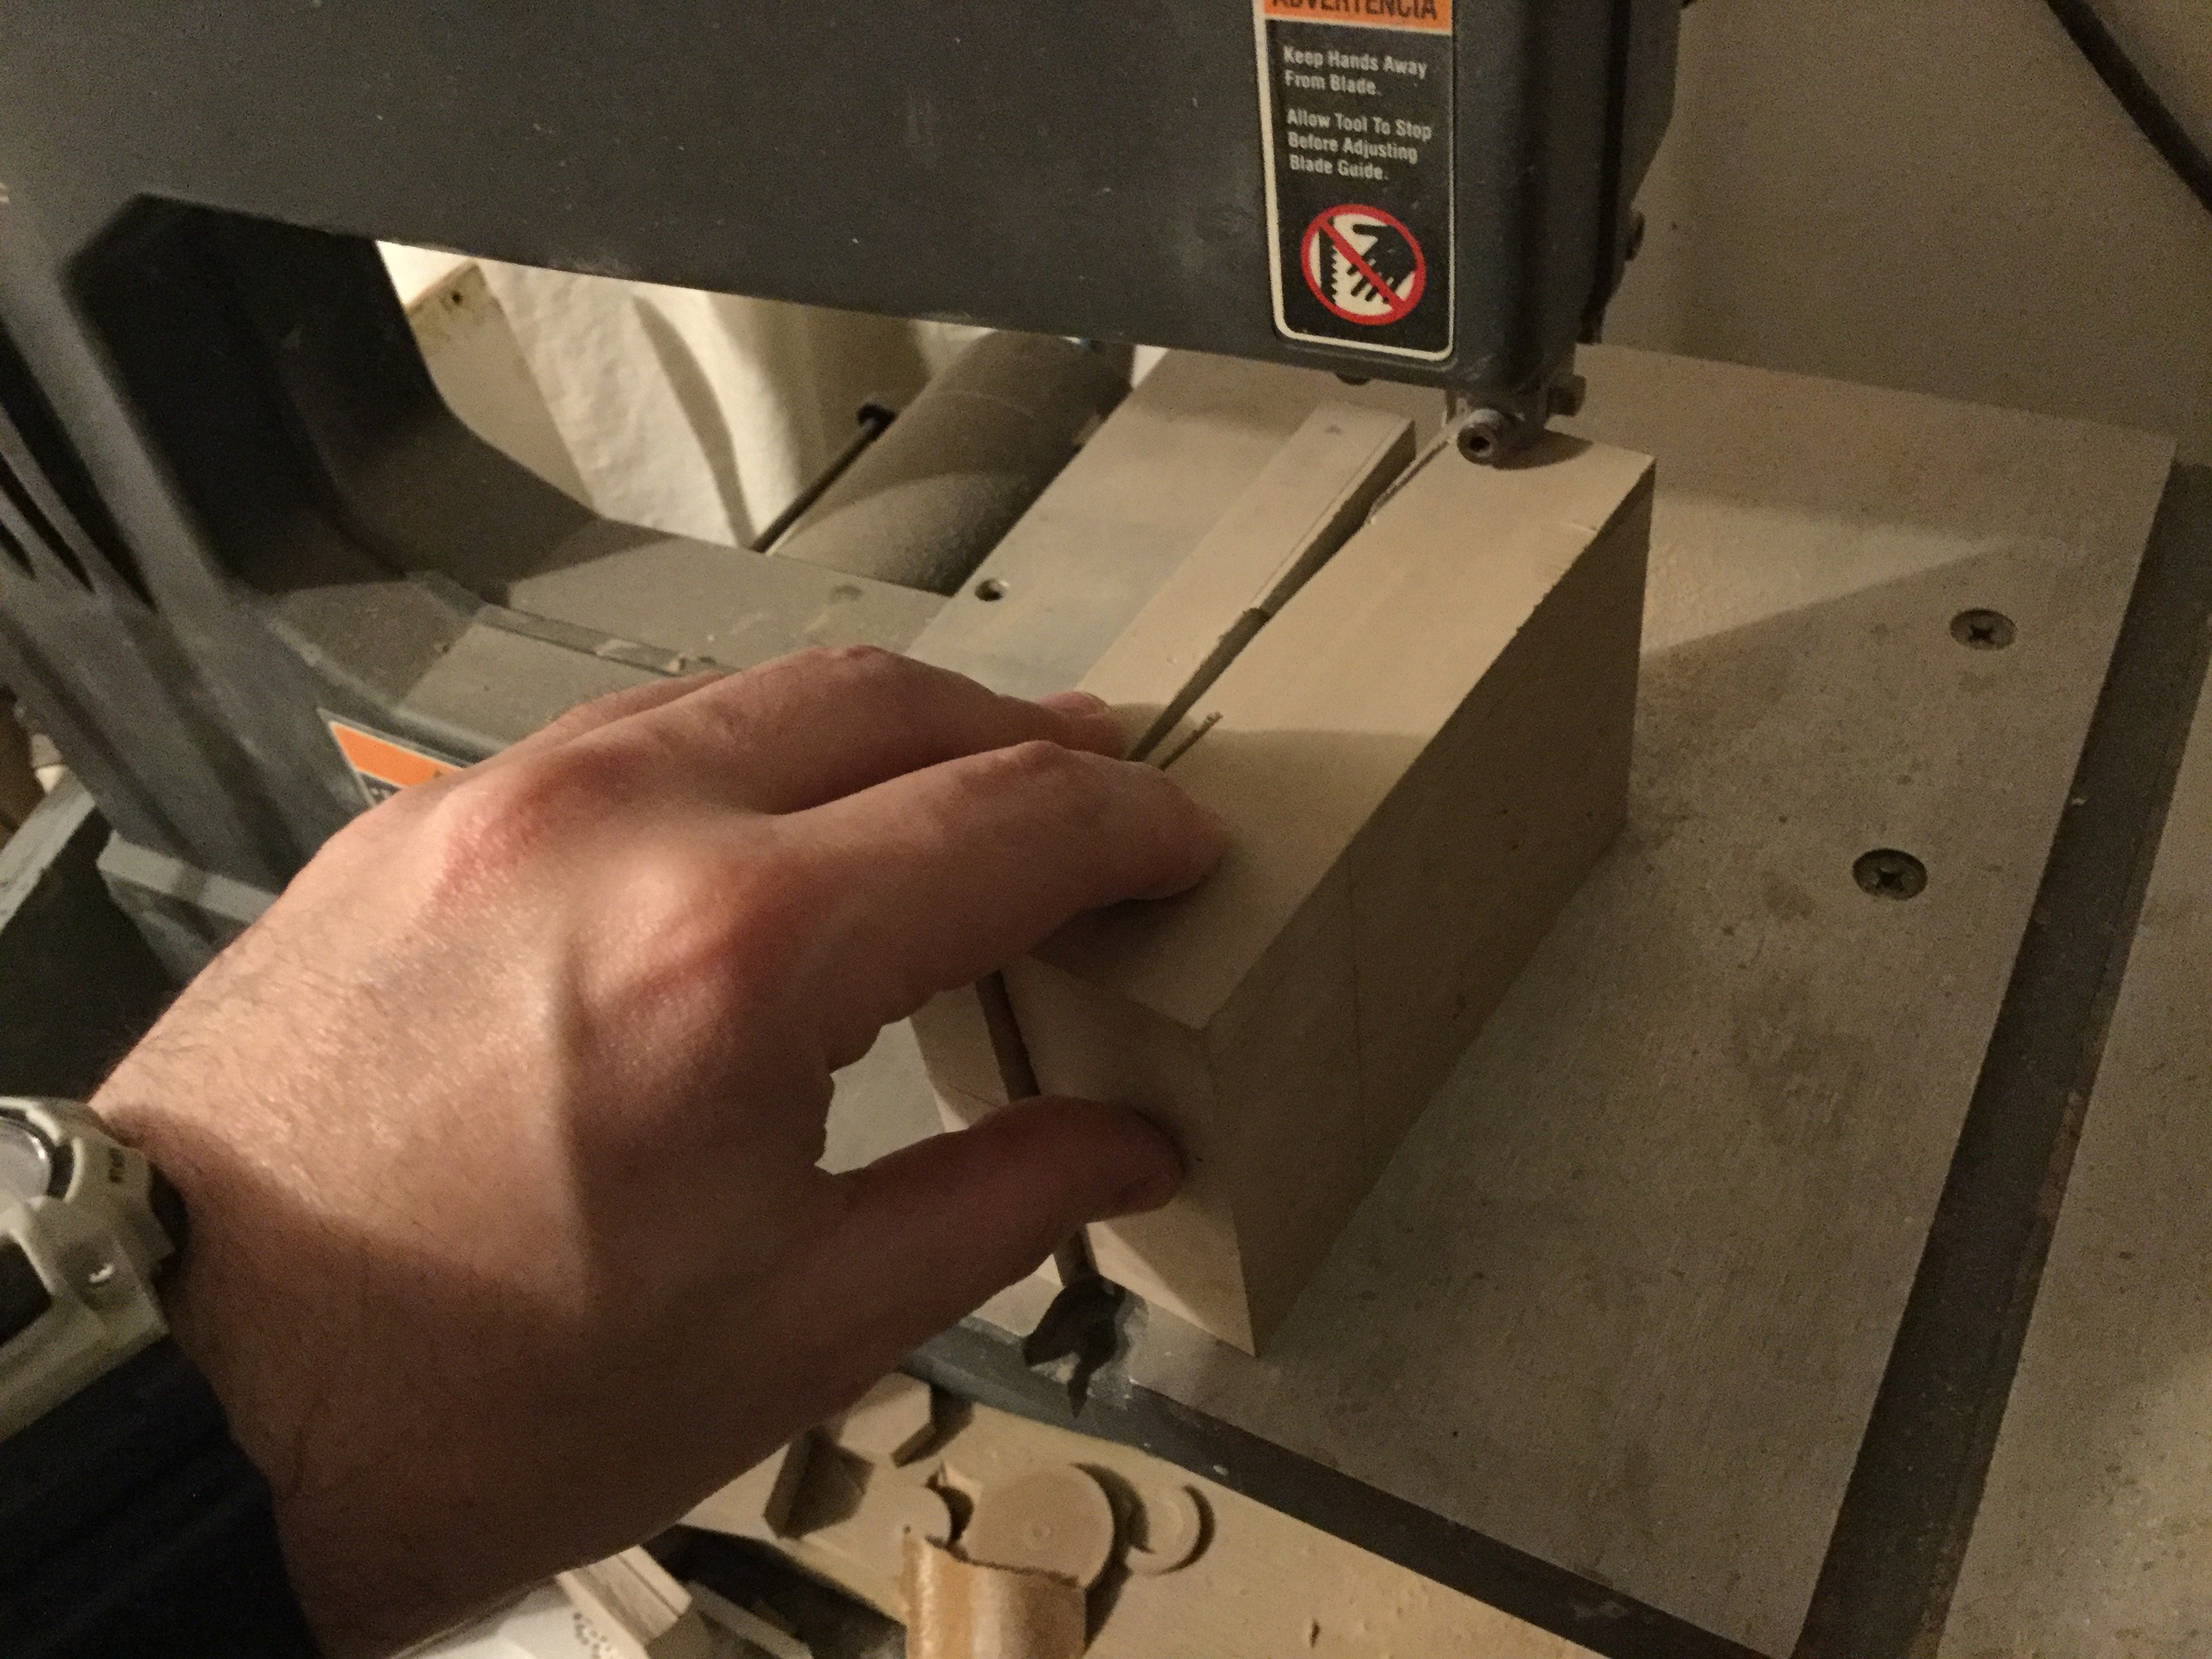
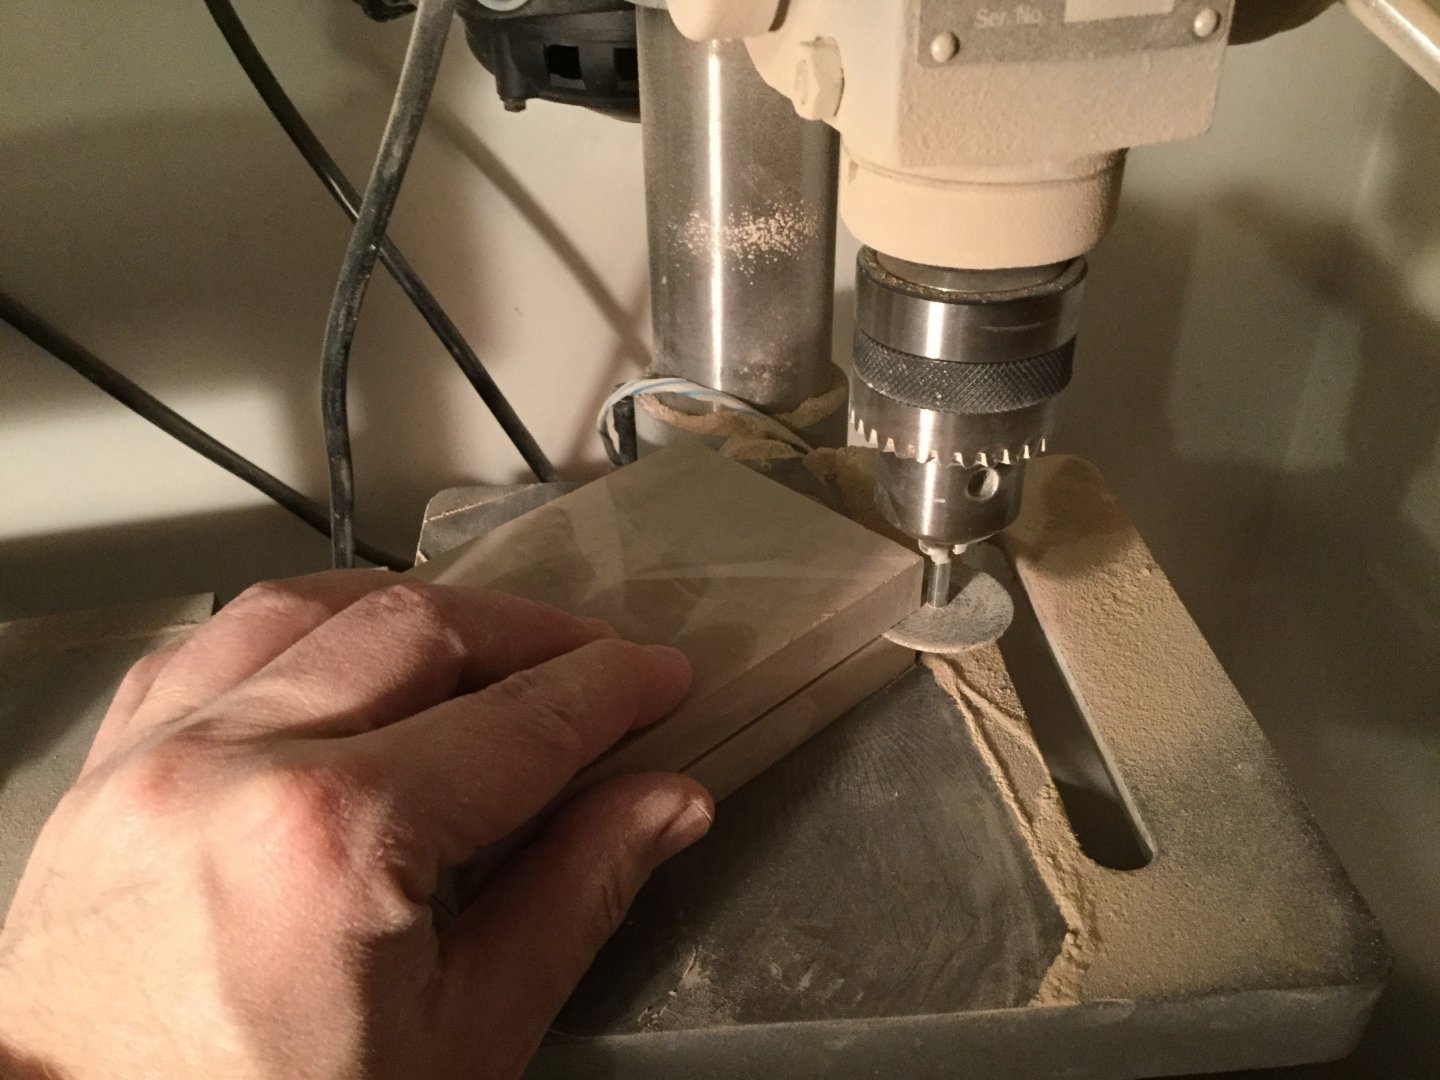
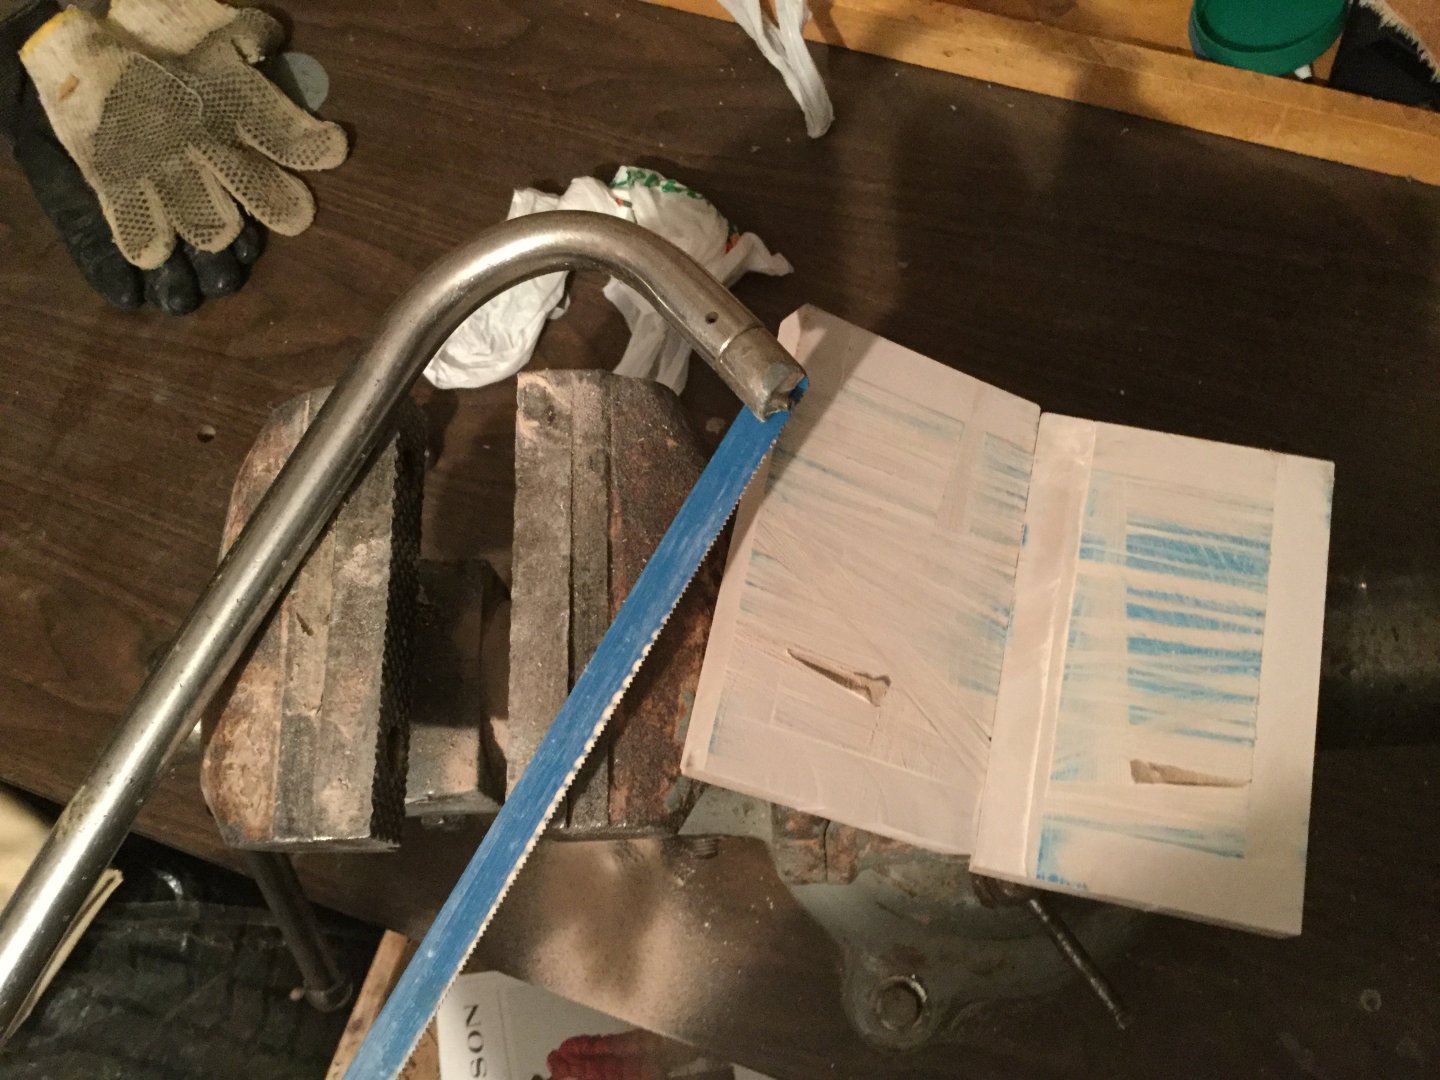
Captain’s Log: Friday, October 10th. Southern-Cross garage kits are among the rarest of the rare, assuming there are any out there at all. A while back, I was approached by a fellow MWer about mastering the patterns for the Bioroid drop-ship. It seemed like it would be a fun project, so I gladly accepted. So as with all projects, I begin by drafting some basic technical drawings from which I can carve parts. As is to be expected from line-art of that by-gone era, the different views of the ship don’t even correspond with each other, and this case is a particularly bad one! So after a bit of back_&-forth with the client, I finalize the diagrams and can now begin making a mess in my workshop! I had a block of modeling board, but the edges were rough so I had to mill it down to create some square edges. The block is so large that I had to get « creative » just to be able to work on it (pic 1) Now I have drawings, style-sheet reference, and a block of modeling board: watch me turn this block into a finished set of masters in 30 days or less! (pic 2) Pic 3: the block is so large that it just barely fits under the bandsaw at maximum clearance: problematic, but not insurmountable. We will take the long road… Pic 4: I use my trusty drill press with a cutting wheel mounted. Since I can’t cut all the way through such a large part, I settle for notching the cut mark all around the part. Pic 5: time to break-out the hack-saw and manually cut the board! It’s a long, tedious process, but it must be done. Pic 6: the cut came out a lot rougher than I would have liked, but no worries. Back to the drill press, this time using a grinding stone to level the surface of the cut and make it perfectly flat. Pic 7: there were still some nasty saw-marks in the board, even after the grinding. To avoid removing too much (very expensive) material, I just use some polyester putty to cover the scars. Easy-peasy! Pic 8: now that I have smaller parts, I can cut them on the bandsaw to remove excess material and begin to shape the parts accordingly. Pic 9: after some grinding and sanding, the parts are starting to come along. I will likely want to fiddle with some of the details as I go along, simply because the line-art is so loosey-goosey and there’s leeway for tweaking to get the coolest looking shapes possible. Stay tuned!


- 22 replies
-
- 1
-

-
- southern cross
- robotech
- (and 3 more)
-
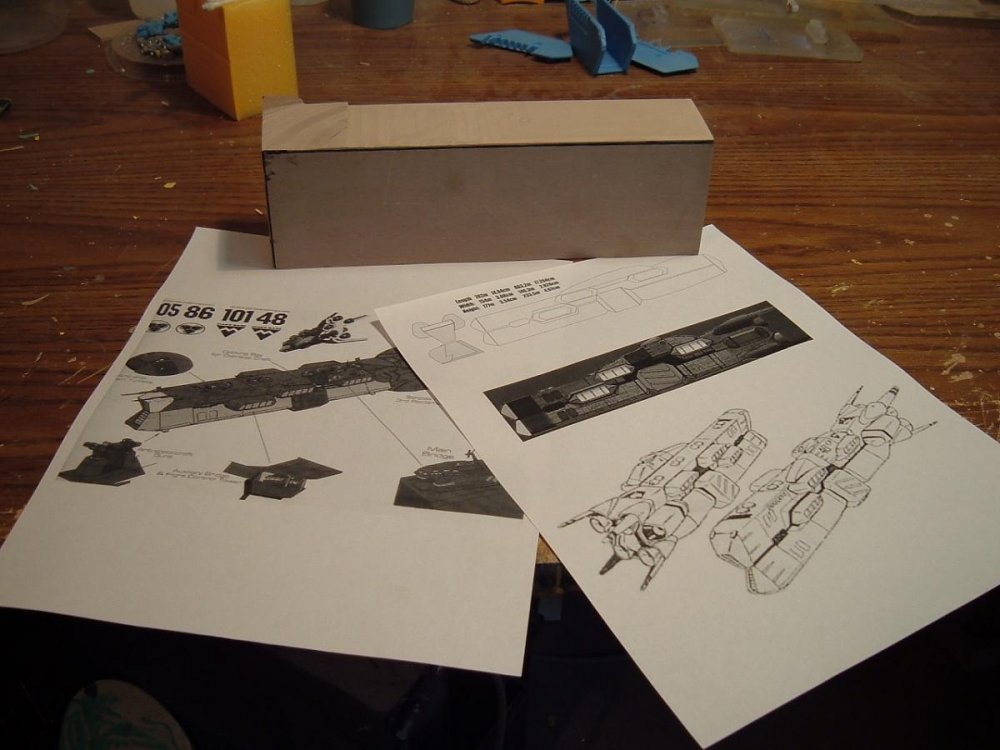
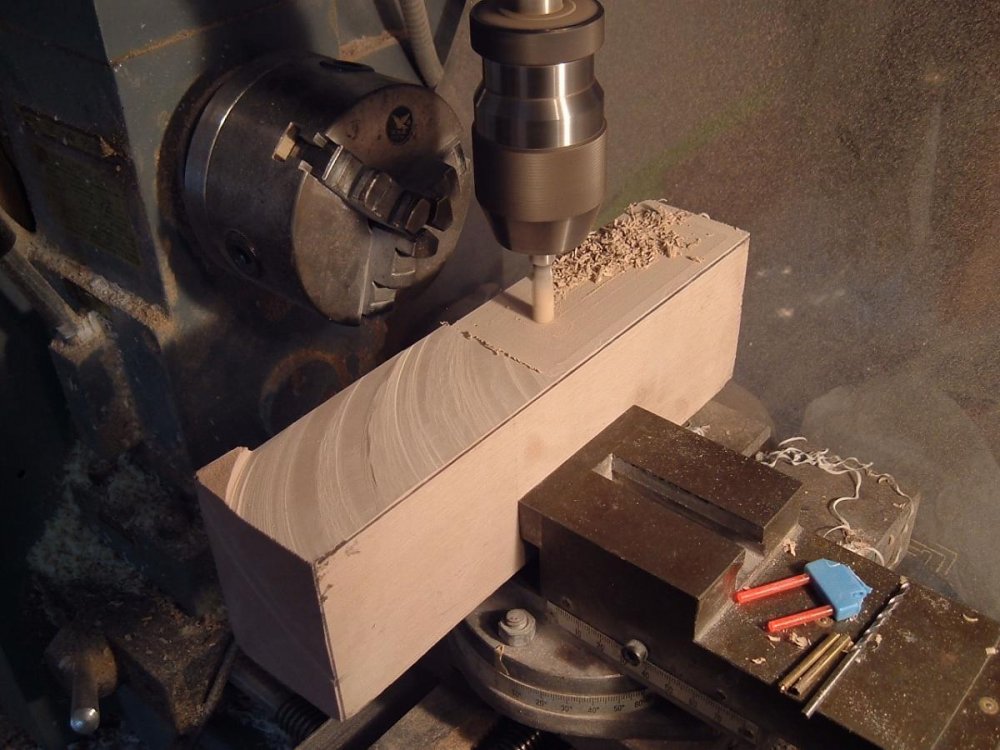
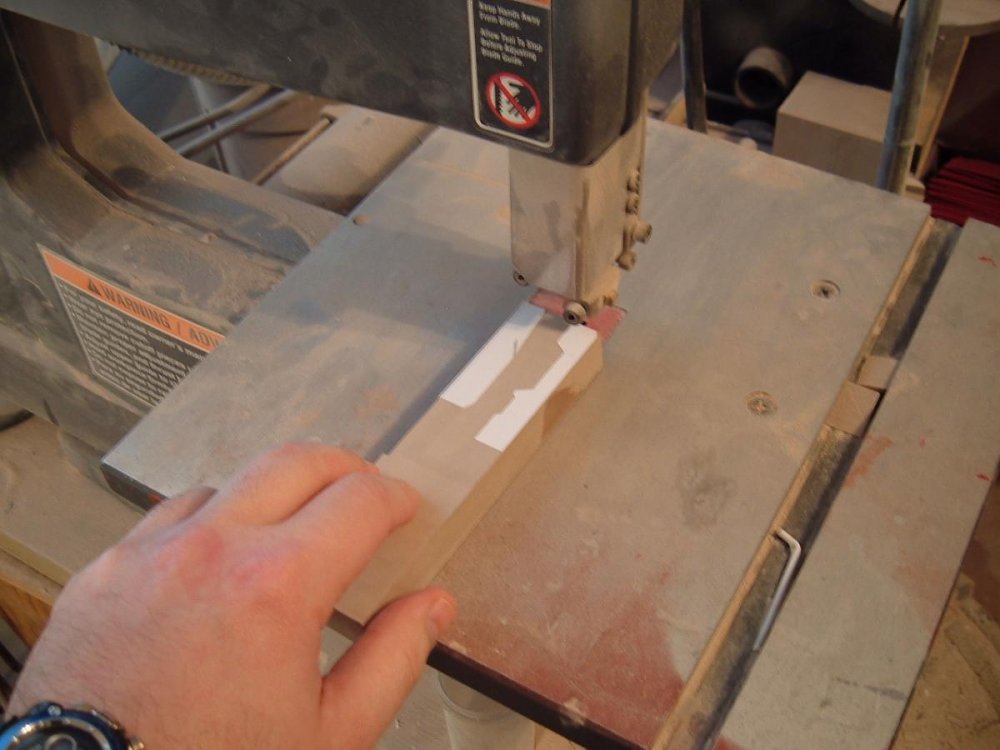
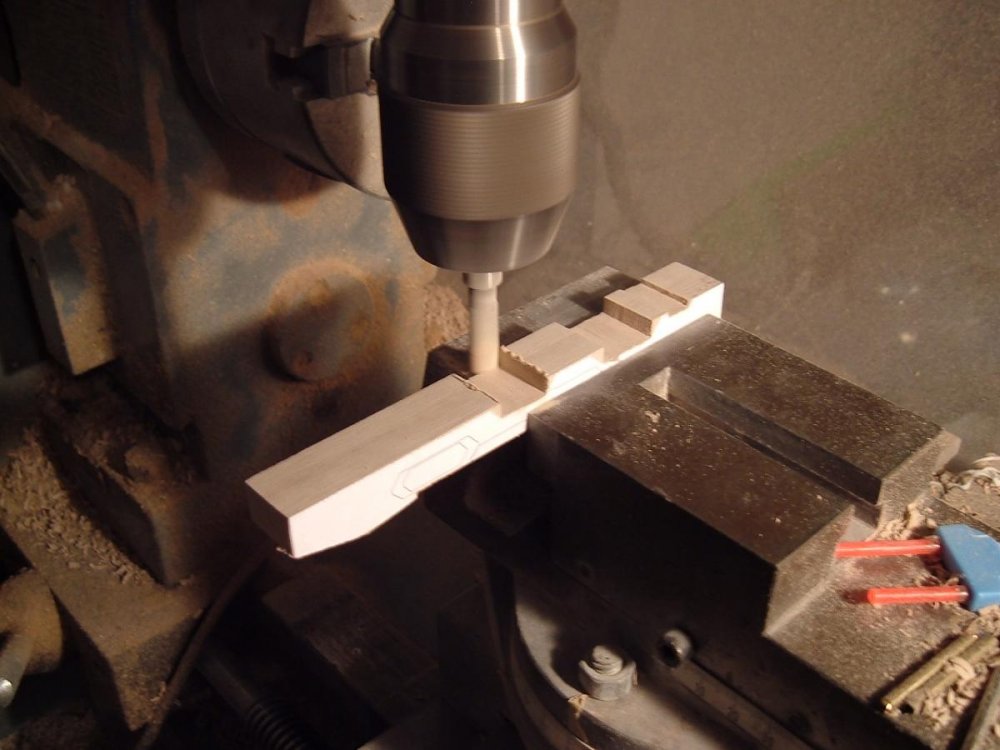
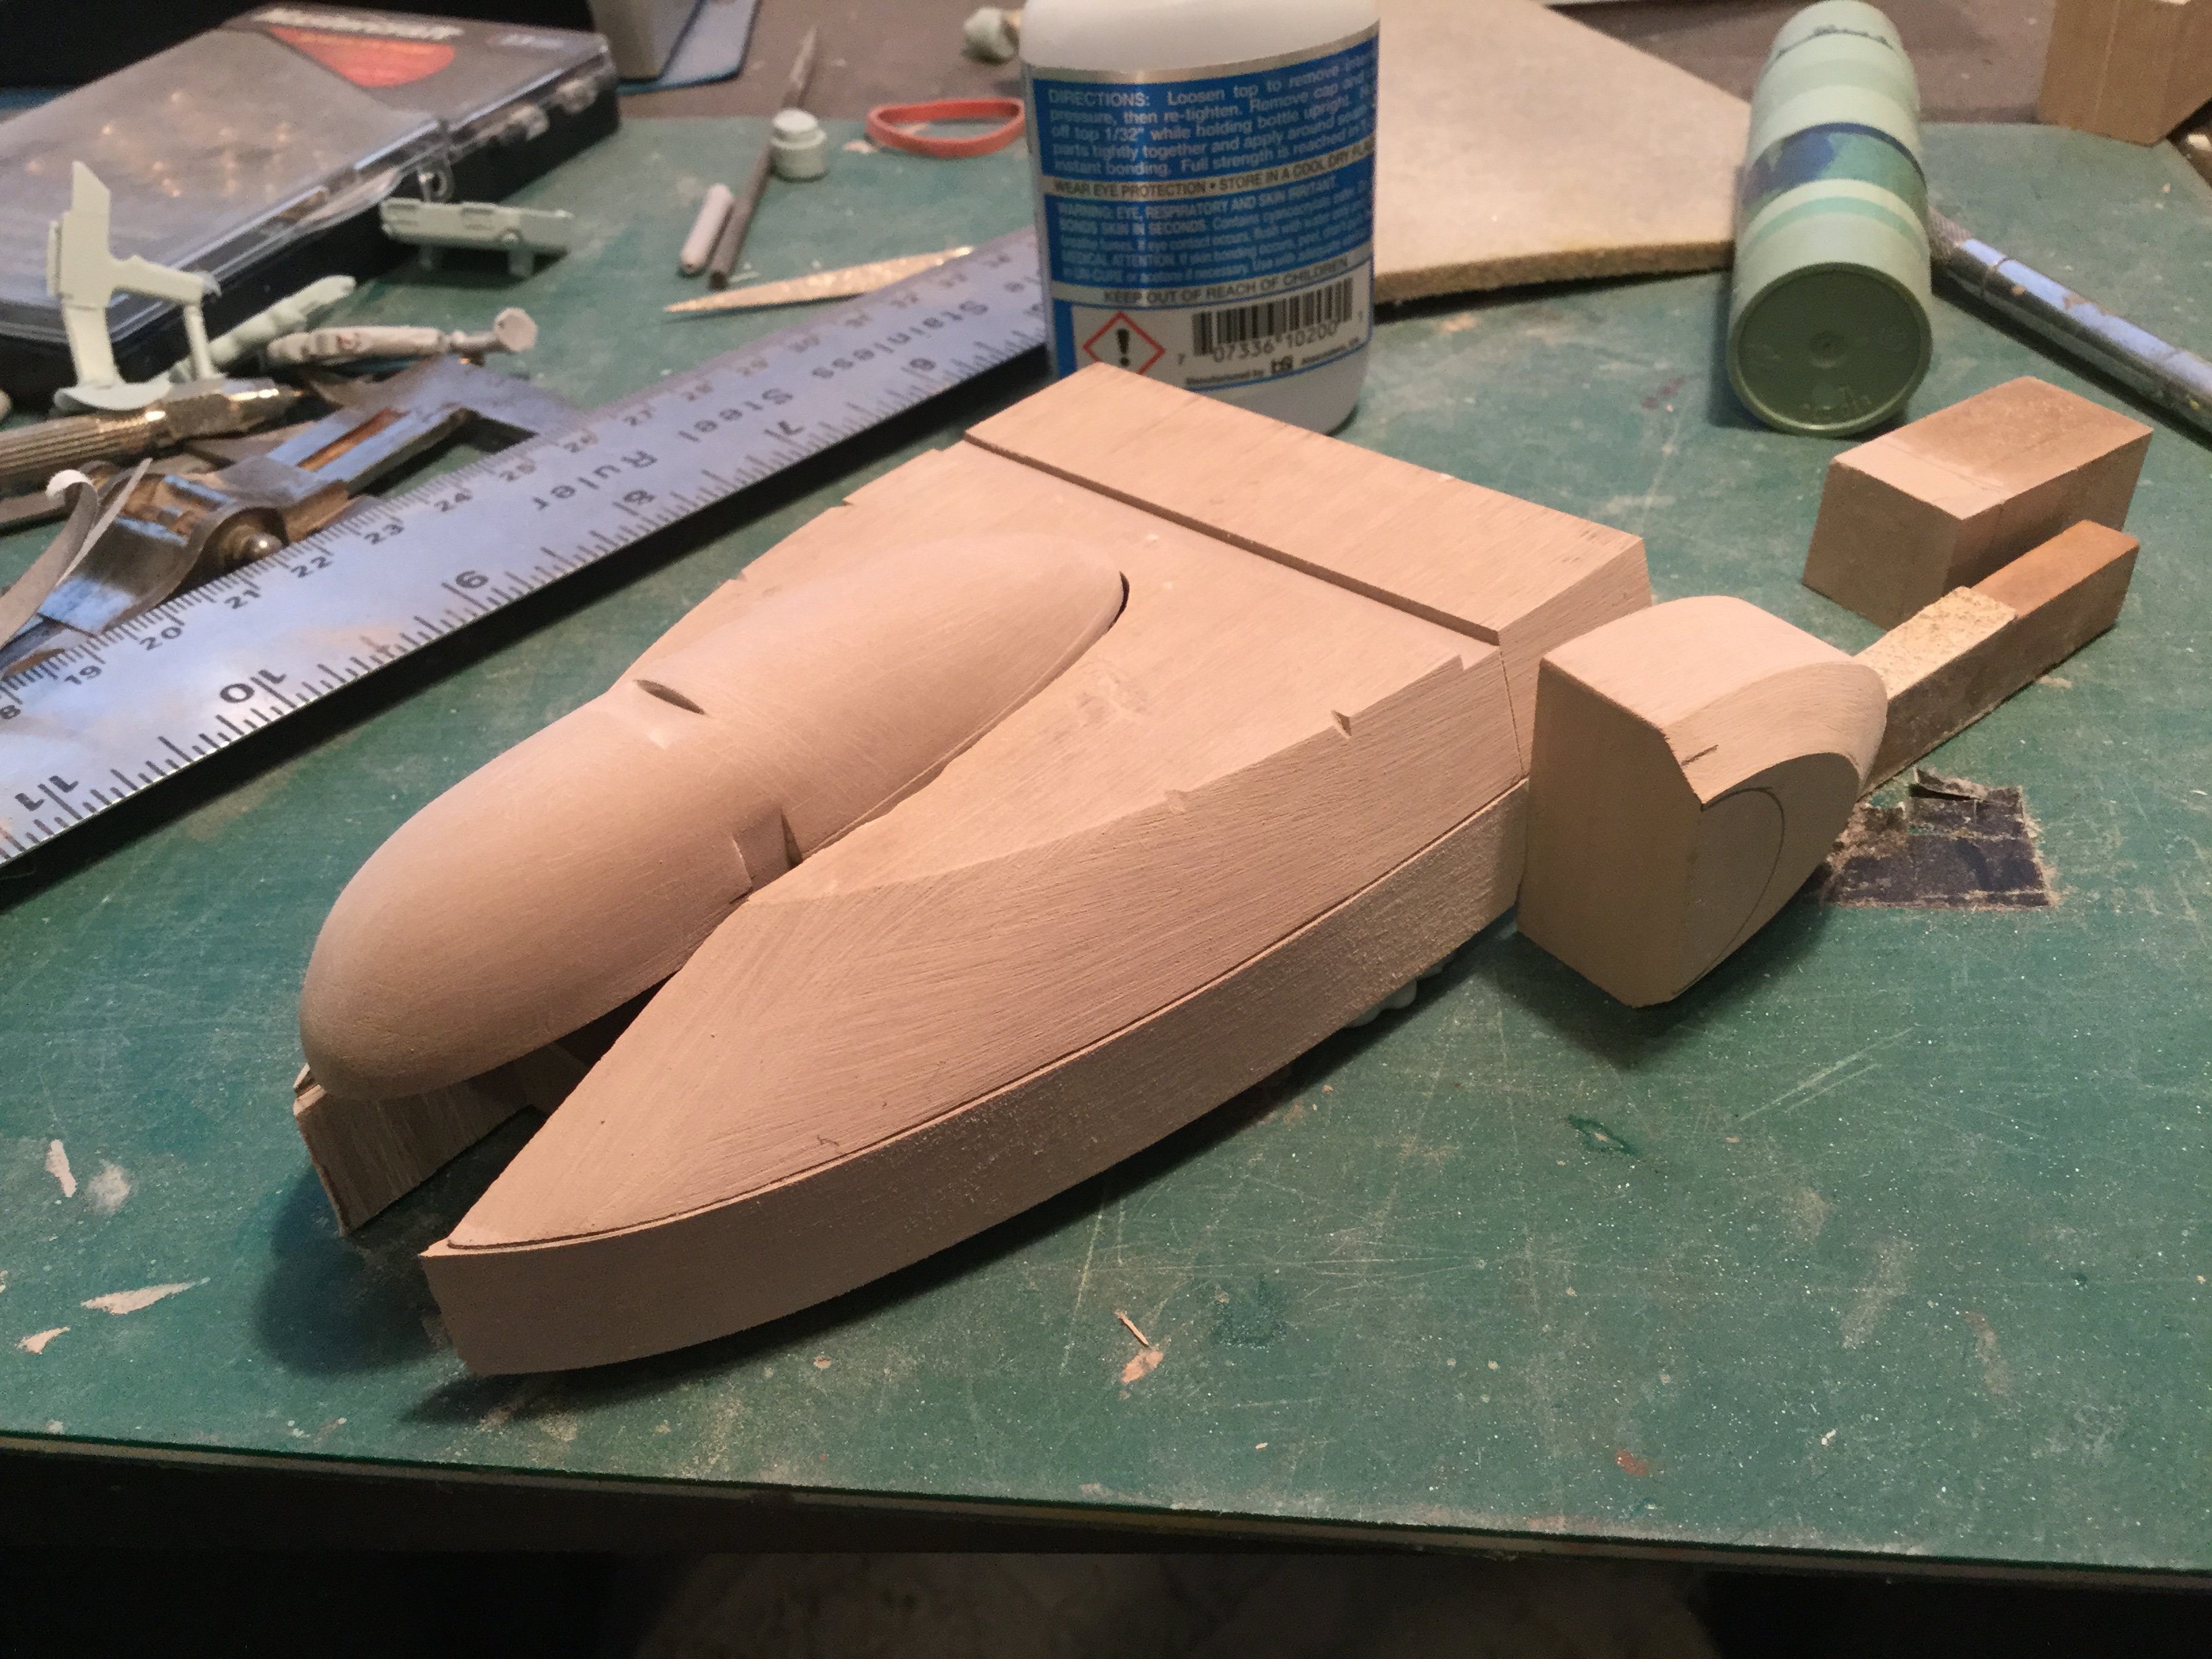
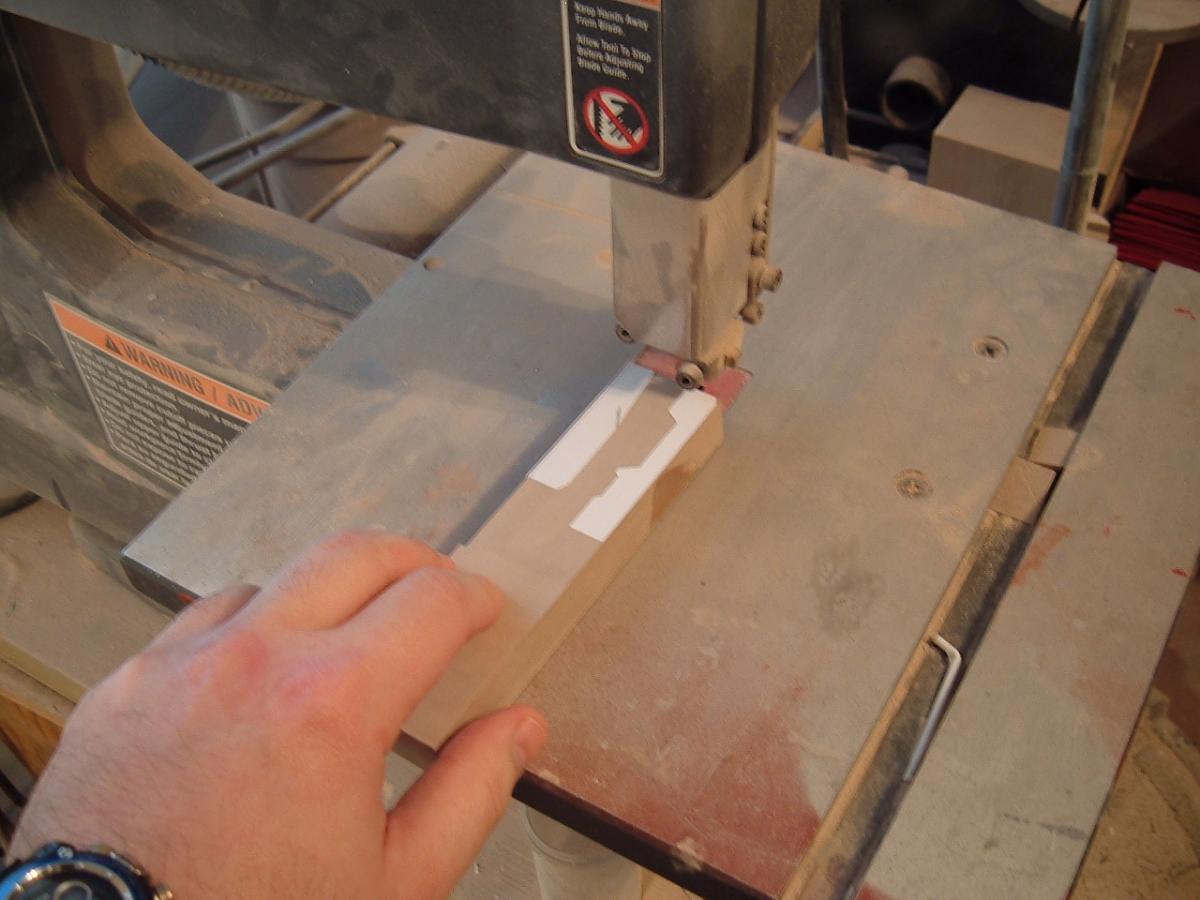
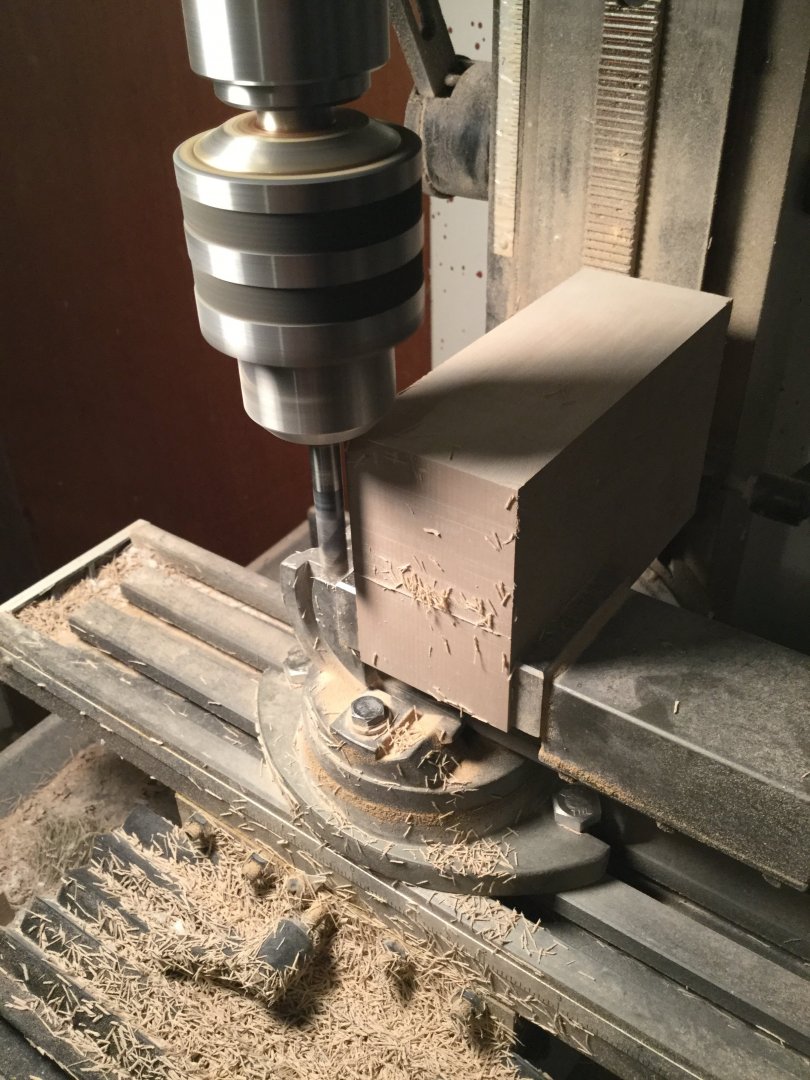
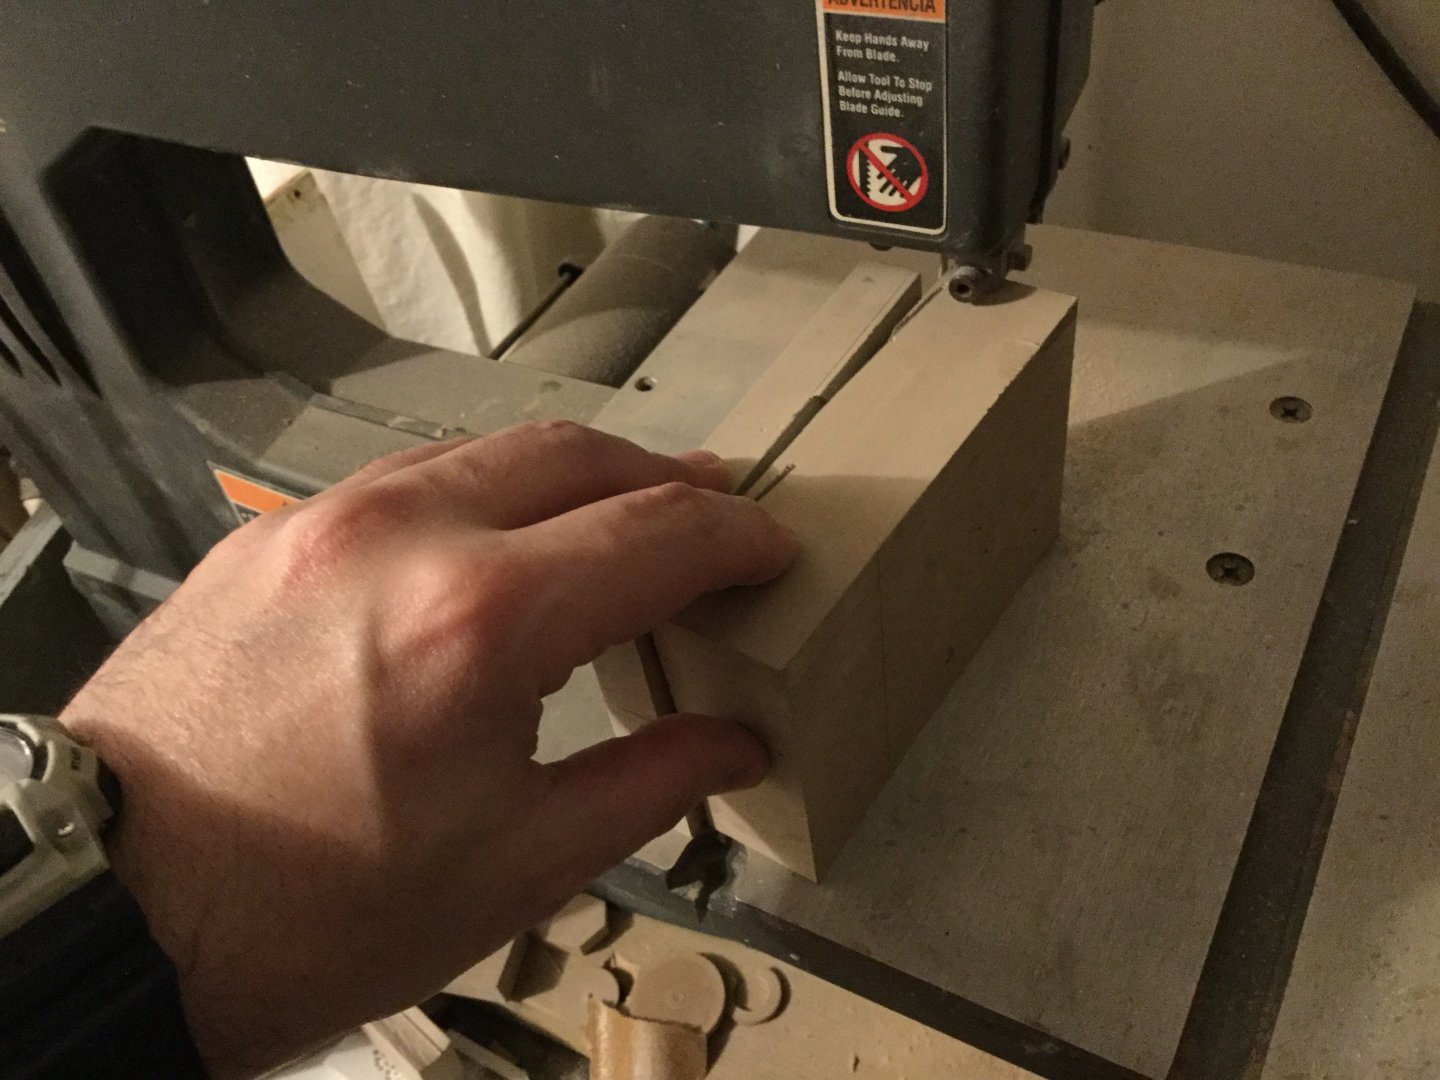
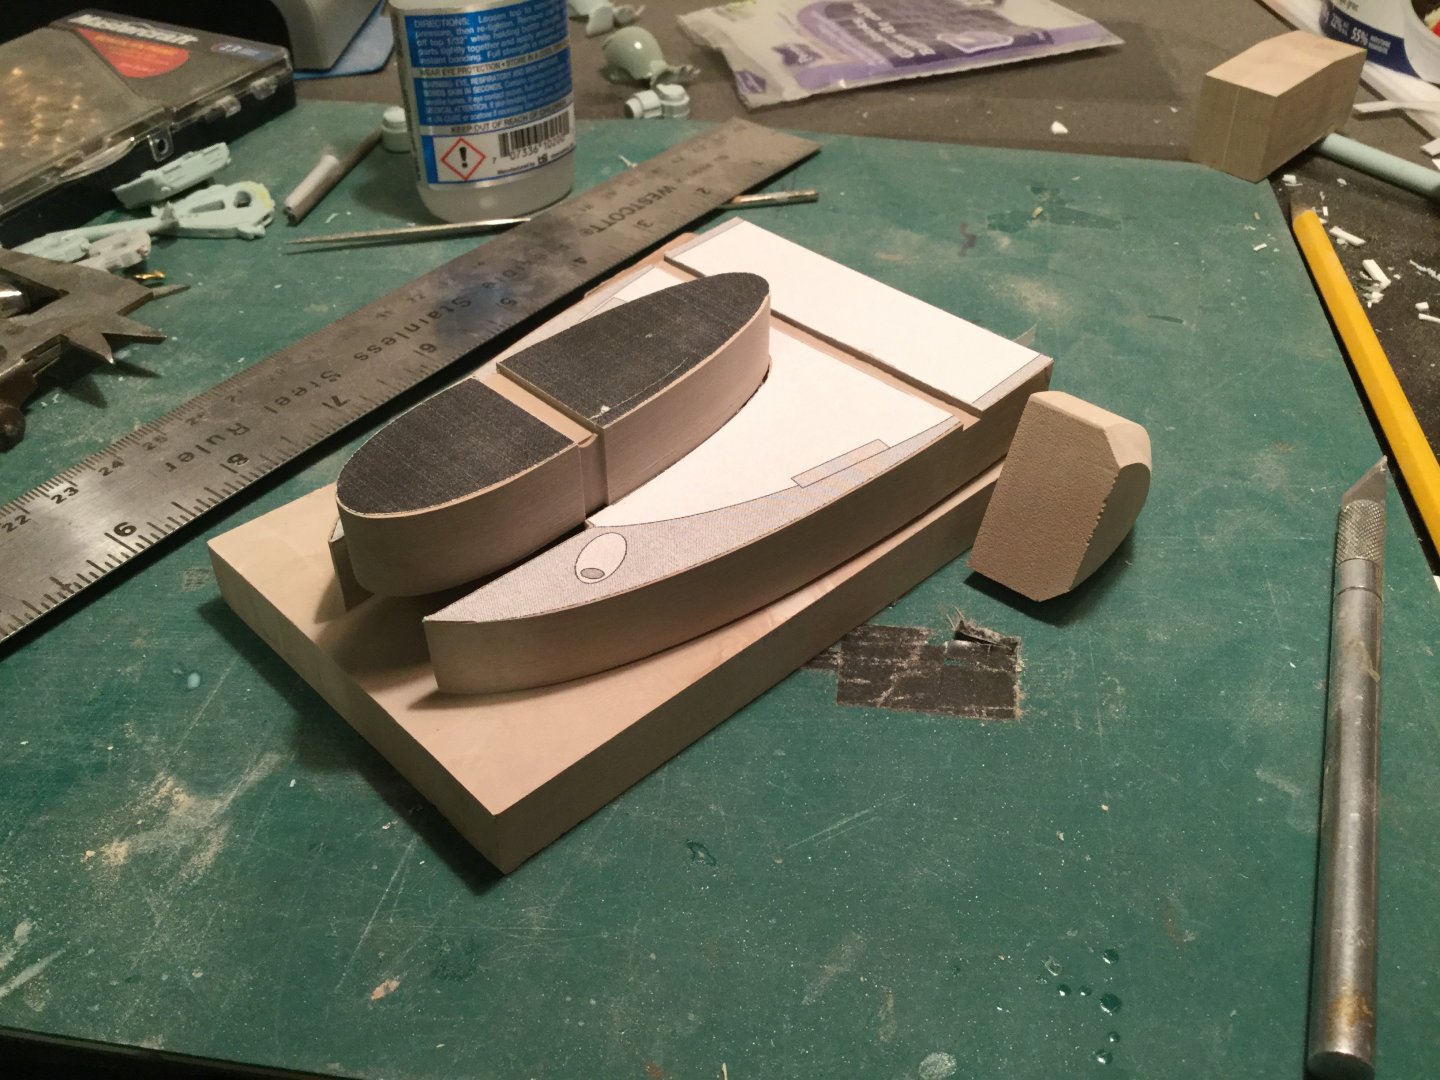
Hi everyone! Well I got kinda bored waiting for the decals and final parts for the Legioss to arrive, so I started working on a 1/5000 Ikazuchi carrier. A kind of scratchbuilding therapy, if there was such a thing! Captain's Log, stardate: Monday morning. The project begins as they all do: as an idea supported by a drive to create. While seemingly simple in design, the Mars expedition's Ikazuchi carrier, like most every other anime design from this era, suffers from a certain lack of consistency in the artwork. While certainly not impossible to overcome, it does make for an interesting challenge to harmonize all of the views and consolidate them with several different given dimensions for the ship. Once these little issues are resolved, I then proceed to draft my own diagrams for the various main structures of the ship and print them out along with a handful of artwork renderings. This way, I can refer to the reference drawings if ever I'm not sure about a particular detail or shape. In pic 1, we see some of the printed reference material along with a chunk of modelling board from which the Ikazuchi will spring. Pic 2: once the diagrams have been cut and placed on the modelling board, the real fun begins as I start to get my hands dirty. In this particular pic, I have to start by evening-out the master block to get the necessary plat planes. Pic 3: some back-and-forth between the mill and the band saw is quite common: the latter allows me to separate and chop off excess material quickly. Pic 4: Back to the mill yet again. This particular part will comprise the upper main hull, and is the single largest part of an otherwise small-scale ship. Pics 5 and 6: the main hull parts crudely assembled. There is obviously still a lot of work left to get it looking like the line-art, but it's progressing nicely and will take shape gradually. More to come in the following week