

PsYcHoDyNaMiX
-
Posts
1265 -
Joined
-
Last visited
Content Type
Profiles
Forums
Events
Gallery
Posts posted by PsYcHoDyNaMiX
-
-
Hey guys,
I've worked on the project since I've last posted, but haven't had the chance to taking more pictures and posting them. I'll try to get some up by next week. I have this programming project I need to get out of the way for my OS class. -=X
I've started etching out the panel lines and other markings. You'll see them when I post up the pics.
Max
"School has me in the gutter atm... >.>"
-
Wicked- Yea, you're still on the list. When the project is complete and a casting window becomes available then I'll create a separate thread for orders. I'll go through this thread to check with everyone who stated they were originally interested and see if they still are.
Max
-
HAPPY NEW YEAR!
Hey Everyone,
I've been on break the past week and a half. Aside from the holidays, family events and stuff I made some more time to start up on the project again.
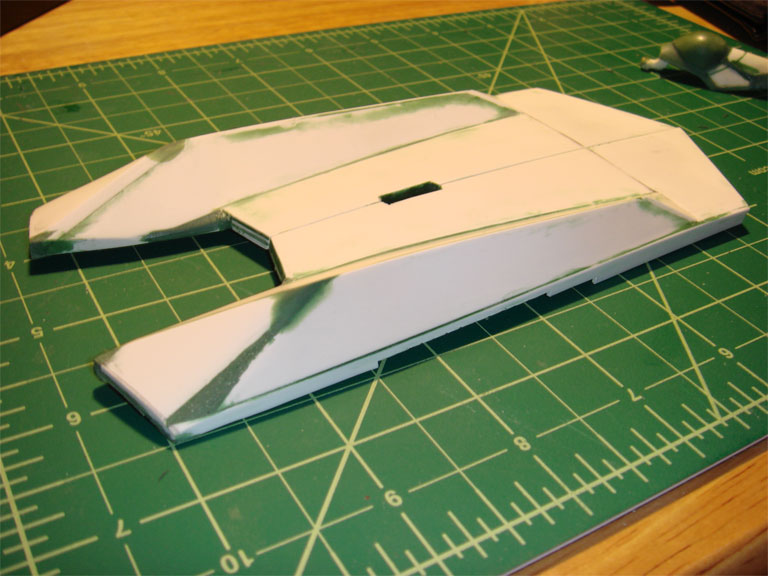
I was able to work on the canopy some more and get some more sanding done. I primed up the parts for the smoothing out process and any other rough areas I may have missed with my eyes. I still have to etch/detail all the parts, and define the mounting holes on bay covers (for the display mount).
Here are some more pics, enjoy:


-
Sorry everyone, but the project is on hold due to my finals. -=\
-
Update:
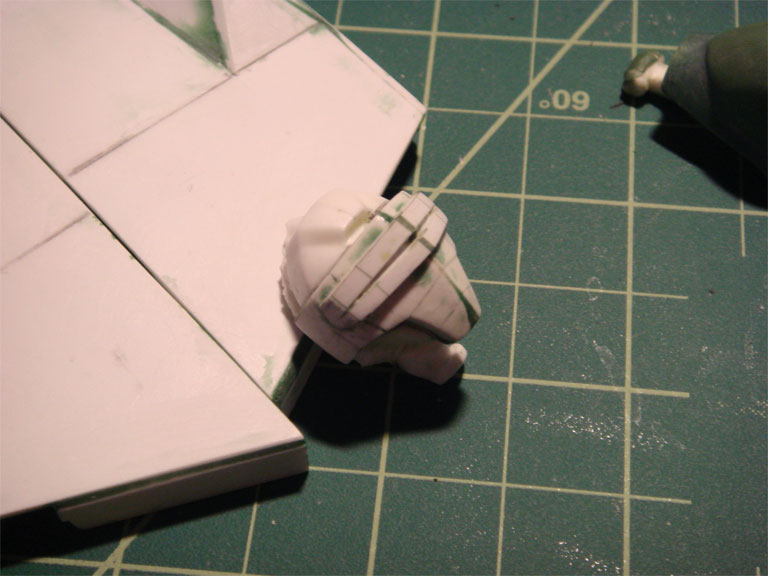
After sand down/trim the canopy the parts will get primed for more sanding/puttying. I was able to gut out some of the excess putty for the bay covers to reduce it's overall weight (some more will be removed eventually).
Pics...
***EDIT***
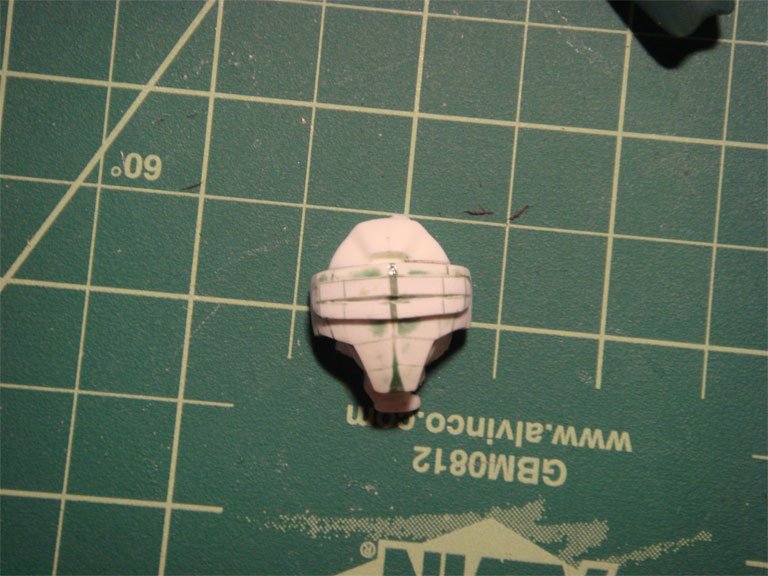
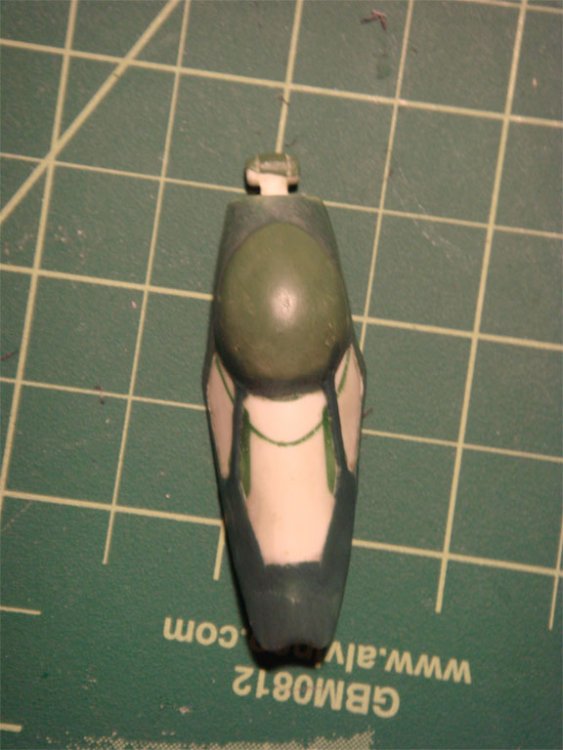
Quick note: changes which I have made from the previous pics. I was able to start working on the actual visor for the battroid's faceplate (trimming, shaping, etc...). I was able to round out the front of the bay covers (near the intakes) and fill/smooth out the joining of the seams. I was able to round out the main canopy window some more and I am currently working on it's framework.


-
WOW! that is DAMN NICE!!!
-
Thanks,
I've been making progress and meant to post pics, but schools got me by the tail. I'll have some more pics up real soon.
Max
-
Johnny 5? JKing. That's from Terminator right?
-
Nice! I need to get me one... like now! -=X
-
Great job! Damn thats a nice kit. I got to get me one and build it when I get some more time. -=X
-
Maybe the statues shown were created by certain designers who didn't want their products shown off w/o being paid?
-
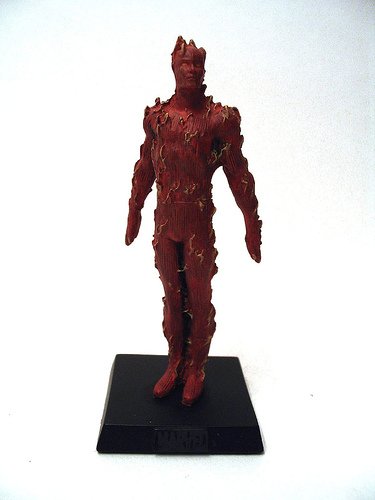
the Human Torch (red)?
-
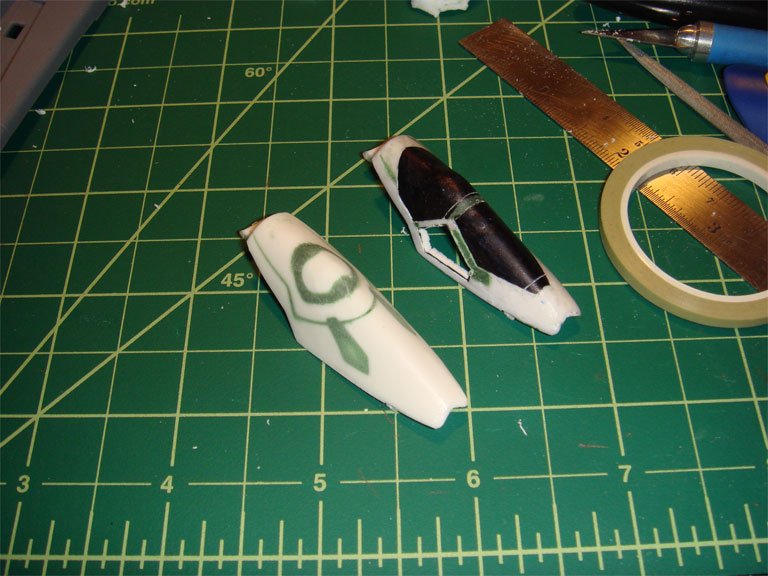
Fly4victory:
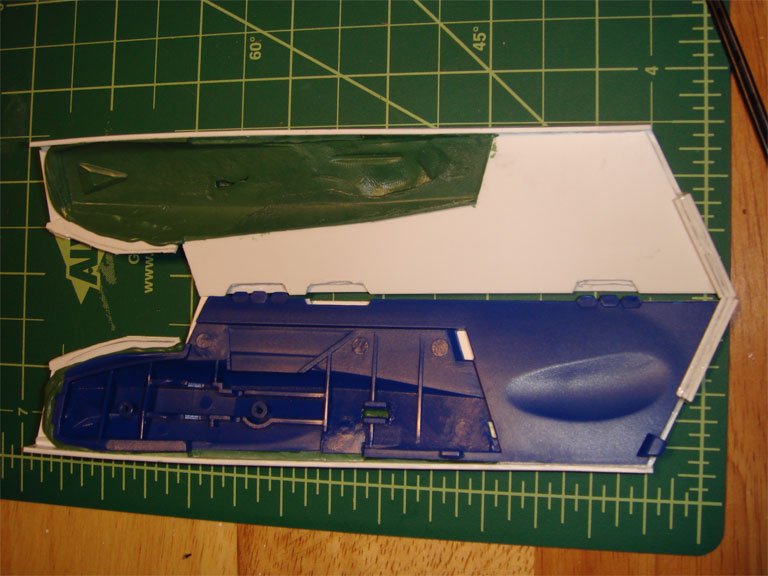
The green stuff is a two part modelling epoxy called "Kneadatite". Sculpts pretty well (better with water) and cures in 4-5 hrs with max strength in 24 hrs. I had a supply of the ribbon form, but it seems they sell it in a tube now. If you get the ribbon and don't want it to cure on its own you can slow down the process by keeping it in your freezer. Mine has been there for like uhh... 4 years now? LOL, good stuff however.
***EDIT***
Oh yea to answer you question about how I kept "it" from sticking to the original parts. I used a petroleum based jelly (Vaseline) or in minor cases chap-stick... lip balm. I applied a thin layer of the petroleum based jelly to the original and set the part on to form the shape w/o sticking. Let the part sit for a few minutes to cure (depending on what you're using to capture the shape) and when its about right remove the two parts.
-
Blah... with school starting I wanted to get more done with this project. Here is what I have so far. There is still alot more that needs to be done. ALOT. I am more determined to finish this project within the next month (before October), maybe sooner.
P.S.
I've already ordered magnets from the recommended link by eugimon.


-
Update coming soon... really soon. -=X
-
Going good... making progress. I'll post up some pics pretty soon.
I apologize for the lack of updates however.
-
Looking damn good!
-
NICE!!!
-
Happy Bday! And you're one lucky macross fan!!! XD
-
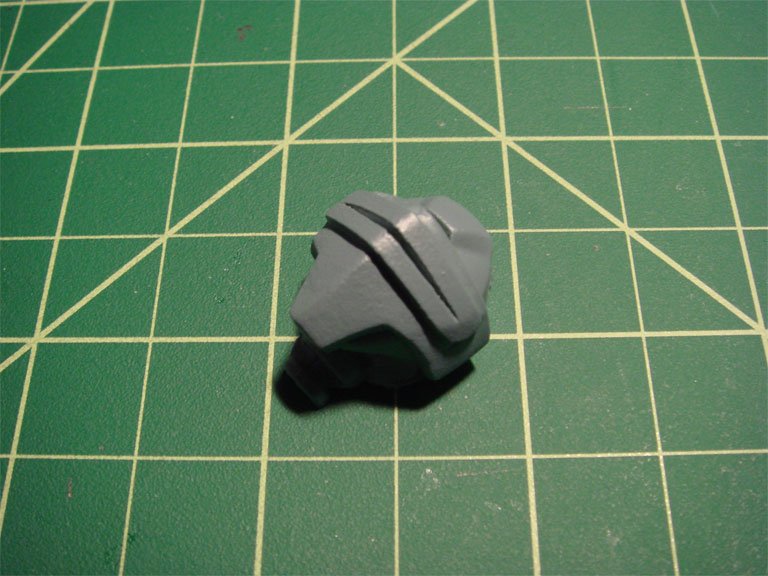
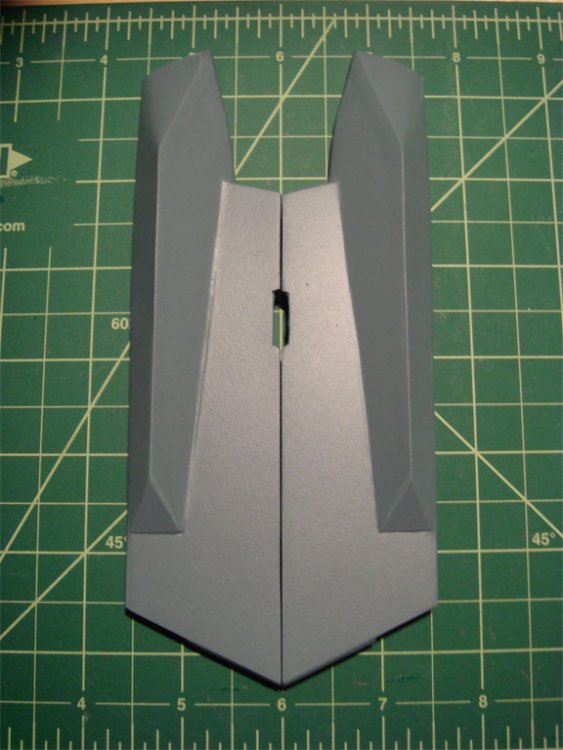
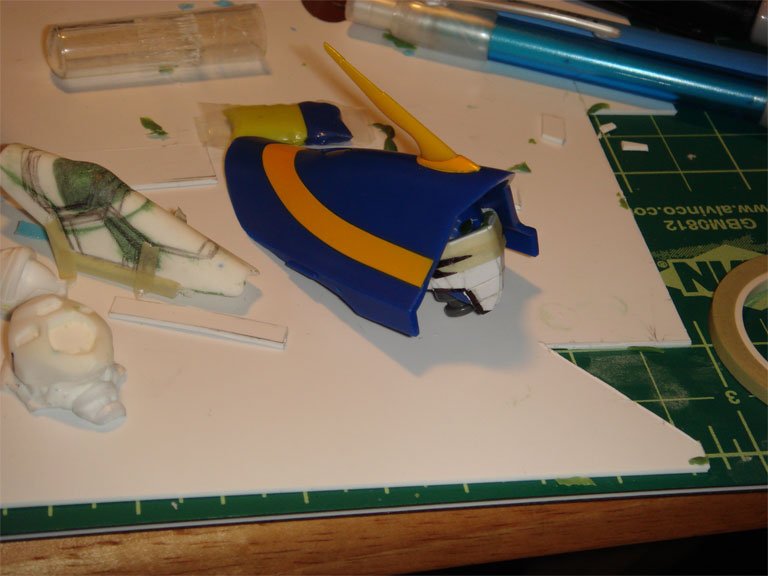
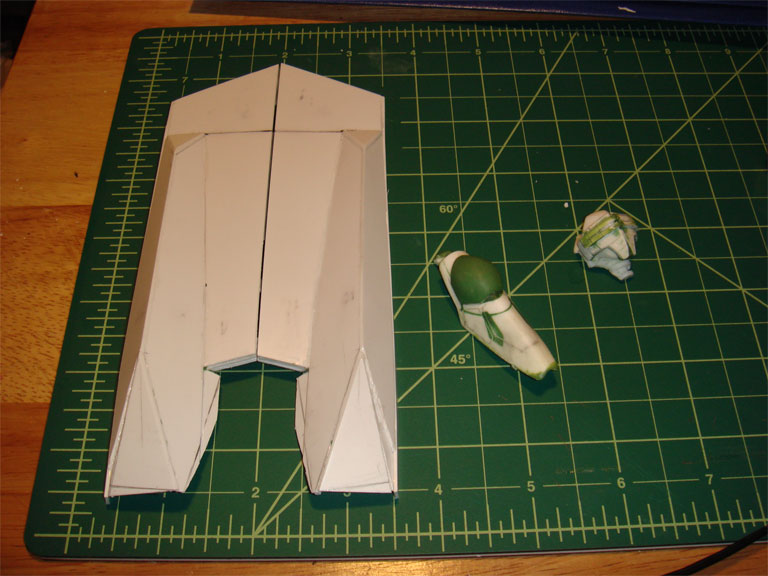
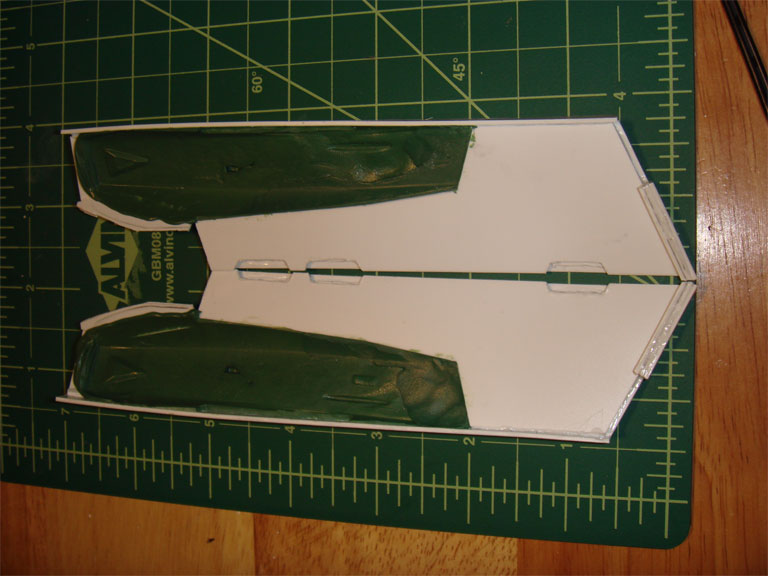
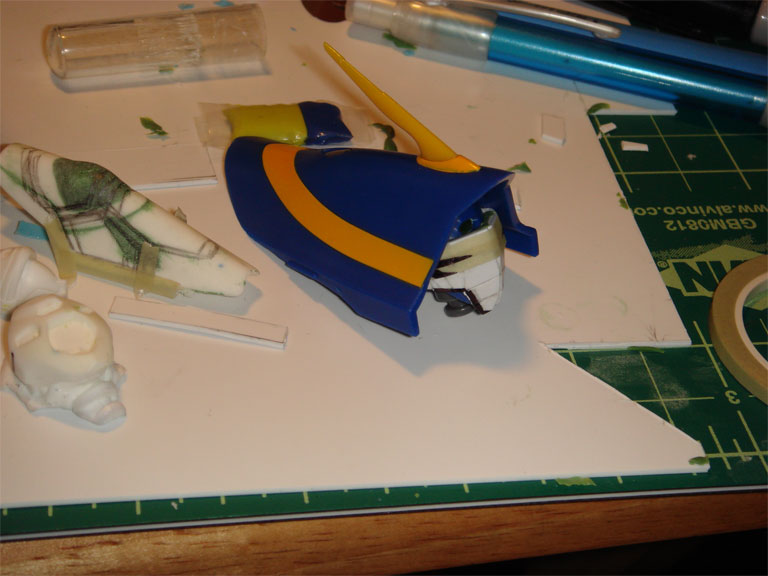
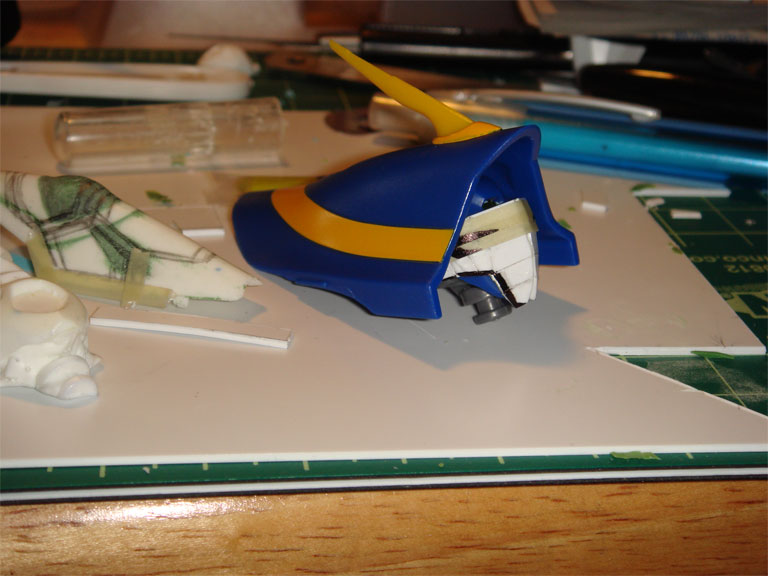
As promised...
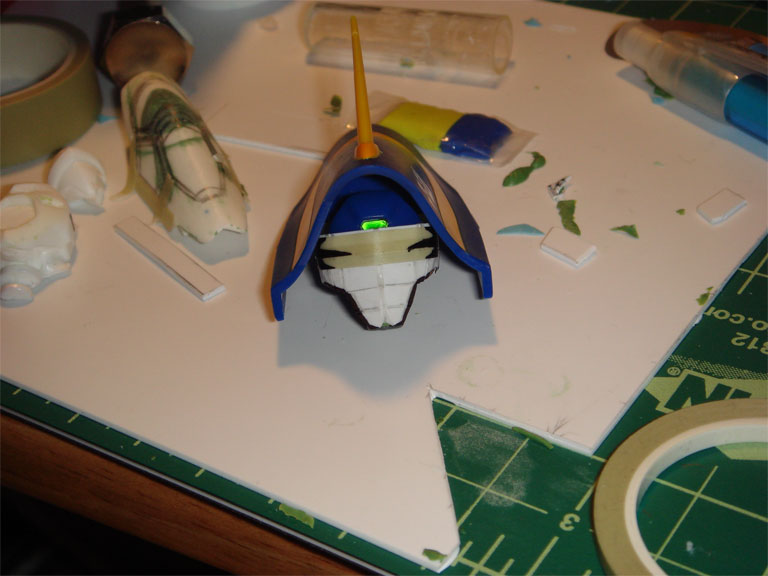
A second canopy was made and I'll have to re-plot the windows. I had to scrap the first canopy because I decided to get creative one night. XD
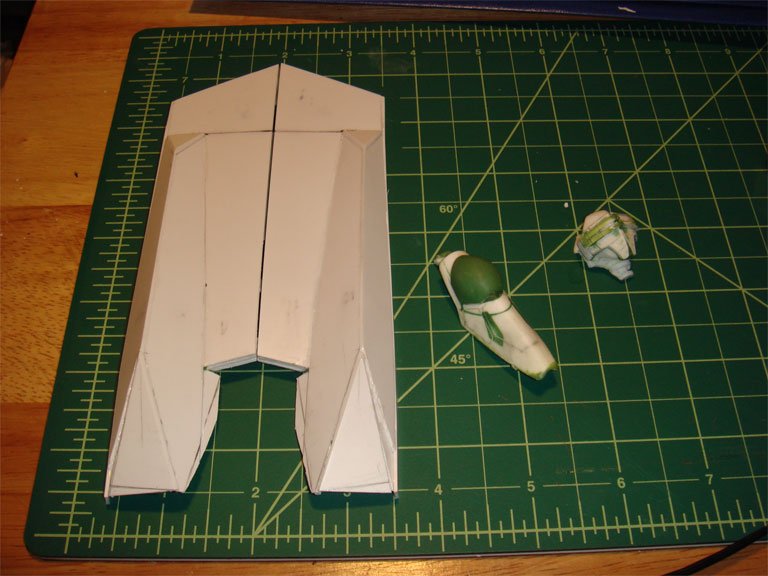
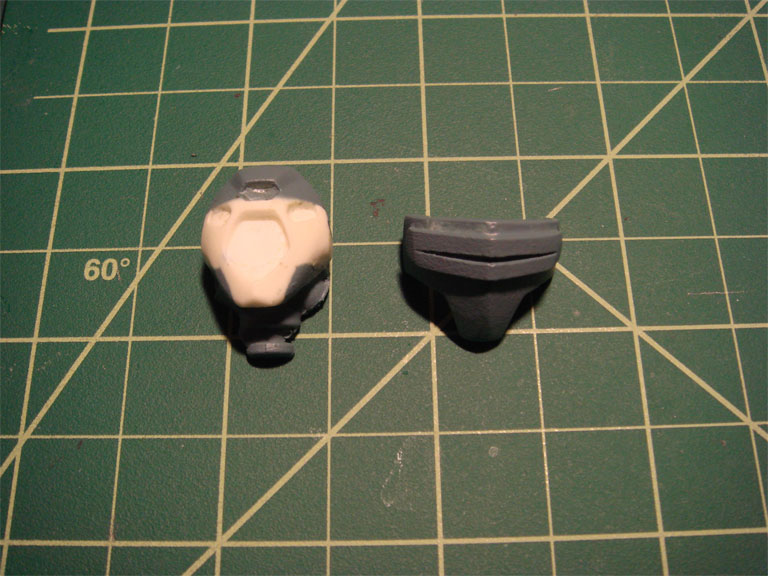
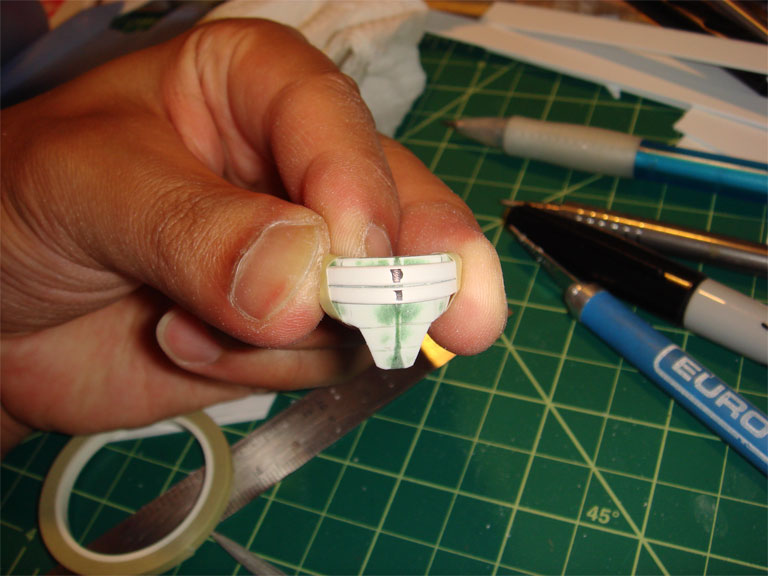
The visors for the VF-22s were not set and were held down by tape (and my fingers) to the faceplate. I'm debating if the visors should be recast in clear parts.
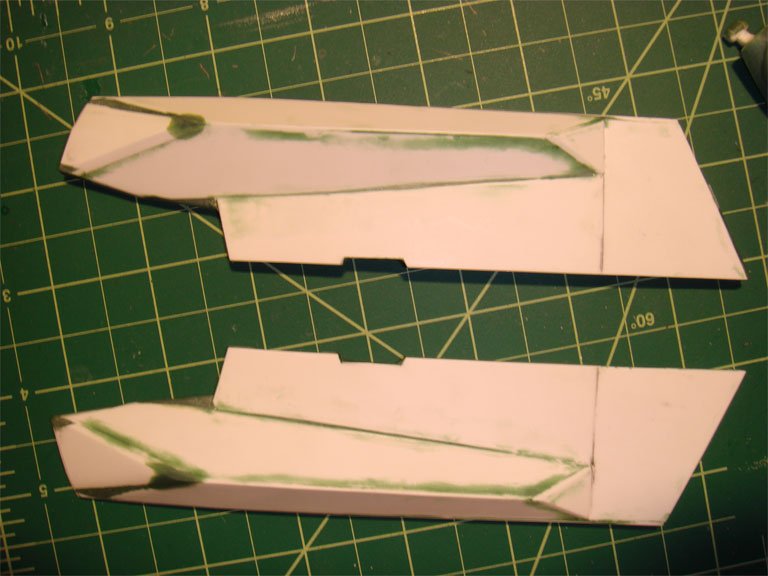
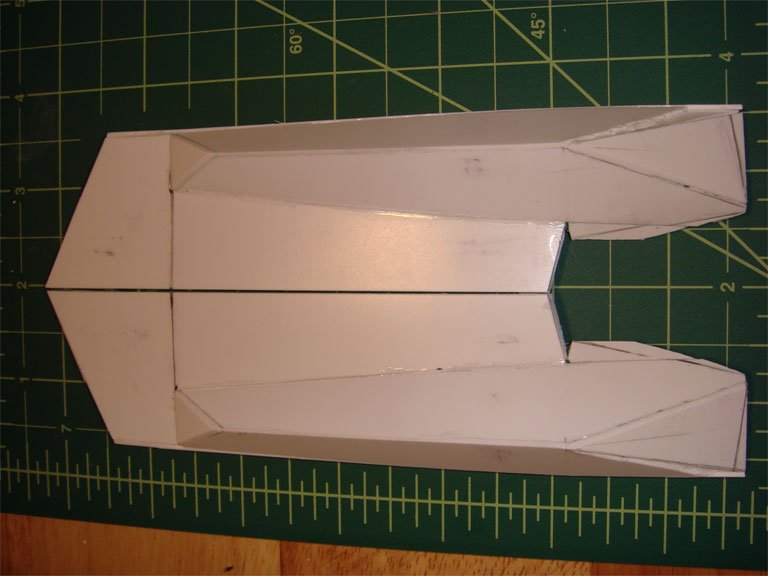
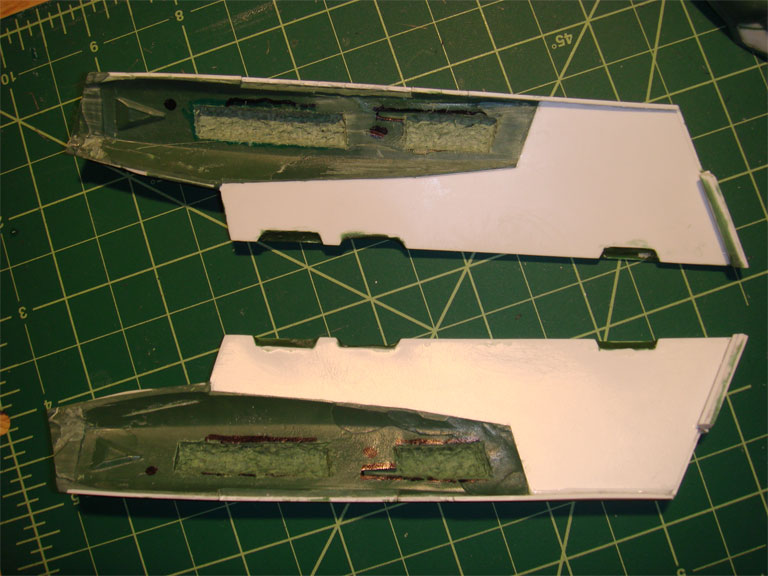
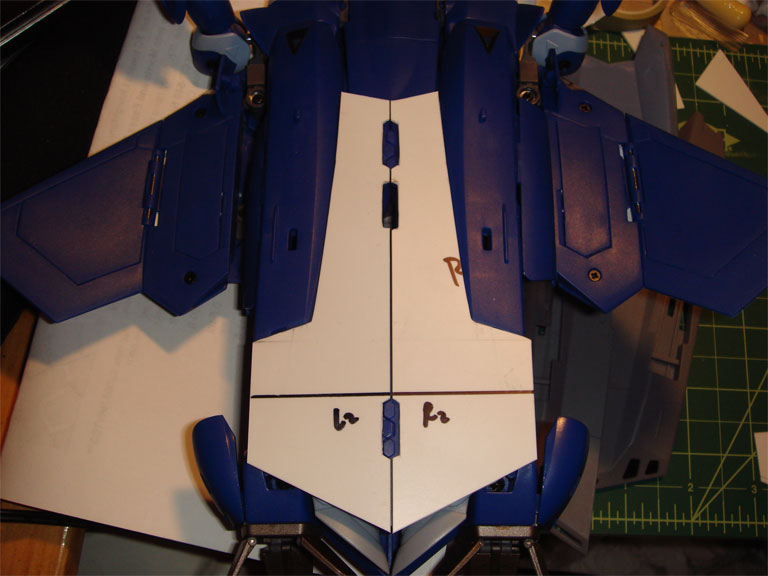
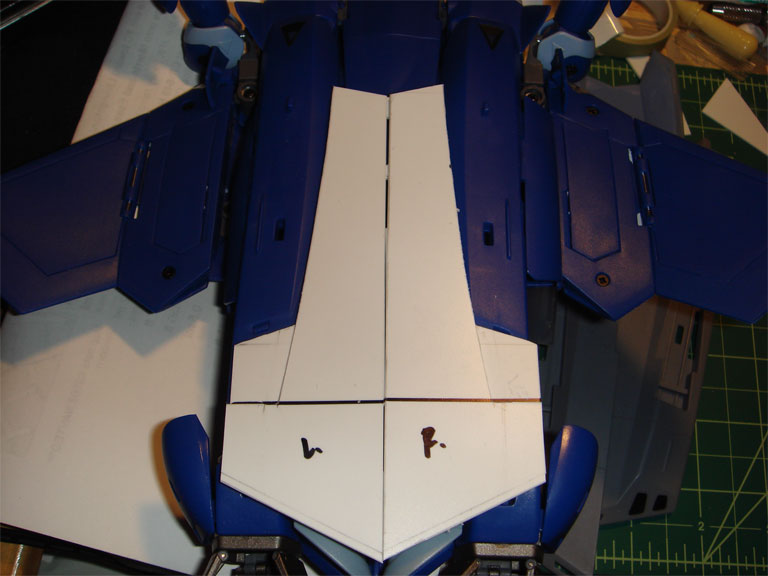
The bay doors are being made in steps/layers as shown.
Yes its seems to be that I will be using magnets for attaching the bay doors and faceplate.
***EDIT***
None of these pics are final. A lot more puttying and sanding to go!


-
Alright... I know I've neglected this project a bit, so I'll have some progress pics up later tonight.
MAx
-
I've worked on YF-19 and YF-21 SHE kits.
Tips:
Get the correct drill bits for the screws. I believe they're specified in the kit's manual.
You'll need a right angled ruler (Kotobukiya produces a small set). The right angled ruler can help you determine perpendicular drilling locations for the kit.
Pilot the drill locations using a smaller drill bit. If your drill requirement is 0.4mm go with a 0.2mm drill bit and then work your way up, so this way if there is a mistake it won't be as big.
And if you really mess up... use some epoxy or strong putty (that can be drilled) which is about the same consistency or hardness of the resin. You can just patch up the mis-angled drill job, remeasure and re-drill again.
Hope this helps,
Max
-
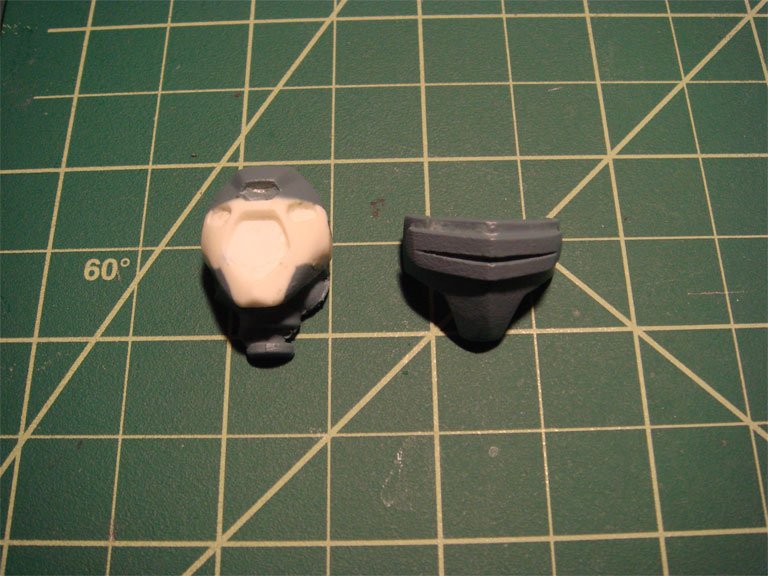
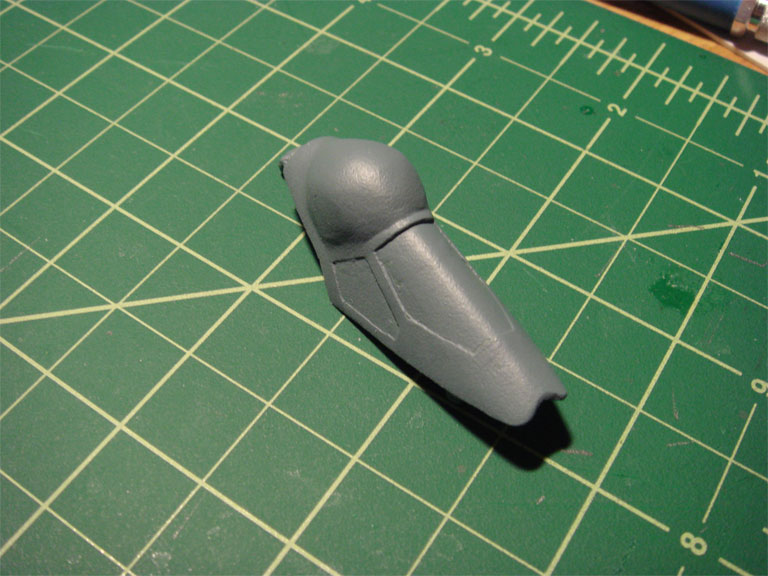
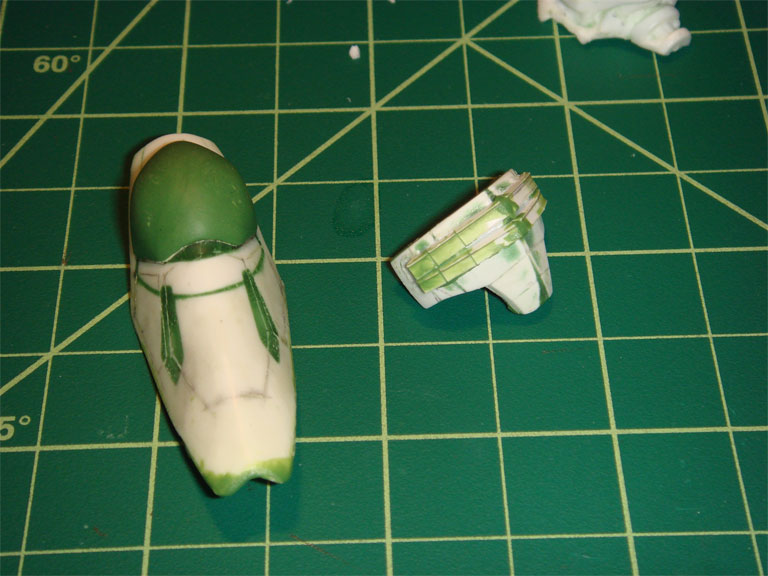
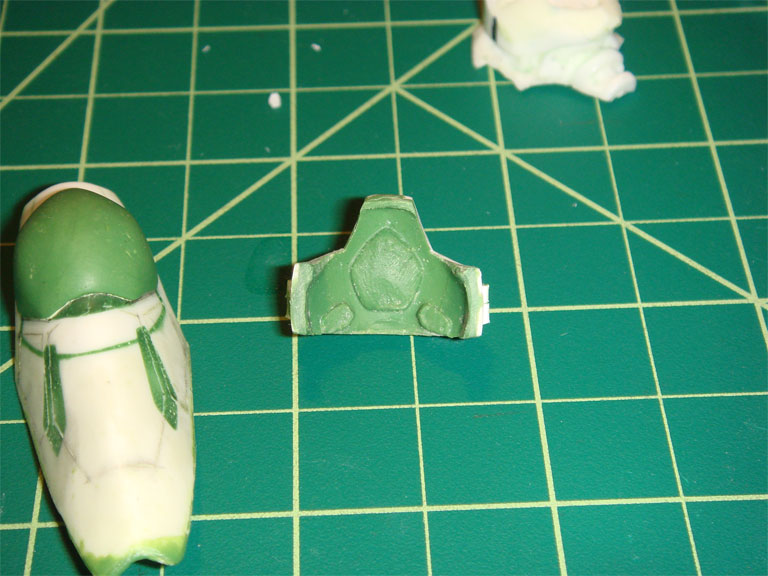
Alright... here is the current progress of my work atm. I realized it's pretty tough to keep up with my planned schedule with a FT work schedule and girl friend. LOL
I still have quite alot of work to do for the canopy and the face plate (puttying the face, sanding and trimming, form a new canopy dome, etc...). I already know what I will be doing for the bay doors and I'm hoping to start them this coming weekend. I think I've decided to not make the VF-1 Riders VF-22 faceplate because it's not even anime nor line accurate (it's the one on the left edge of two of the photos). VF-1 Riders faceplate IMO just won't look right when painted as the colors of the anime. I guess I could depending on the fandom demand. XD
Max
***EDIT***
I apologize for the horrible lighting in the pics. -=X
The masking tape on the face is temporary just so I can get an idea of where to place the visor.


-
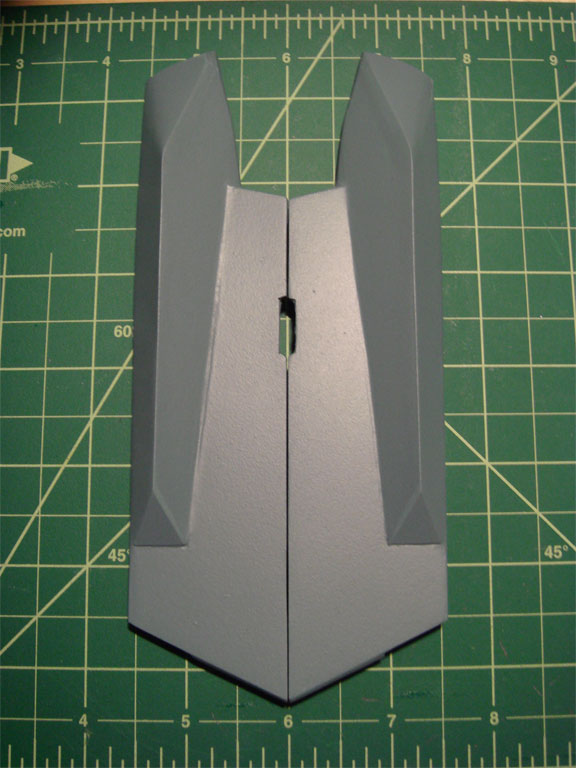
@ruskii... Yea, attaching the VF-22S' faceplate to the existing YF-21's face was my original plan (read my starting post) because there would be no way to actually make the VF-22S' faceplate clear the bottom stem of the antenna inside the cowl. When transforming the 21/22 back to gerwalk/fighter one would have to remove the VF-22S' faceplate or it would get damaged. Instead of snapping/clipping on the faceplate I may end up using magnets for the faceplates if i feel the ones from eugimon's reference site would suit the situation (are strong enough -=X).
I guess I'll be incorporating the slots so the VF-22S' bays can hold the gunpods. XD
Around sometime this weekend I'll have prototype pics of maybe two different faceplates and the modified canopy. The reason for the two faceplates are due to the anime accurate one and the other is based off the VF-1 Riders 1/72 Hasegawa Battroid conversion kit. I kind of like them both for some reason. I'll make them both and post them up, so I can get some feedback.
Max


VF-22S Conversion Parts for 1/60 Yamato YF-21
in The Workshop!
Posted · Edited by PsYcHoDyNaMiX
I apologize for the lack of updates, better pics and more primer, but school has got me good this semester (especially my Operating Systems class, the professor "isn't that great"). I made some progress about a month ago, but never got around to doing more work and taking better pictures.
Max
P.S. I've been working with Maya and made a YF-19 which is going to be included in a 20 second animation for my groups final project. I wanted to put more work on the 19 since the 19 is one of my favorite planes, but my team member wanted to keep it low poly and I'm still new to Maya. However, it was good enough that my professor thought it was one of the better models of the entire class.
***EDIT***
Of course any constructive criticism, comments are welcome. Thanks!
YF_19_Maya.bmp