

ikhii
-
Posts
209 -
Joined
-
Last visited
Content Type
Profiles
Forums
Events
Gallery
Posts posted by ikhii
-
-
39 minutes ago, Vertex said:
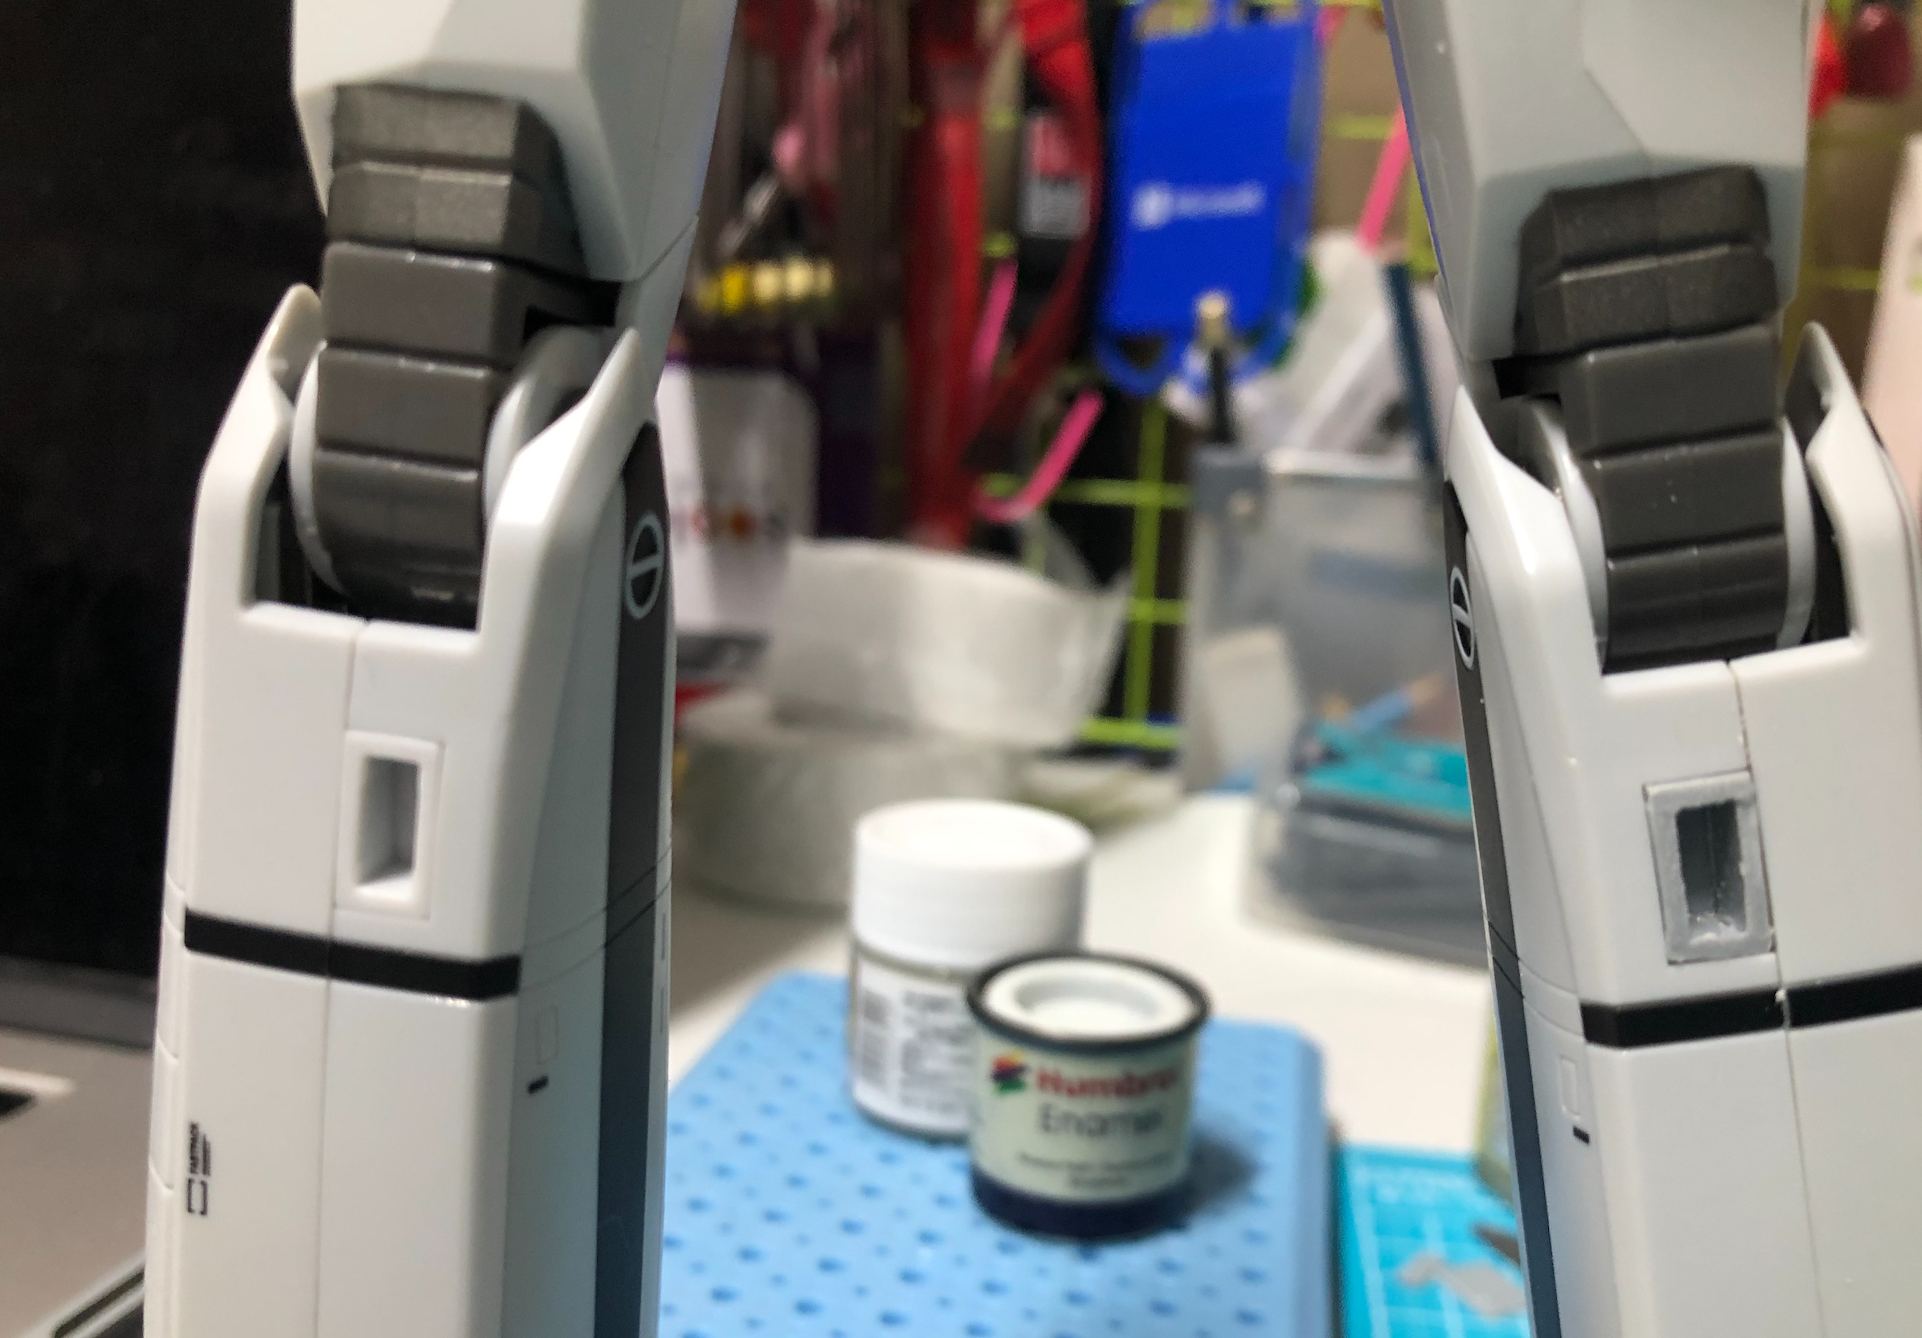
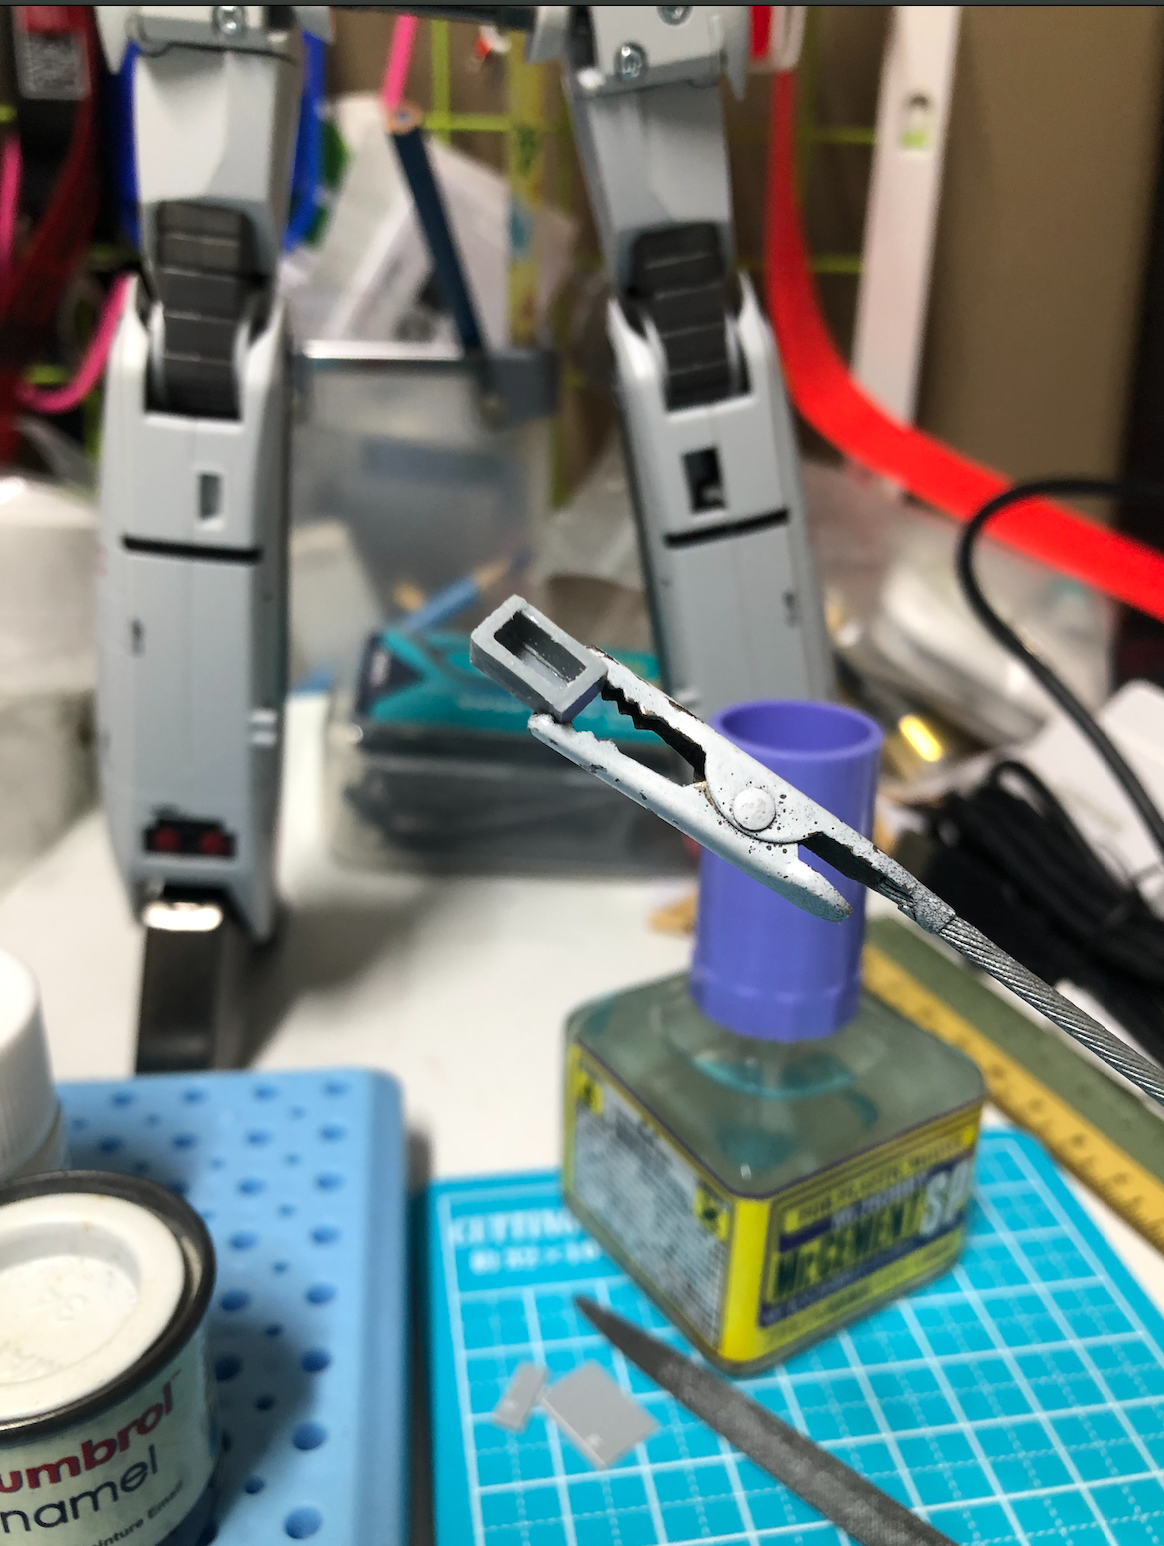
Although securing a replacement part might be difficult / impossible if you had a caliper to take measurements it be very easy to model and 3D print a replacement. It may take a couple of trials to get the angle/slope of the back facing of the leg but there's things you can do to mitigate. Biggest issue I see would be getting the print material to match the color of the rest of the plastic but at least it would be functional. You would have to basically eye a white paint mixture that matched, unless someone has already figured the right paint brand/mix ratios to get a match,
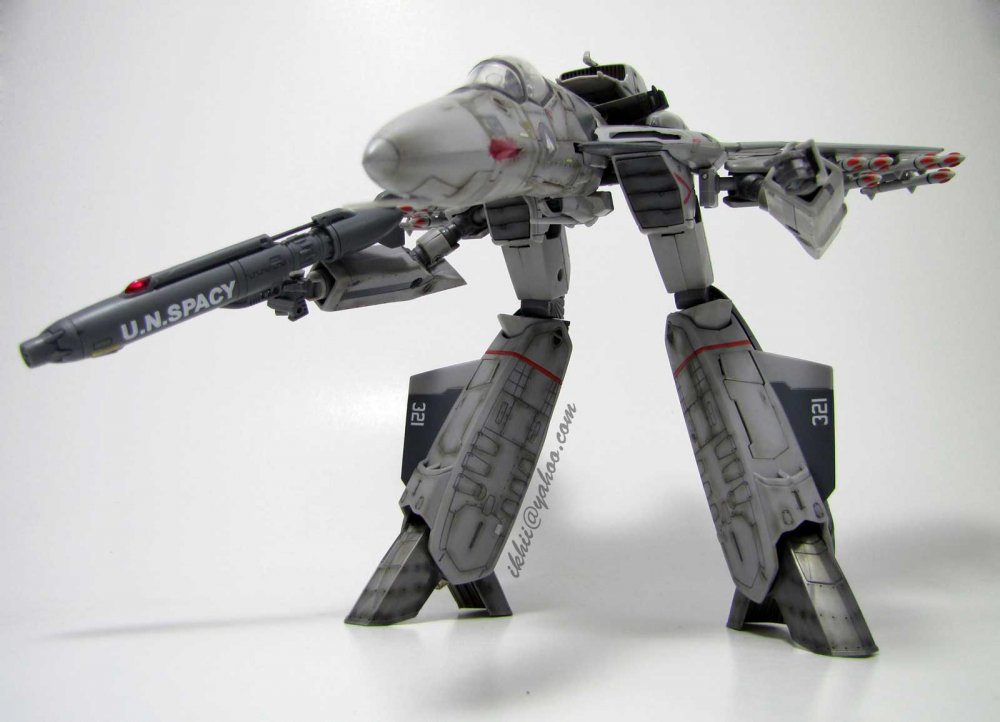
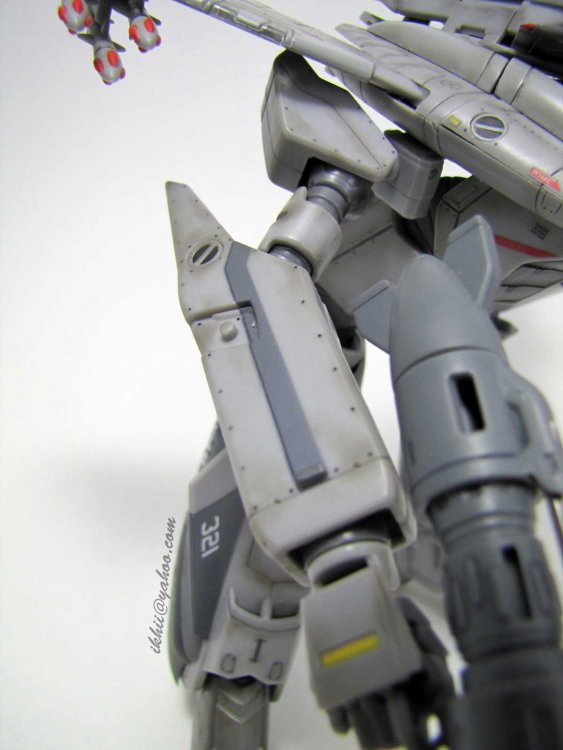
So, i decided to just DIY it. No point to crying about it. I just wish I had a white plate instead of grey. Anyway, it works. better than before.
")
-
1 minute ago, yami4ct said:
Unless the place you got it from can help you you’re SOL. Bandai doesn’t service customers outside of japan. I tired to get help when my YF-19 literally fell in half and nada
That's a bummer. I guess need to do DIY style for an overpaid VALK. it sucks!
-
So, after all the hype on the PO, i decided to go unbox my new VF1S Hikaru. To my suprise, this happens. So, who should I contact and get the part replacement? Please advice and thank you. Deng, what a day.
-
The movie is pure awesomeness. I really wanted more and it feels like more to come. Love the visual effects. As a big fan, I would give it 8/10.
-
I support your next QTVR!! SV-51 QTVRs were awesomeee!
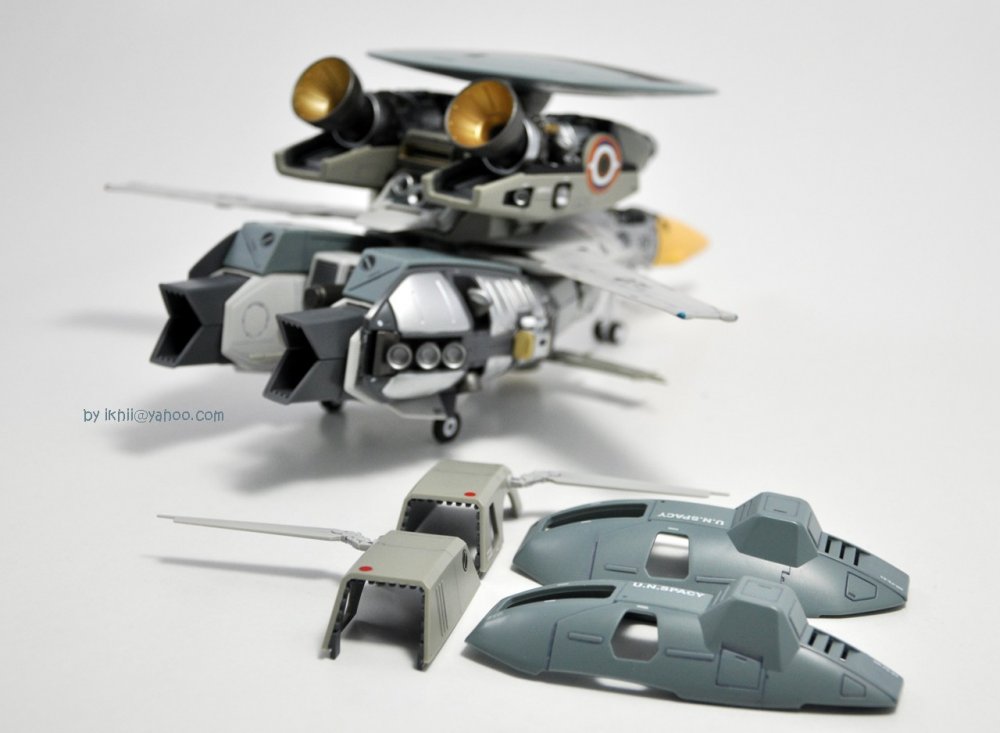
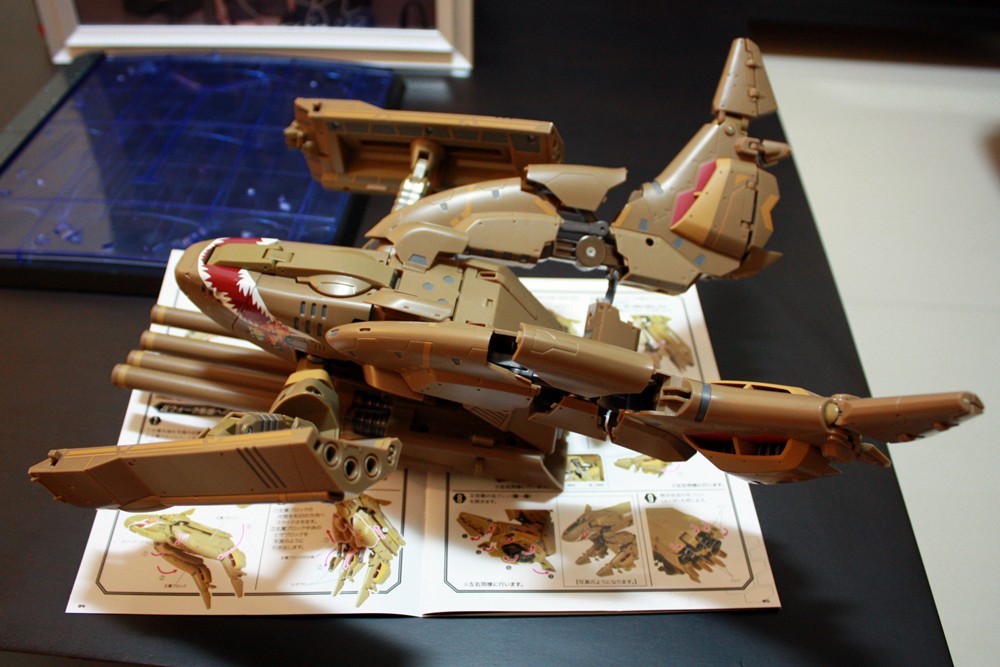
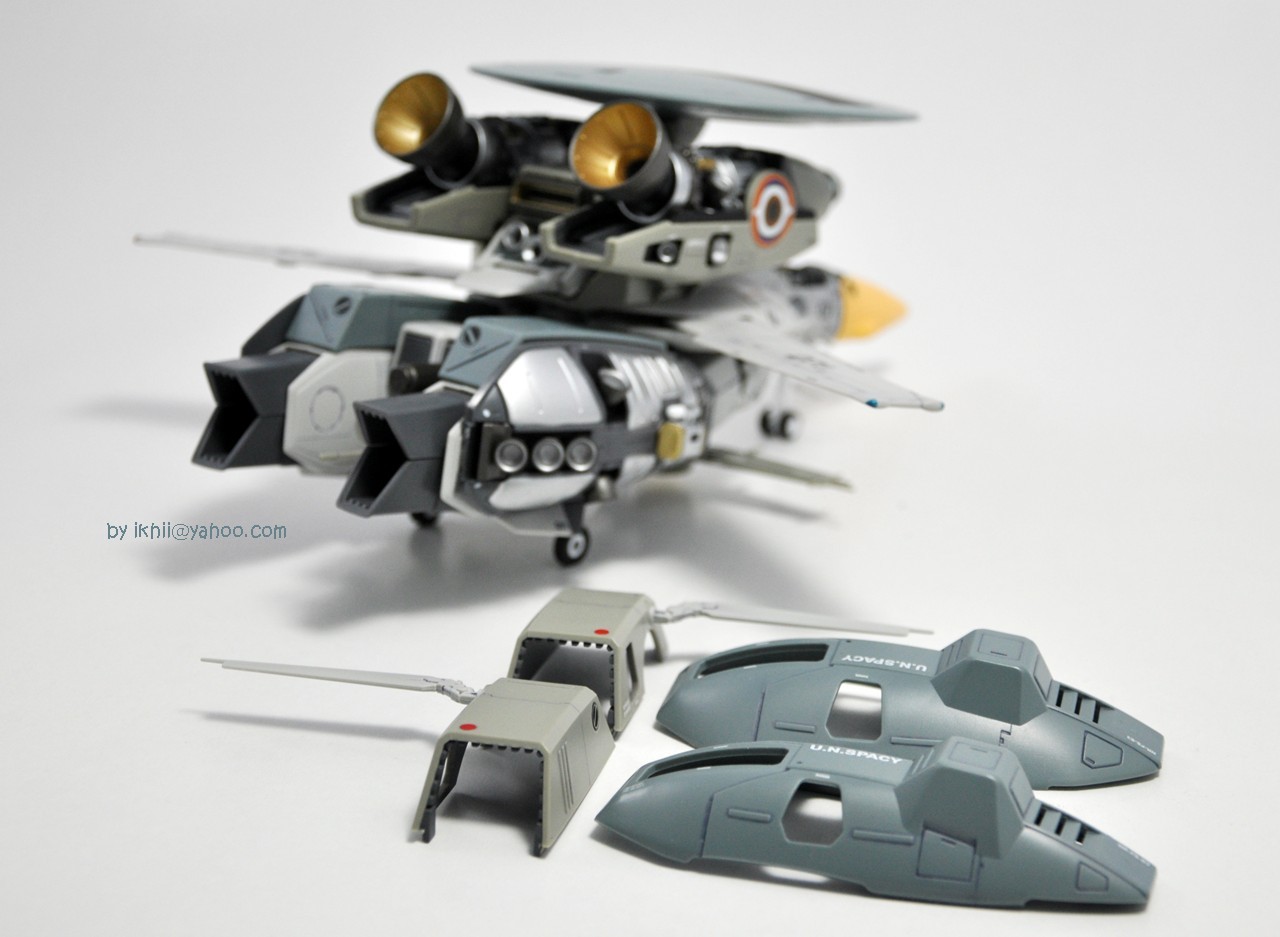
Yeh Thanks... before that, I need to dissect the konig and make sure it is prepped for the QTVR... hahahha...

-
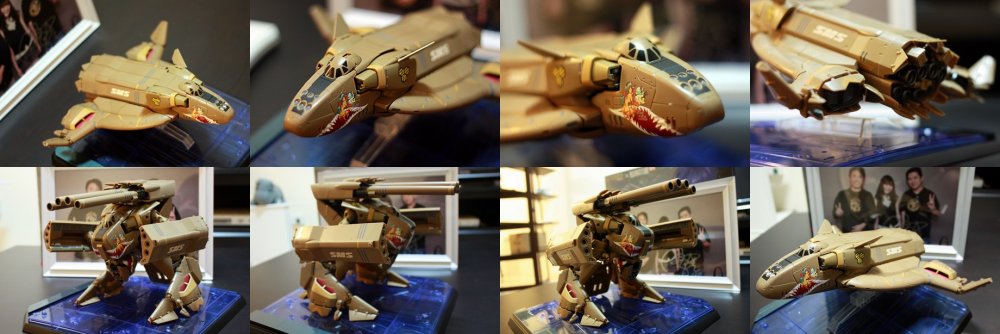
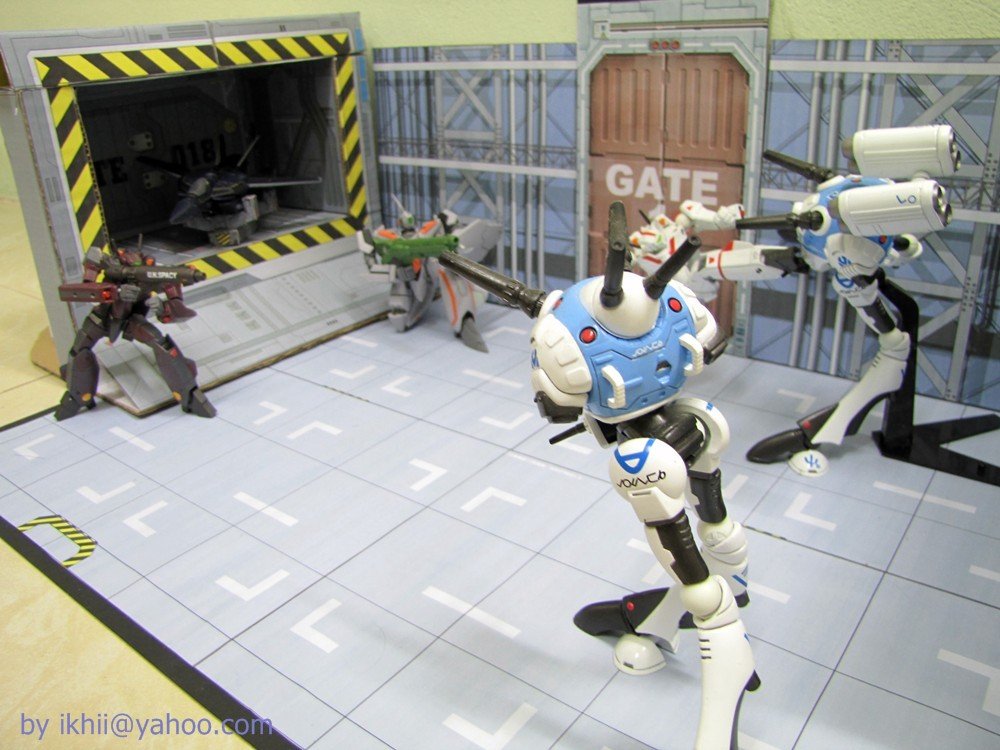
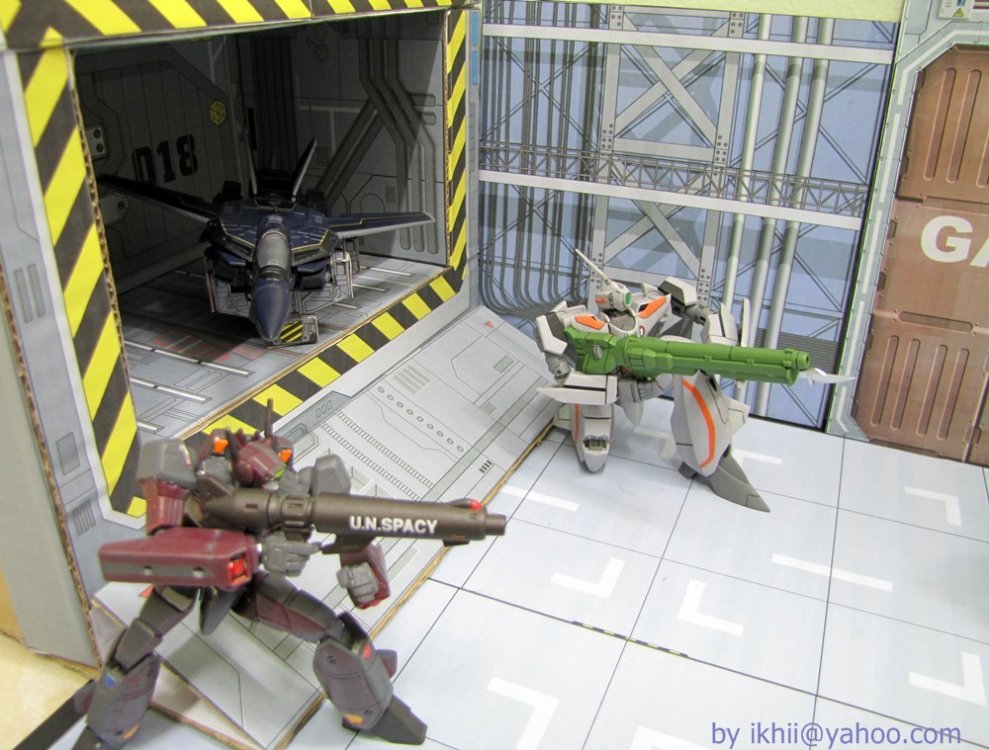
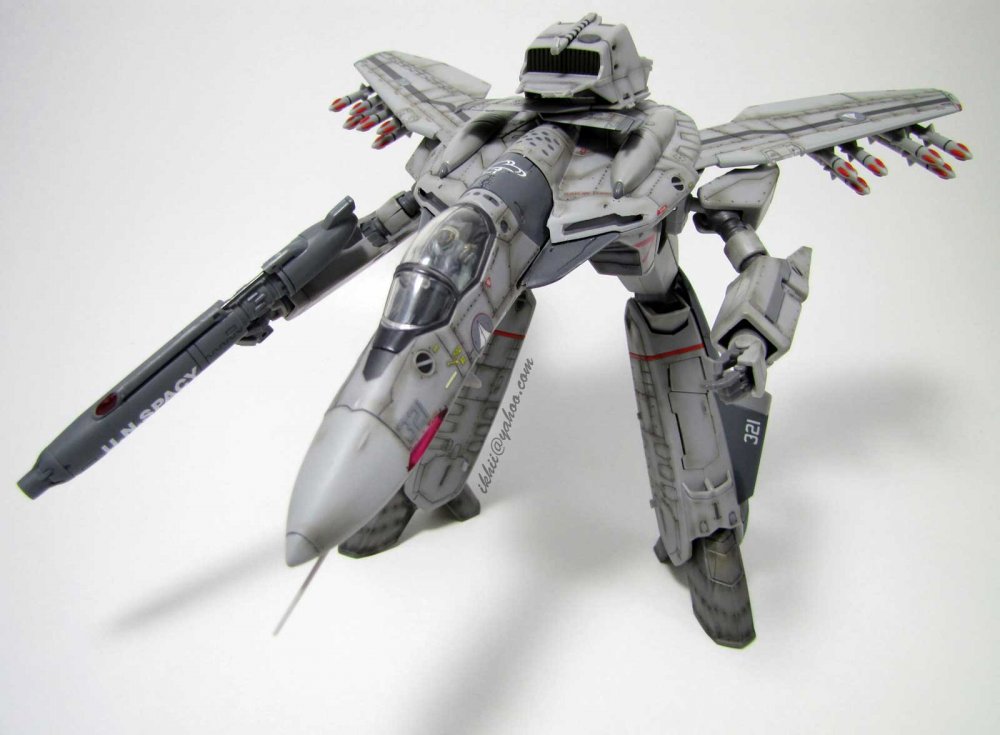
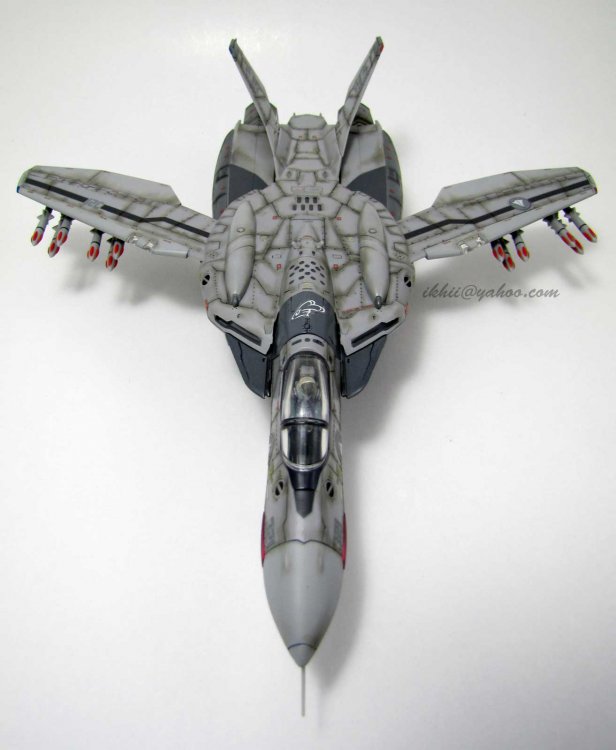
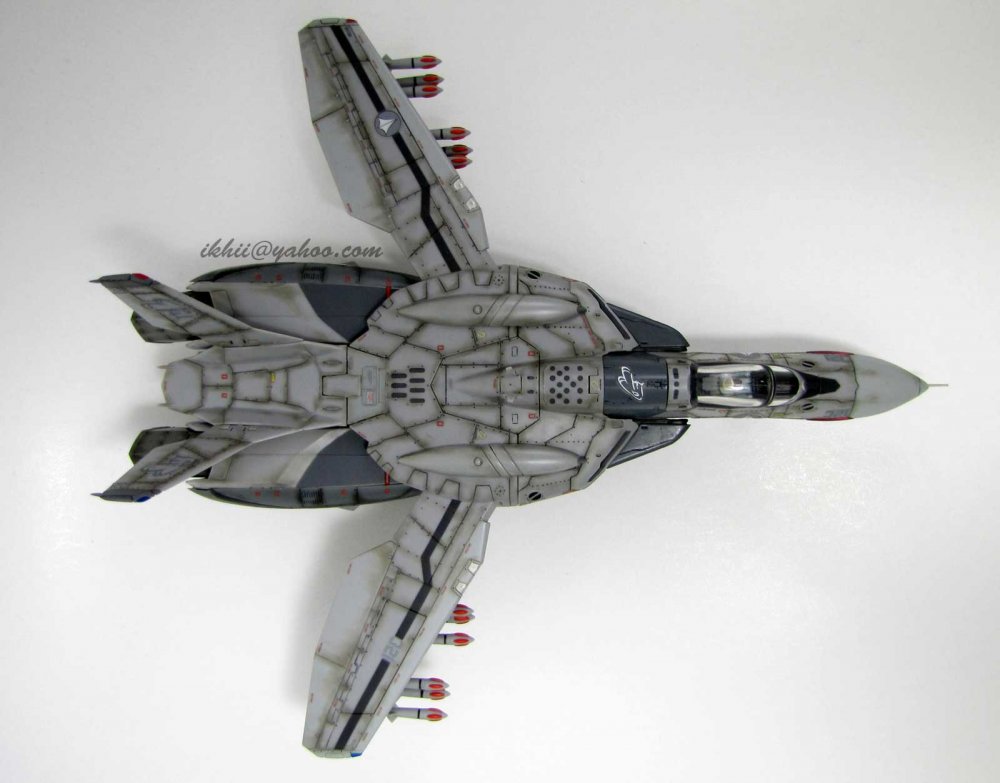
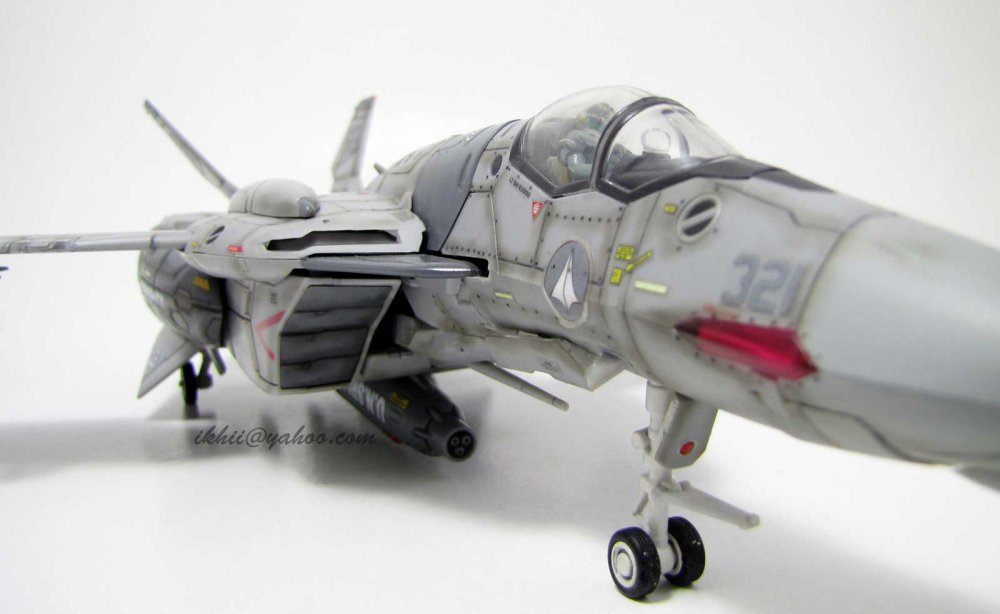
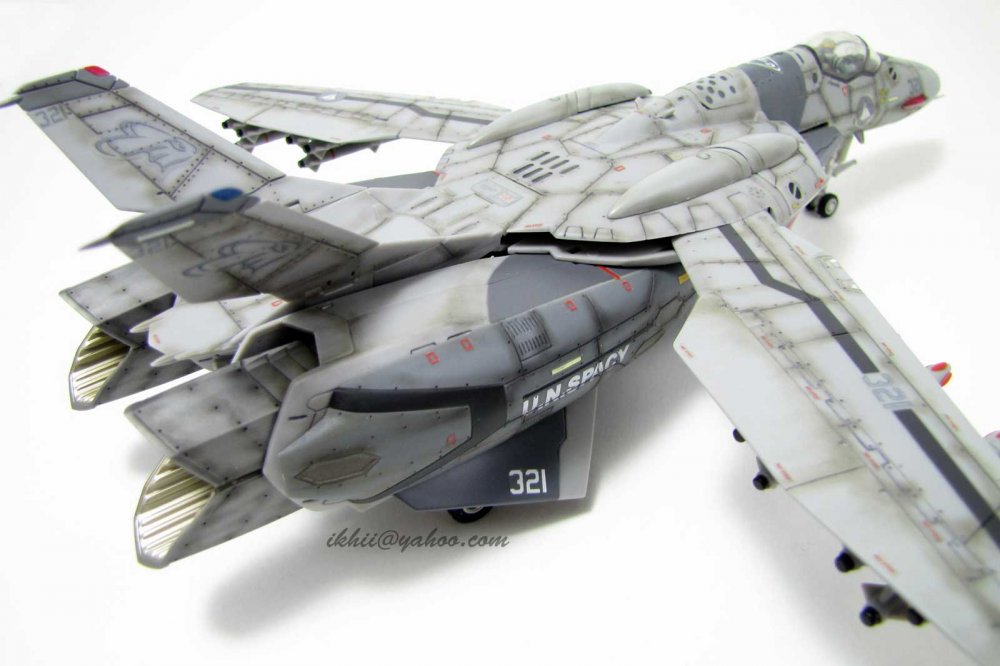
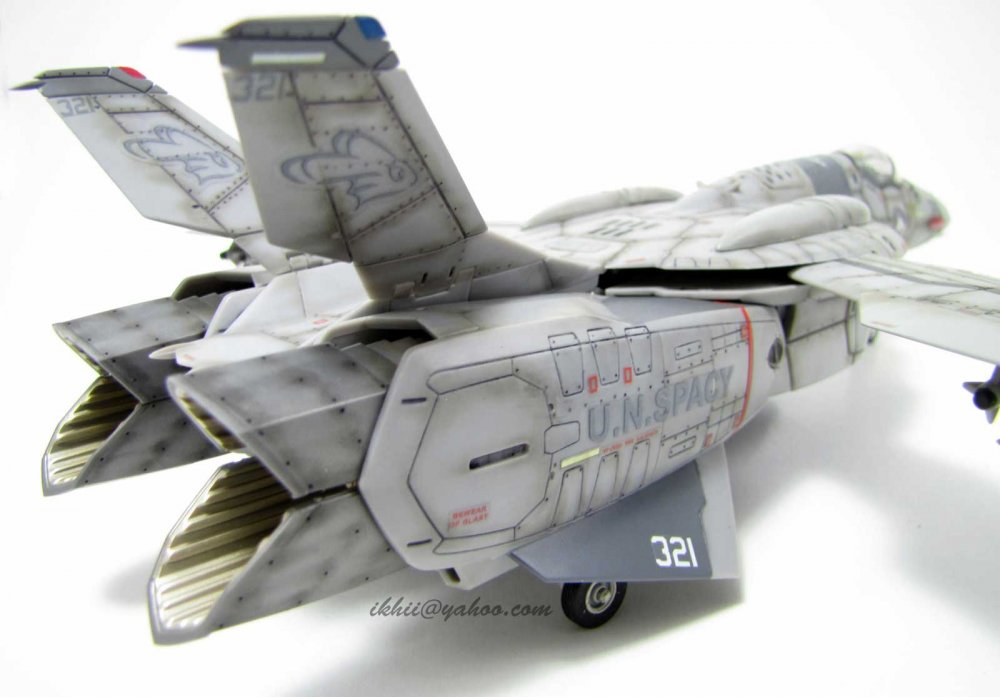
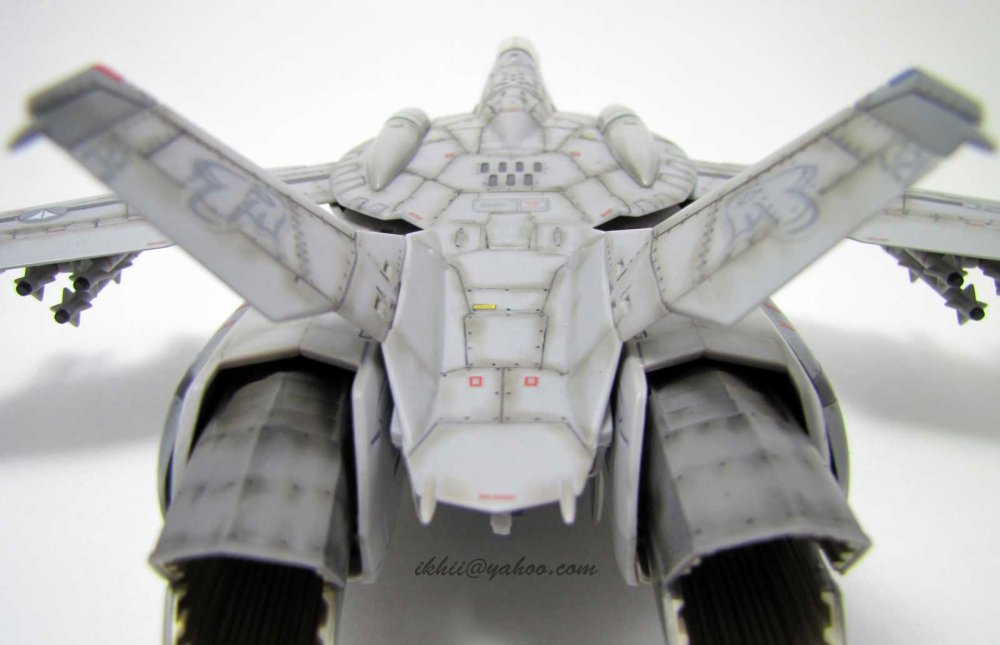
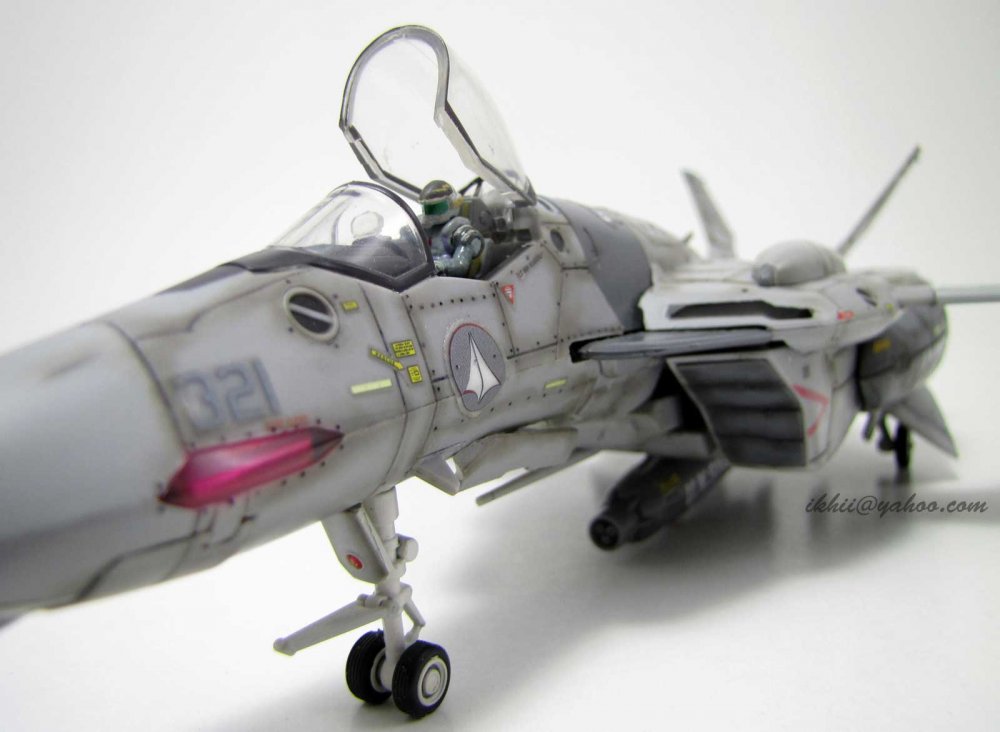
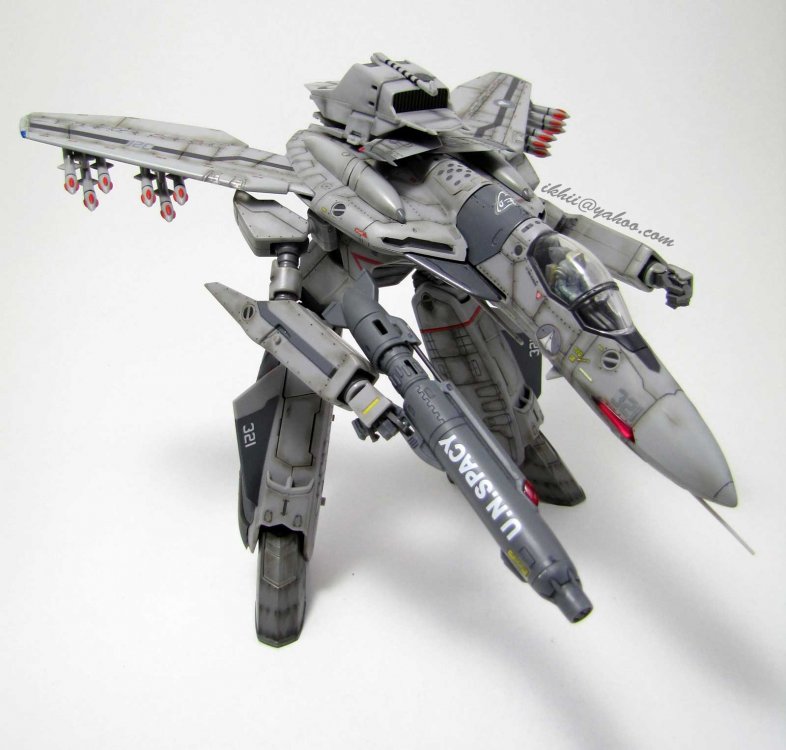
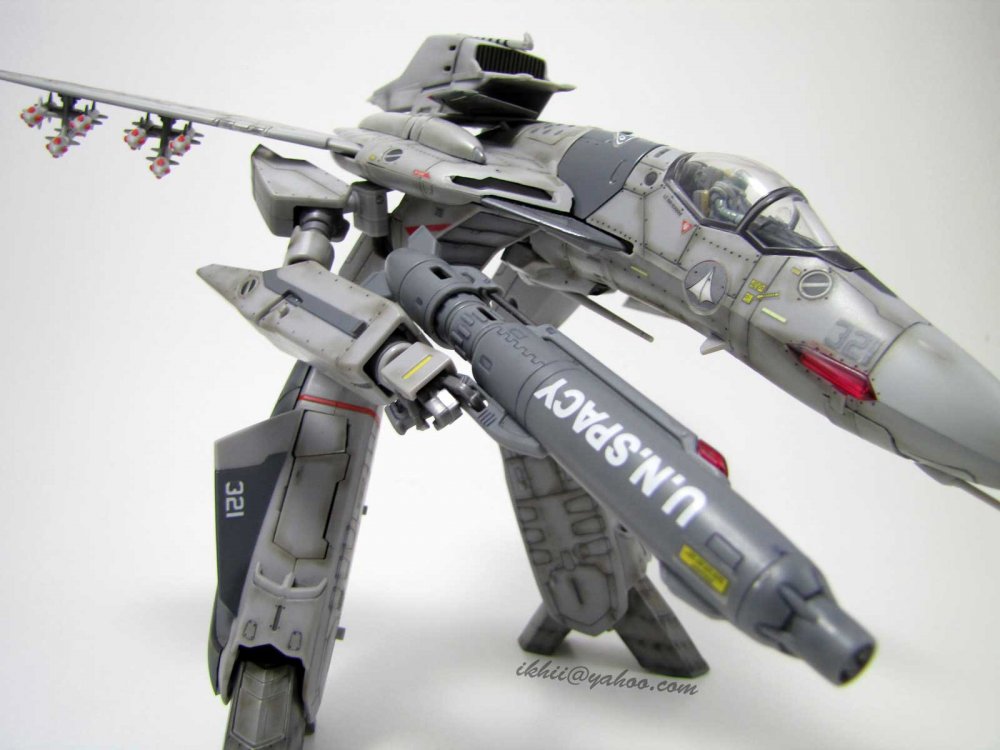
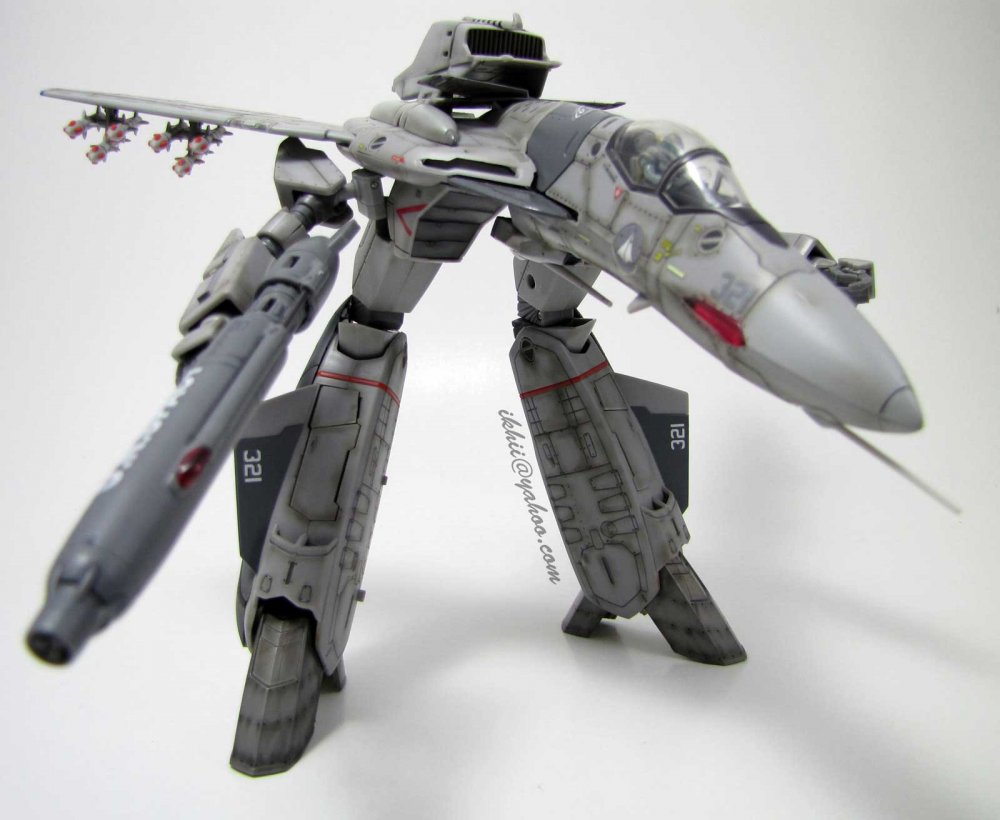
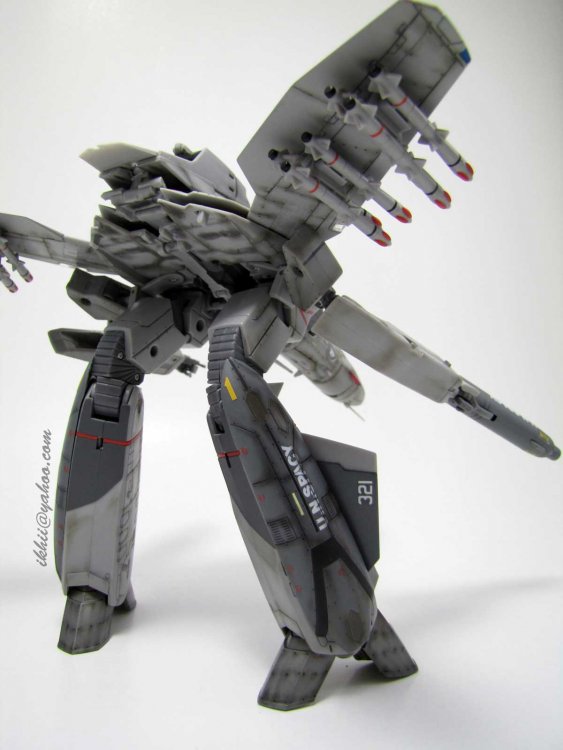
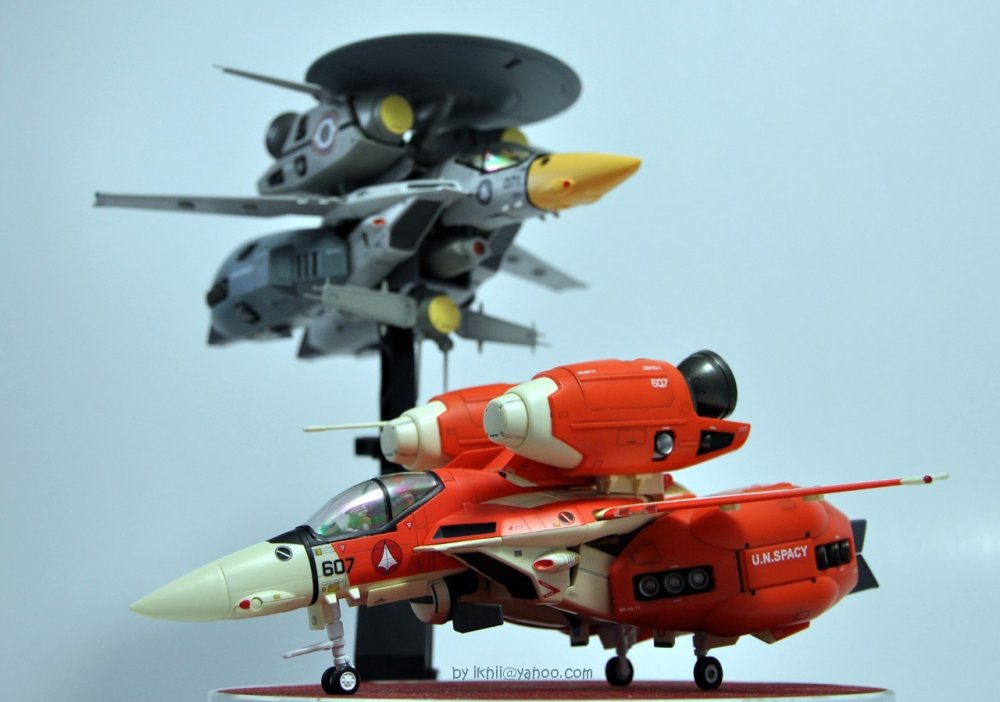
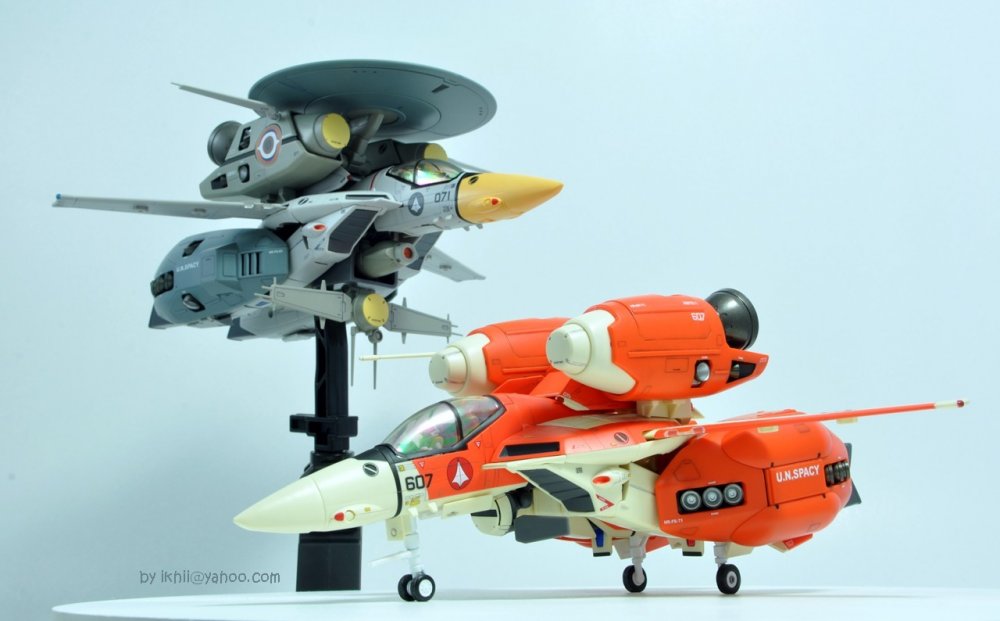
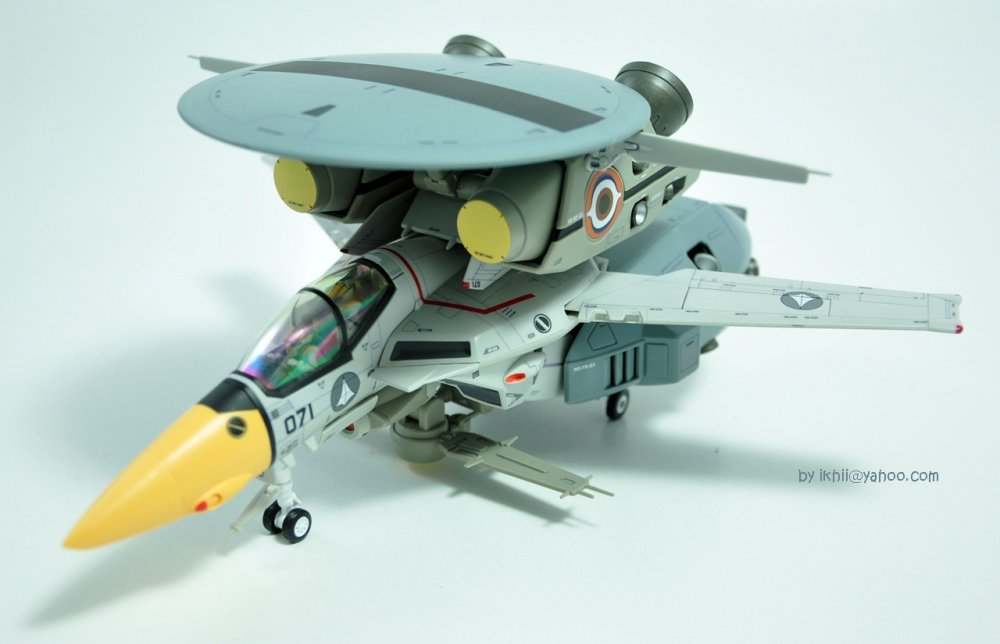
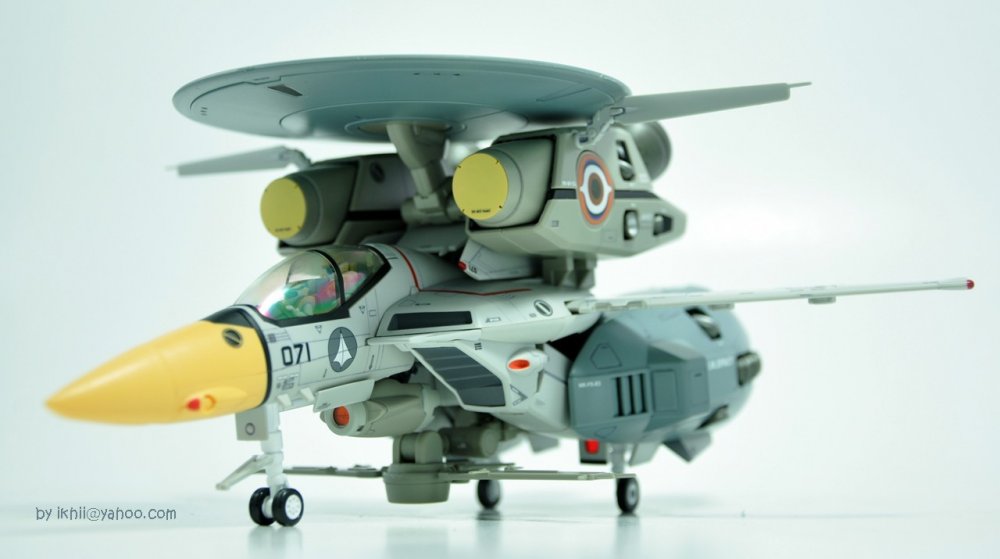
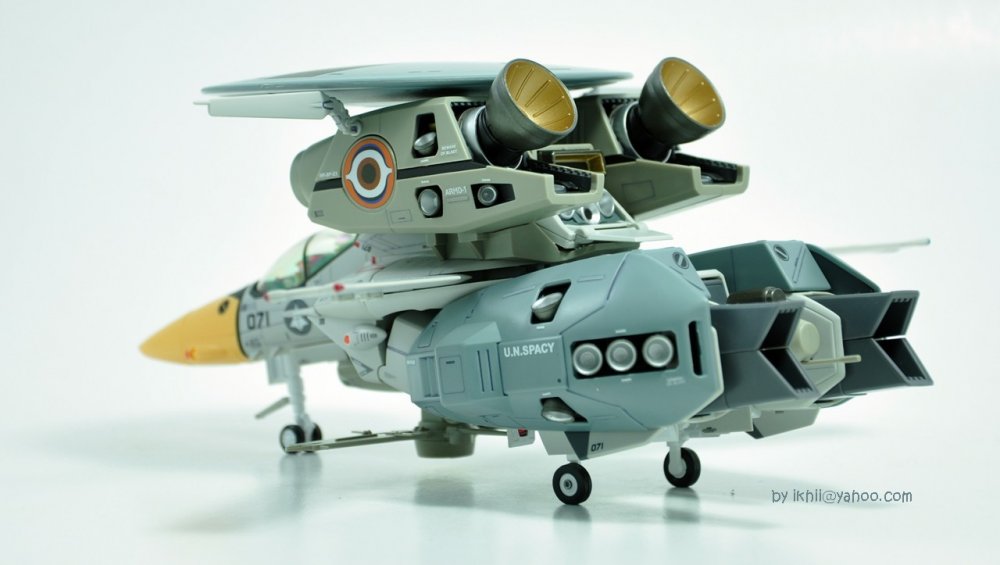
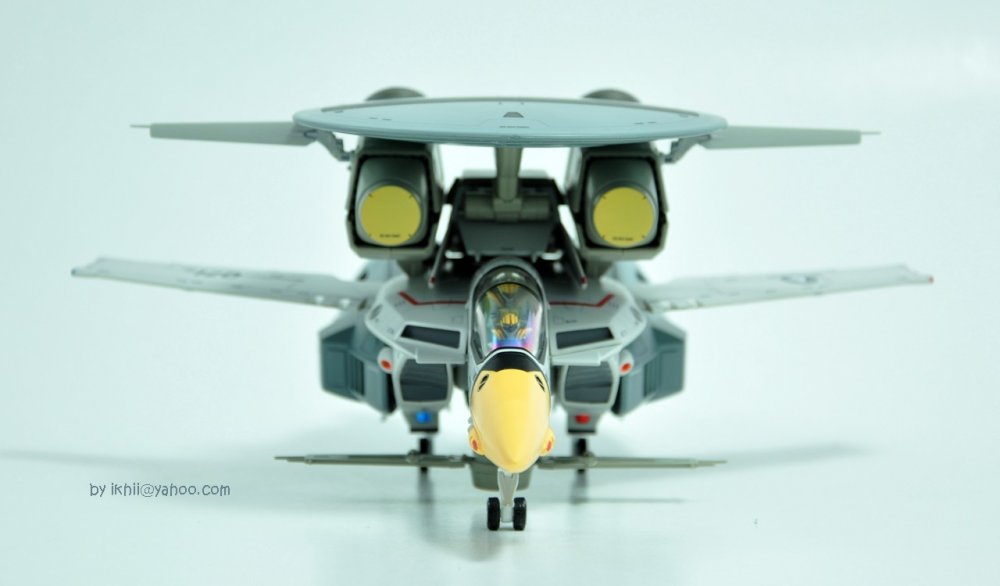
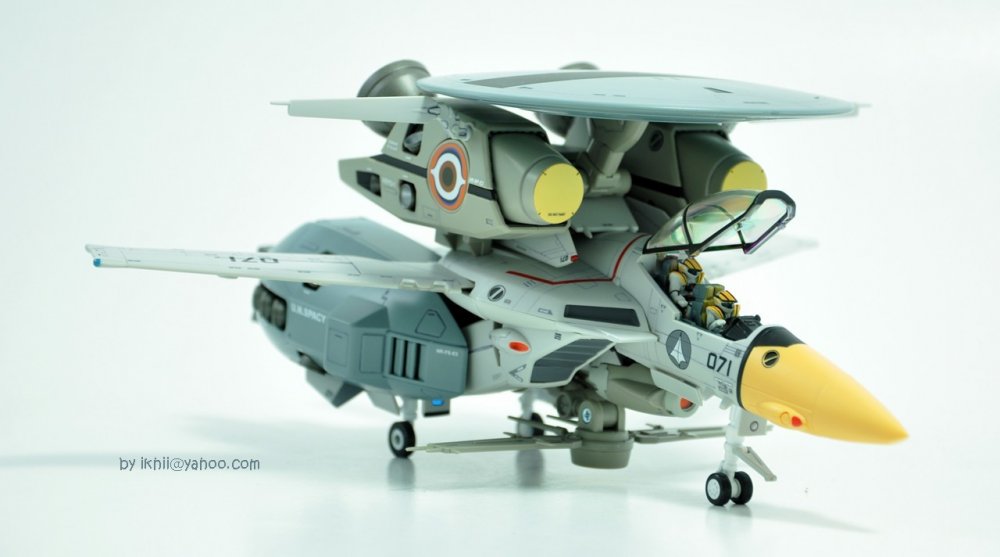
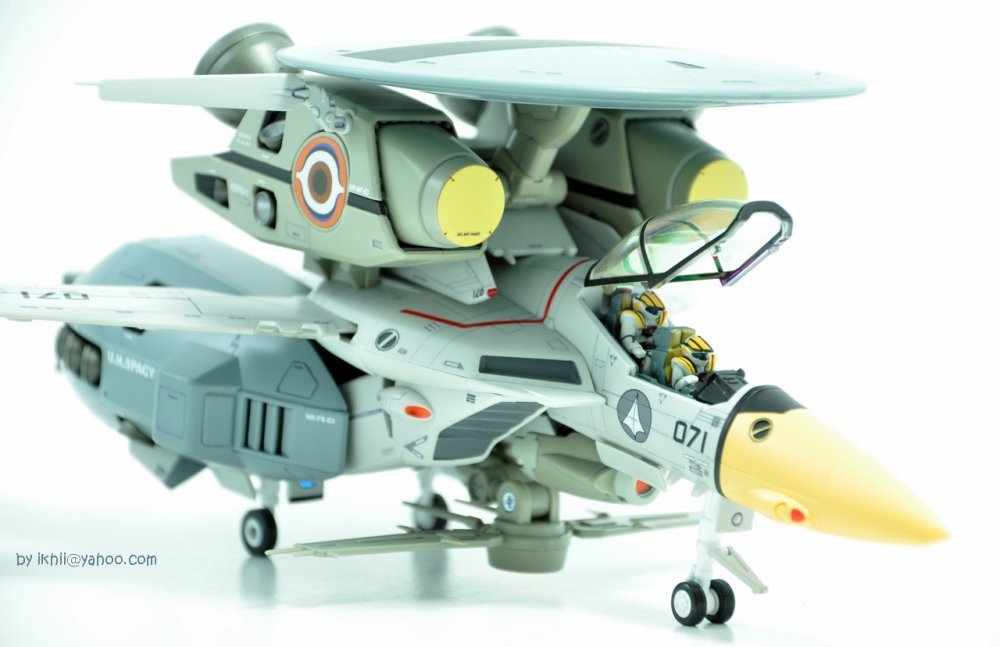
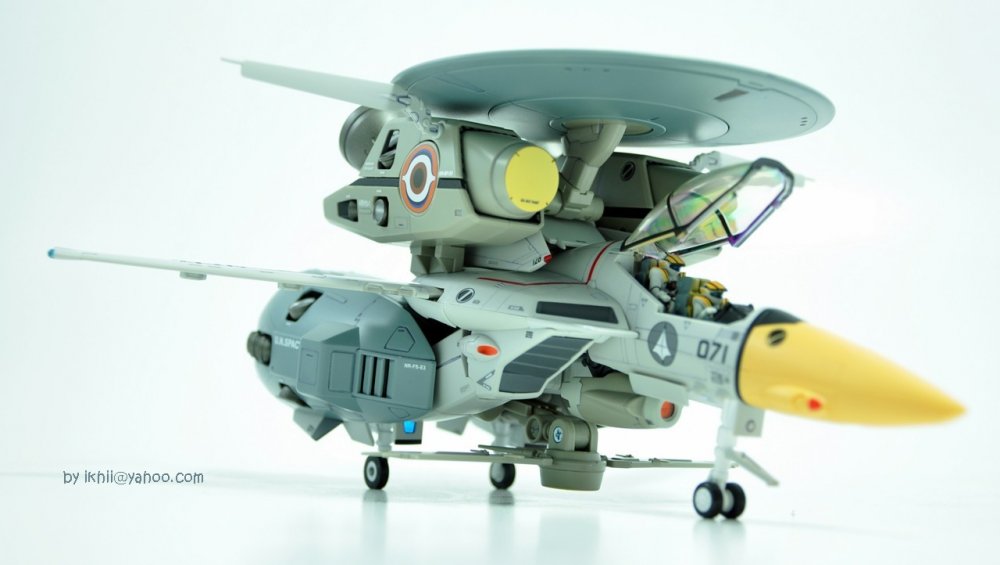
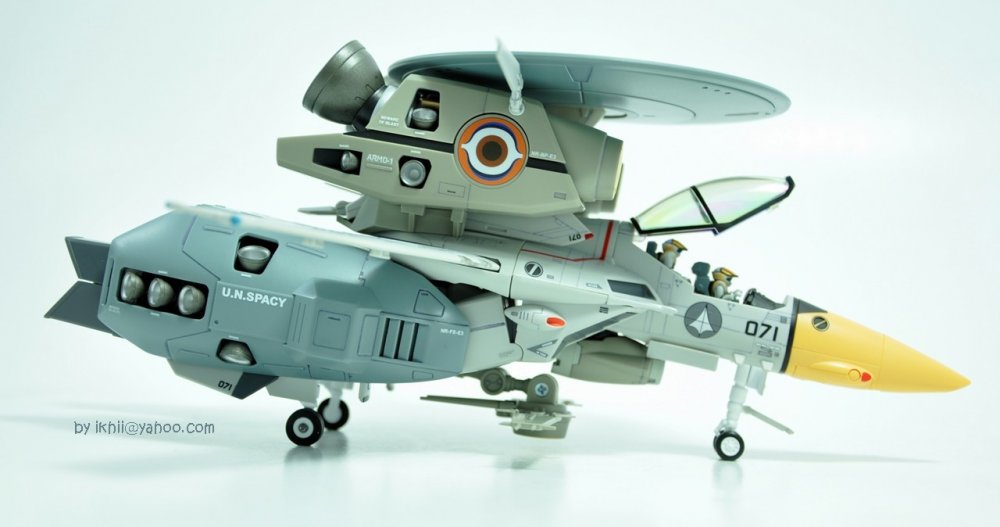
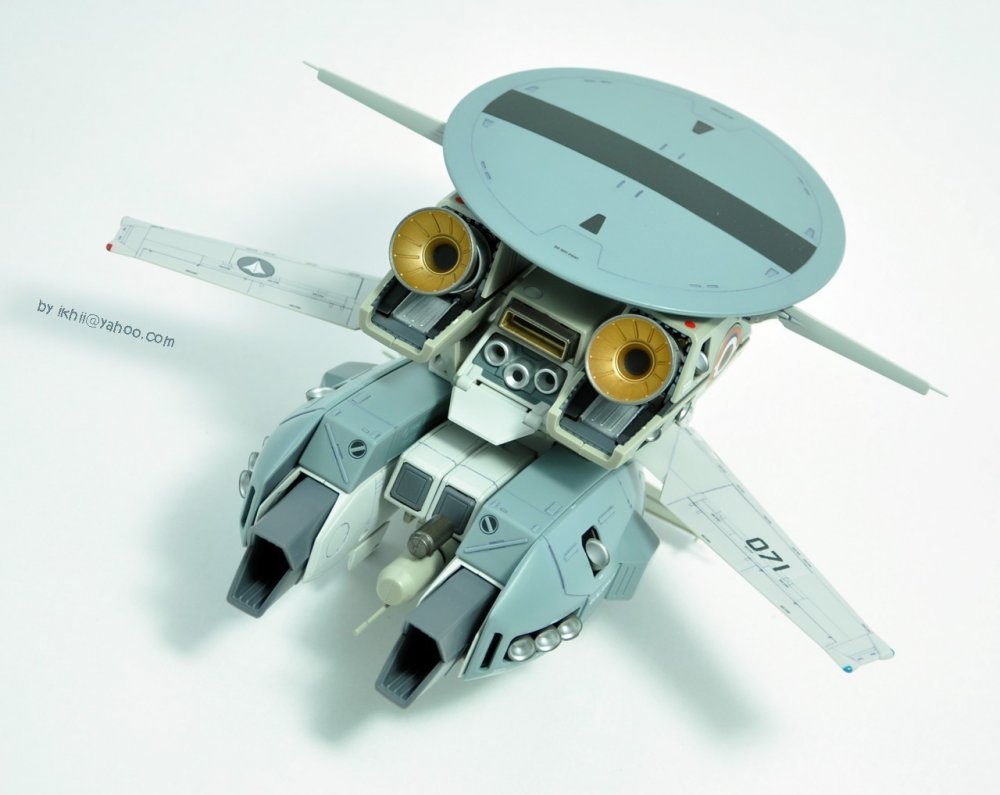
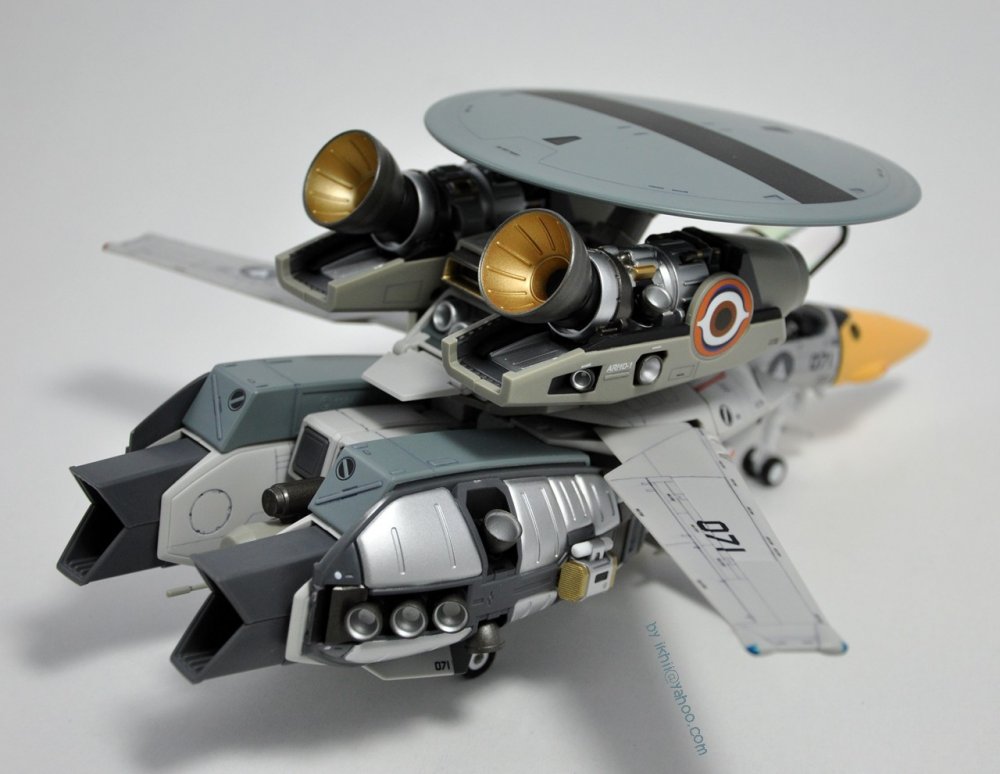
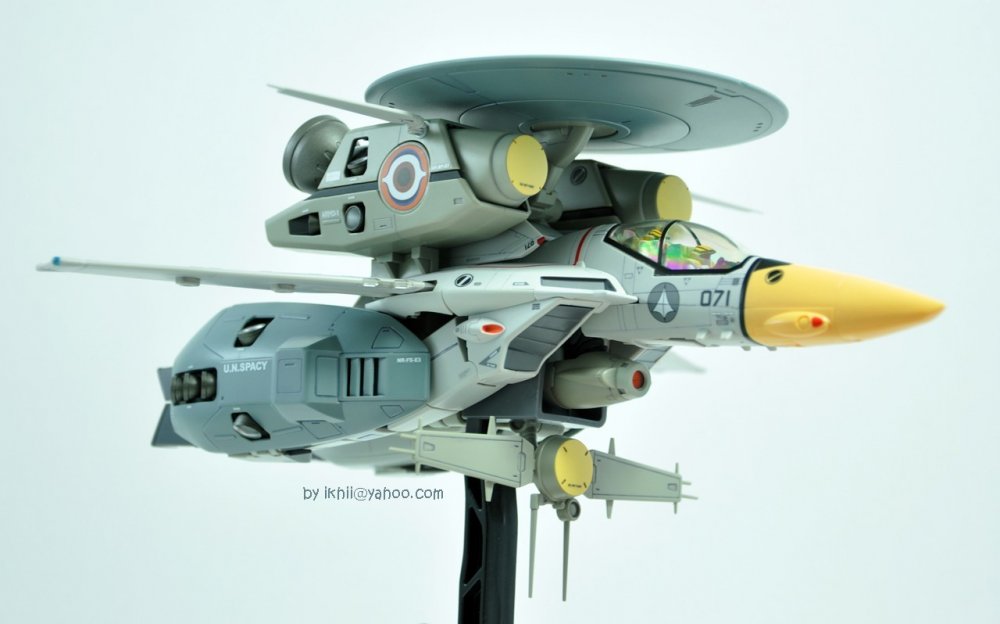
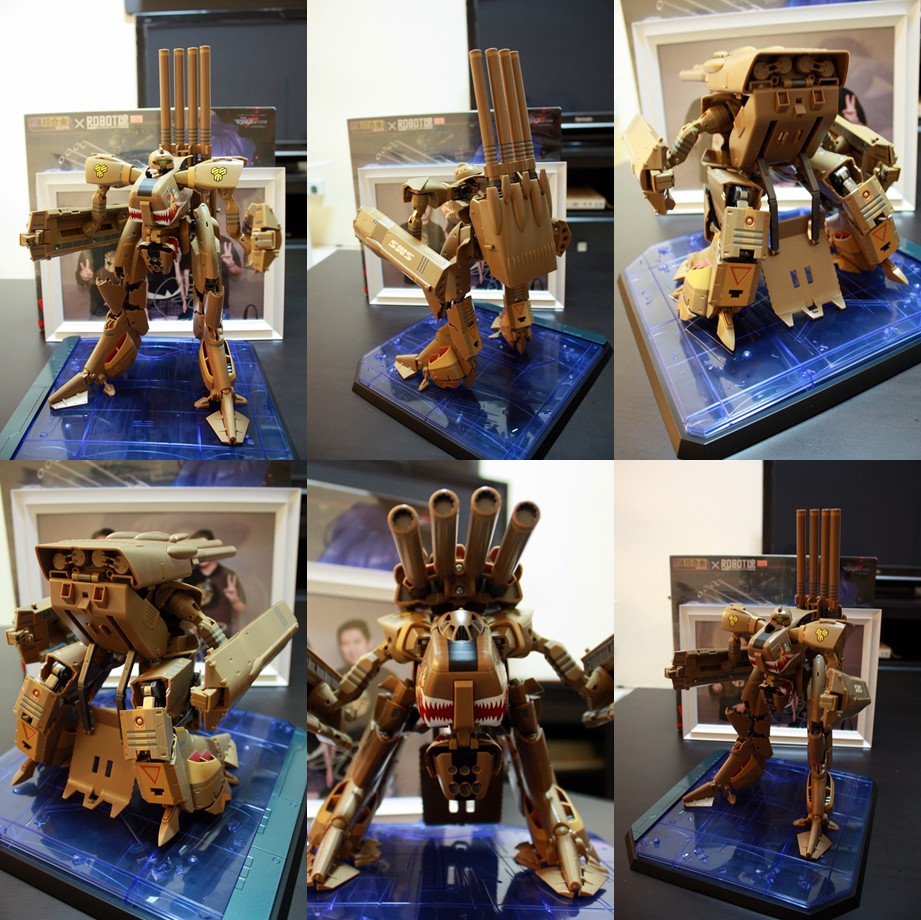
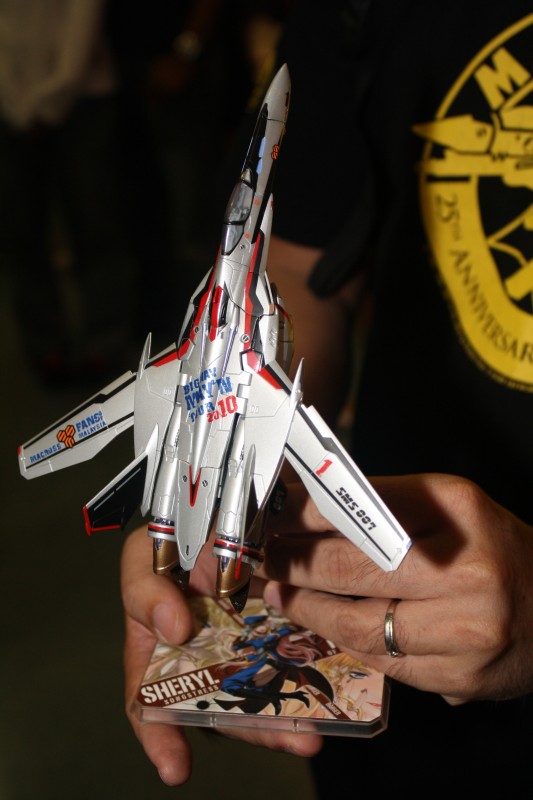
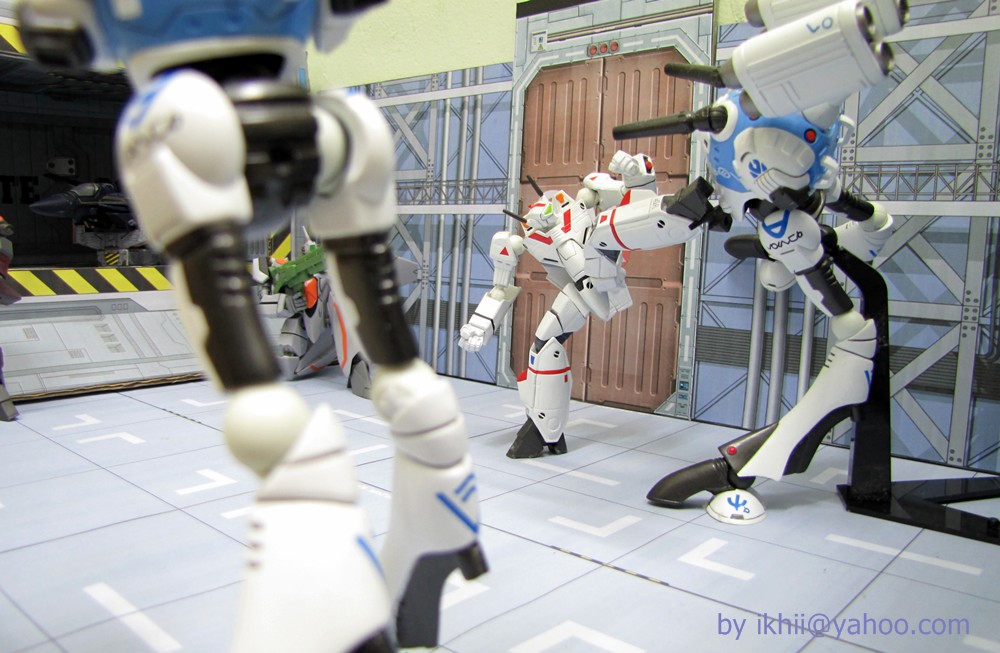
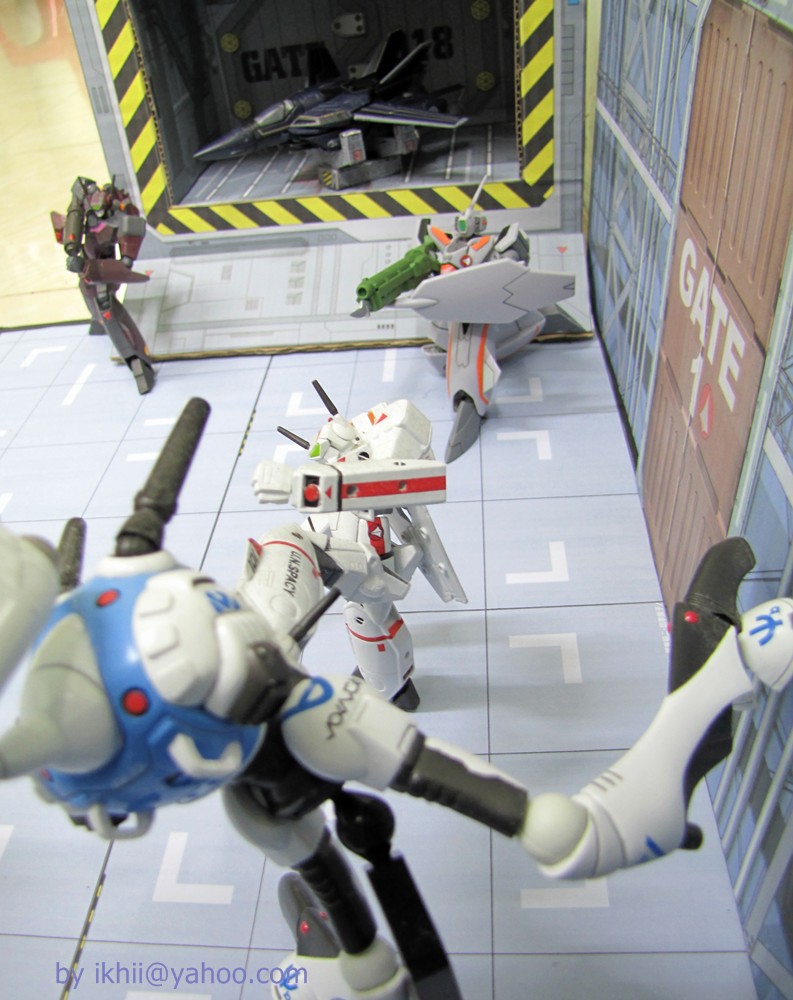
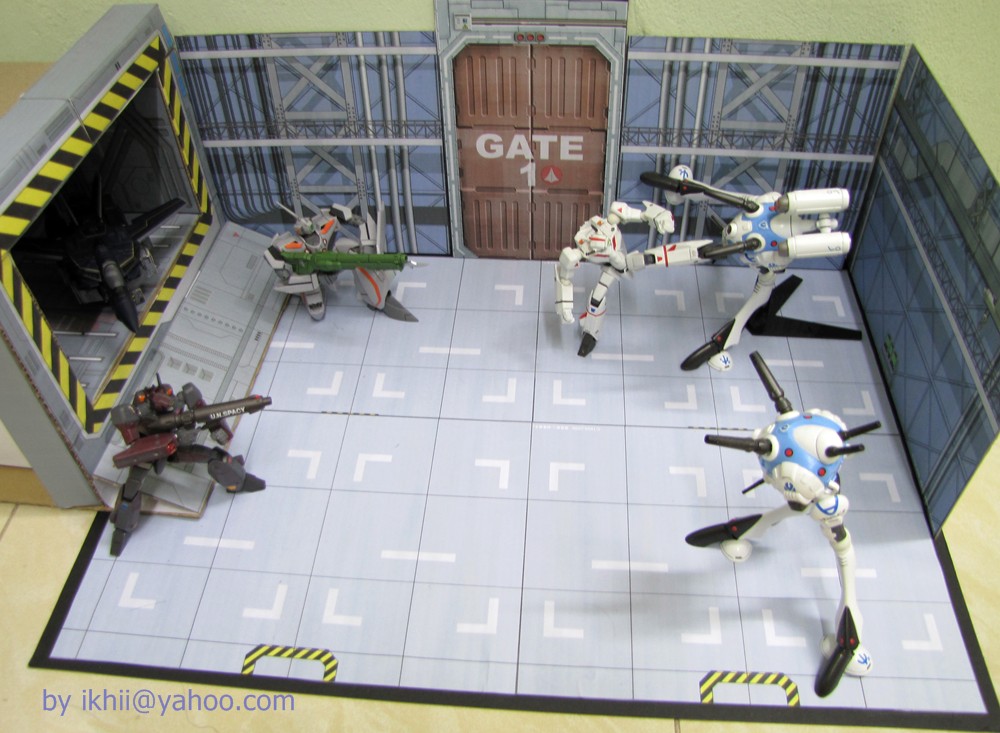
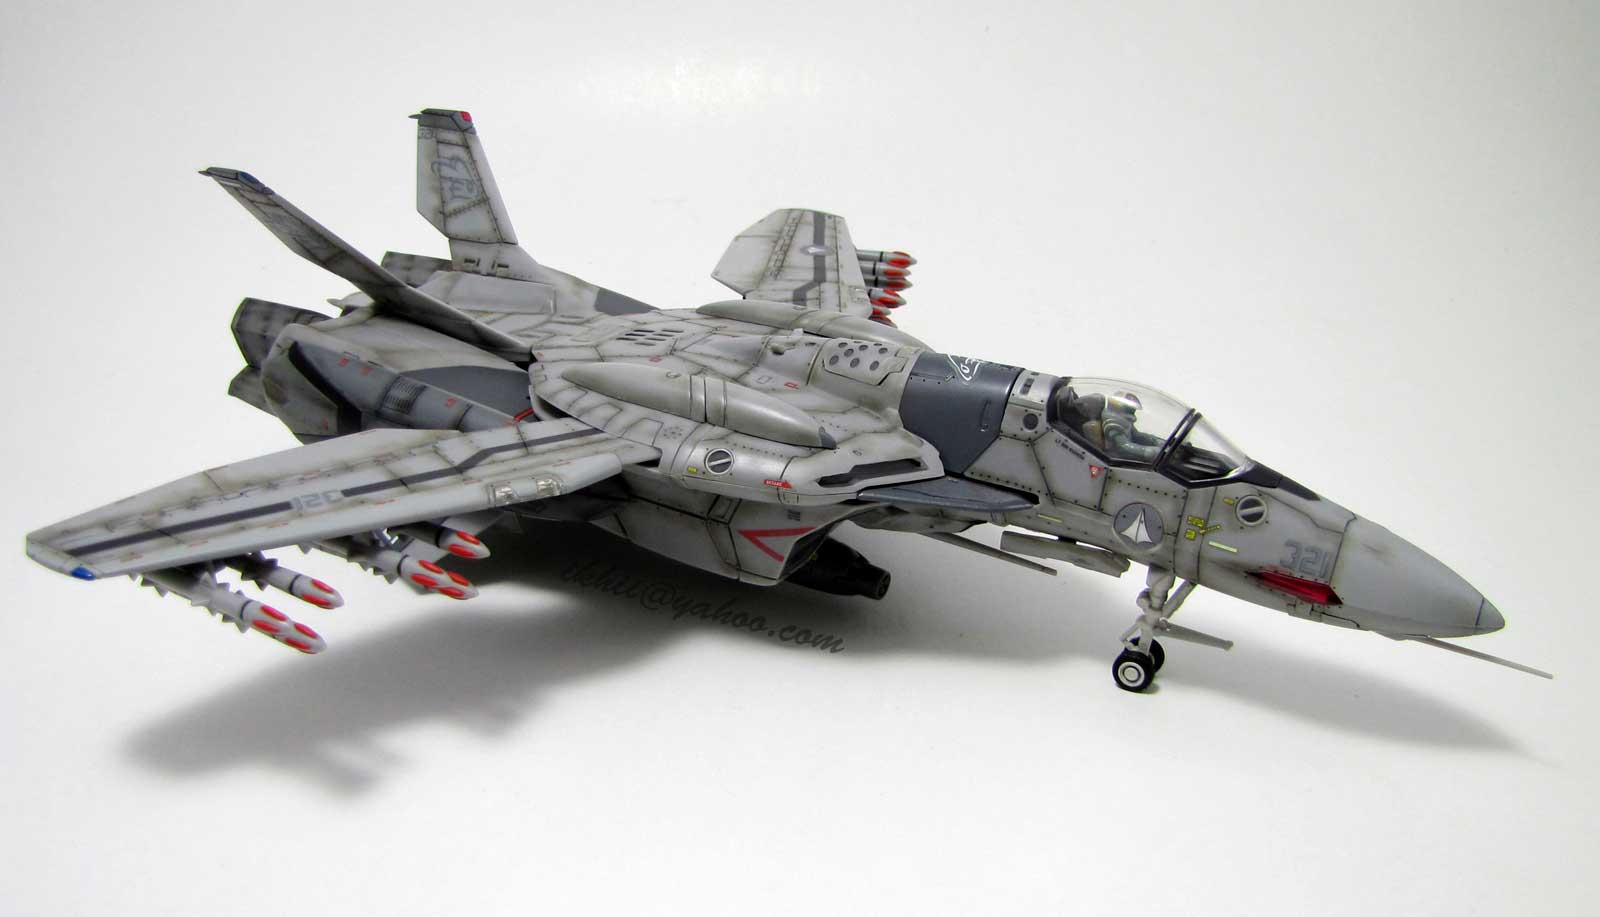
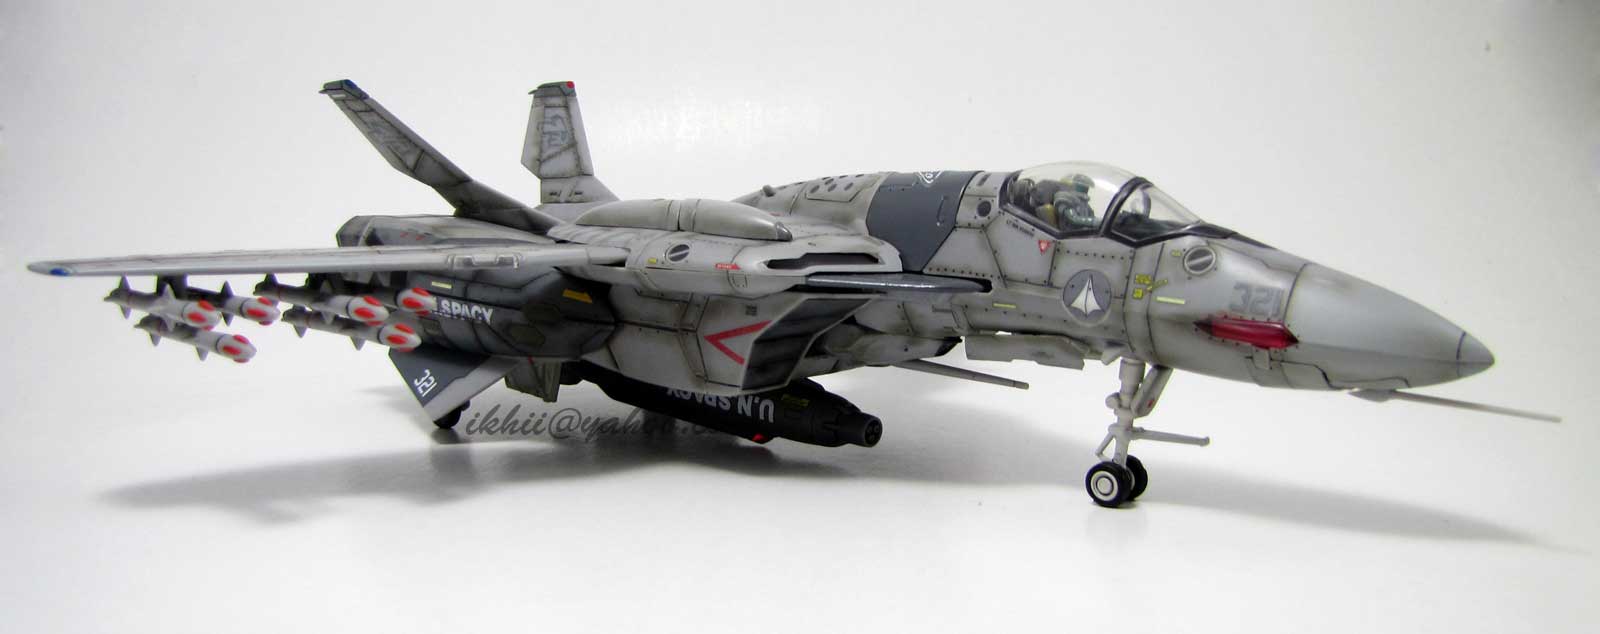
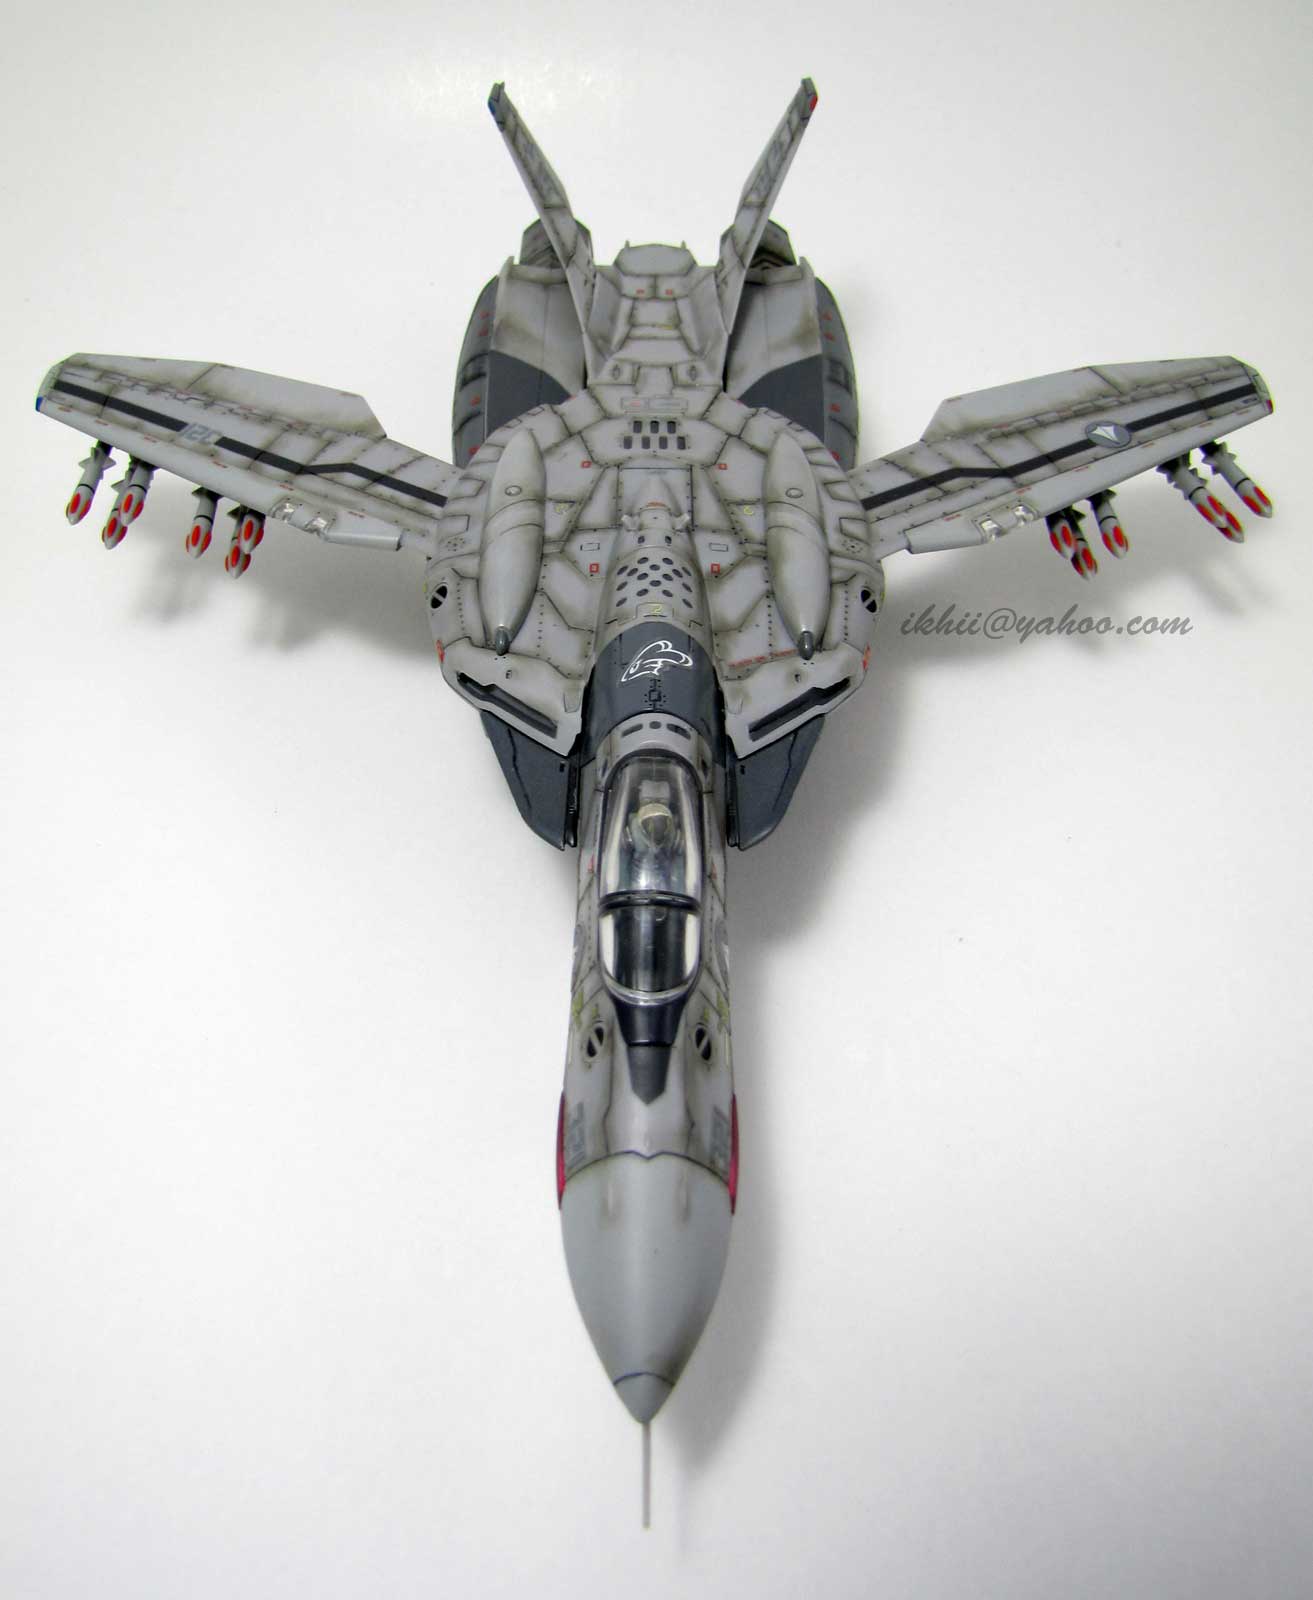
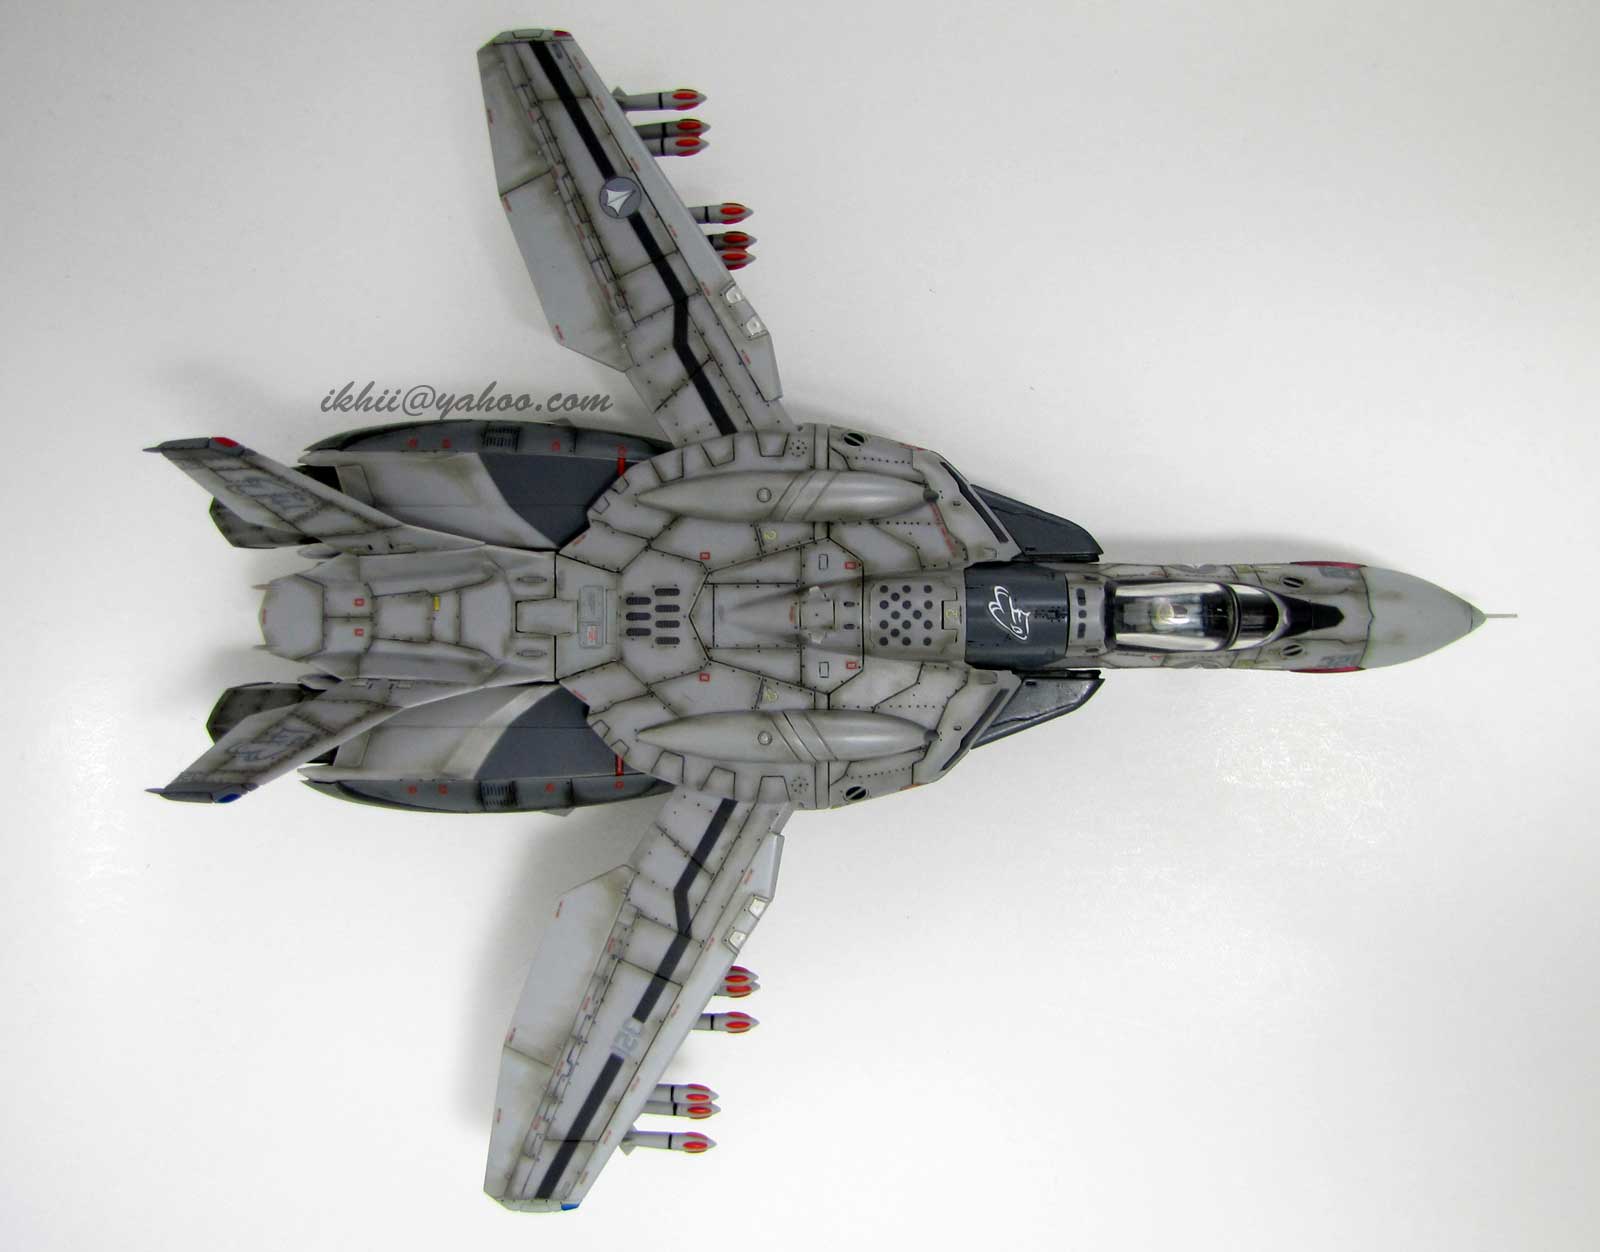
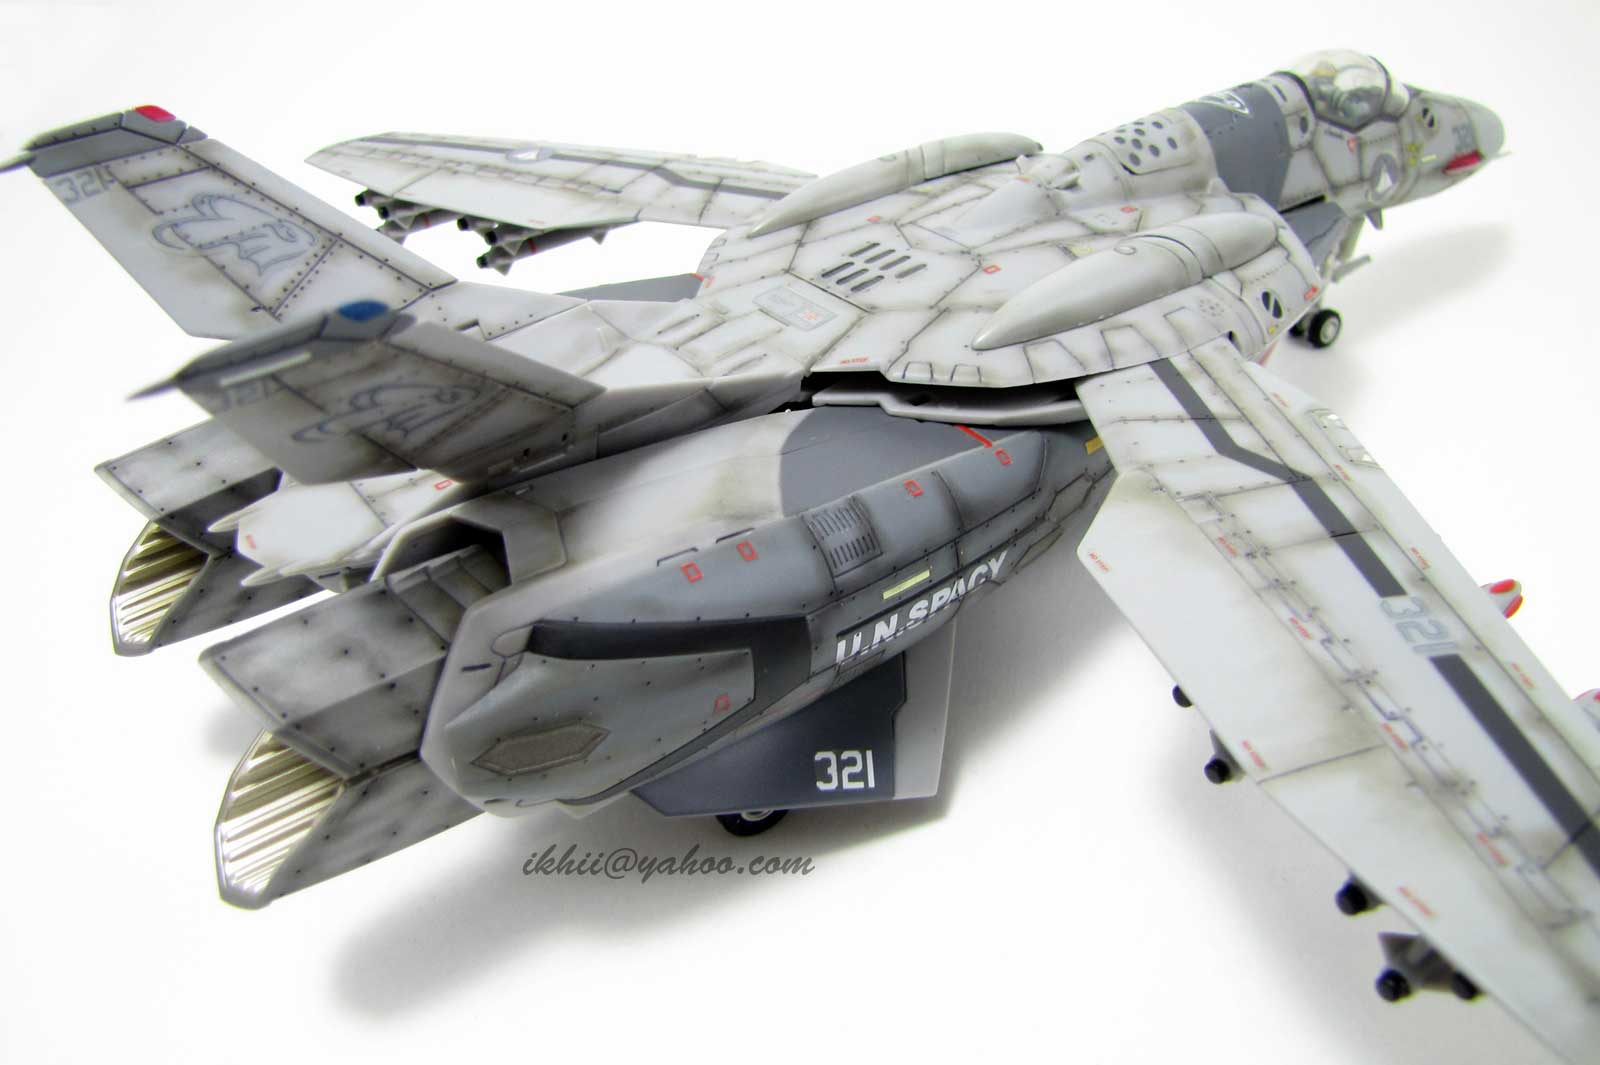
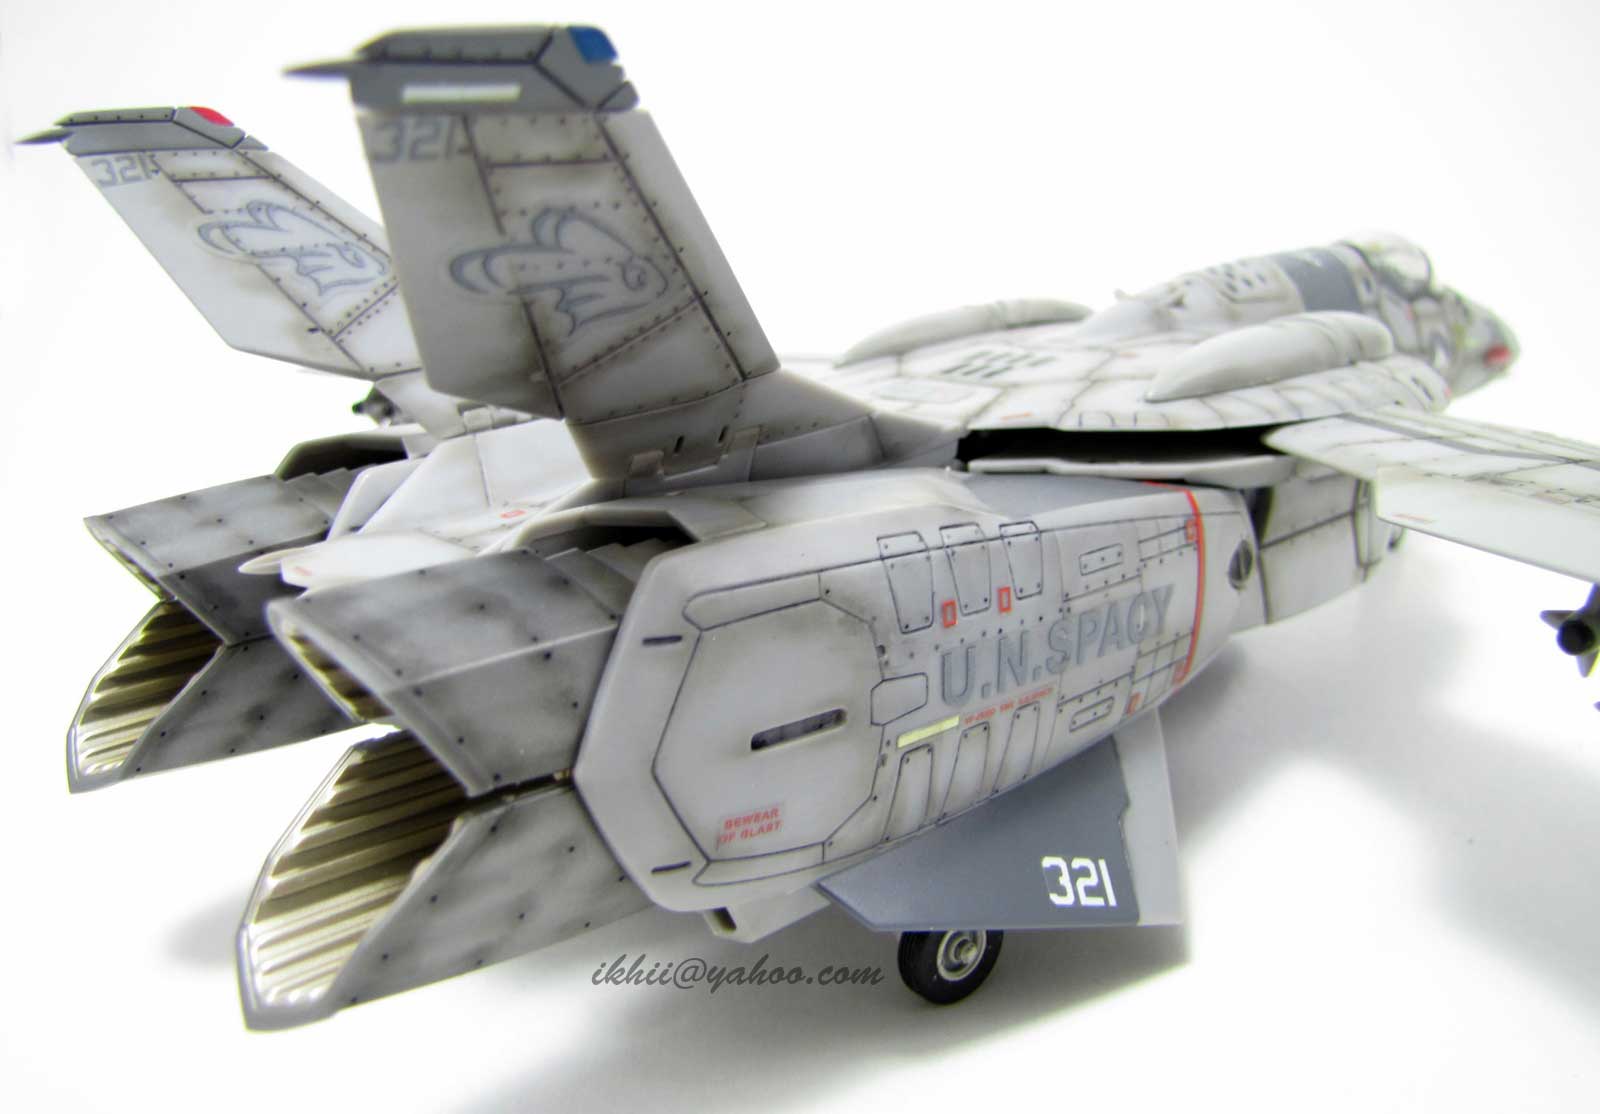
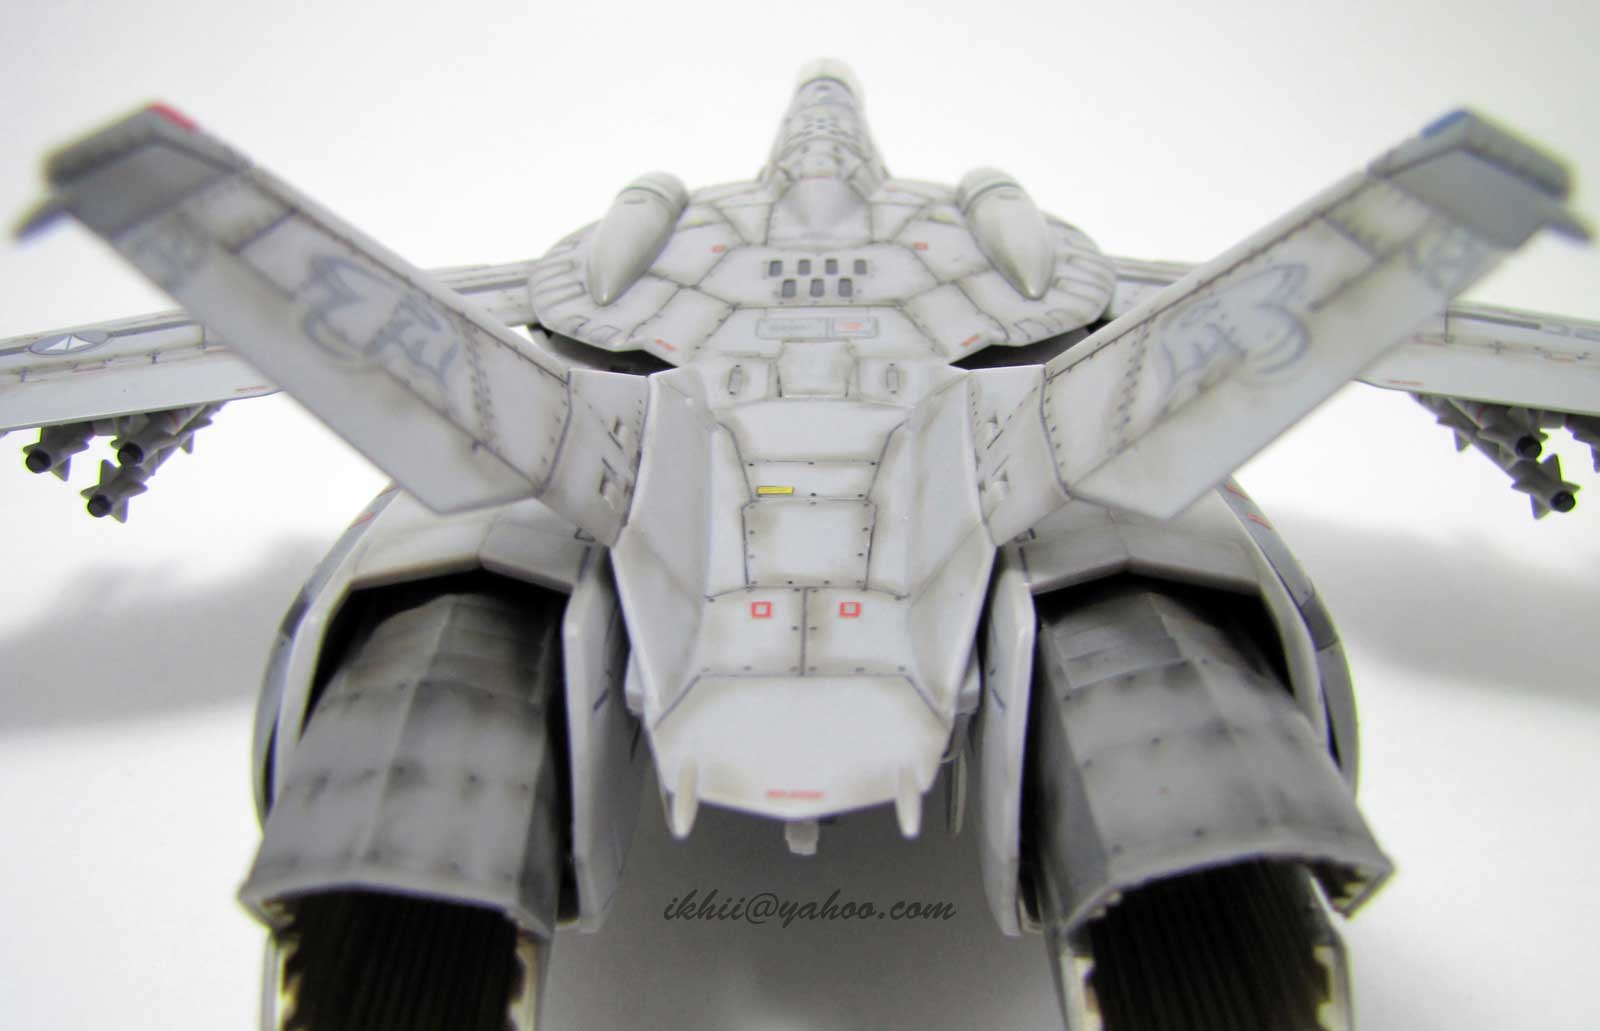
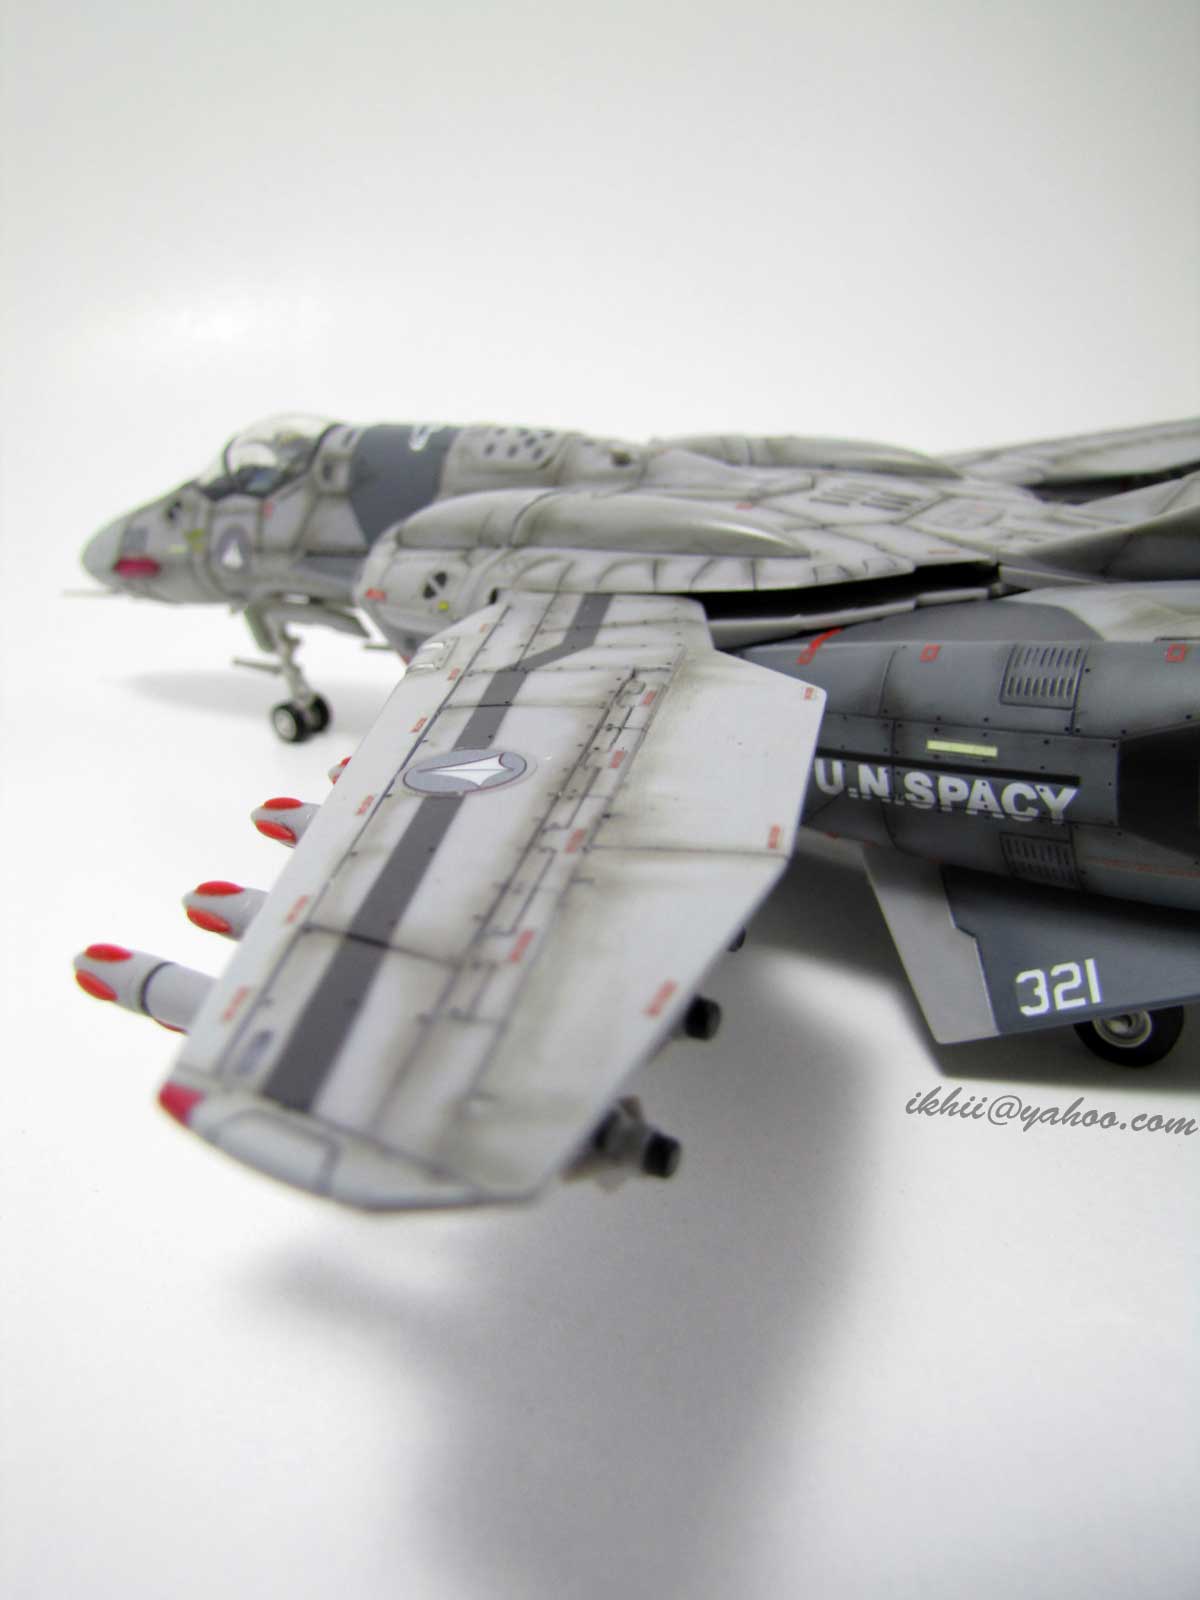
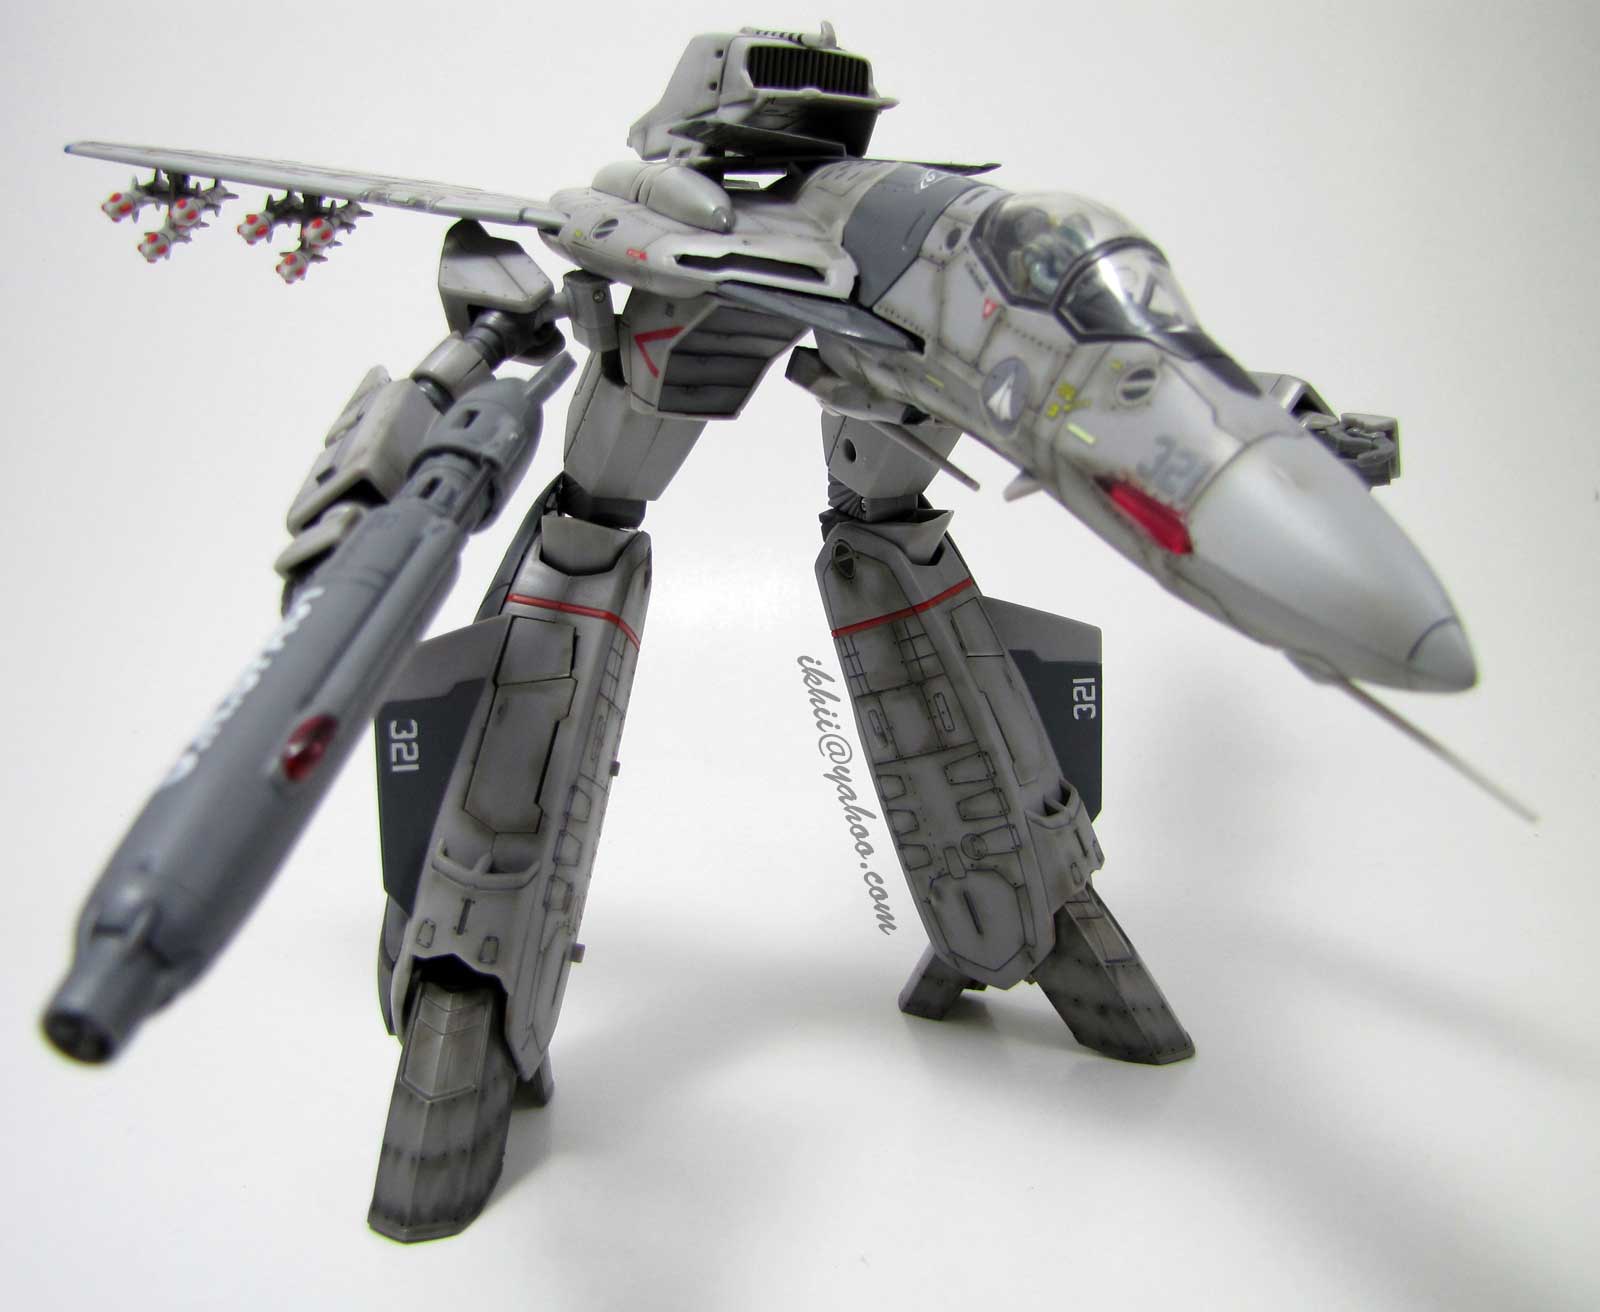
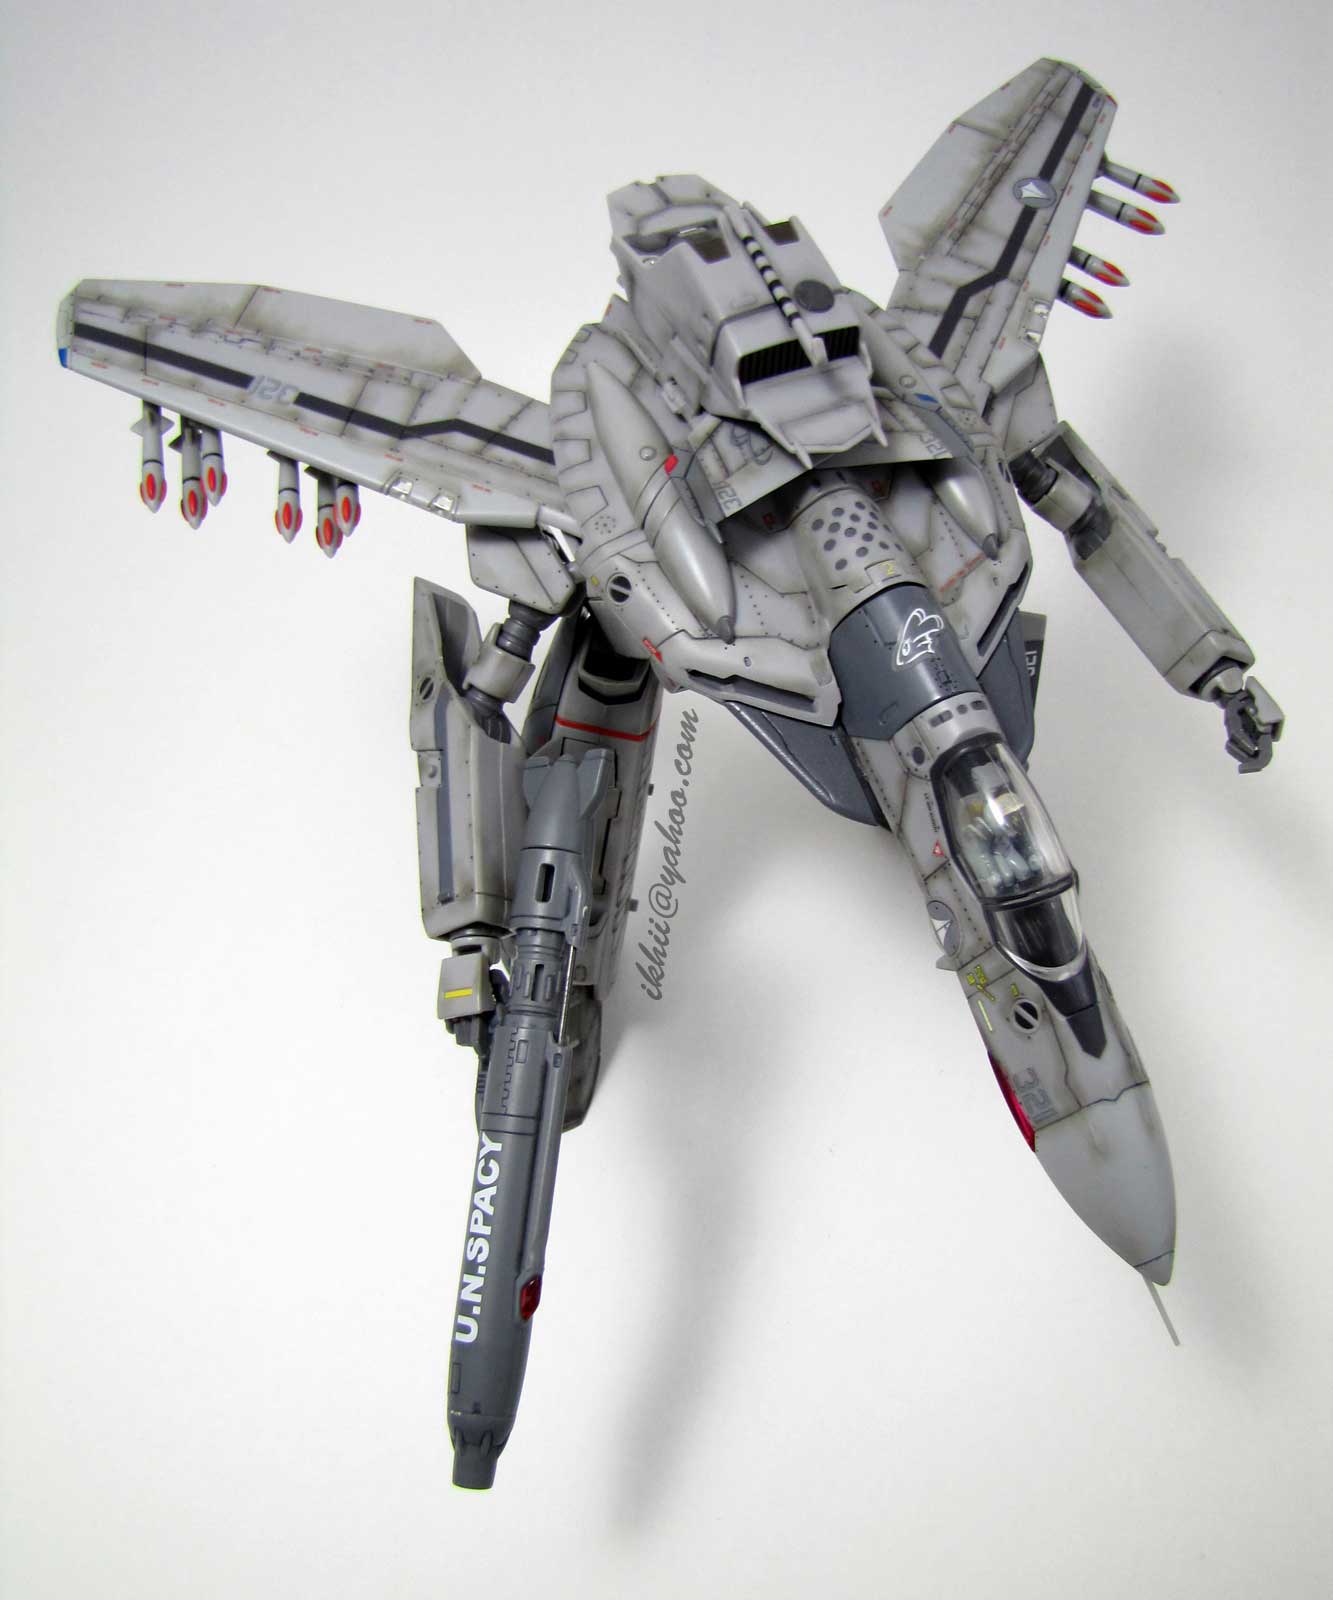
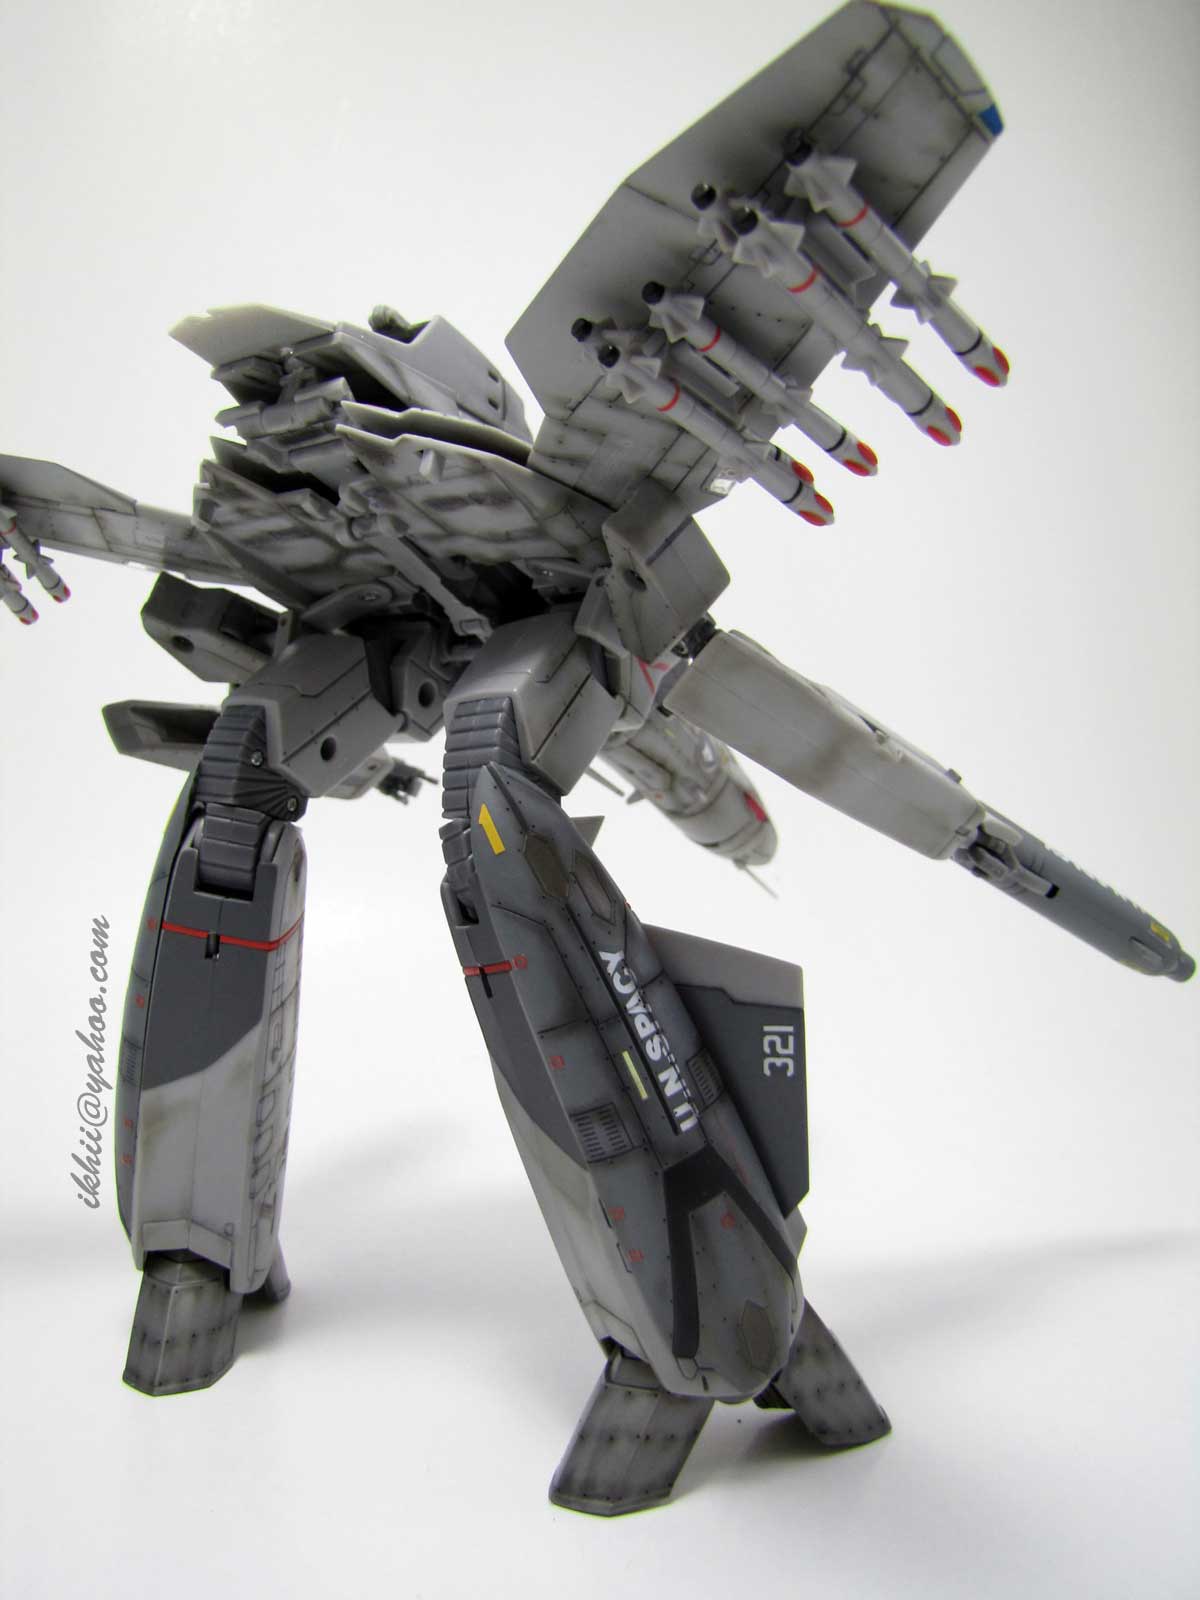
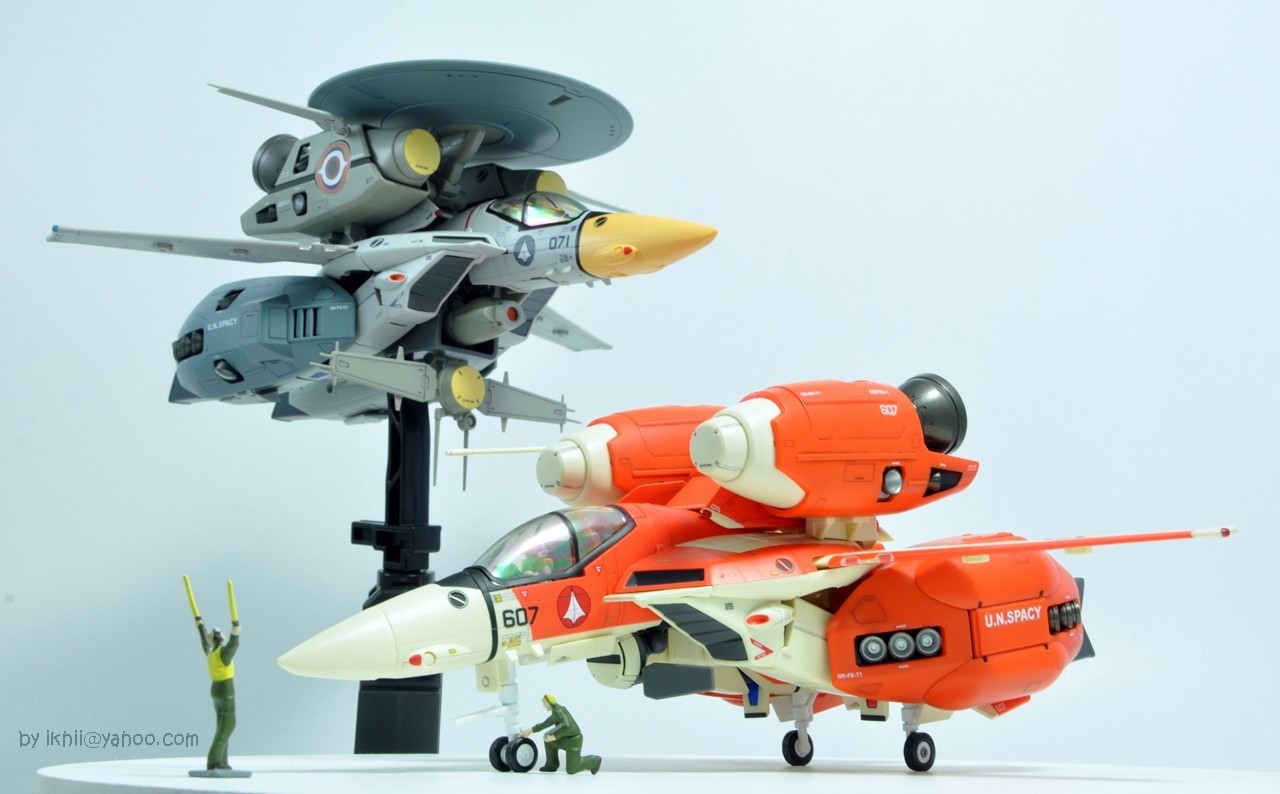
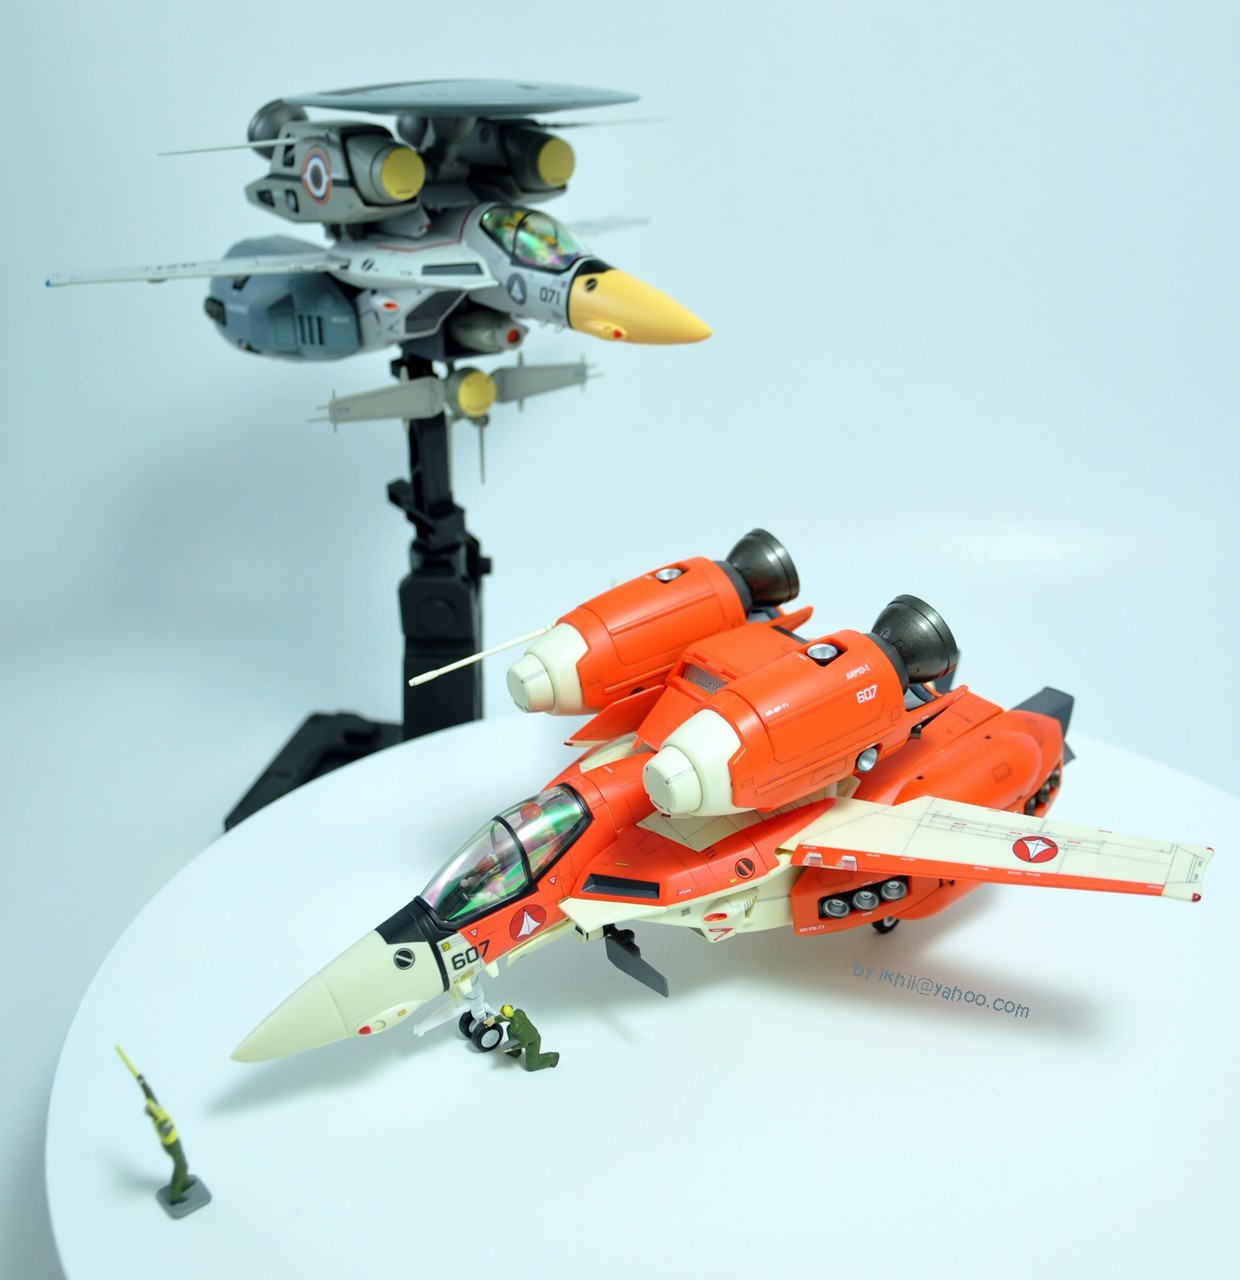
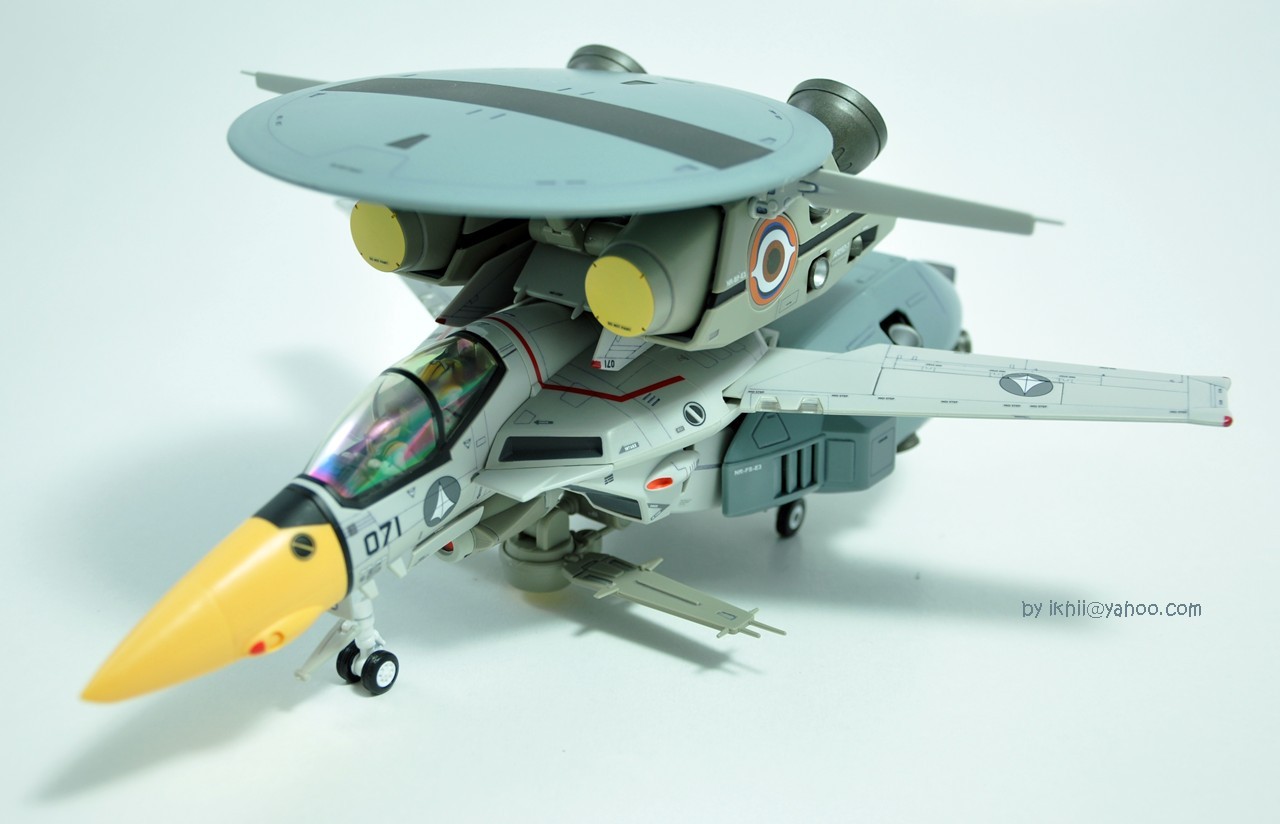
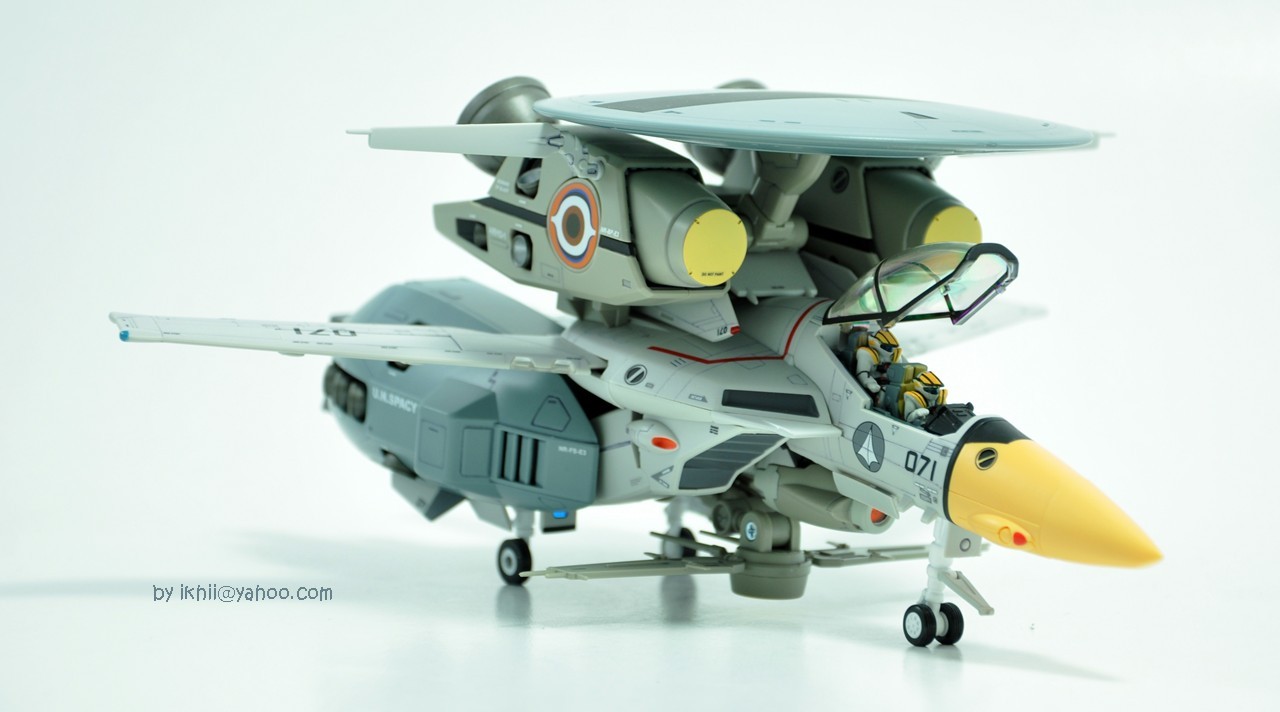
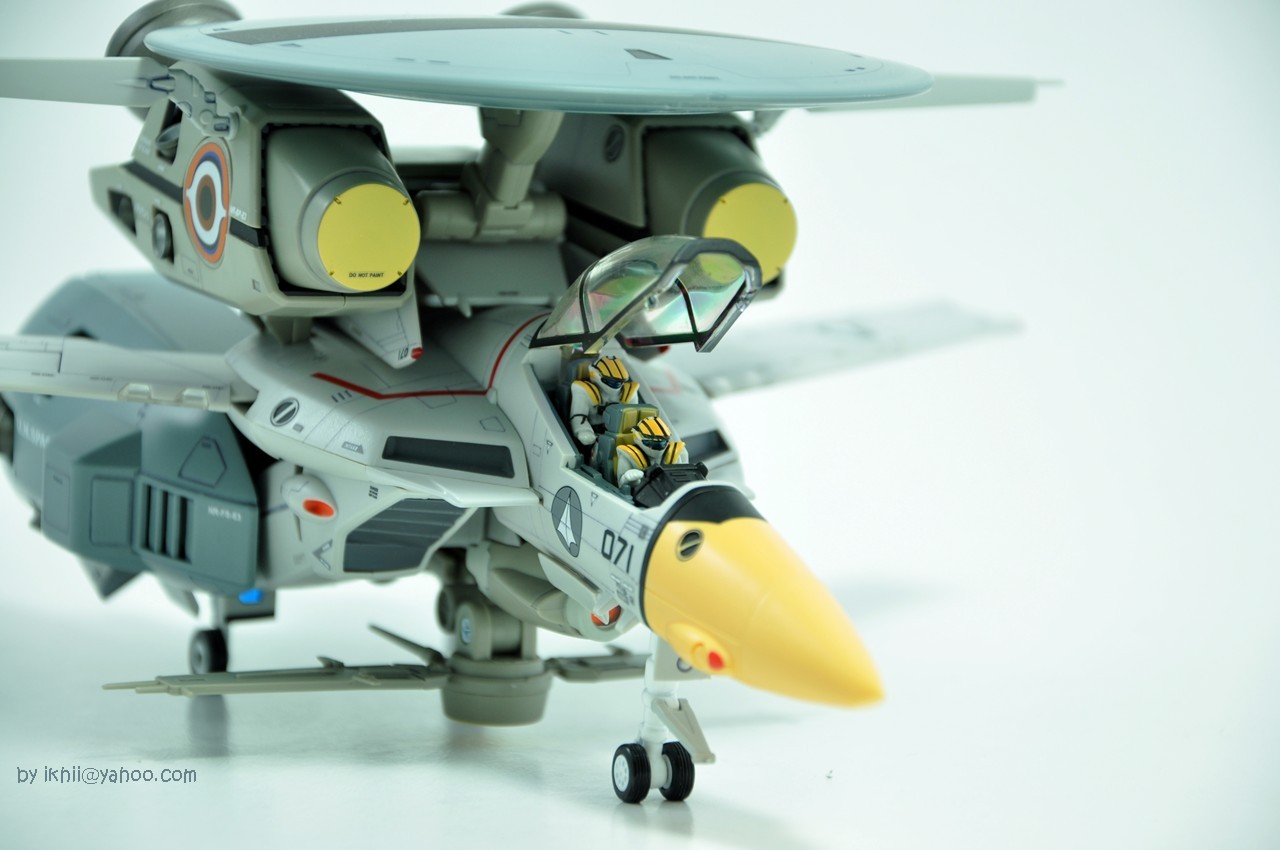
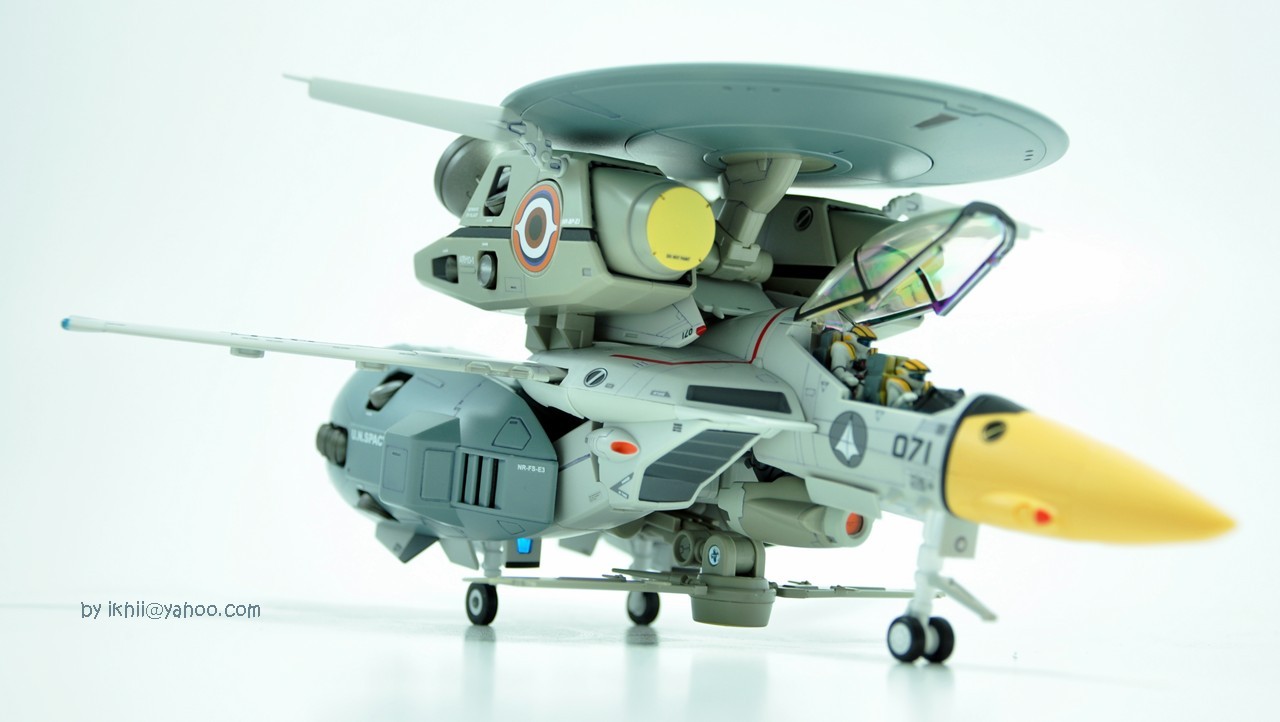
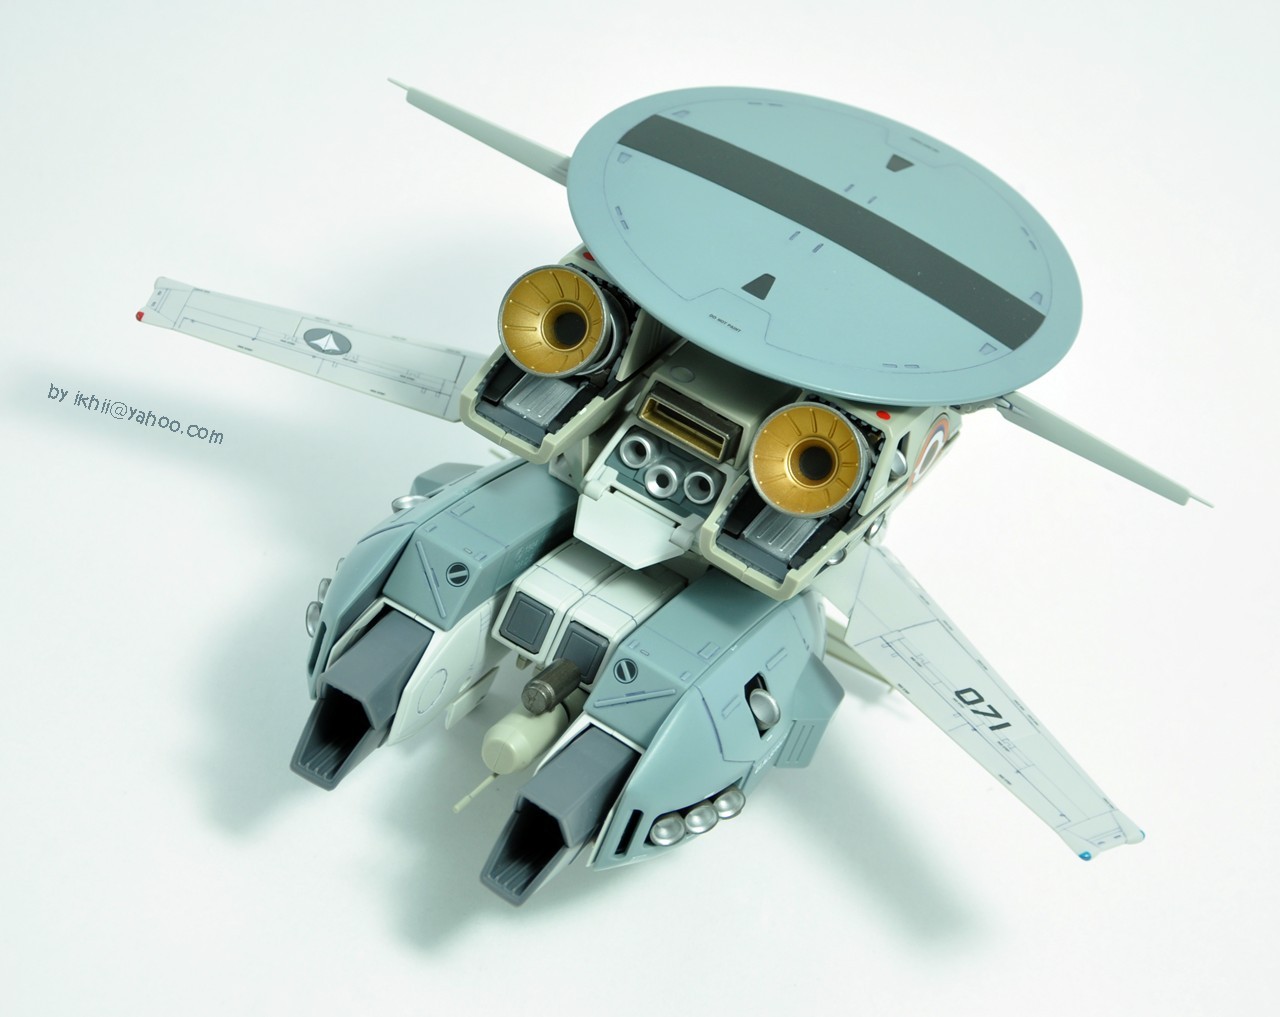
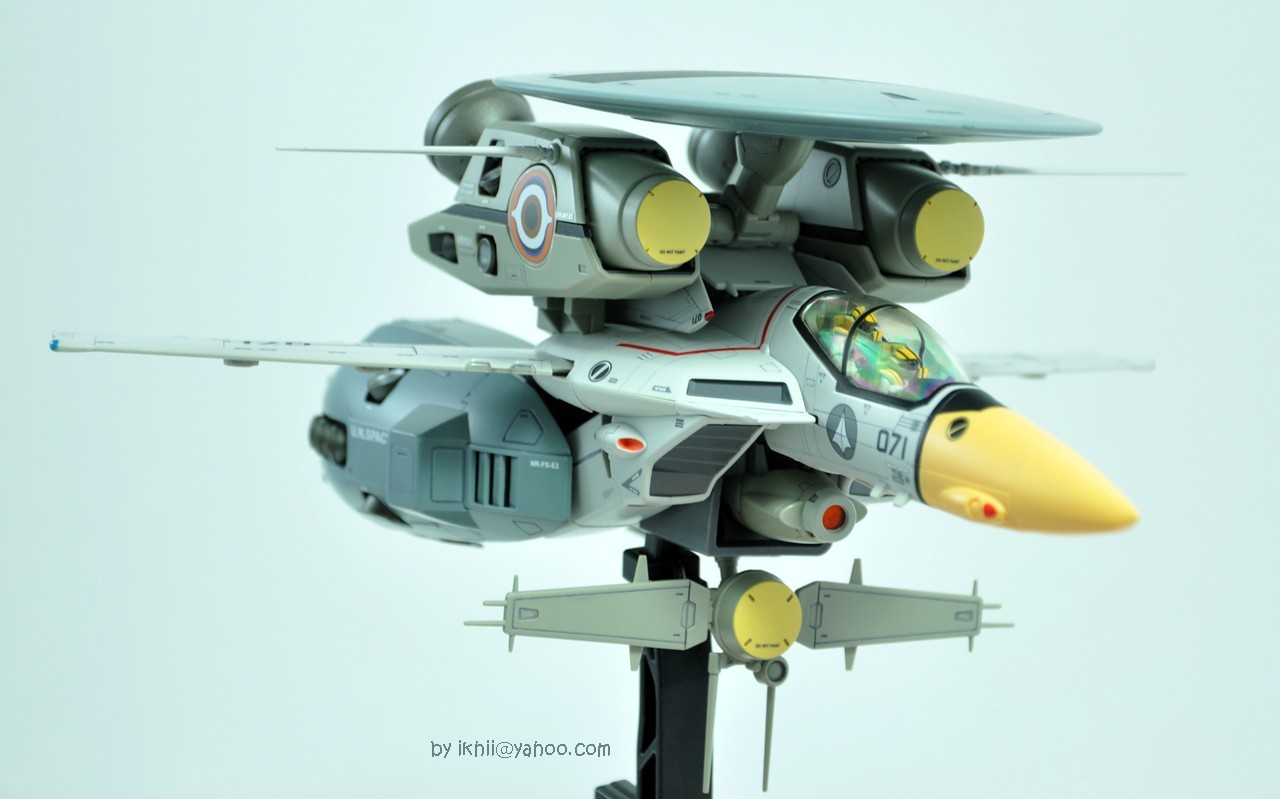
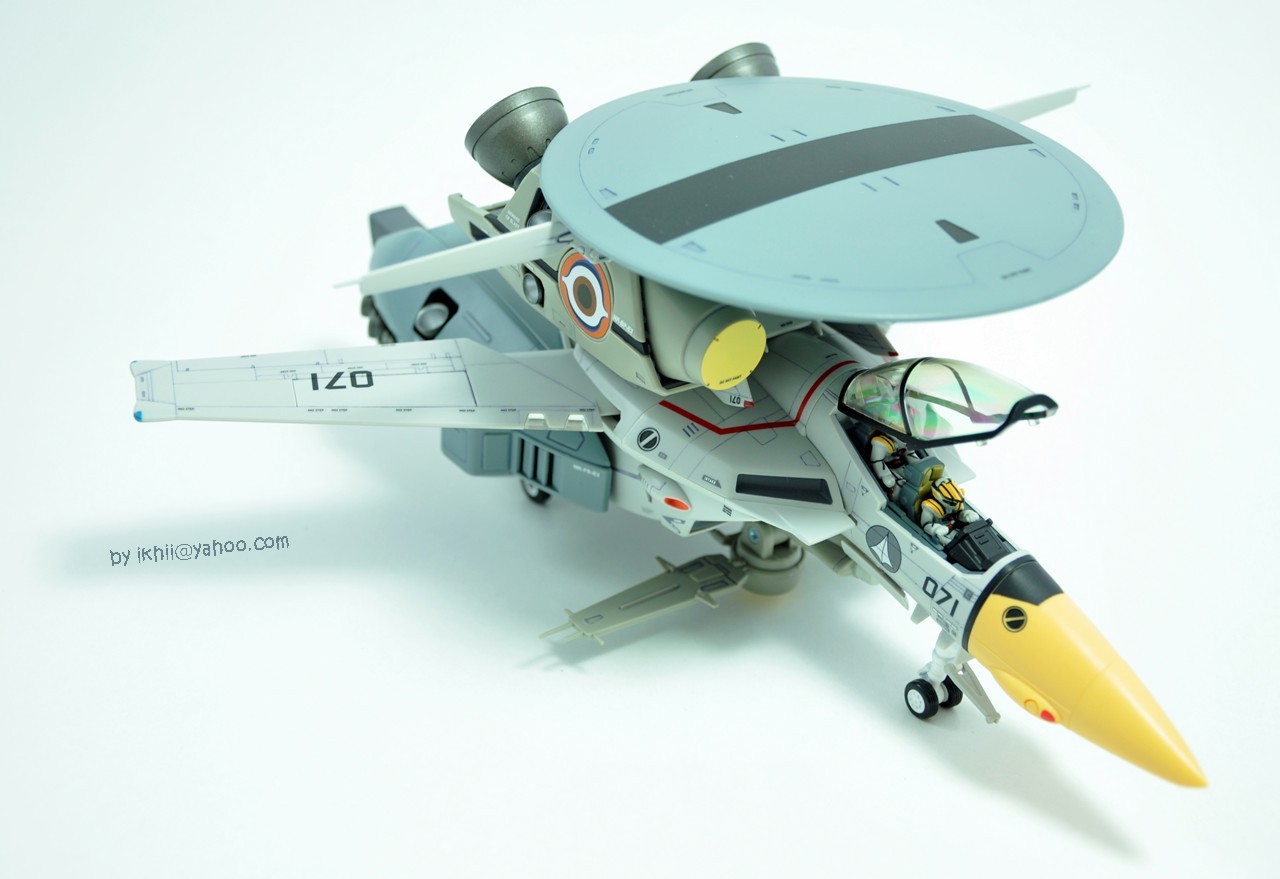
It has been a while since my last post in this forum. After I received my Konig... it's crazy not to share some photos of this baby. It is one of the best so far from Bandai and I really love the build quality as well as the aesthetics of the design.
Surely will come out with QTVR again if I have the time.
Enjoy the pic.

Cheers,
ikhii

-
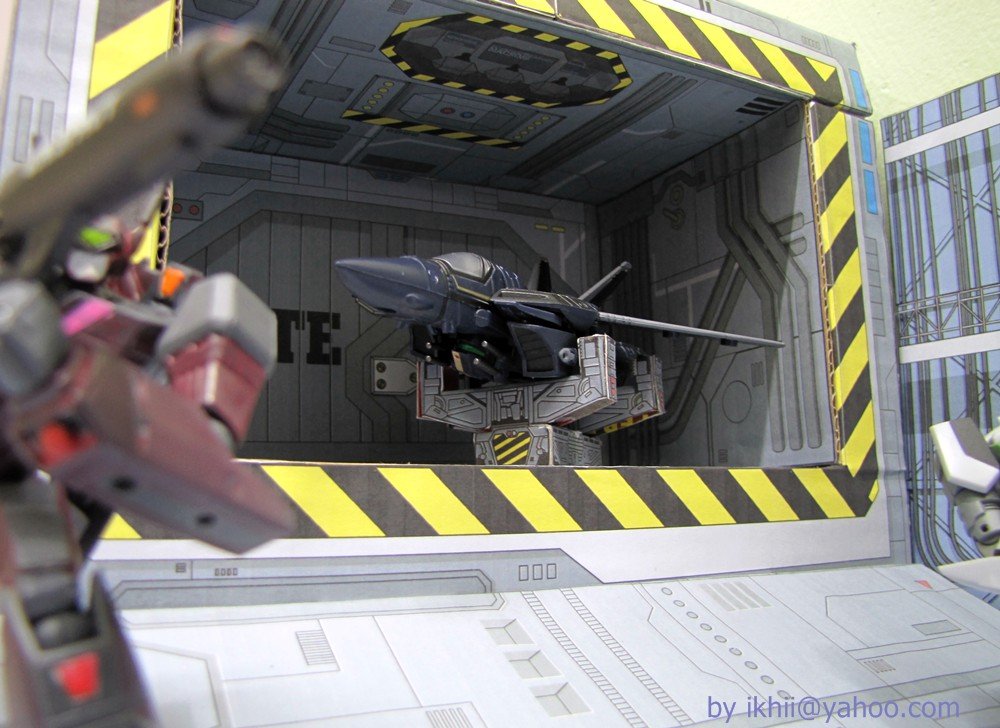
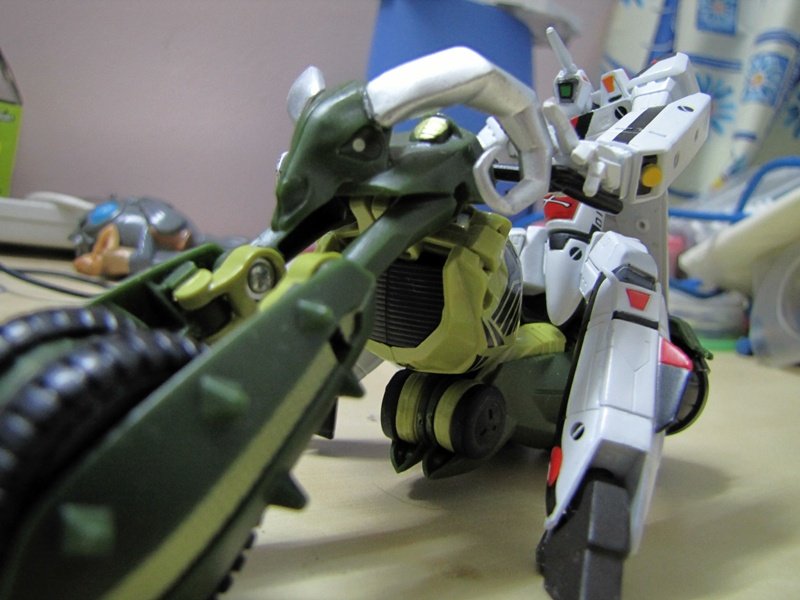
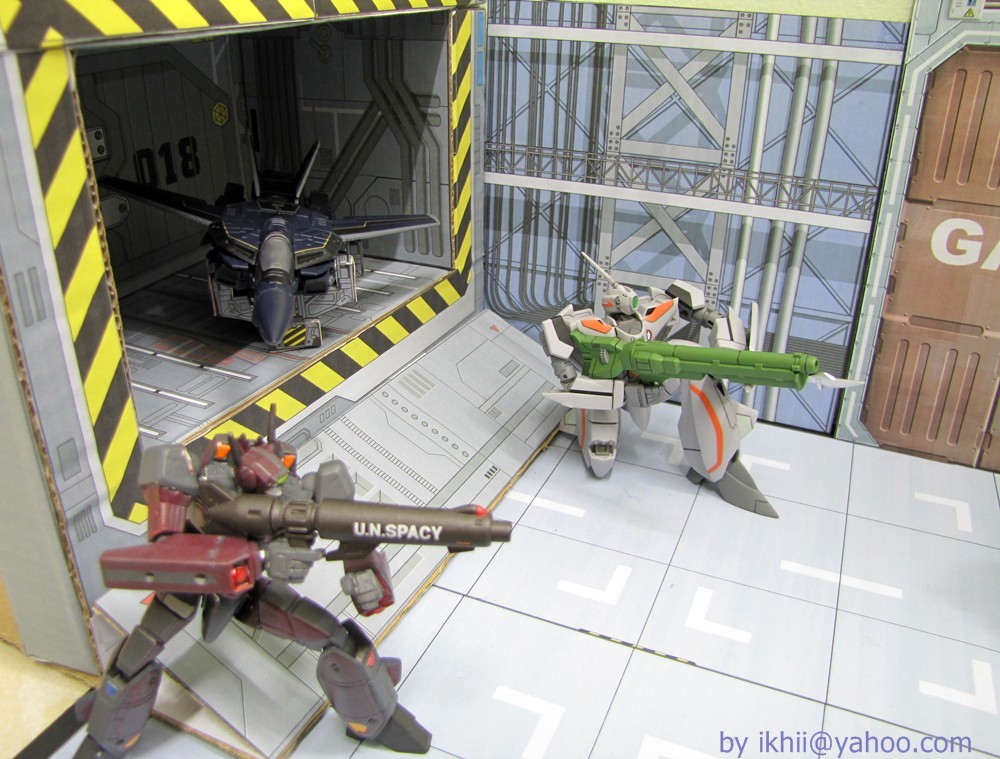
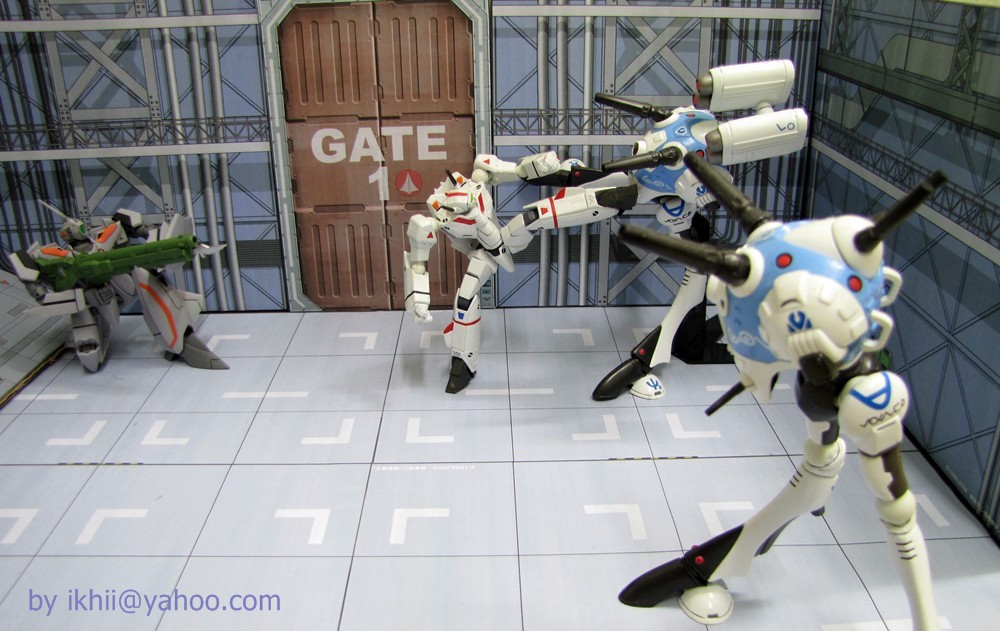
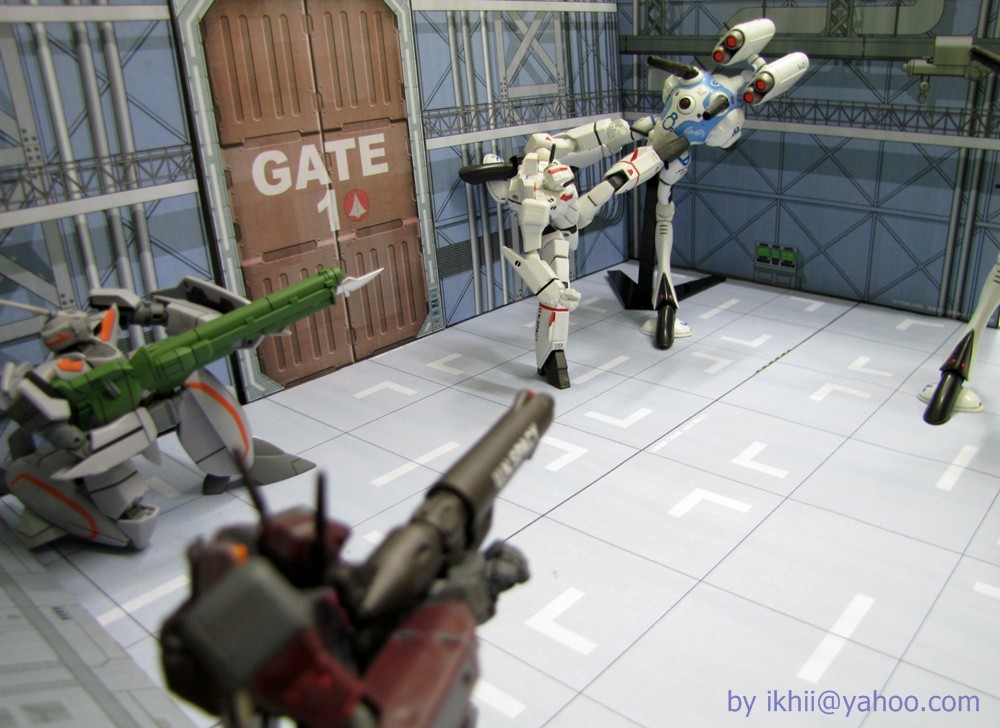
** When jaw meets floor. **
Floor : Err.. how long you plan to stay?
Jaw : aaoooaaaoaaoaaaa... (translated: Shut up, can't talk now!)
Floor : Clean up your saliva when you're done.
Thank you for sharing.

-
hi guys,
I need some advice. My VF27 color (pinkish) came off from transformation. does anyone know the colors to make the closest match on tamiya acrylic paints? I have no idea what's written in the Japanese manual (1/72 model kit).

1st 3
H43 85%, H93 10%, H90 5% & H1
H43 80%, H49 10% & H93 10%
H49 65%, H43 20%, H1 10% & H90 5% (This batch of color) Tamiya code please.
_____________________________________________________________________________
ok, Found anubis20 (tq) from the previous forum topic. will give it a try.
Cheers,
ikhii
-
Here's the link for more pics.
credit: Ngeekhiong
http://www.amiami.com/shop?vgForm=ProductI...ate=review.html


cheers,
ikhii
-
Hi guys,
Do take some pics on the most complained mode, Gerwalk and let us know how well can it really pose with the Tornado pack. I can see some poses are giving 'A' stand and is it really stable with the support given?
Thanks in advance.
ikhii
-
Just got mine, can definitely confirm it is white. It is $11XX in Sino Centre upper floors if any HK locals are curious, but I paid a bit more for a japanese one (wanted complete set of the posters).
From what I can see, the joints are definitely darker than previous one (a dark gunmetal colour). Intakes are indeed darker as well.
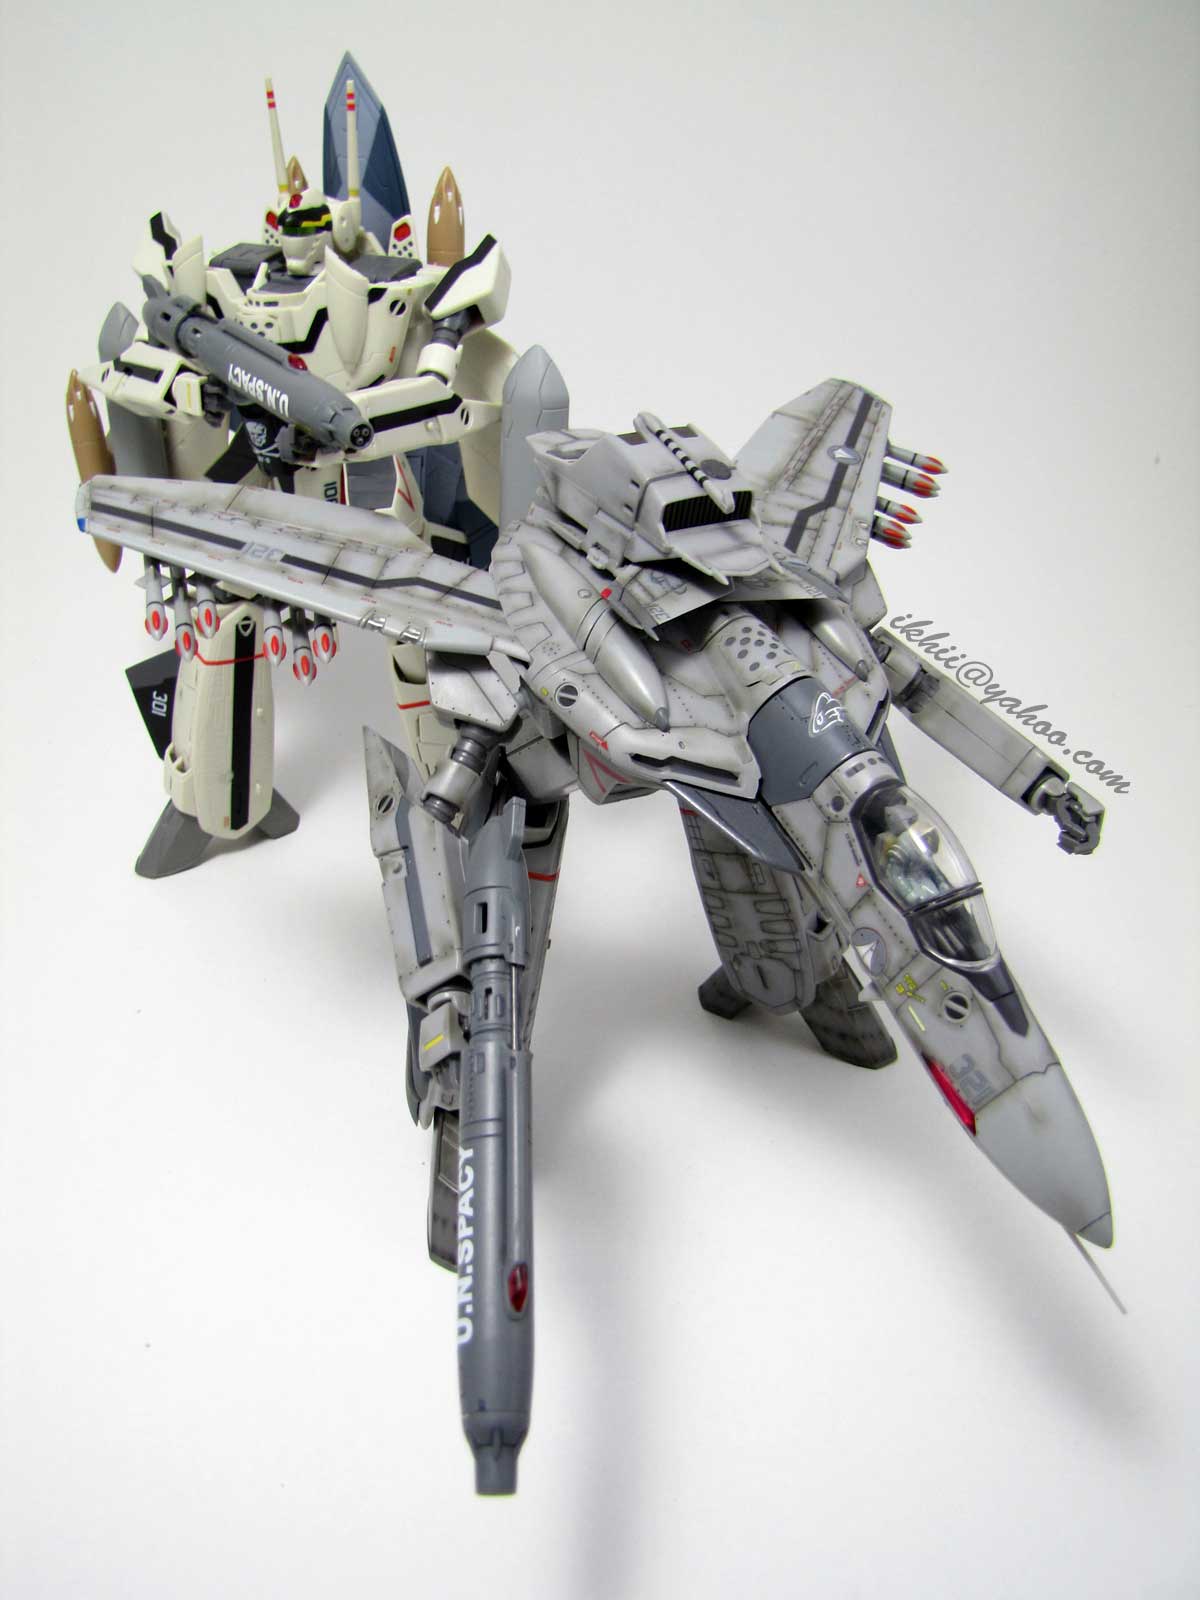
I do think the design of the tornado pack looks awesome on the valk. I may keep it in fighter mode only... side by side with my Lucifer and it's poster. Thanks for the pics. More are welcome
Hope to get mine soon.
-
Got some of my answers from ngeekhiong site this morning. Seems like they have some kind of support for gerwalk.
http://ngeekhiong.blogspot.com/2010/03/dx-...-for-vf-25.html
seems like there maybe some differences with Vf-25f tornado set and normal standalone. Anyone who got it in hand, do share with pics.
thanks,
ikhii
-
The tornado box does look nice. Love the angle of fighter mode. Will stay in that mode if I get this one. Any idea if there are any improvements for this one? I'm sure Alto unit is the same old stuff.

source:
-
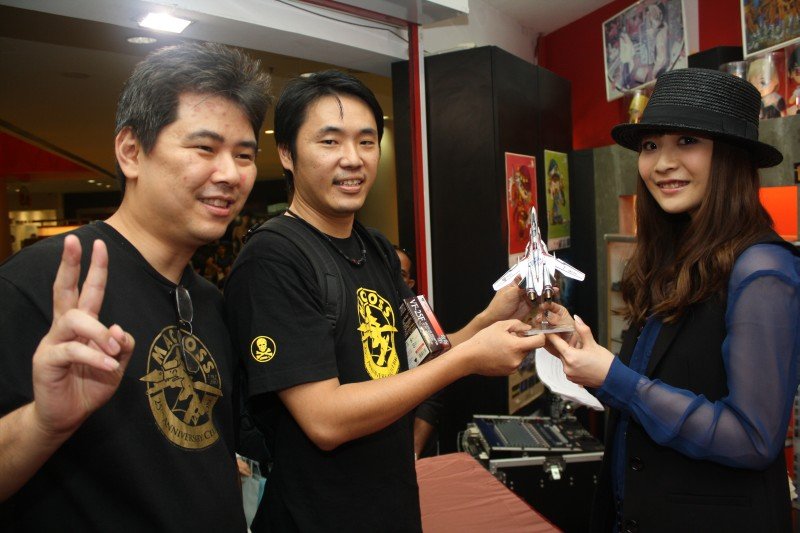
Here's some more pics of that day. It was a great experience and I hope May'N will remember her gifts and most importantly, US as Macross Fans of Malaysia!
Thanks to Lim for some great photos.

-
Hi Guys,
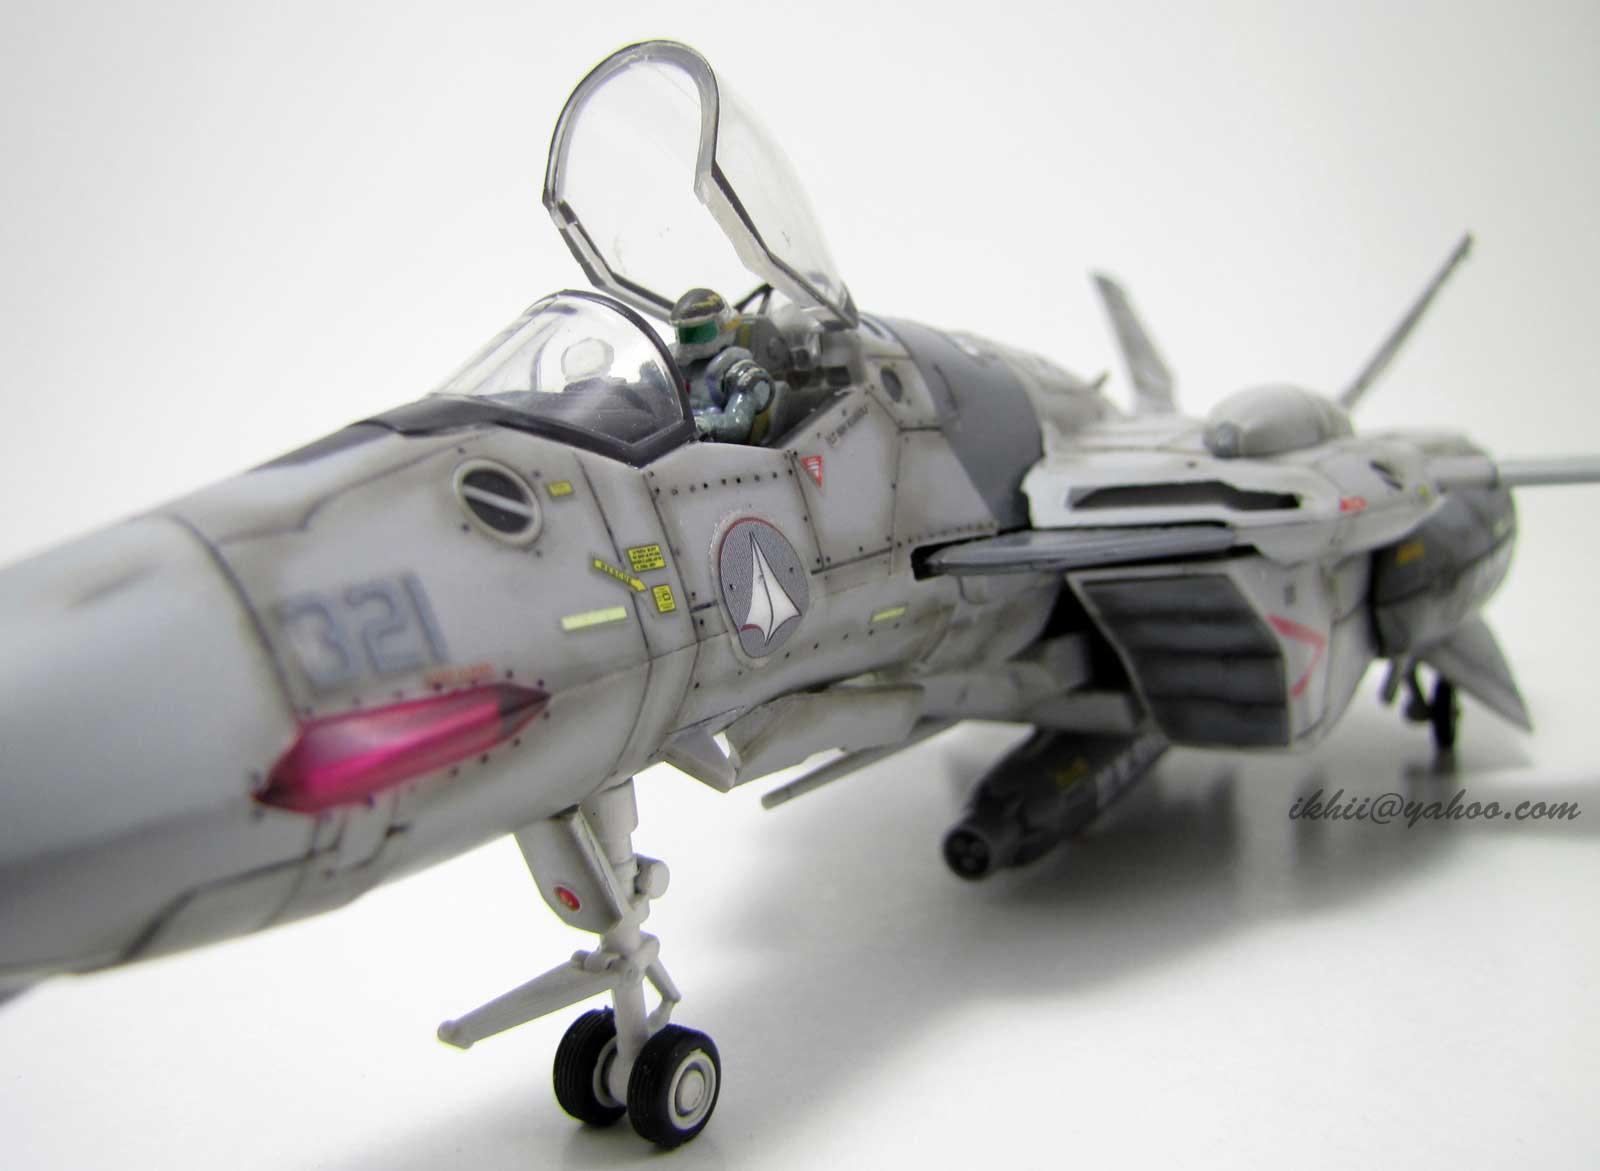
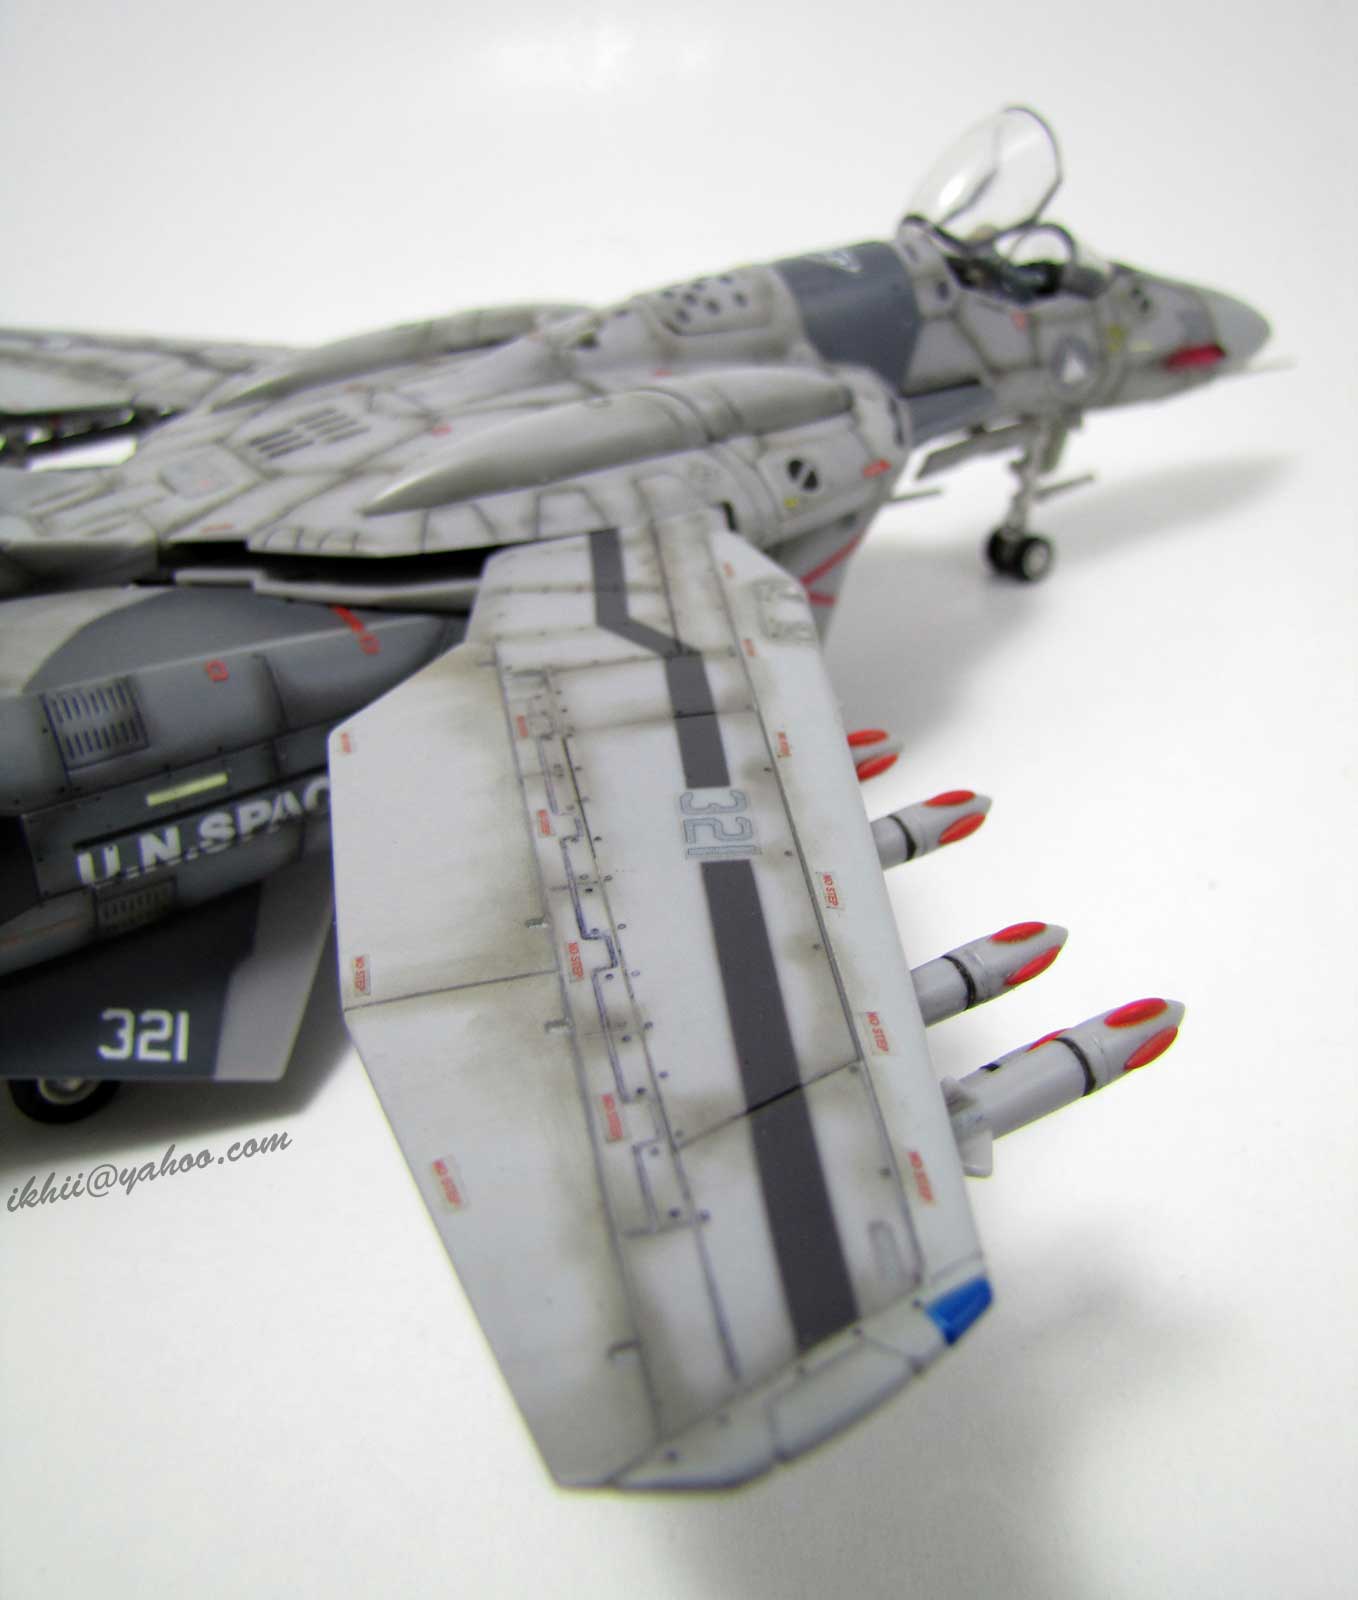
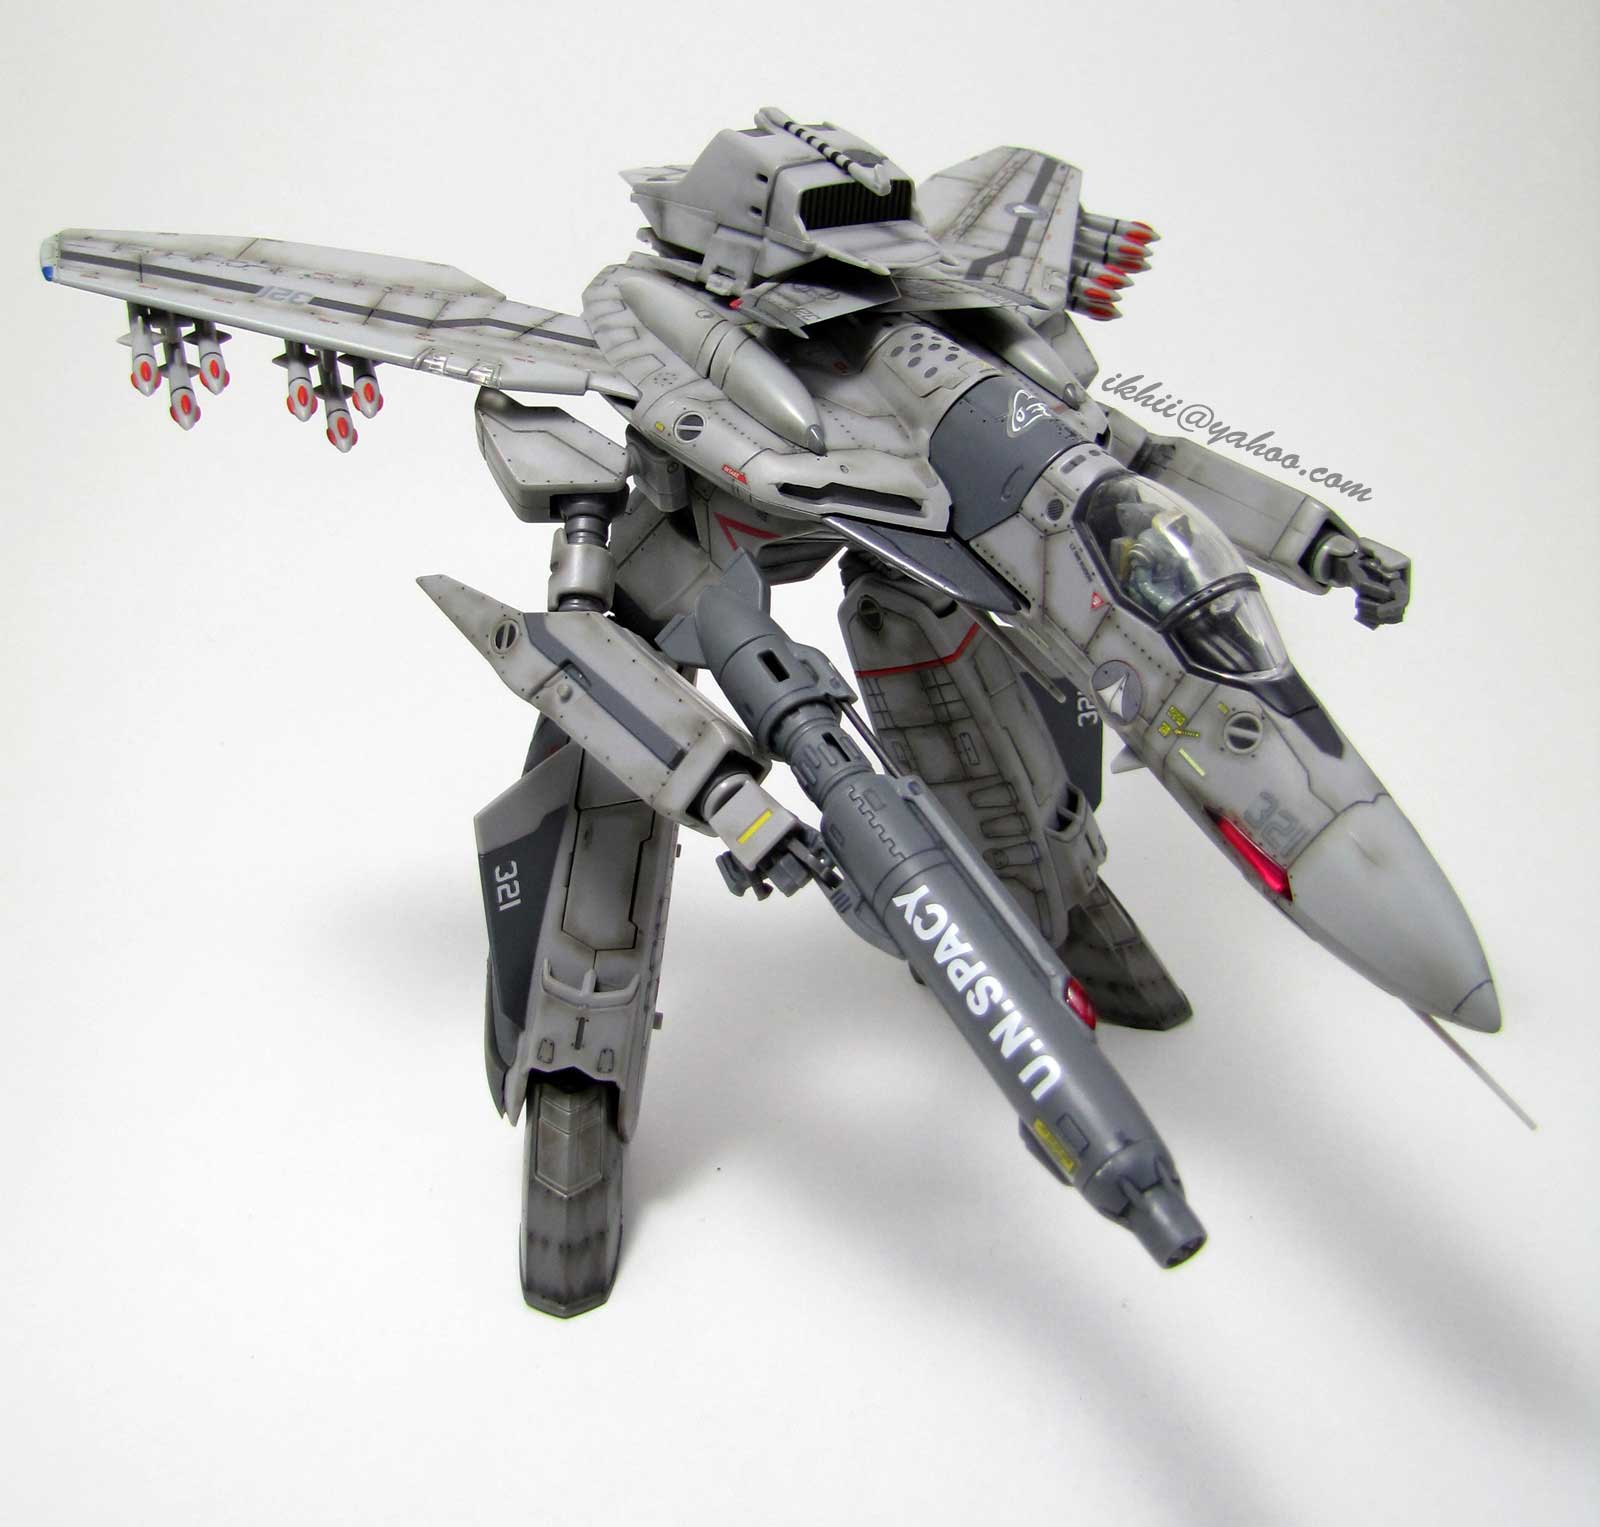
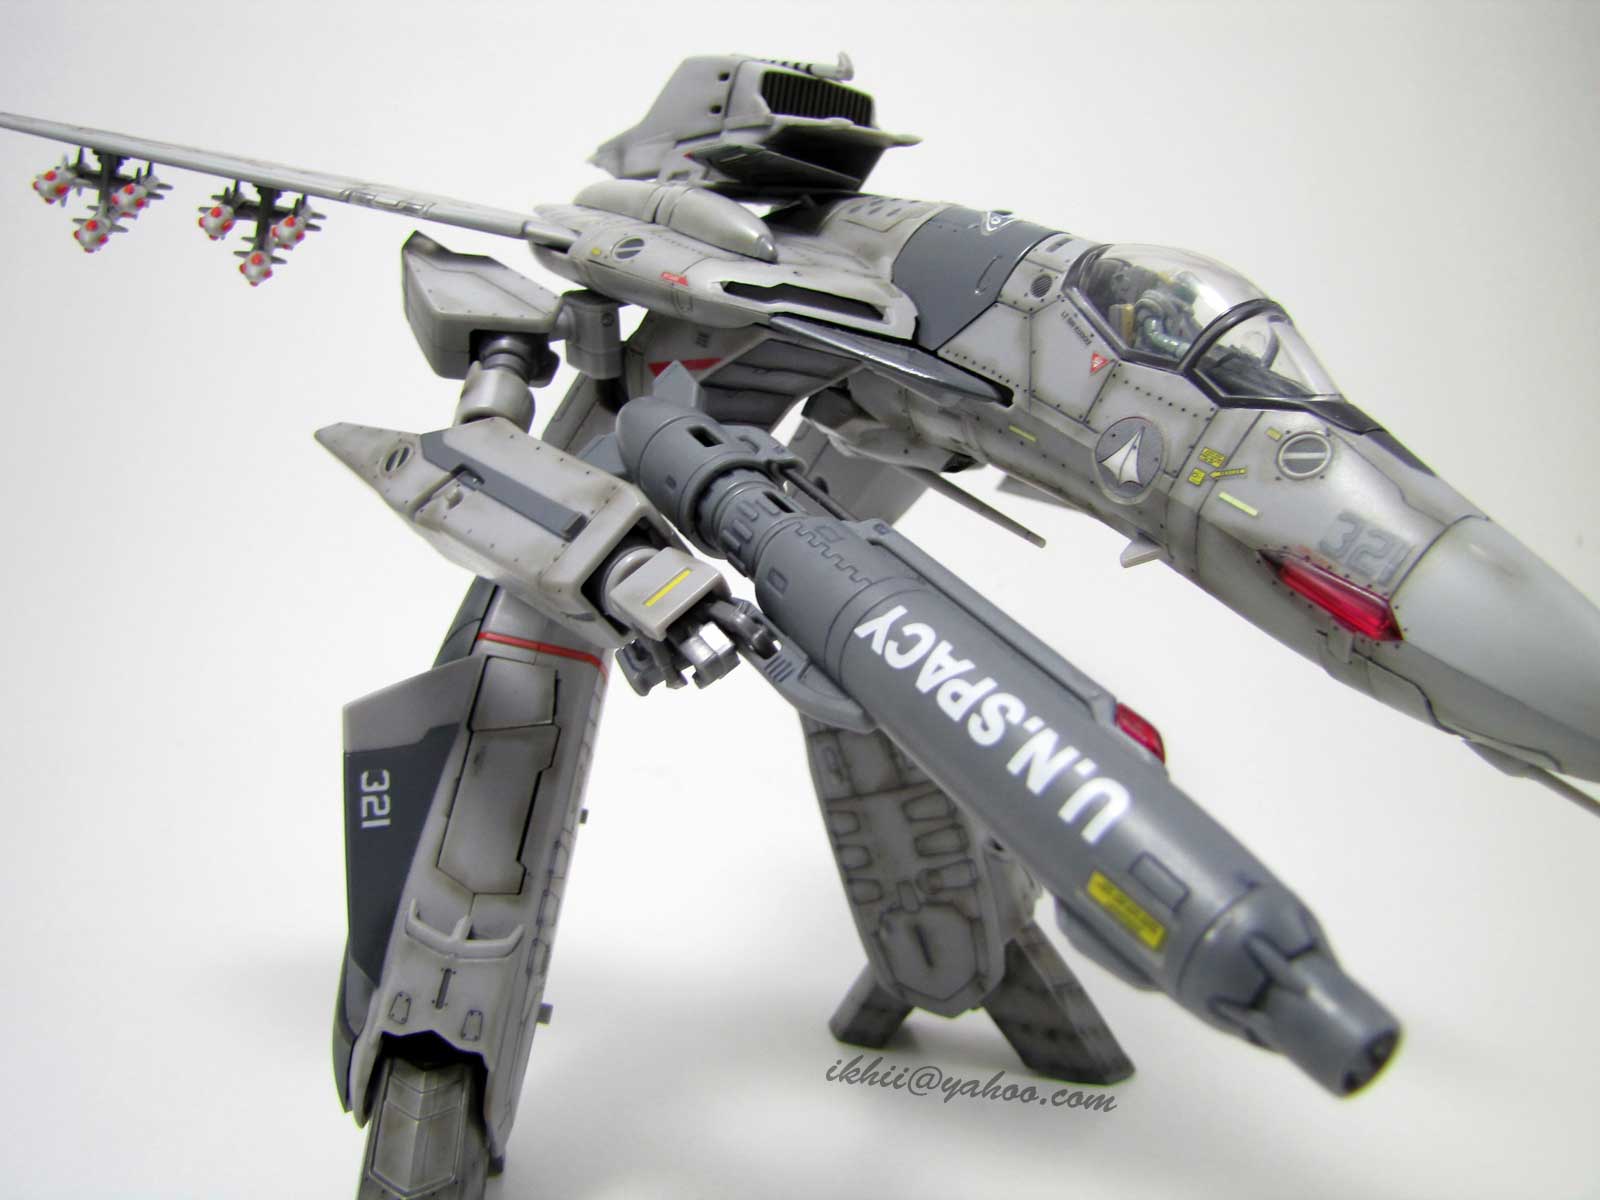
Here's something that I've been working on.
Credit to Revo-rama and Nerd-linger (Great inspiration)
Hope ya like it and hope more great stuff coming
Cheers,
ikhii


-
Looks good. Doing all those rivets would have driven me nuts. Did you seal it to keep the rivets and the weathering from rubbing off?
I didn't seal it and I could use coating to make them stay. I am still experimenting on best effects. So far, it looks ok and I need to learn and get tips from all of you. For now, I won't do it on VF-0S (not just yet). I did try a gray eraser and rub on it, some stuck into the holes and create a rivets effect but they won't stay on. So, i love to get some advice
I plan to get some silver ink and it may work... still tryingcheers and thanks for the great comments
ikhii
-
A great event! The concert was great even though I came out a little deaf after it cause the speaker was just in front of me

 :lol: . Hope to see her perform again with Fukuyama. Electrifying indeed!
cheers,
ikhii
More of May'N in Malaysia! Great for the fans.

-
Hi Guys,
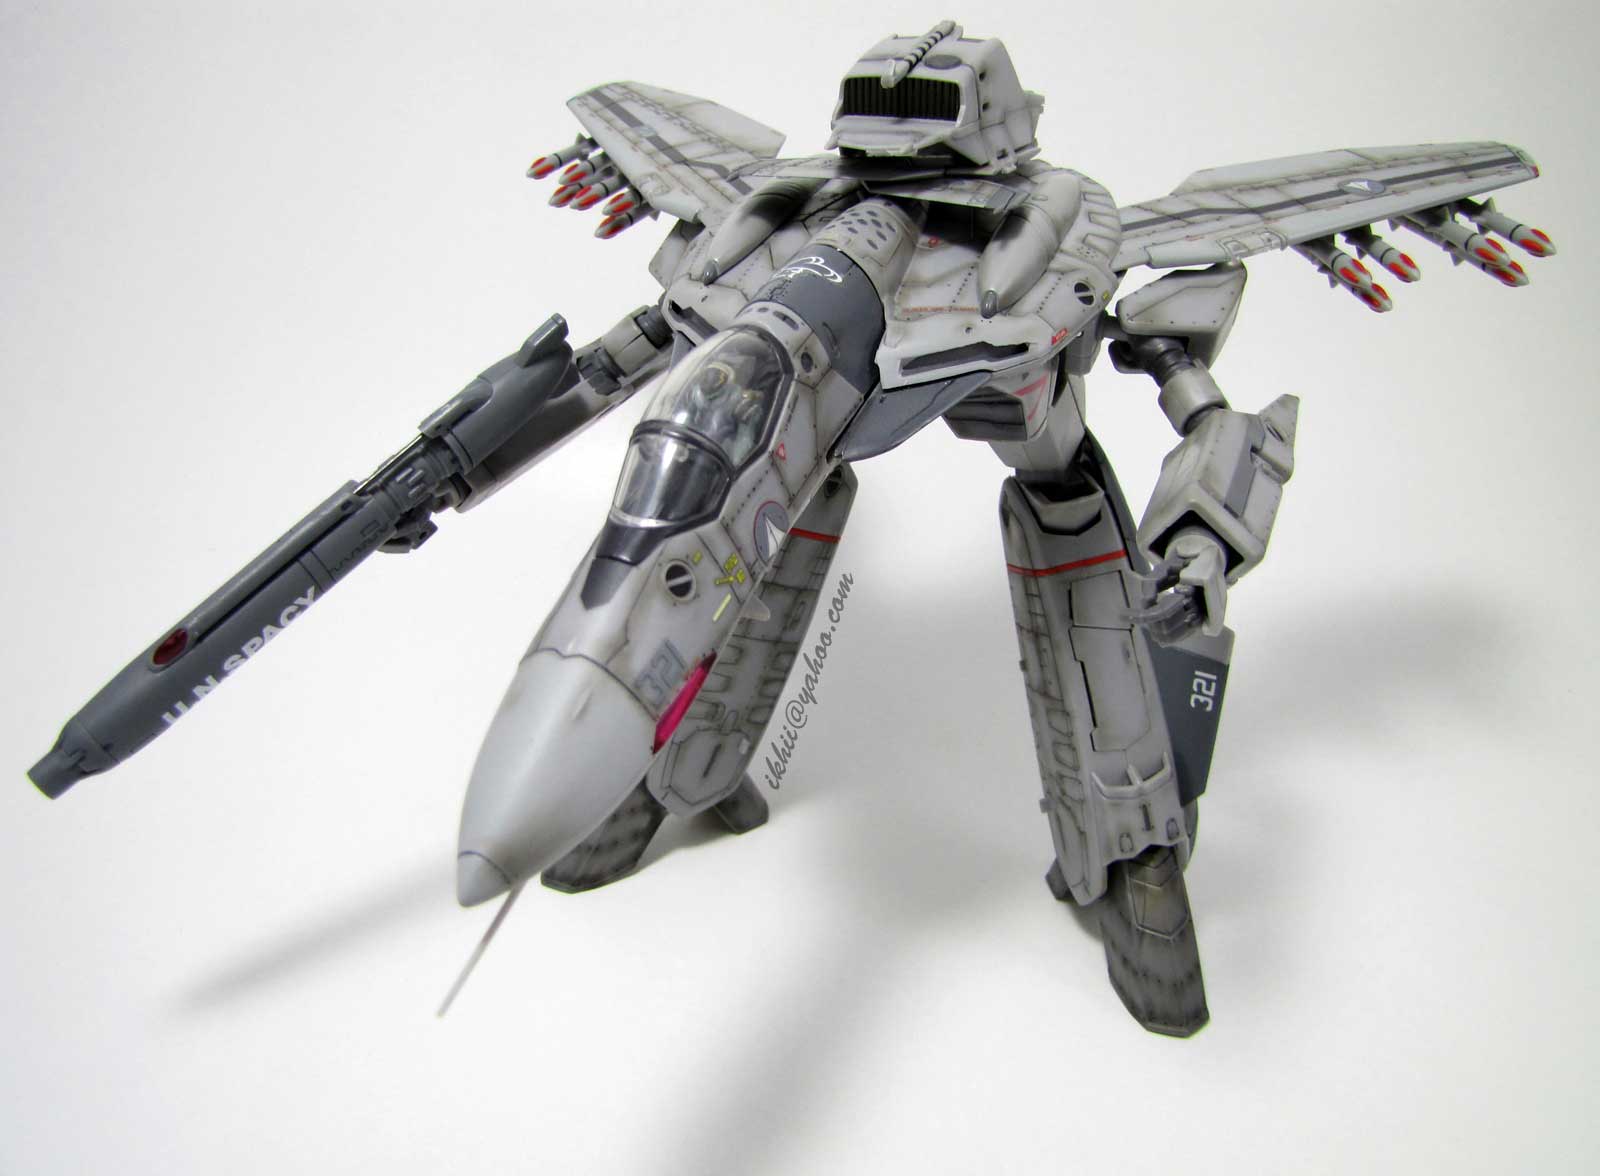
Just finished 'customizing' my VF-0A. Love the design and love the details. It took me around a week to finish this and it really 'drill' my heart (and eyes) away. Just got my pin vice last week and this is my first try on Yamato VF-0A. I wish I can do more details later with other valks and my next target would be VF-1 1/48 and continue on with 1/60 scale. Now drilling my 1/72 Alto Armored.
I had to pull out my super glue to glue the shoulder and arm due to cracks. That's the worst part of the experience when finishing up this valk. Anyway, Hope you like it and drill your eyes away
:lol: :lol: cheers,
ikhii
please click on the thumbnails for 'details'


-
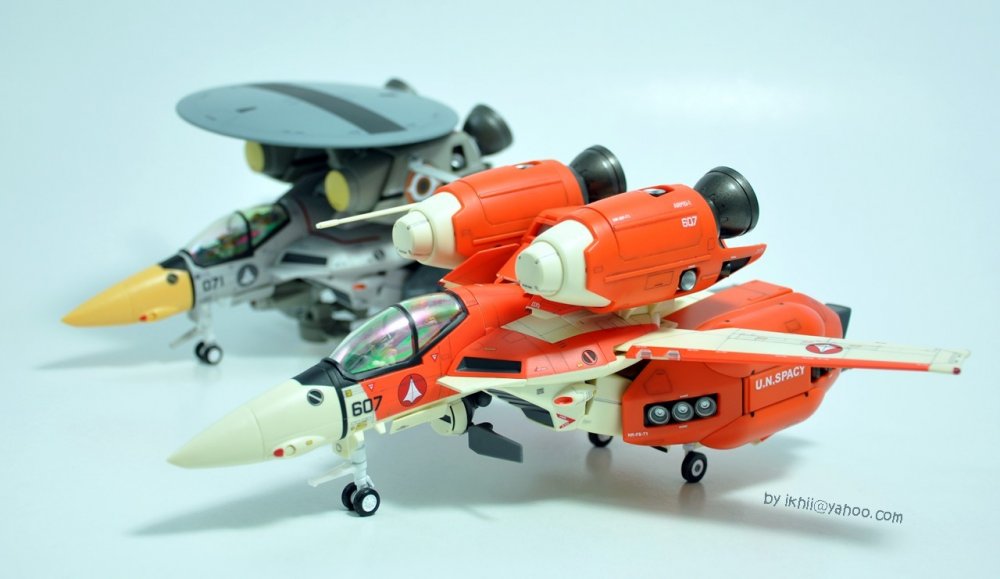
Something to 'oil' up the thread
I'll call it "Oily Hikaru".

ikhii
-
What did you use to panel line it?
-Kyp
http://www.macrossworld.com/mwf/index.php?...st&p=806122
here's the (not so) secret about the panel lining technique.
cheers,
ikhii.
-
BOMBA...the concert was awesome. AWESOME! Love Fukuyama and May'N. The duet left me to tears thinking of wanting for more. I need them to stay.
Amazing performance and really worth the price. Won't regret to go again and see them in other concerts in future.
ikhii
-
Hi guys,
Great to know that you guys love the panels. There is no big secret on panel lining yamato's 1/60. I've tried many and so far, Gundam REAL TOUCH MARKER (GM401 Grey) works best with the surface material. I have tried Gundam makers GM01, GM20 and even though they were meant for panel lining (on gundams!) they are not really good for Yamato's surface. They are not that easy to wipe off when we use on Yamato's planes. They also left very bad impression on the surface.
There is a thin coating on Yamato's plane. So my suggestion is, you may need to have a steady hand and apply first layer using GM401 (fine tip) along the panel lines and wipe it off (use my hand, fast, easy and quick). The second time when you apply it, the ink will sink into the gap of the lines naturally and this is when you can see everything pop out as it should. If you wish to make the lines darker, apply it few times. Make sure you wipe it off quickly before it dries off. This is how I did my VE-1.
Here's a pic of Gundam Real touch Marker (GM401,402) They come in set as well with different colors.
Hope this helps. Will do more valks.
Cheers and start paneling away.
ikhii
-
Here are some quick shots of my finished panel line & stickers VE & VT-1. More pics are in the office VT-1 & VE-1 topics.


-
Here's some of my VE-1 pics. I cut the stickers individually using a scissor after pealing it off from the sticker sheet. Making sure each cut is perfectly close to the edge of text/graphic. Almost all 1/60 'text' are small and measure 1mm or less. Smallest would be the word 'Danger'. Anyway, after a week of hard work, VE-1 looks and feels great. Panel lines are applied and I like it clean. Will surely do weathering later but not now. I like the new 'factory look'.
:lol: Enjoy.
ikhii


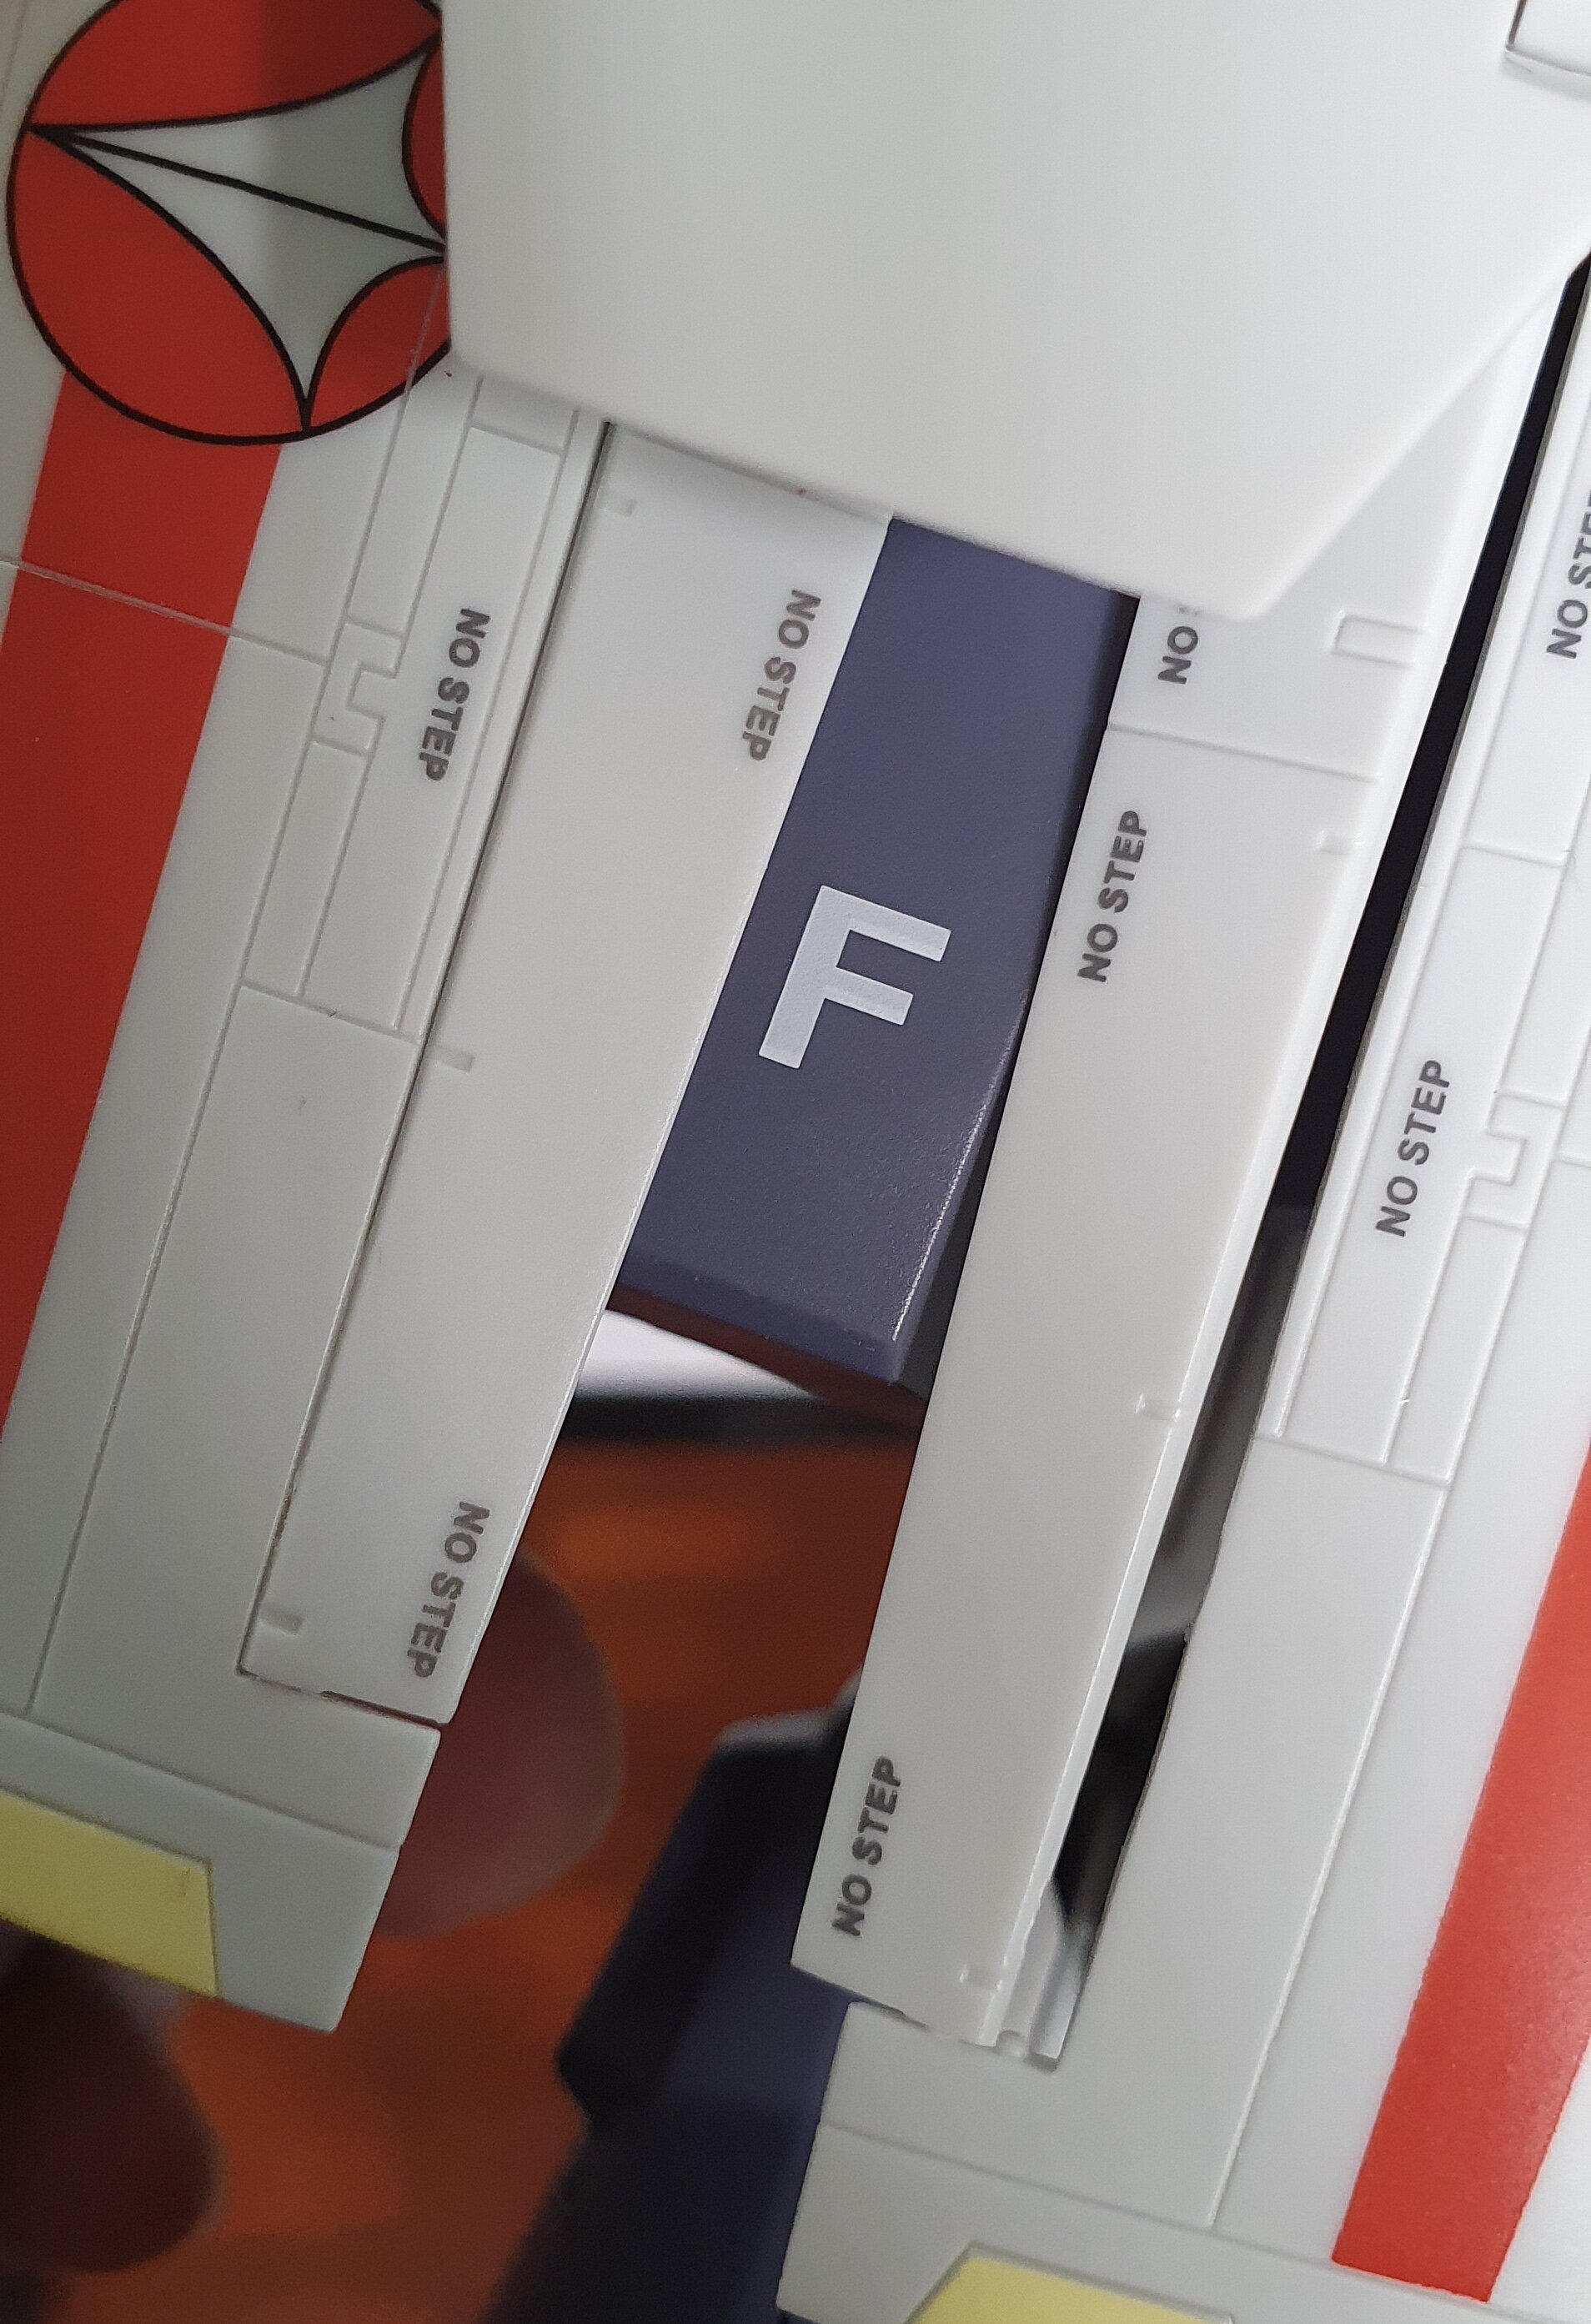
Bandai DX GBP Armor Set and VF-1J Armored Valkyrie
in Toys
Posted
Such amazing details.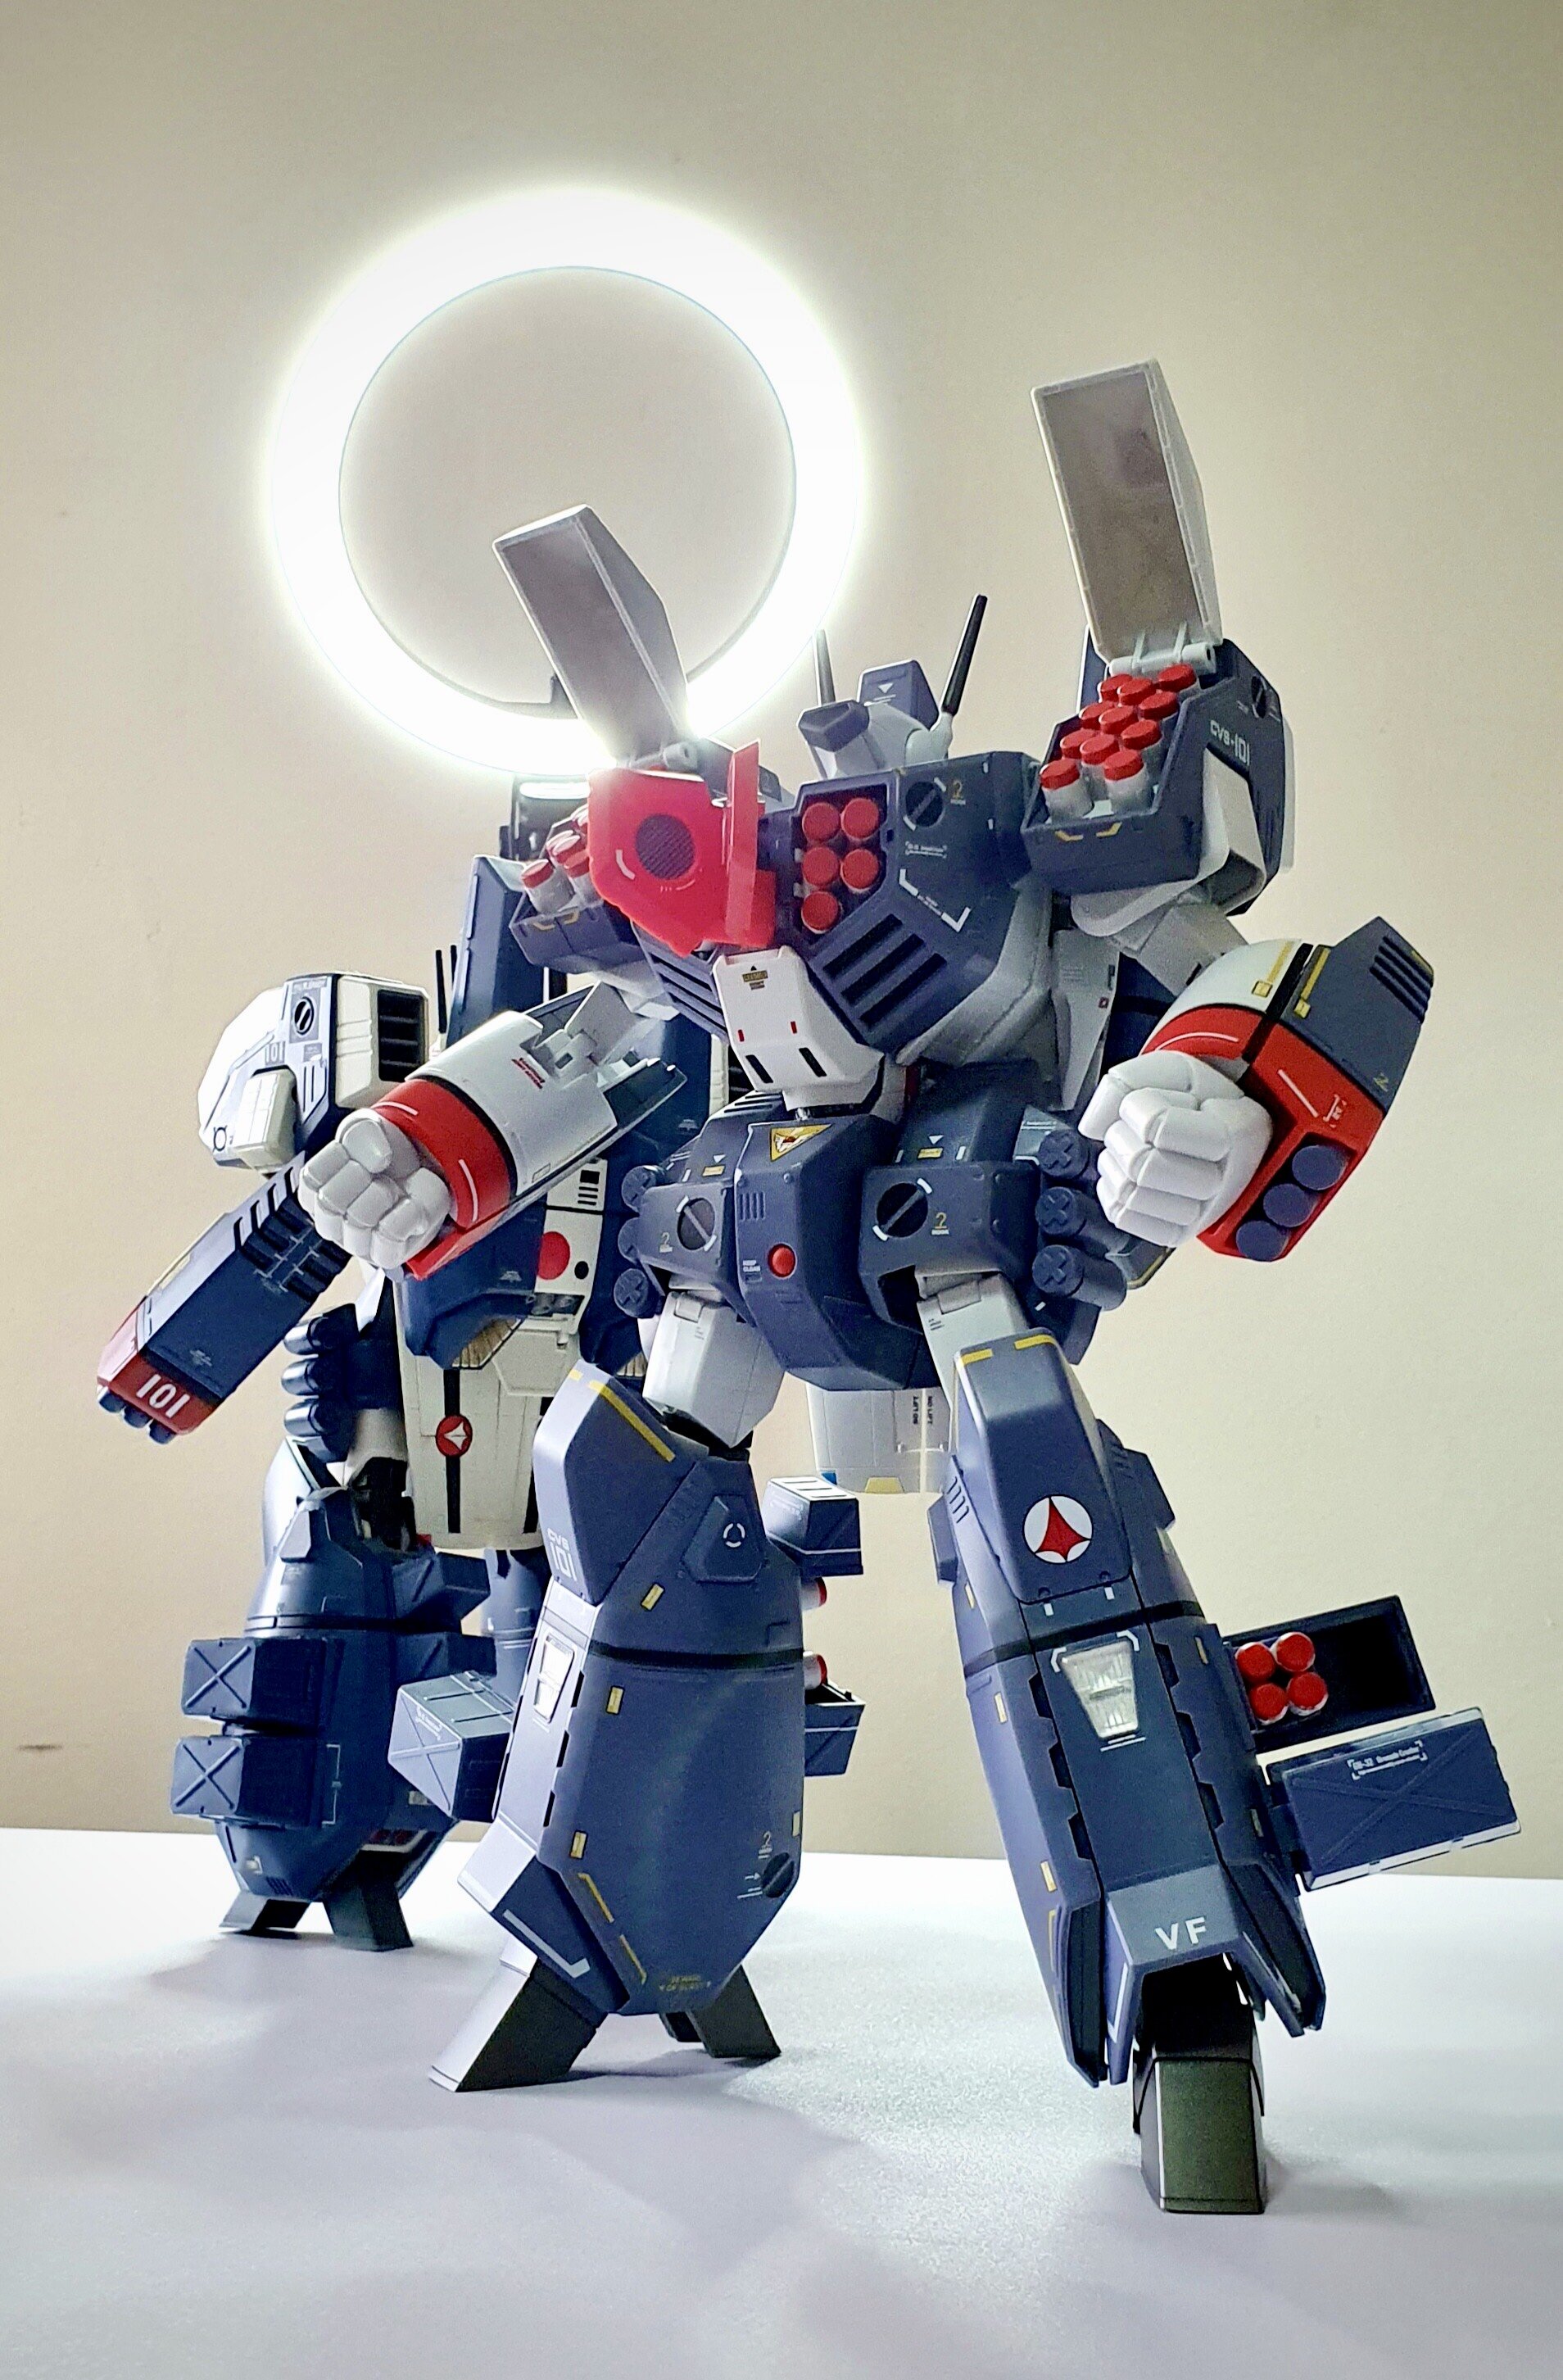
however...
two things I think they should really look into.
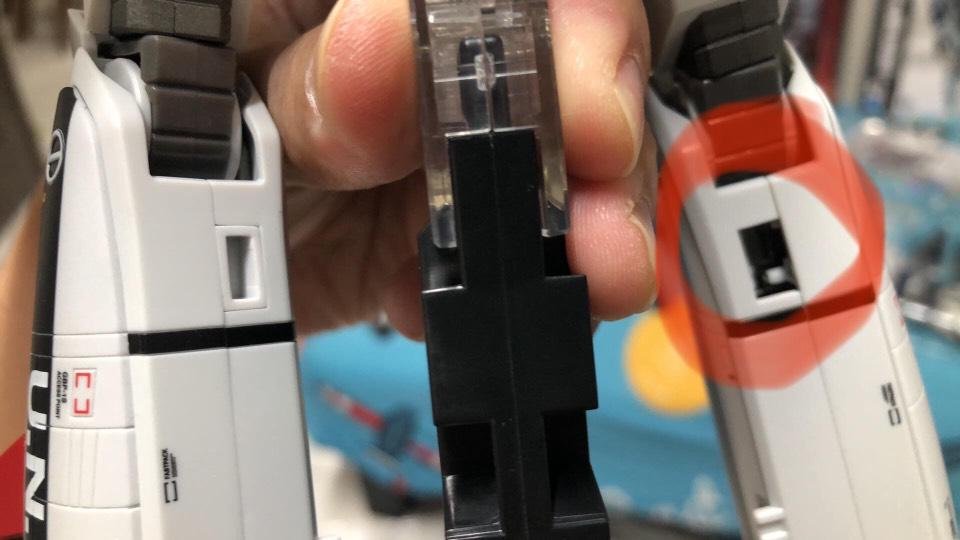
THE GAP.
and NOT enough GAP... the wing flaps are pushed out when closing them. Wish there were more space.
I guess minor stuff.
Can't wait for the next GBP.