Jarrod
-
Posts
162 -
Joined
-
Last visited
Content Type
Profiles
Forums
Events
Gallery
Everything posted by Jarrod
-
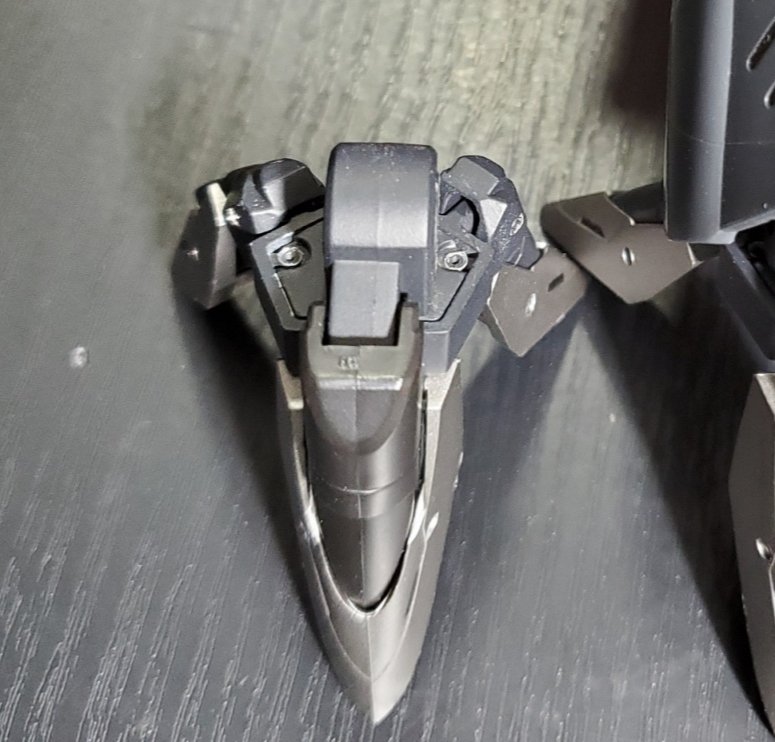
Hi everyone, I got my replacement legs from HLJ, and already swapped in the correct right foot I needed. I now have an extra LEFT foot for anyone who might need one. Not the entire leg, just the foot as pictured. This can be swapped with a little patience (it's how I did mine) Anyone who needs it, free of charge, just pay shipping. If you do want it, I just ask that you confirm you need the LEFT foot in Battroid mode.
- 2024 replies
-
- 1
-

-
- macross zero ivanov
- sv-51
- (and 1 more)
-
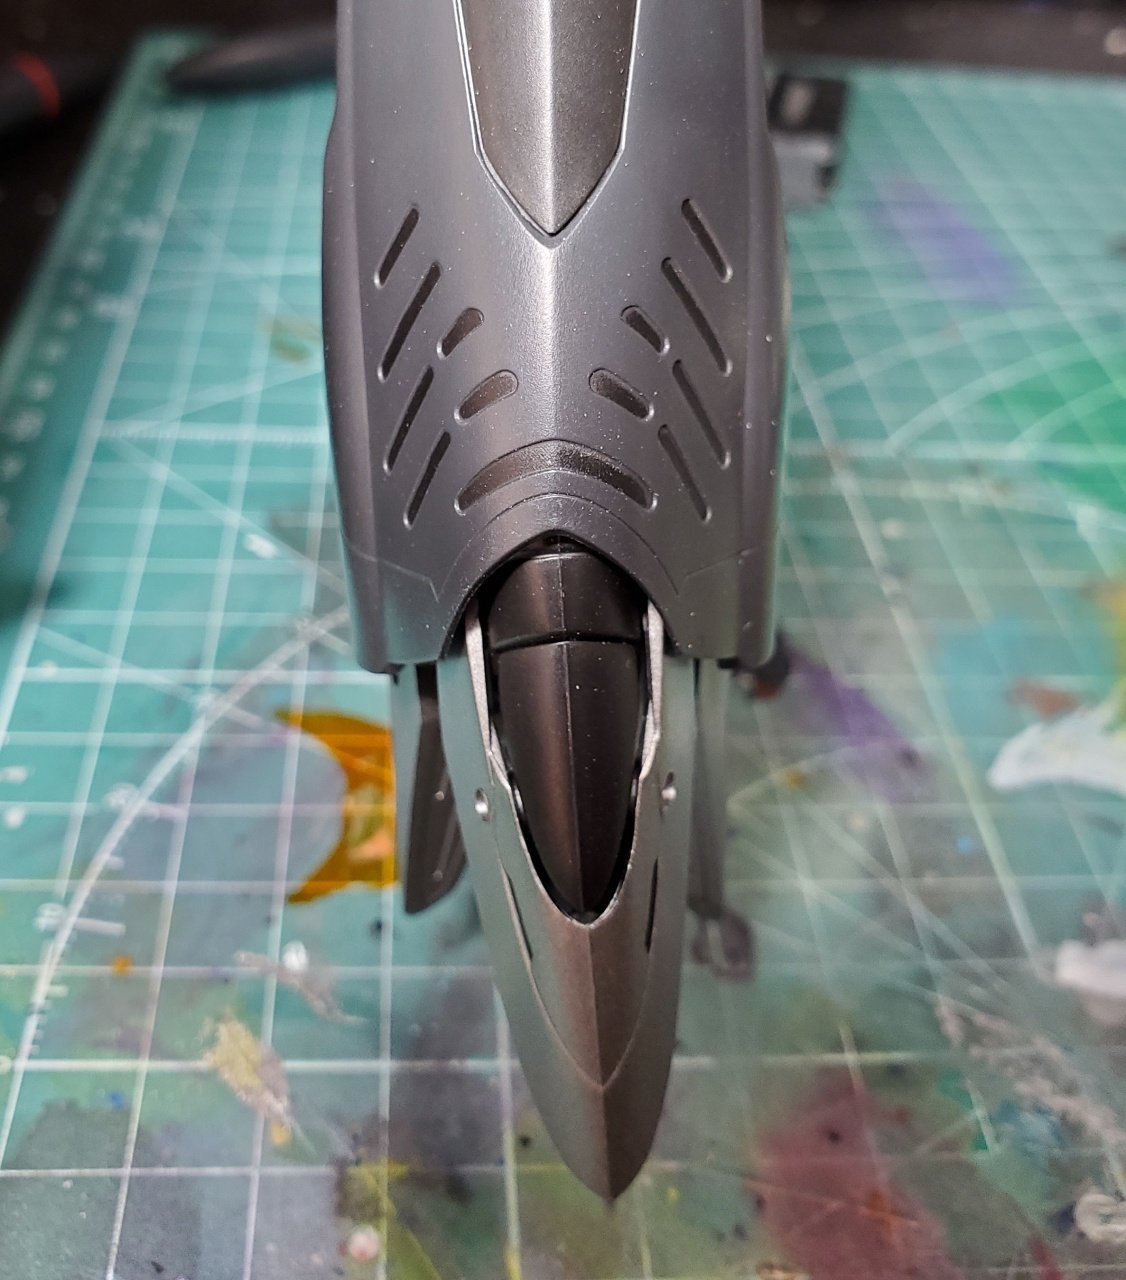
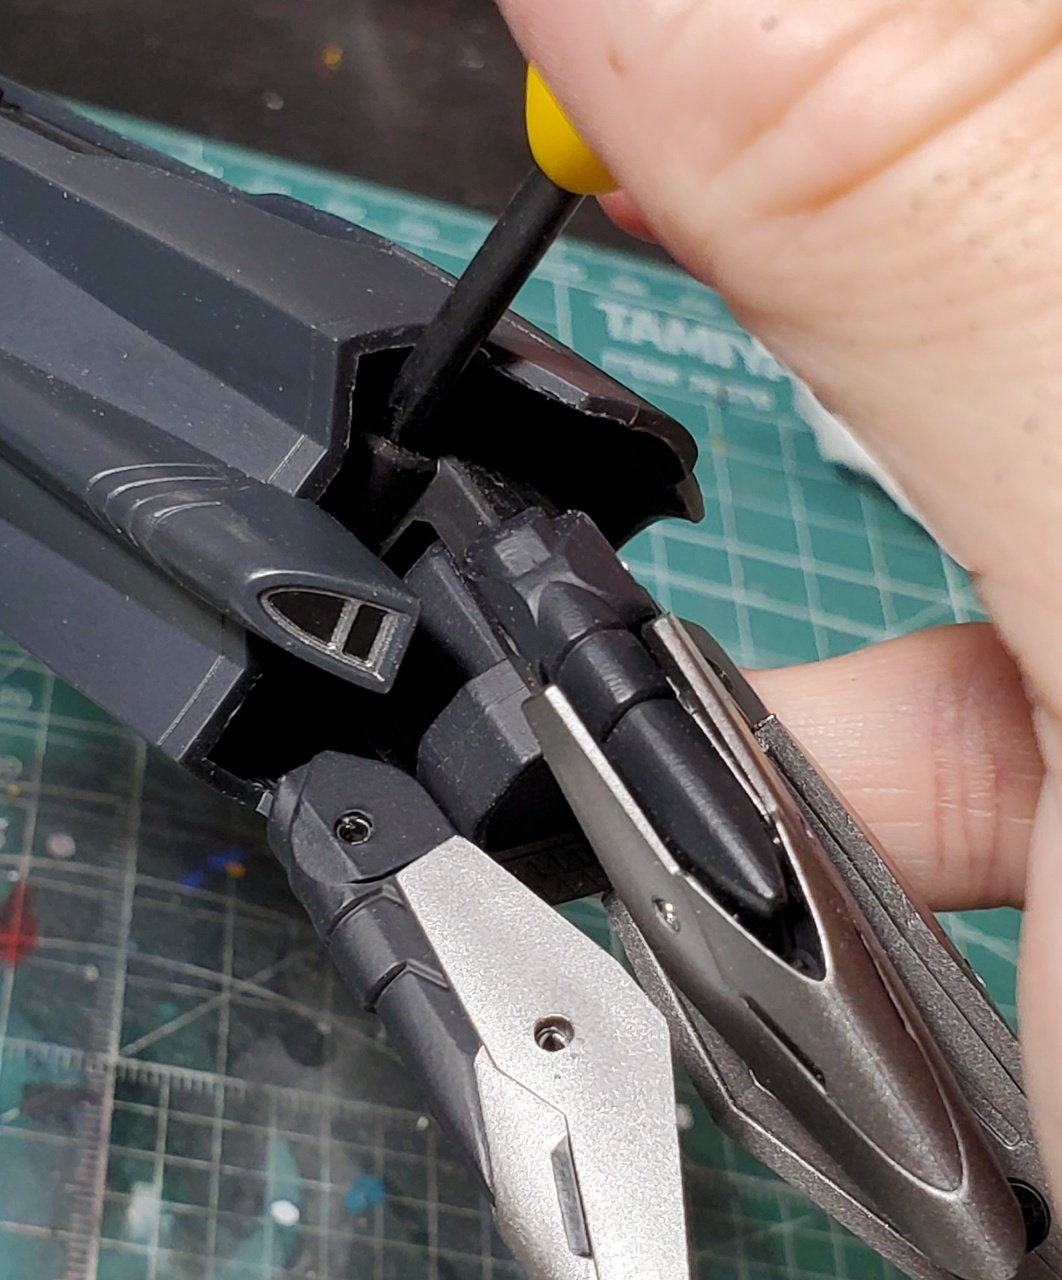
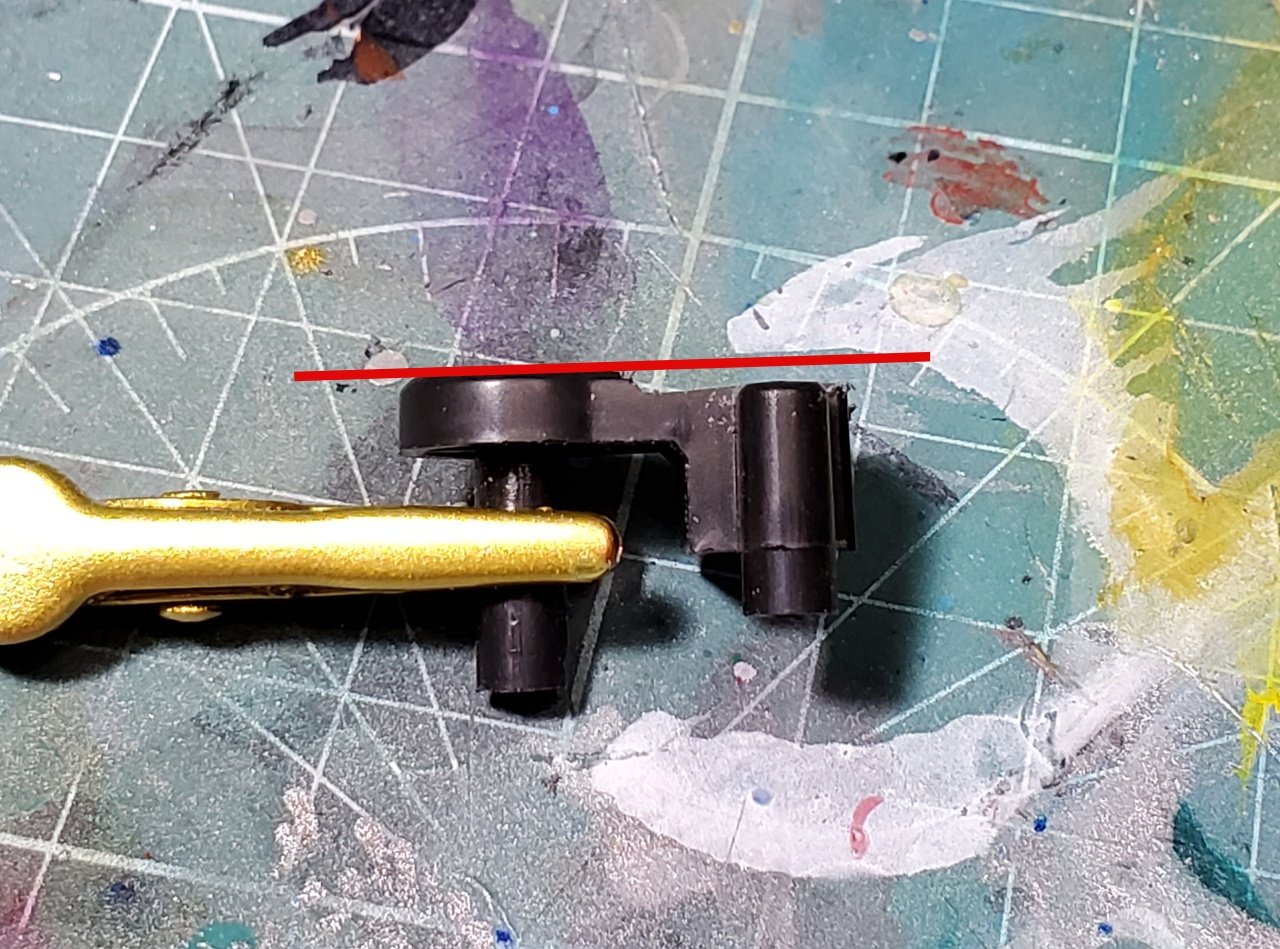
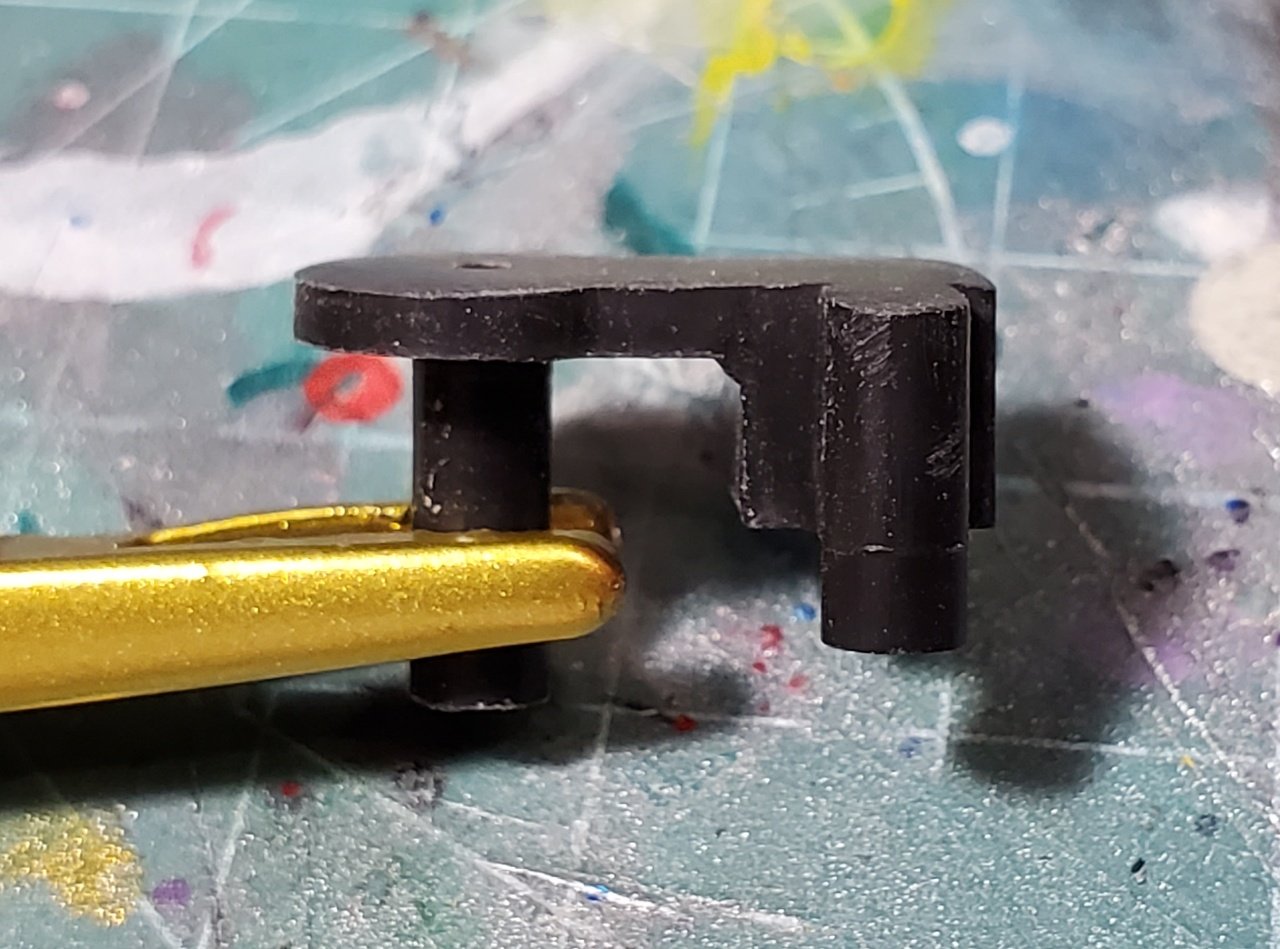
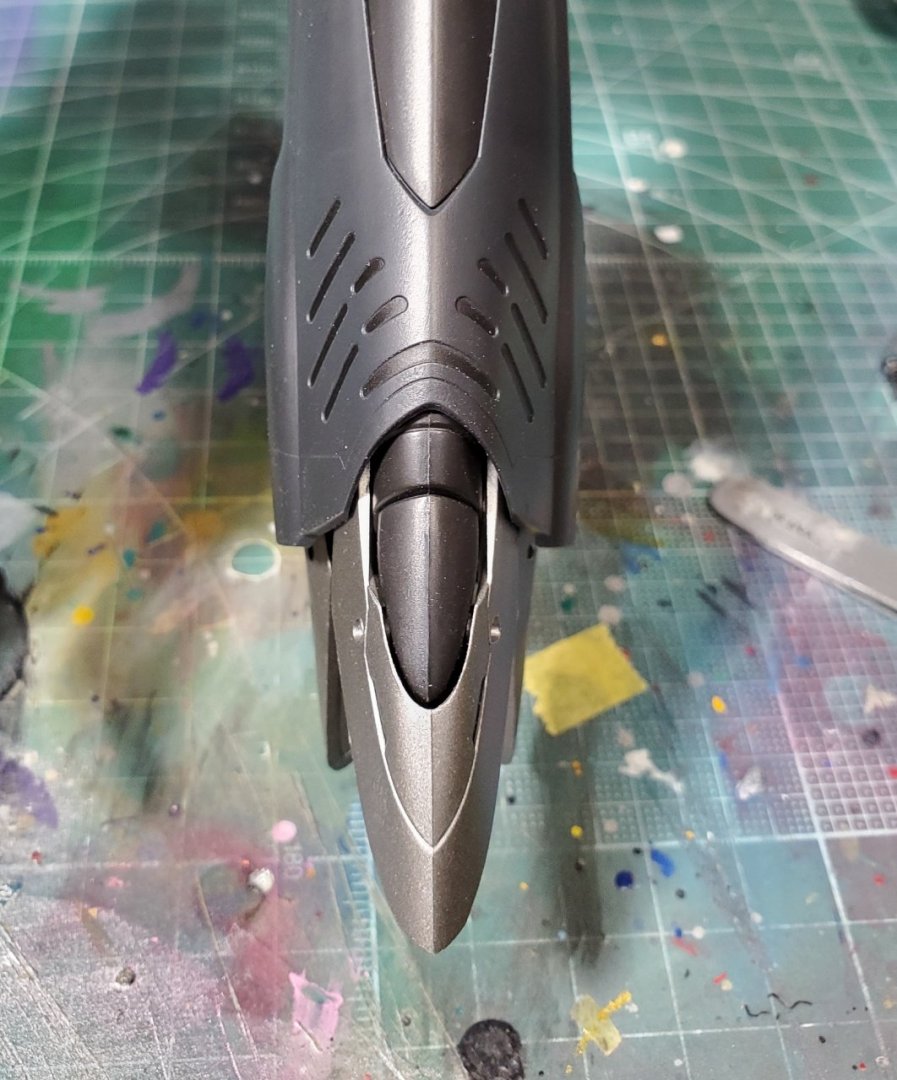
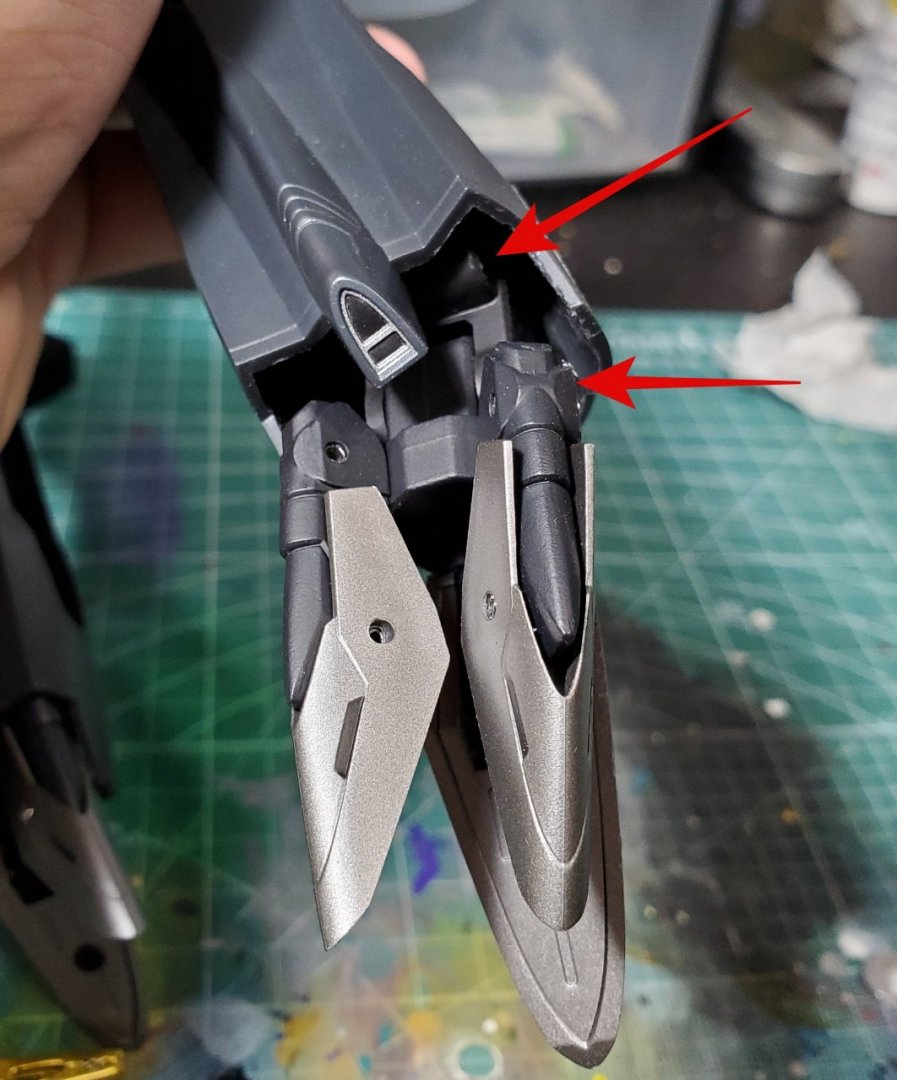
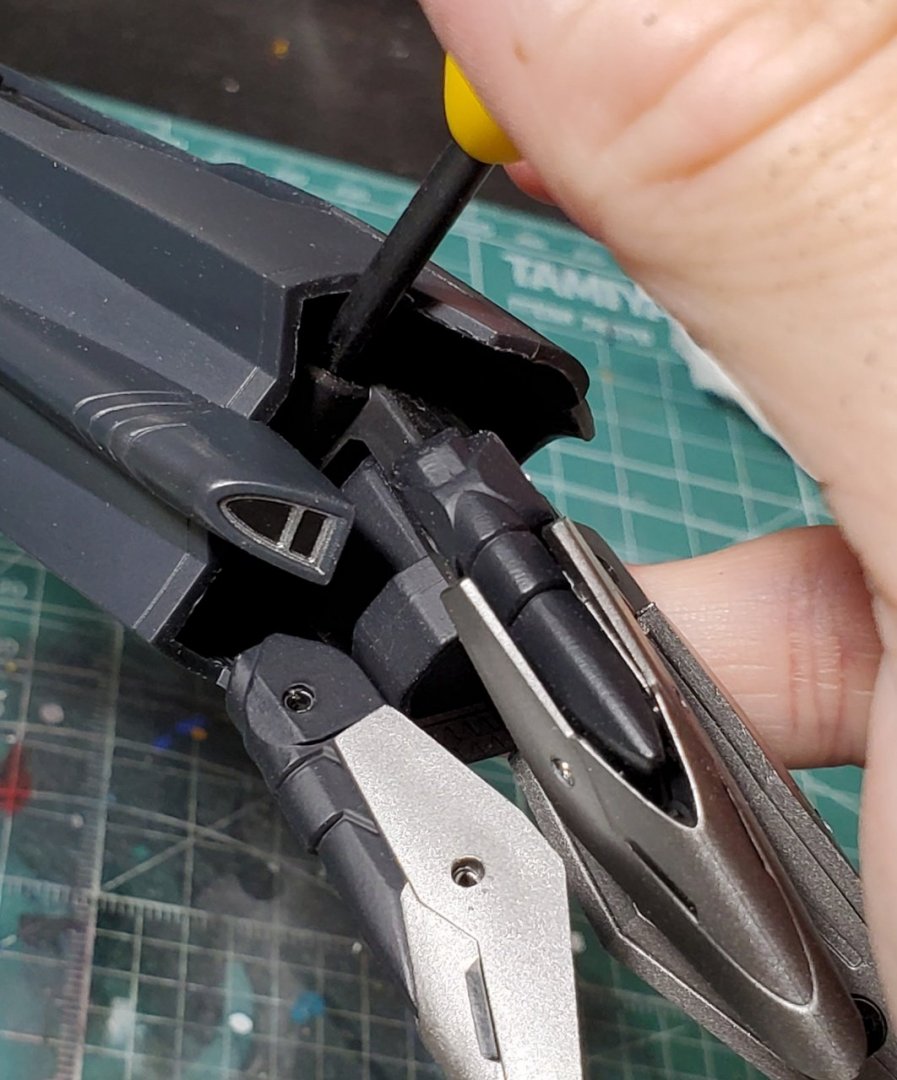
Wow...been a real long time since I posted here! It can be disassembled! It's not the easiest thing, and it's a little scary, but it can be done. Without opening the leg either. You need to utilize both ankle rockers, and angle the ankle as far to one side as you can. There are two screws on the ankle rocker, one easily accessible near the rear toes, and one up higher. It just BARELY peeks out from the leg. You gotta flex that inner leg shaft some, but you can get a screwdriver in there. The screwdriver will still be at a bit of an angle, so use a good one, and take it slow. If you don't want to try for an exchange, or hope replacement parts become available, you can mod the ankle joint to at least sit straight in fighter mode. You'll need to significantly file down the side of the ankle joint that rests against the arm cavity. The first picture shows how much I had to file away, about 1.5mm. And the part fully filed down and smoothed over. But that meant I was able to get the foot to sit straight in fighter mode. It's still the wrong foot, but using the ankle rockers in the legs allows it to sit properly in each mode. That's how I feel too. Even if I didn't file that part, I was just going to leave it. If I could walk into Target and exchange and inspect it on the spot, that would be a different story. I wonder if that's where all the confusion is coming from? Since the upper ankle joints are the same, perhaps the workers did not understand the foot was different?

- 2024 replies
-
- 2
-
-
- macross zero ivanov
- sv-51
- (and 1 more)
-
Hey everyone, Ijust got around to picking up this mold today (Wings ver). When transforming to Gerwalk, that big sliding joint that reveals the little machine gun, is it supposed to lock in the extended position? The whole upper body on mine just slowly slides back down. It seems to have a shallow lock in the retracted/ fighter mode position, which seems counter intuitive to me
-
Went to Tamashii Nations today, amd saw these in person. VF-4 amd VF-0A were early, fixed pose fighter mode only painted up resin samples. The VF-2 however appeared to be a fully transformable resin proto, and appeared to be perfect transformation. The hip bar transformation mechanism was visible, and looked sturdy. All the transfortion joints in the arms and chest/ back were visuble, as well as the sliders for the rear stabilizer pods. Landing gear appeared to be pop out and replace like the VF-1. Scuplt looked great, except the head, which was a little narrow, with very straight up antennas. Looked loads better than Evos attempt. Couldnt sneak any photos, since the employee was standing right there. And no relaese date on any of those, just the ambiguous " Display only"
-
Haha, nope, there was an employee guarding it. Not that I saw, but at this stage, ot doesnt surpirse me there werent any...it didnt even have any joints at all, just a big fixed pose figure.
-
Saw it in person today. Its huge, however, it was clearly a very early resin test sample: solid parts, no joints, etc. However, there were lights in the visor, shoulder light things, bay doors on the legs....and maybe the gunpod. No other info or pics were ar the event, other than it being listed as DX Chogokin. The scuplt did look very promising though!
-
Ok, Cool thanks. I knew I remembered something about a mix up, just couldn't remember the exact details.
-
Hi guys, I just got a used Yamato 1/60 VF-1S Max Ver 2 and see that it has a black heat shield on it. Is this normal? I think I might remember that it mistakenly came with one a few years ago....but it's been a while and I'm not sure.
-
While I already have mine, a US based retailer that could offer guaranteed pre-orders for Bandai's Macross stuff at reasonable prices would be something a welcome addition I'd say.
-
Have you tried the various Model Master purple pearls? There's Purple Pearl and Grape Pearl, they both have a metallic finish, and are semi-translucent. They are what I use when I need clear purple
-
This same thing happened to my Alto's Gunpod. I was just opening it up one day, and it snapped pretty much in the exact same spot. I built a new clip end out of some styrene bits. It's not quite as snug as brand new, but it's secure, and works. Jarrod
-
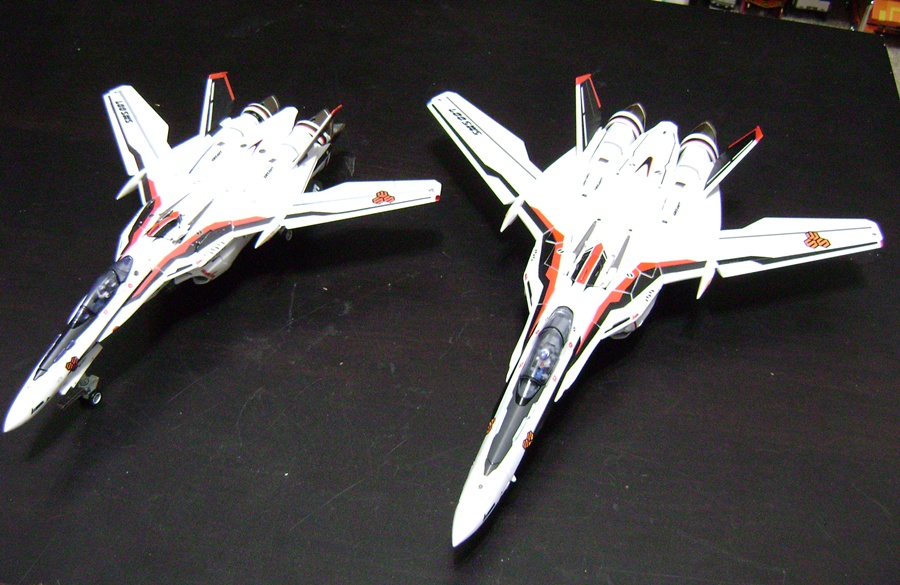
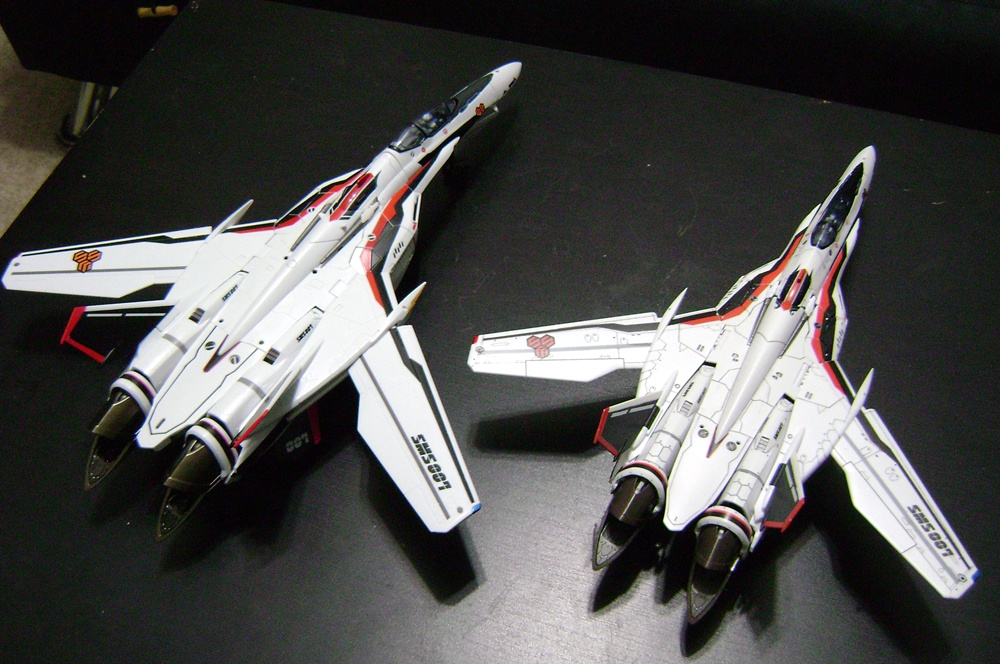
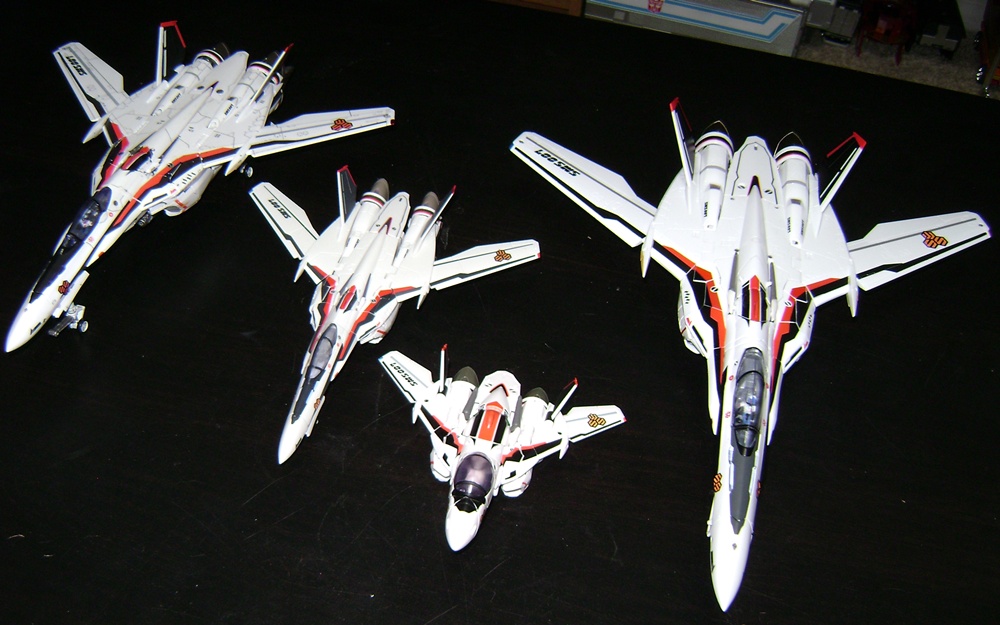
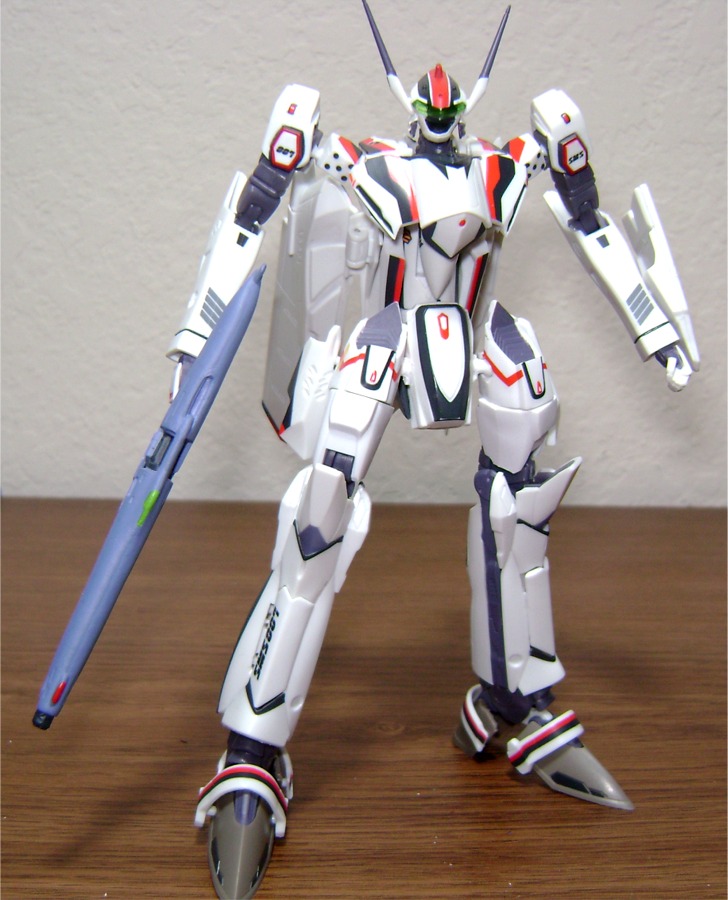
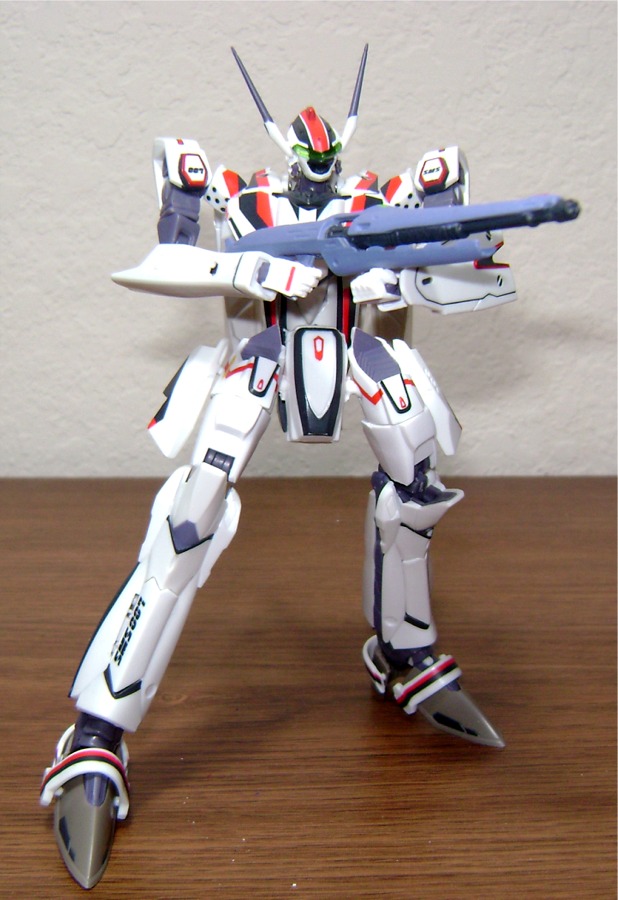
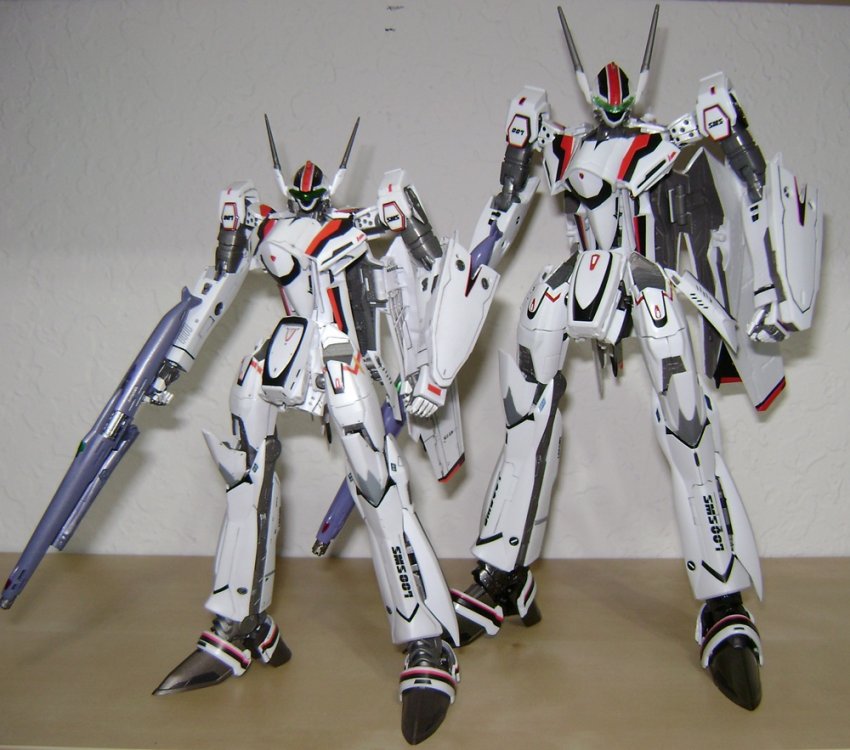
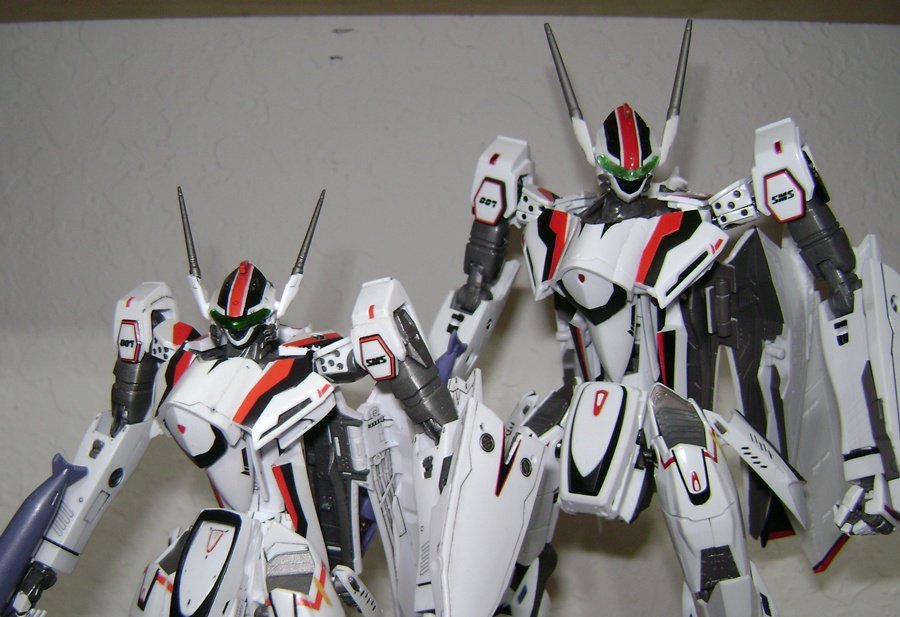
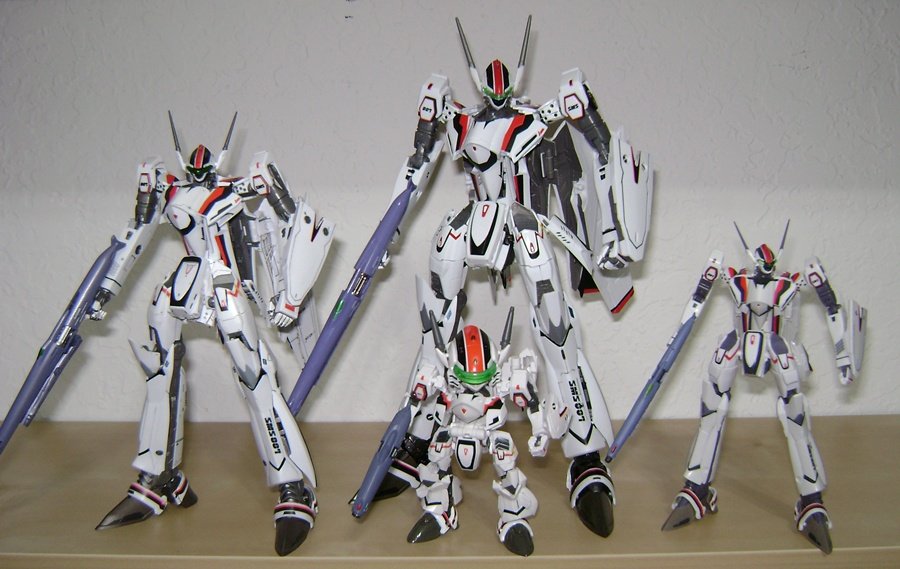
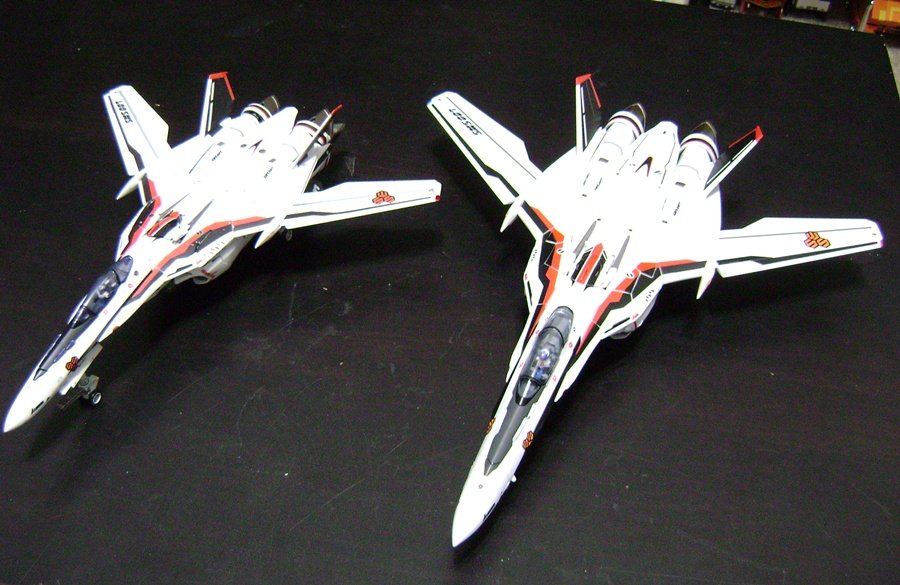
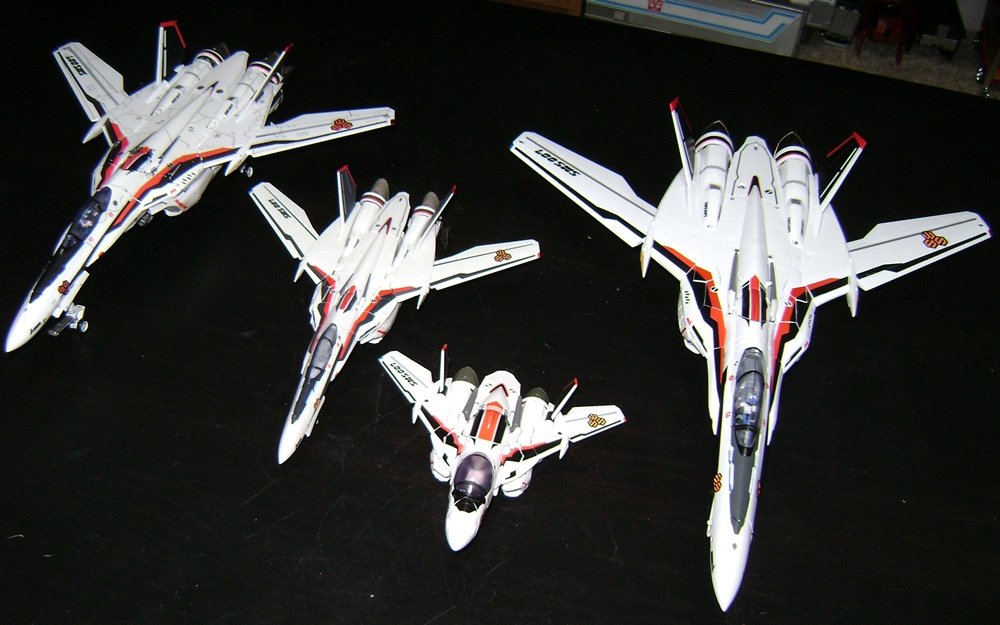
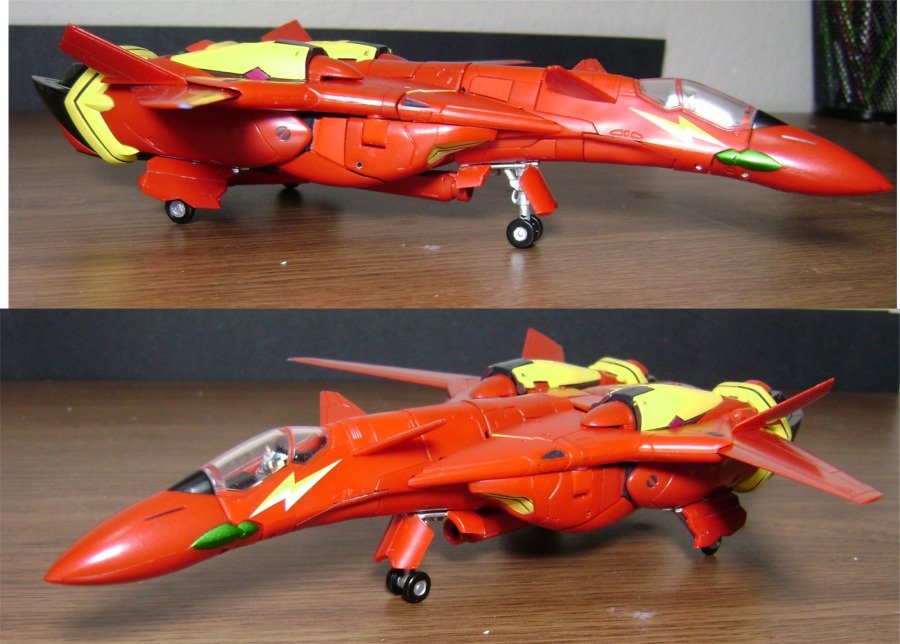
Wow...been a while since I posted here, but after getting my new VF-25, I felt I had too. This thing is perfect! Sculpt is magnificent, transformation is intuitive, everything has "place" even if it doesn't actually "lock." The fact that I don't have to remove ANYTHING, even swap a hand, for transformation is so, so refreshing. Now, I love my 1/72 Vf-25 kits, and I thought for sure there would never be a toy that could match it in terms of detail, sculpt, and proportions, but damn I was wrong! Of course, it doesnt hurt that this new version really feels and looks like an upscaled, sturdy version of the kit. They share ALOT in common. But the kit is just that, a model kit. Sure it's transformable and poseble, but it's definitely not made for heavy play. The DX toy is definitely a TOY, its rough and sturdy, and awesome:) I think the DX actually has better proportions than the kit, seeing them in hand side by side too. I think the most impressive is the more accurate/longer neck and the narrower head. But being able to really angle out the little hip wing root things is great too. I sold my V1 DX a few weeks ago to help fund this guy, and I kinda feel bad that I actually got $90 for it...this new one is so unbelievably better, and it comes with a stand! Well worth the money. Oh, and just for fun, some shots with my (modded) VF100s and SD VF-25 as well.
-
Official Bandai 1/100 VF HI-METAL VF-19 Kai Fire Valkyrie
Jarrod replied to QuinJester's topic in Toys
Just a piece of styrene strip. I just happened to have a size that fit perfectly and securely into that little triangle gap where the arms meet. Of course I also had to cut away the gunpod to fit the countours of the VF-19 underbelly. -
Official Bandai 1/100 VF HI-METAL VF-19 Kai Fire Valkyrie
Jarrod replied to QuinJester's topic in Toys
Haha...well, the add-on set would probably be best for those who don't happen to have a free broken extra Thanks! -
Official Bandai 1/100 VF HI-METAL VF-19 Kai Fire Valkyrie
Jarrod replied to QuinJester's topic in Toys
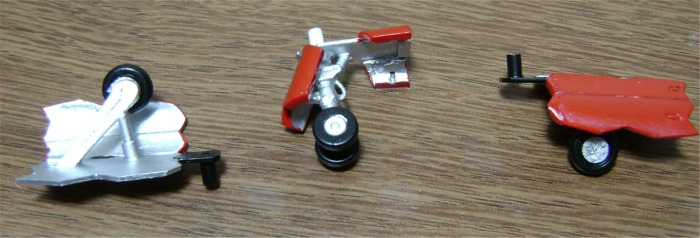
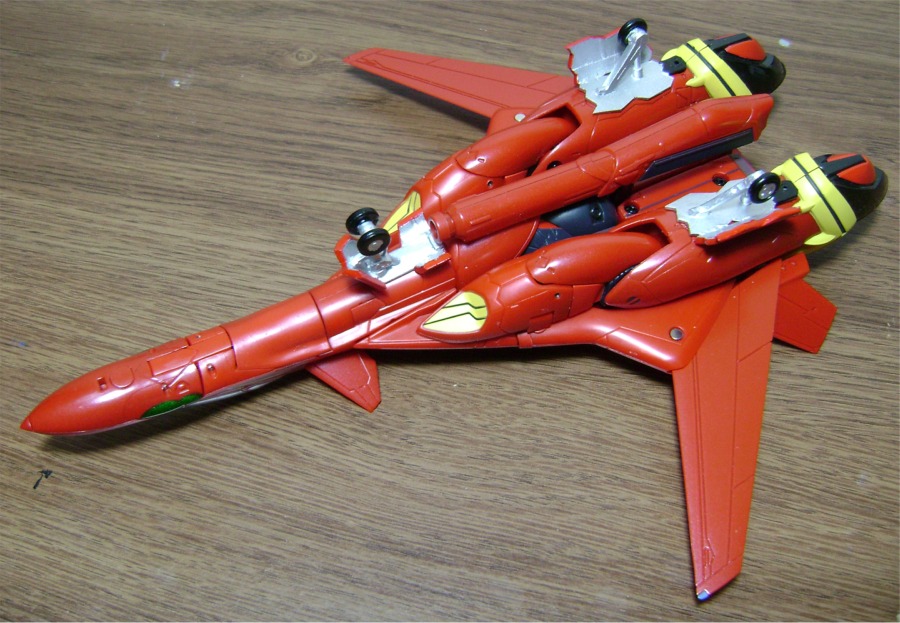
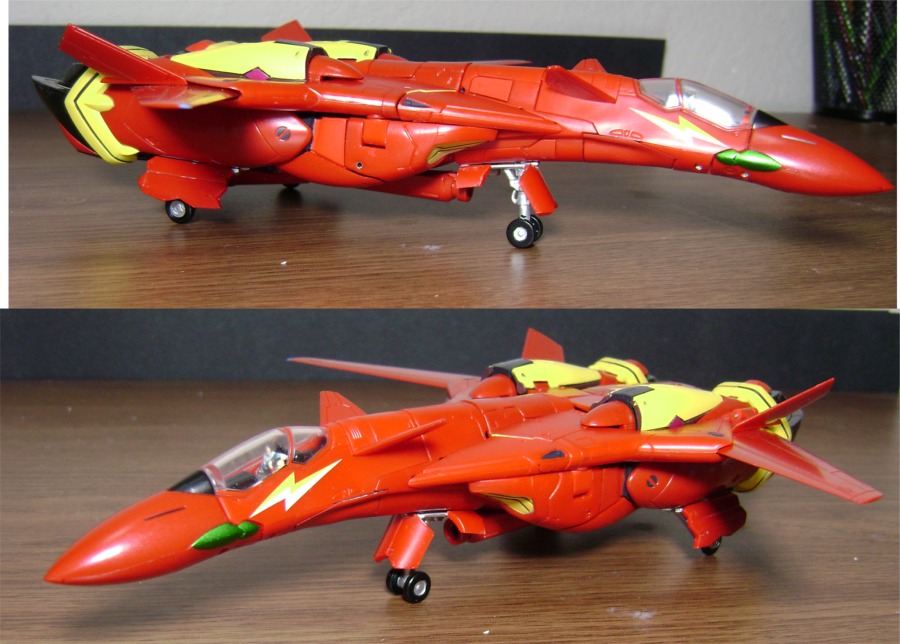
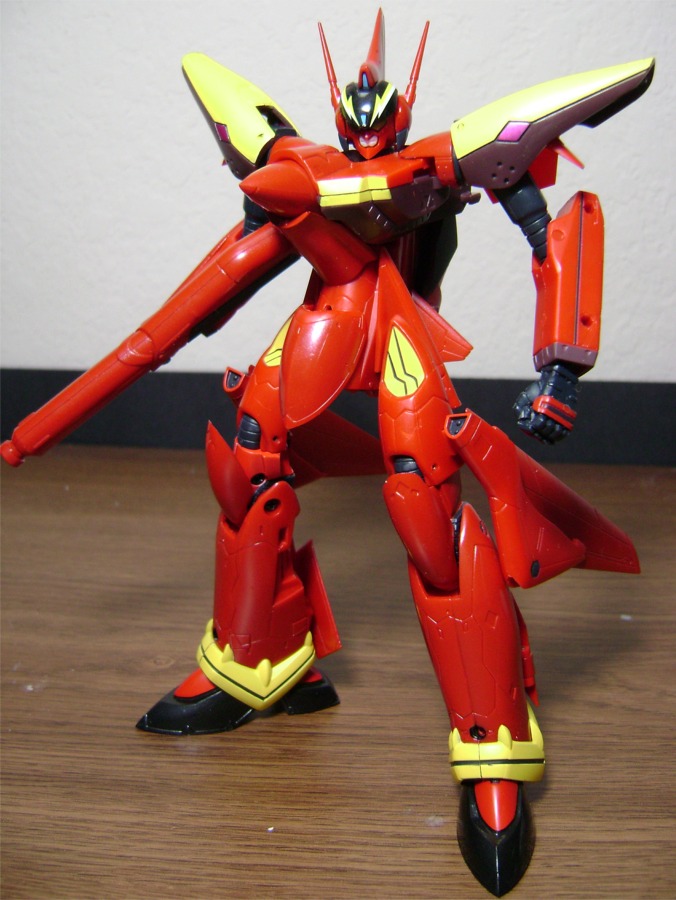
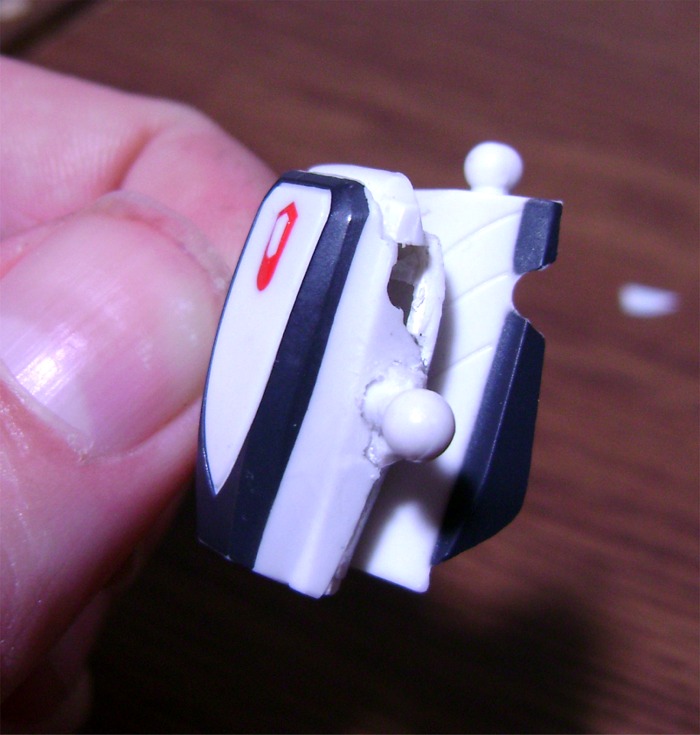
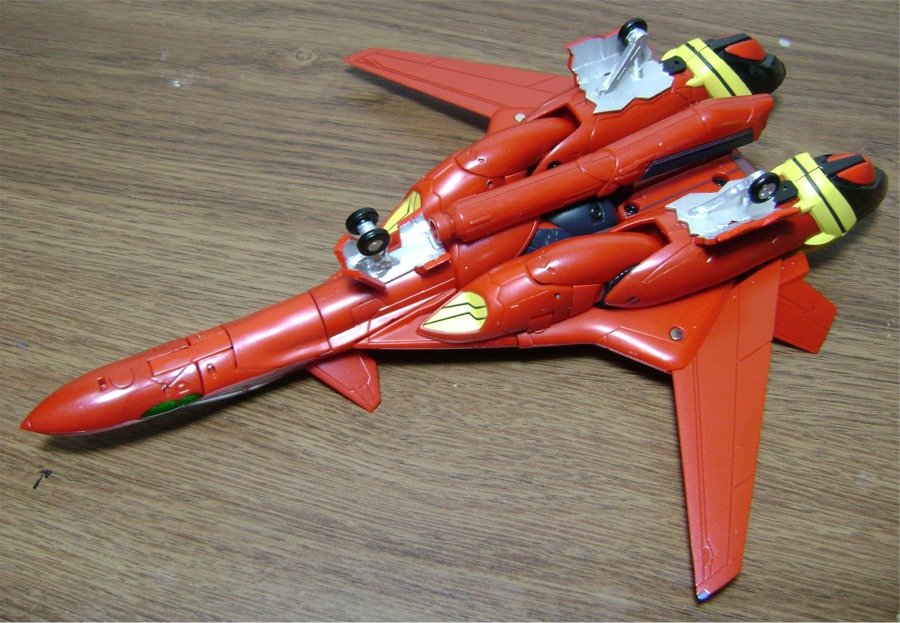
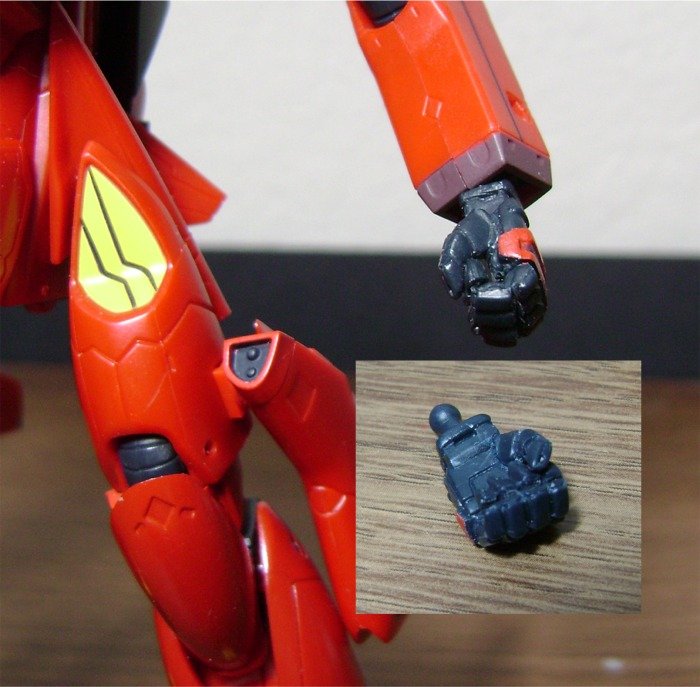
So way back when this thing was first released I was (un)lucky enough to recieve my first Fire Valk broken, but AmiAmi kindly sent a brand new replacement, and I got to keep the broken one. So I did the appropriate thing, and hacked it up! First thing I did was modify the second gunpod to store in Fighter mode. Then I cut out the landing gear doors from the broken one, and built some add on gear for the intact VF-19. I used the old 1/100 Bandai kit for the front strut and all wheels, and built the rear struts out of styrene. I followed the Add-on pack design where the deployed gear just sit over the closed doors, but I also drilled some holes and added pegs so they'd actually attach. In hindsight, I should have drilled the nose gear hole further back...my VF-19 now has a bellybutton in battroid mode:) They're not terribly detailed, but hey, they're landing gear! Lastly, I cut up the extra left hand and rebuilt it into a fist. Ha! Take that over-priced Tamashii-exclusive add on set!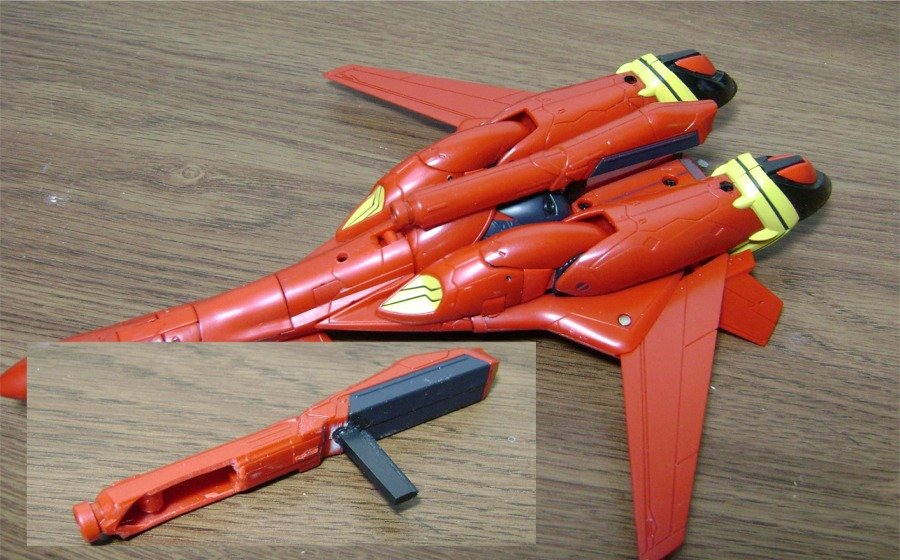


-
I used the kind of super glue you get at the hobby shop. I reinforced them from the inside with some styrene, and even drilled holes and inserted some metal pins pins through them from complete stability.
-
I just cut off the ball joints, and attached them lower. Wow, the closeup makes it look a lot messier than it is!

-
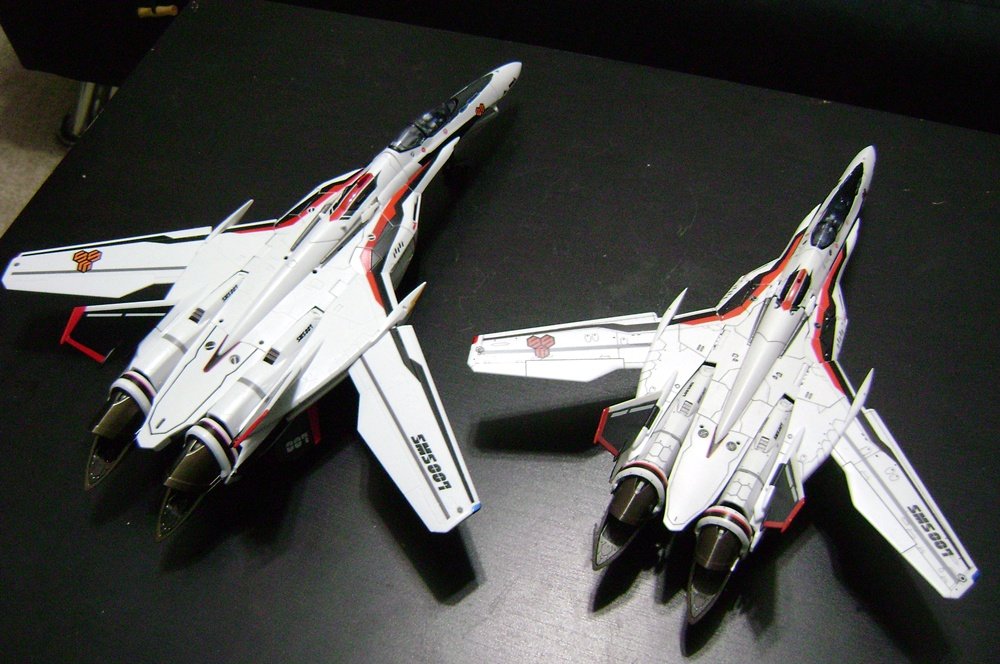
Picked up VF-25F for about $25 off last week, and I ended up liking it a LOT more than I thought I would. The parts swapping suprisingly doesnt bother me that much, and I love the proportions in Battroid. It's fun, and its palm-sized. I'm not worried about breaking anything or ruining any decals and paint or having to massage everything in perfect alignment like I am with my kits(although, the kits are still #1 to me). Nor do I curse it's Battroid proportions, landing gear, rub off paint...etc like I do my DX. Of course, it could also be that I only paid $25 for it, and wasn't expecting much...hell I just wanted a 1/100 VF-25 to go with my VB-6. That said, it definitely does have its shortcomings, while the parts swapping doesn't bother me as much, it sure looks like MUCH less should have been nessacary. Fighter mode could have been better too, legs too low, no pilot. When half the toy is parts swapping, there really shouldnt be so many sacrifices. Oh, and I lowered the hips in Battroid mode, makes it look like a totally different toy! That might sway my opinion some:)


-
Finally, some semi decent photo's of the DX scale "Alto", its huge! http://alma.skr.jp/mtblog/archives/2010/02...html#entrytitle Those swing bars are really ugly...but overall, I think I'd pick one up for a decent price. Oh, and apparently, there's kits too: http://item.taobao.com/auction/item_detail....jhtml?cm_cat=0 And lastly ( I dont think theres a link in this thread at least), here's a small gallery of some of the 3 different smaller versions: http://www.actionfigurechecklist.com/Image...rwiz/Astro_Plan Looks like the medium size is spring activated transformations. And make sure you click on the "Packaging" folder right above the pics to see, well, the packaging. Jarrod
-
Bandai 1/72 Scale Macross Frontier Model Kit Thread Ver.3
Jarrod replied to azrael's topic in Hall Of The Super Topics
I noticed you painted the head accurately. And dammit, I want to paint mine that red now! I'm such a sucker for metallics and that looks REALLY good on the 27. Oh well.... -
Bandai 1/72 Scale Macross Frontier Model Kit Thread Ver.3
Jarrod replied to azrael's topic in Hall Of The Super Topics
Oh, I really like that red! What color is it? -
Bandai 1/72 Scale Macross Frontier Model Kit Thread Ver.3
Jarrod replied to azrael's topic in Hall Of The Super Topics
I thought the same thing. Figured I must have sprayed the paint on thicker than I thought. Maybe they were really shallow to begin with. -
Bandai 1/72 Scale Macross Frontier Model Kit Thread Ver.3
Jarrod replied to azrael's topic in Hall Of The Super Topics
Well, I totally assemble the kit first, then disasseble it into smaller sub assemblies for painting. Any parts I feel may present a problem with paint, I just don't paint. For example, the smaller hinges in the shoulder assembly, a few joints in the waist area, and I paint the elbows and knees already assembed. That said I've had no problems with any of my 5 VF-25's or the VF-27 after painting. -
Bandai 1/72 Scale Macross Frontier Model Kit Thread Ver.3
Jarrod replied to azrael's topic in Hall Of The Super Topics
I've got my Alto, Luca, and Michael all set up to have removable Super Armor. It's tedious, but just don't glue any of those parts on (not like they really need it) and you can can pull the parts off and replace them. There's a few key areas of concern tho: First the decals that wrap around the upper thigh/intake area. I very carefully cut them at the seperation joint, and applied a liberal amount of clearcoat at the edges to keep them intact. Second, the flip up crotch panel. This area requires major dissassembly if you want to swap out all the parts. I however only swap out the flip up panel and top cover, since I glued most of that area together for stability. I ended up cutting little grooves into the internal grey piece to allow the panel to pop out(does that make sense?). Then I had to trim the upper corners of the panel a bit so it would fold into the stock waist parts. It sounds more complicated than it really is:) Third,and trickiest, the sheild attachement. I drilled two holes into the regular shield, exactly where the pegs are on the sheild peice included with the Super Parts. Then I put pegs into the holes on the Super Parts shield armor, so now the armor part just pegs into the orginal shield. It's not the prettiest solution, with two holes now visible in non-Super mode, bur they're small and forgivable. Or of course, you can just paint the shield piece included in the Super parts, and disassemble the shield and reassemble it for either mode. Jarrod