TER-OR
-
Posts
50 -
Joined
-
Last visited
Content Type
Profiles
Forums
Events
Gallery
Everything posted by TER-OR
-
1/72 F203 Dragon II Kit Proposal --Moscato Hobby
TER-OR replied to captain america's topic in Model kits
Looking forward to this! -
Sorry it took so long, volunteer work does... It took a bit of learning to get the vacuum casting process down, but once I figured it out, I was pulling void-free casts. When I'll get around to building my copy, I can't say.
-
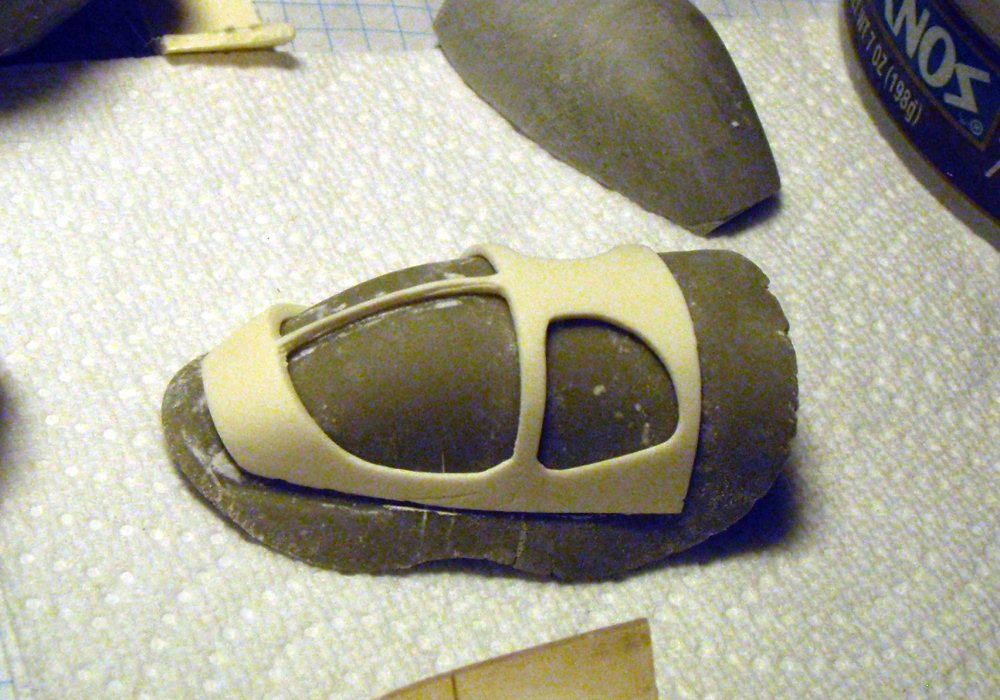
Hi, Guys. Sorry the canopy bits have taken so long. I really don't have time to do this stuff anymore, but I know it can make a very nice canopy. My buddy has the masters now, and will pour rubber. I've ordered fresh resin and we'll vacuum cast the frame, and ambient cast bucks for the vacform plastic. The clear glass will sit inside the frame and be easy to install. Then it's just a matter of doing a couple a night (letting them sit long enough to get nice and rigid before demolding). The image is an old image from the beginning of the buck and before polishing up the canopy frame (and thinning it a bit). I know I have more recent pictures but can't seem to find them....anyway - you can see how this will work.

-
I'll pre-order two. See you at Wfest in two weeks!
-
Pre-ordering at SSM is essentially a reservation. When they're available you'll be sent a message asking whether you still want them, and if so to complete the purchase process. You don't pay up-front at the pre-order time. It's pretty important to pre-order, though, so Zero has an idea how many to order. PS, I saw the bits this weekend and they keep looking better and better!
-
Nice clean build!
-
Ah, mine's too far along to add the photoetch. I guess I'll just have to buy a second kit! http://www.flickr.com/photos/ter-or/sets/72157623373328365/ I'll add more photos this week, I hope to finish it soon.
-
Looks like you're off to a great start!
-
1/72 Hasegawa SV-51 Gamma w/ twin boosters (DD Ivanov type)
TER-OR replied to nickster's topic in The Workshop!
For the fans, once you've painted them metallic, here's a trick. Add some India Ink to Future - and brush it on, make sure to break any bubbles. Let it settle into the recesses, it will concentrate in the low areas and against raised details. It sucks down well. Then dullcoat. Ink glazing works for lots of stuff - like wheel wells - but remember it follows gravity, so you may need to tilt your parts if you want a shadow effect. http://www.flickr.com/photos/ter-or/3818873253/ http://www.flickr.com/photos/ter-or/220796...57603704701438/ http://www.flickr.com/photos/ter-or/202405...57603176270104/ -
Testor's Dullcoat is much too aggressive. I greatly prefer PolyScale's Flat Clear, but you have to dilute it pretty well.
-
It's called a cowling. It's a combination of the standard Tire Black paint, a dilute black ink wash and very light drybrushing. The HUD projector is painted chrome with clear green over. I still haven't found any HUD display panel treatment that looks better than leaving it clear, though.
-
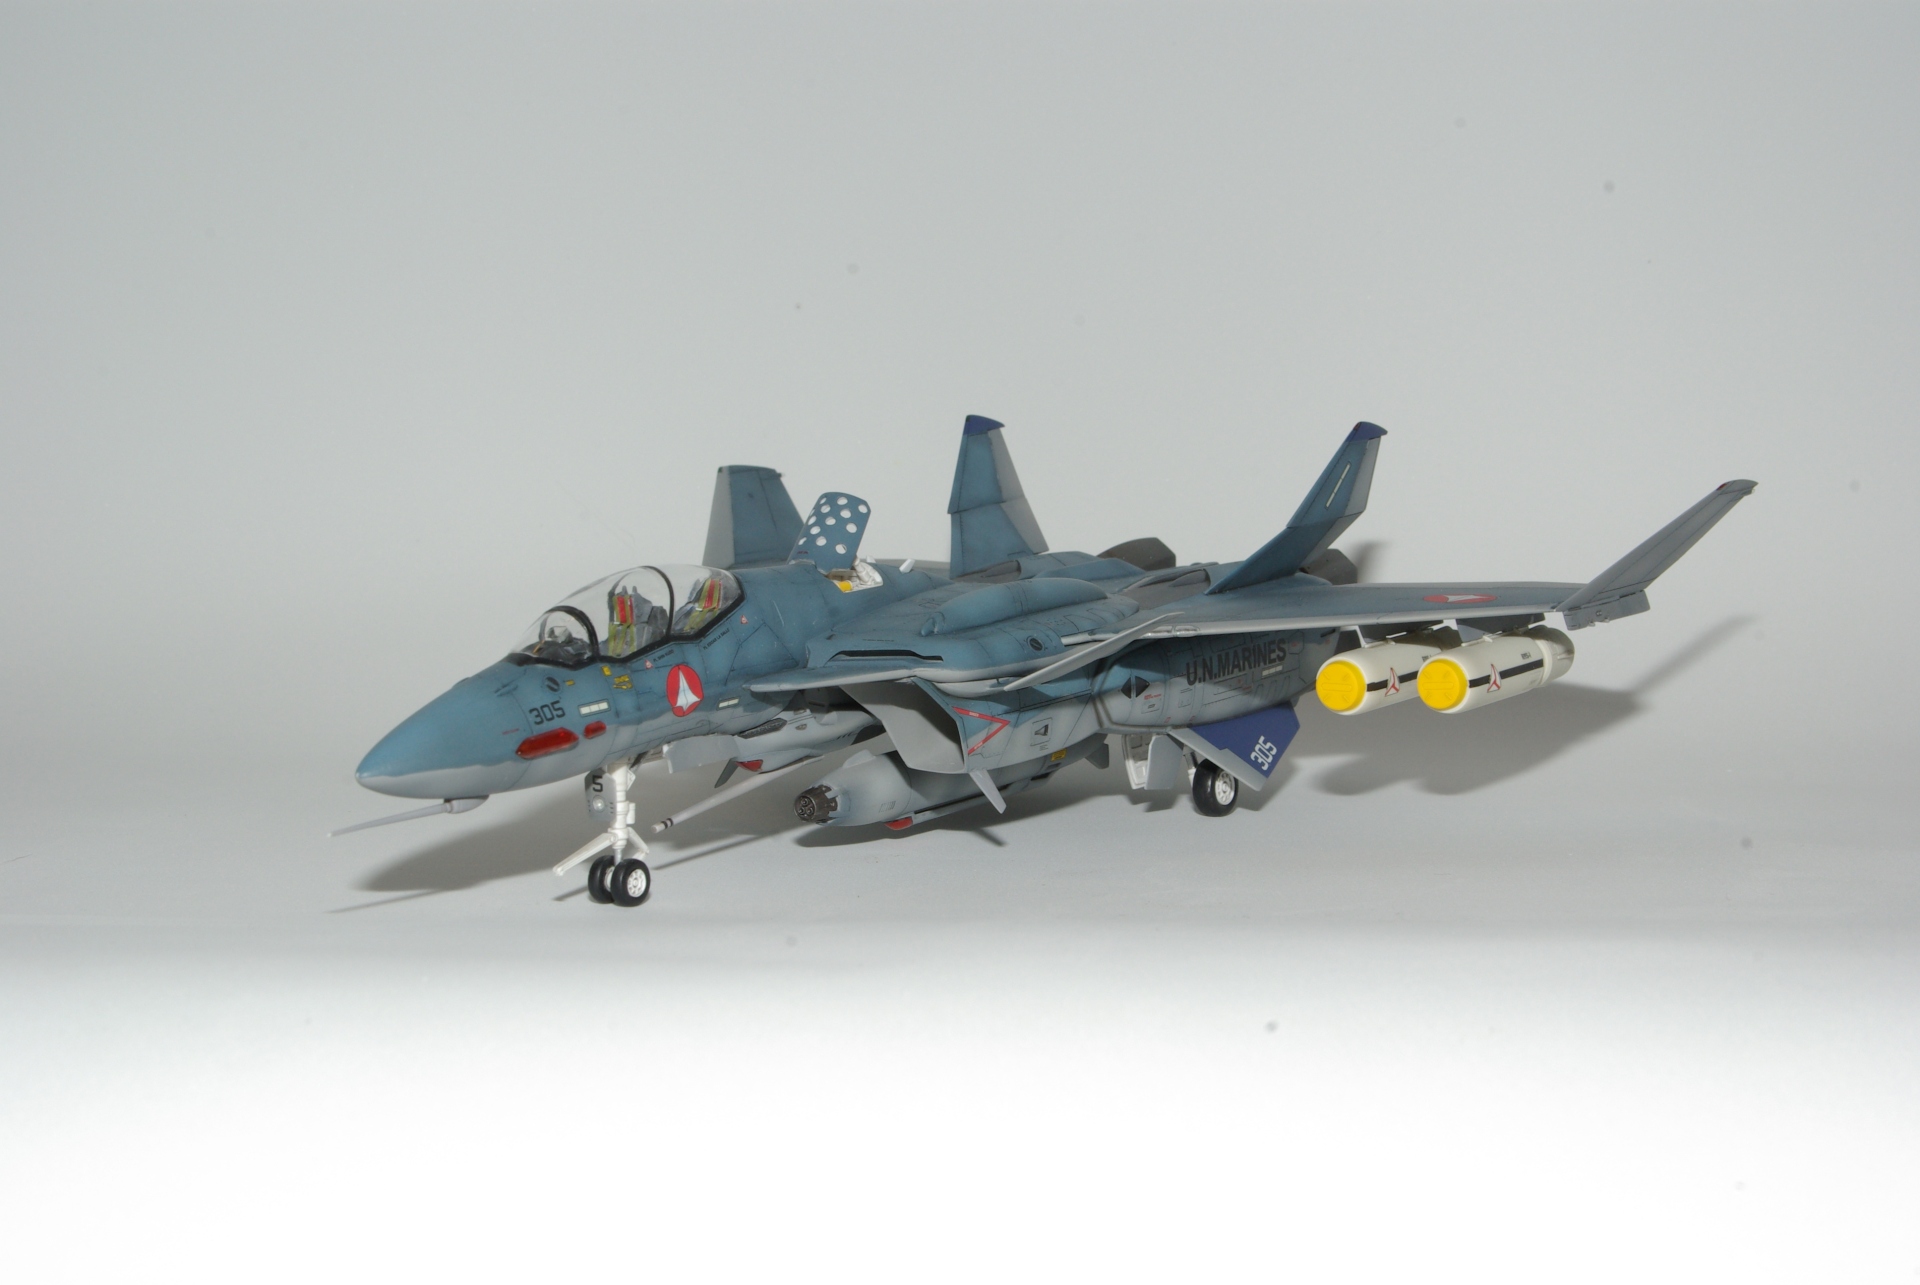
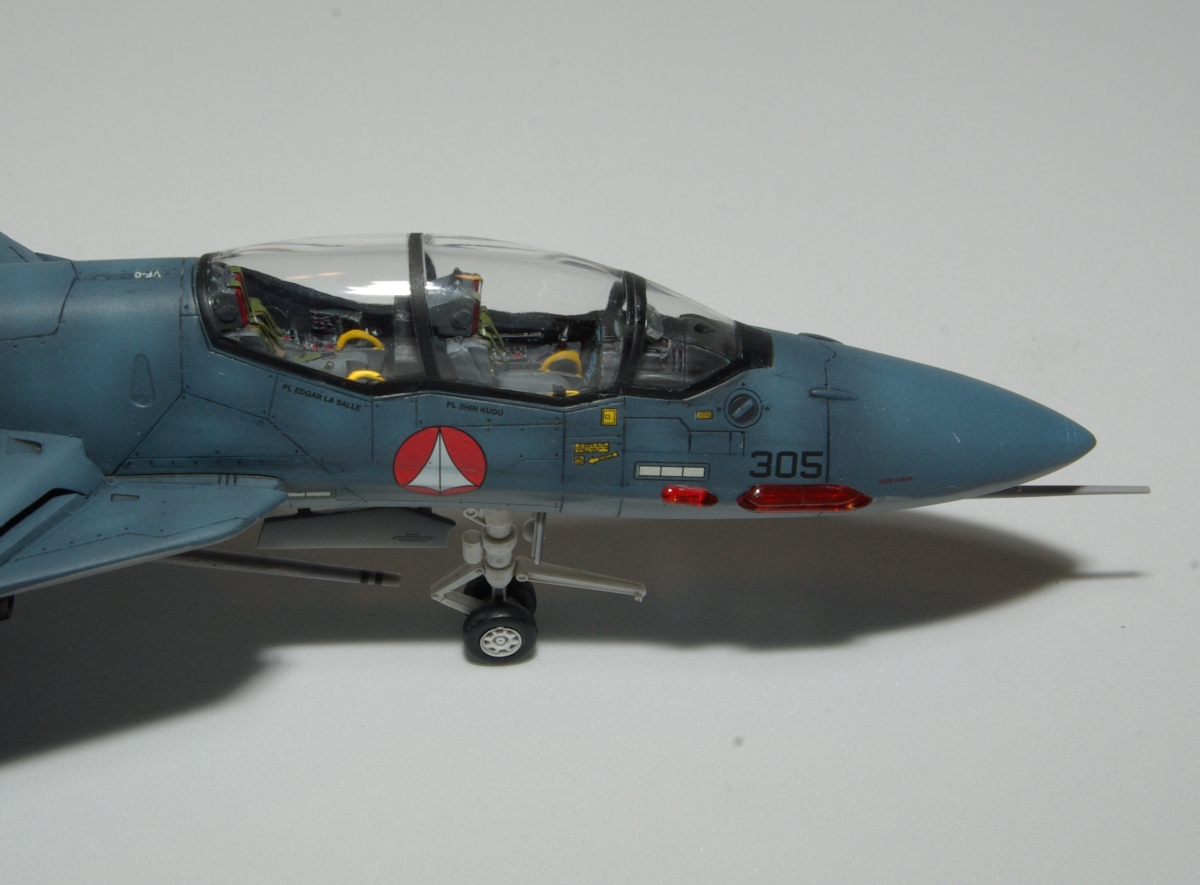
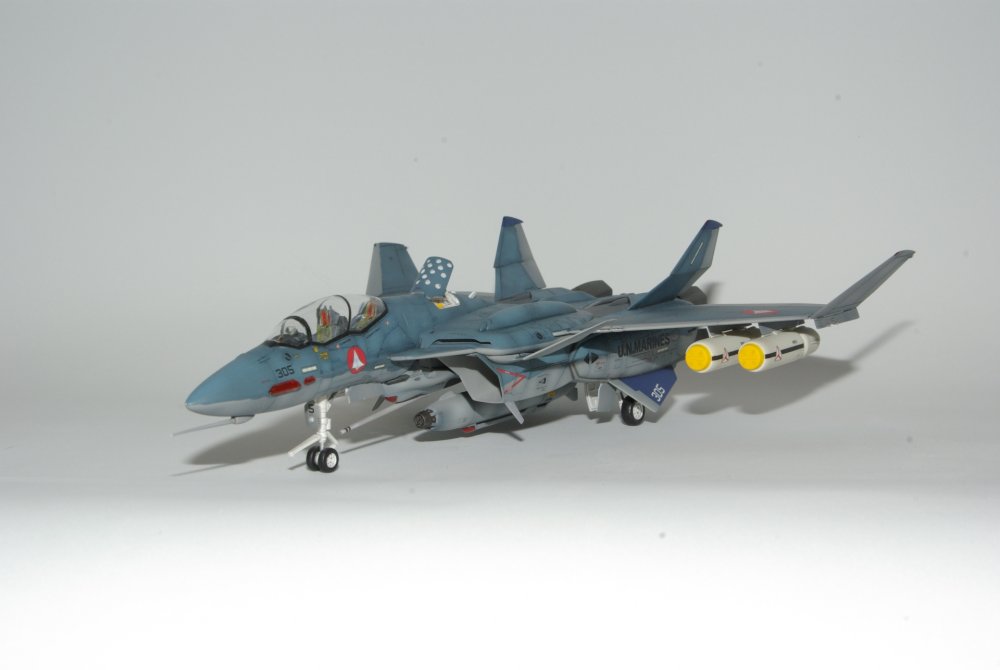
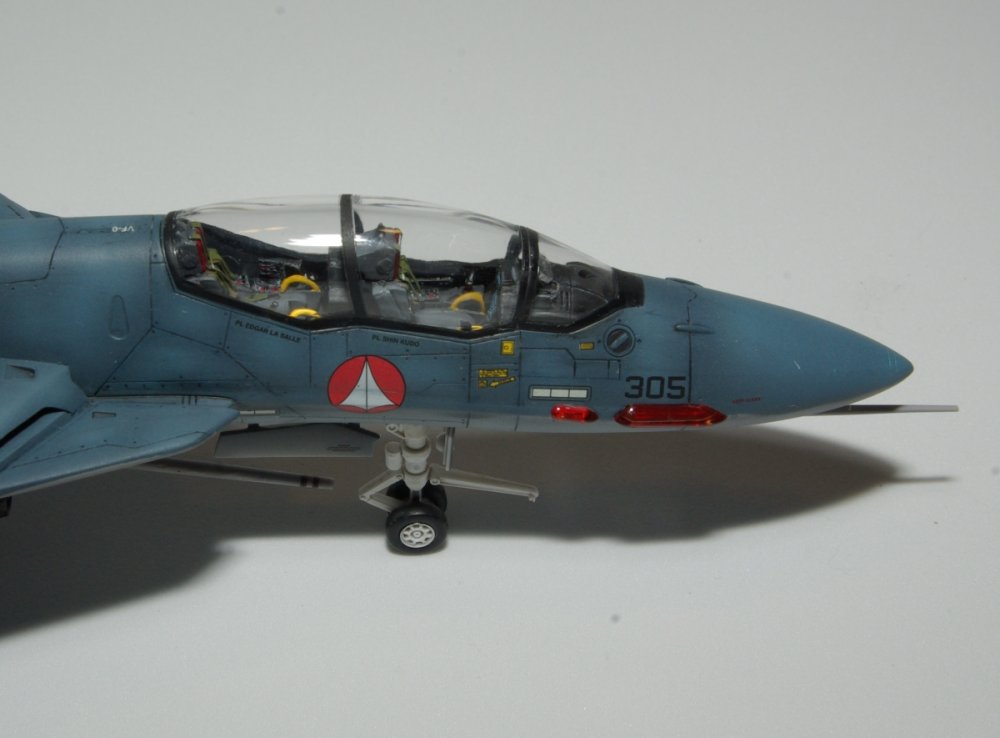
Hey guys, it's been a while but I finally finished another Macross model. I haven't written the article yet, but will do so once I'm back from the IPMS Nationals. Here's Hasegawa's very nice VF-0D kit. It's painted in Gunze-Sangyo and Tamiya WW2 US Navy colors - medium gray and medium blue shaded with Blue FS 15050 (Blue Angels Blue). The gray is shaded with a lighter tone and the blue is faded with a lighter blue in splotches on the upper surfaces to simulate uneven wear common on naval aircraft. I use a multi-pass shading technique trying to give wear and grime etc. The last pass is the base color again to "erase" the overdone weathering where necessary. It's a little overdone on anime planes, but I go with it... The bottles and gear wells are painted with white, then glazed with India Ink in Future - which sucks down into the recesses very nicely for a sharp but not stark delineation. Cockpit details are from an F-18E photoetch set, some gleaned and scratchbuilt details as well. The ordinance of course is from the VF-1 weapons set. See more images on my Flickr site: http://www.flickr.com/photos/ter-or/sets/72157621852173999/ I'll post better pictures of my QF-11 drone later - I need to crop them etc.
-
Thanks for sharing - it's great to see the VF-0s out there - I think it's an attractive design, too.
-
Uploaded pictures from old post no longer show, anyway to get them back?
TER-OR replied to Demonwarp9's topic in Model kits
It's great to see another person back in the modeling fold. We have a nice finishing forum over at starshipmodeler.net Some of the guys here are also members there. Battle damage is really difficult to simulate well - but scorching and some "roughing-up" is certainly doable with a moto-tool and airbrush. -
The compressor above looks fine. I use this: http://www.amazon.com/Senco-PC1010-Compres...6592&sr=8-1 A Senco 1010, it's surprisingly quiet.
-
As I mentioned above, the Eclipse is a great all-around airbrush. If I were to own only one airbrush, it would be a gravity-fed Eclipse. http://www.dixieart.com/Iwata_Eclipse_Airbrush.html The Badger 155 is a close second, along with the Omni 4000.
-
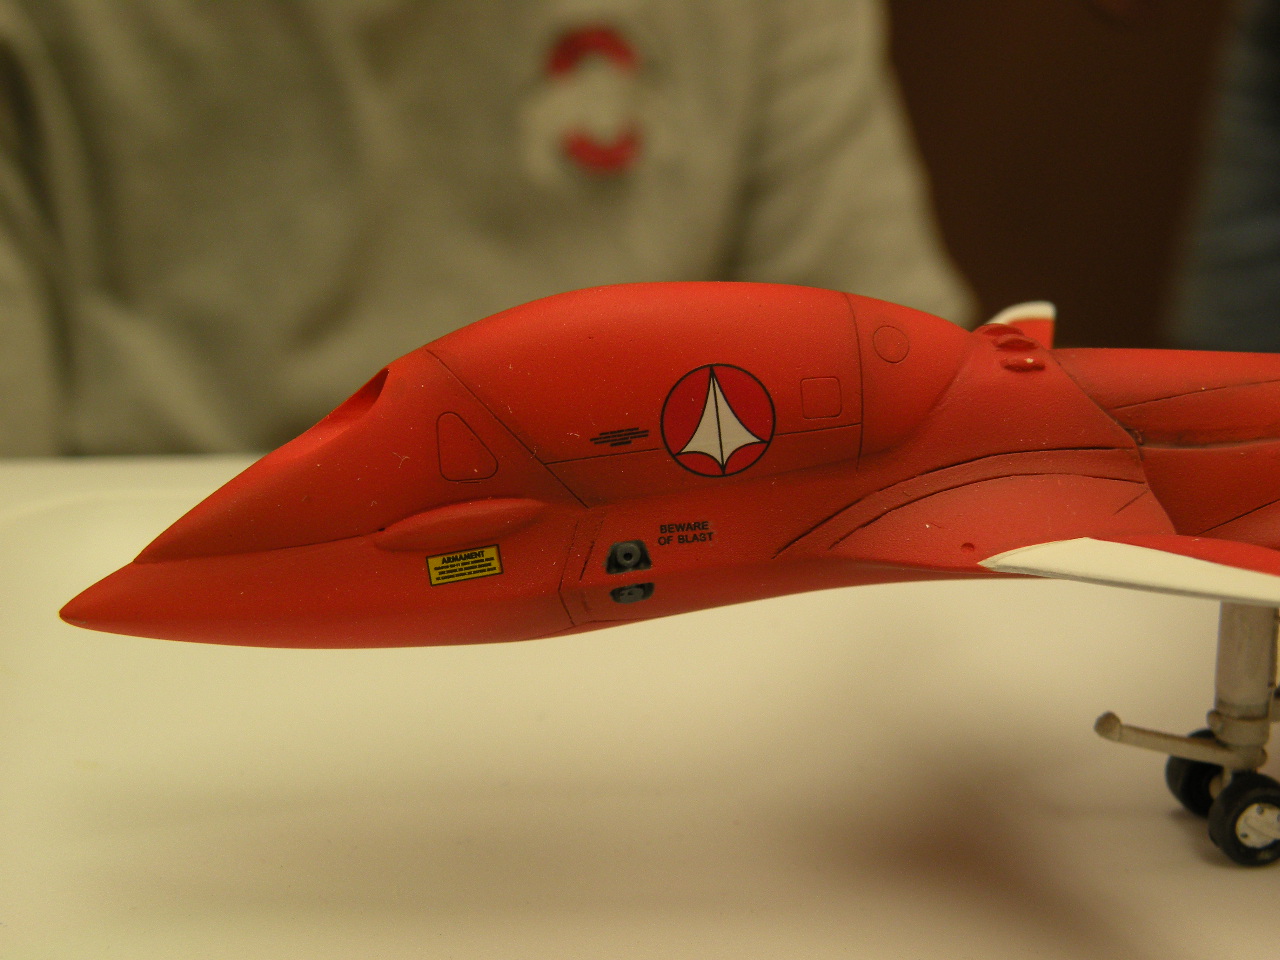
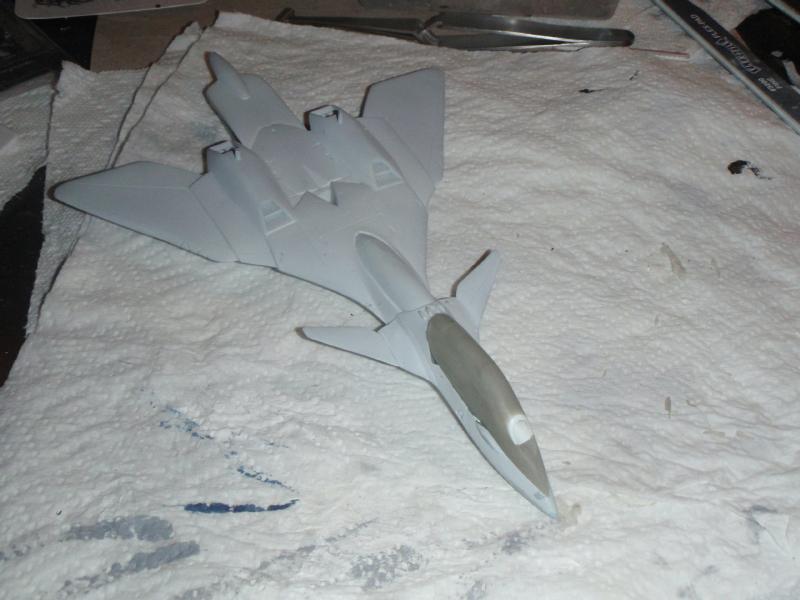
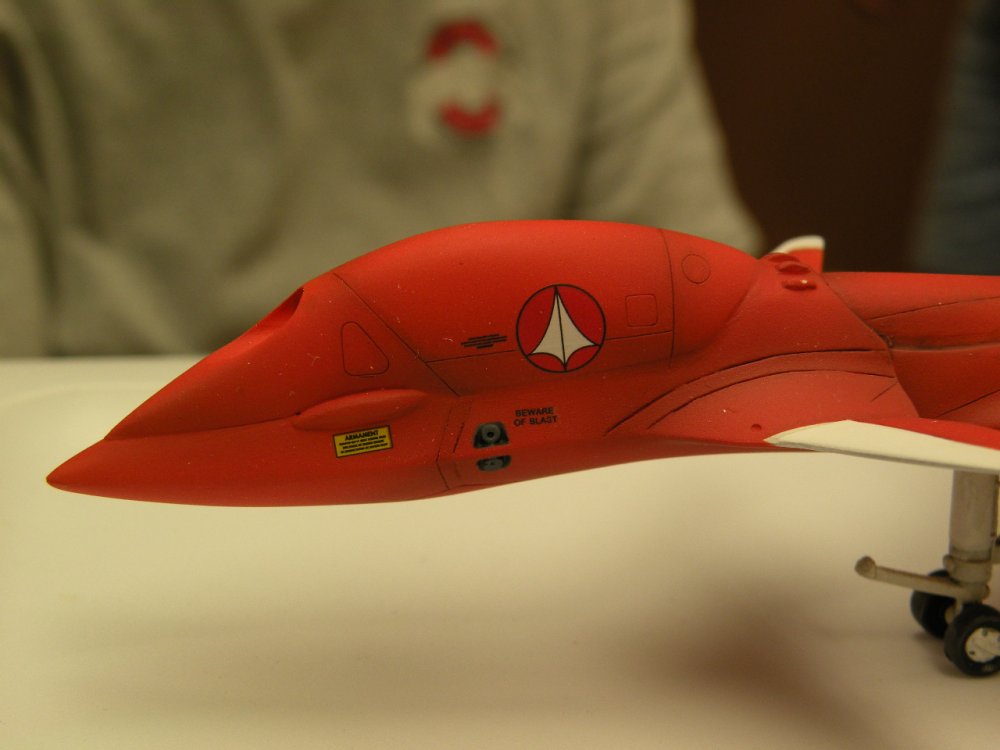
I made the conversion myself. Essentially it's epoxy putty and a styrene tube, with an MV lens attached to a brass tube as the sensor inserted in the styrene tube after painting. To tide you over, here are some pictures during build/paint/mod phase. Plus one finished.


-
That's pretty true to the model's color. I'm going for something more orange than the International Orange - based on mixtures of Gunze paints. It started out as a Club-M kit, with a homebrew mod.
-
The HP line is very good, but is made for fine work. For most modeling, the Eclipse and Revolution are more than adequate. The Eclipse is the more versatile of those two. They're both less expensive, and replacement nozzles will be much less than the HP line. You will also want a compressor with a small tank. If you think you'll use the airbrush for fine details, the HP would be a wiser purchase. I have something like 6 airbrushes and recommend the Eclipse without reservation. The Badger 155 is similar in layout and performance but the Iwata is more finely made. That said, Badger makes nice units. Terry
-
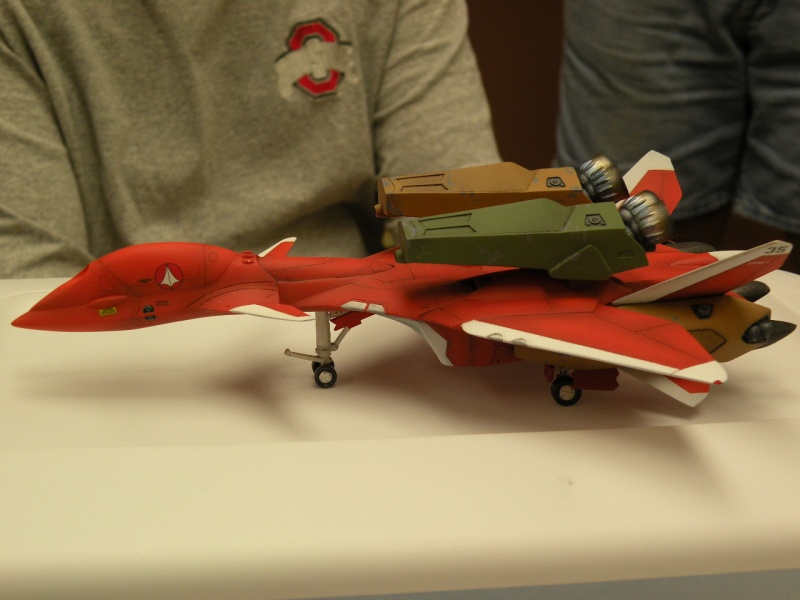
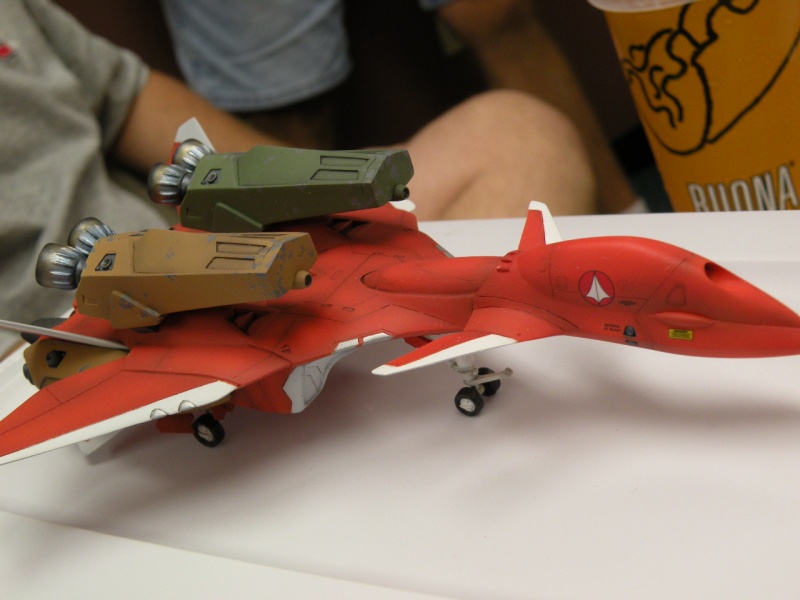
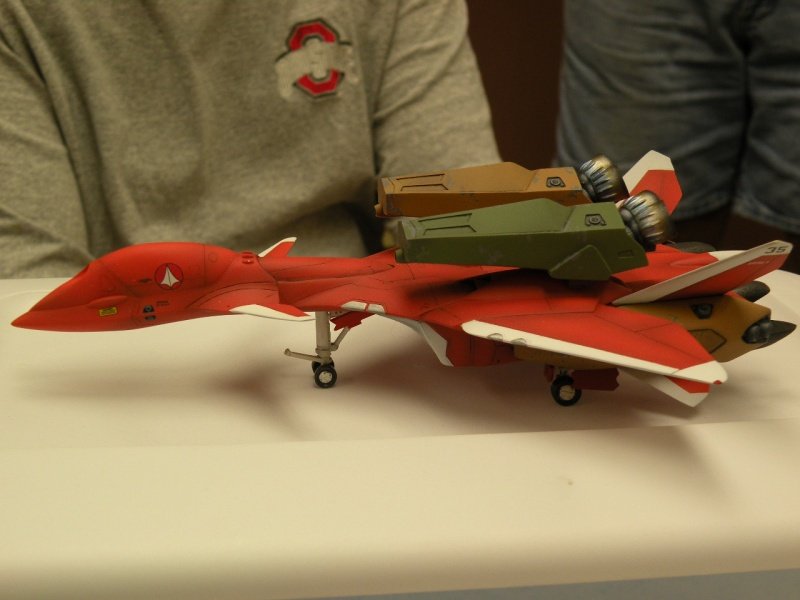
Hey guys. Long time no Macross builds... But here's a quick preview of my most recent finished project: a QF-11 conversion. I need to take better pictures and write the article, but I figured I'd give you a little preview here. Terry

-
In the paintbooth: QF-3000 Ghost and Oberth kits. In assembly, VF-11, Elintseeker. I'll take pictures during painting.
-
I like PolyScale's flat. Airbrush two fine coats, don't allow it to look glossy while airbrushing and you'll do fine. It's the best I've used so far, and no yellowing.
-
I did a similar conversion a few years back with VF-S kits. http://www.starshipmodeler.info/wfest2k3/diorama18.jpg Good work so far with the -0.
-
Count me in for two.
-
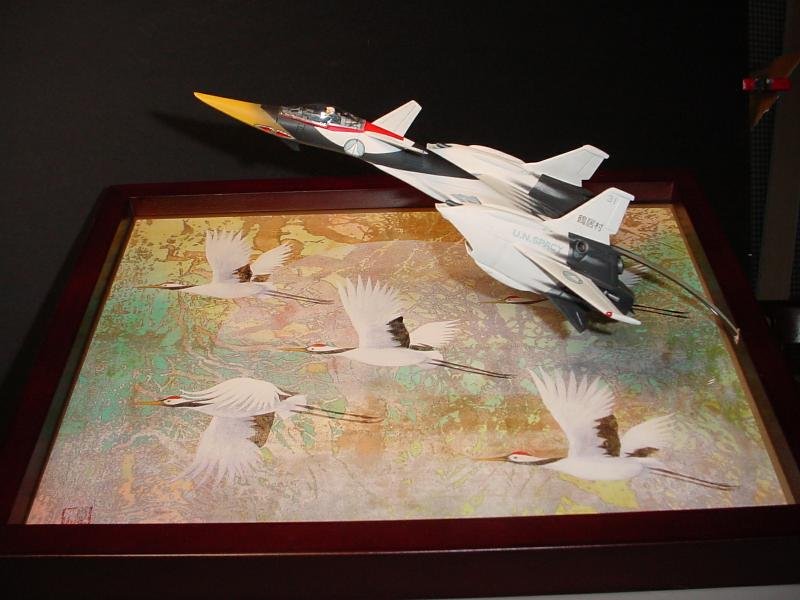
Here's a preview pic of the VF-4 posed over artwork by Rei Toriama.