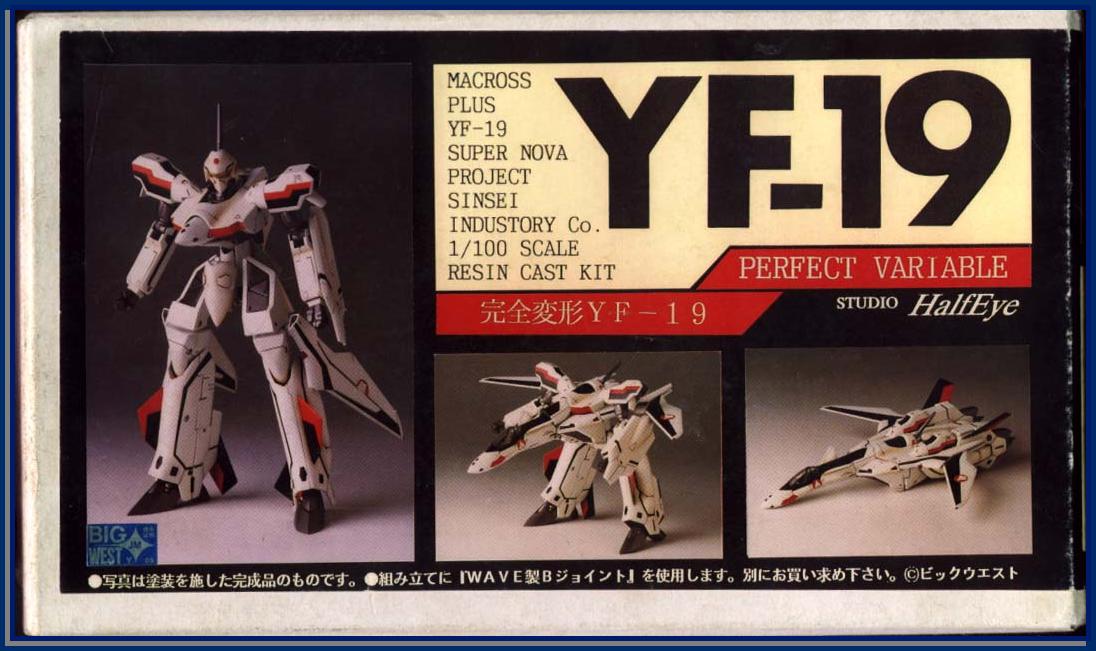
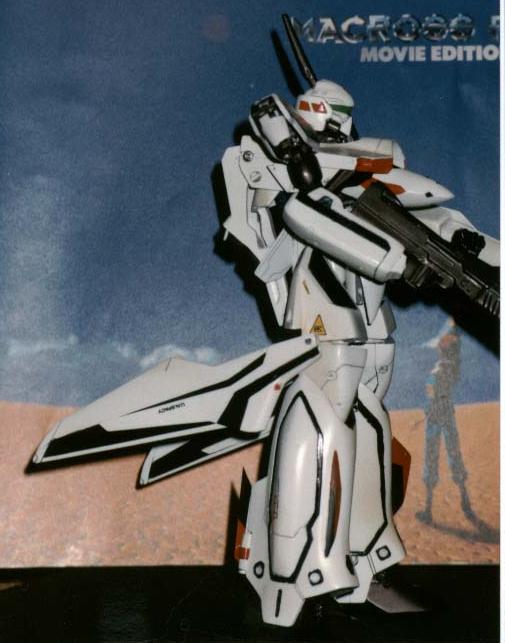
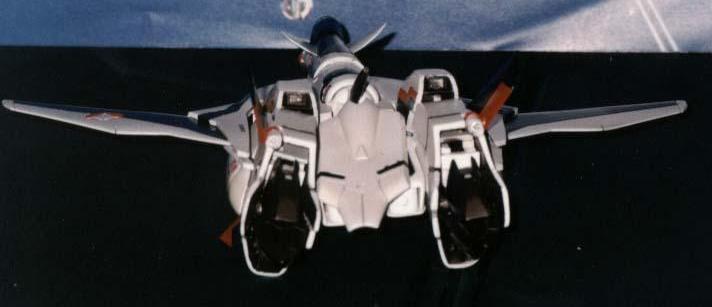
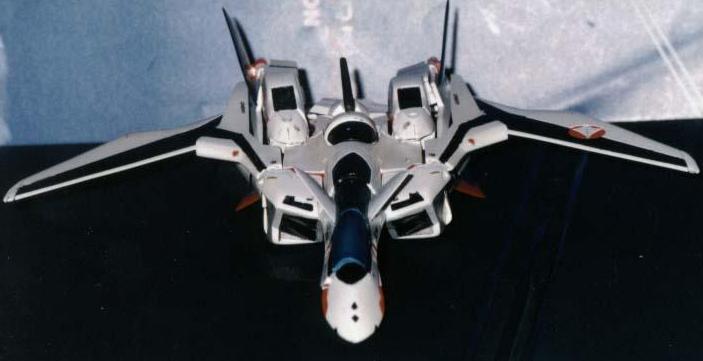
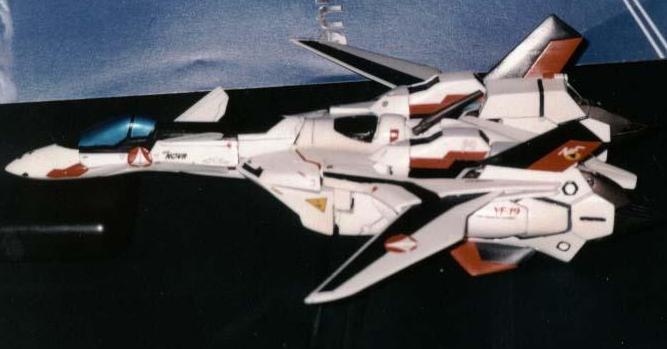
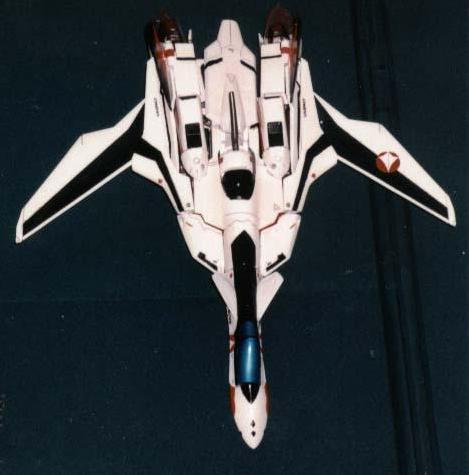
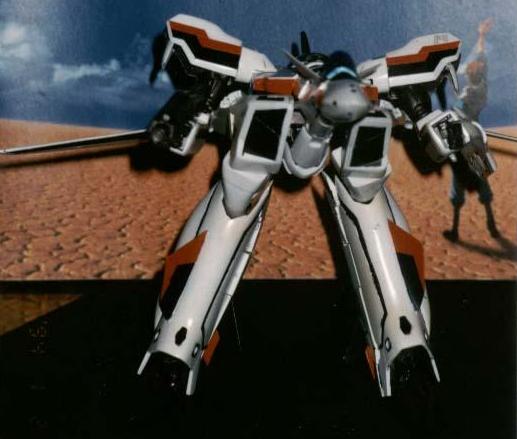
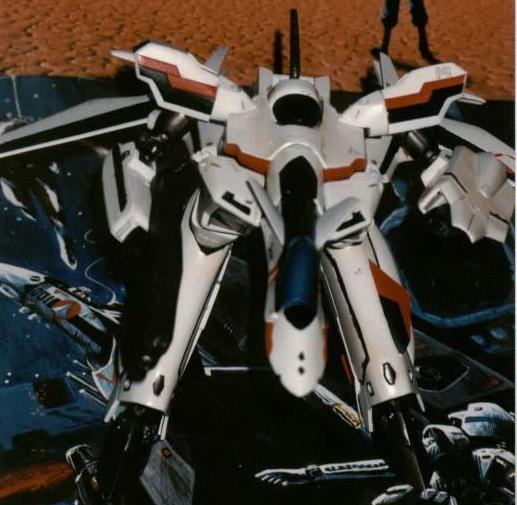
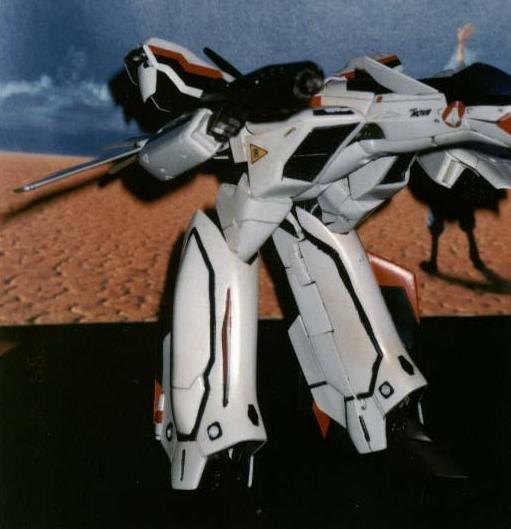
YF-19
Back to Studio Half Eye Main Page
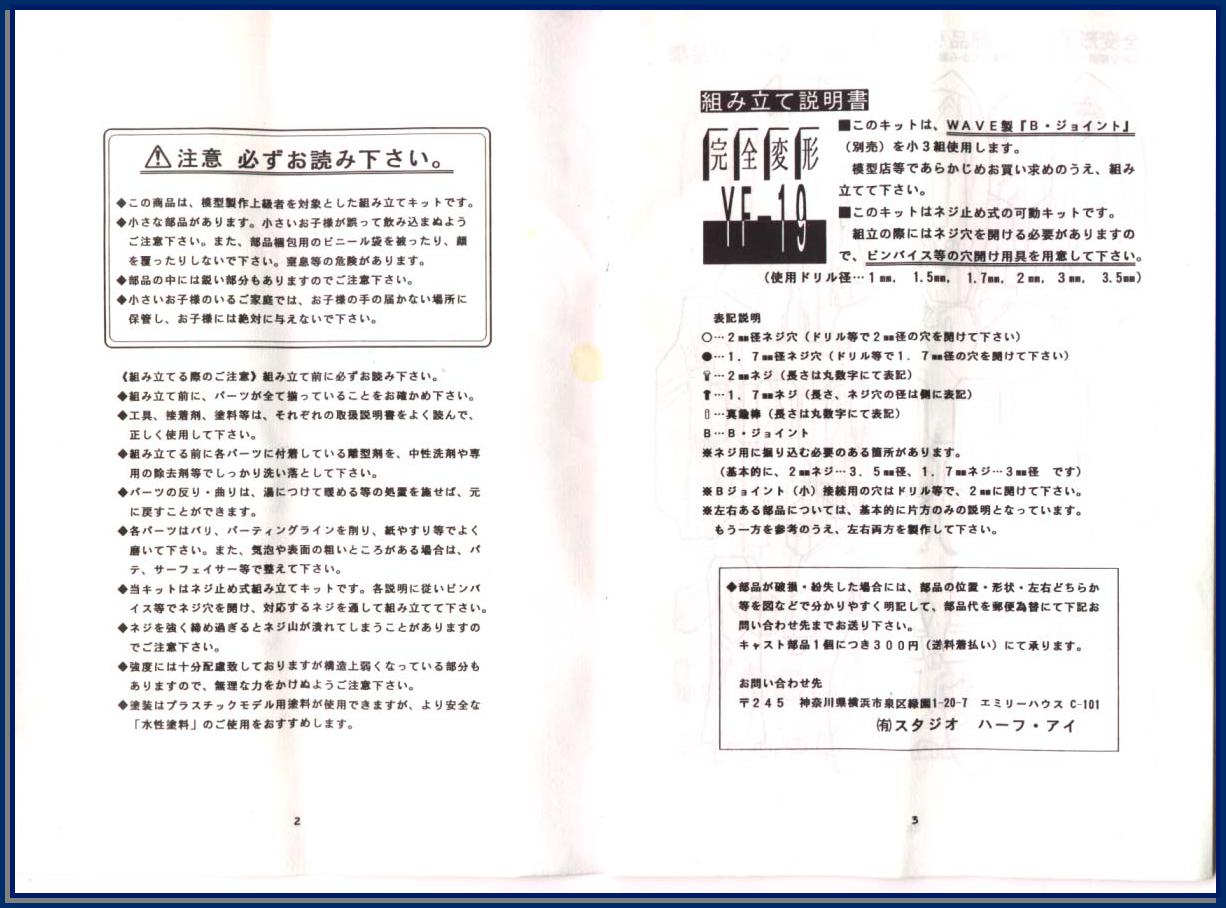
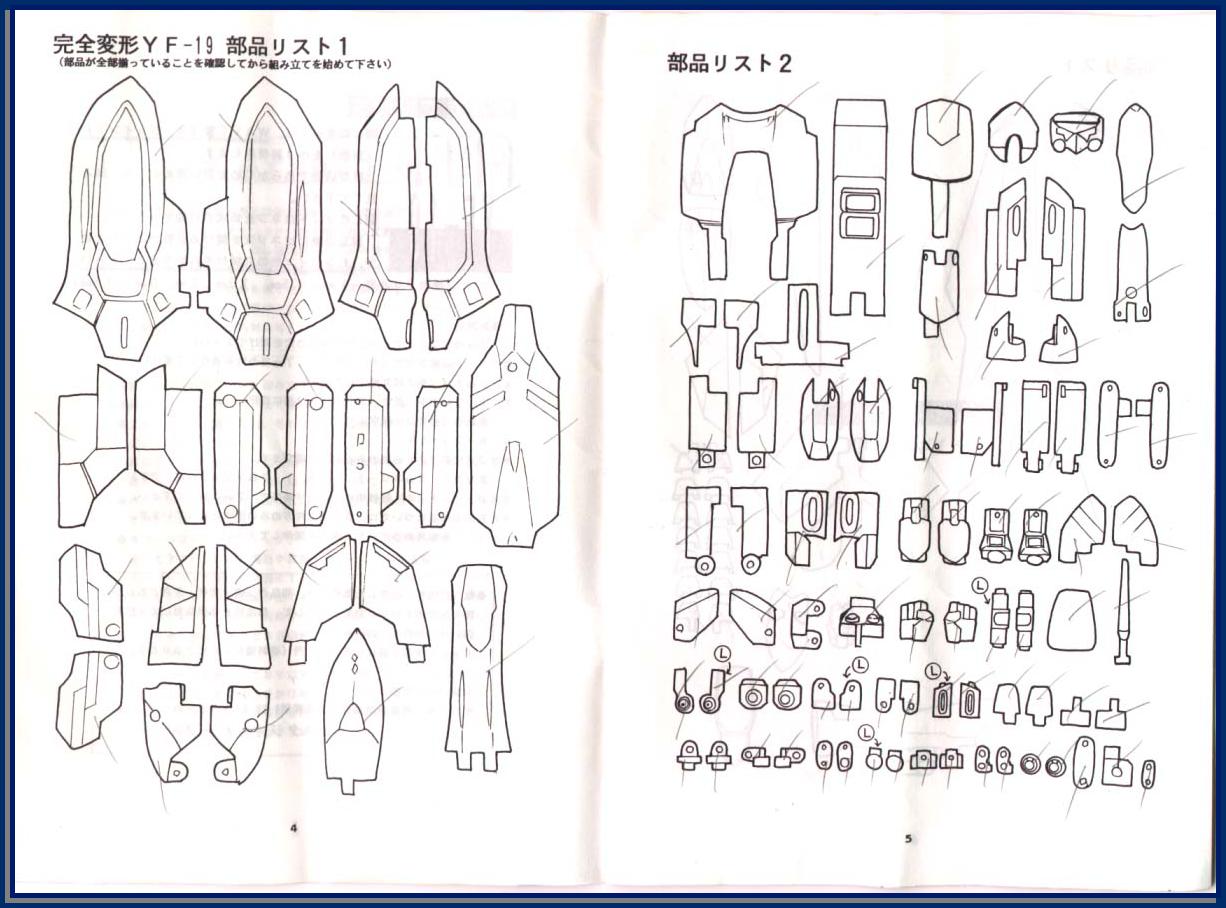
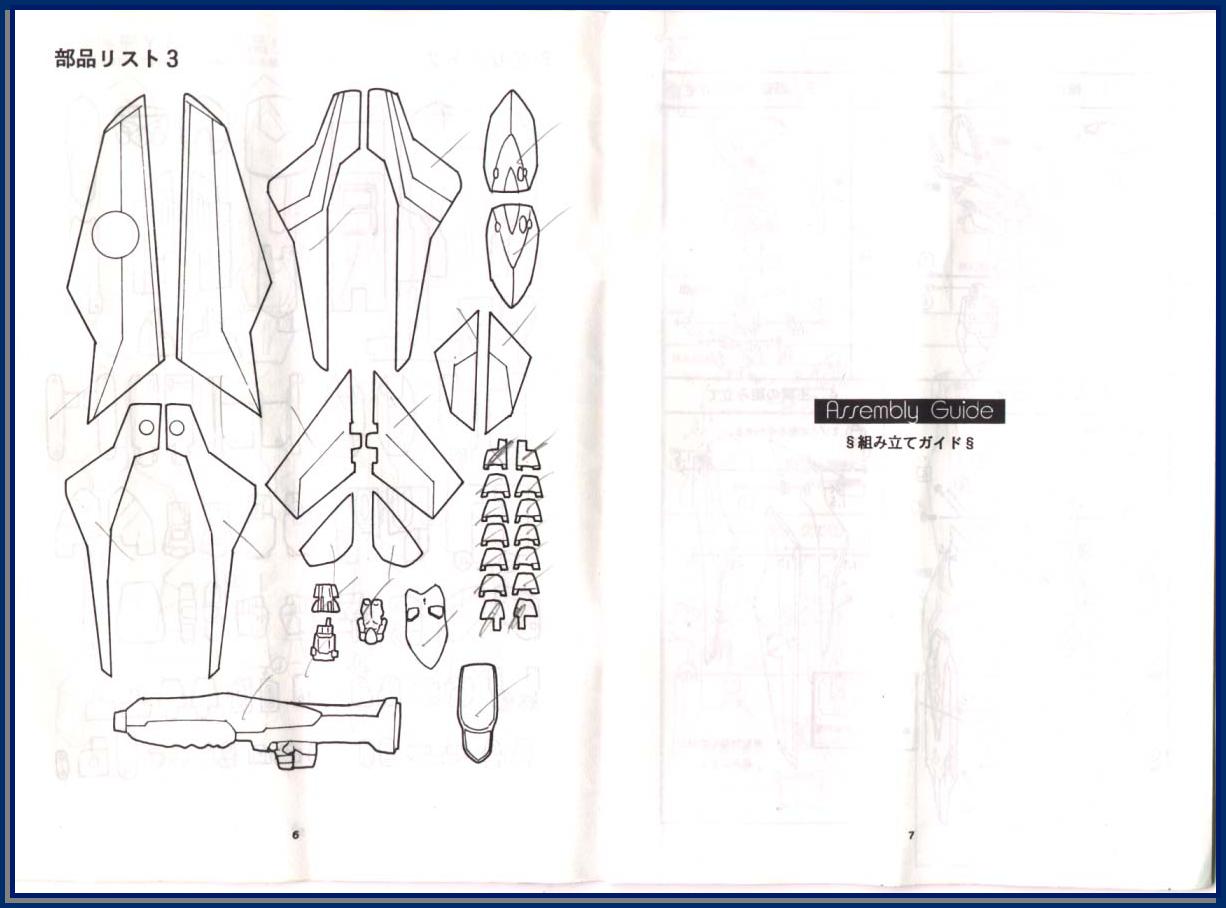
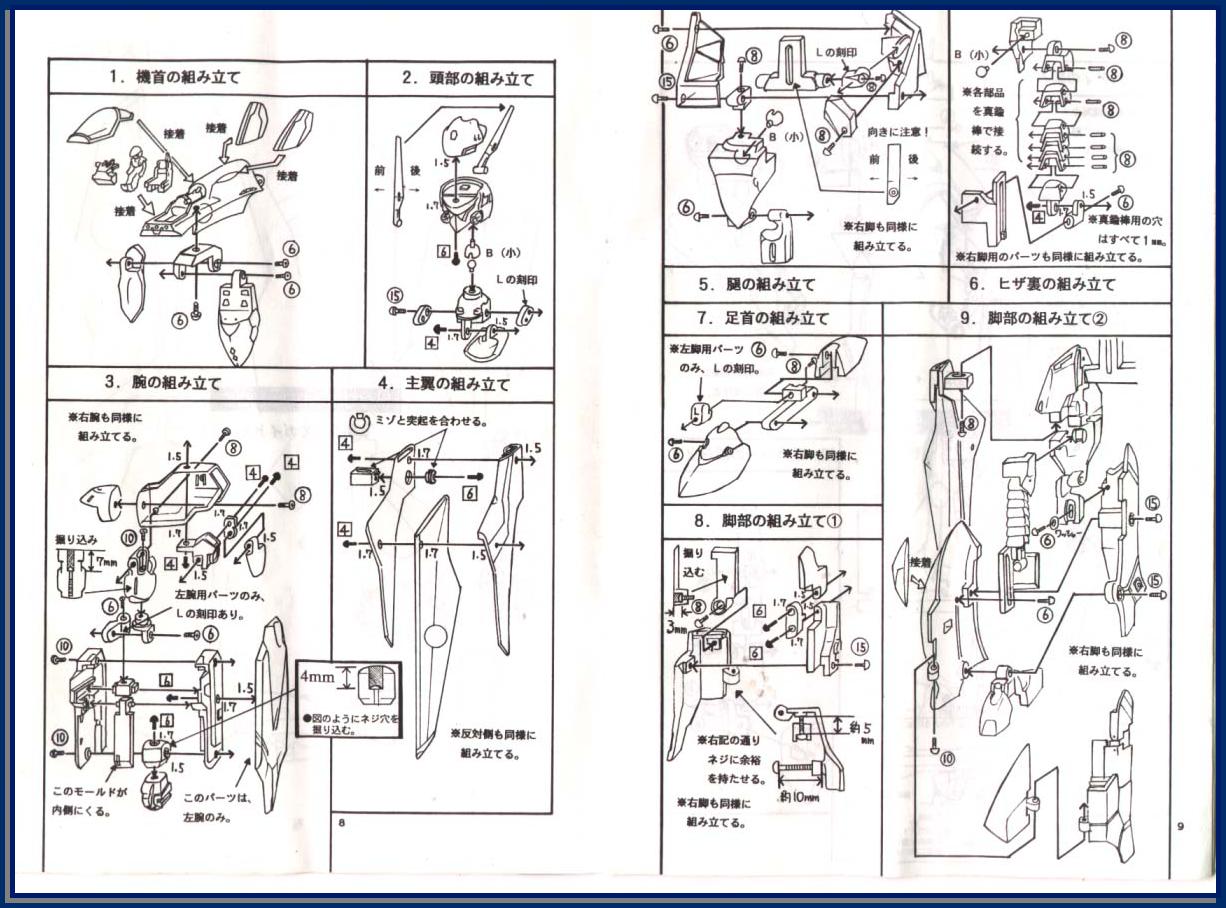
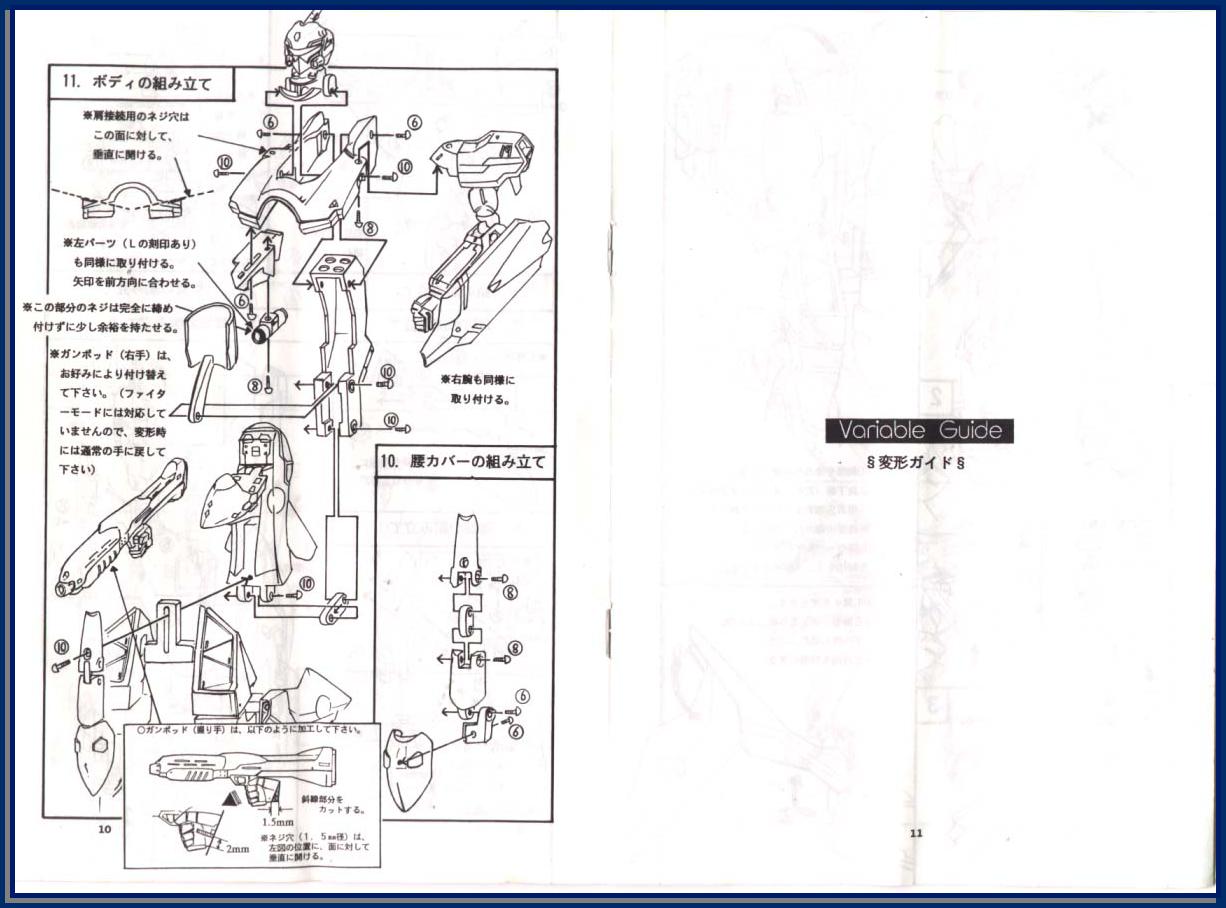
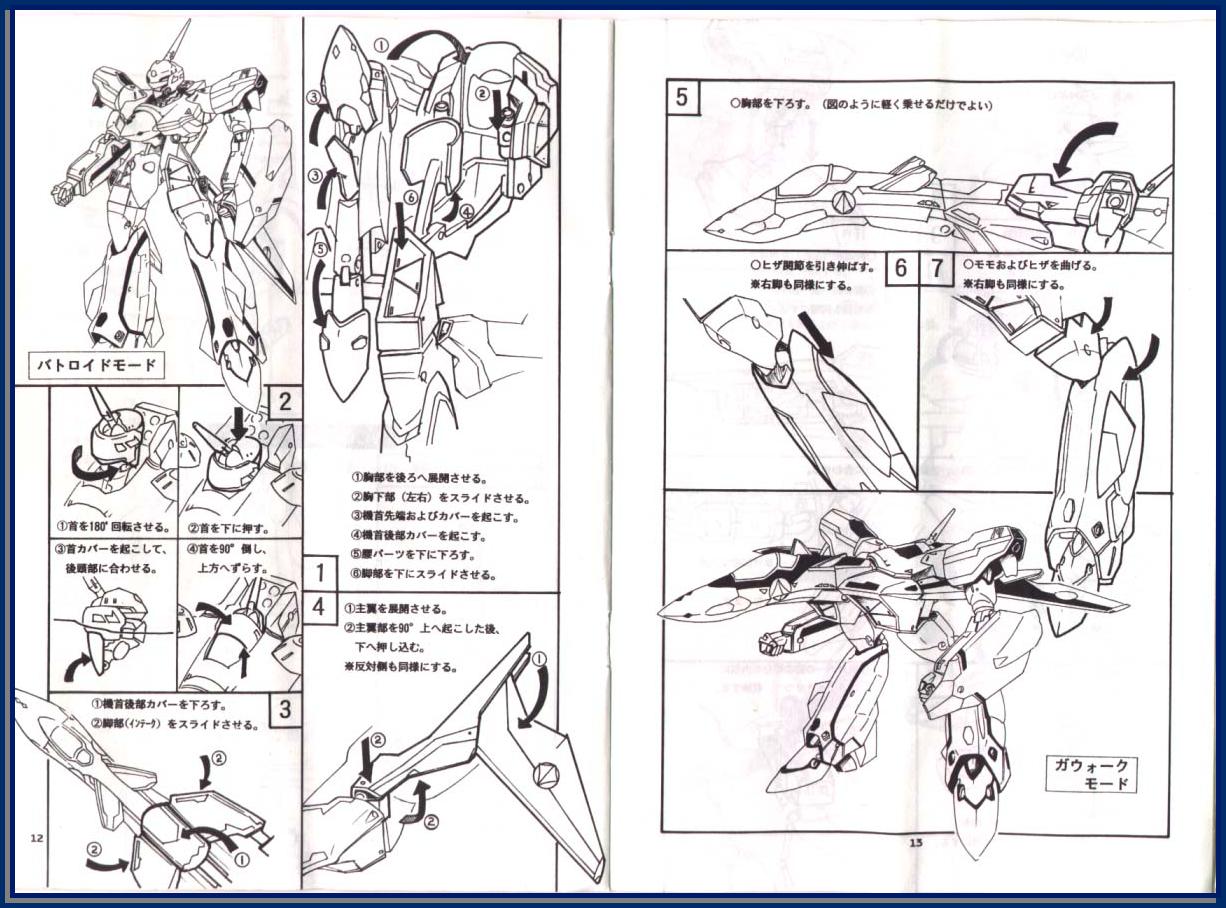
INSTRUCTIONS
.
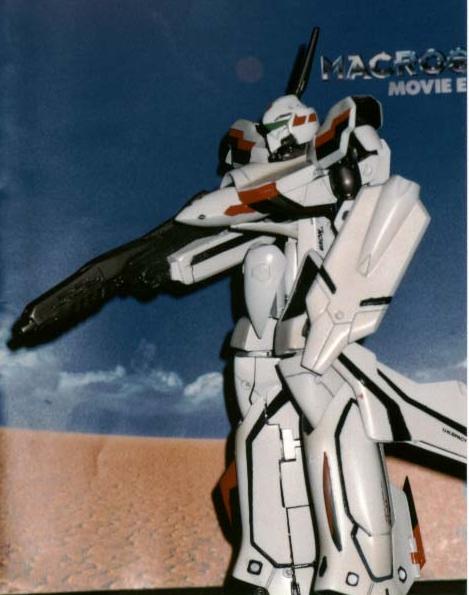
COMPLETED PICTURES
Back to Top
Back to Studio Half Eye Main Page