Search the Community
Showing results for tags 'vernier'.
Found 1 result
-
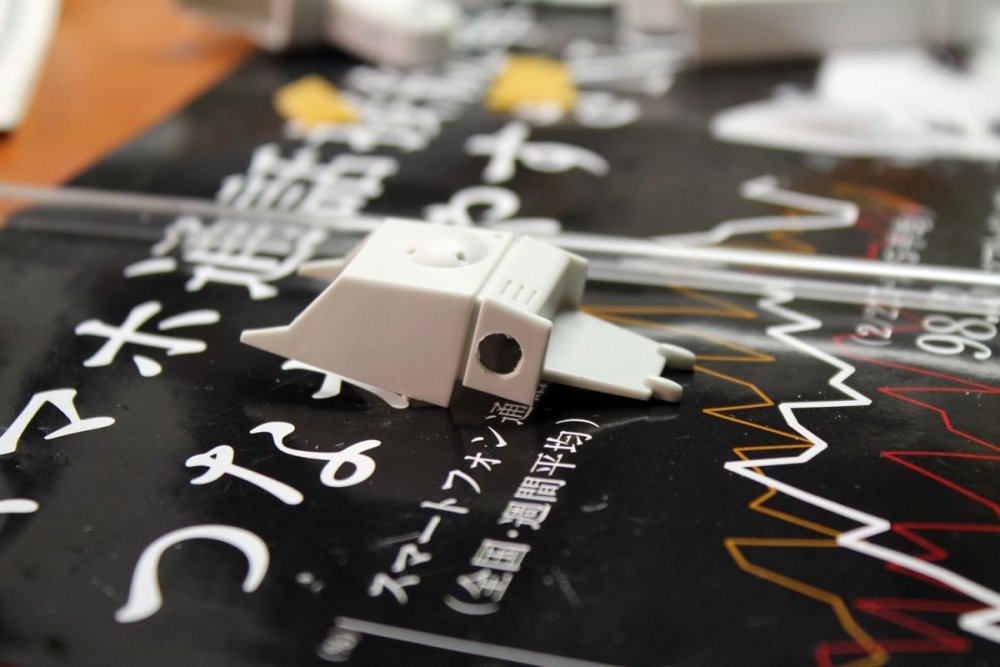
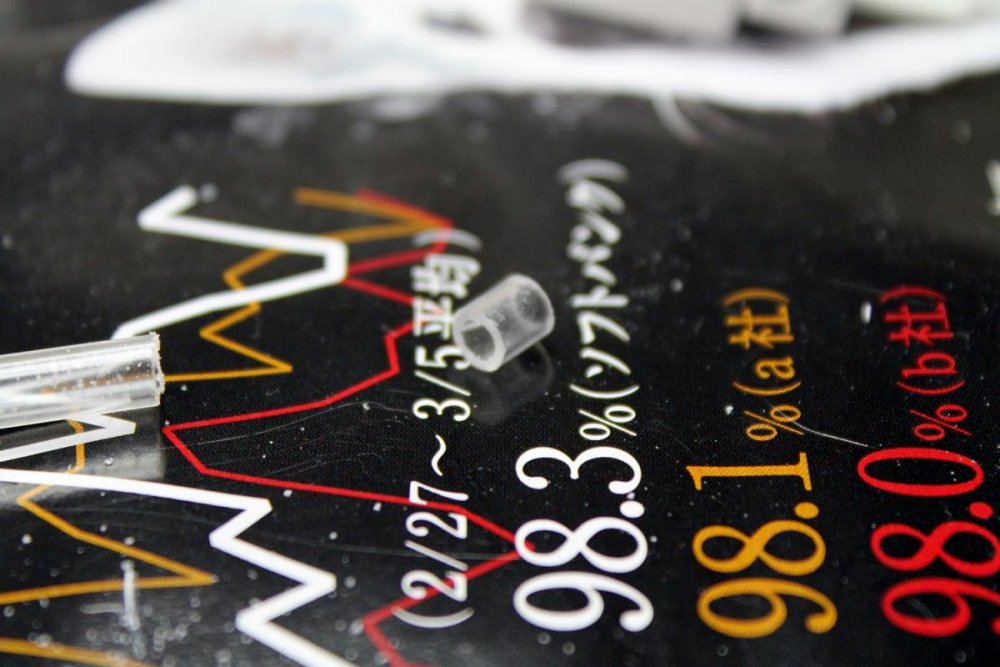
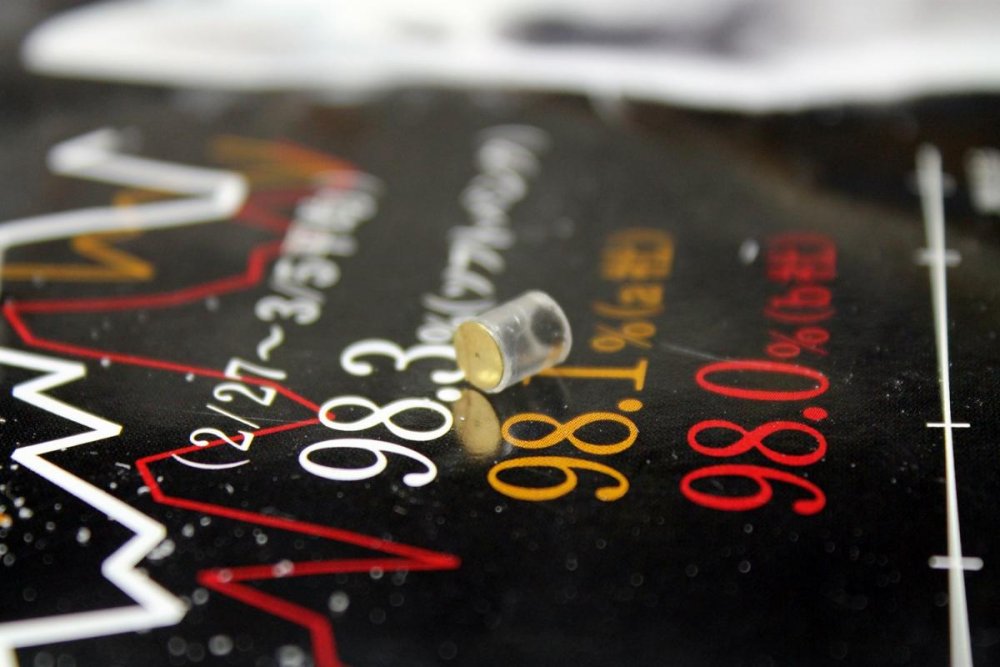
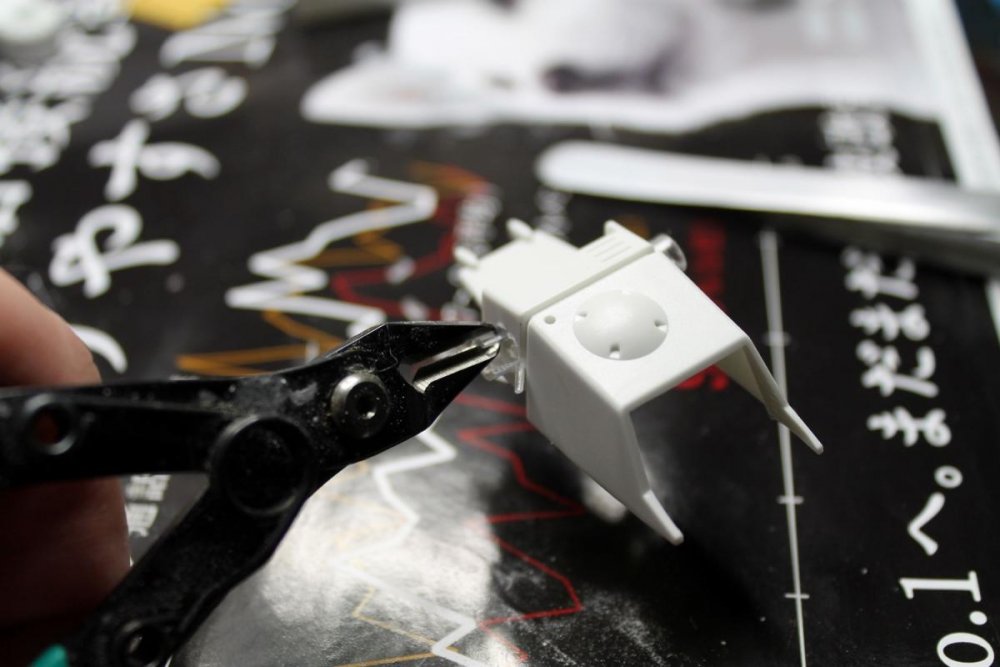
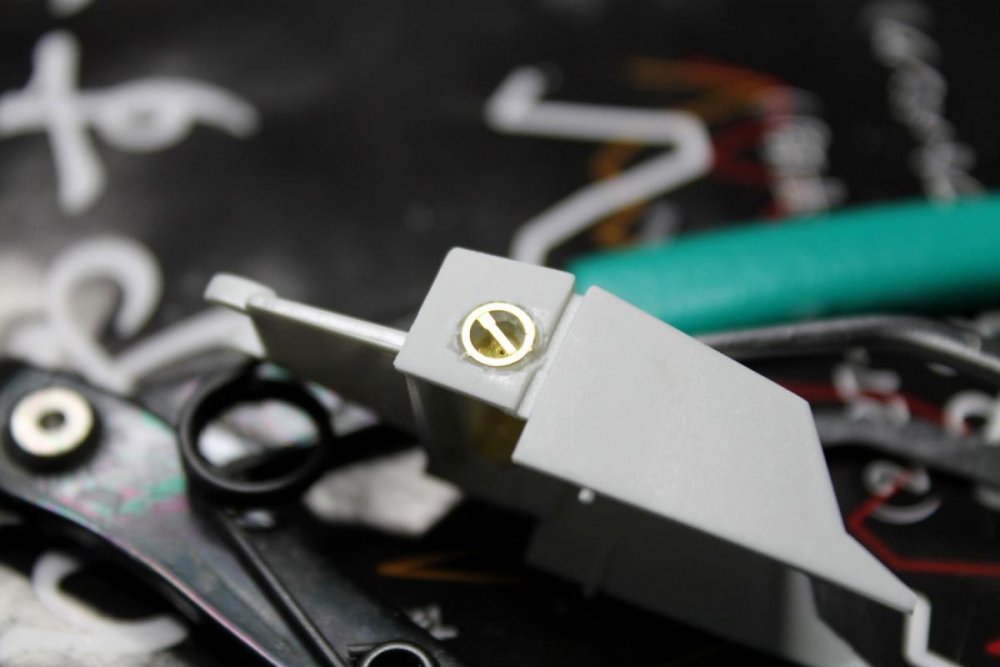
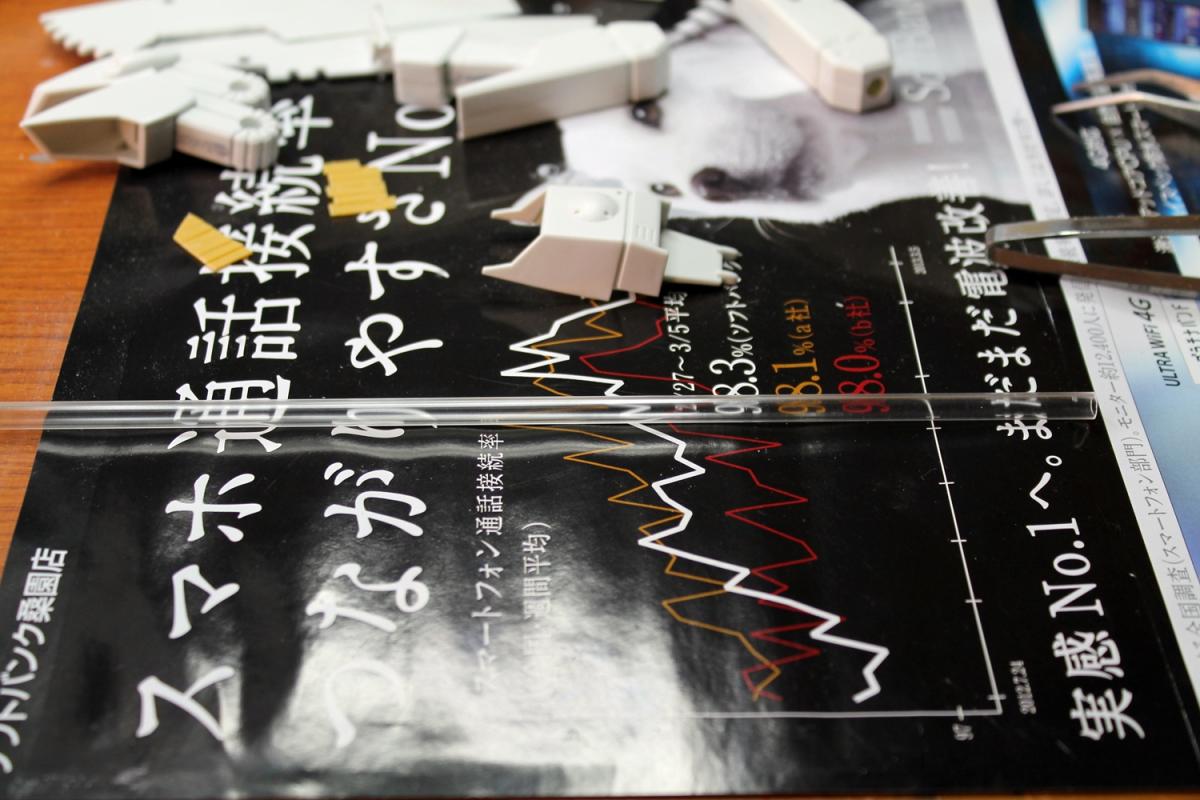
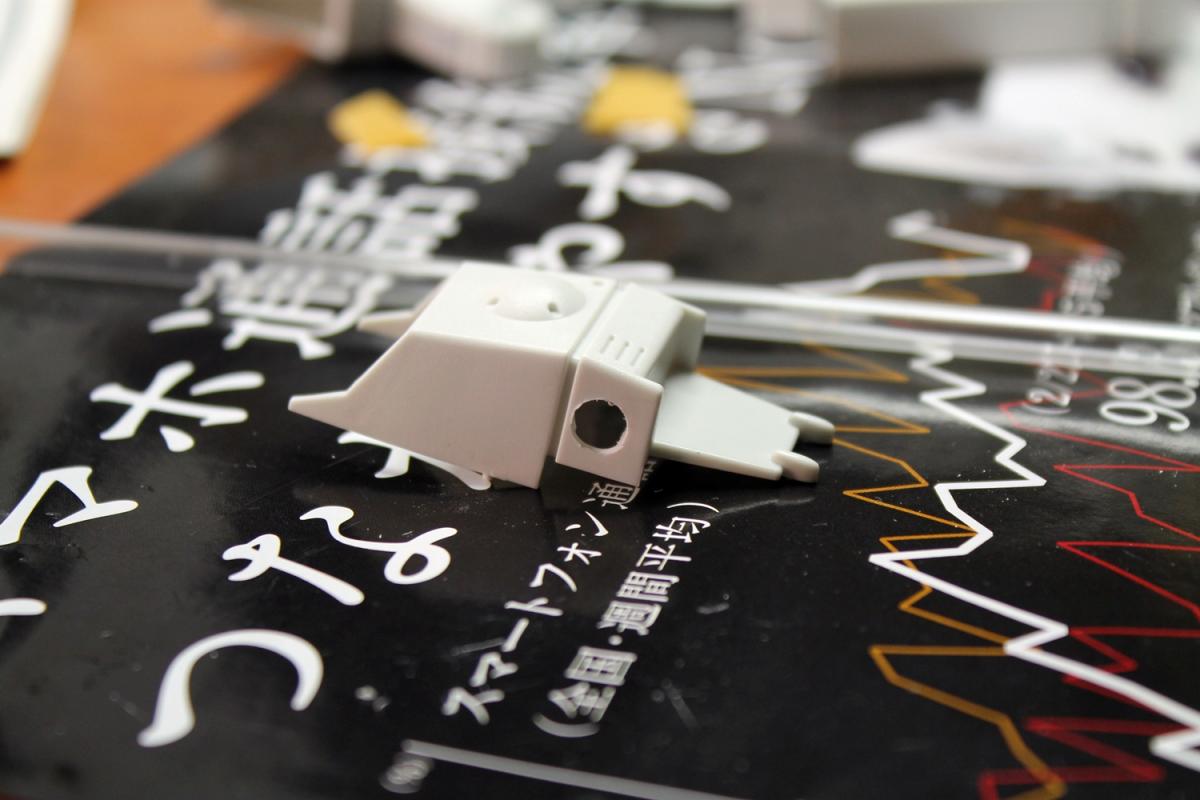
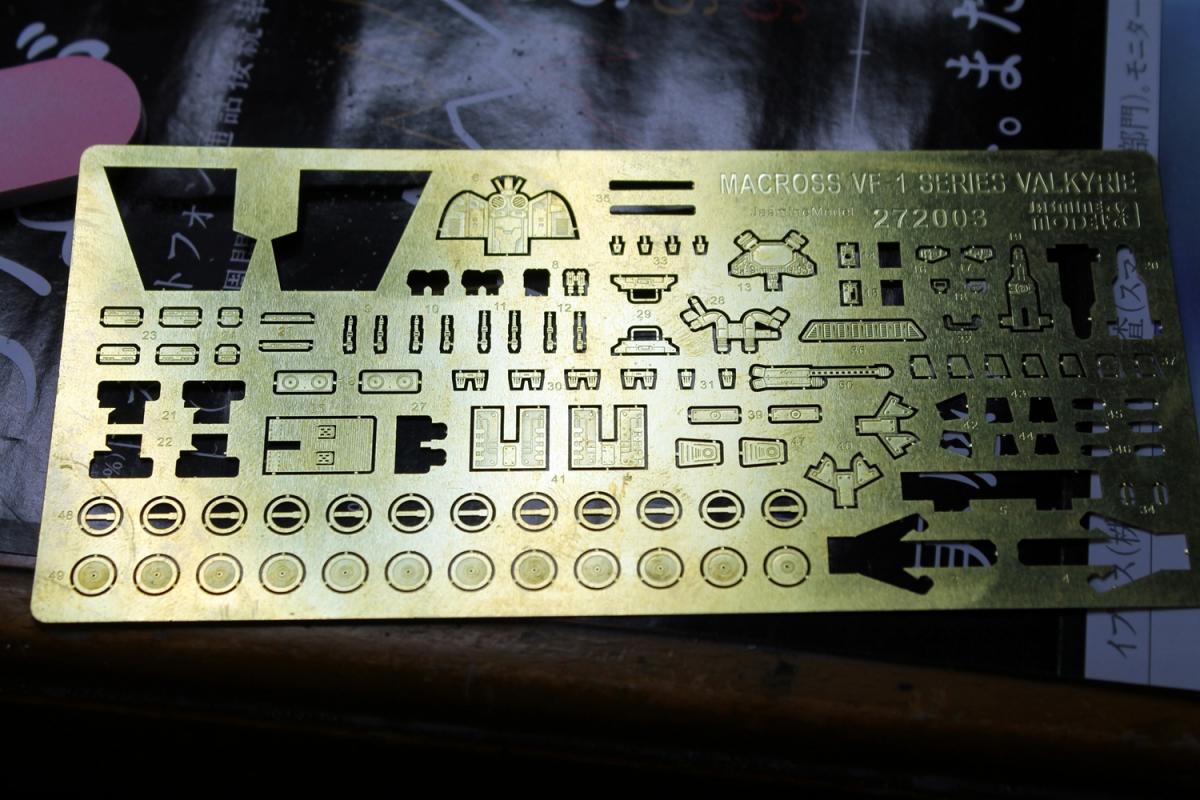
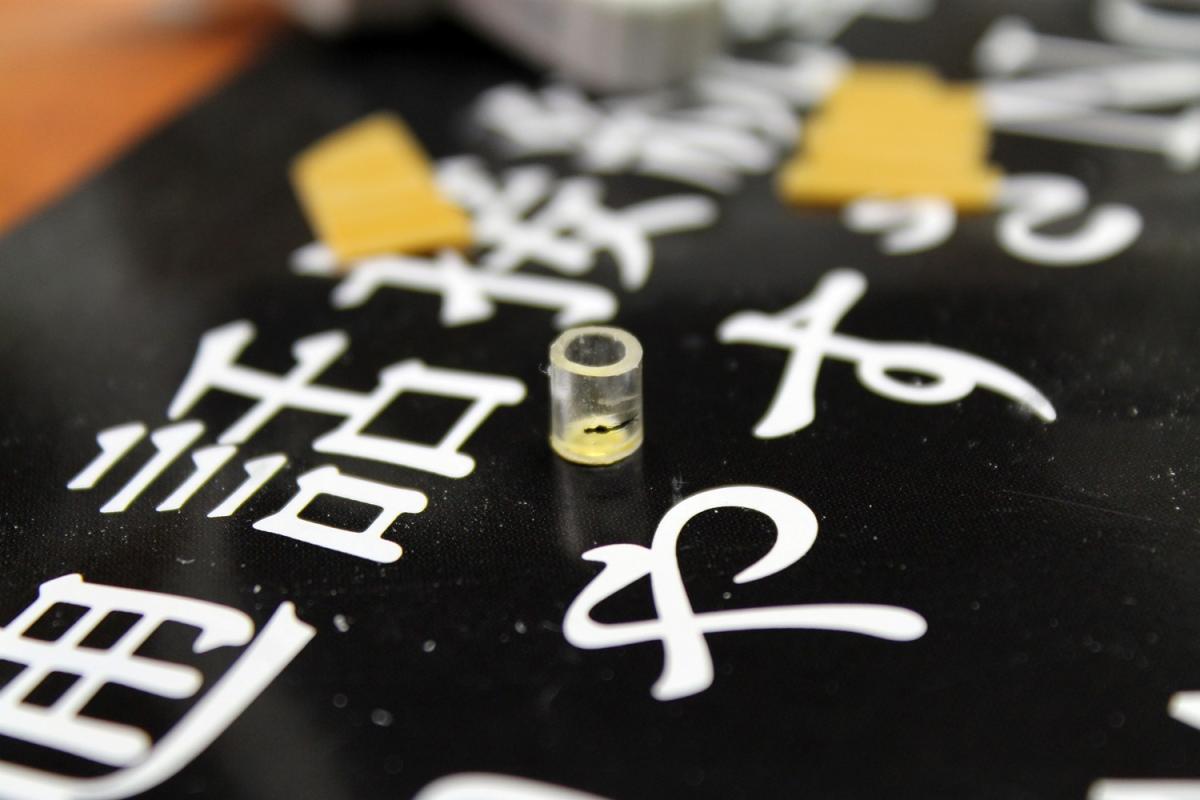
Some of you (hopefully) noticed that I recently got the book VF Modeling Manual. In there, they give a description on how to do a recessed vernier for your 1/72 kit. As I am building an old Imai Gerwalk now, and trying to pep it up a bit, here's what I did to make the vernier. Start by getting yourself some 5 mm plastic pipe. I'm using Tamiya. No special reason for it being clear, that's just what the hobby shop happened to have in stock. Next, take the part you want, and drill a 5 mm hole (obviously, on the Hasegawa kits, just remove the original casted vernier area. Cut a small piece of the rod. I did around 4 mm long. Then, smooth out the rough edge. Now, here is where I'm deviating from the Modeling Manual plans, since I've got some extra parts from Jasmine Models lovely VF-1 PE set. I'm using the round pieces in the lower left. Glue the round piece onto one end of the short tube. Draw a mark on the tube for how far you want to insert it into your kit. You only want to go 2 mm or so. Put it, and glue it. Once the glue has set, trim off the excess, and sand it flat. Put on the top piece, and you're finished! (actually, wait to do this until you've primed and painted. much easier to get the inside black with no cover) Now, if you don't have the PE set, use a small disk of plaplate (5 mm, natch), and a small strip over the top of it. You'll also want to get a circle scribing template (probably around 6 mm) to go around the outside of the hole.