Search the Community
Showing results for tags 'Hasegawa'.
-
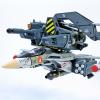
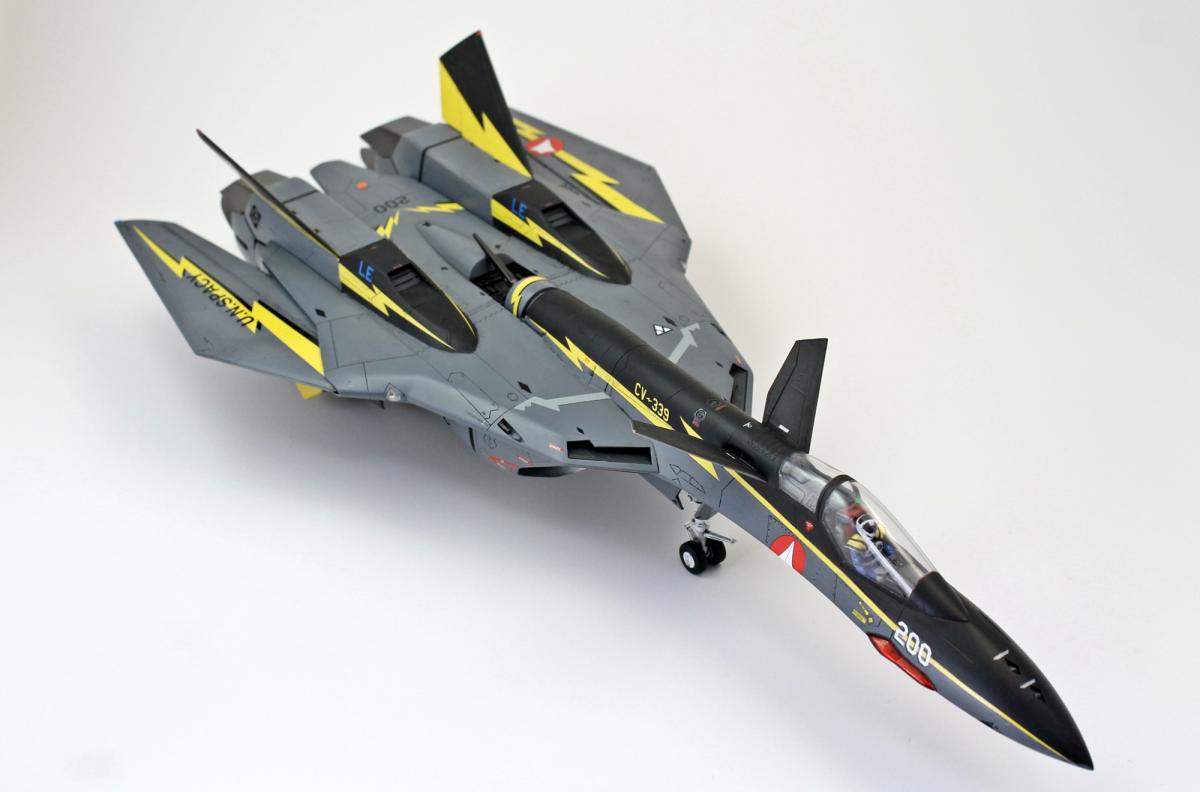
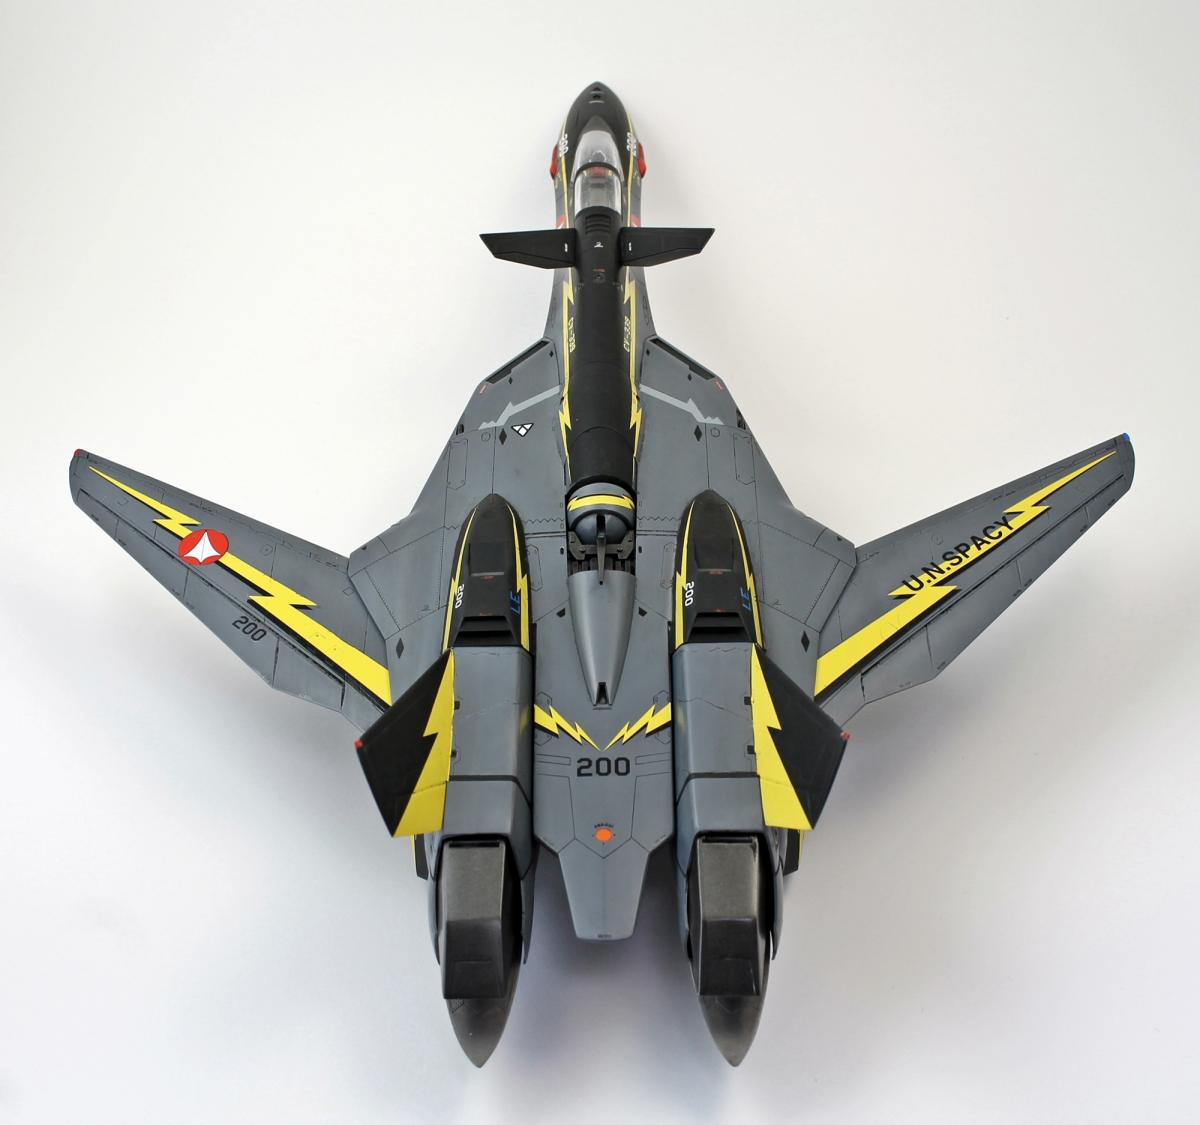
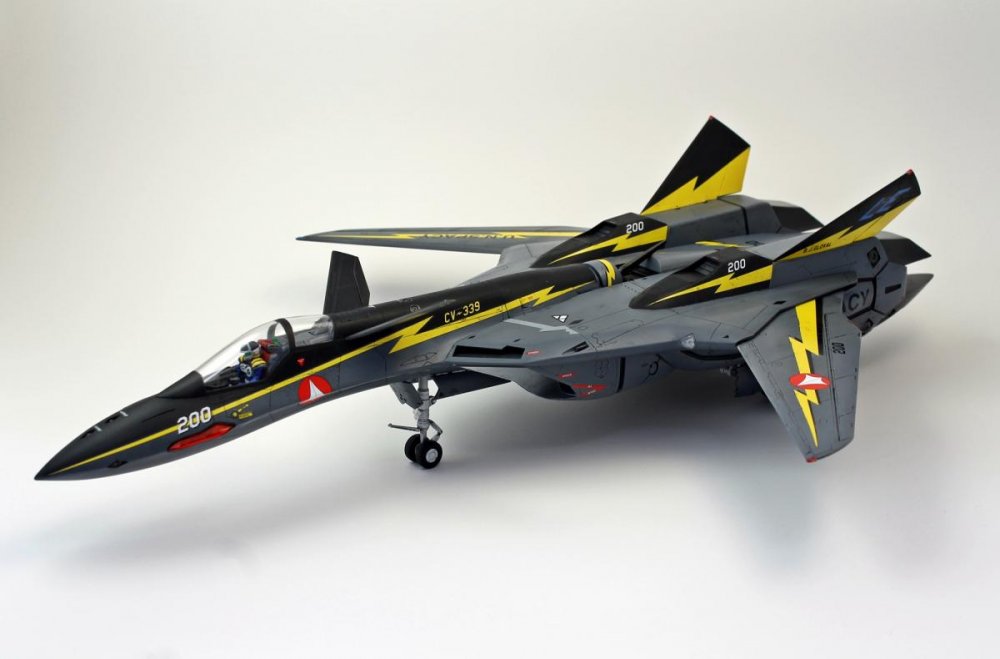
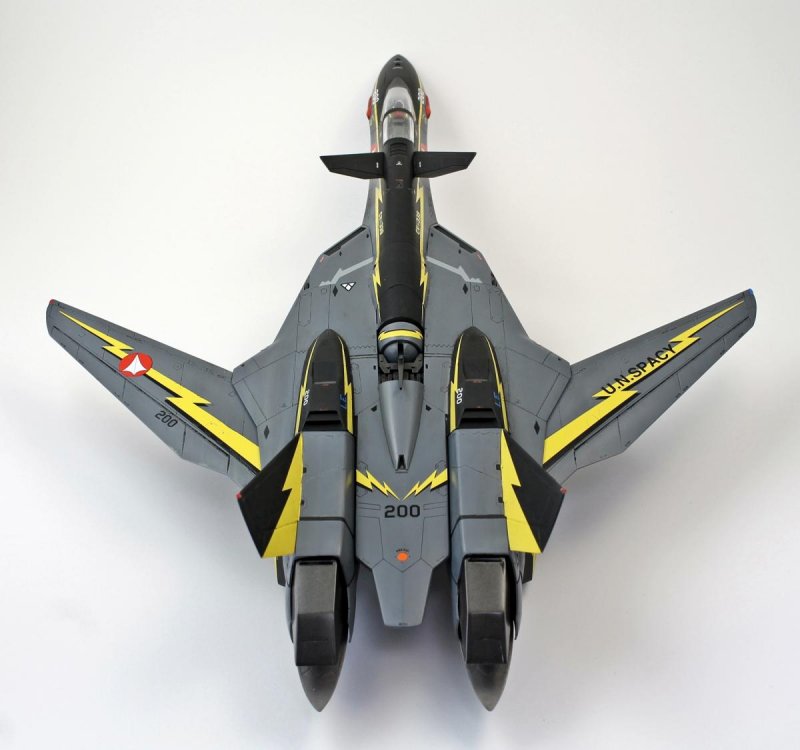
Finally finished! The 1/48 scale VF-19A Excalibur "SVF-569 Lightnings" kit from Hasegawa. I went with a darker shade of gray, mainly because when I went to the hobby shop to buy the paint, they were out of the correct shade. The original color was for various F-16's, and this shade is too, so no complaints. I think the darker shade looks nice, anyways. The biggest challenge was masking off the area between the black and gray, while keeping the line for the lightning bolt decal. Easy solution- make a photocopy of the decal sheet, lay down a long strip of tape, and cut out the decal with a razor while on the tape. Now you've got a masking template. As always, you can see more here.


-
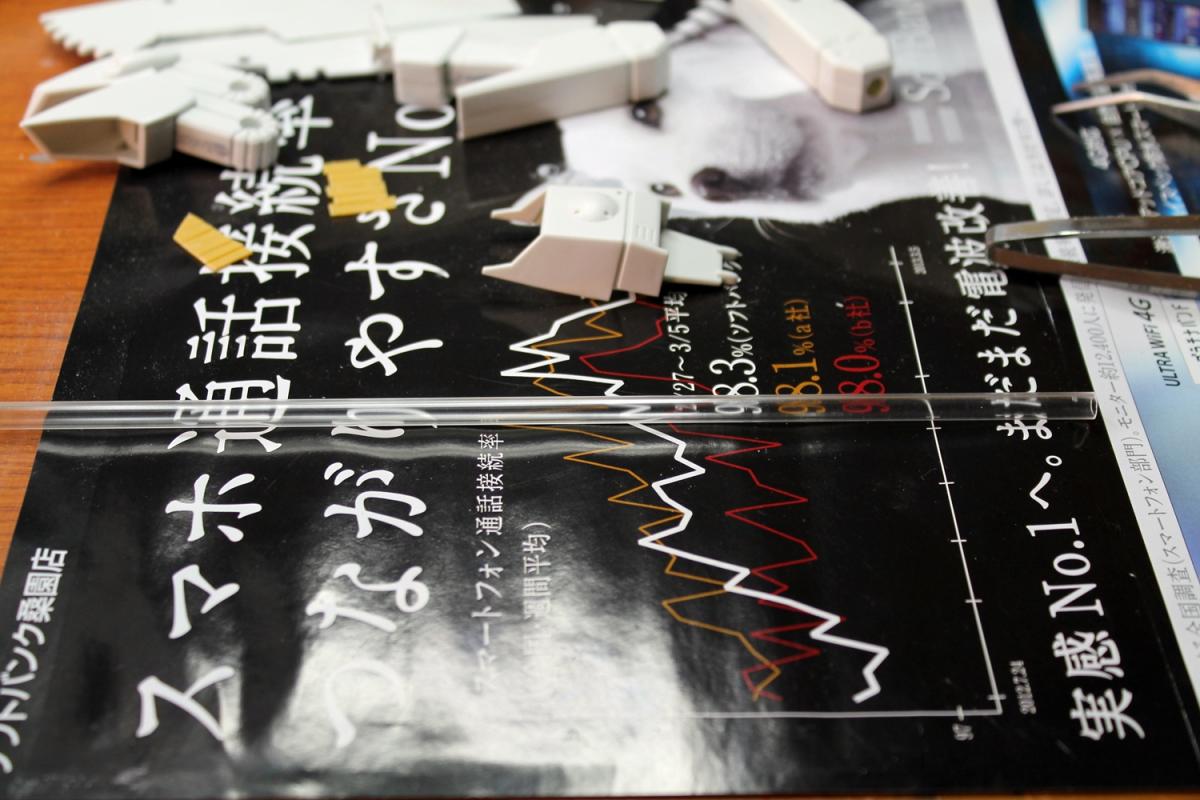
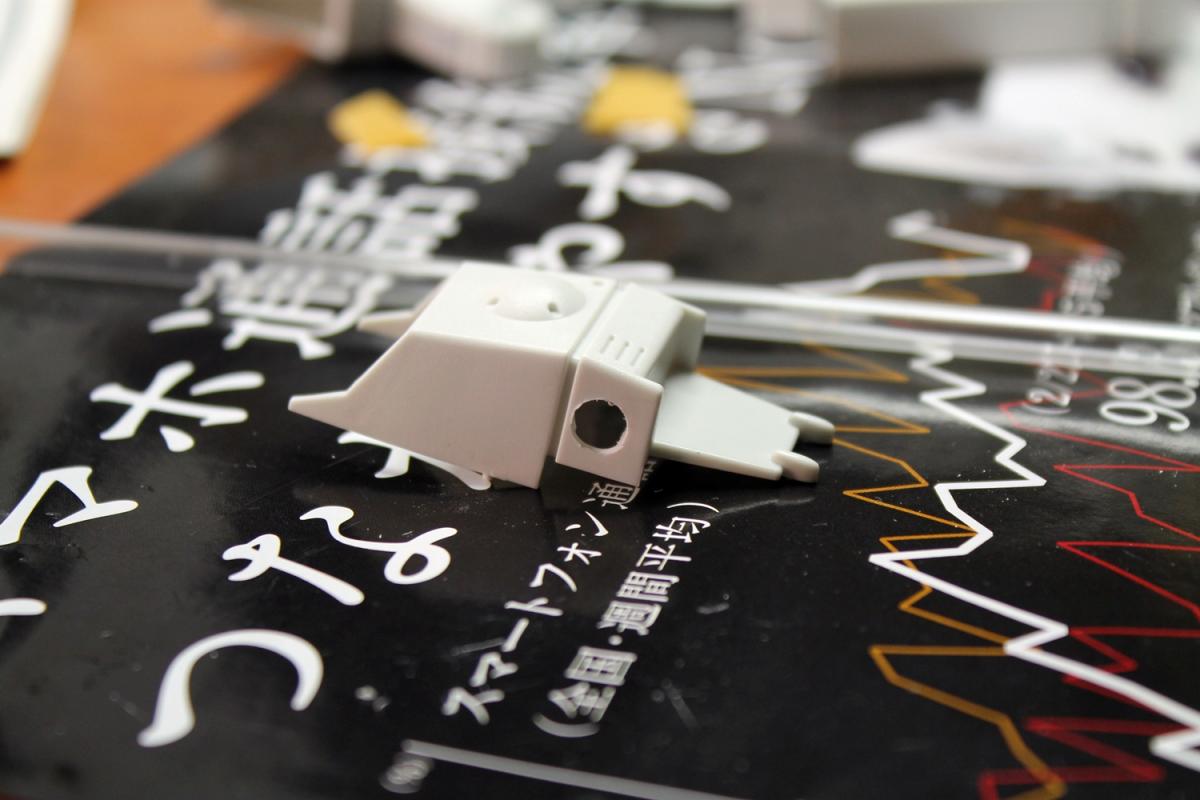
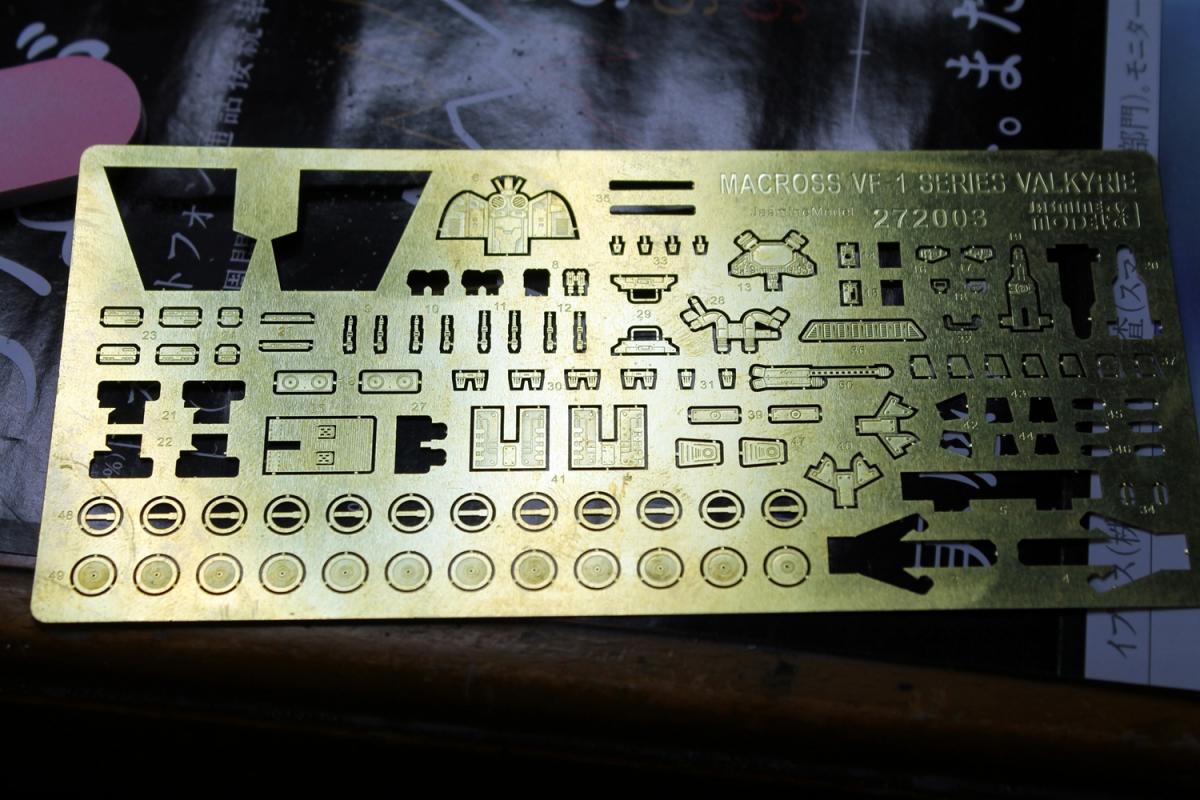
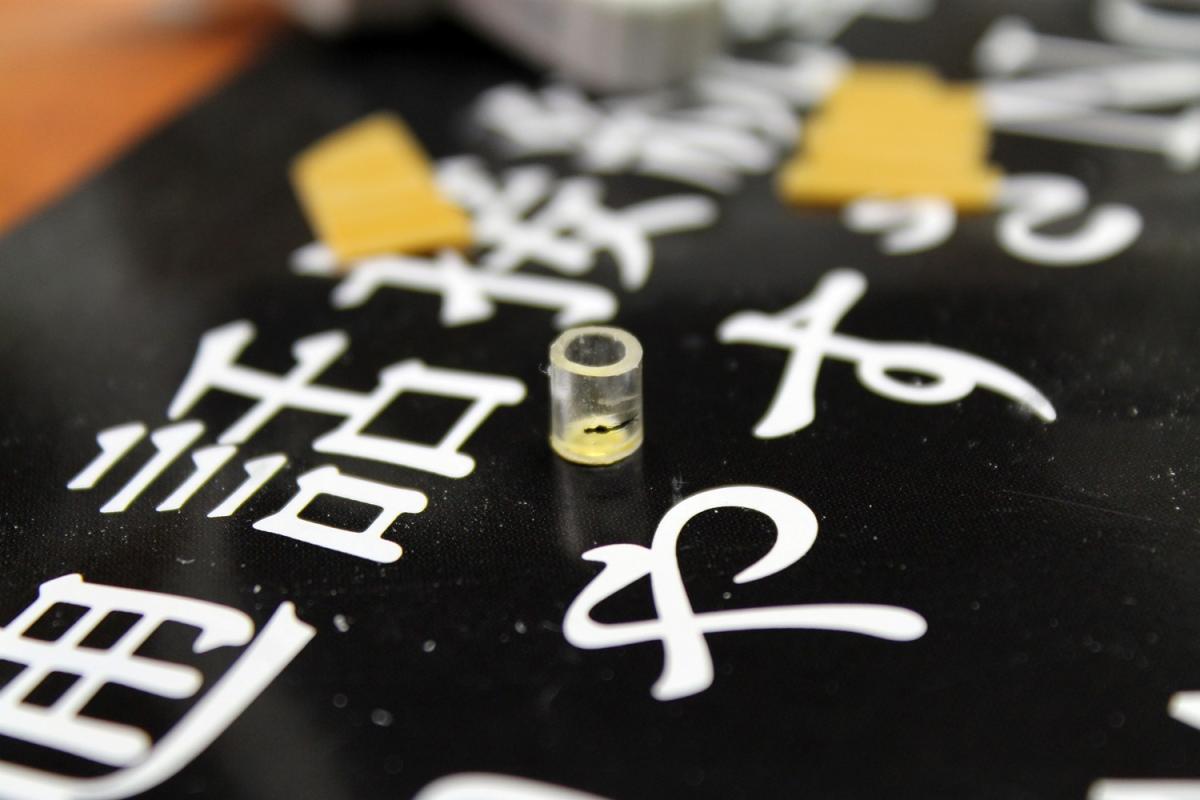
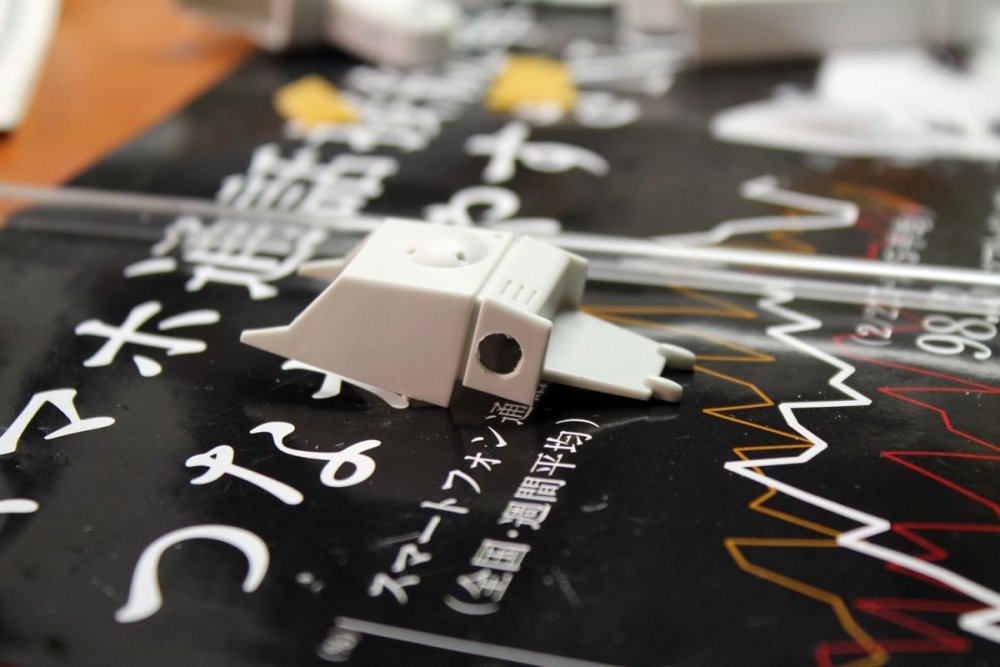
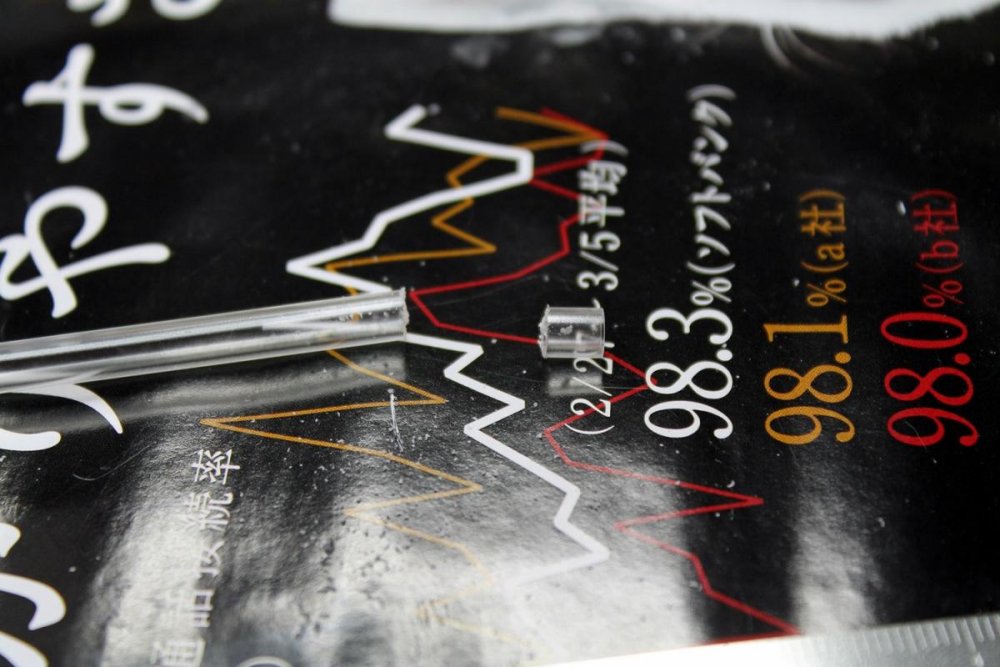
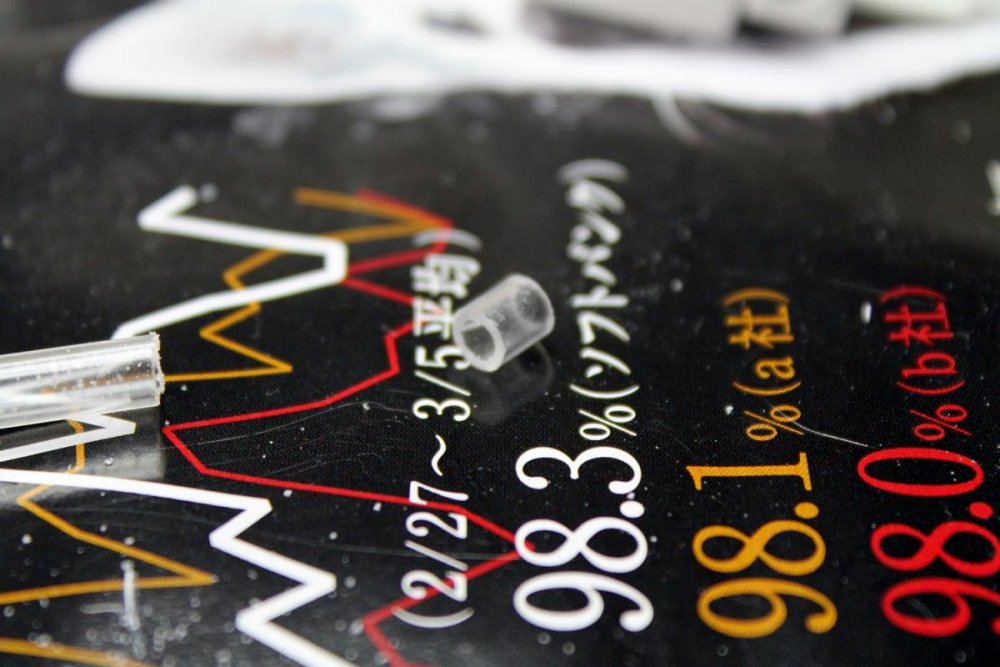
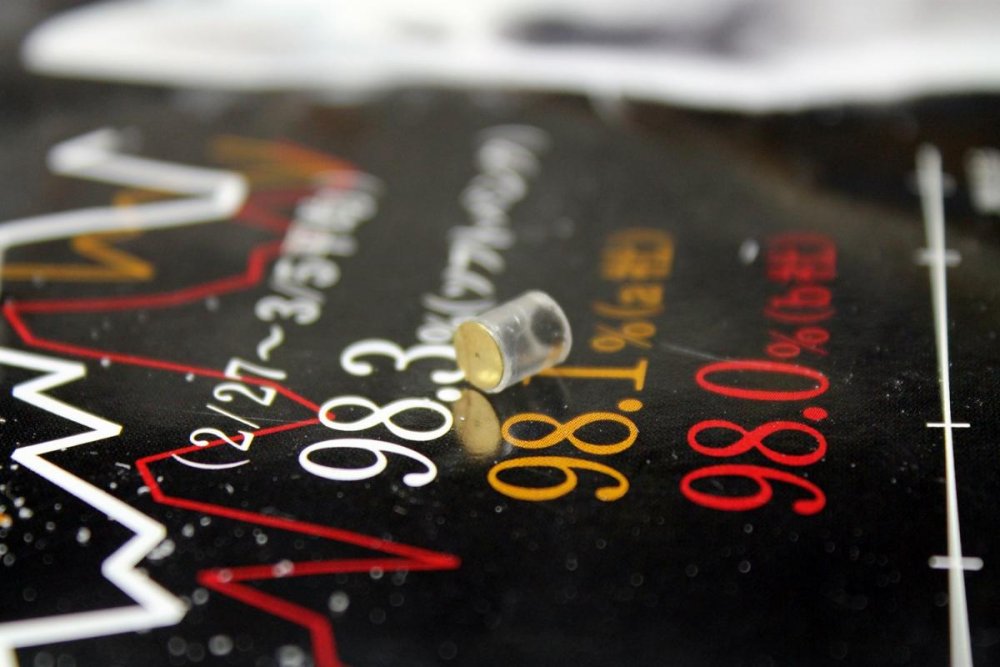
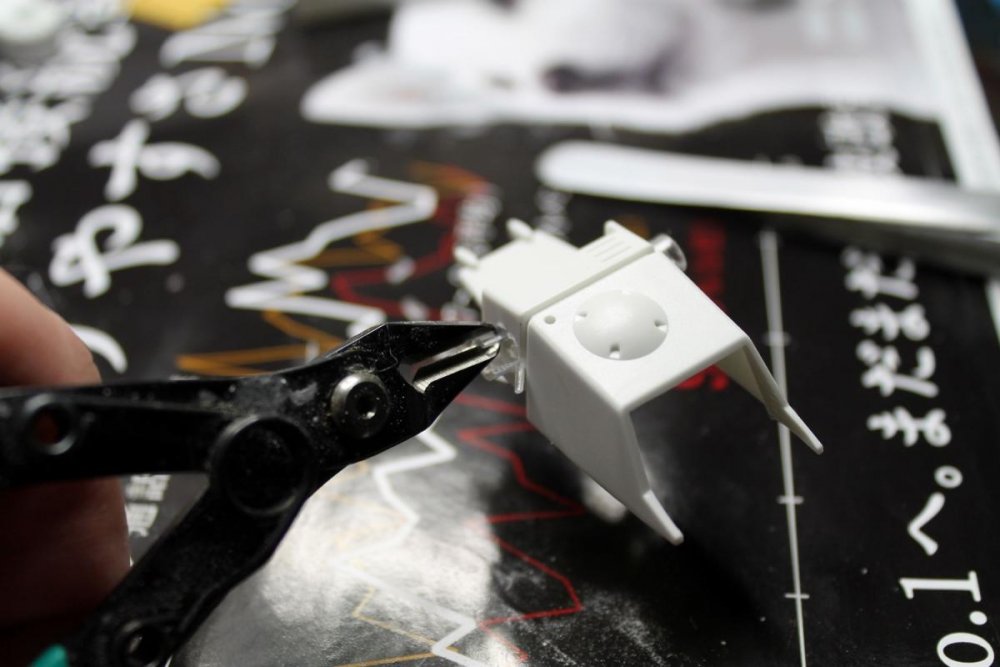
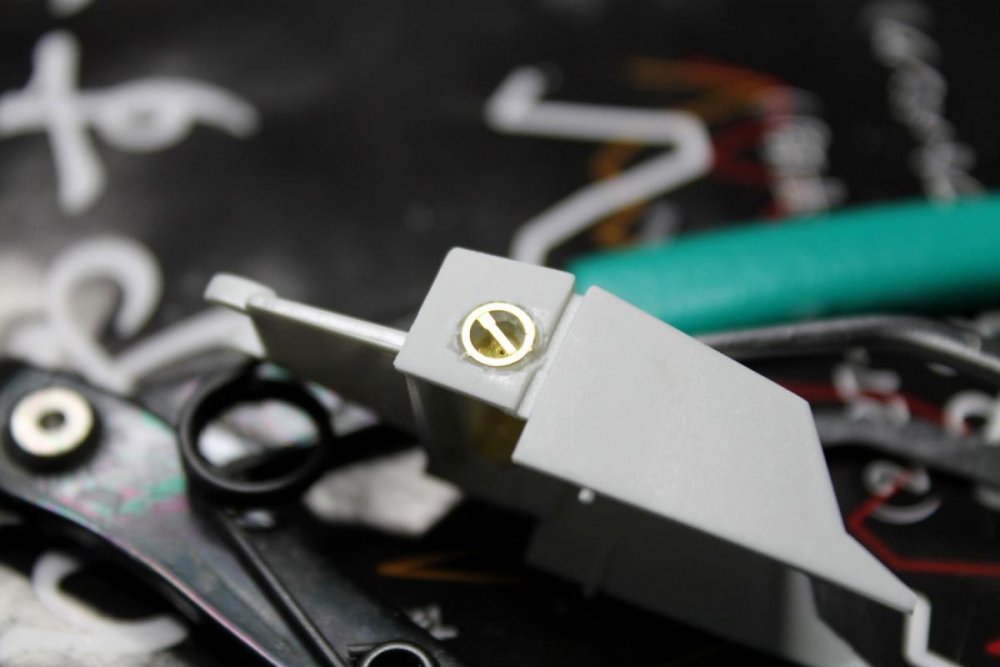
Some of you (hopefully) noticed that I recently got the book VF Modeling Manual. In there, they give a description on how to do a recessed vernier for your 1/72 kit. As I am building an old Imai Gerwalk now, and trying to pep it up a bit, here's what I did to make the vernier. Start by getting yourself some 5 mm plastic pipe. I'm using Tamiya. No special reason for it being clear, that's just what the hobby shop happened to have in stock. Next, take the part you want, and drill a 5 mm hole (obviously, on the Hasegawa kits, just remove the original casted vernier area. Cut a small piece of the rod. I did around 4 mm long. Then, smooth out the rough edge. Now, here is where I'm deviating from the Modeling Manual plans, since I've got some extra parts from Jasmine Models lovely VF-1 PE set. I'm using the round pieces in the lower left. Glue the round piece onto one end of the short tube. Draw a mark on the tube for how far you want to insert it into your kit. You only want to go 2 mm or so. Put it, and glue it. Once the glue has set, trim off the excess, and sand it flat. Put on the top piece, and you're finished! (actually, wait to do this until you've primed and painted. much easier to get the inside black with no cover) Now, if you don't have the PE set, use a small disk of plaplate (5 mm, natch), and a small strip over the top of it. You'll also want to get a circle scribing template (probably around 6 mm) to go around the outside of the hole.


-
Finally finished another one! 1/72 scale Strike Battroid from Hasegawa. Pretty much a straight OOBB. Went with the Hikaru version, since my regular VF-1S Battroid is Roy's. Few more shots can been seen at the regular place.
-
Looky at what I just pre-ordered!
-
What I was hoping to be the last kit completed in 2012 actually turned in into the first kit for 2013. Oh well! Pretty much a straight forward build. Used pilots from the weapons set, and a Jasmine Models PE set. And as an added bonus, 98% of the Macross kits I've completed so far.

-
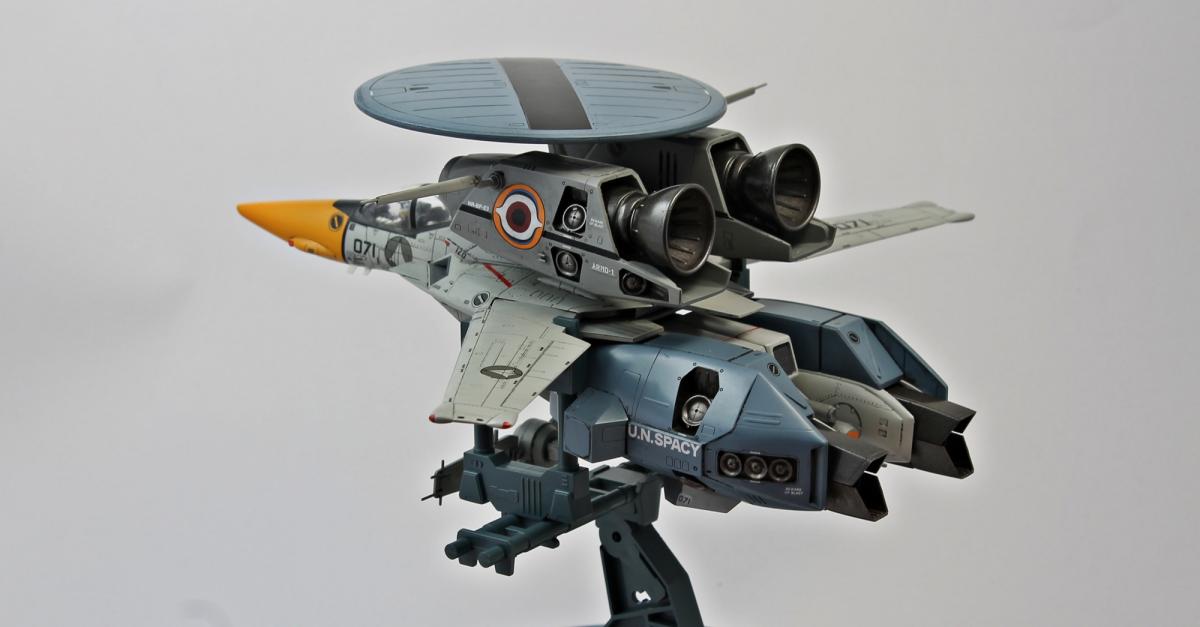
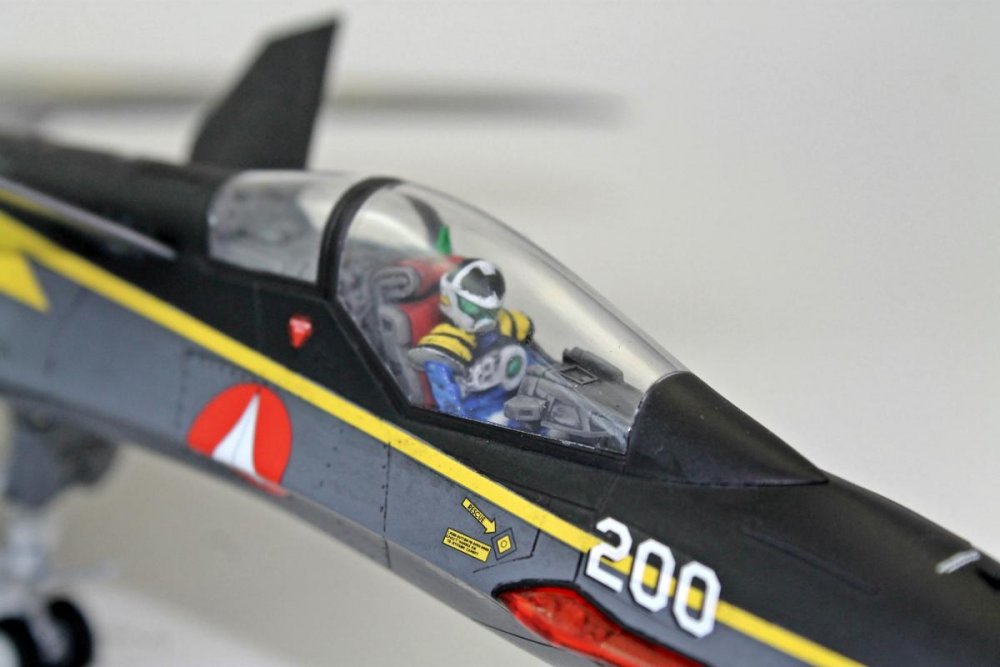
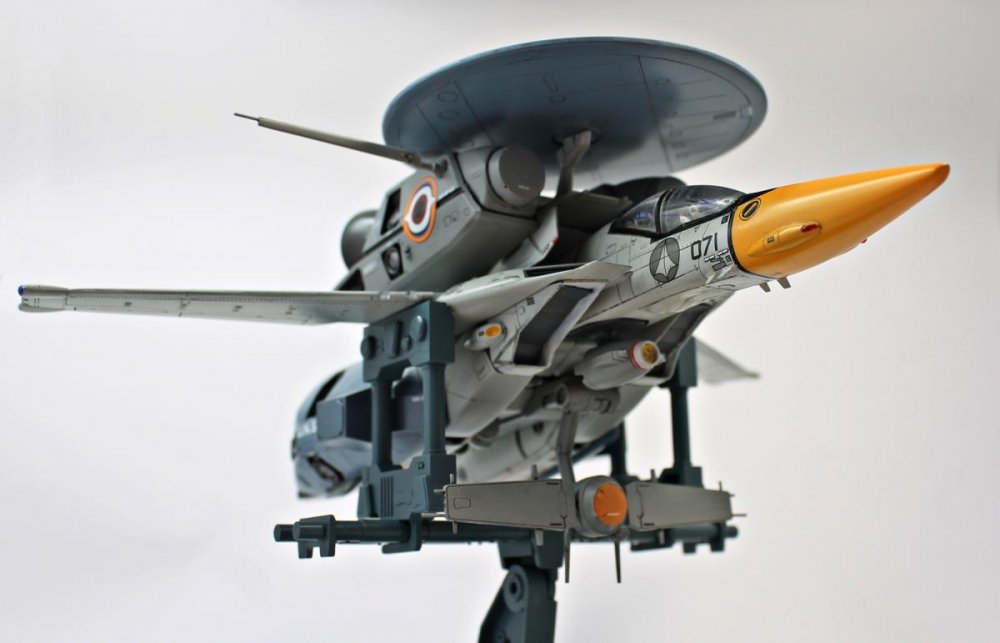
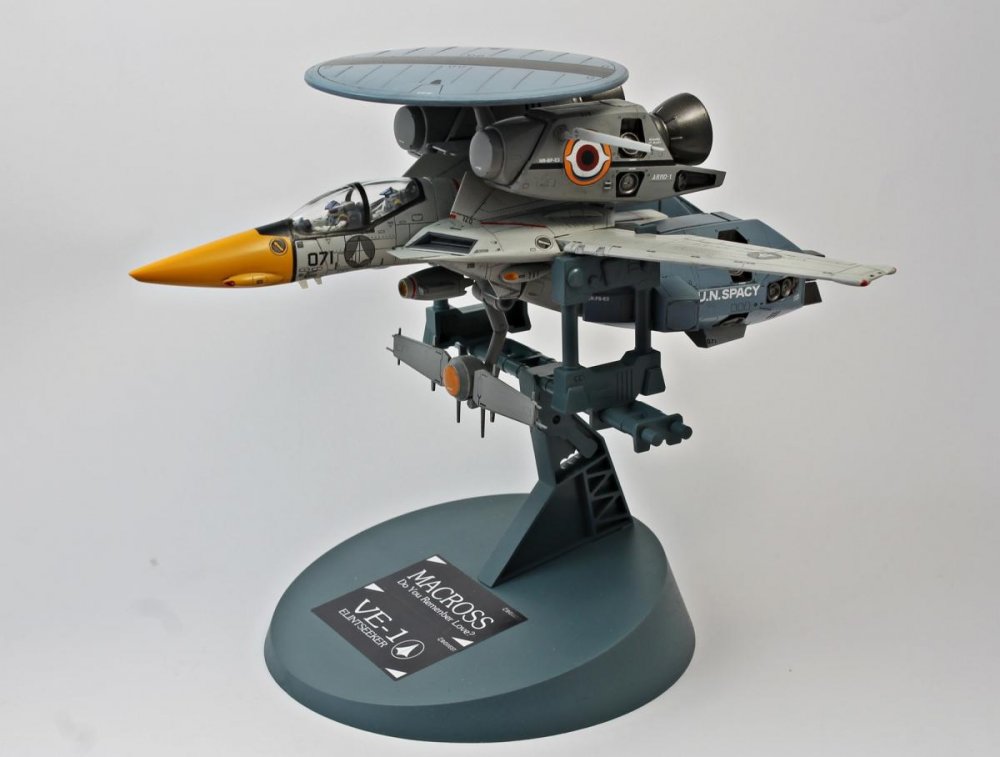
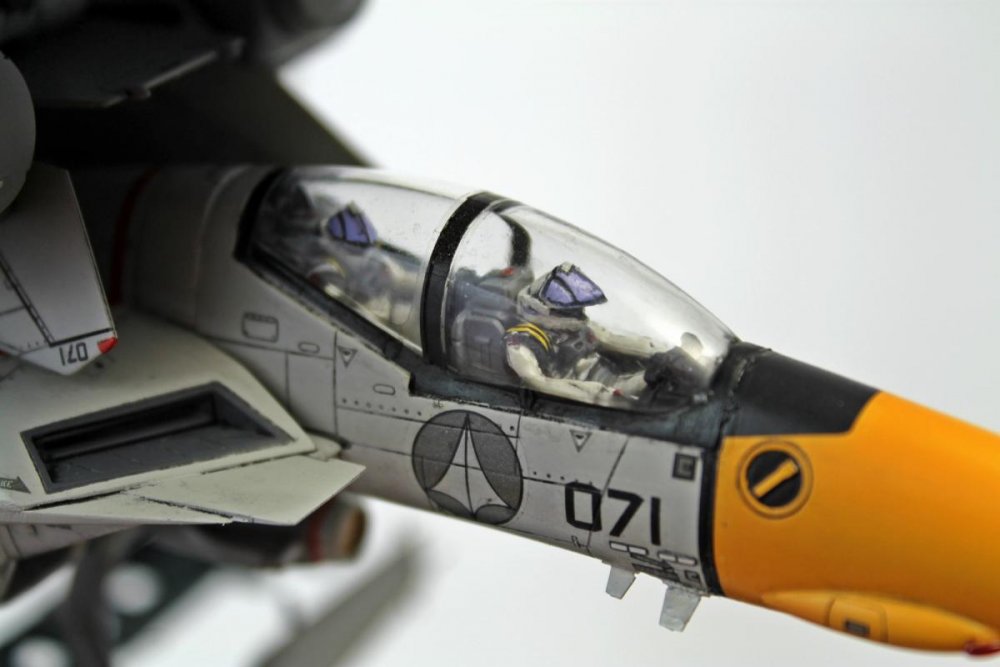
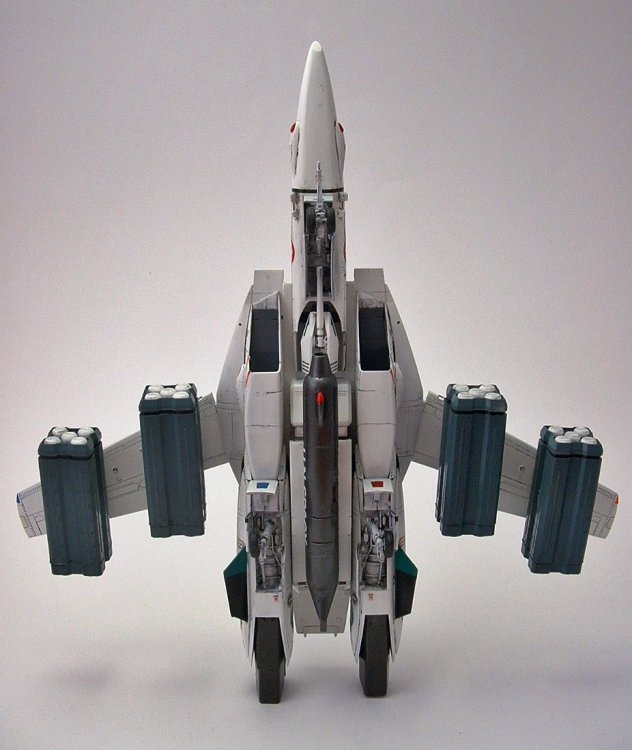
Here is my latest completed work. Hasegawa's 1/72 VF-11B Thunderbolt from Macross Plus. Cockpit Detail: And with this kit finished, I have finally completed my Macross Plus collection!
-
I started posting my work in progress here in 2011 but I can't even find it any more... I'm going to bring it Macross World Con and hopefully get it signed! I finally finished it after 2 years of on and off work: Follow the link to a bunch of pictures... http://funakatown.co...d-minmay-guard/ At the bottom of that page is a link to the full WIP.
-
hi modellers! Am looking for translated instructions guides in english for hasegawa's 1/72 vf-11b thunderbolt kit. Does anyone has em or came across it? thanks for helping a fellow modeller..
-
So, I'm getting ready to build a 1/72 Hasegawa VF-1J. I'm going to be building it with the canopy open. So, if I want to be "real world" here, should I use the decal for the main display panel so that it looks like the Valk is powered up, or should I leave the screen black, making it look like it's powered down? Thanks for your input! EDIT: I should mention that this will not be part of a diorama or display. I'm only going to have (hopefully-if my modification works out) a pilot figure standing next to it.
-
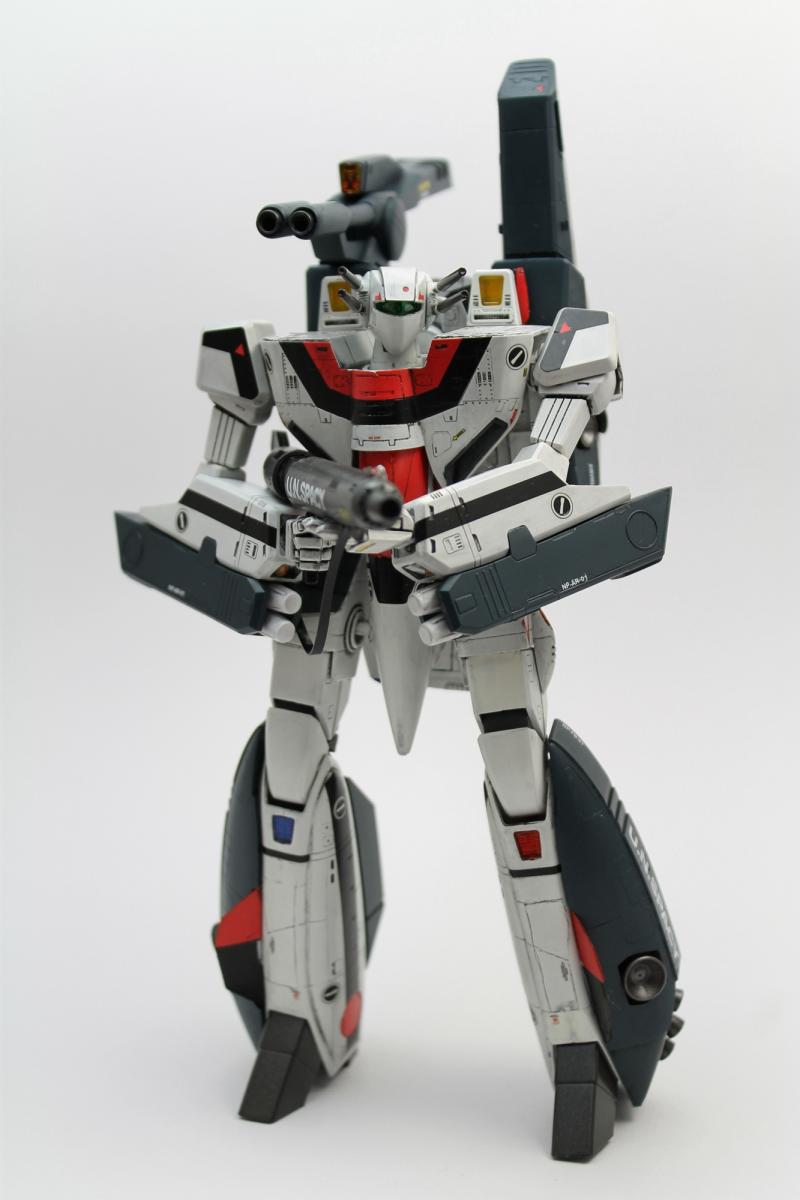
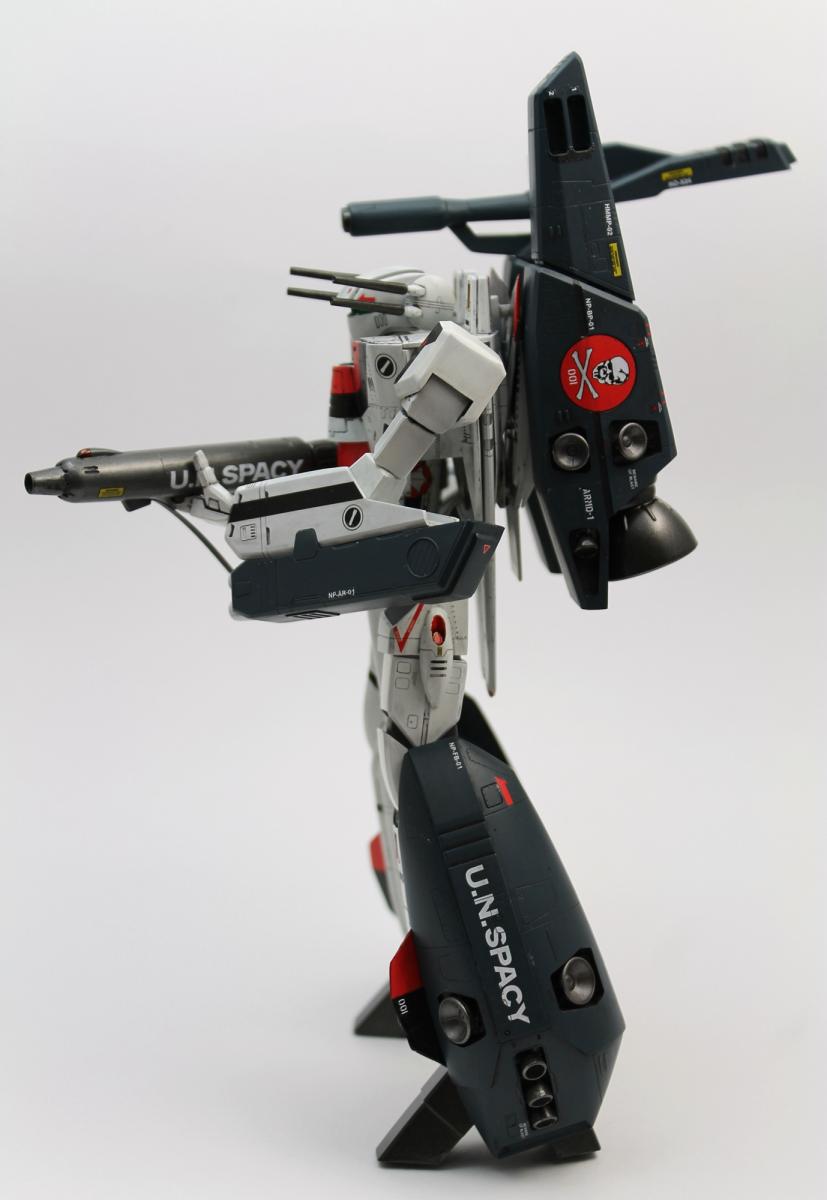
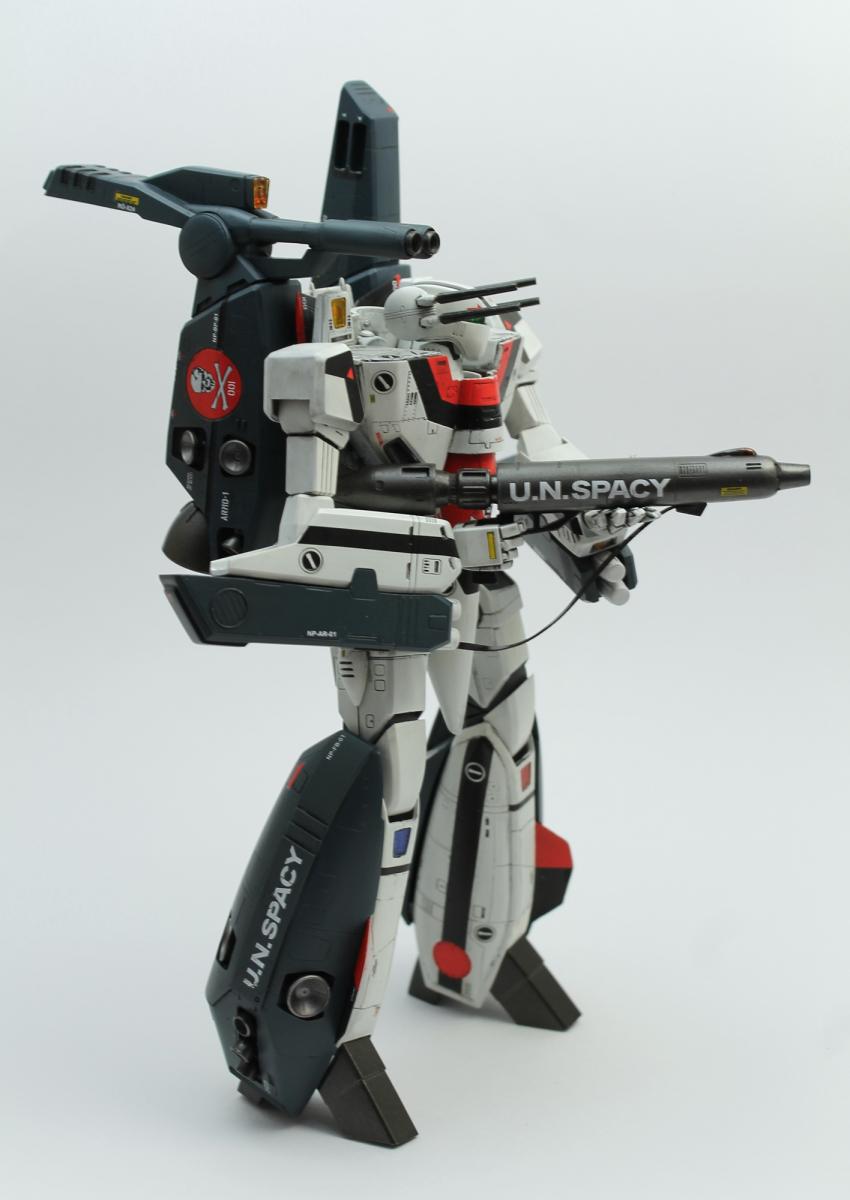
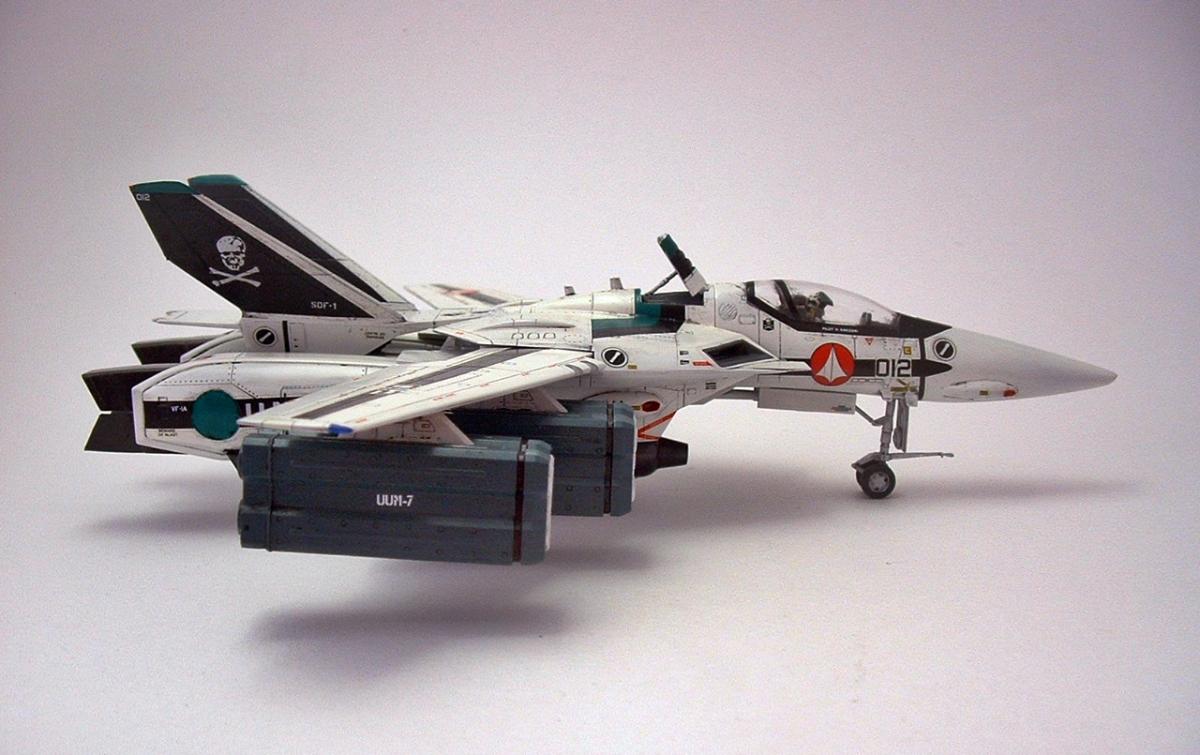
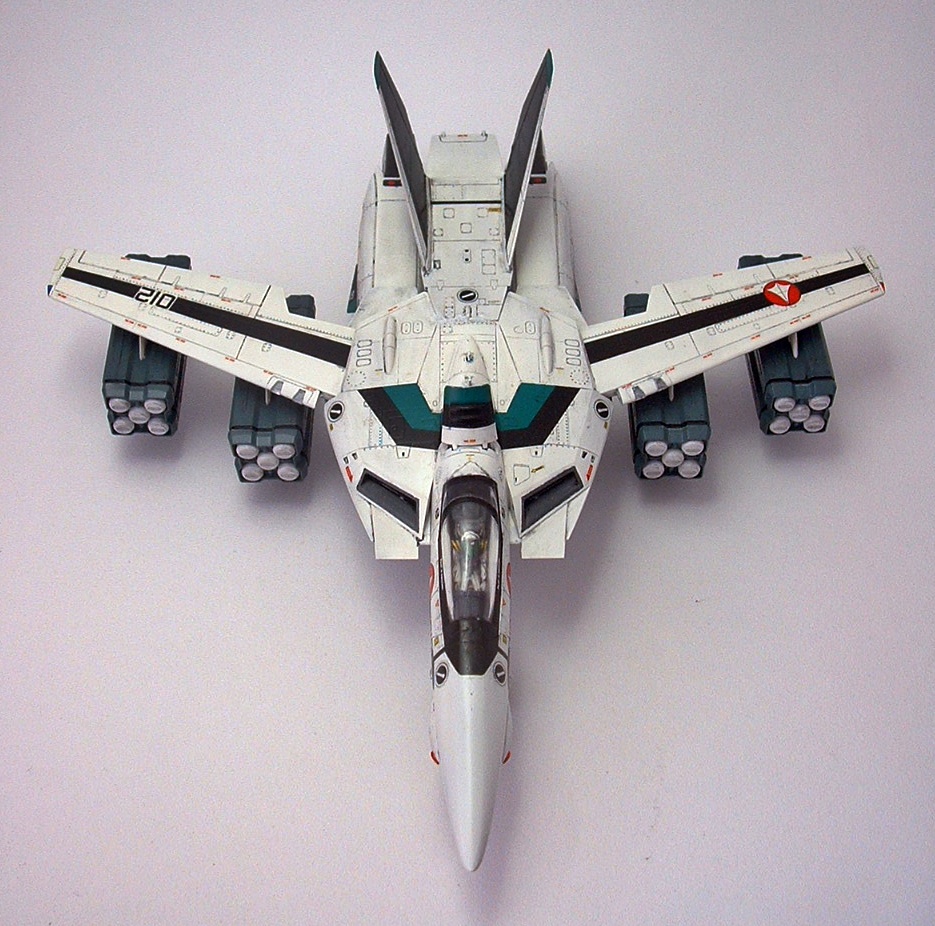
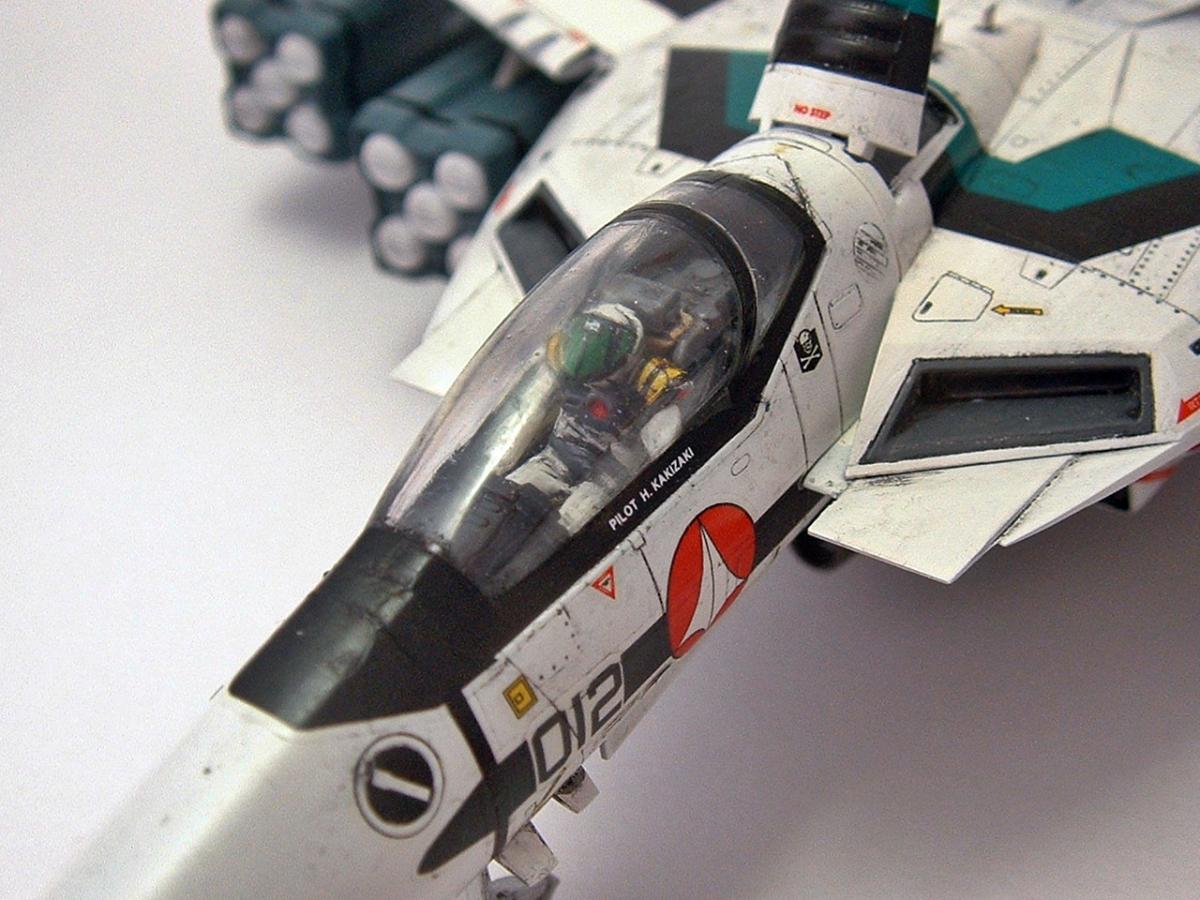
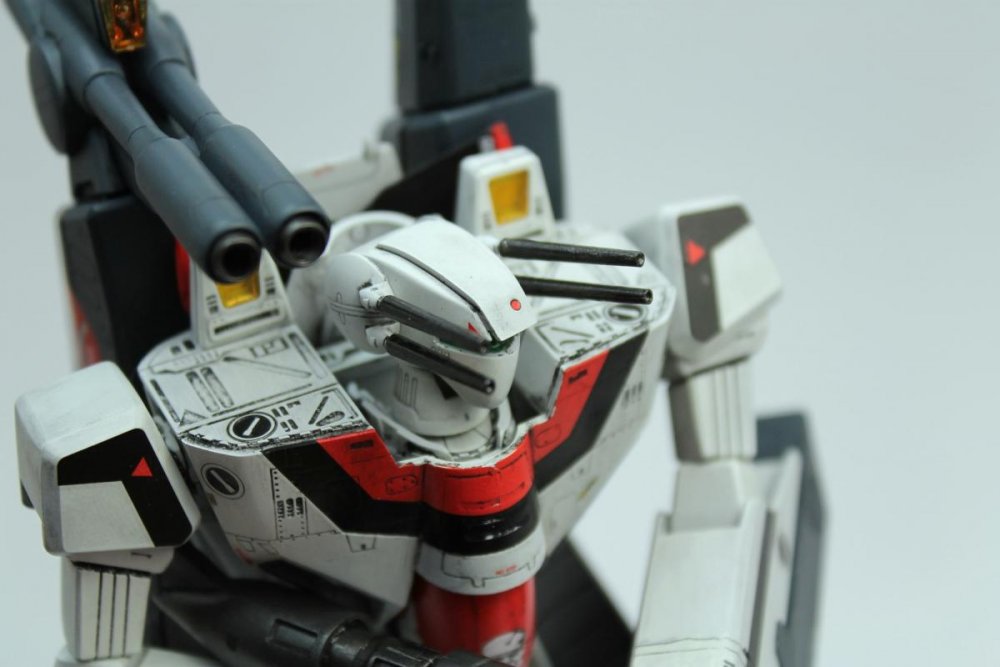
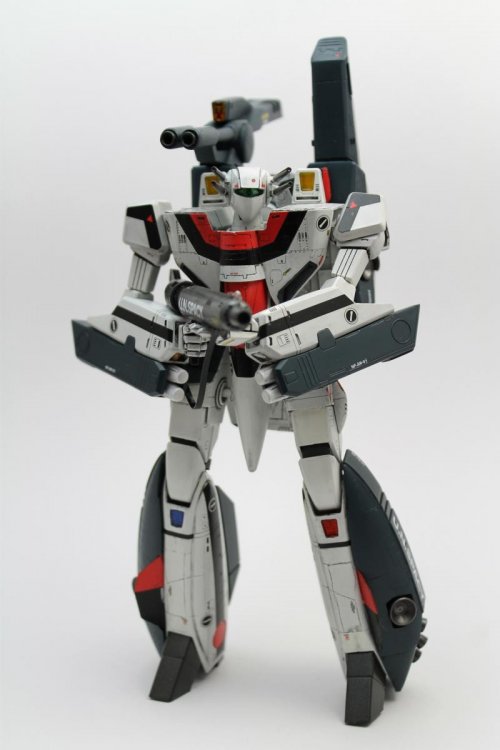
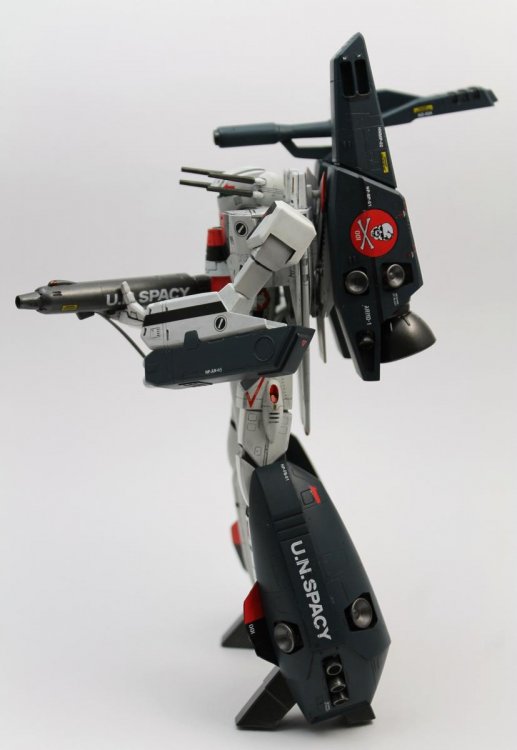
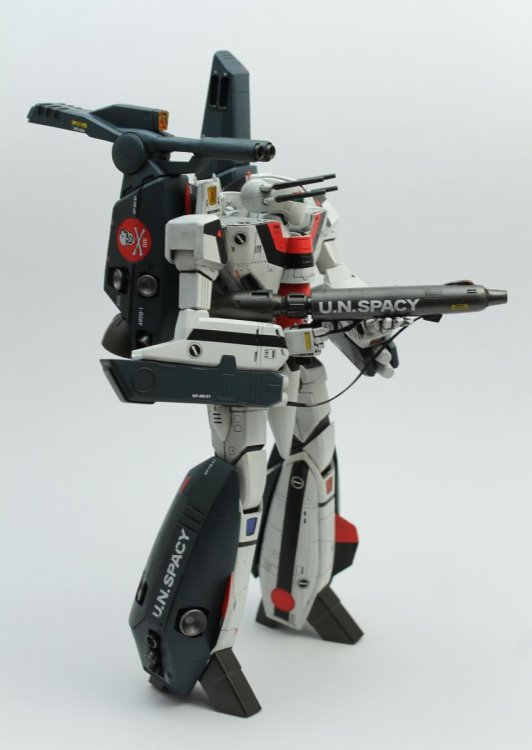
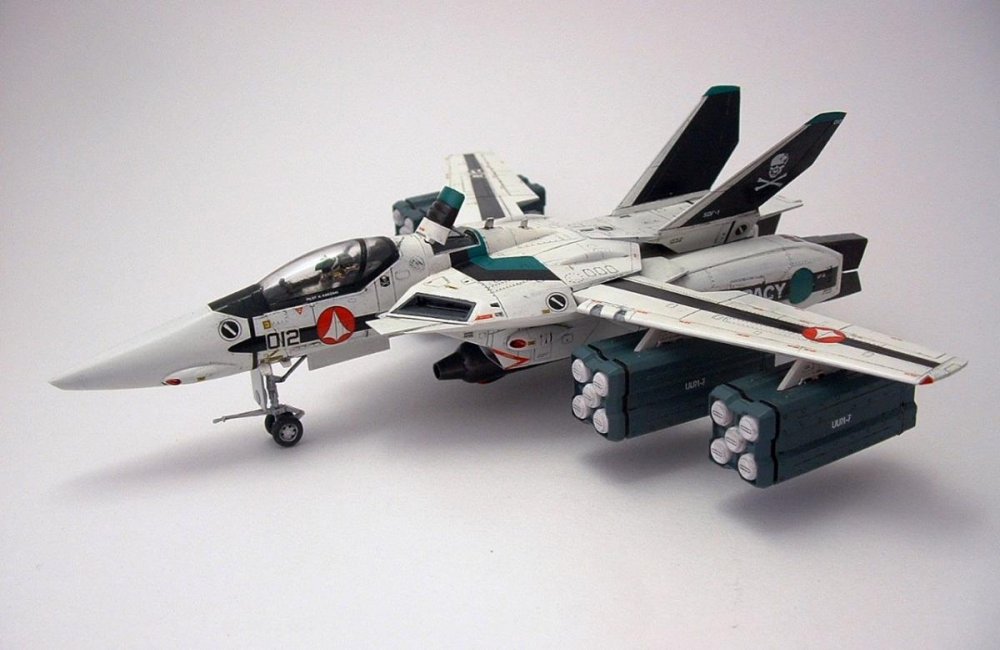
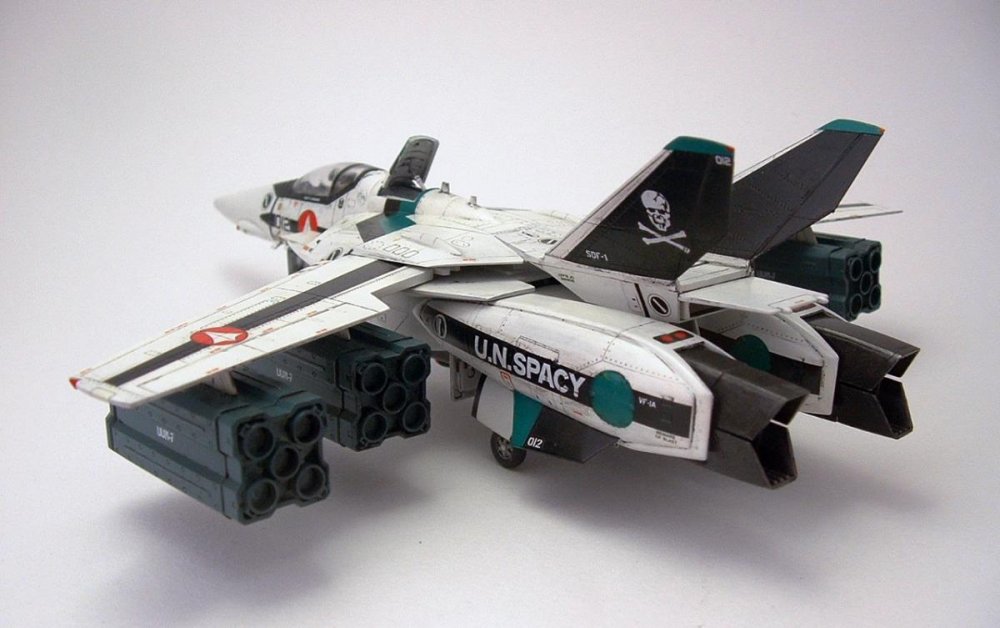
Hasegawa Macross Series Kit #1- the venerable VF-1A Valkyrie. I had built one of these when they were first released, but it didn't survive the move from North Carolina to Japan. Had done my original one as Hikaru, but decided to show Kakizaki a little respect with the rebuild. Honestly, how many Kakizaki builds have you seen of the -1A?


-
Hello, Here is the beginning of the F-14KAI Tomcat - Lt. Shin Kudo and his RIO Lt. Edgar La Salle, Squadron UNSF-225 on board the Illustria, ca. 2008. Hasegawa... ... but mainly the much better F-14D Fujimi kit, with different interesting options : Starting with the "office": A little modification of the figures : The main work : more work to do : Thanks for reading me. Regards,
-
Hi guys! Its a long time I don't come to this nice forum but I never stopped to make model kits even if I am very slow... I wanted to show you what i recently finished, let me know if u like it. Album Next I'll build up the unfamous wave 1/100 VF-11D
-
Hello, few pics of my present work : the SV-51 from Hasegawa. Very little changes, The main goal is to apply a special paint, inspired by those views (I will keep the anti-UN markings). The kit is now ready for the paint : Flanker/Fulcrum family... style_emoticons/#EMO_DIR#/wink.gif Thanks for reading.