

Kamina337
-
Posts
21 -
Joined
-
Last visited
Kamina337's Achievements
Cannon Fodder (1/15)
5
Reputation
-
Yes thanks for sharing this again! I only wish they were up close shots of the paint being applied. But the English translation is pretty good. They clearly describe the issue of how difficult it is to smoothly and properly apply the glow paint. The site I recommended in the US may very well be a business that imports this paint. And repackages it. But I assume the opposite could also be true. They may have imported it in bulk for the project. Either way it’s pretty much an exact match.
-
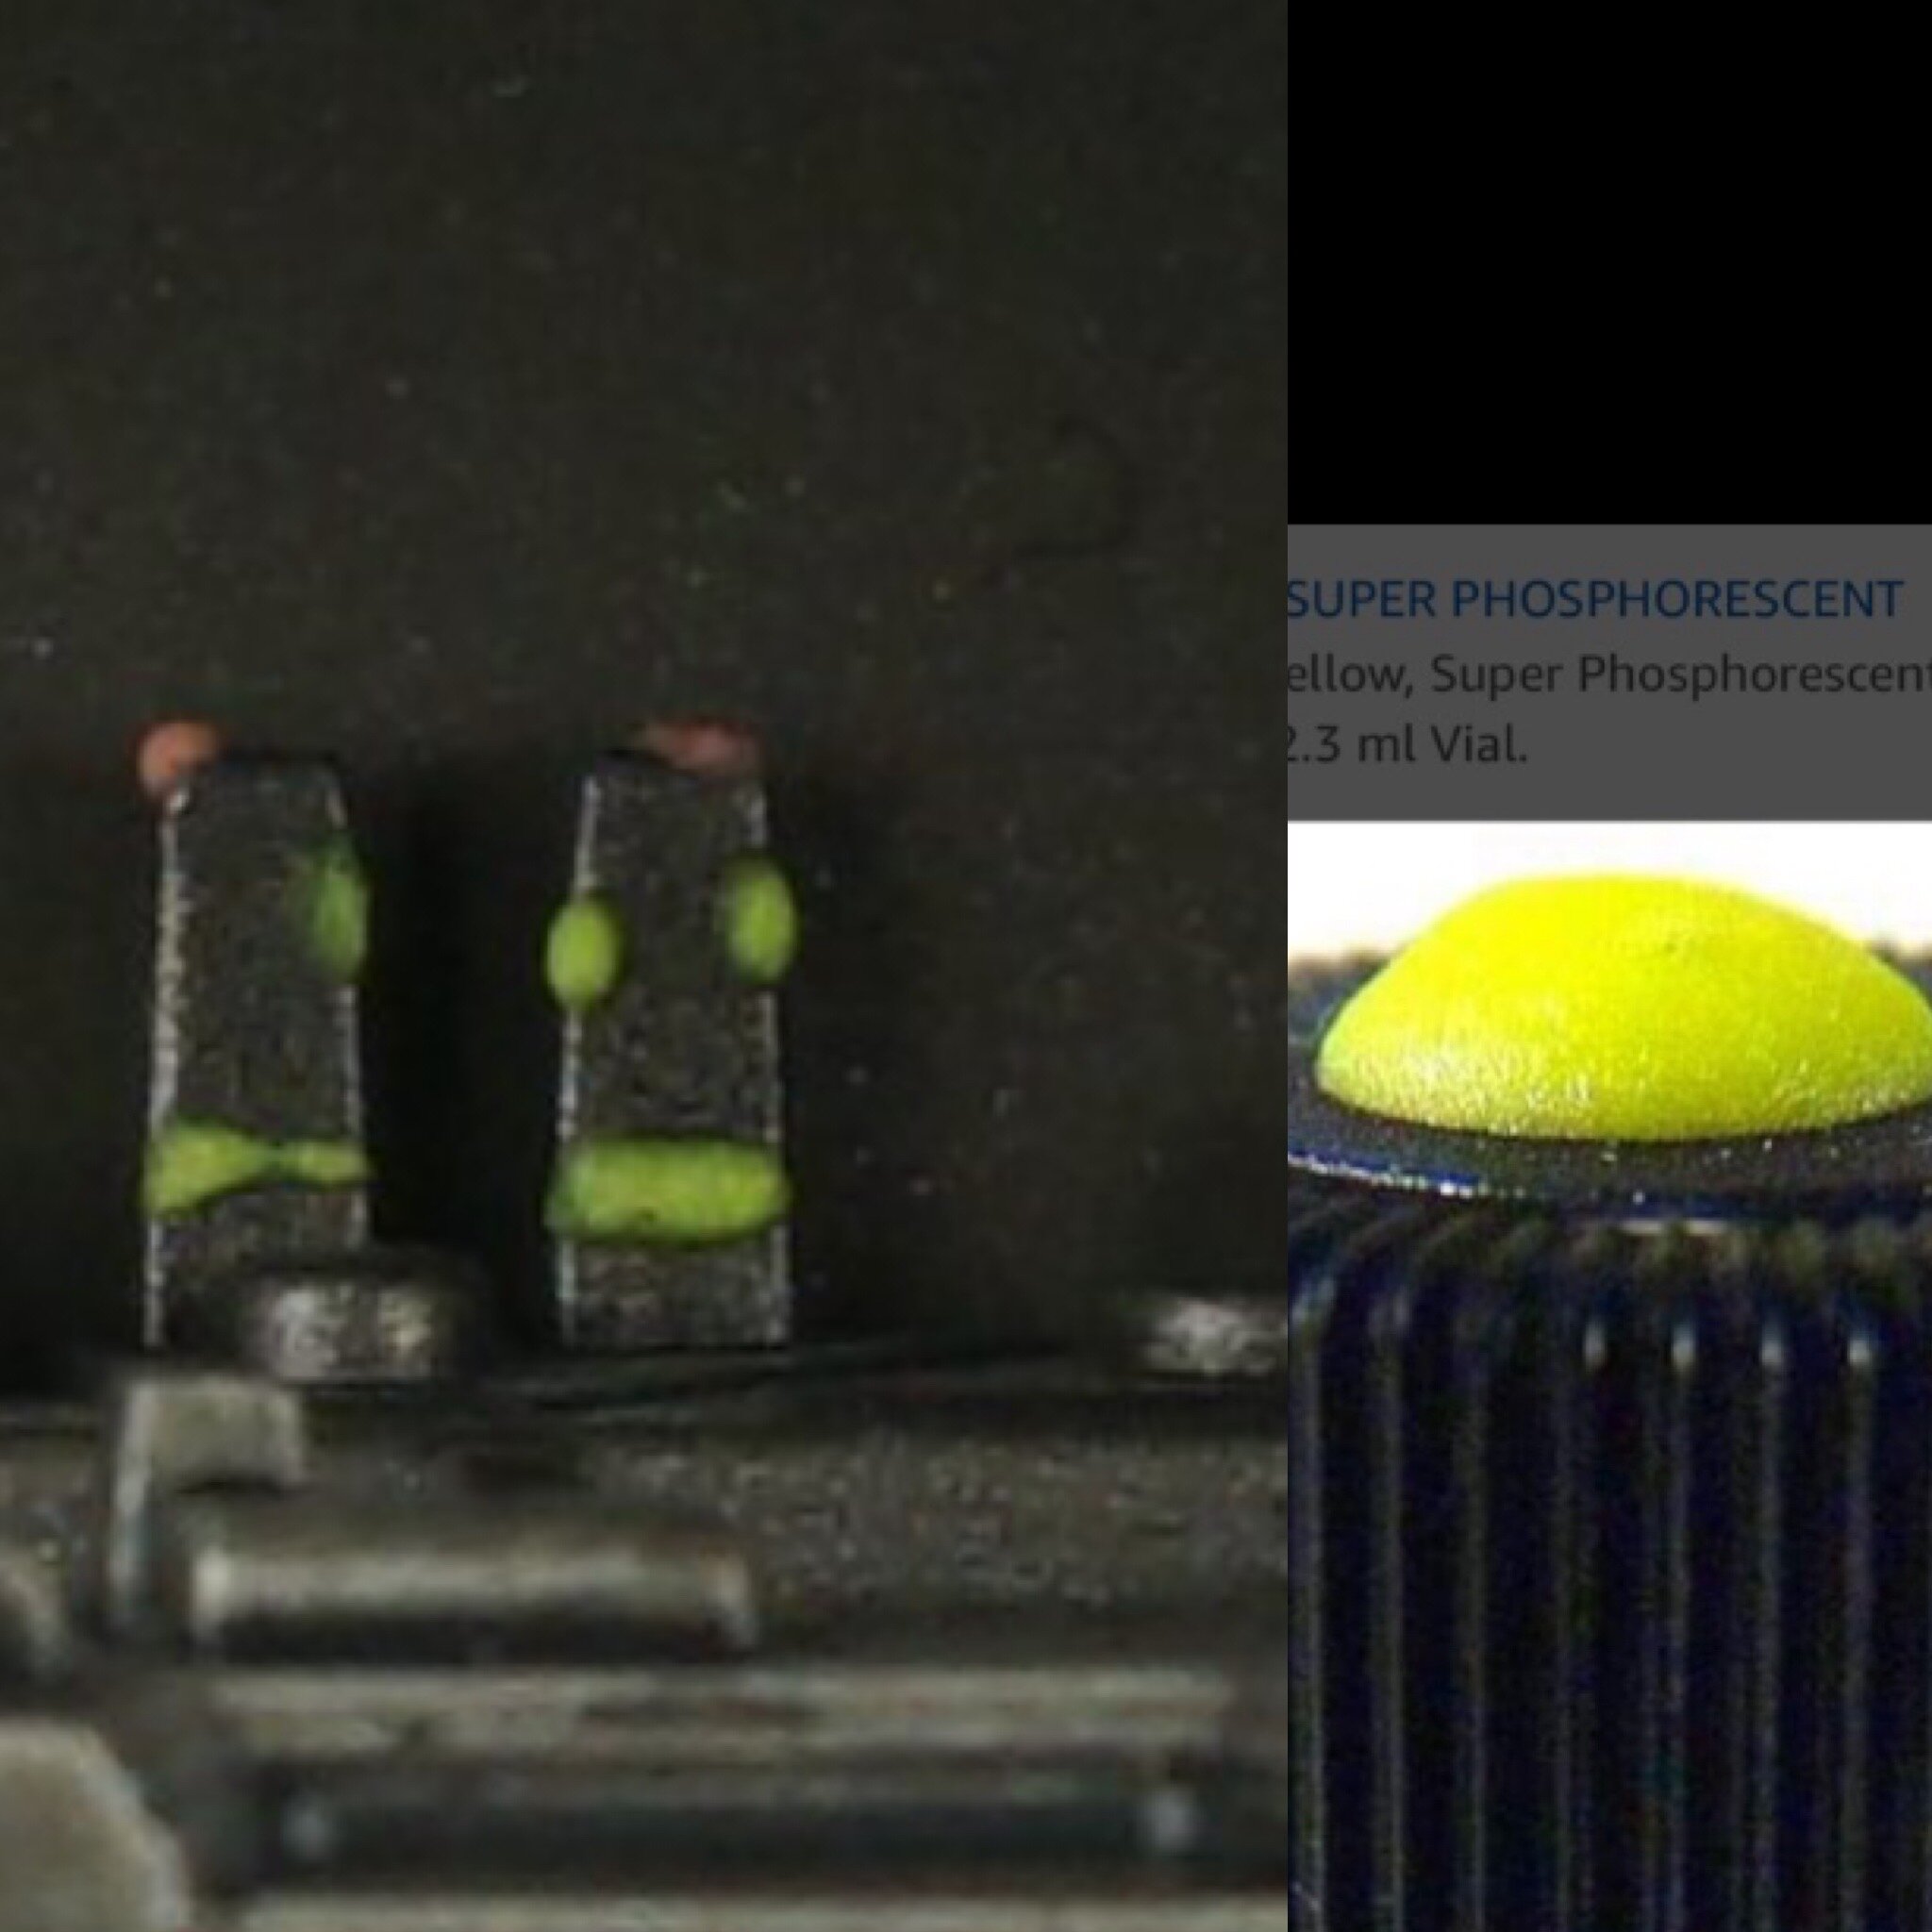
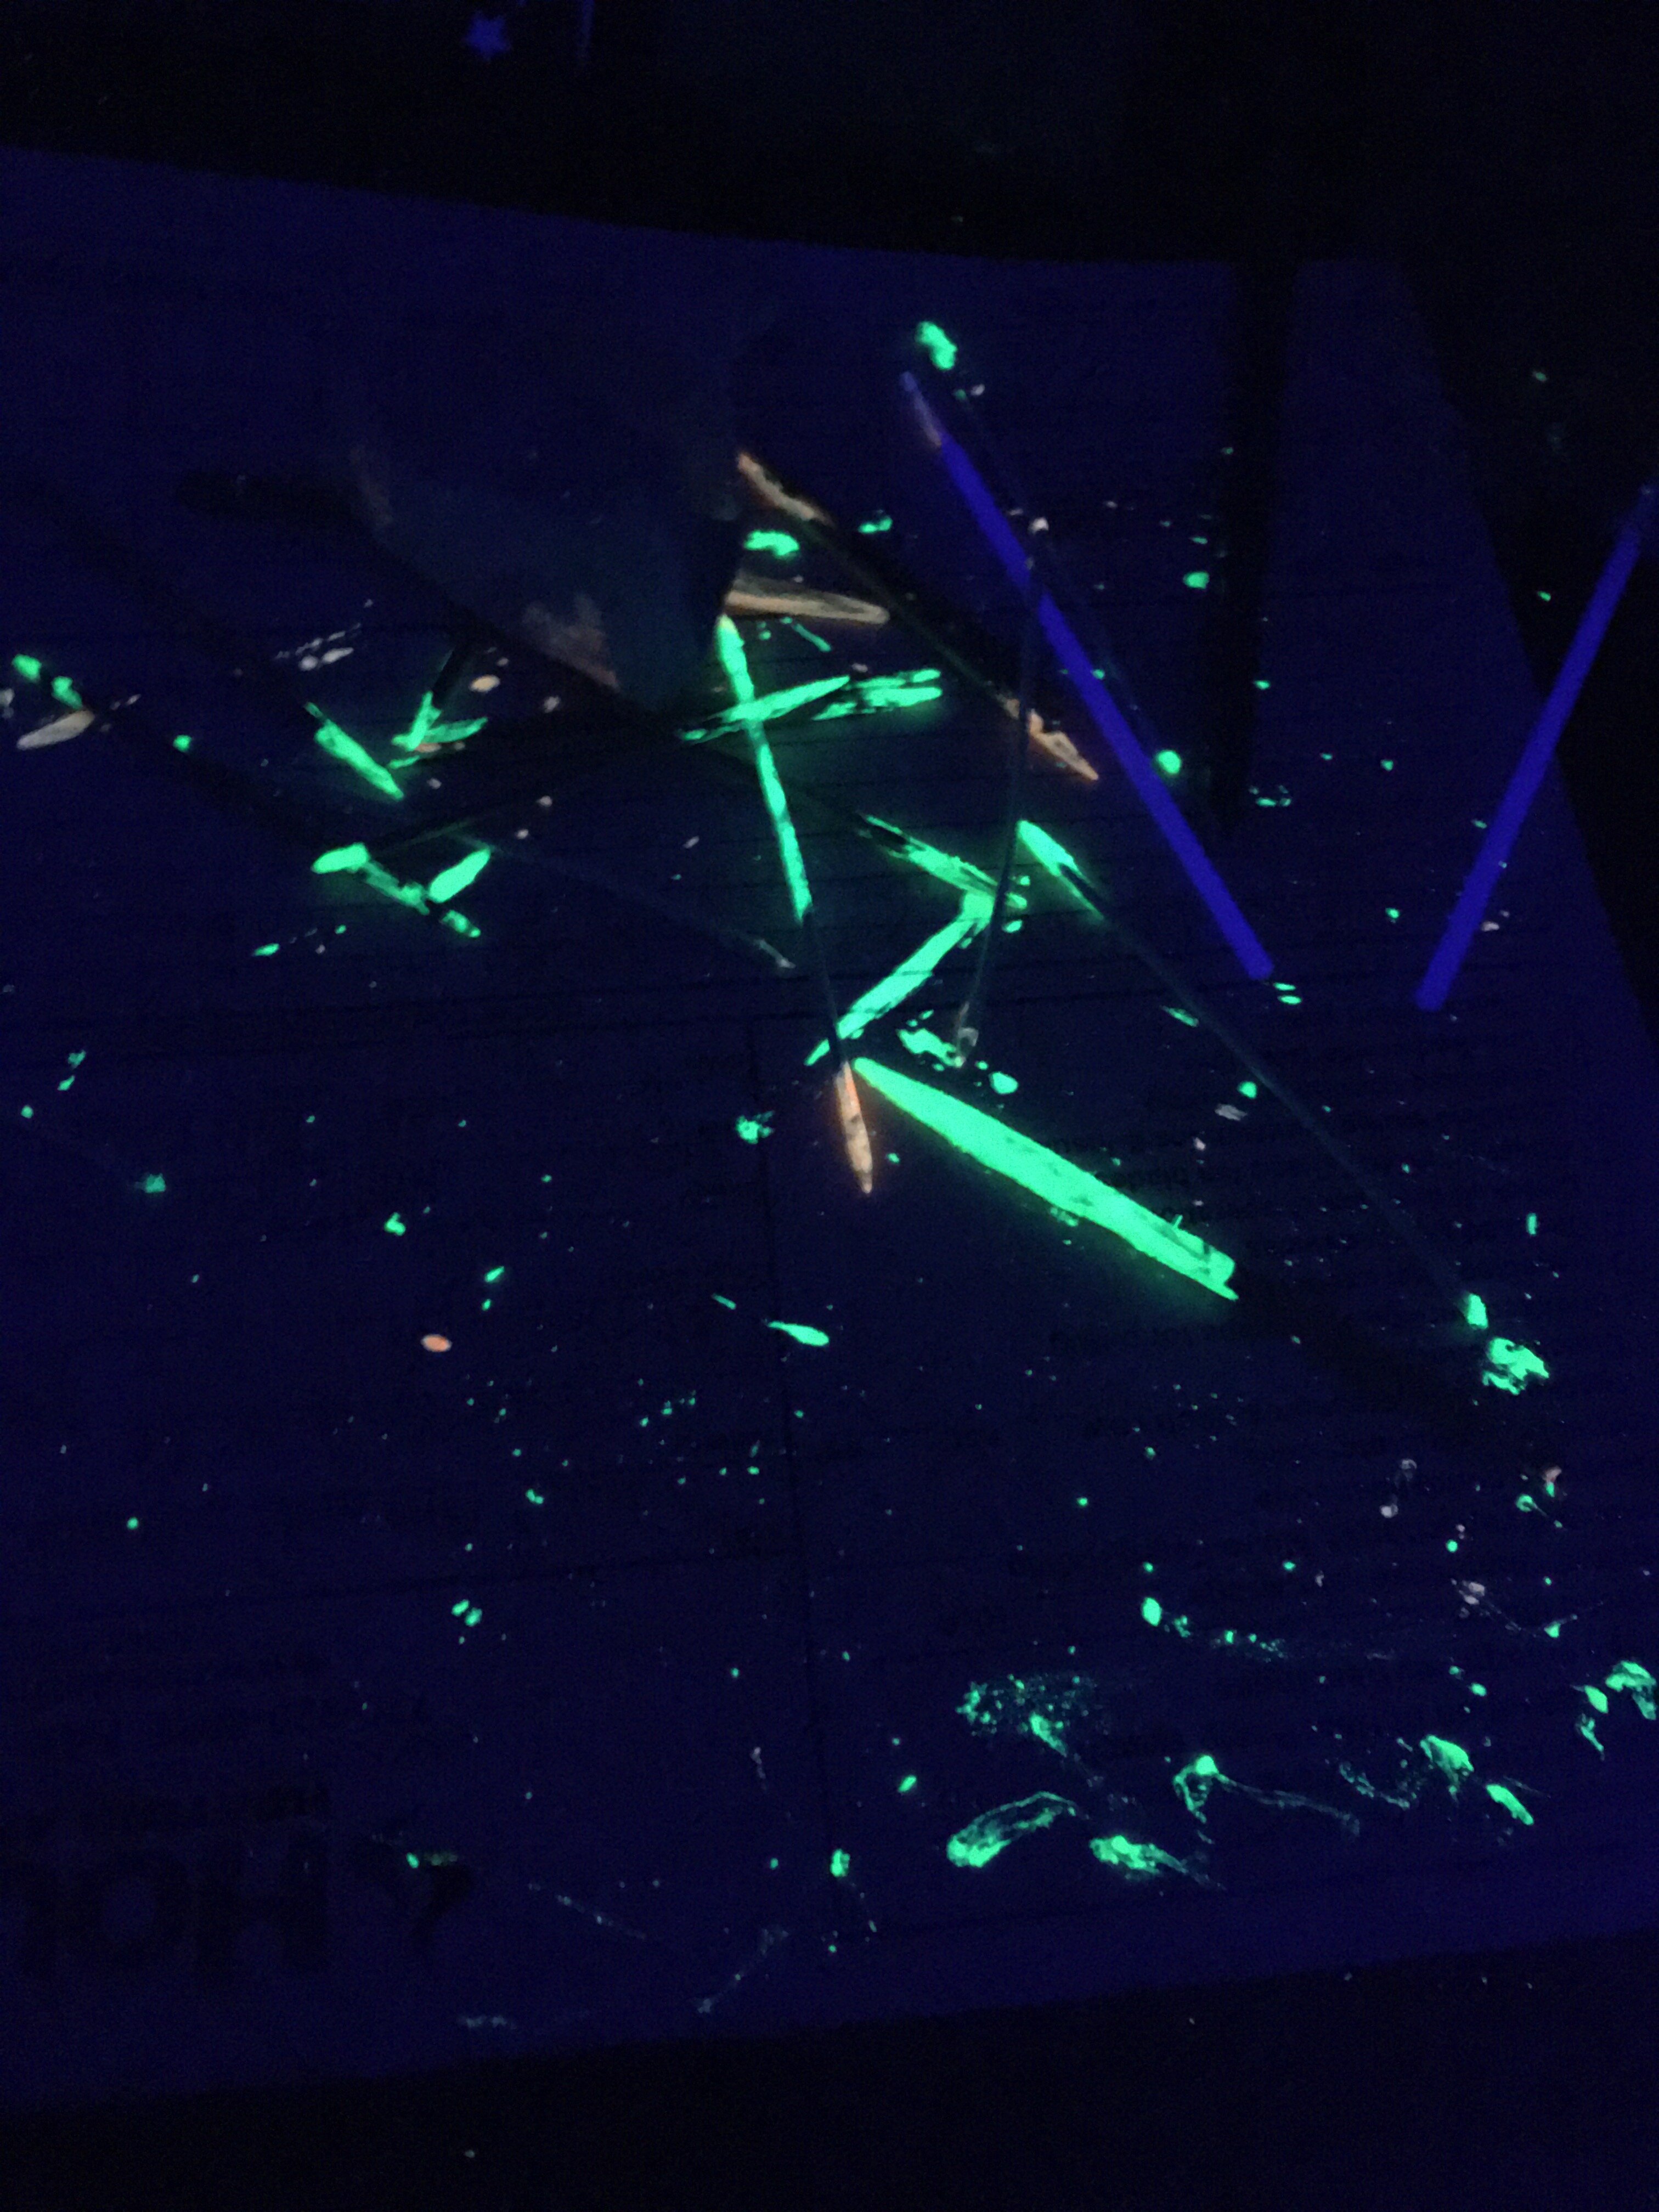
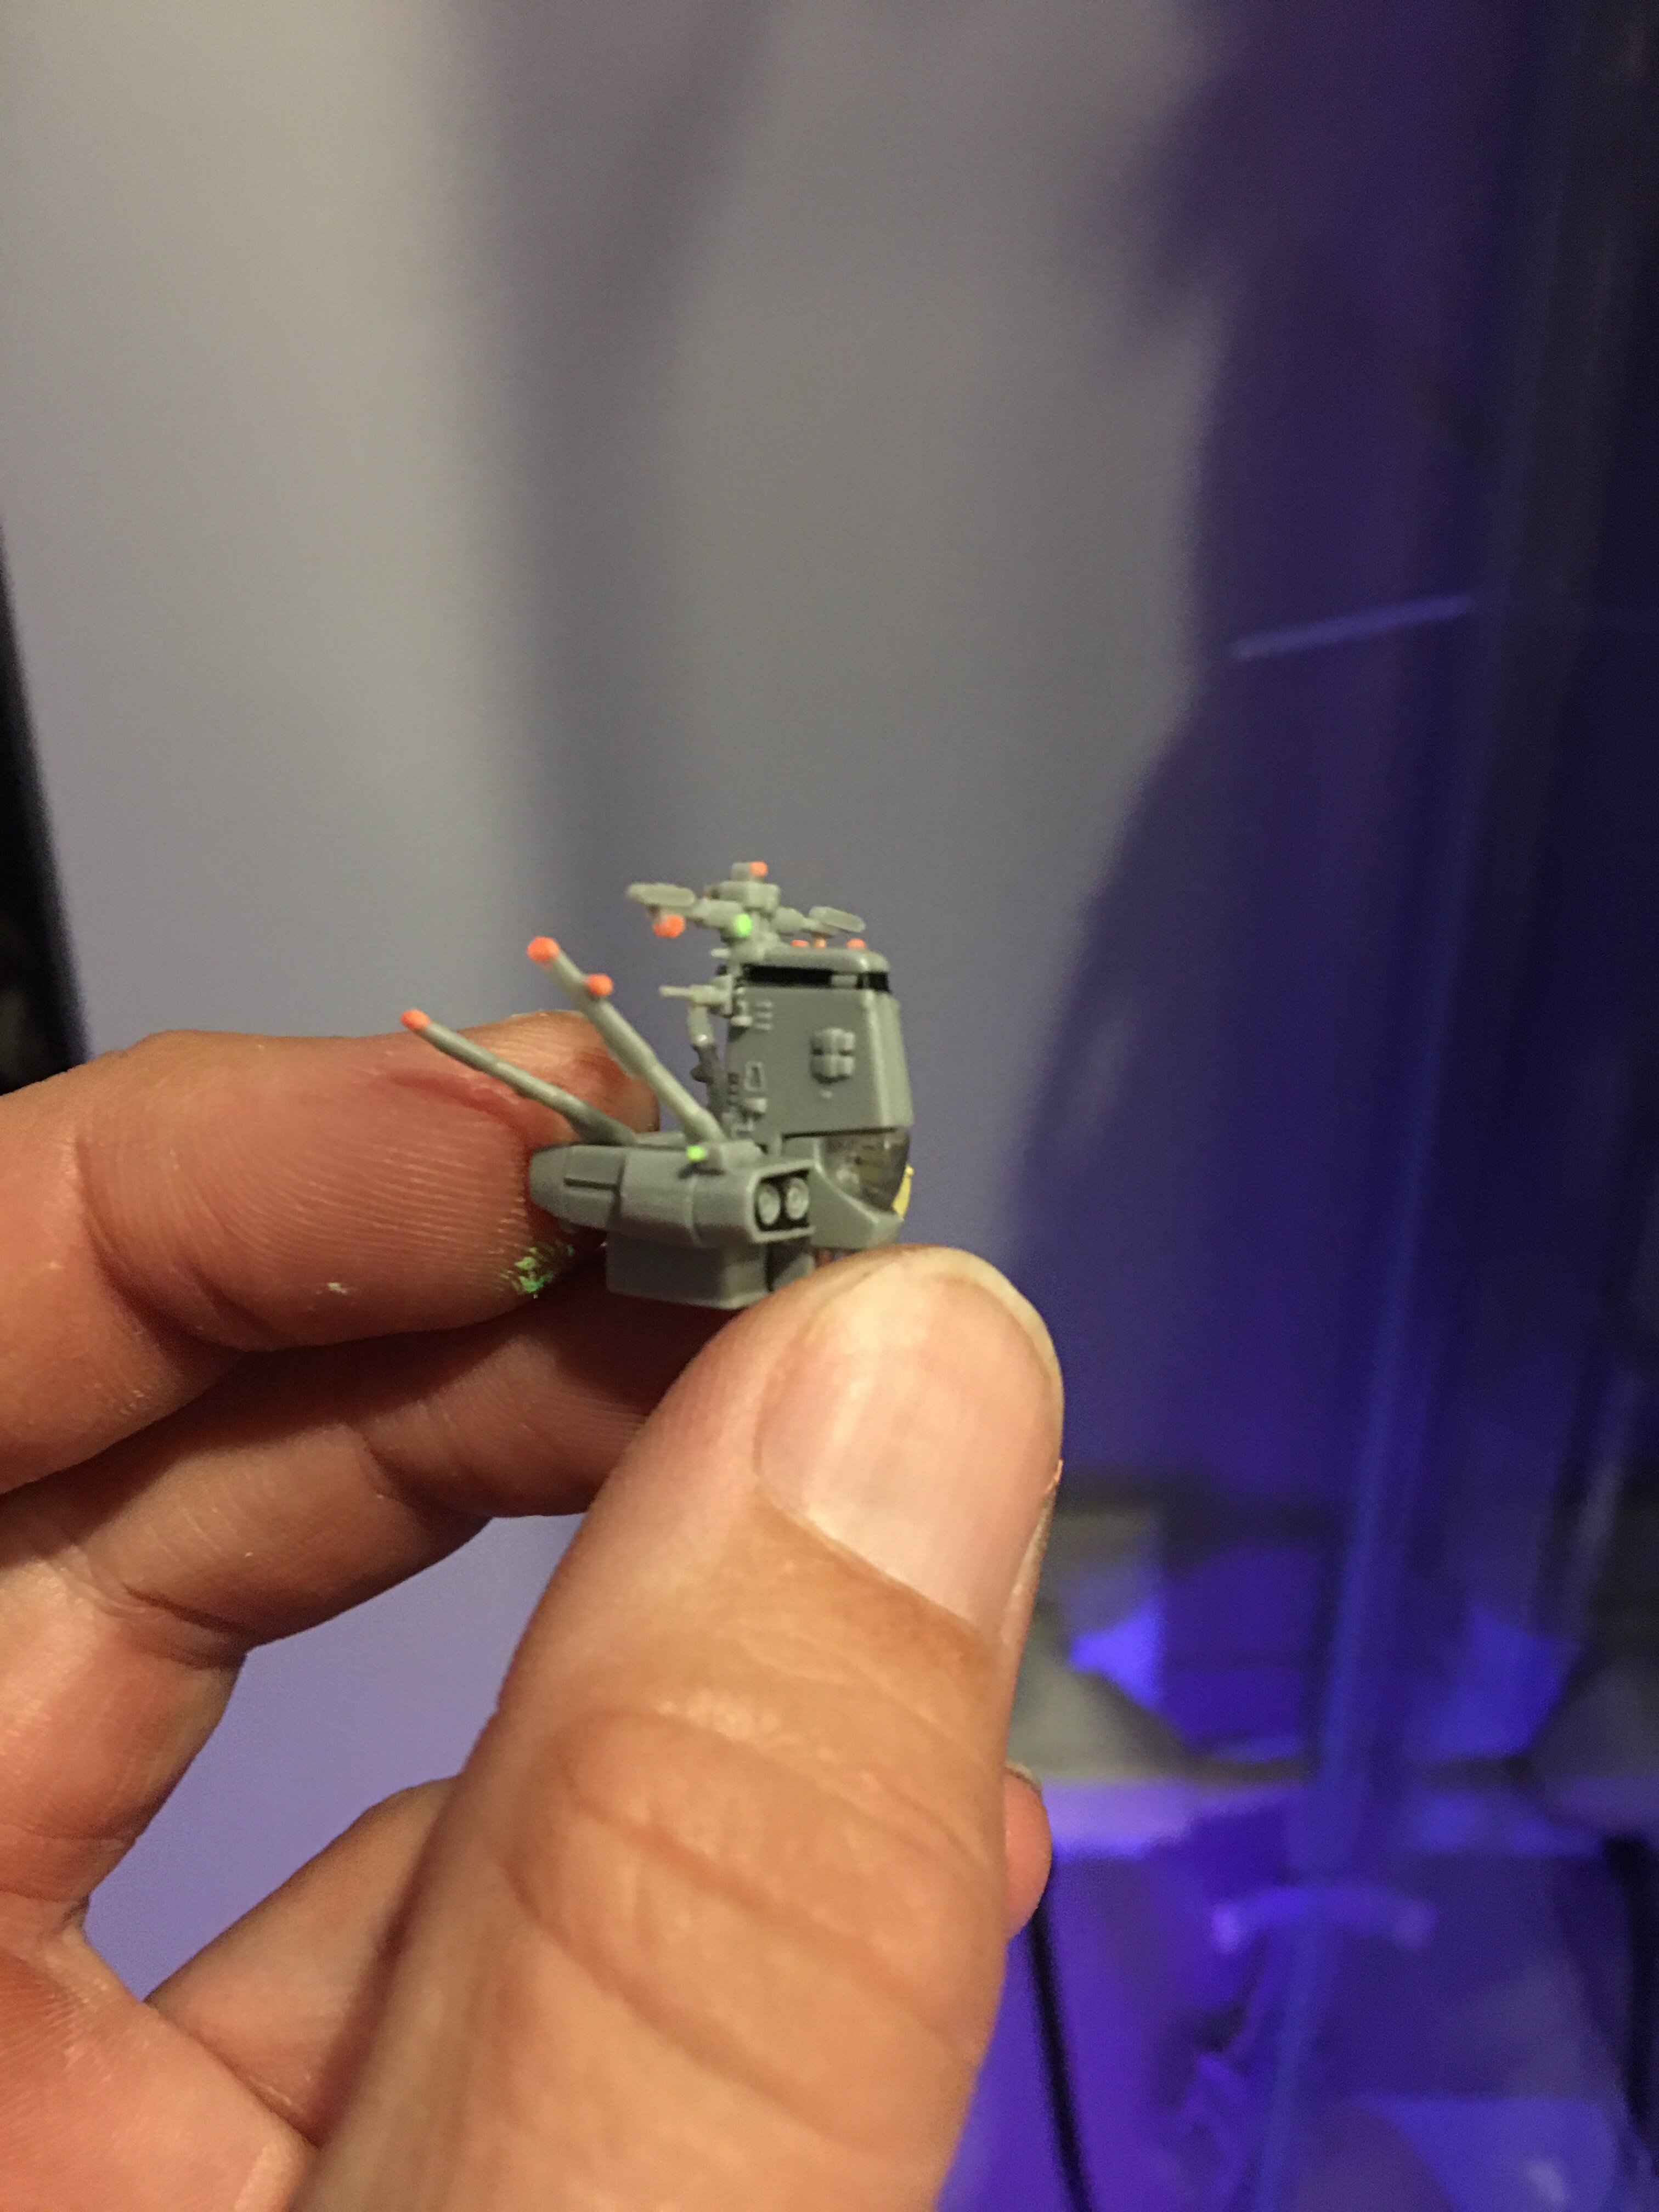
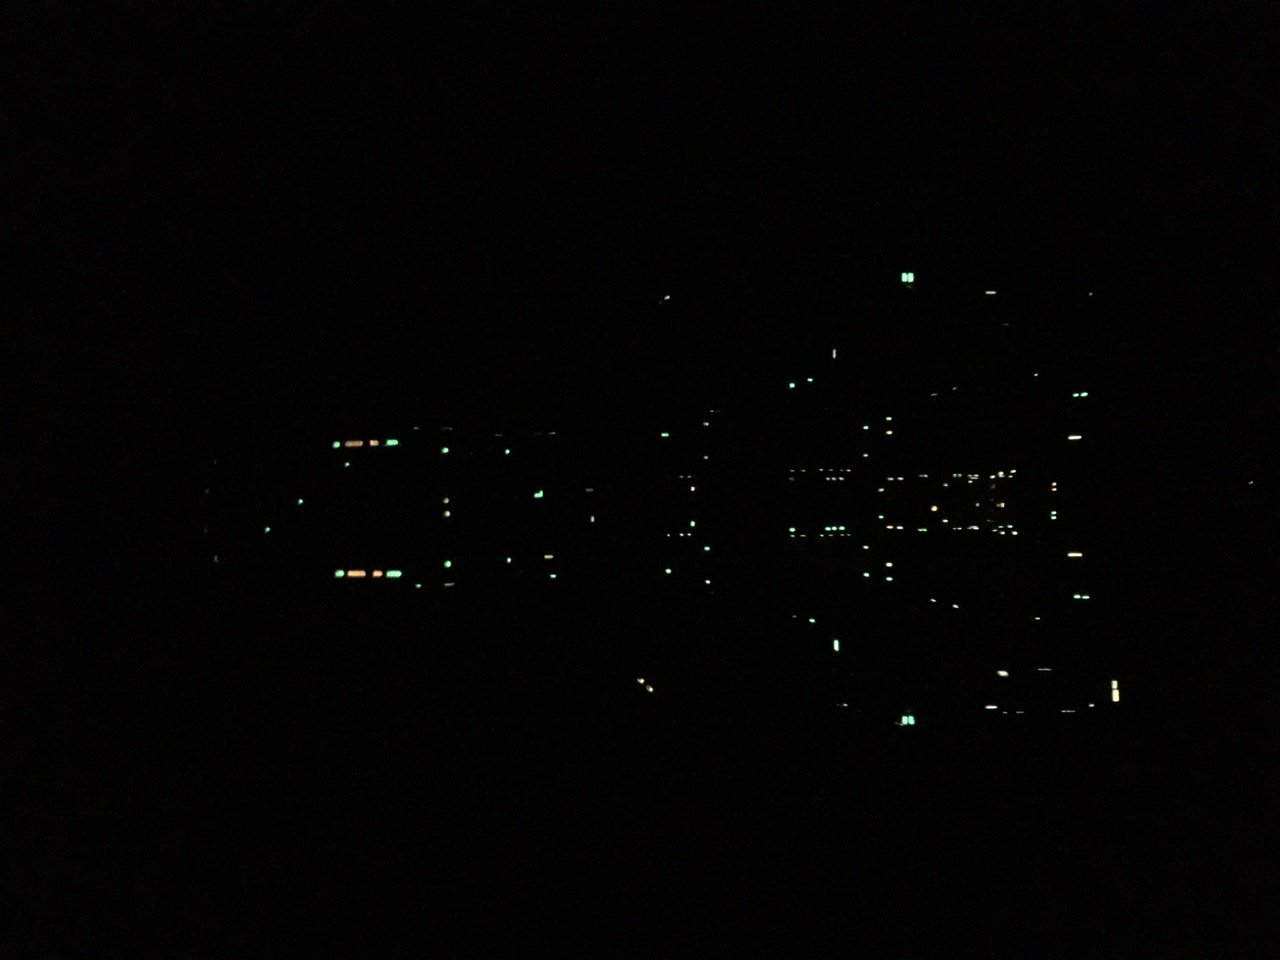
I would definitely start there. If you get your technique down it’s probably all you’ll need. And the colors are yellow and bubblegum red But of course it might even be more impressive if you decide to employ others. I often wondered if blue would have been worthwhile somewhere. But overall the bubblegum red and the yellow. Do not dilute it. It’s going to seem very thick. And like I said I was having the best luck using toothpick points as applicators. Some areas it was as simple as lightly playing a dot down with a toothpick and leaving it there to dry. Other areas I kind of had to set it down and then tug at it to drag it across the areas that require slightly larger spots. Think of it as a paint that feels very thick and grainy. It is also why when you look at pictures of the premium up close it is not like a flat evenly applied paint application. But rather kind of three-dimensional spots dotted on. But it was one of the clues that I had the right sort of paint. Here’s a picture of the actual premium finish buildings compared to a dot on top of the paint cap. You can see the texture. Whatever you use don’t settle for any other cheap glow in the dark acrylic paints. This is definitely the product you’re looking for.Also I recommend having a black light nearby. It will help you to see where you may have spilled some so you can clean it up from areas it is not supposed to be. Think of a barely visible paint smear that lights up like a sports field under black light. Whatever you use don’t settle for any other cheap glow in the dark acrylic paints. This is definitely the product you’re looking for. Panel lining with a fine point Gundam marker and a coating of gundam topcoat is really all that’s left to set the premium finish apart.
-
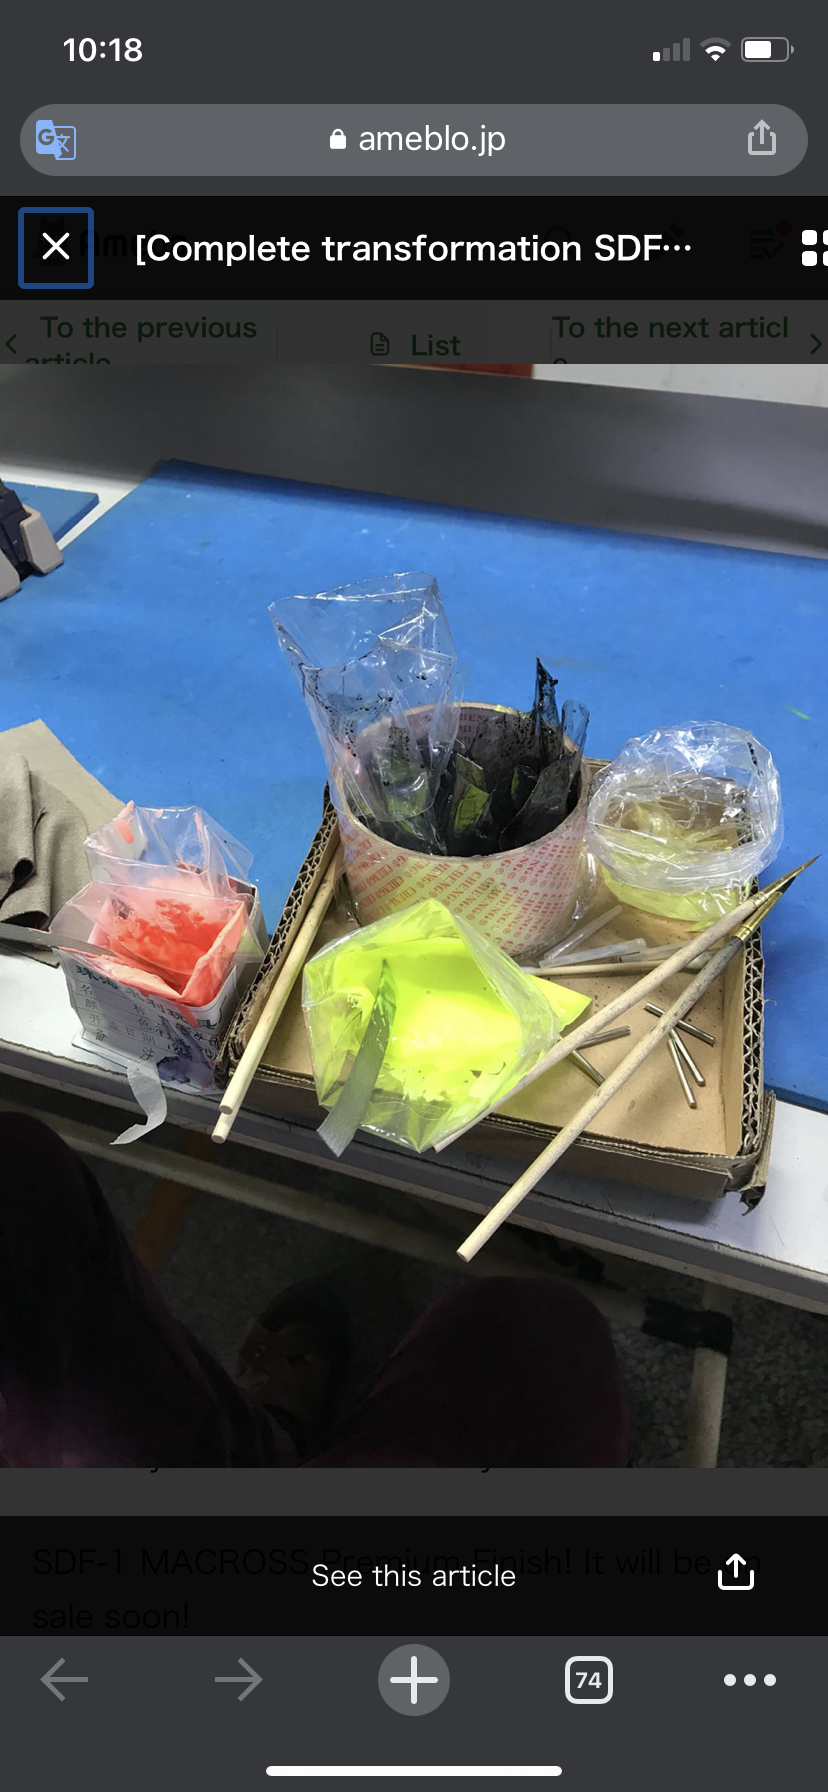
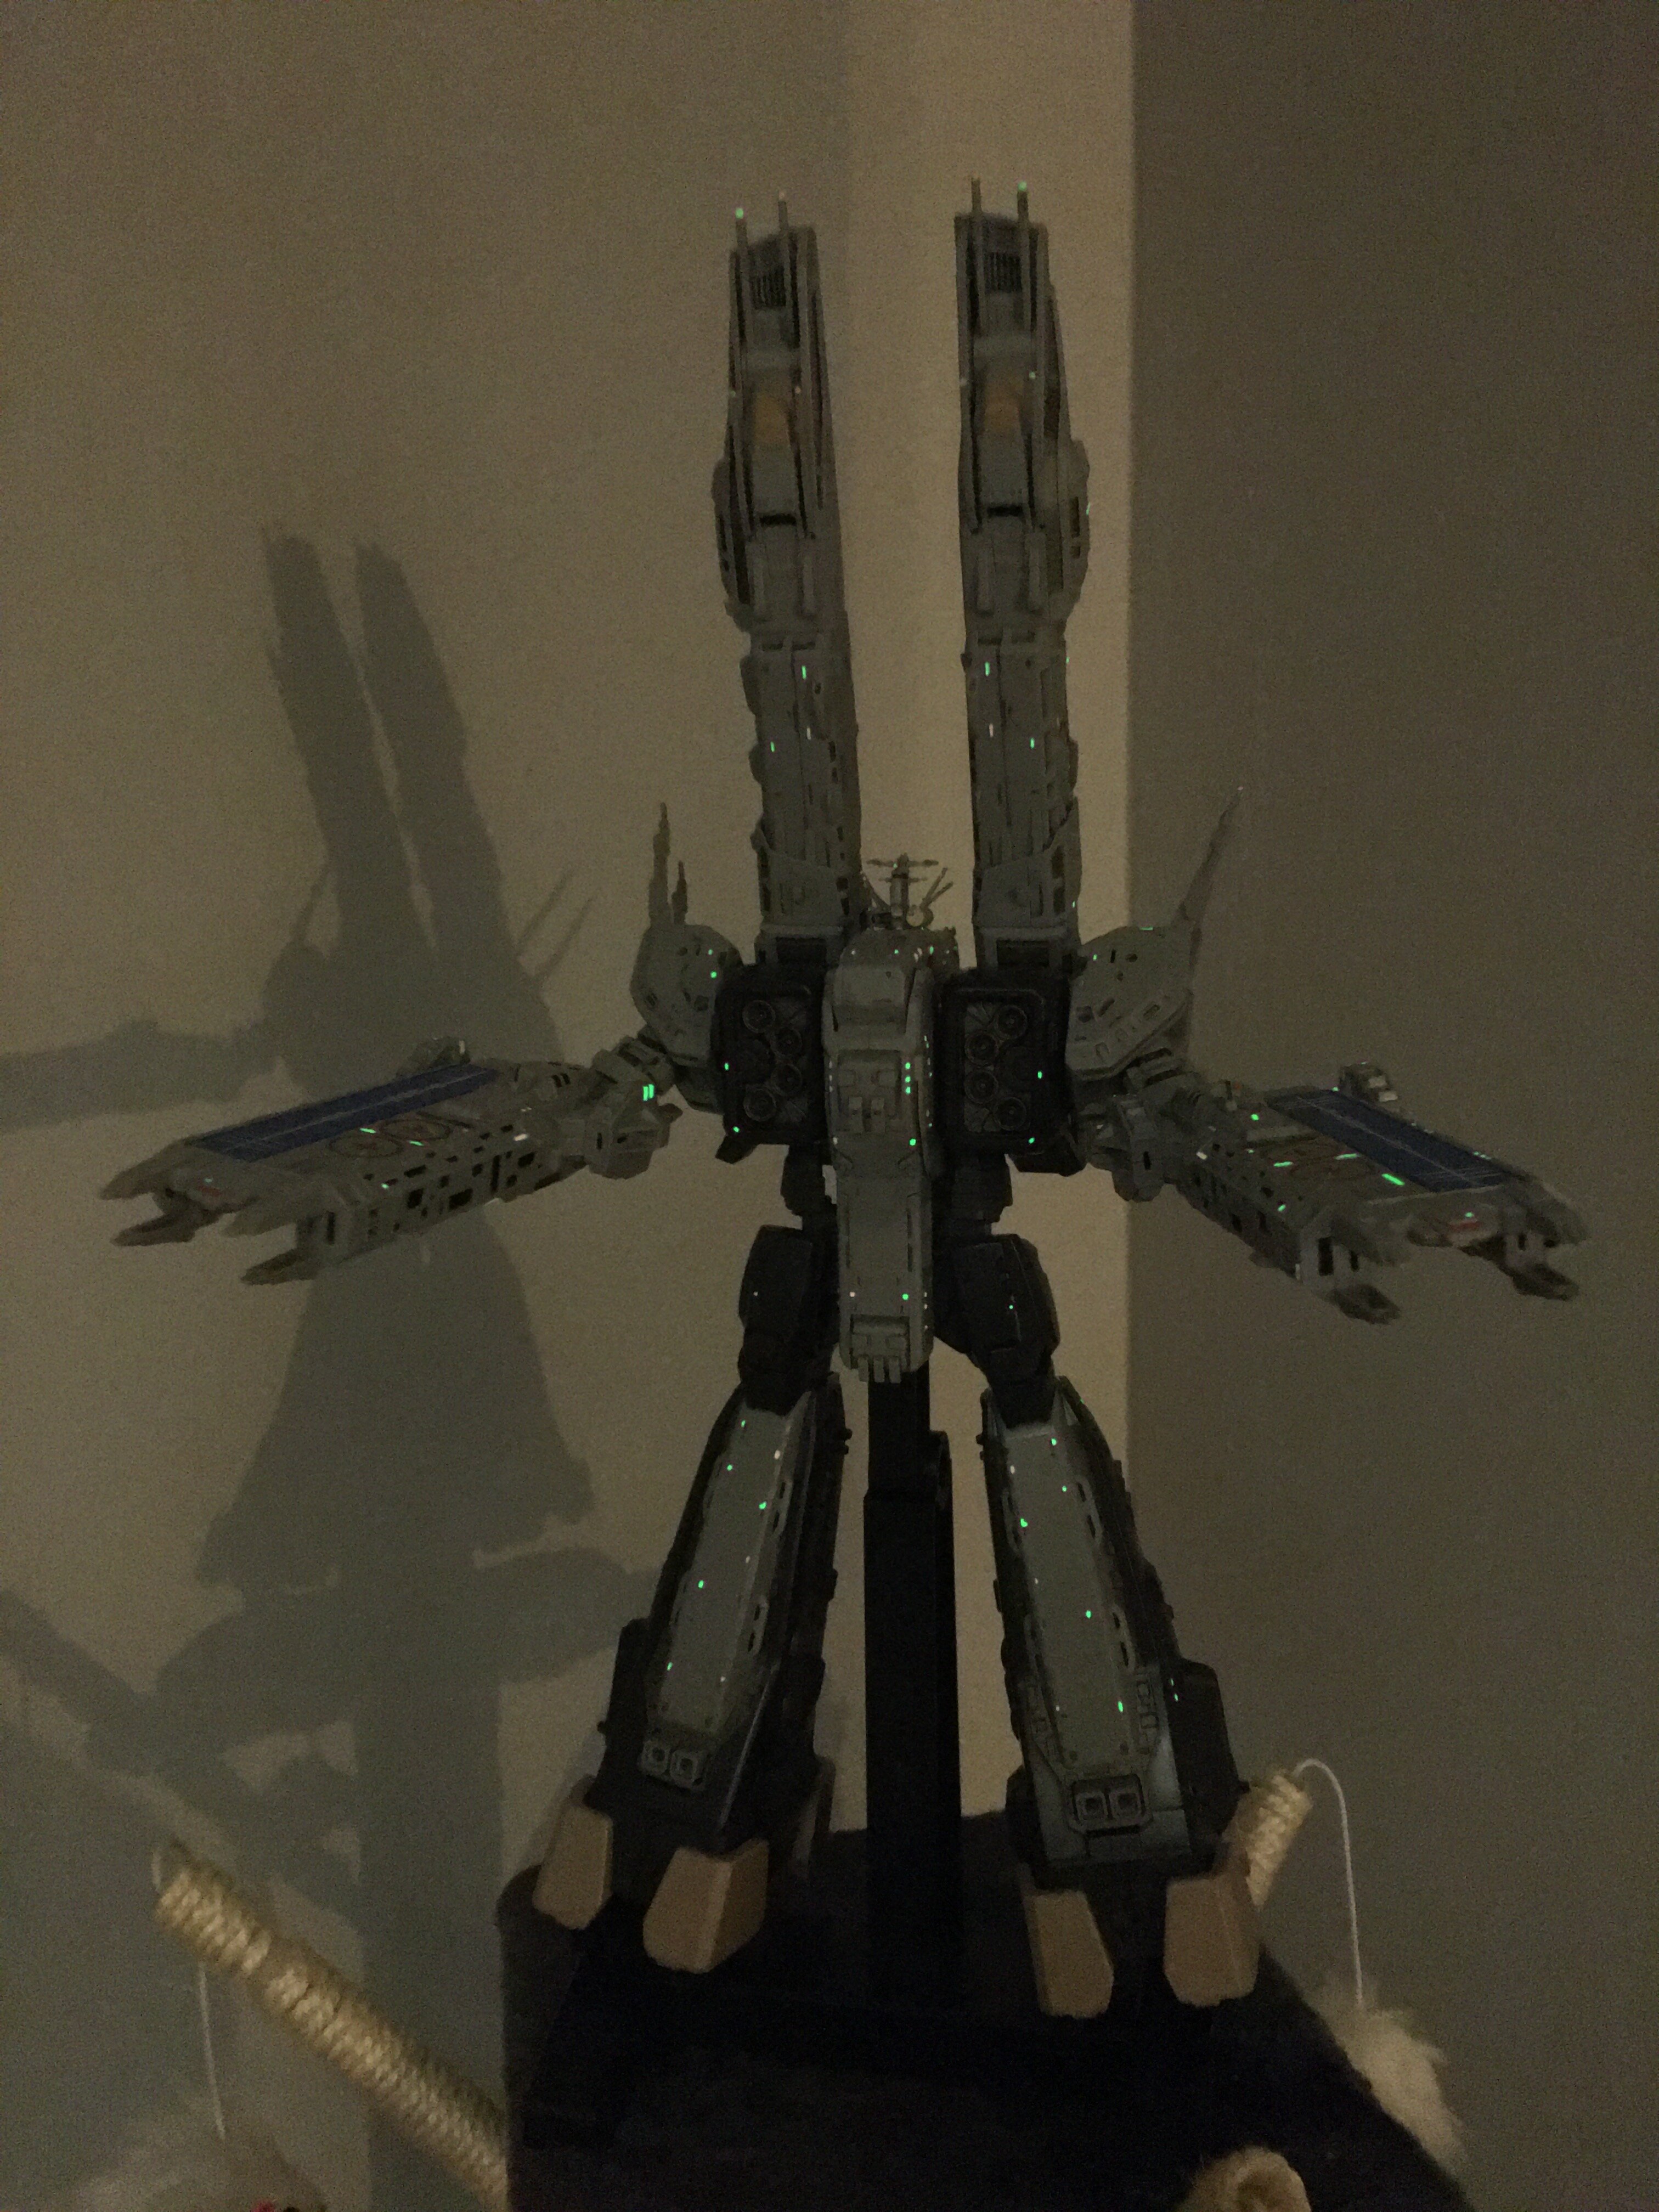
So I don’t think I had an actual thread. I think I posted some pictures in this thread and was looking in the forums for whatever pictures and advice I could use to try to pull it off. I actually have a few more details I need to add as when the pandemic came I found myself focused on other things. When I’m done I will use a topcoat matte or semi gloss finish. However one thing I will probably leave different from the premium as I will mask the clear parts. I think I lost the files but at one point actually found pictures of the original room they were doing the premium finish details in. Literally all of it is done by hand. This is why when you go back through the thread and look at some of the painted features of the buildings inside of the legs you will find the glow paint is by no means perfectly applied. It’s because it was free handed and the glow paint is very thick and you cannot dilute it and it still work properly. In many areas I found that the best application method was literally dipping a toothpick in the paint and dropping dots of the paint where I needed it. And then gently taking the toothpick and dragging it out to cover the larger areas that weren’t just supposed to be beads. The only thing I’m not 100% certain on is whether or not they did some sort of topcoat very lightly to act as a primer for the glow paint. I only say that because I’ve noticed that areas like the tips of the guns were easy to chip the paint off . For now I have been doing mine without any sort of topcoat to use as a primer. I will topcoat lightly afterwards and if I find protruding areas like the gun tips are still easy to knock the paint off, I will topcoat to prime before finishing over with the topcoat in those specific areas. I believe anymoon Is where I found most of my great reference photos to see the detailing up close on the premium finish version so I could copy details. and advantage you have with the assembly kit is that you could much more easily tackle areas like the buildings. But ask around here and look around. I know there are some examples of extremely detailed work on the cities. I think I’ve seen at least one case where someone individually painted each building and made their own custom backdrop to go behind them. Meanwhile Arcadia came with a background sticker that isn’t actually able to fit unless you could break the ship down. And they did not make this thing to be able to come apart without possibly breaking something on the Arcadia. Also with this I am posting a picture of one of the more detailed interiors I came across on my hunt that someone had made. http://anymoon.com/blog/?p=4389

-
http://www.glow-on.com/ bubblegum red and yellow glow paint are the match. Yellow is actually more of a green tone. And bubblegum red is more pinkish orange.


-
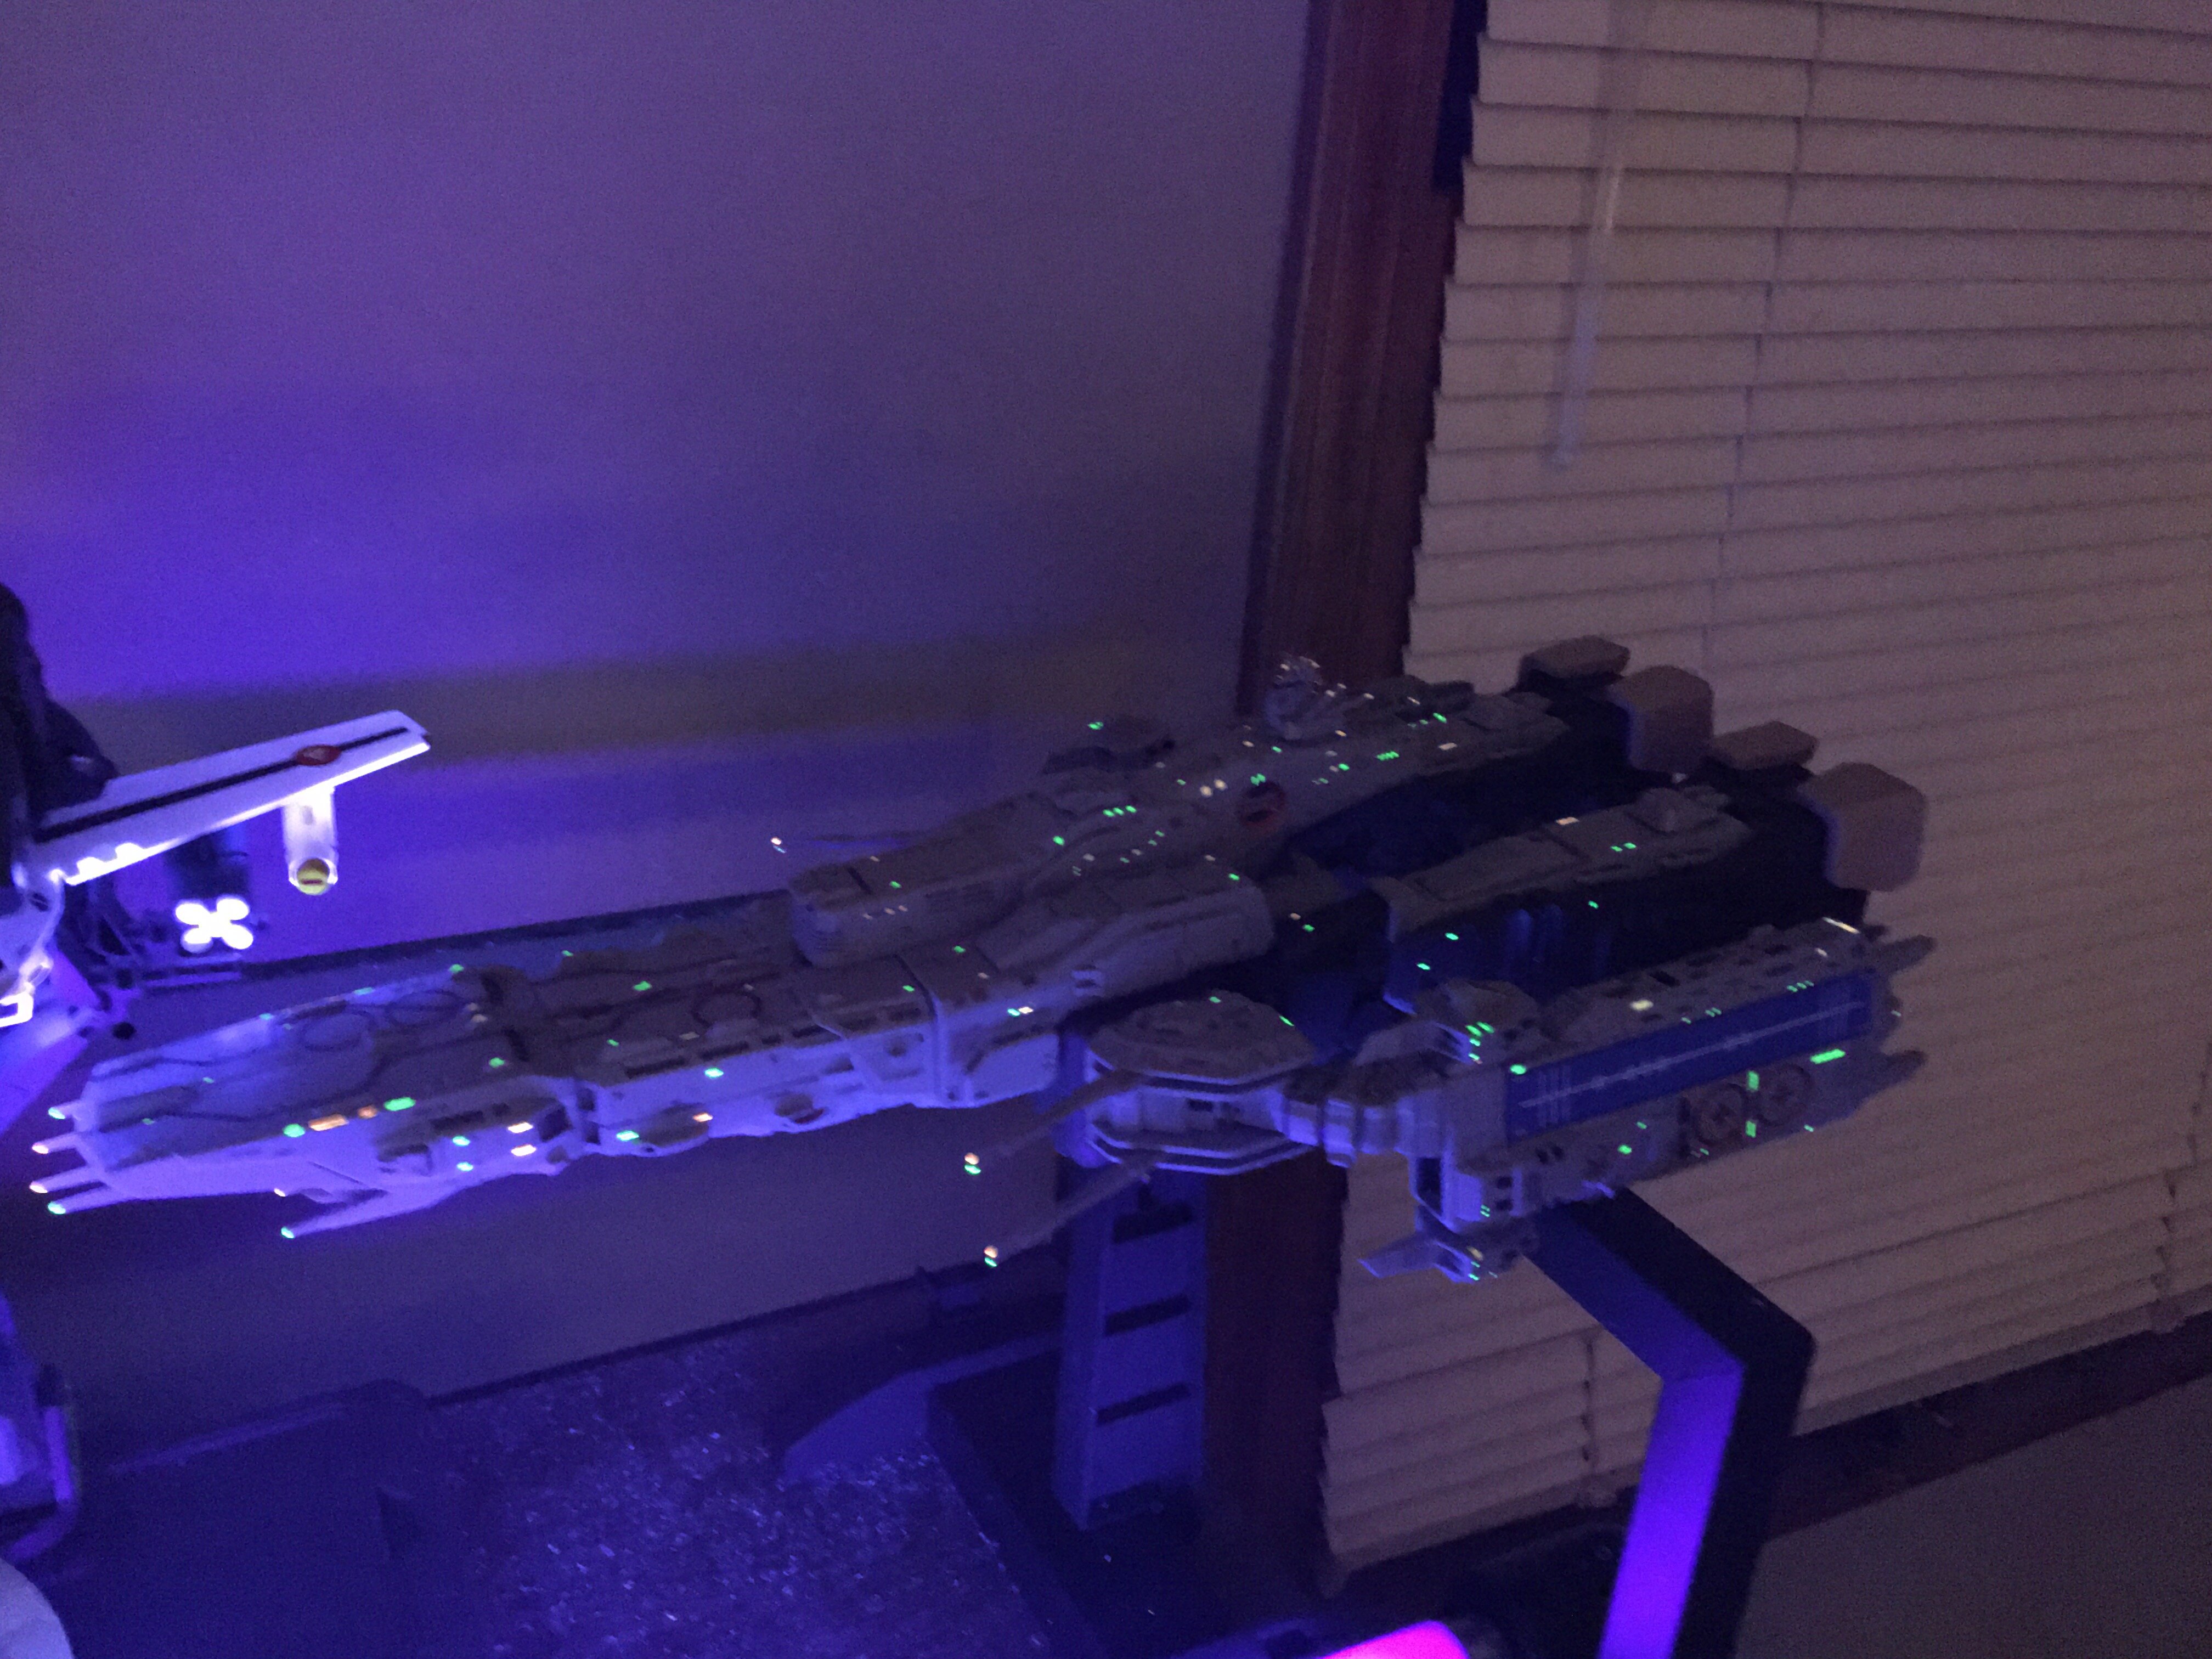
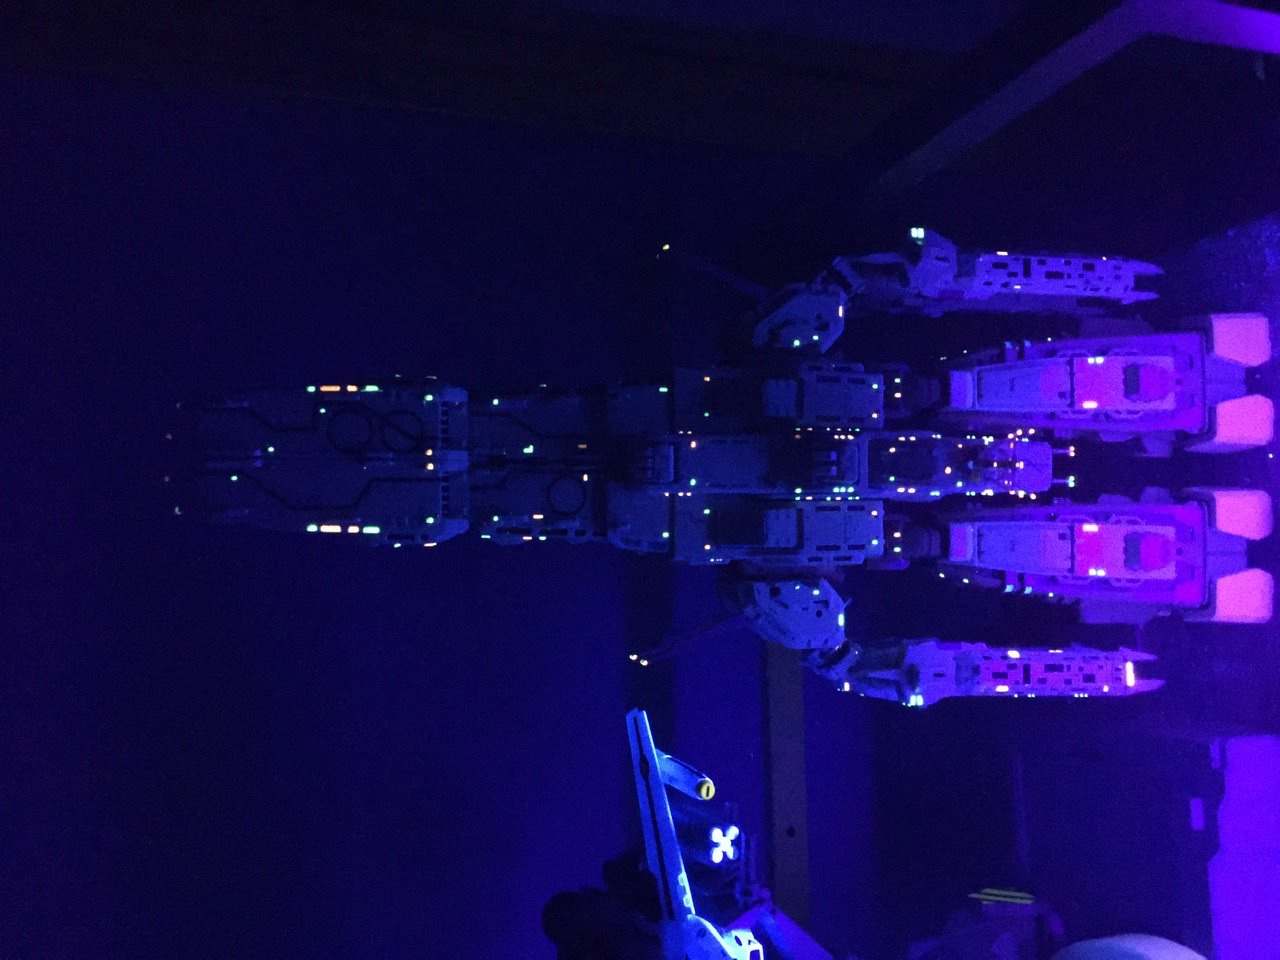
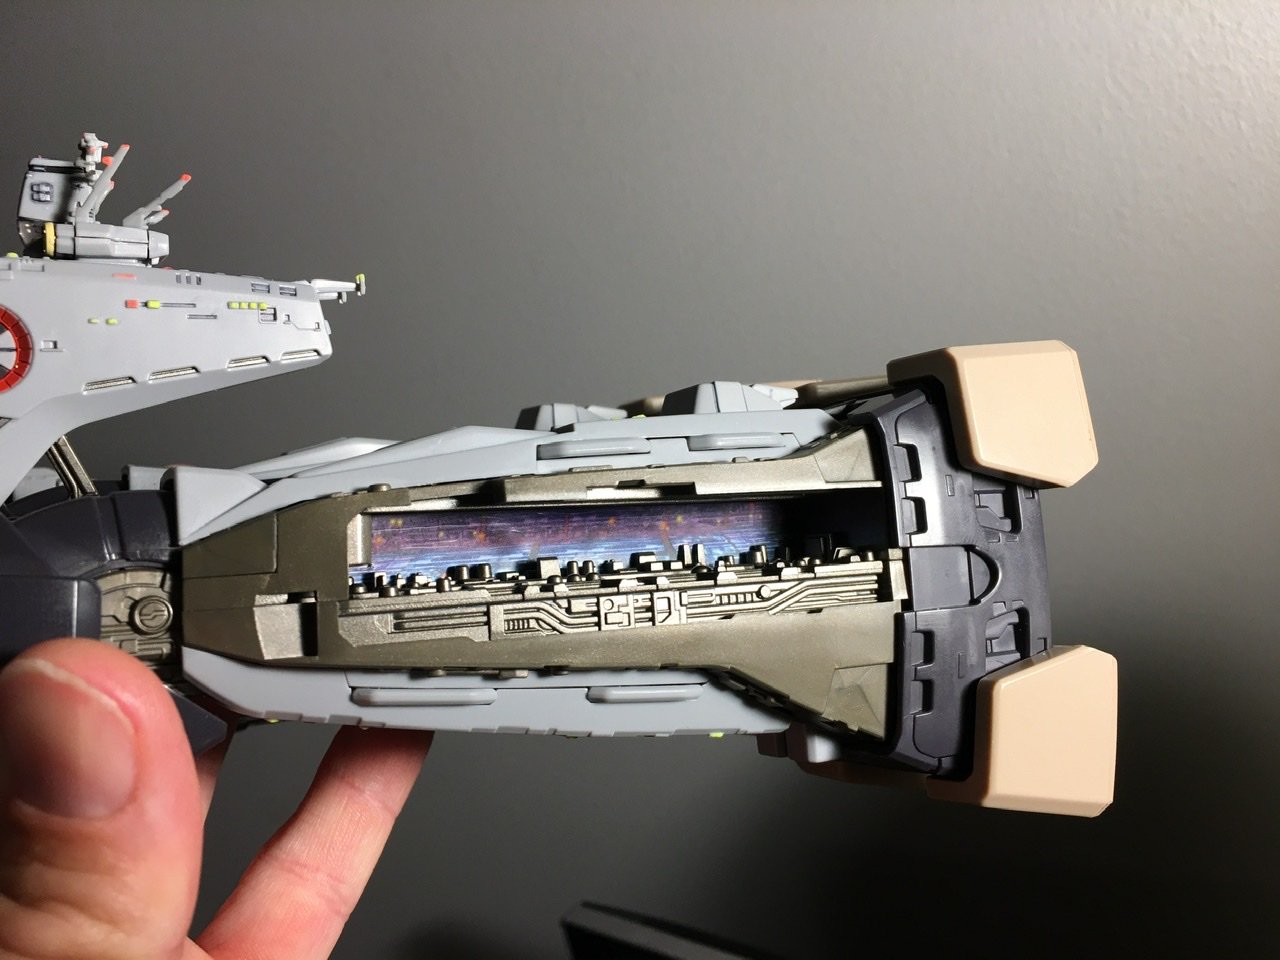
I bought the Arcadia and added the proper glow paint. Visually the paint I found is an exact match to the paint on the premium. http://www.glow-on.com/
-
Thank goodness that’s just yen. For instance 55,000 JPY is only about $478 USD.
-
The Glow-on paint is water based and does not need thinner. It is a bit gritty because of the phosphoresce. Dip the tip of a toothpick and gently drag the paint where you want it. Keep a blacklight handy to check for mistakes before they dry. It isn’t easy and is very tedious. But doable. I will apply matte after I’m done with lining and paint to help protect my work. But only a light dusting of spray for me. And absolutely no touching for a day at least after. Also I will mask the clear plastic windows and bridge as the premium just blanket frosted everything with matte and I don’t like it on the windows. Look for the glow-on website. Bubblegum red and yellow are the two colors you will need to match.
-
Printing from my iPhone and it did not seem to give me an option. I’ll see if there’s anything I can tweak.Printing from my iPhone and it did not seem to give me an option. I’ll see if there’s anything I can tweak.
-
Comes out a bit massive. Anyone know what I’m doing wrong?
-
-

-
Let me know if you find a link to that decal. No rush. I’m having trouble.
-
Thanks Slave VI!
-
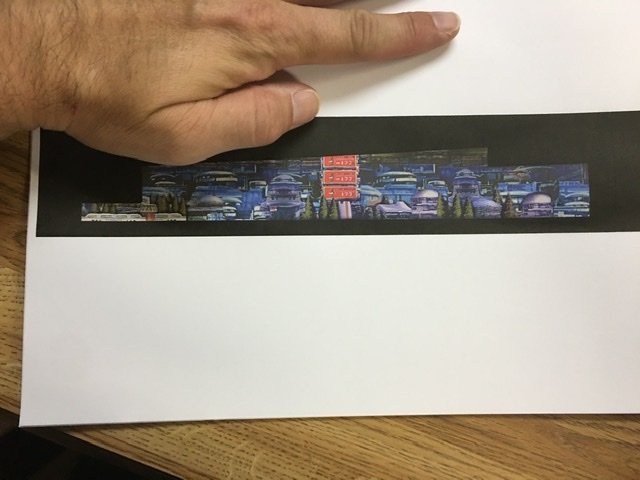
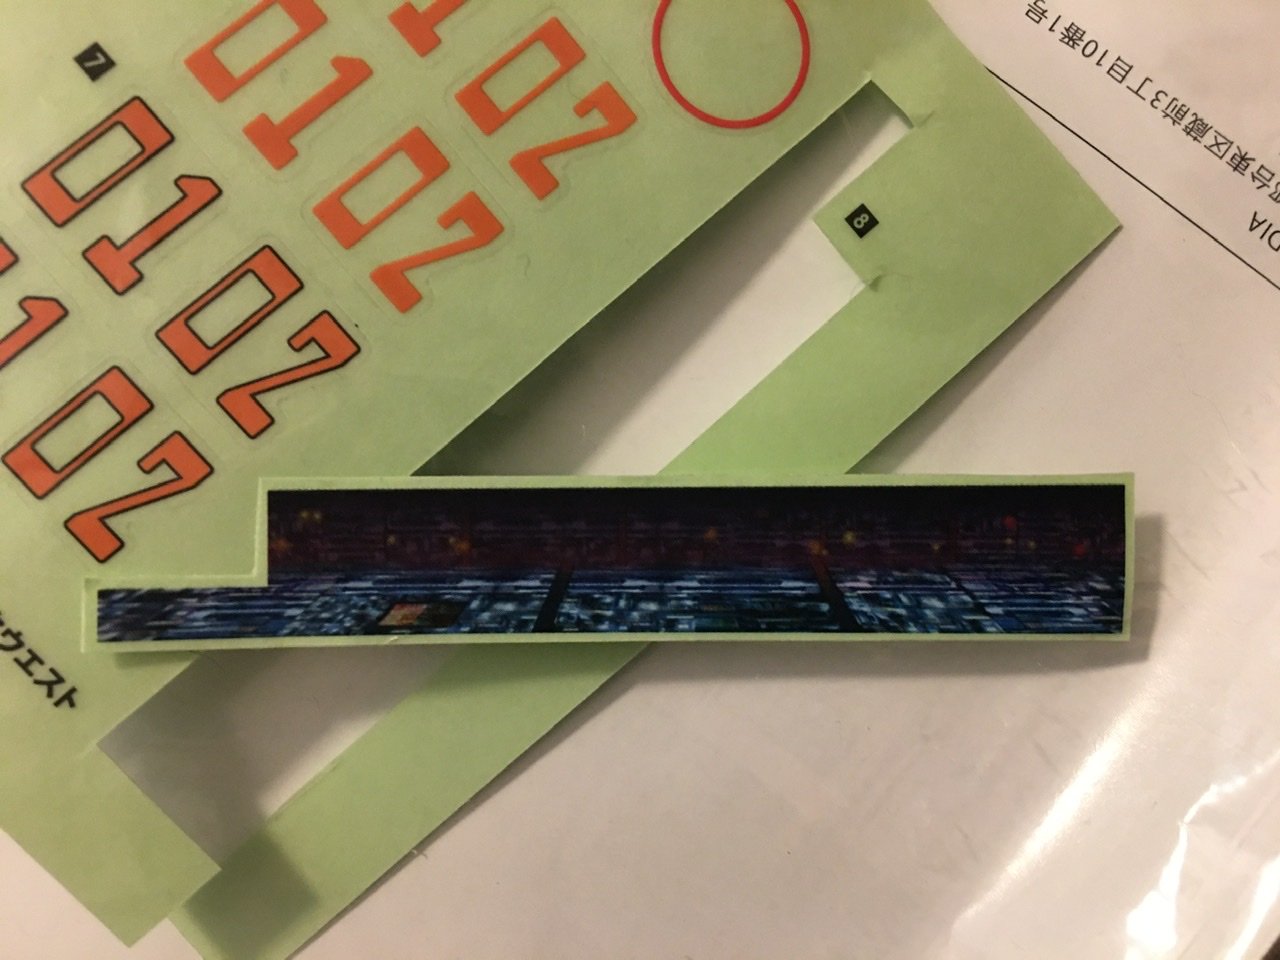
Decal I fits. It’s just supposed to be behind the buildings. I just slid mine on without taking off the backing.
-
Disappointed that my labels not as cool. But trimmed it and put the thin part in at an angle first and Fisht down in and then worked it over the top of the buildings. Definitely doesn’t look so plain.

