arbit
-
Posts
2597 -
Joined
-
Last visited
Content Type
Profiles
Forums
Events
Gallery
Everything posted by arbit
-
More like partial Monsters. There are 1/4000 Monsters on Shapeways. Anyone try those?
-
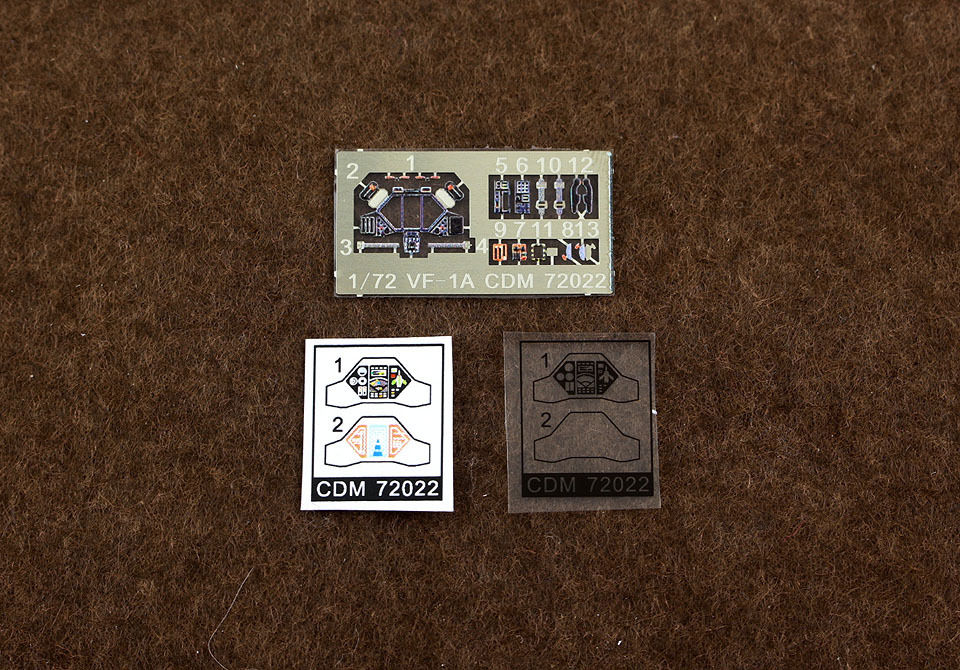
Will there be new photo etch for Attacker mode, or we use the same PE as Fortress?
-
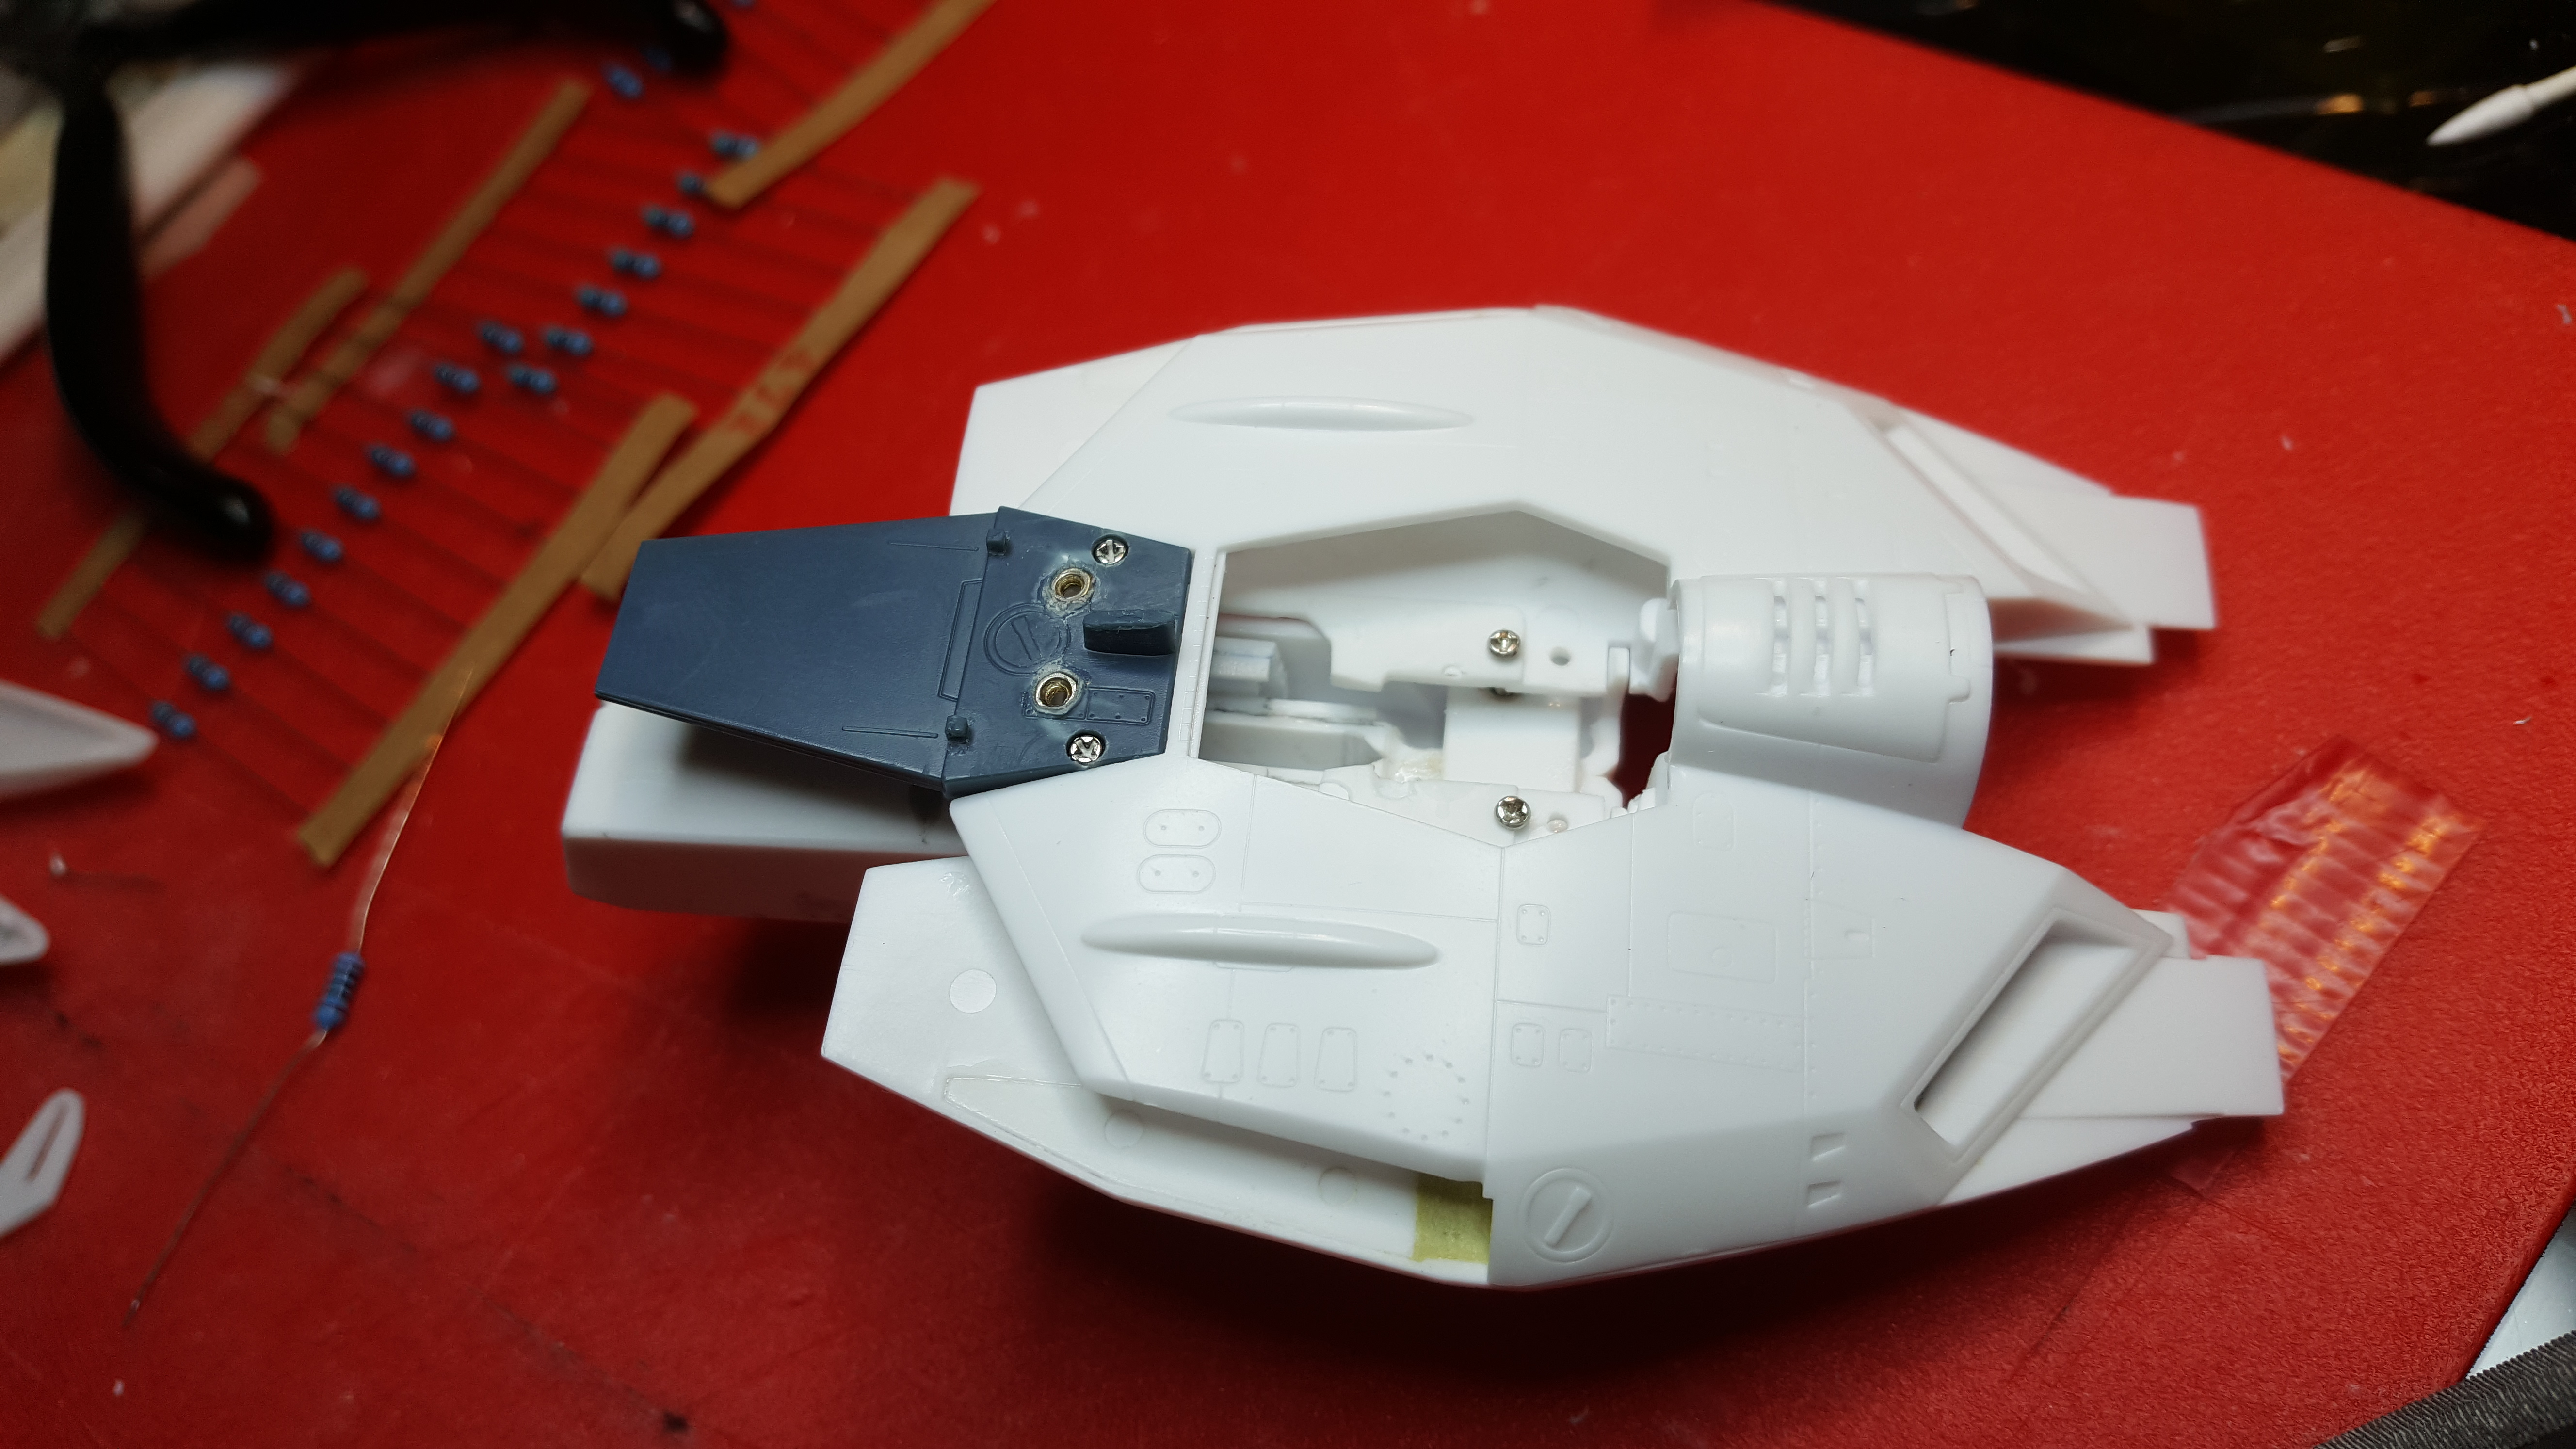
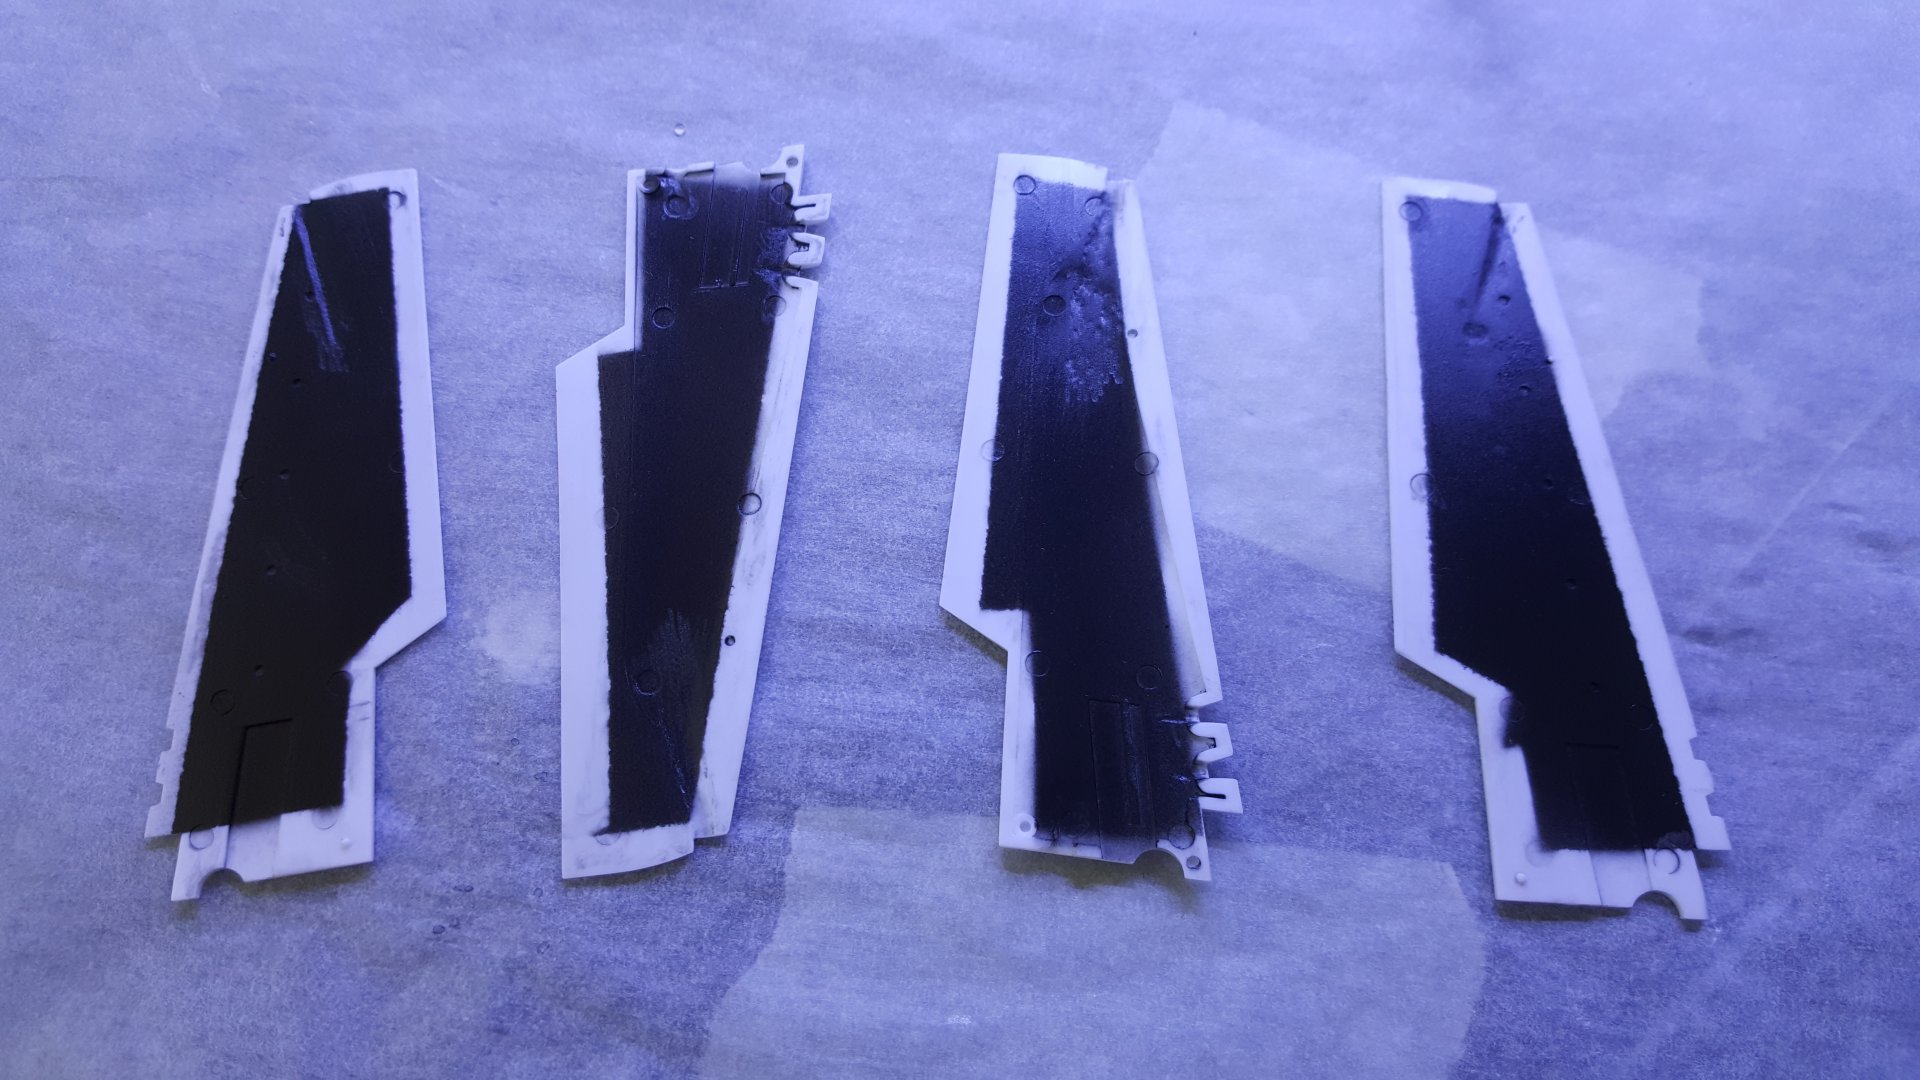
I got Jasmine Models cockpit photo etch for the cockpit lighting; I was hoping that the side panels would have holes in them for the light to go through, but they turned out to be solid and wont backlight. One option is to scan and print them on plastic sheet. I have scanned and printed on plastic sheets before, but the resolution is no-where-near good enough to capture that small detail. Another option is to scan and print them as decals on a lightbox.
-
Paragrafix has amazing photo etch for lighting. They use backlit films instead of decals, and the photo etch is prepped for lighting. I wish someone would do this for the vf-1. This is for the Moebius model. http://www.paragrafix.biz/product_detail.asp?MainCat=Photoetch&SubCat=blank&PPartNum=PGX207 The amazing Viper on youtube was done with their stuff. I am dying to do this for my valk, but havent figured it out yet.
-
505th, Thanks so much. That's the nicest thing ever. But the fact is you can paint, and I cannot. So I add as much bling as possible so no one can tell!!!!
-
Please Bandai, anything other than another VF-1 repaint.
-
Beautiful work. The paint, the weathering... everything. My goodness you got skills The shade of brown would make a nice color for a Destroid, what color did you use?
-
Really nice paint on the Regult. Somehow I don't think that was out of the box. I see a valk crushed in your tank's wake. Nice work refashioning the auto. I was daydreaming about kitbashing a BTTF DeLorean with a Super VF-1. It would be a VF-1 body and bring over all the details and engines from the Delorean.
-
Works for me.

-
Fitting limit switches. I decided to go below the gears, rather than on top, to save space for all the wires up there.
-
Yahoo jp is great. Then you can sell it slightly damaged, missing some parts and with a mislabeled desription!!!
-
My valk is now totally screwd. No Glue.
-
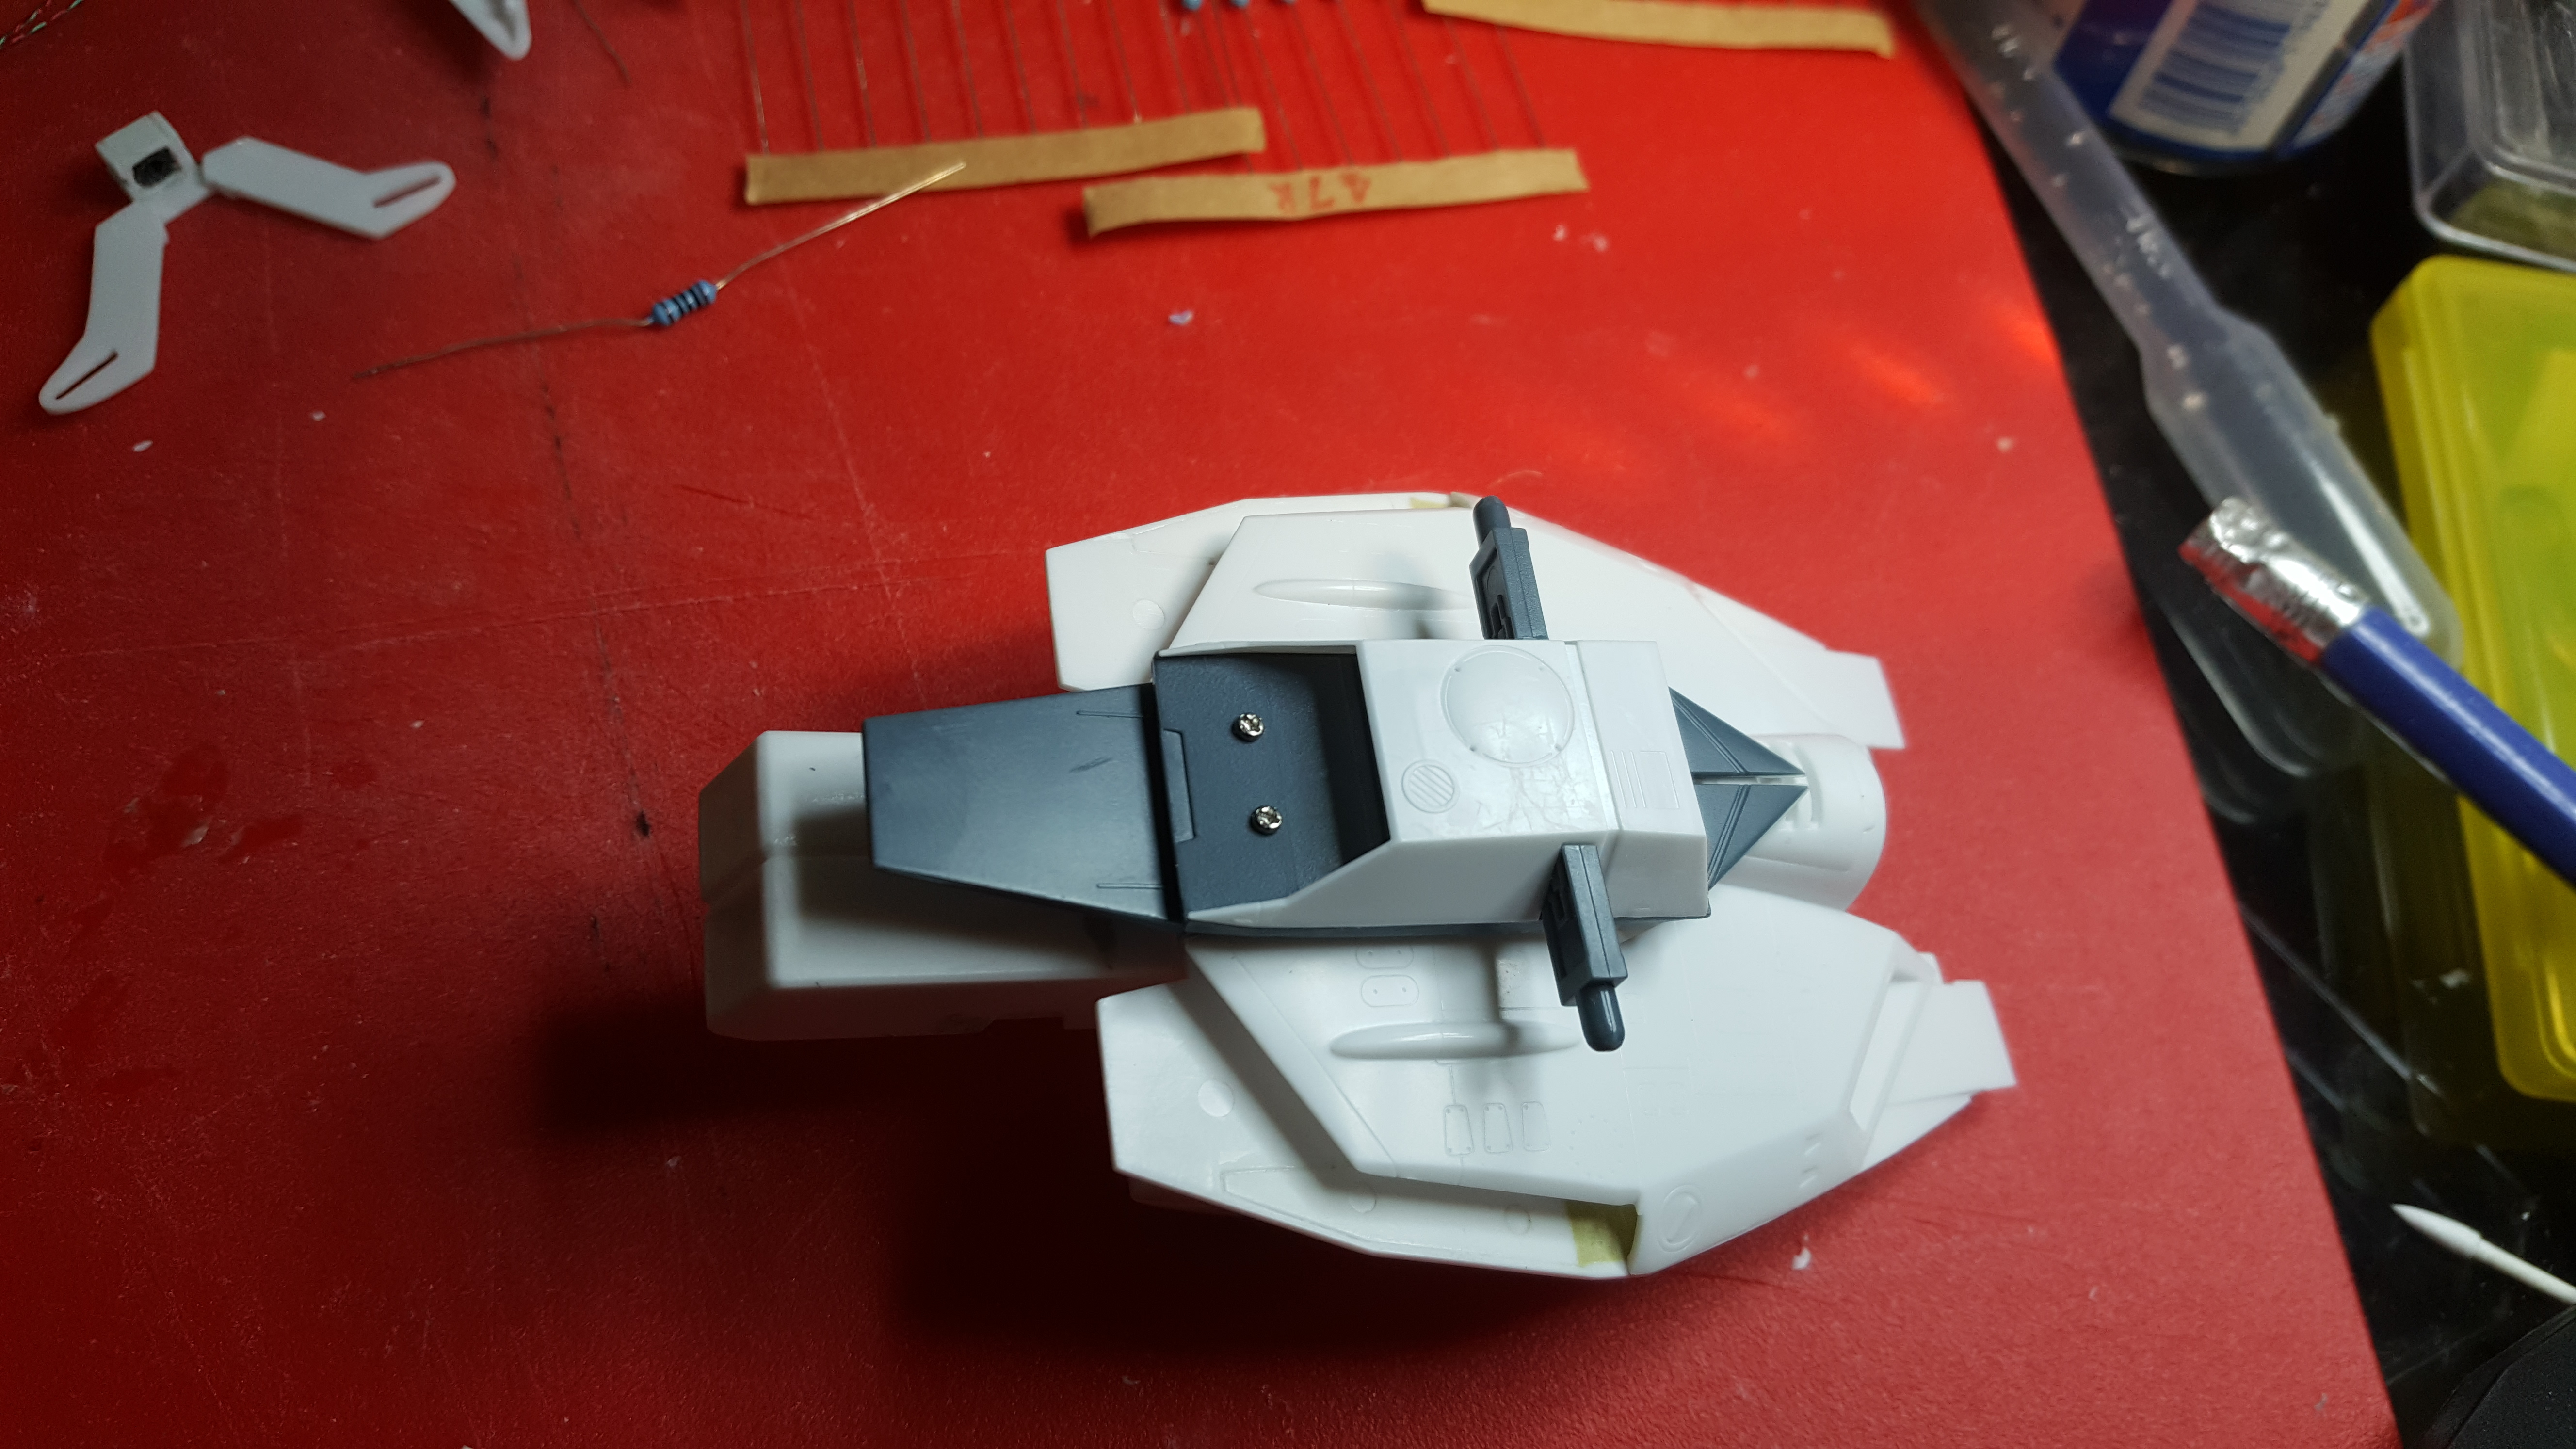
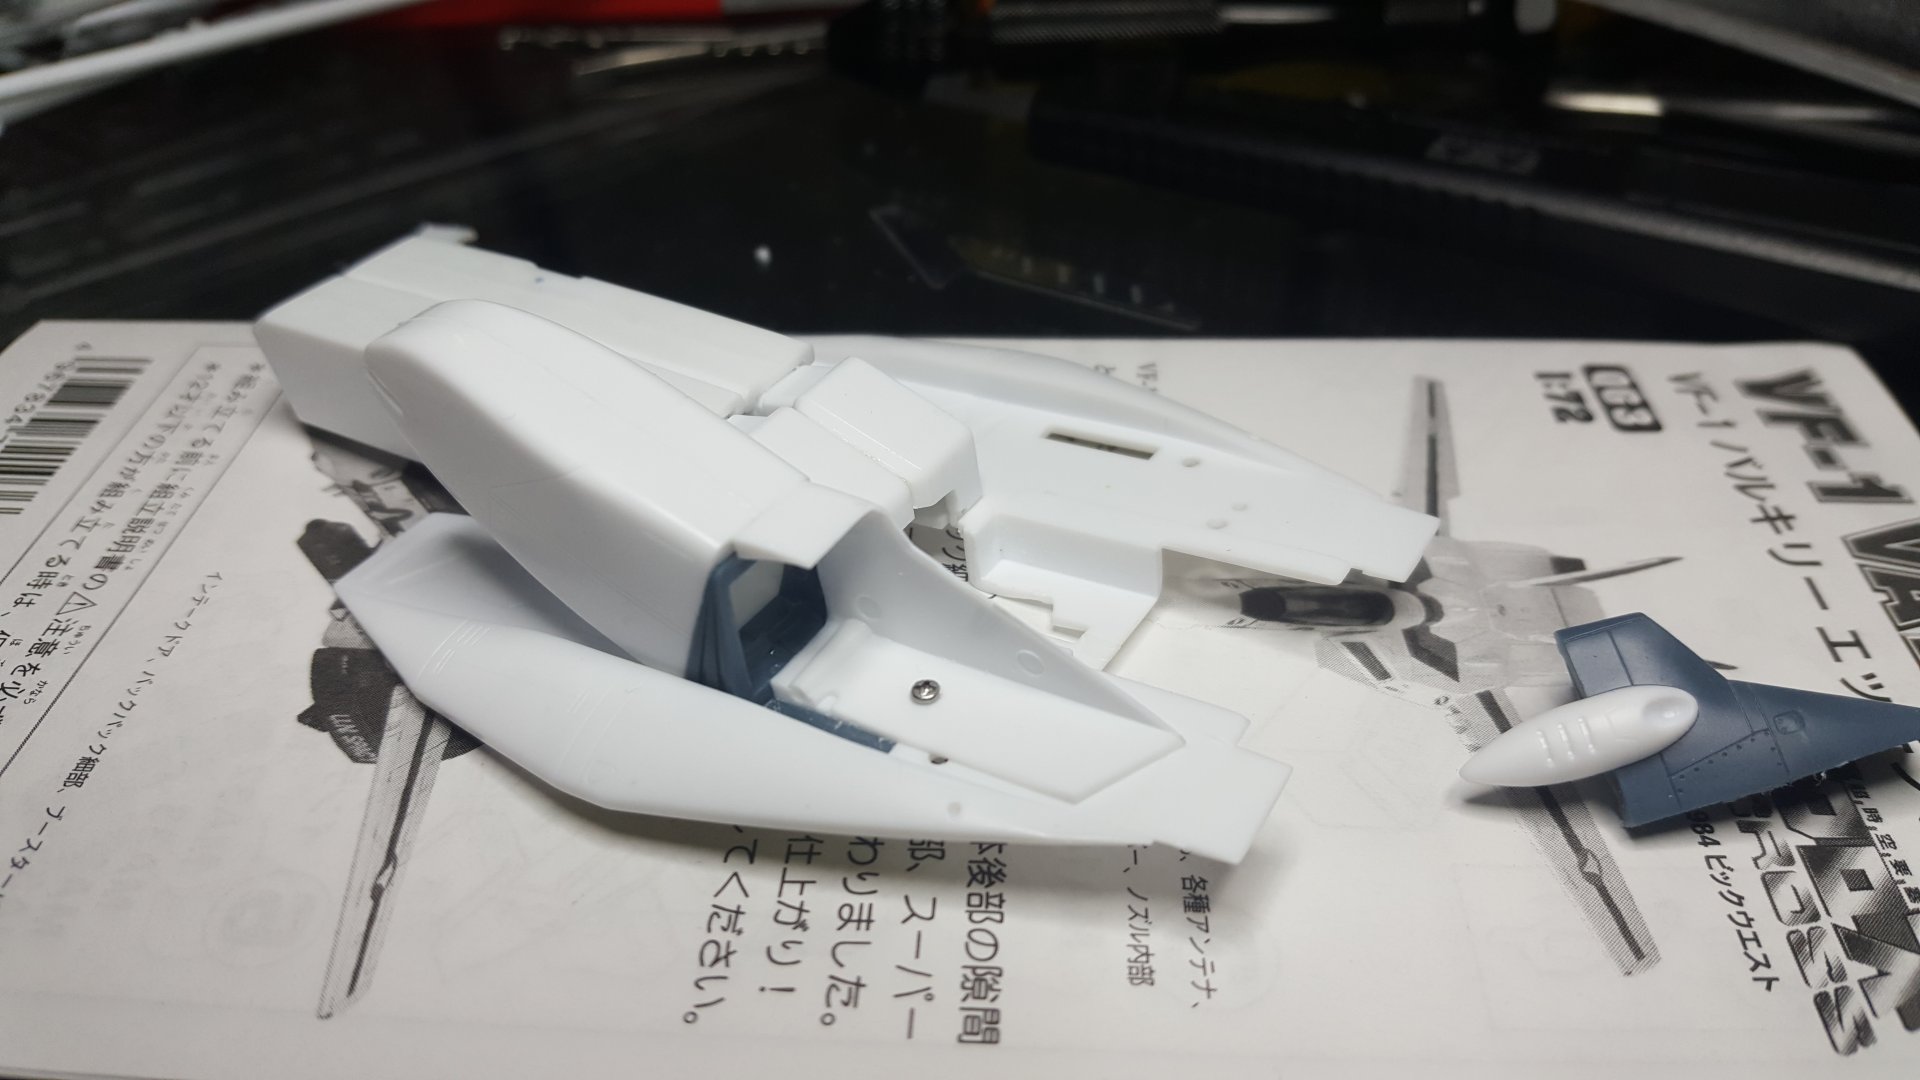
I've decided on screws for the backpack. It needs to carry the weight of the entire valk and elctronics sideways on the launch arm, so magnets wont cut it. I need to replace the pan head screws with flat heads, then some thin pla plate to conceal the screws, and we will call it "custom panel detail".


-
I don't know the market, but search Built Painted Models on Ebay. Doesn't seem fast moving though.
-
Really nice!
-
Hah! Seen that before... Maybe one at a time then. I'm also considering screws for that.
-
Blinking will be handled by a micro Arduino.

-
With these small parts, I put the smallest amount possible of superglue on the tip of a toothpick, small enough that it will not reach the edges when the parts are squeezed together. Hold it in place gently without force for a bit, and no one will ever know.
-
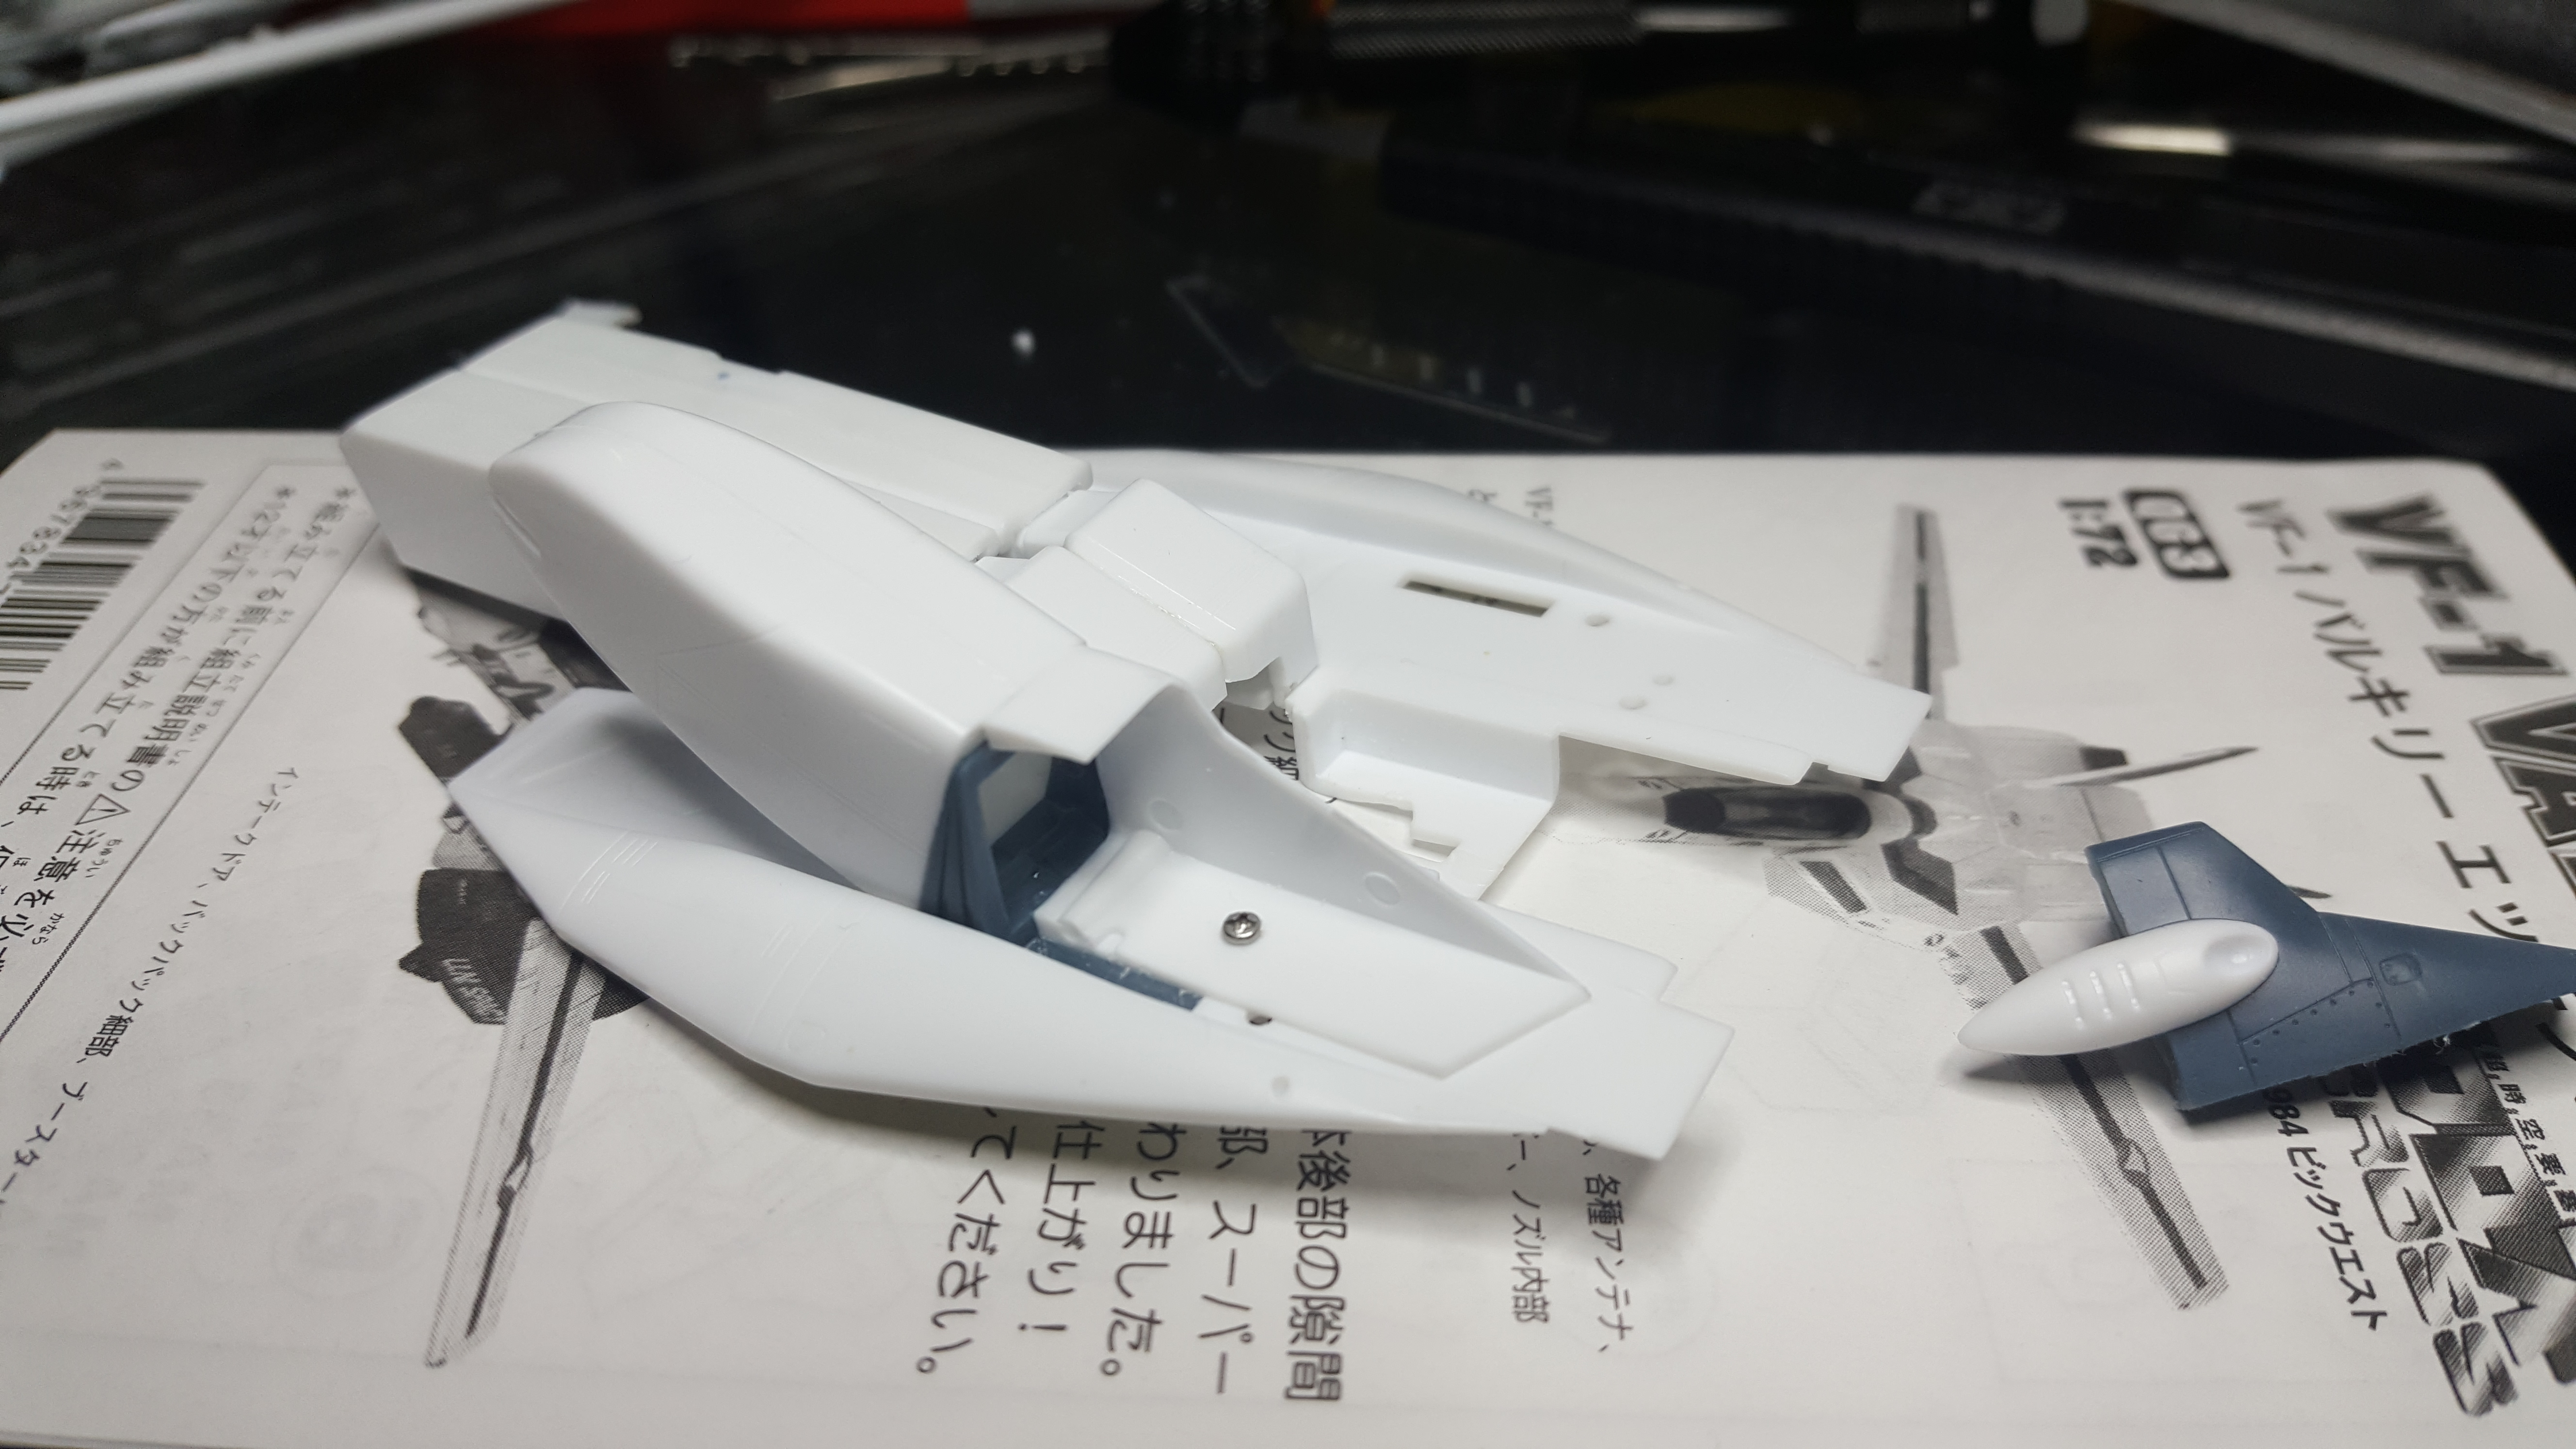
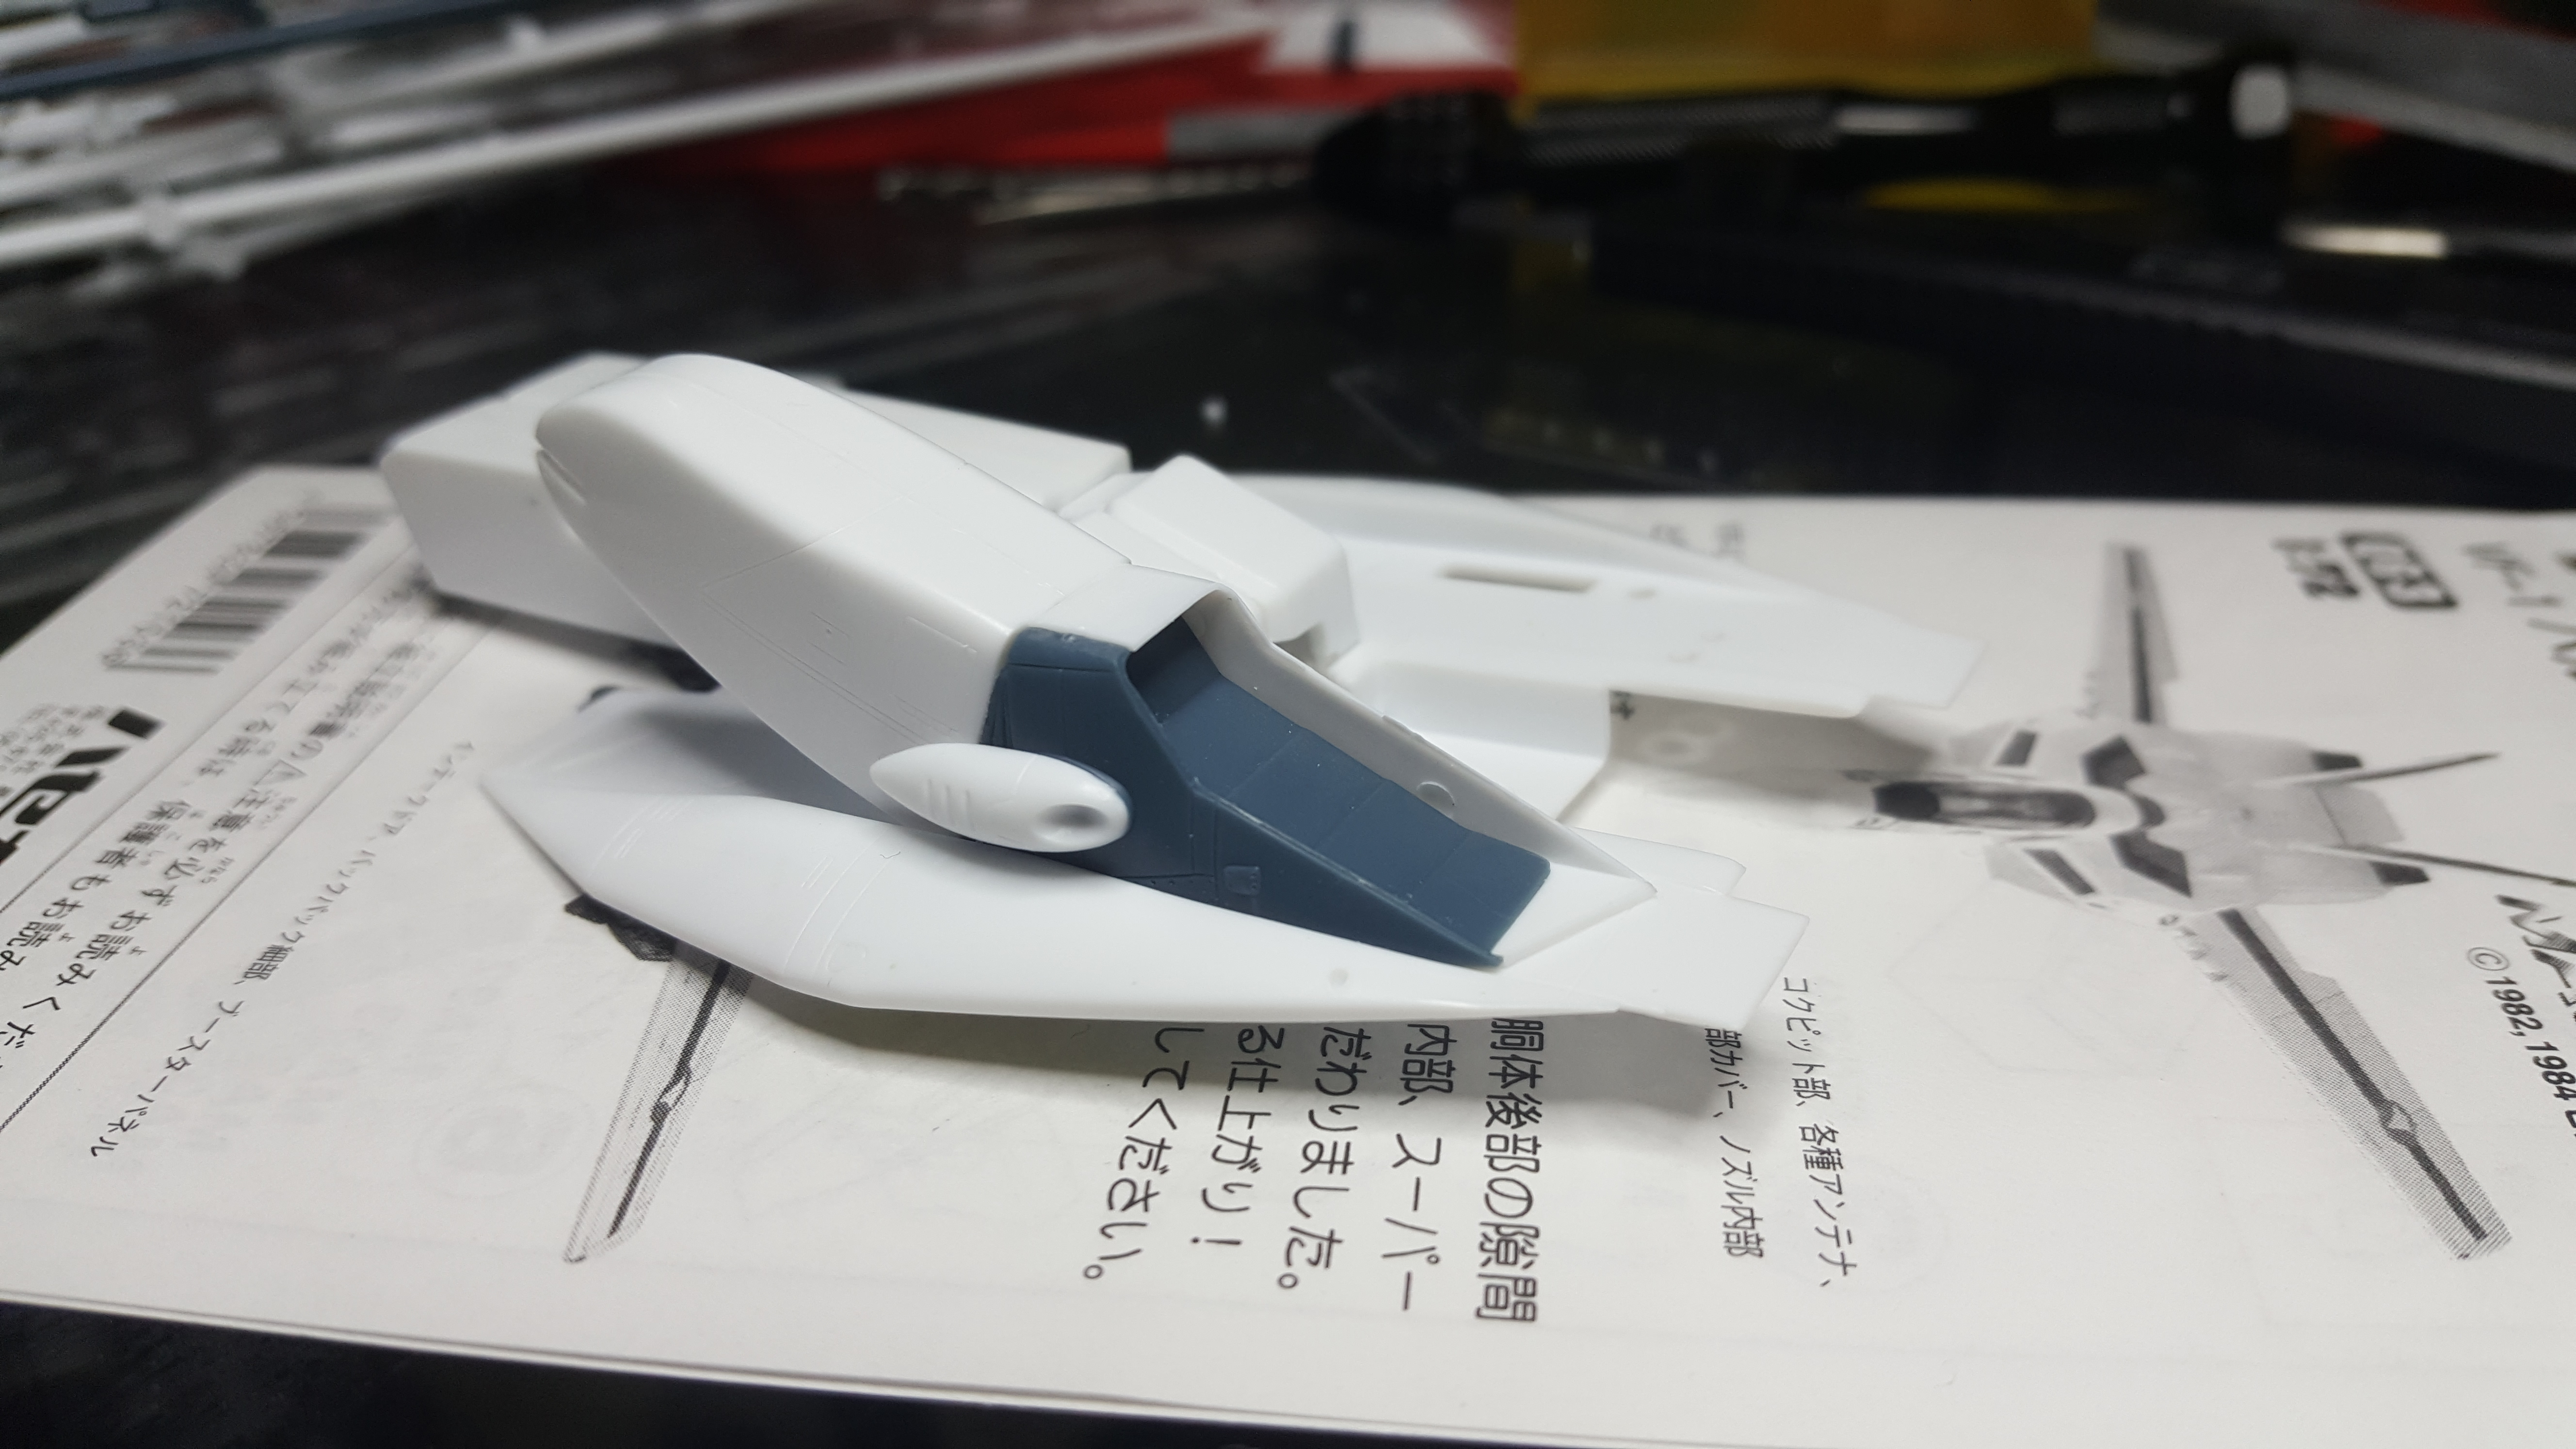
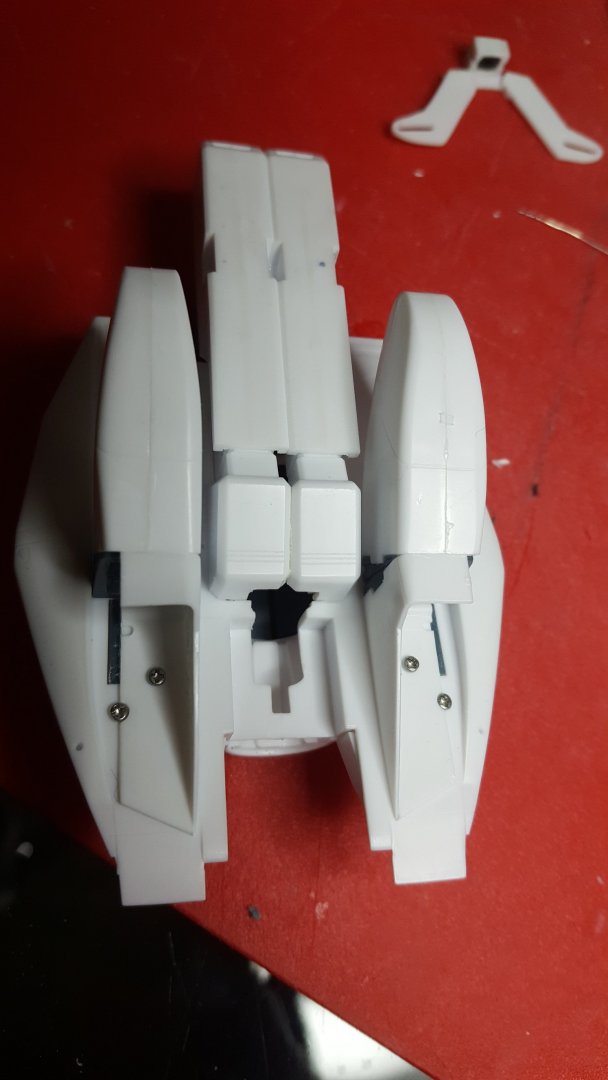
Got the left wing up. I'm using screws to seal the body, in case I ever need to open it. The screws don't stress the plastic, they connect to bolts on the opposite end. Now I need to figure out how to attach the backpack and super parts without glue. Maybe magnets.


-
Thanks RTKF. There is really no magic here. The issue is that I am learning on the job. I also had some experience with this type of gear on my Nautilus build, which I micronized further here. For any knowledgeable person, the wiring would be a breeze. But as I am trying to teach my kids, you can do anything if you put your mind to it. I will take any combo of recommendations for the Low Viz scheme, just as long as the primer is black. One layer for the gray and done, given my skill level. I like the blue shade in the 1/60 Yamato, but it's a bit too much blue. I use Vallejo Air paints (I know, Tamiya is better, don't kill me, I am not a good painter or very artistic).
-
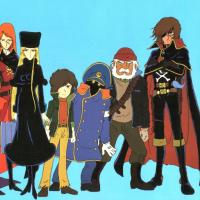
Wait, is this a GITS kit, or your own custom scheme? Oh yes, that's my kind of model show.
-
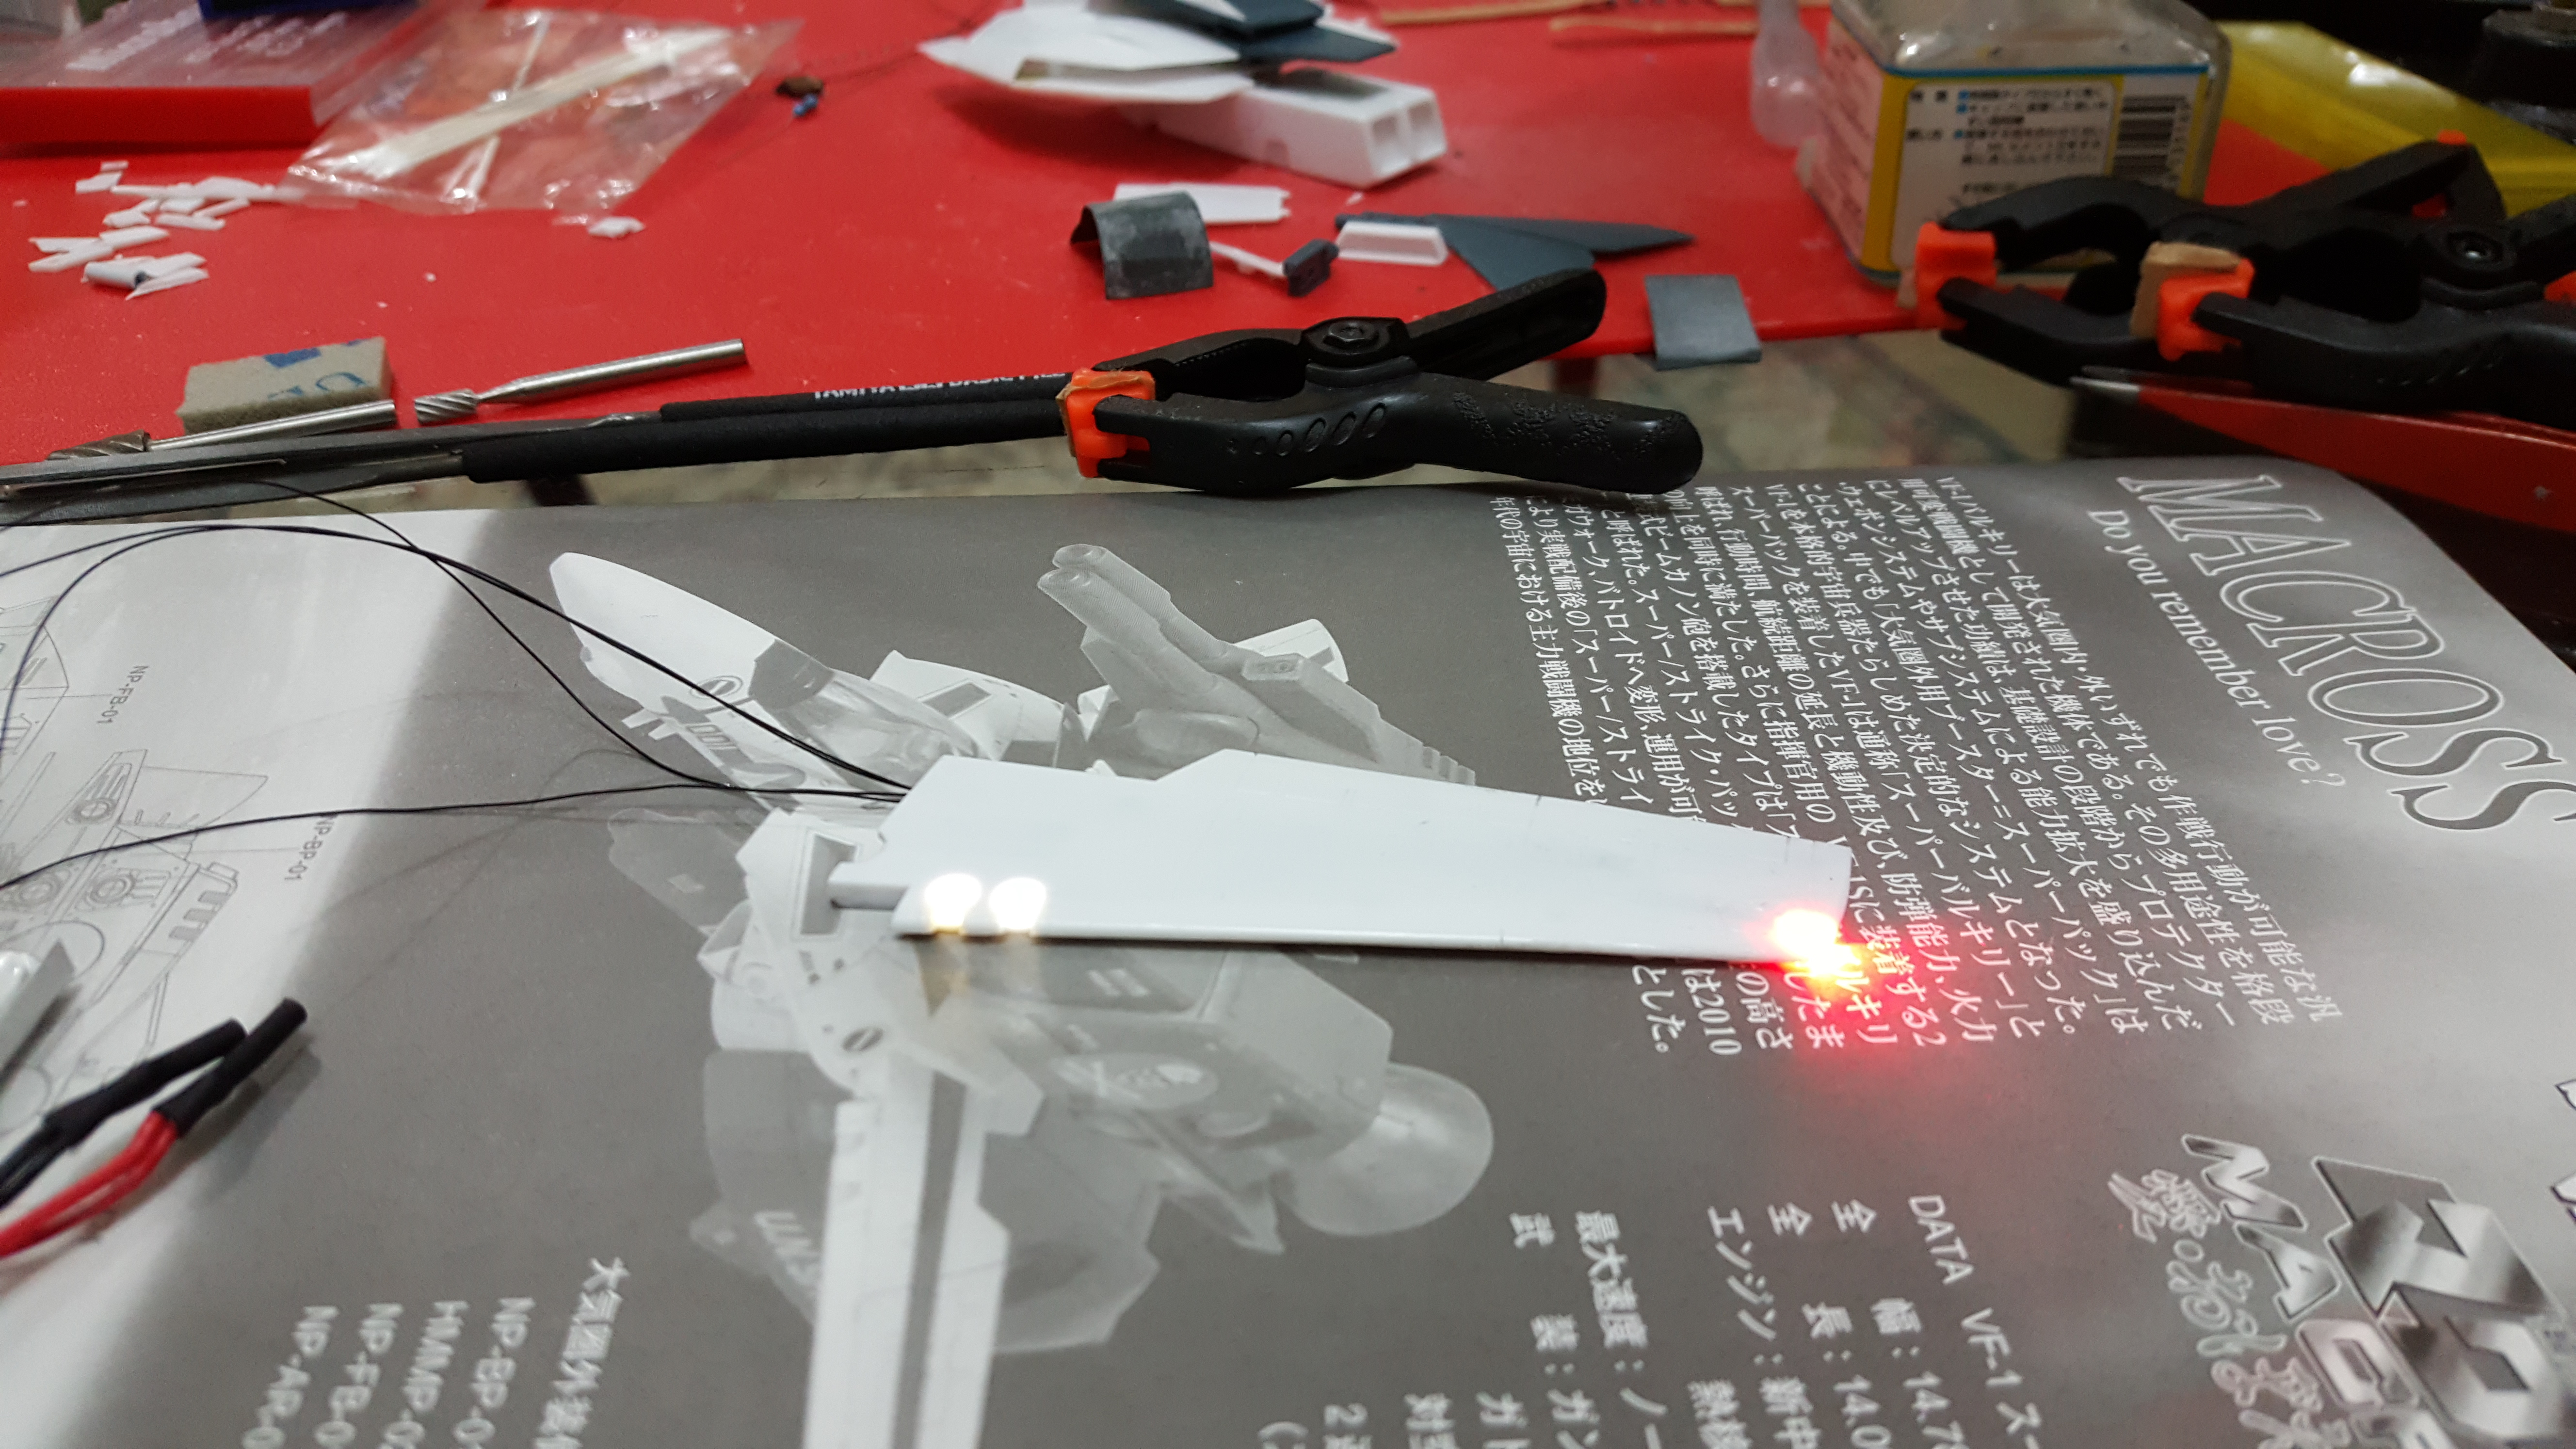
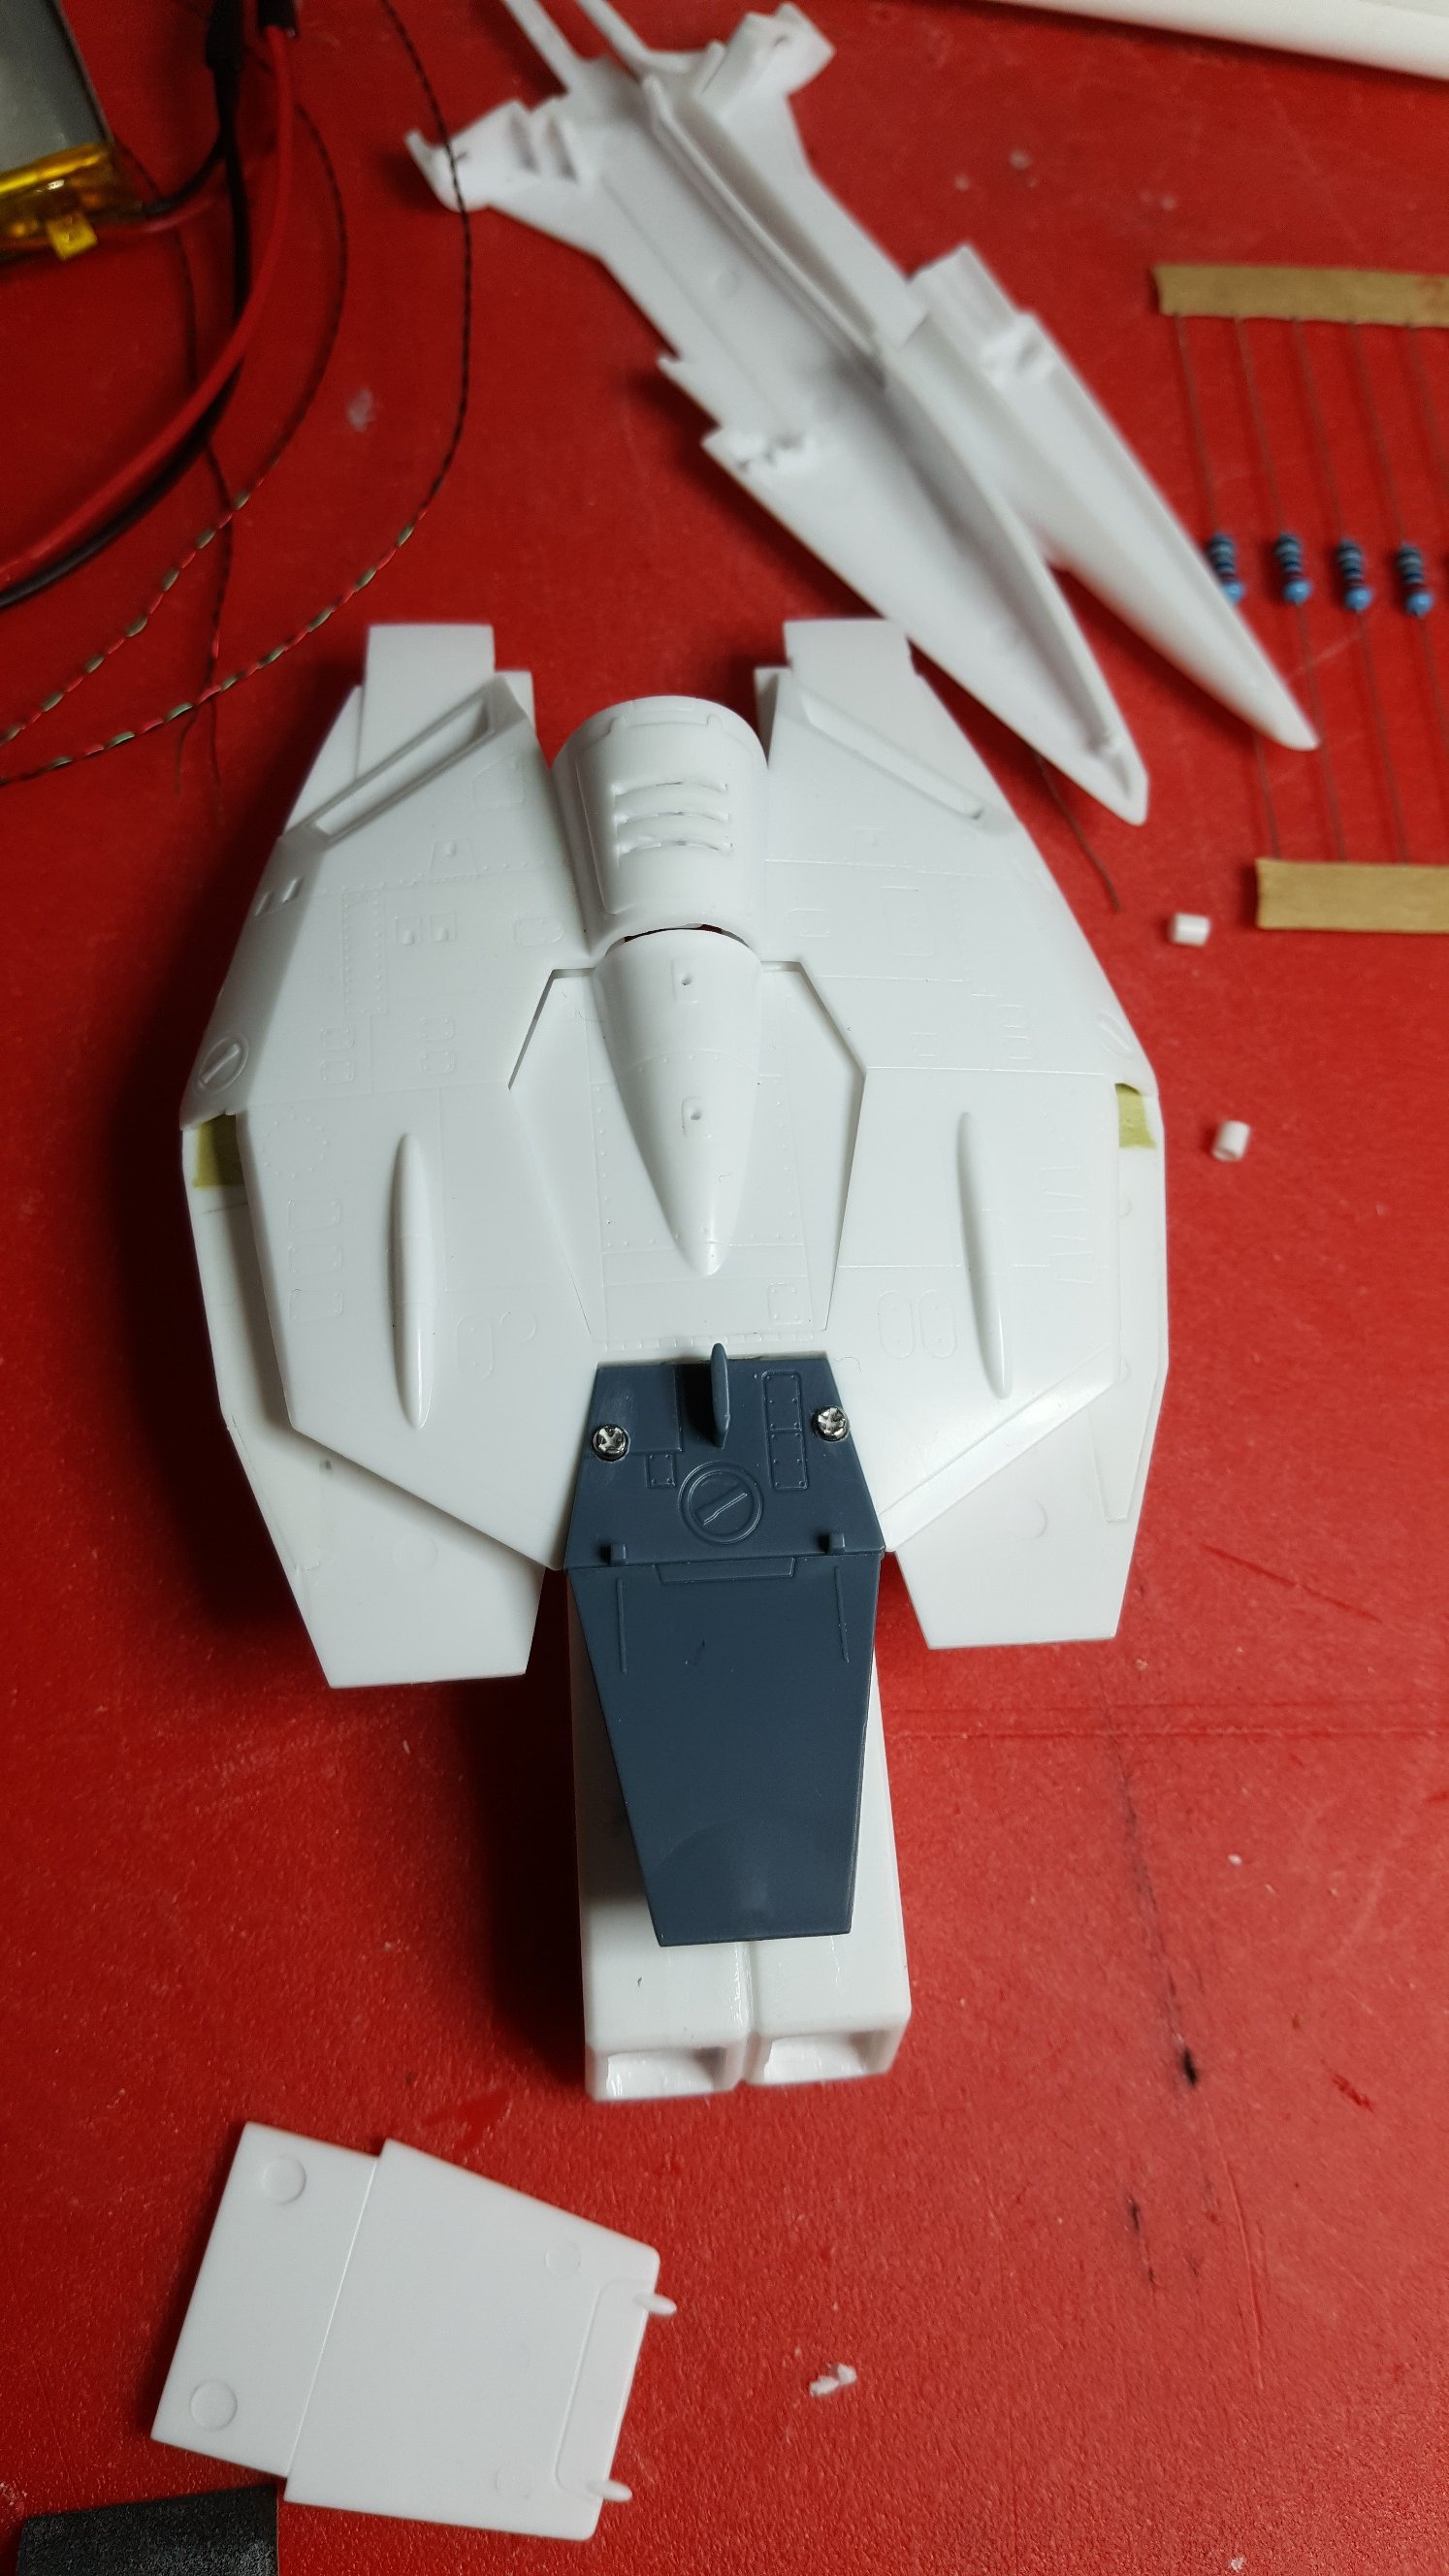
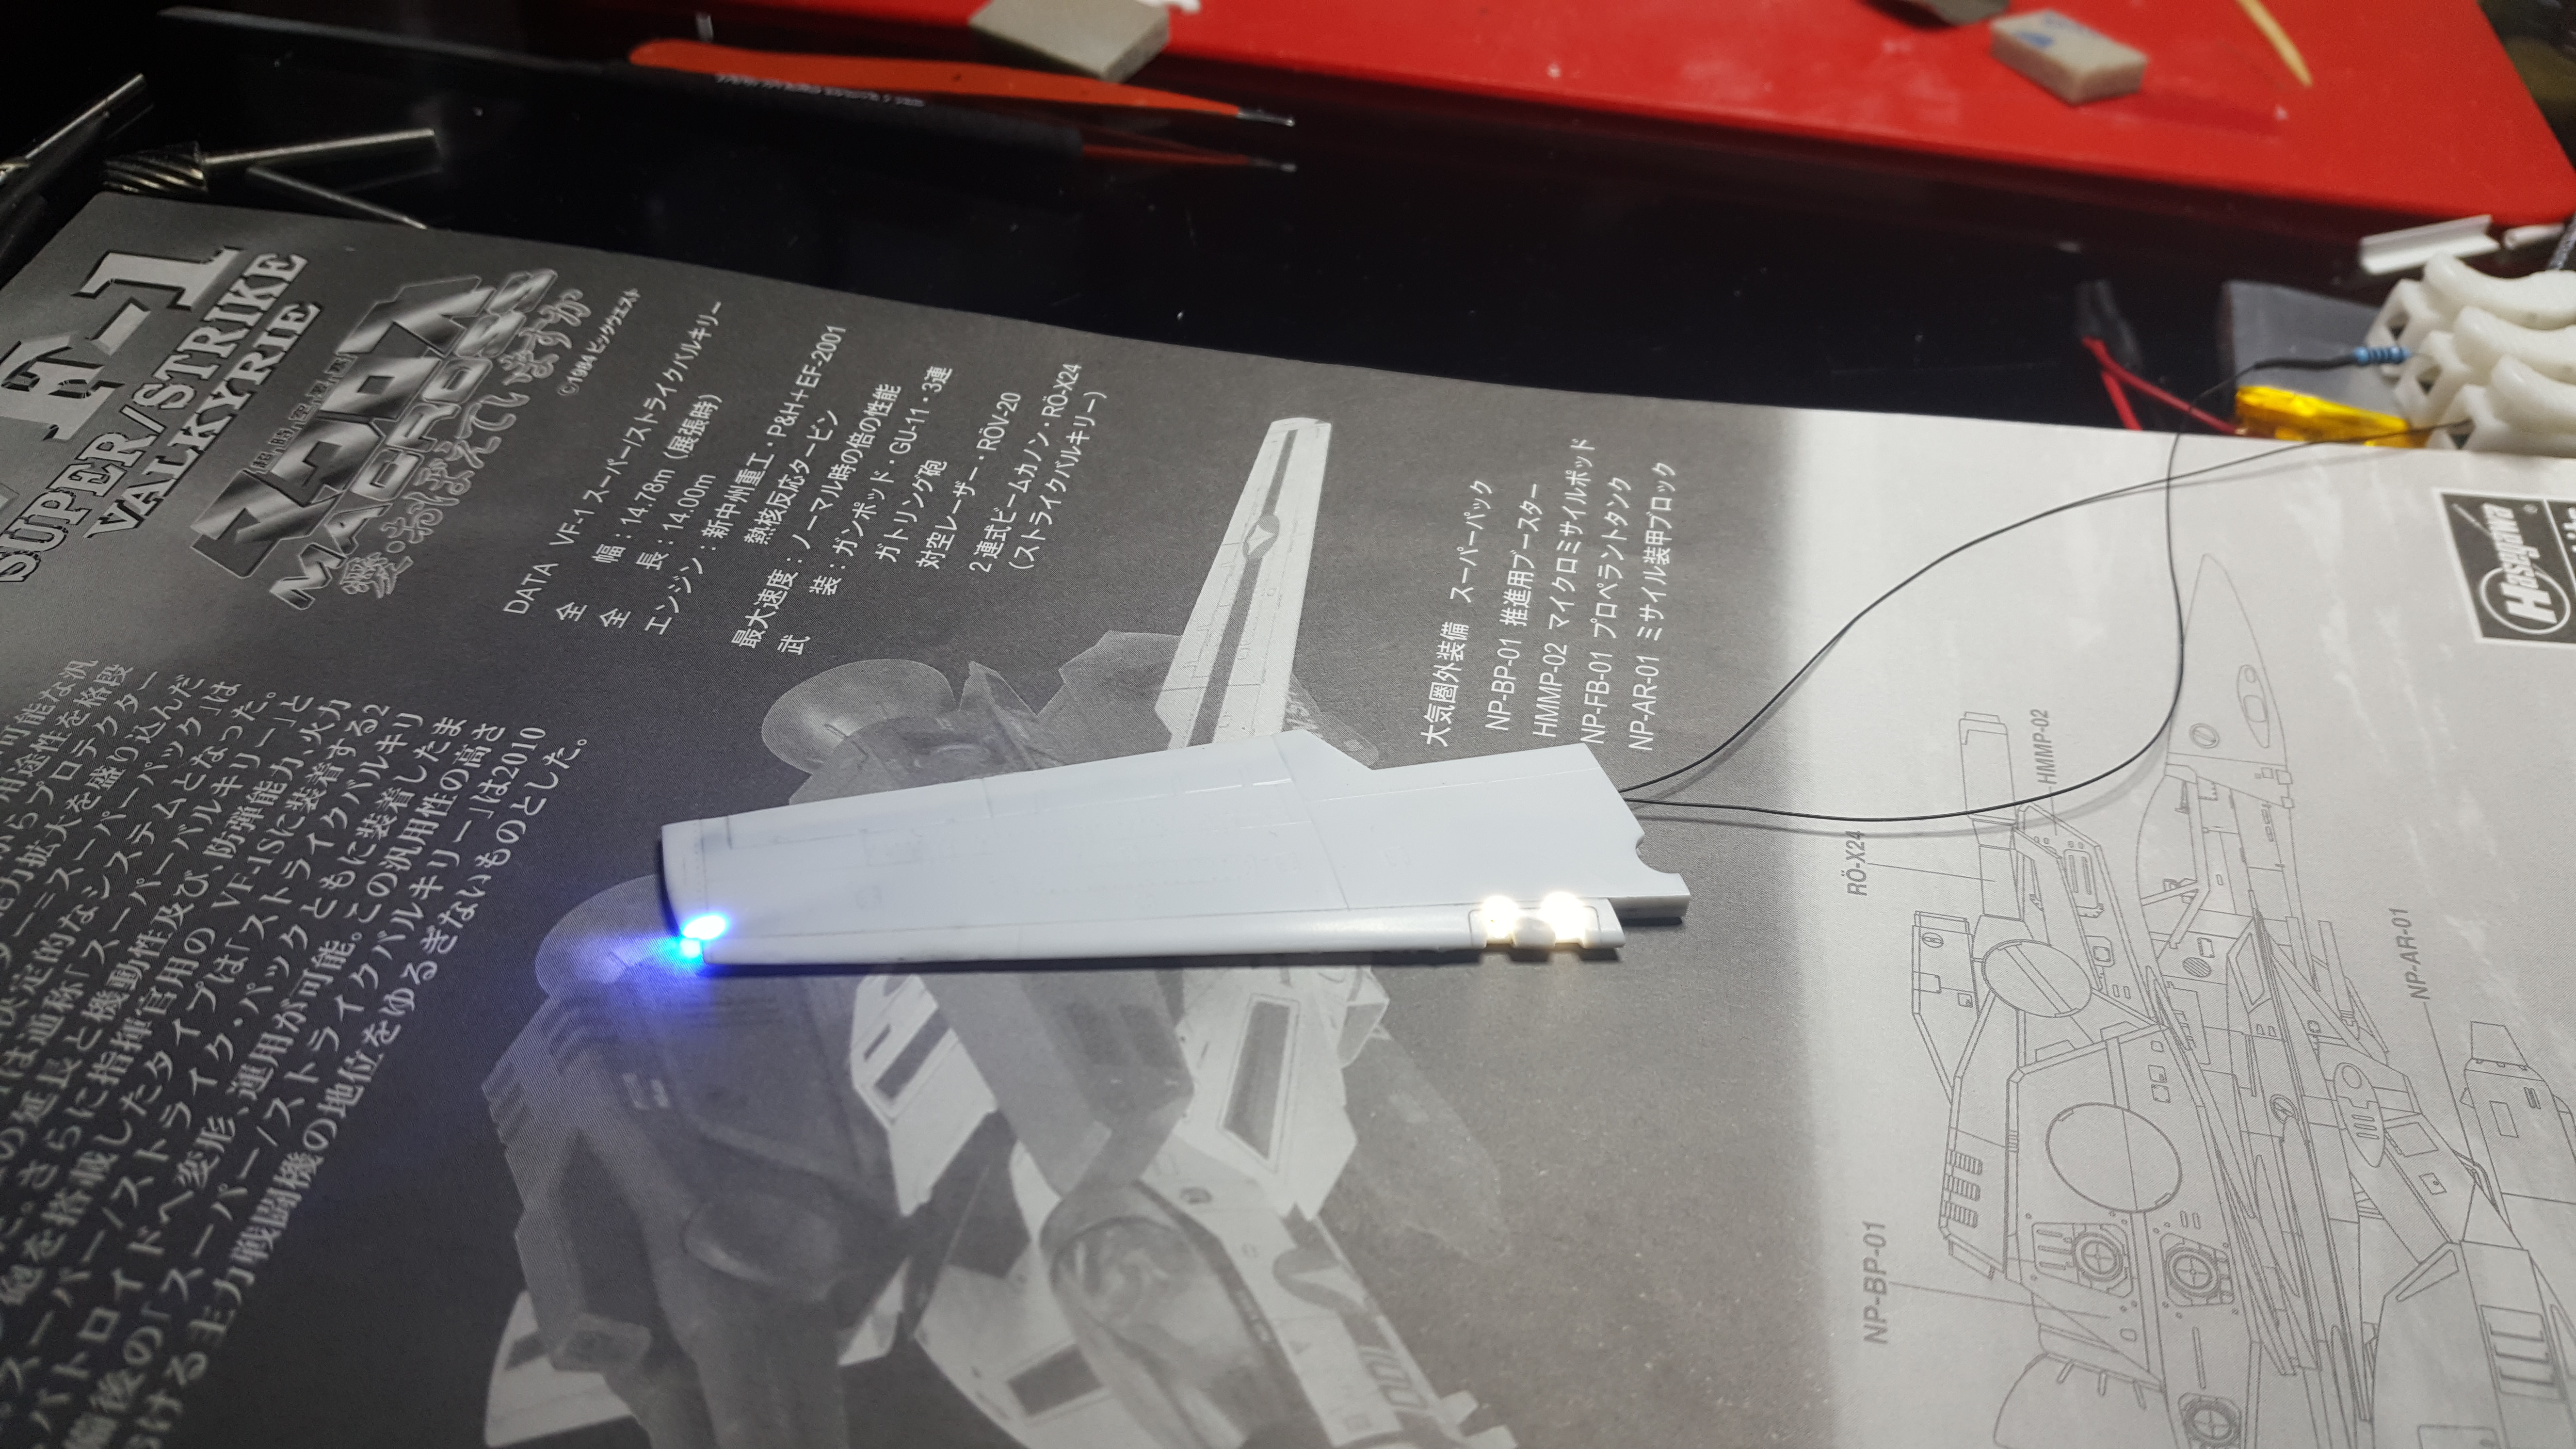
This is my second priority after the motor. I've used 0402 SMDs in parallel, with liquid electrical tape to minimize space. Cant wire them in serial because 5v is not enough for three. Plus if one goes out, I don't want all three to go out in serial. Should be safe since they are the same type, and with a 100 Ohm resistor, double the requirement, for added security. I would prefer to control the wing light and the two warning lights separately, but I need to reduce wires for movement. I'm planning a Low Vis scheme. Black primer with gray on top. The black primer will doubly serve to occlude some light seepage. Any suggestions for the mix for the gray?

-
I've found a second solution for reversing the motor with a momentary push of a limit switch. This approach is with Arduino. The sketch is attached for anyone interested. This uses the exact same set up as shown here on Adafruits site with the L293D motor driver. Only the sketch is different. You can use two limit switches in parallel for up and down limits. I am working on an update to this with a built-in counter so you can blink lights, move the motor once or twice, then go on with more blinking. For this project, I prefer Urashiman's circuit, because the Arduino approach will take up too many pins. Motor_Reverse_with_Switch.ino
-
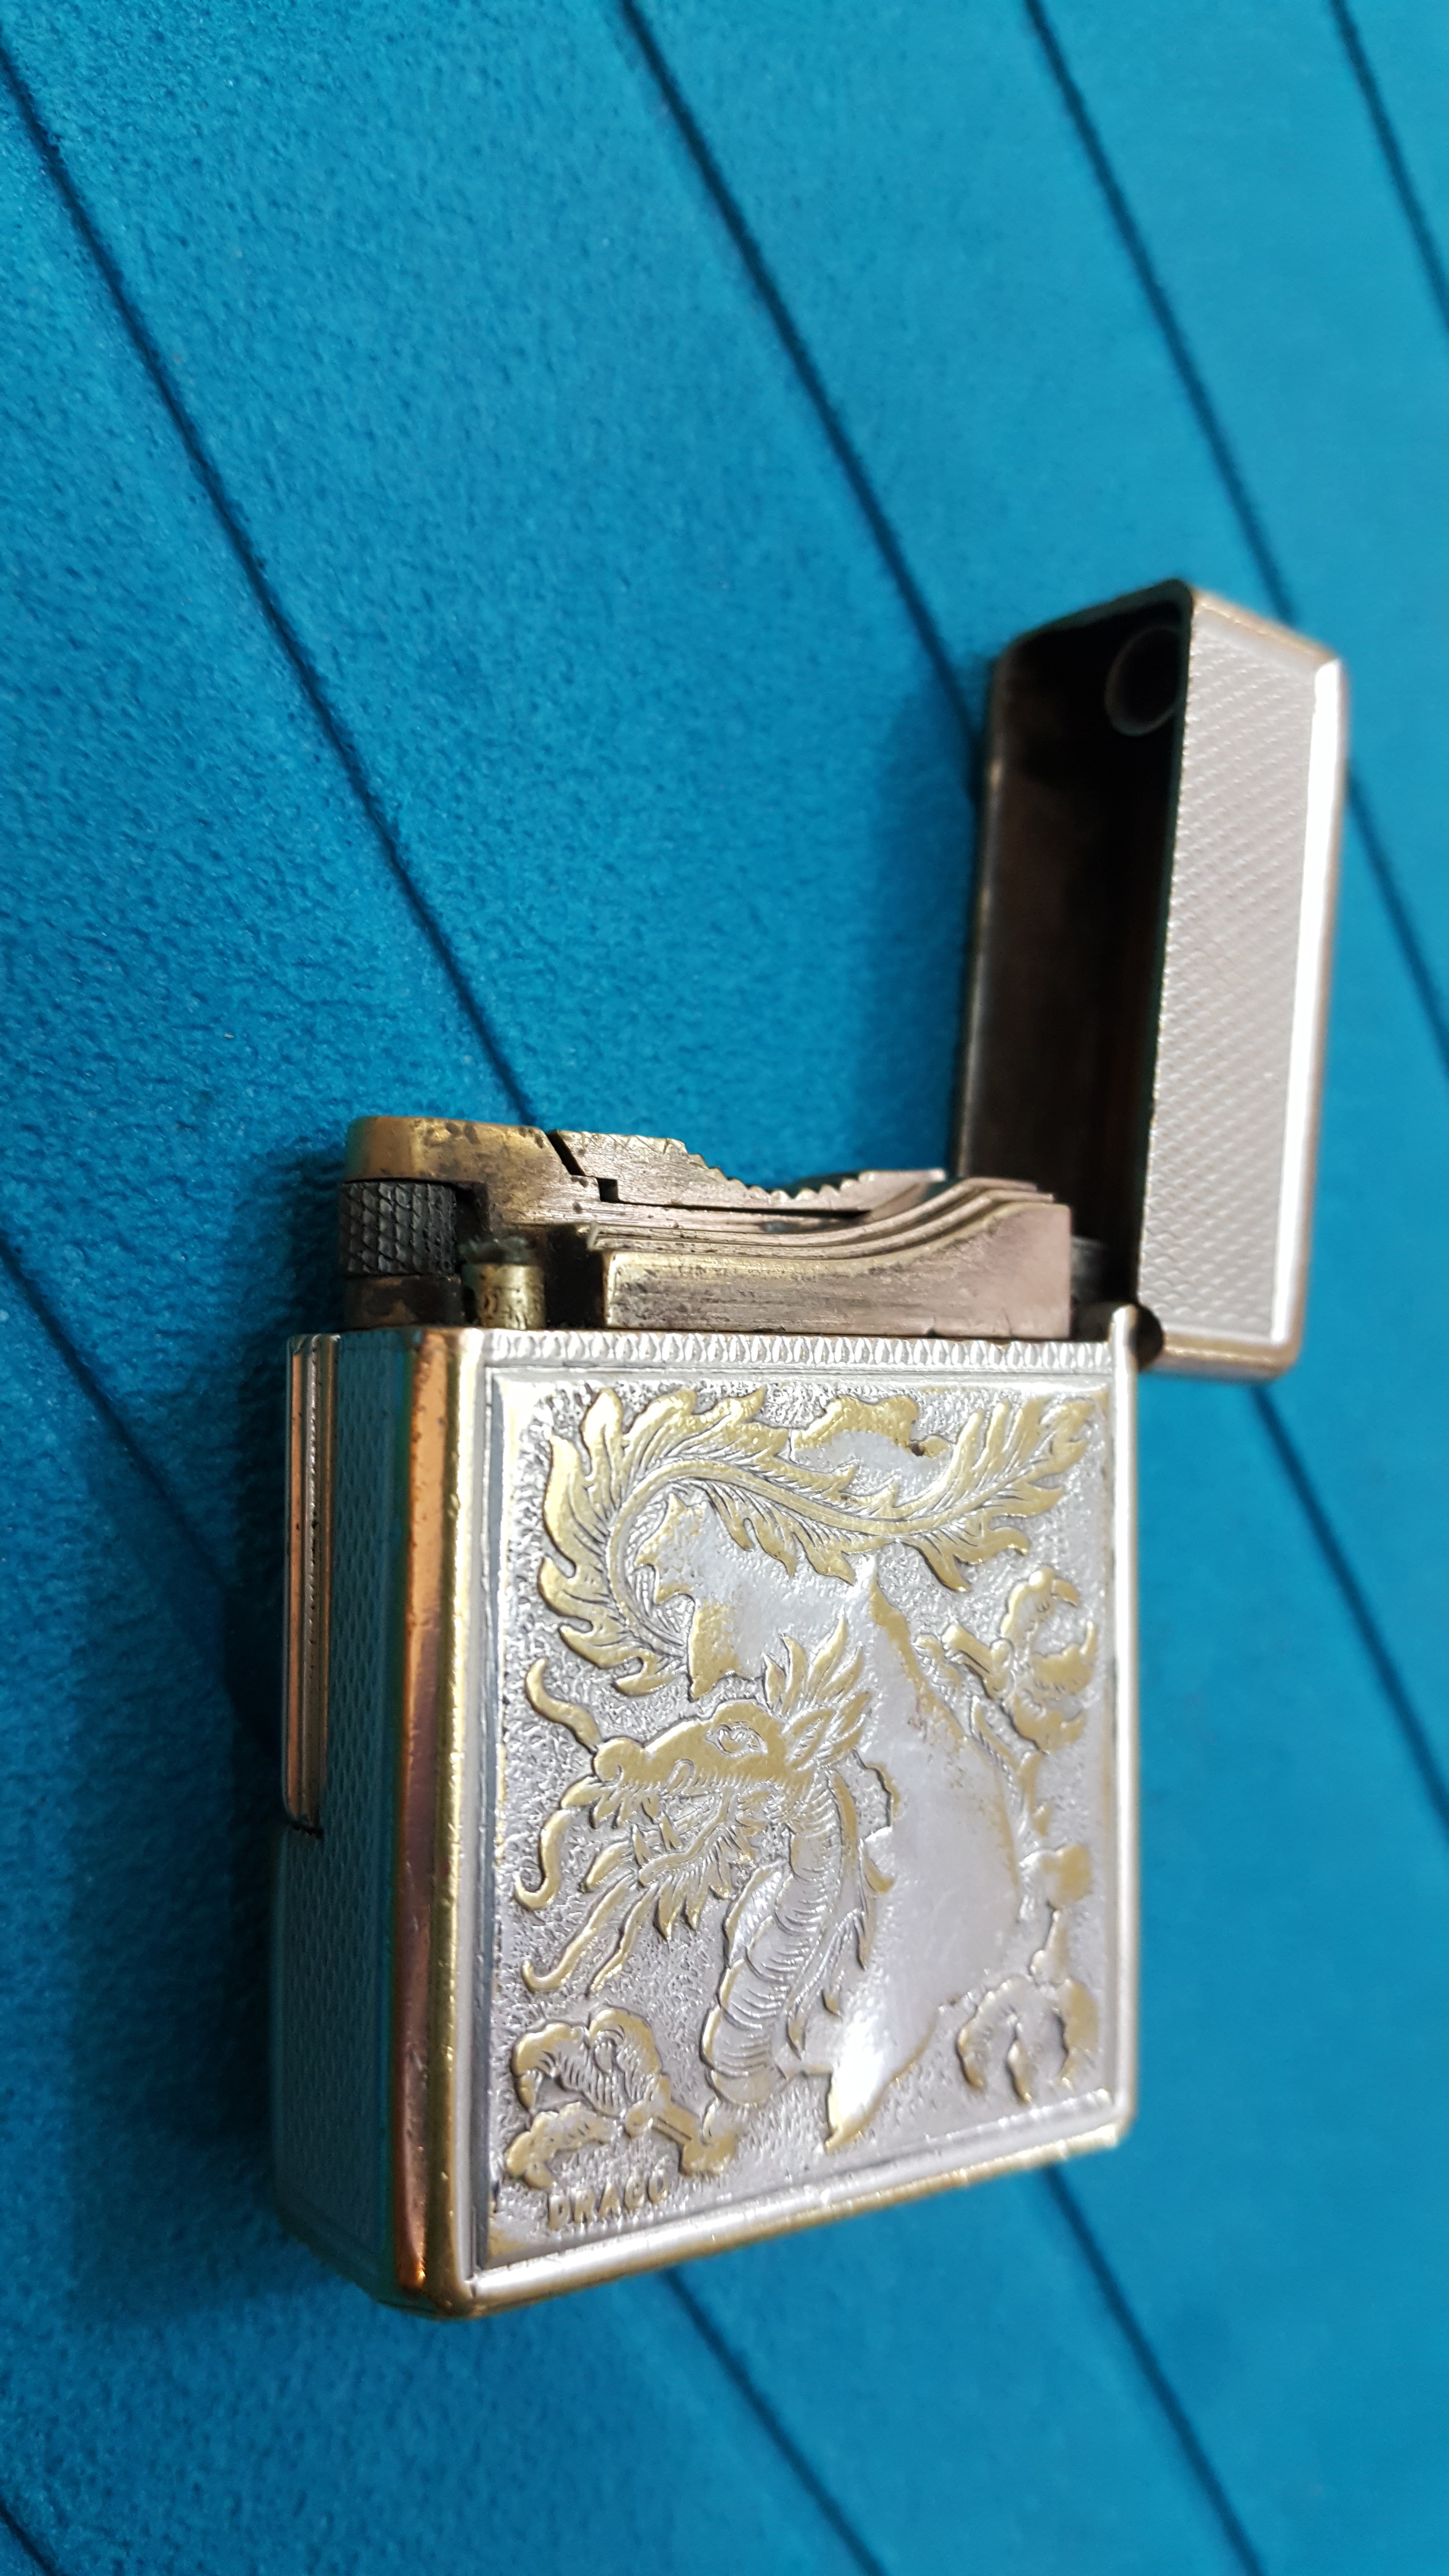
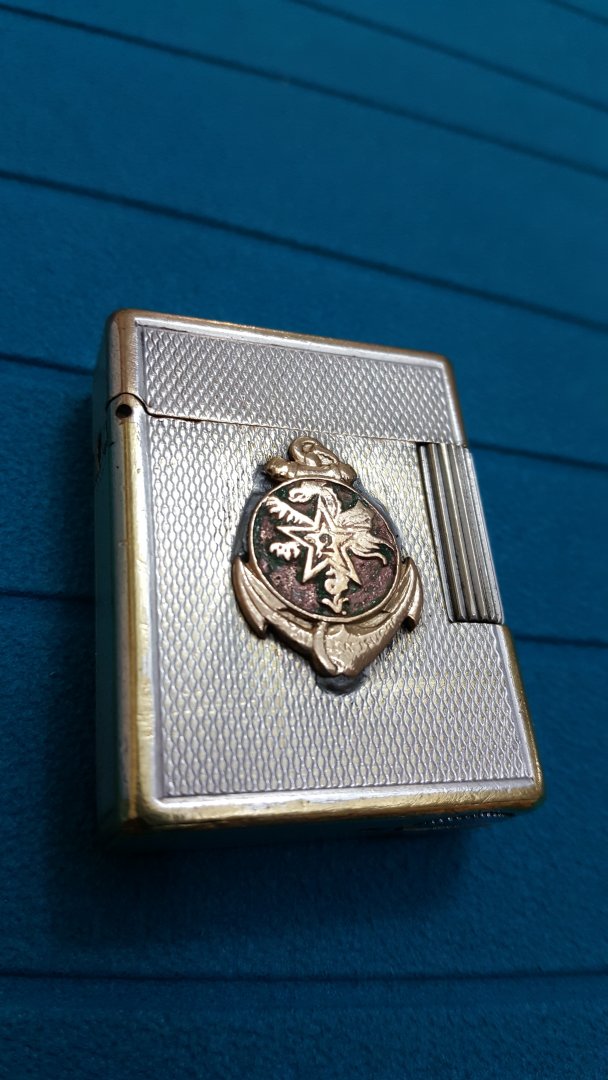
A little Antiques Roadshow on my workbench. I purchased this lighter around 25 years ago from an antique store in the Middle East. I never made much of it, except that I liked to have an ugly old zippo. After years of research and much Googling, I was surprised to find out it is an antique S.T. Dupont made to honor returning soldiers from the French Foreign Legion in the Indochina War in the 1950s. The military insignia for each unit was made by Drago, which exclusively made all the regular military insignias as well. My lighter is for the 2nd Muogo Battlion. And after lots of clean up and repair this week, I was surprised that I had the valuable silver-plated version! I had always thought it was just cheap brass.

-
What's it worth? To sell to others?