valkfighter
-
Posts
133 -
Joined
-
Last visited
Content Type
Profiles
Forums
Events
Gallery
Everything posted by valkfighter
-

1/48+fp's, 1/60, And 1/72 Picture Gallery Pt 4
valkfighter replied to VF-18S Hornet's topic in Hall Of The Super Topics
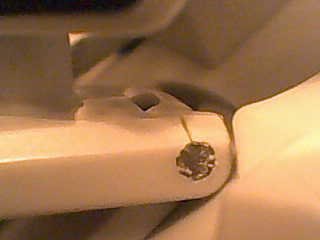
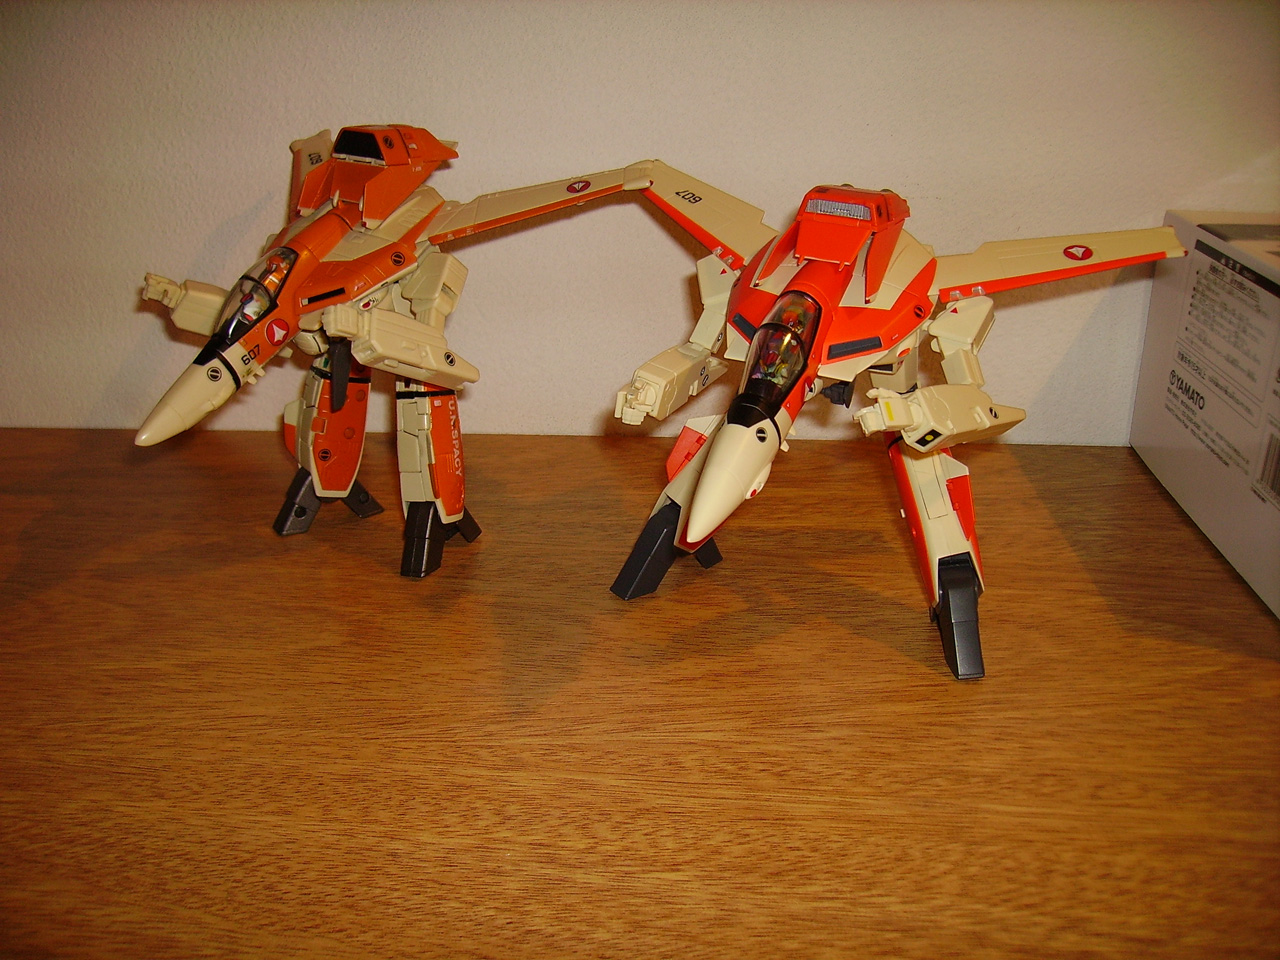
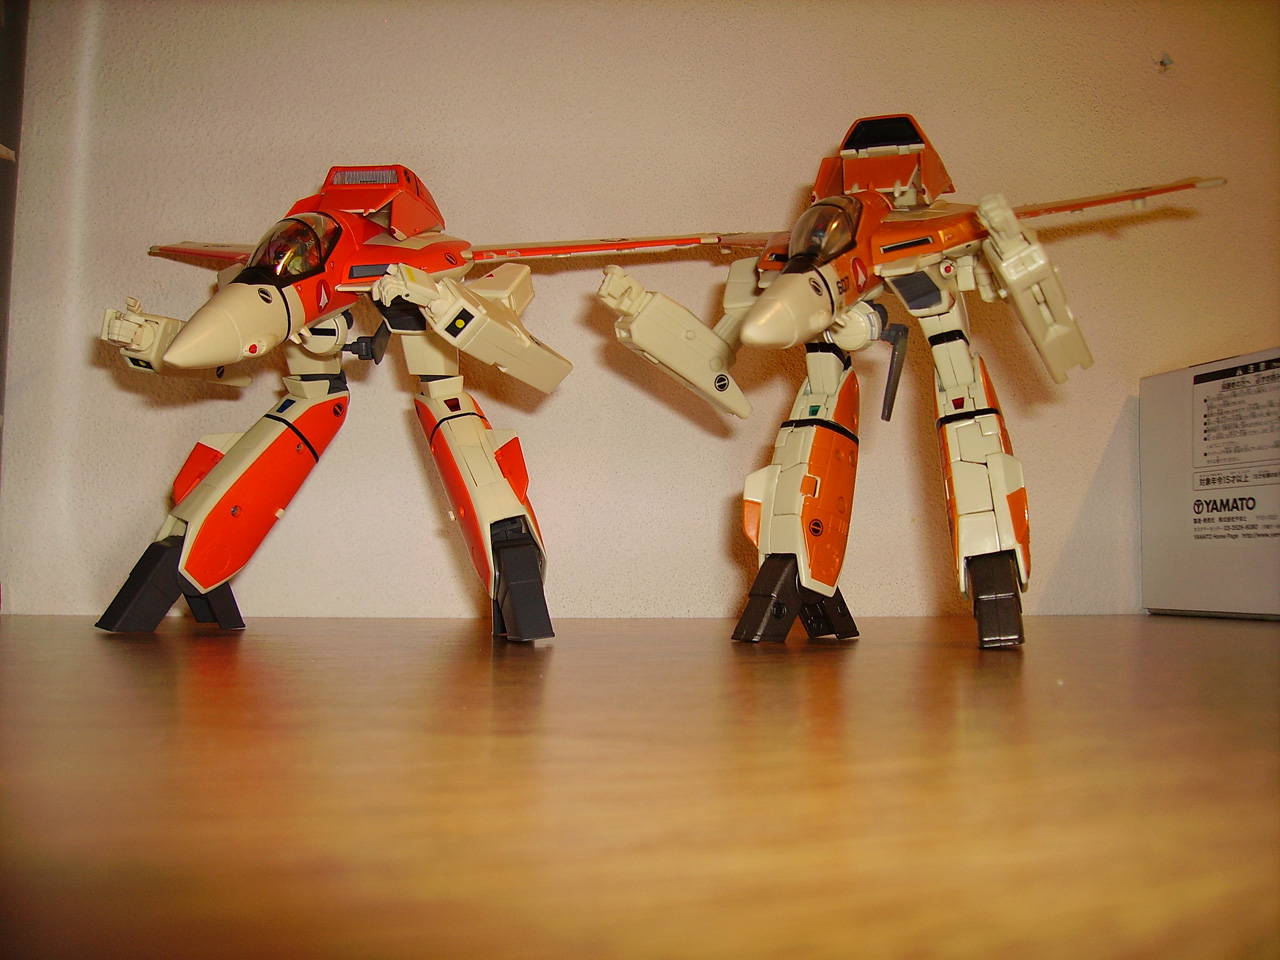
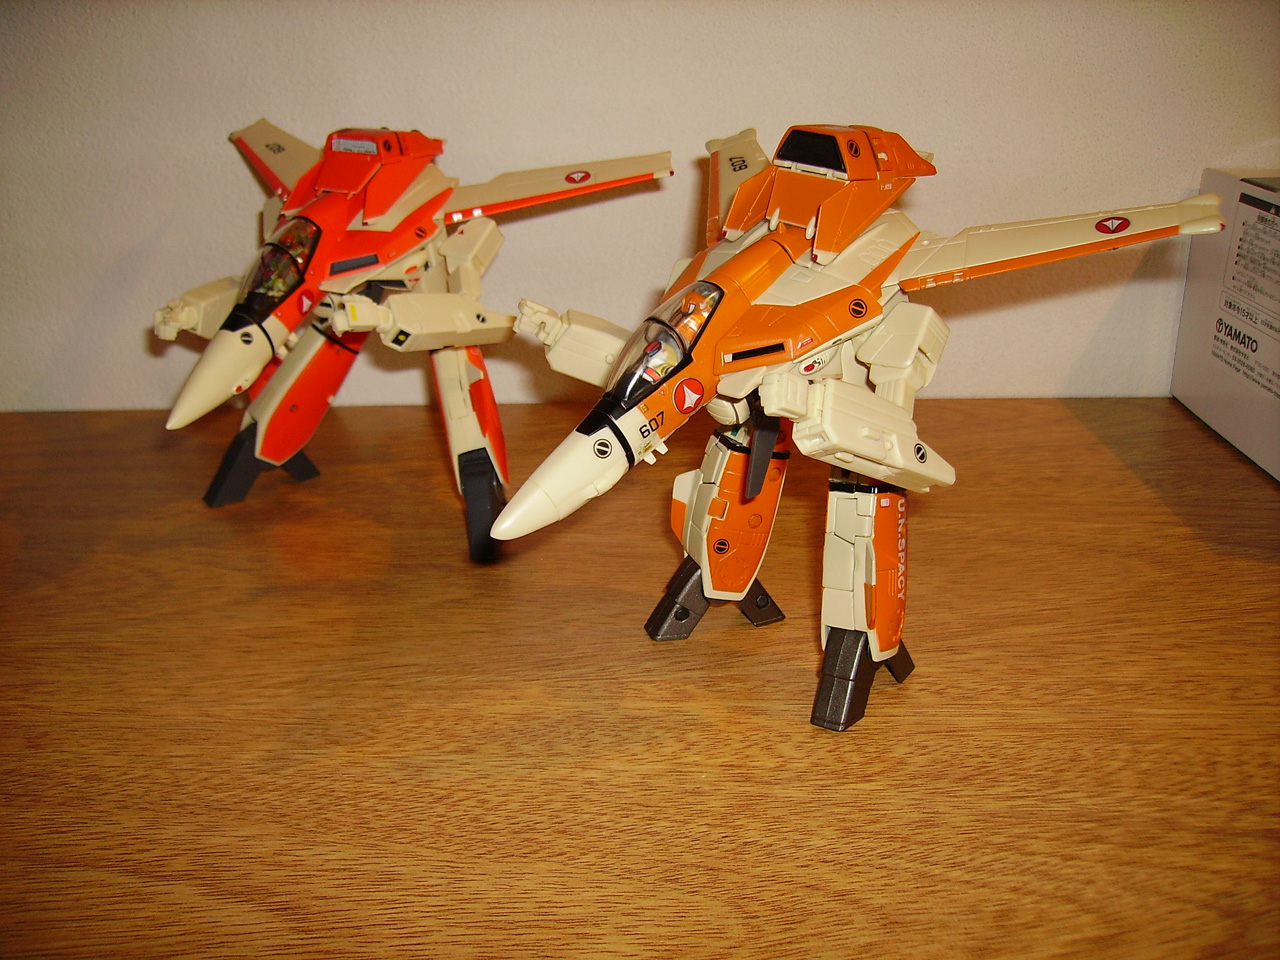
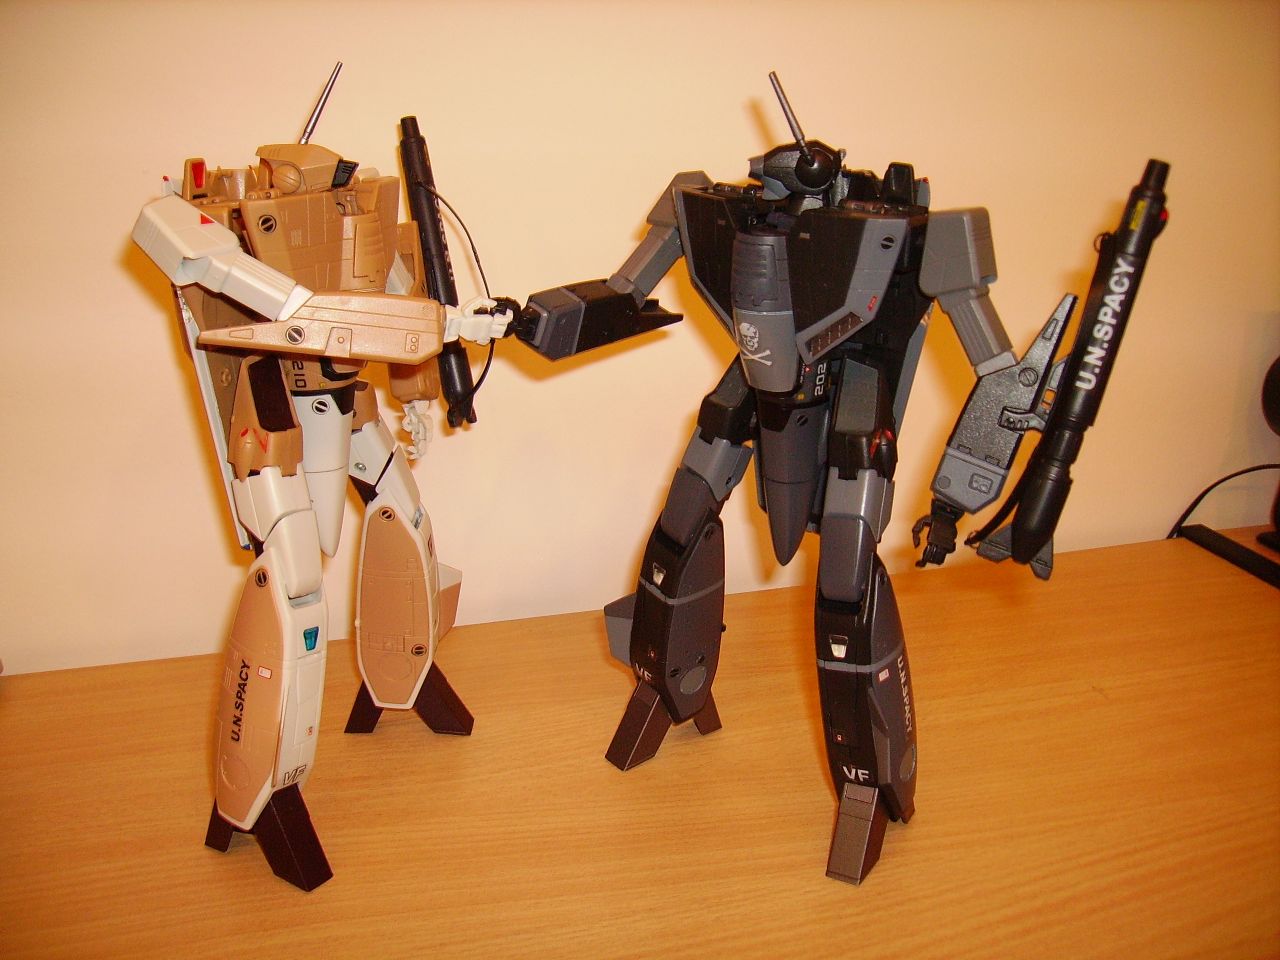
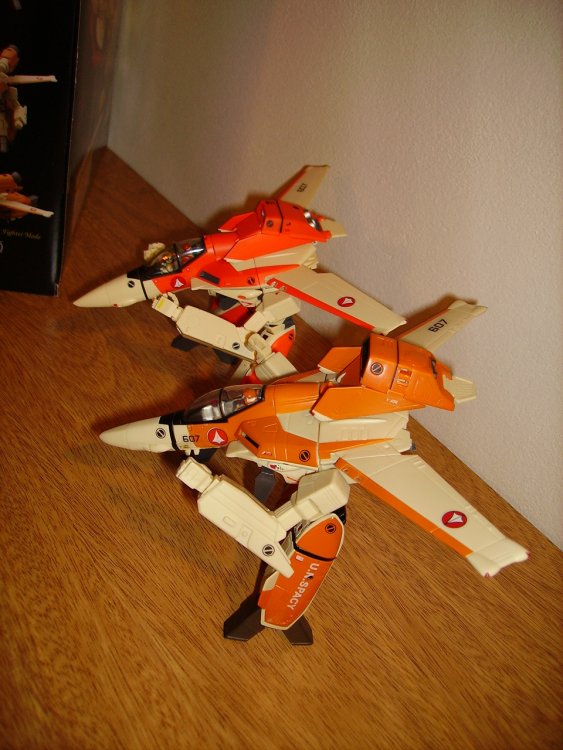
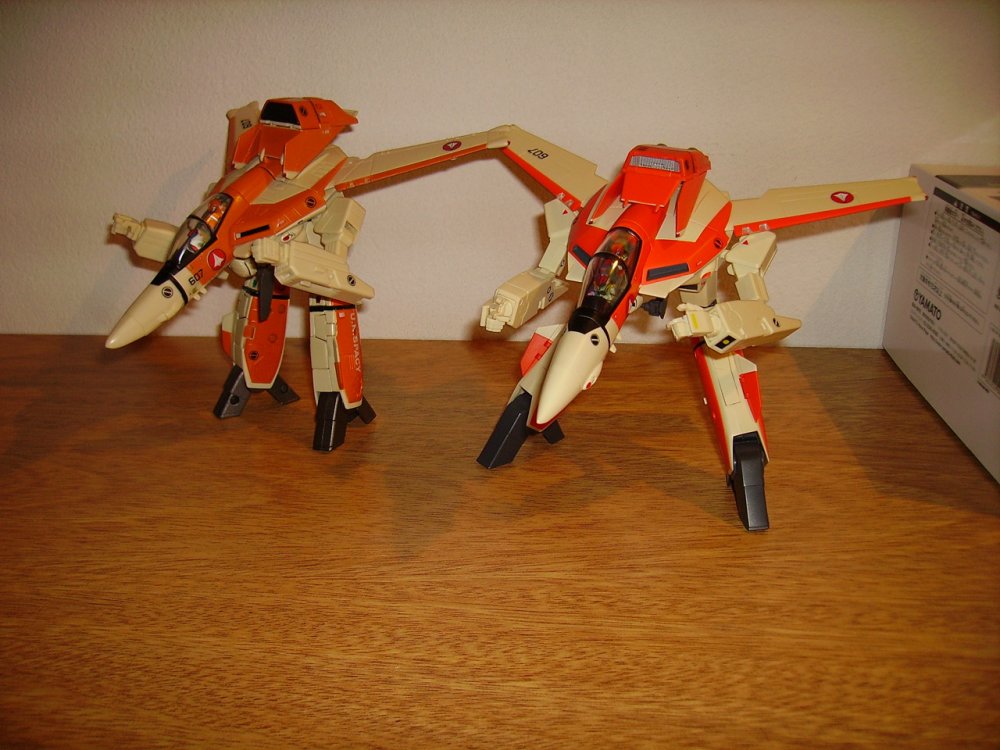
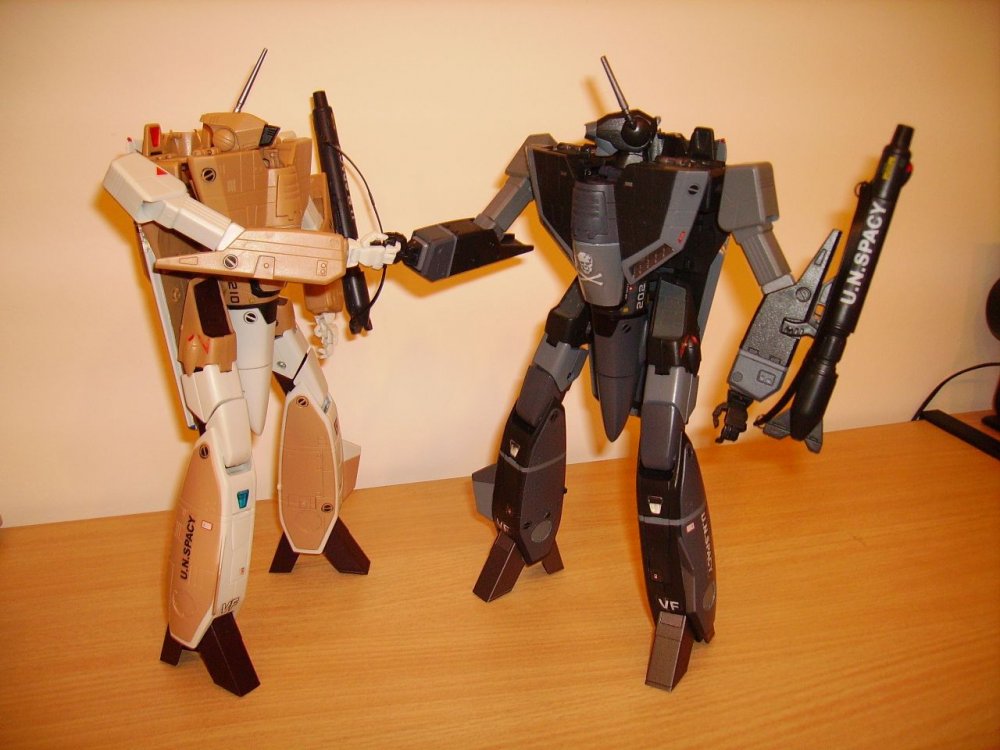
Past and present!! after a long time like 3 years I finally decided to take the vt1 V1 out of the box. never seen the v1 and v2 together in one shot so i wanted to try and see what happends this is the result. for me the V1 looks like a toy from the 80s hahahaa. I never understood why the v1 box was so big but still looks great.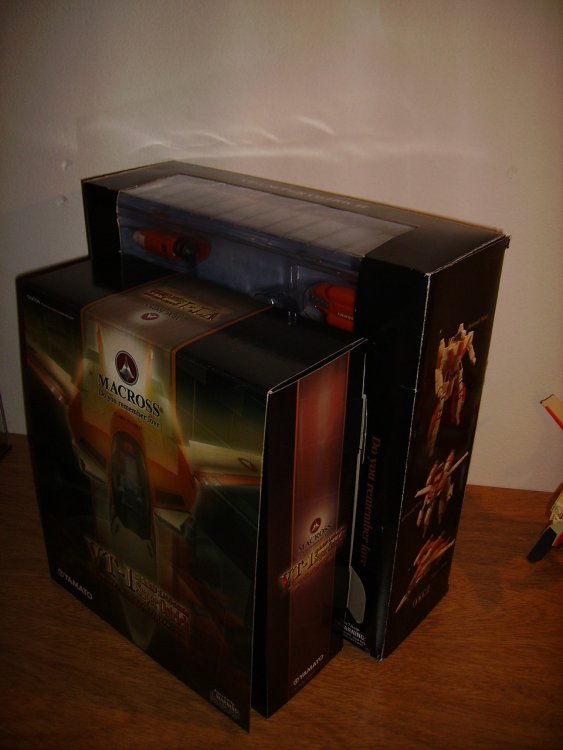


-
1/48+fp's, 1/60, And 1/72 Picture Gallery Pt 4
valkfighter replied to VF-18S Hornet's topic in Hall Of The Super Topics
Hi Caslon, yes some parts require to be glued like the nosecone for example. in my particular case i left many parts without glue just in case i deside to paint it, but that doesnt affect the transformation, works fine like any other yamato 1/60 V2. -
1/48+fp's, 1/60, And 1/72 Picture Gallery Pt 4
valkfighter replied to VF-18S Hornet's topic in Hall Of The Super Topics
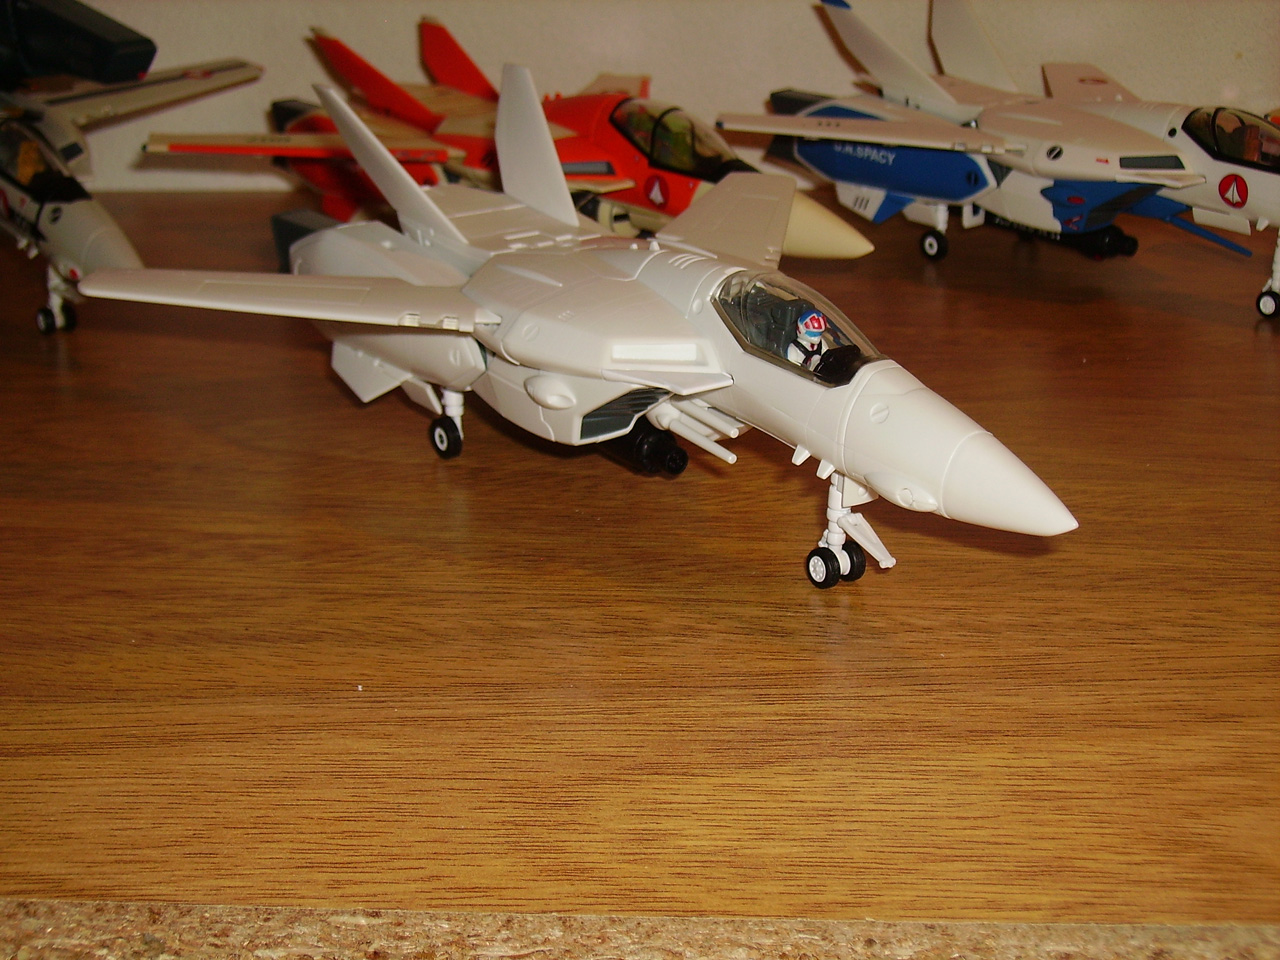
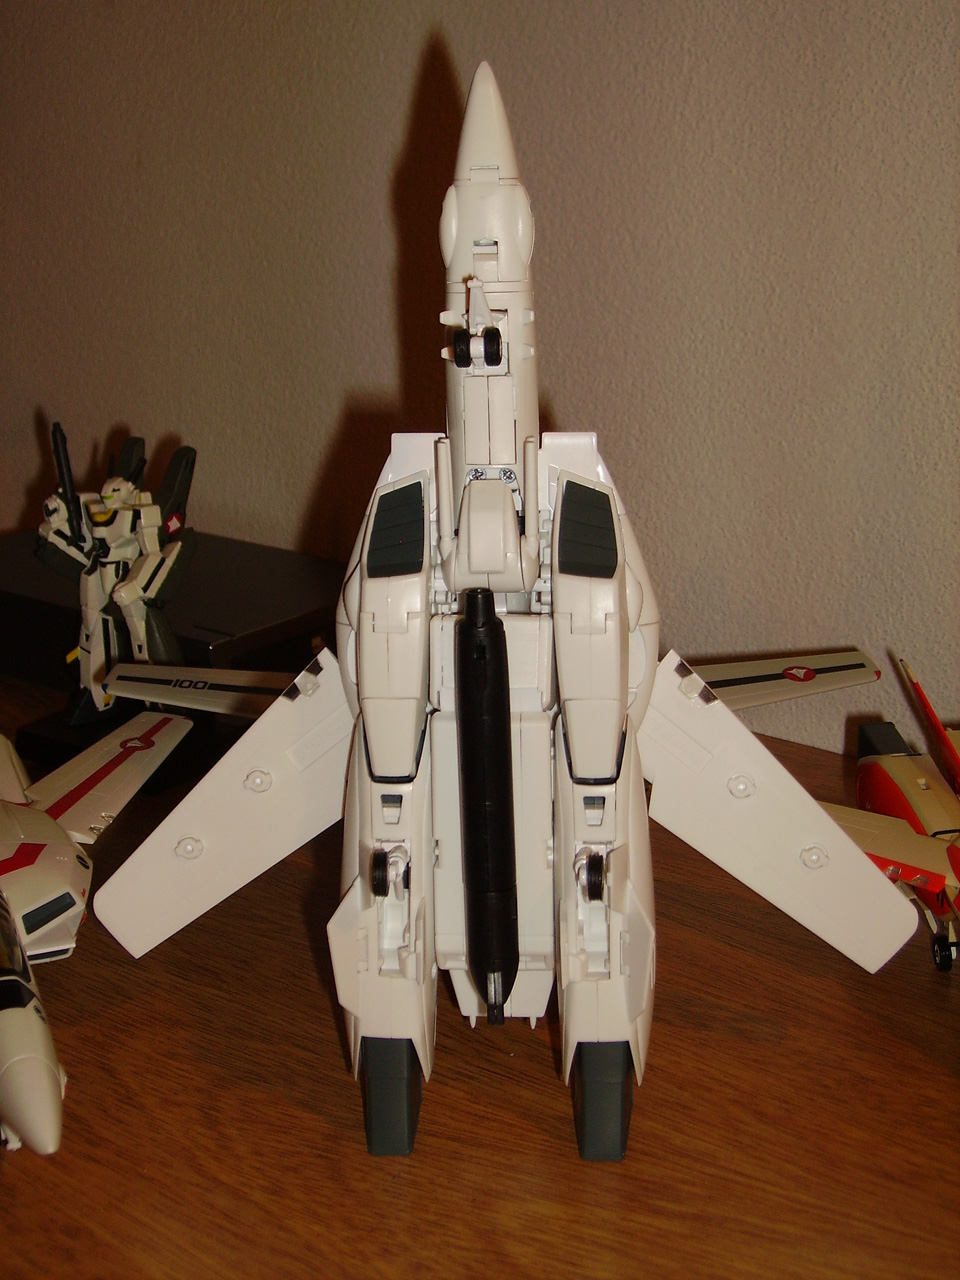
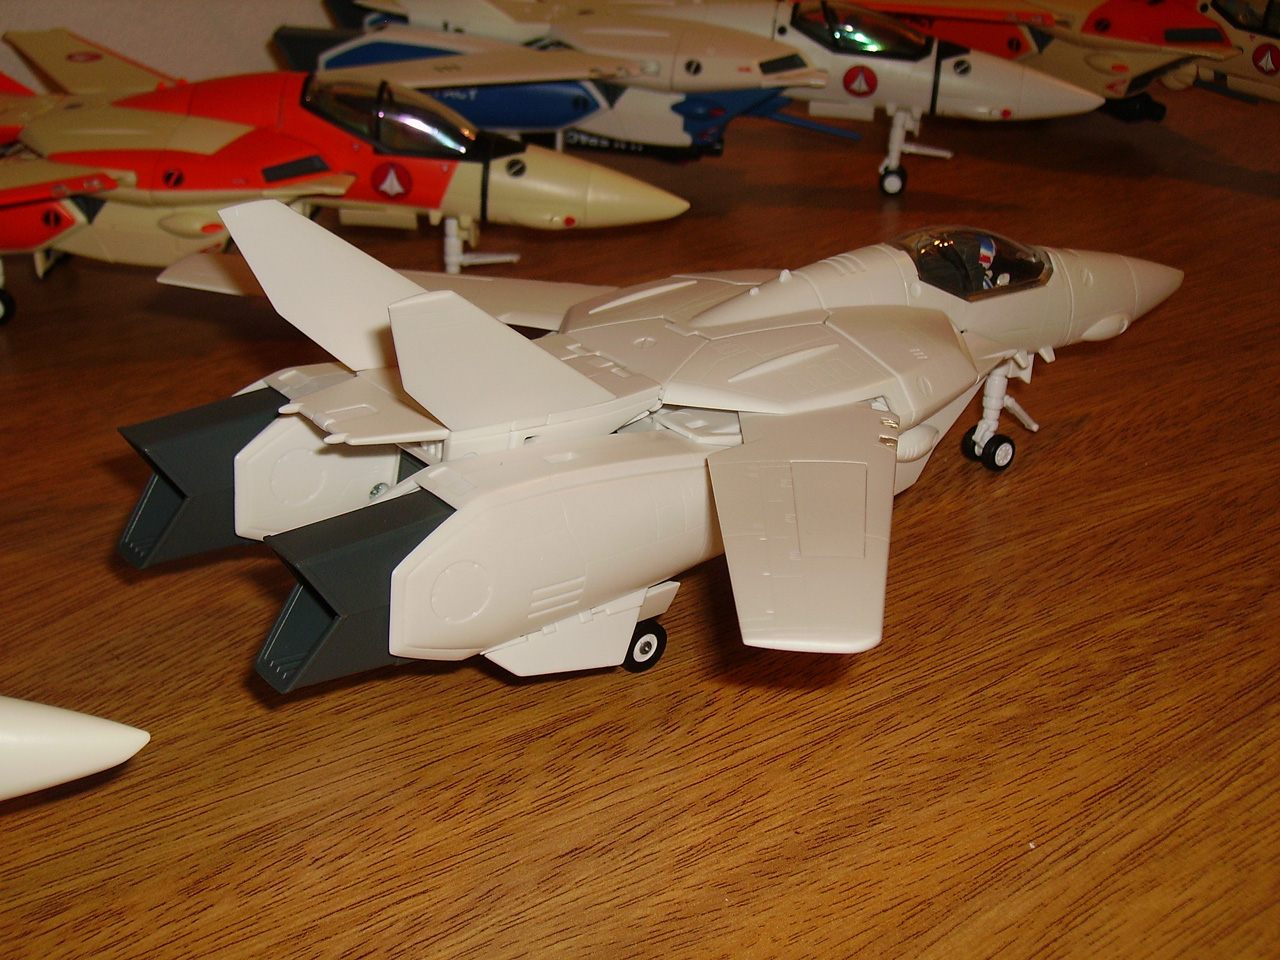
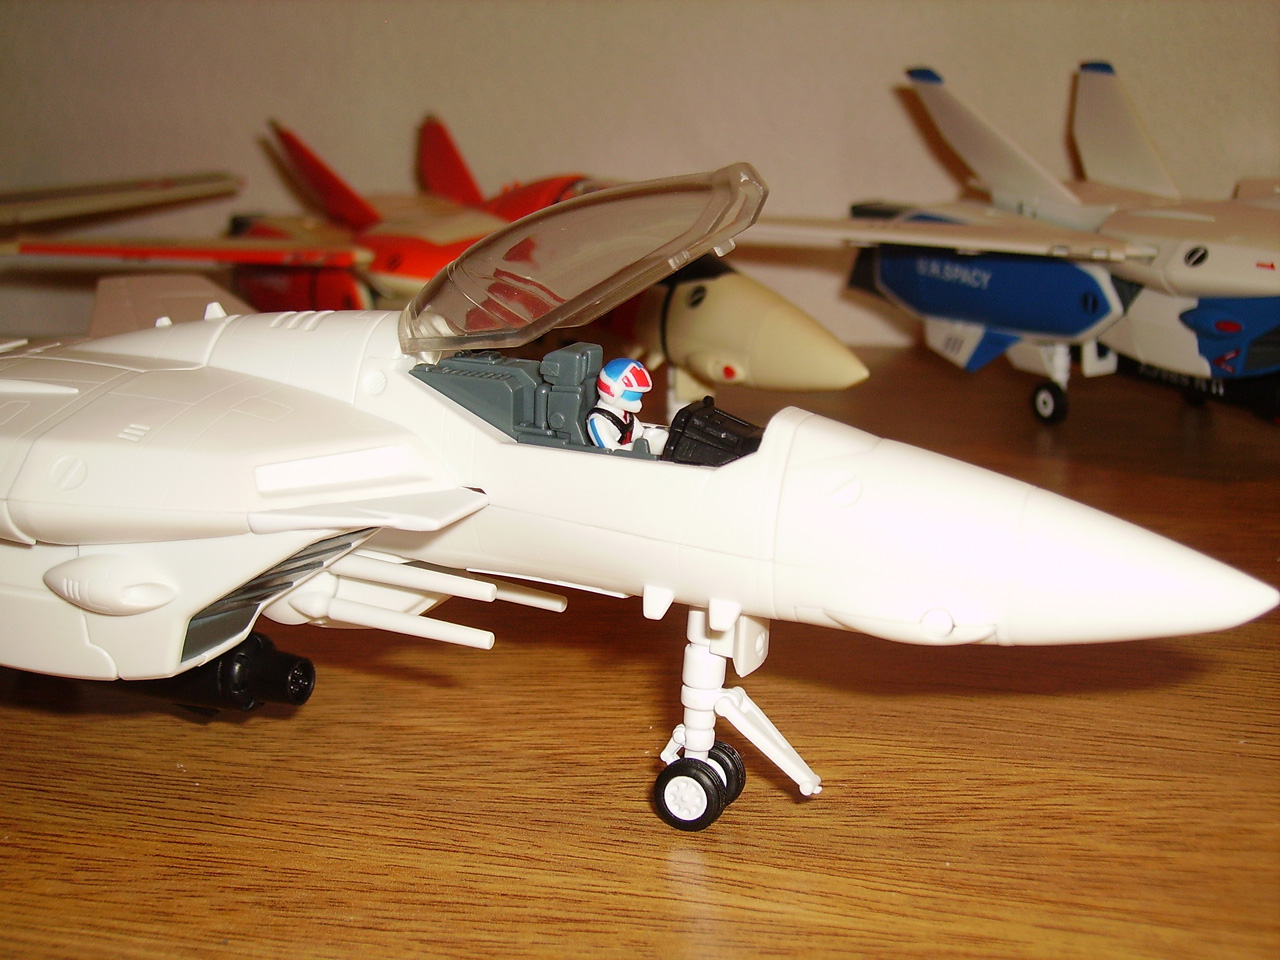
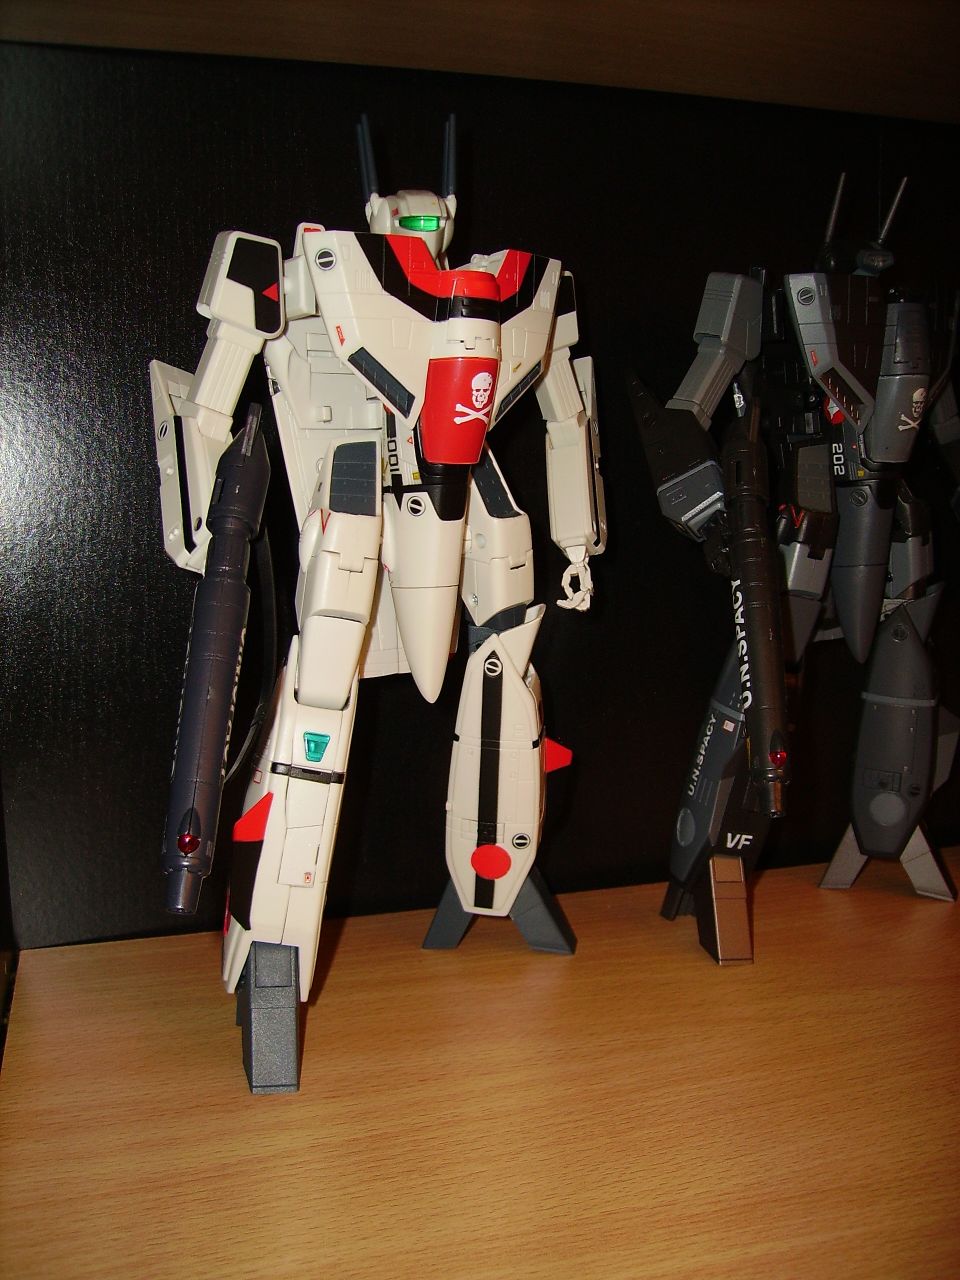
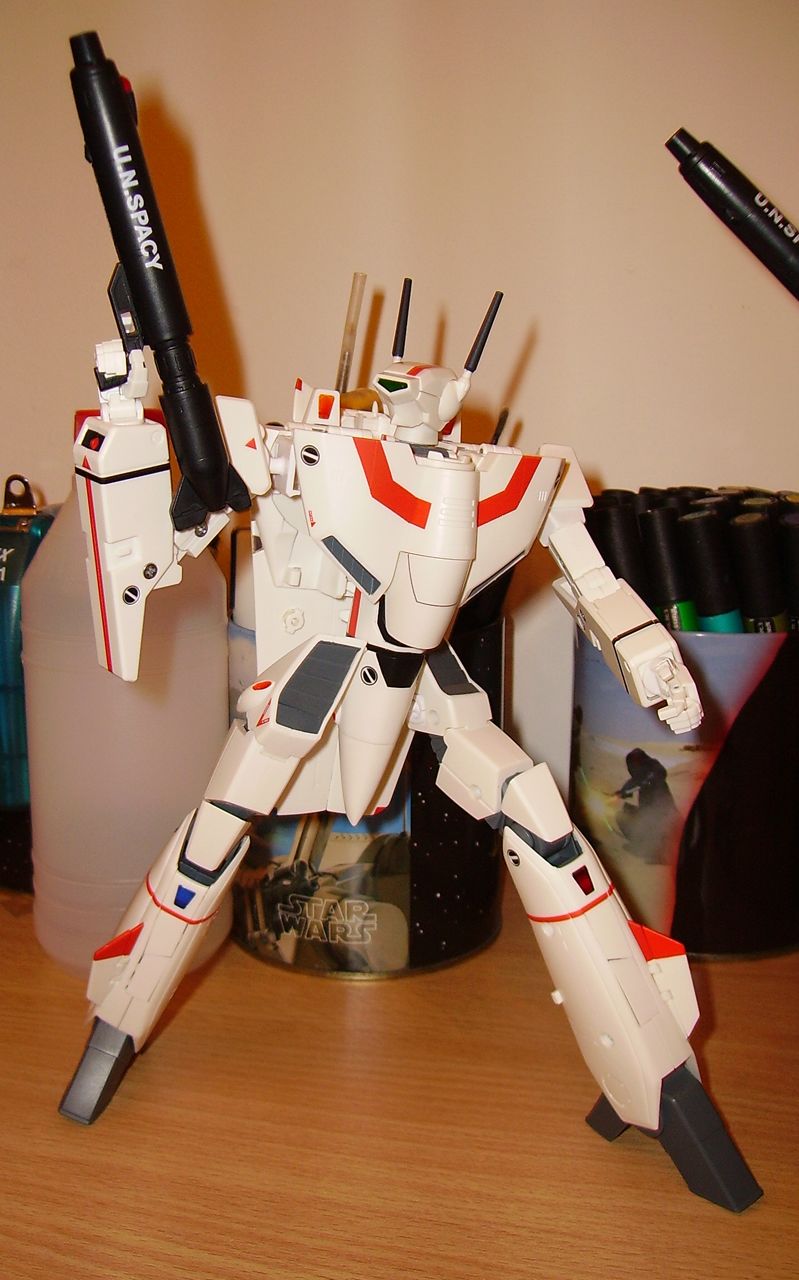
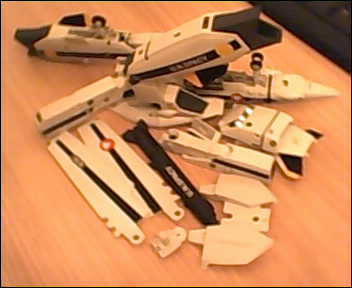
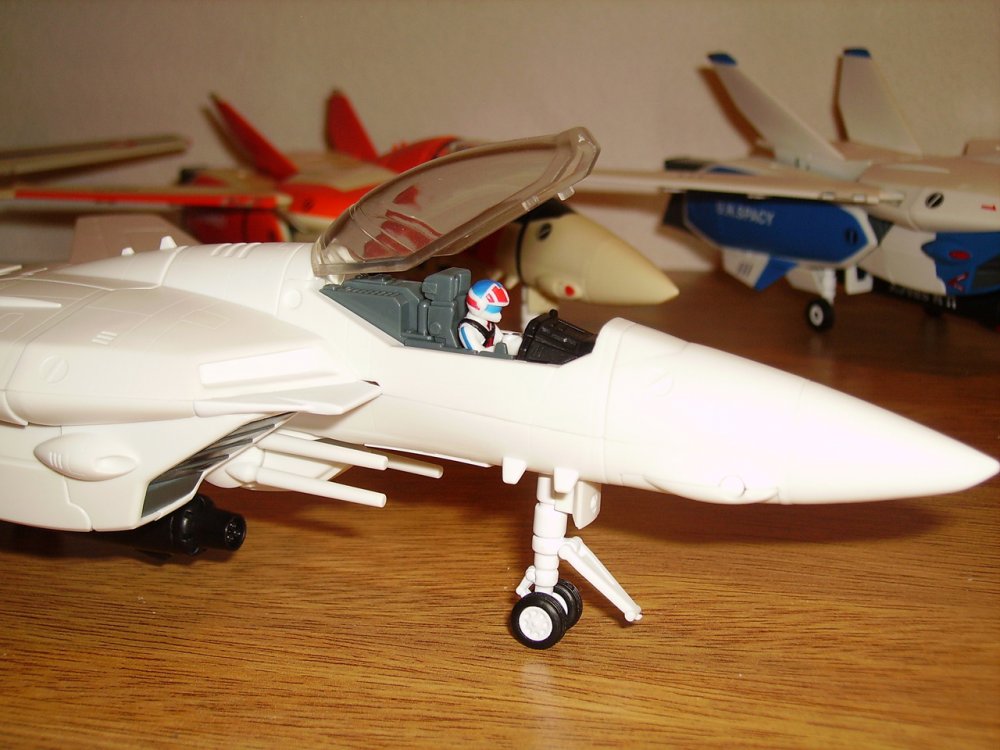
Hi everyone, Here are some pictures of my vf-1s unassembled kit. finally I finished the assembly most of it was easy to assembly just a few things like the legs were more complex but not imposible. by now i will leave it like it is completely white but if any ideas on what color scheme should i paint it is welcomed. you will never see a valkirie whiter than this one hahahaha. btw hikaru took it for a test flight, he did not complain about the performance so that means i did a good job!!hahaha


-
Hi, remove those pins as soon as you can and sand the entire dented part of them, that happened to my vt-1 too at least that way you can avoid future damage on it. now my vt-1 has a cracked shoulder but it wont get worst it wont fall apart and you can use it safely. but dont sand it in too much or the shoulder will be too loose. this can be done before the sholuder explodes after that is useless. this can be done with any 1/60.
-
Strike A Pose! V.4 - The Macross Mech Pose Thread
valkfighter replied to JCSaves's topic in Hall Of The Super Topics
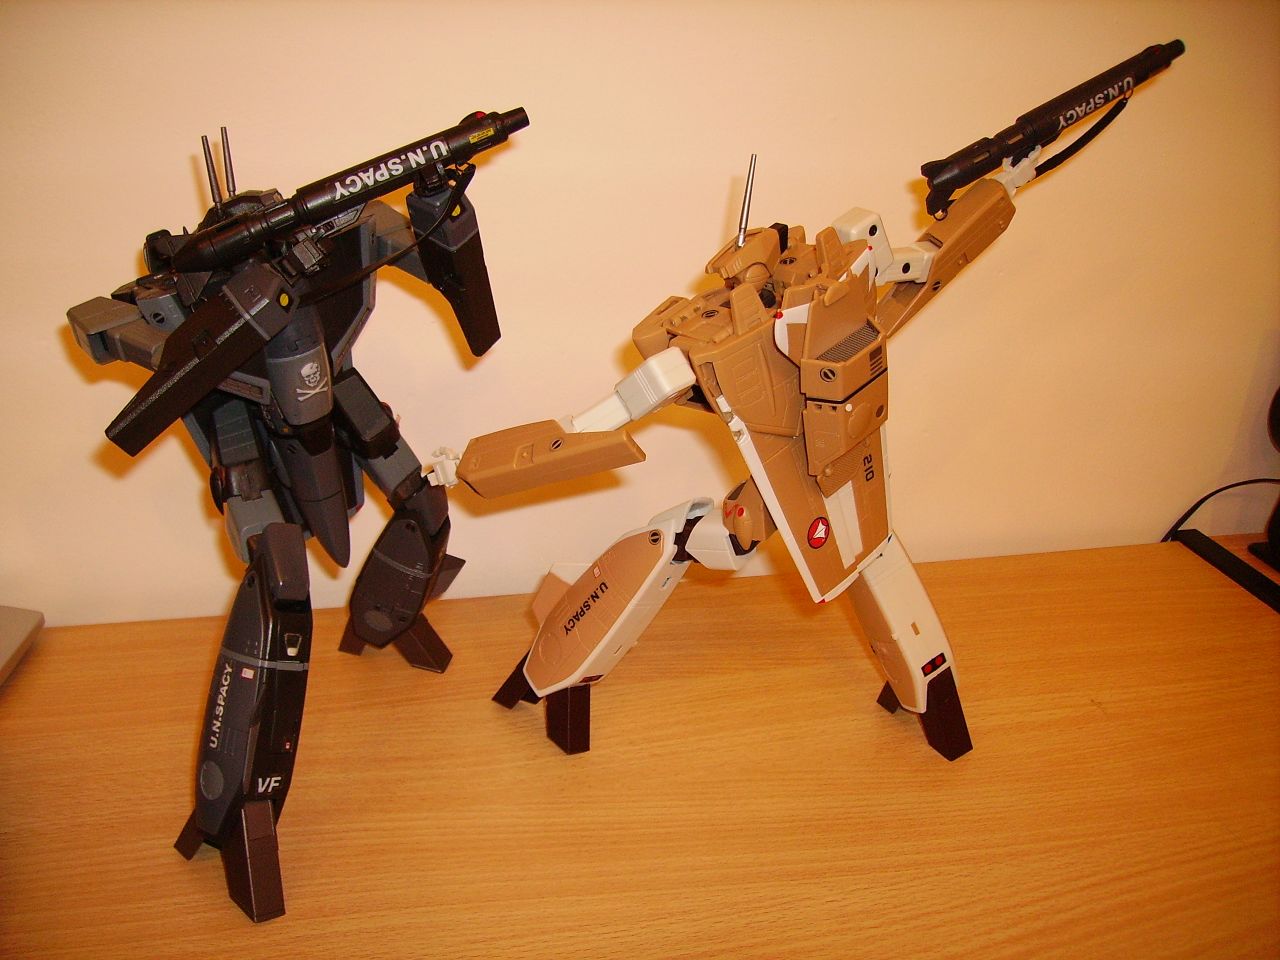
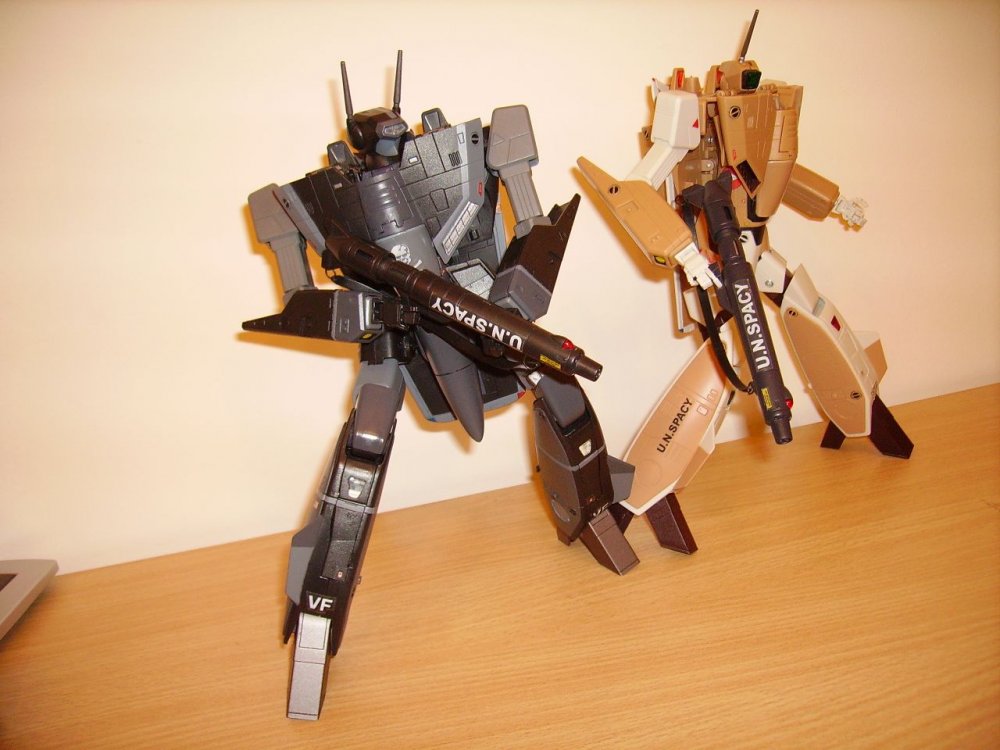
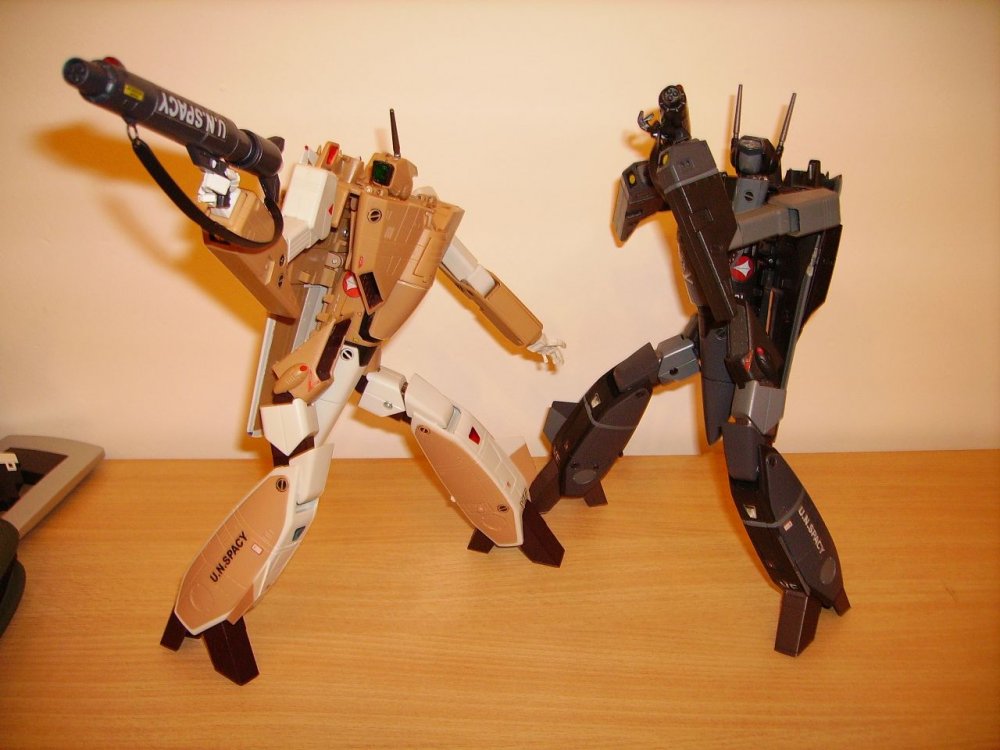
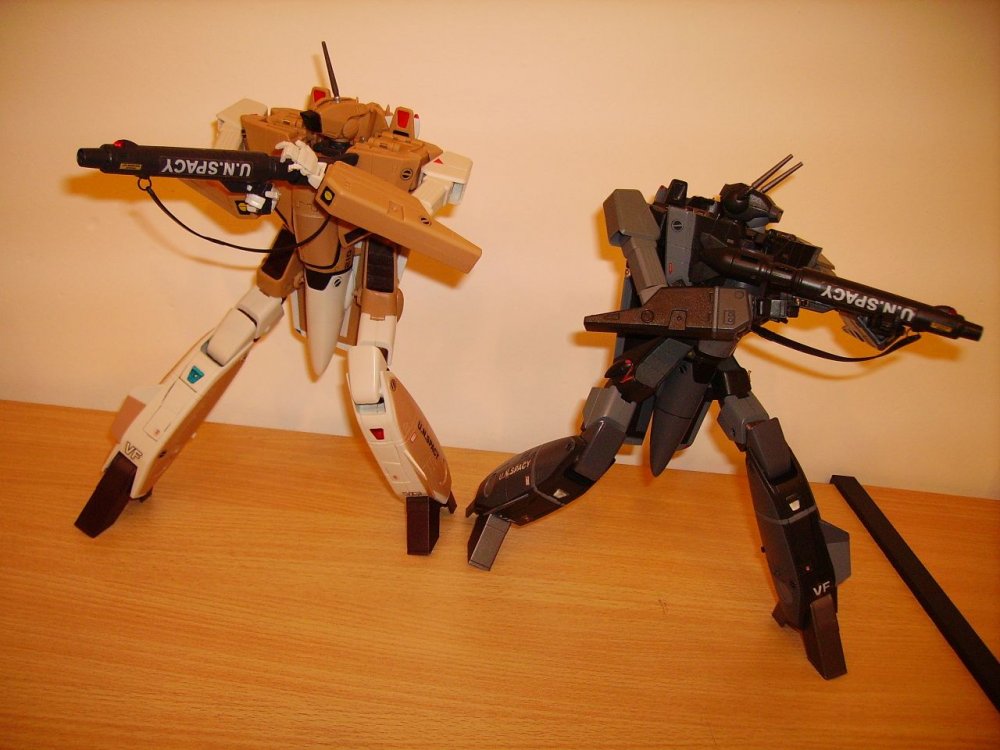
Hi all, some combat poses


-
What's wrong with my Yamato, Bandai, etc.
valkfighter replied to UN Spacy's topic in Hall Of The Super Topics
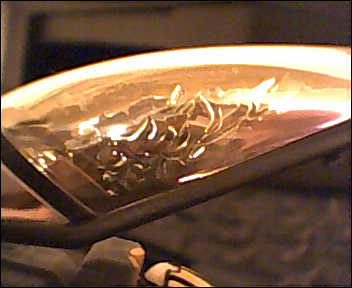
Hi all,today I discovered that my yamato 1/60 vf-1s dyrl (V2) has also the problem with the canopy.that effect on the canopy that i dont know how to describe is falling too.I noticed it today also when transforming it back to fighter. Apart from the problem with both shoulders which need replacing now also the canopy adds to my list of problems this valk is cursed.
-
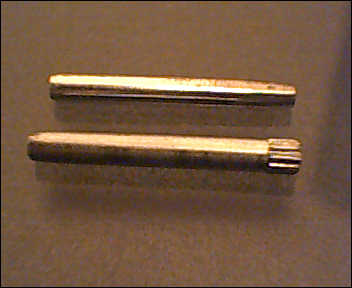
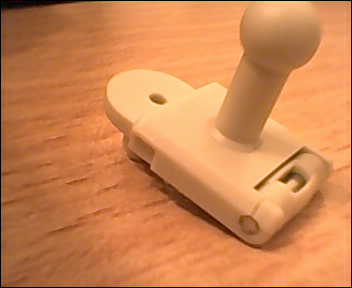
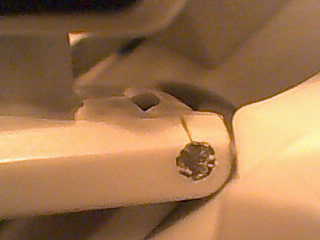
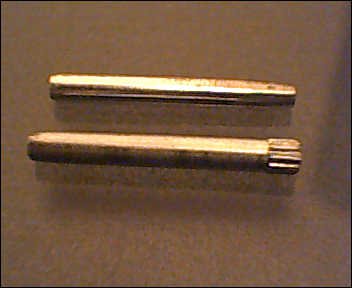
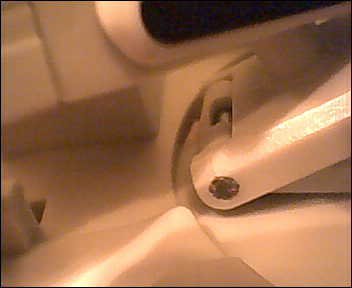
Hi, my vf-1s dyrl is geting worse I posted before a picture of the right side arm with broken hinge now also the left side is showing stress too I would say big stress mark which in a few days is going to become an oficialy broken shoulder(hinge2.jpg).I removed the right hinge I was trying to remove the pin but is not posible any idea on how to remove this? I want to replace it with plastic is the best solution til i get new hinges. Well from my point of view this problem should be solved directly by yamato but they take not responsability if the toy is purchased outside japan which for me is WRONG if we pay the shipping we should recieve the same atention as a japan costumer.In my country this is not a cheap toy I paid 177usd YES ONE HUNDRED and SEVENTYSEVEN USD and I own 5 1/60s and 5 1/48s so you can imagine how much money I spent on YAMATO products and how frustraiting this is. I joined this forum to share the passion for macross not the suffering for YAMATO.I also have problems with 2 of my 1/48s but that is for another post.sorry about this post I did not wanted to get to this point but since I found the second broken shoulder things changed. As someone said before POORLY DESIGNED TOY!!! this could have been avoided with the proper testing before releasing the toy. Well I´ll continue waiting for any news from Graham as he is our only hope.


-
Hi everyone, I am new in the forum and I have finally a broken valkyrie shoulder. I bought it a month and a half ago so practically new and this is the first one of 5 1/60 2.0 valks I own that has the problem its a vf-1s roy focker Dyrl. It was in gerwalk mode for 20 days and yesterday I wanted to transform it into fighter and when I took the toy SURPRISE!! a broken shoulder. there is no even need to play with it to have this problem. only time and pressure by the pin on that small piece of plastic will cause the problem. is still Graham sending hinges?? I will send him a PM