
derex3592
-
Posts
8693 -
Joined
-
Last visited
Content Type
Profiles
Forums
Events
Gallery
Everything posted by derex3592
-
@tekering - Thank you for the quick response. I was going to pickup all 3 of them up to get the better video quality if the original sound effects had been used. Bummer. I might still get "The Masters" - It's pretty cheap on Amazon right now. 50% off I think....making it like $35 or so.
-
Thanks for sharing @tekering! I love video comparisons! @tekering - Burning question...Do the Blu-ray's have the ORIGINAL sound effect audio tracks or the HORRIBLE Robotech Remastered sound effect tracks?
-
The 'Hey look at this really cool model build I saw' post
derex3592 replied to Shawn's topic in Model kits
Yeh, I gotta try this sometime. Amazing what you can do with cotton, an airbrush, an LED and some fiber optics! -
Wife got me the 1/18 60's Batman & Robin Batmobile for Christmas. It is AWESOME! Can't say I'd ever heard of Jada Toys before but they sure knocked it out of the park with this release. The two figures are die cast and extremely well painted. The car is very heavy and detailed! As a kid who would watch Batman every day after school, this one is SO COOL! It also has LED light up features in the headlights and the red light on top along with the jet engine in the back. Hood opens to see an all chromed out engine and back trunk opens to reveal some kind of funky looking 60's computer bank or something. ALL this for like $55 bucks on Amazon. If you are a fan, pick one up! You won't regret it! NOW if they only made a GOOD looking KITT, General Lee, A-Team Van and a Fall Guy Truck in 1/18 with figures, I would be all set!
-
It's really a crying shame Bandai spent so much $$$ and time in to developing this Valk only to release it once! I know it's not everyone's cup of tea, but they could have given us the white and gold Elvis version to recoup some of the R&D money they spent, I sure would have gone for one.
-
Nice!
-
Kitz Concept Toy Thread 2.0
derex3592 replied to Stampeed Valkyrie's topic in Anime or Science Fiction
Man that grey KC Valk DOES look good! The Angel Bird looks like it should be Apollo Creed coming out to fight Drago in the hat and red white and blue boxing trunks....🤣 -
IMHO....Anyone who tries to remove Bandai Tampo on a $300 toy....ESPECIALLY on blue or painted blue plastic.... is either crazy or has way too much $$$ to blow. 🫣
-
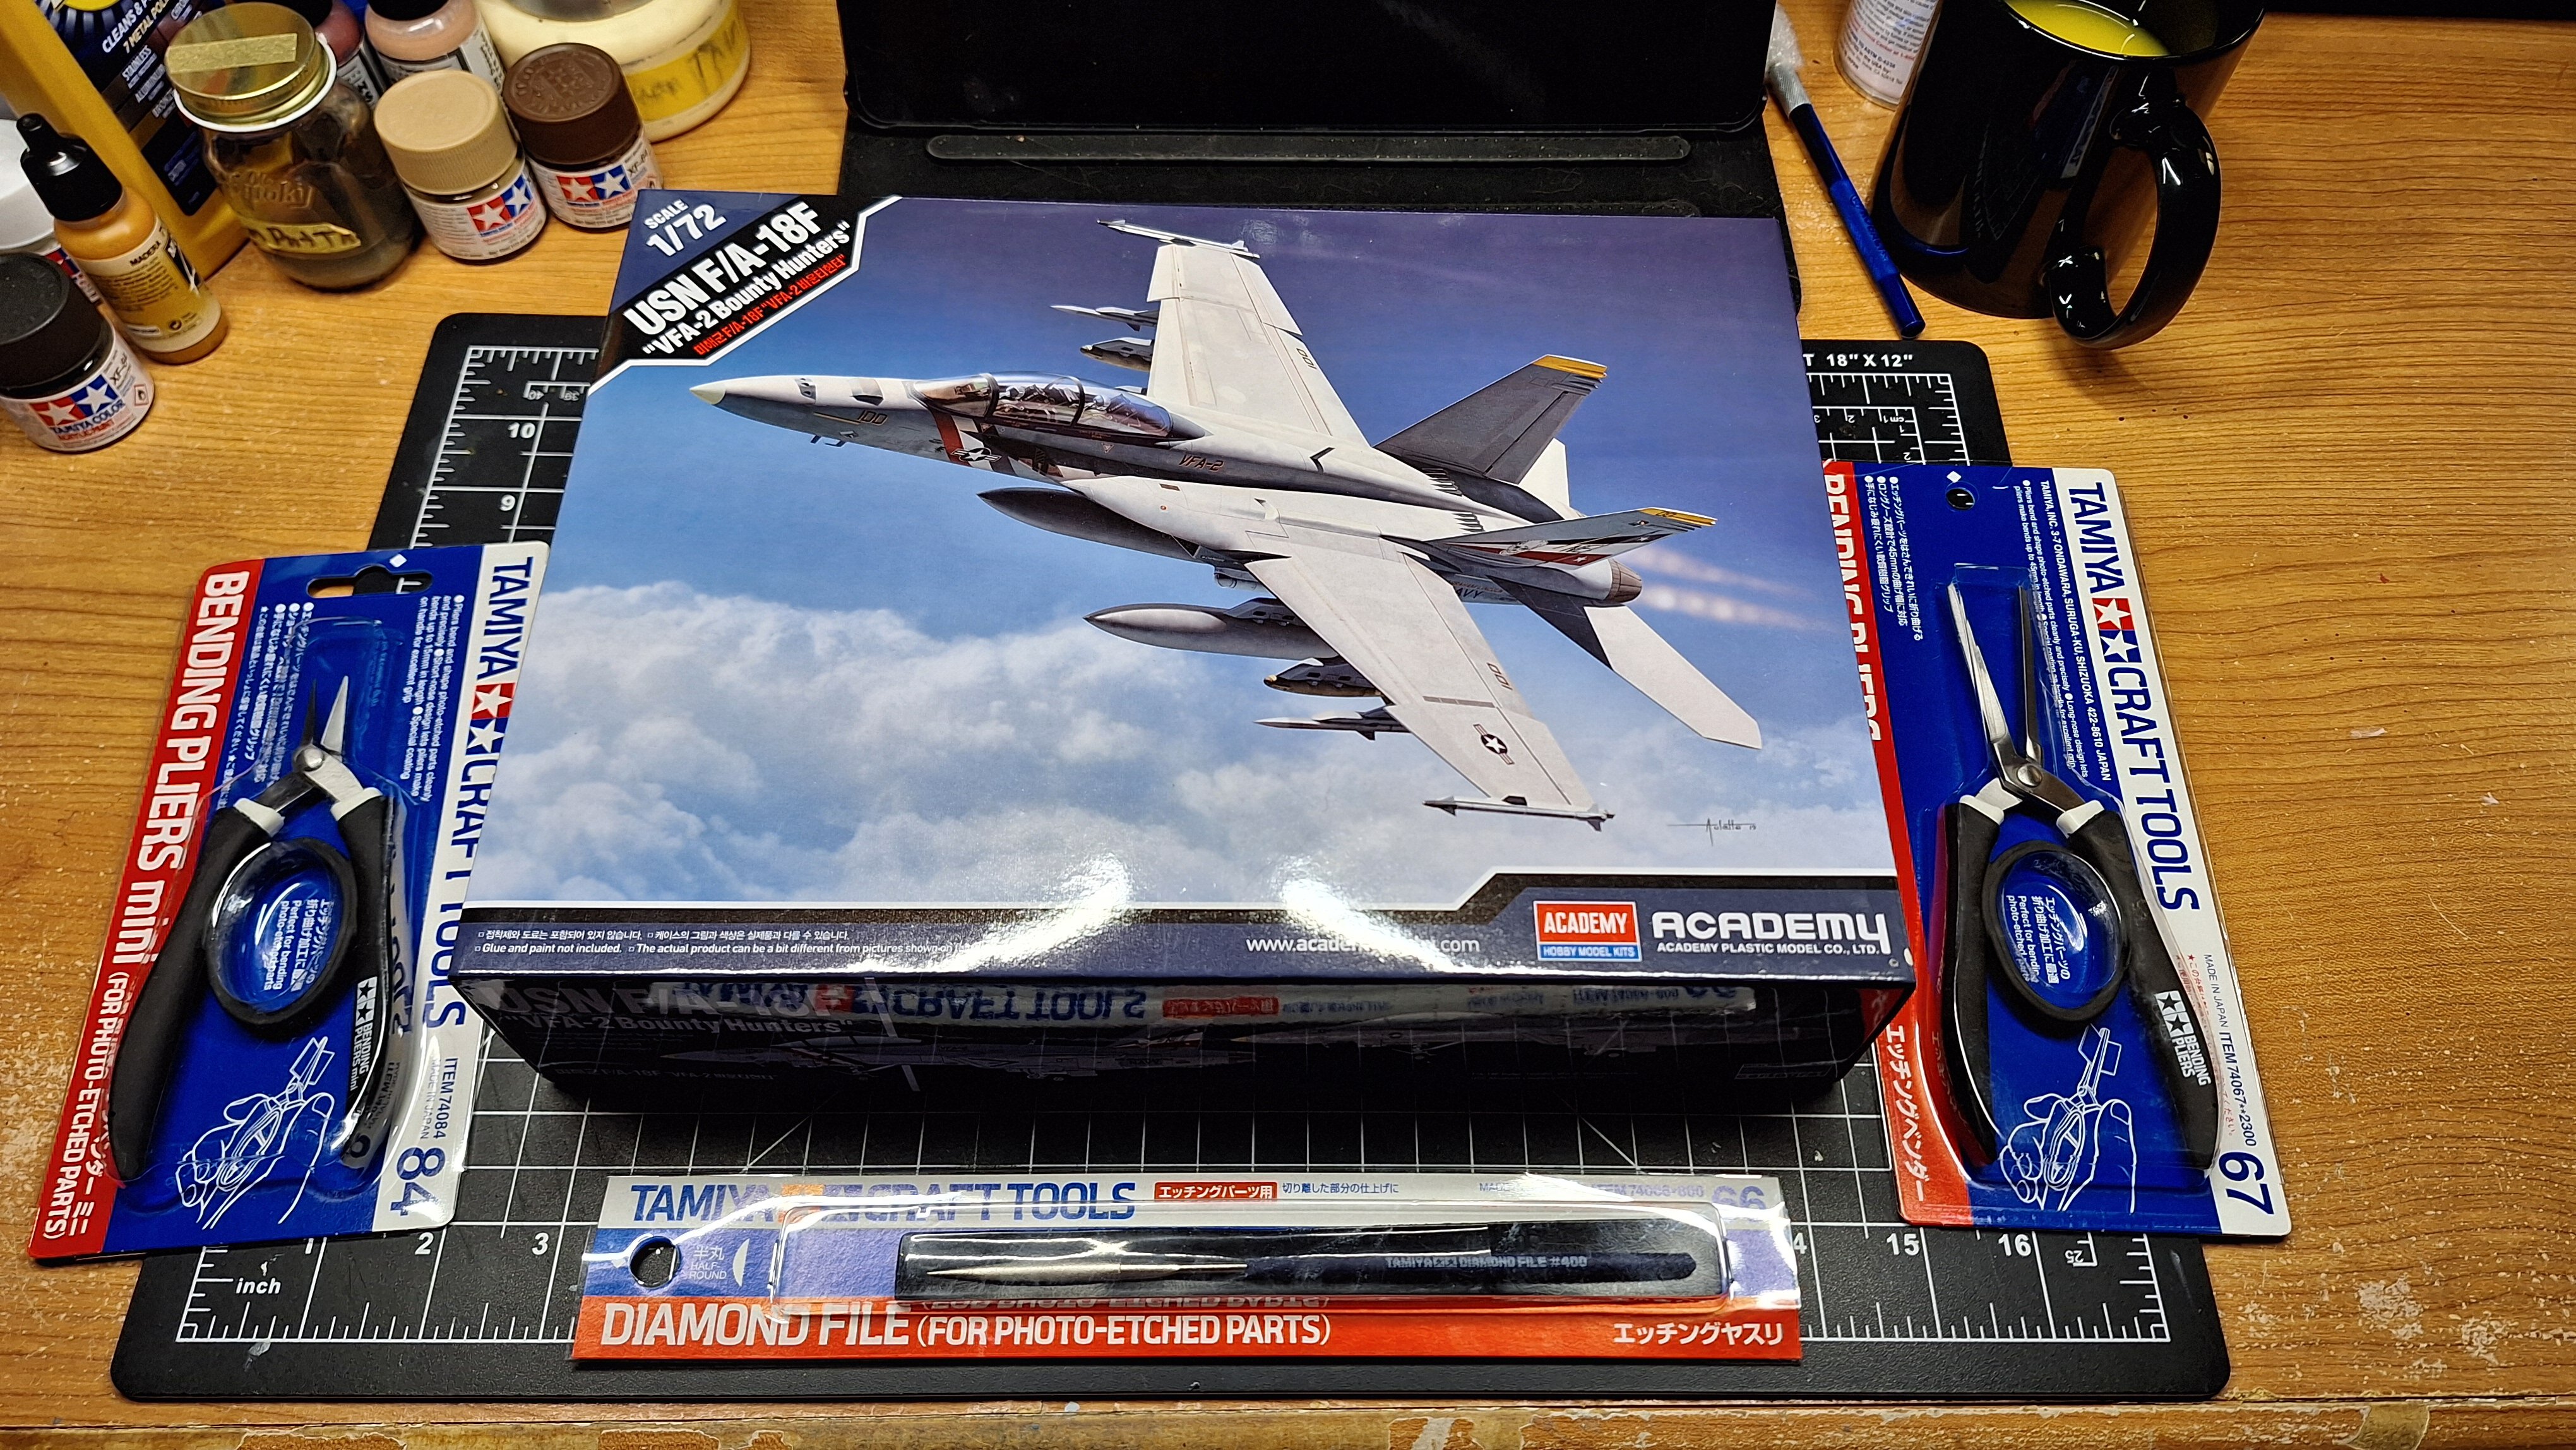
The Modeling Santa was good to me this year!!! 😁
-
The 'Hey look at this really cool model build I saw' post
derex3592 replied to Shawn's topic in Model kits
That's absolutely beautiful work! -
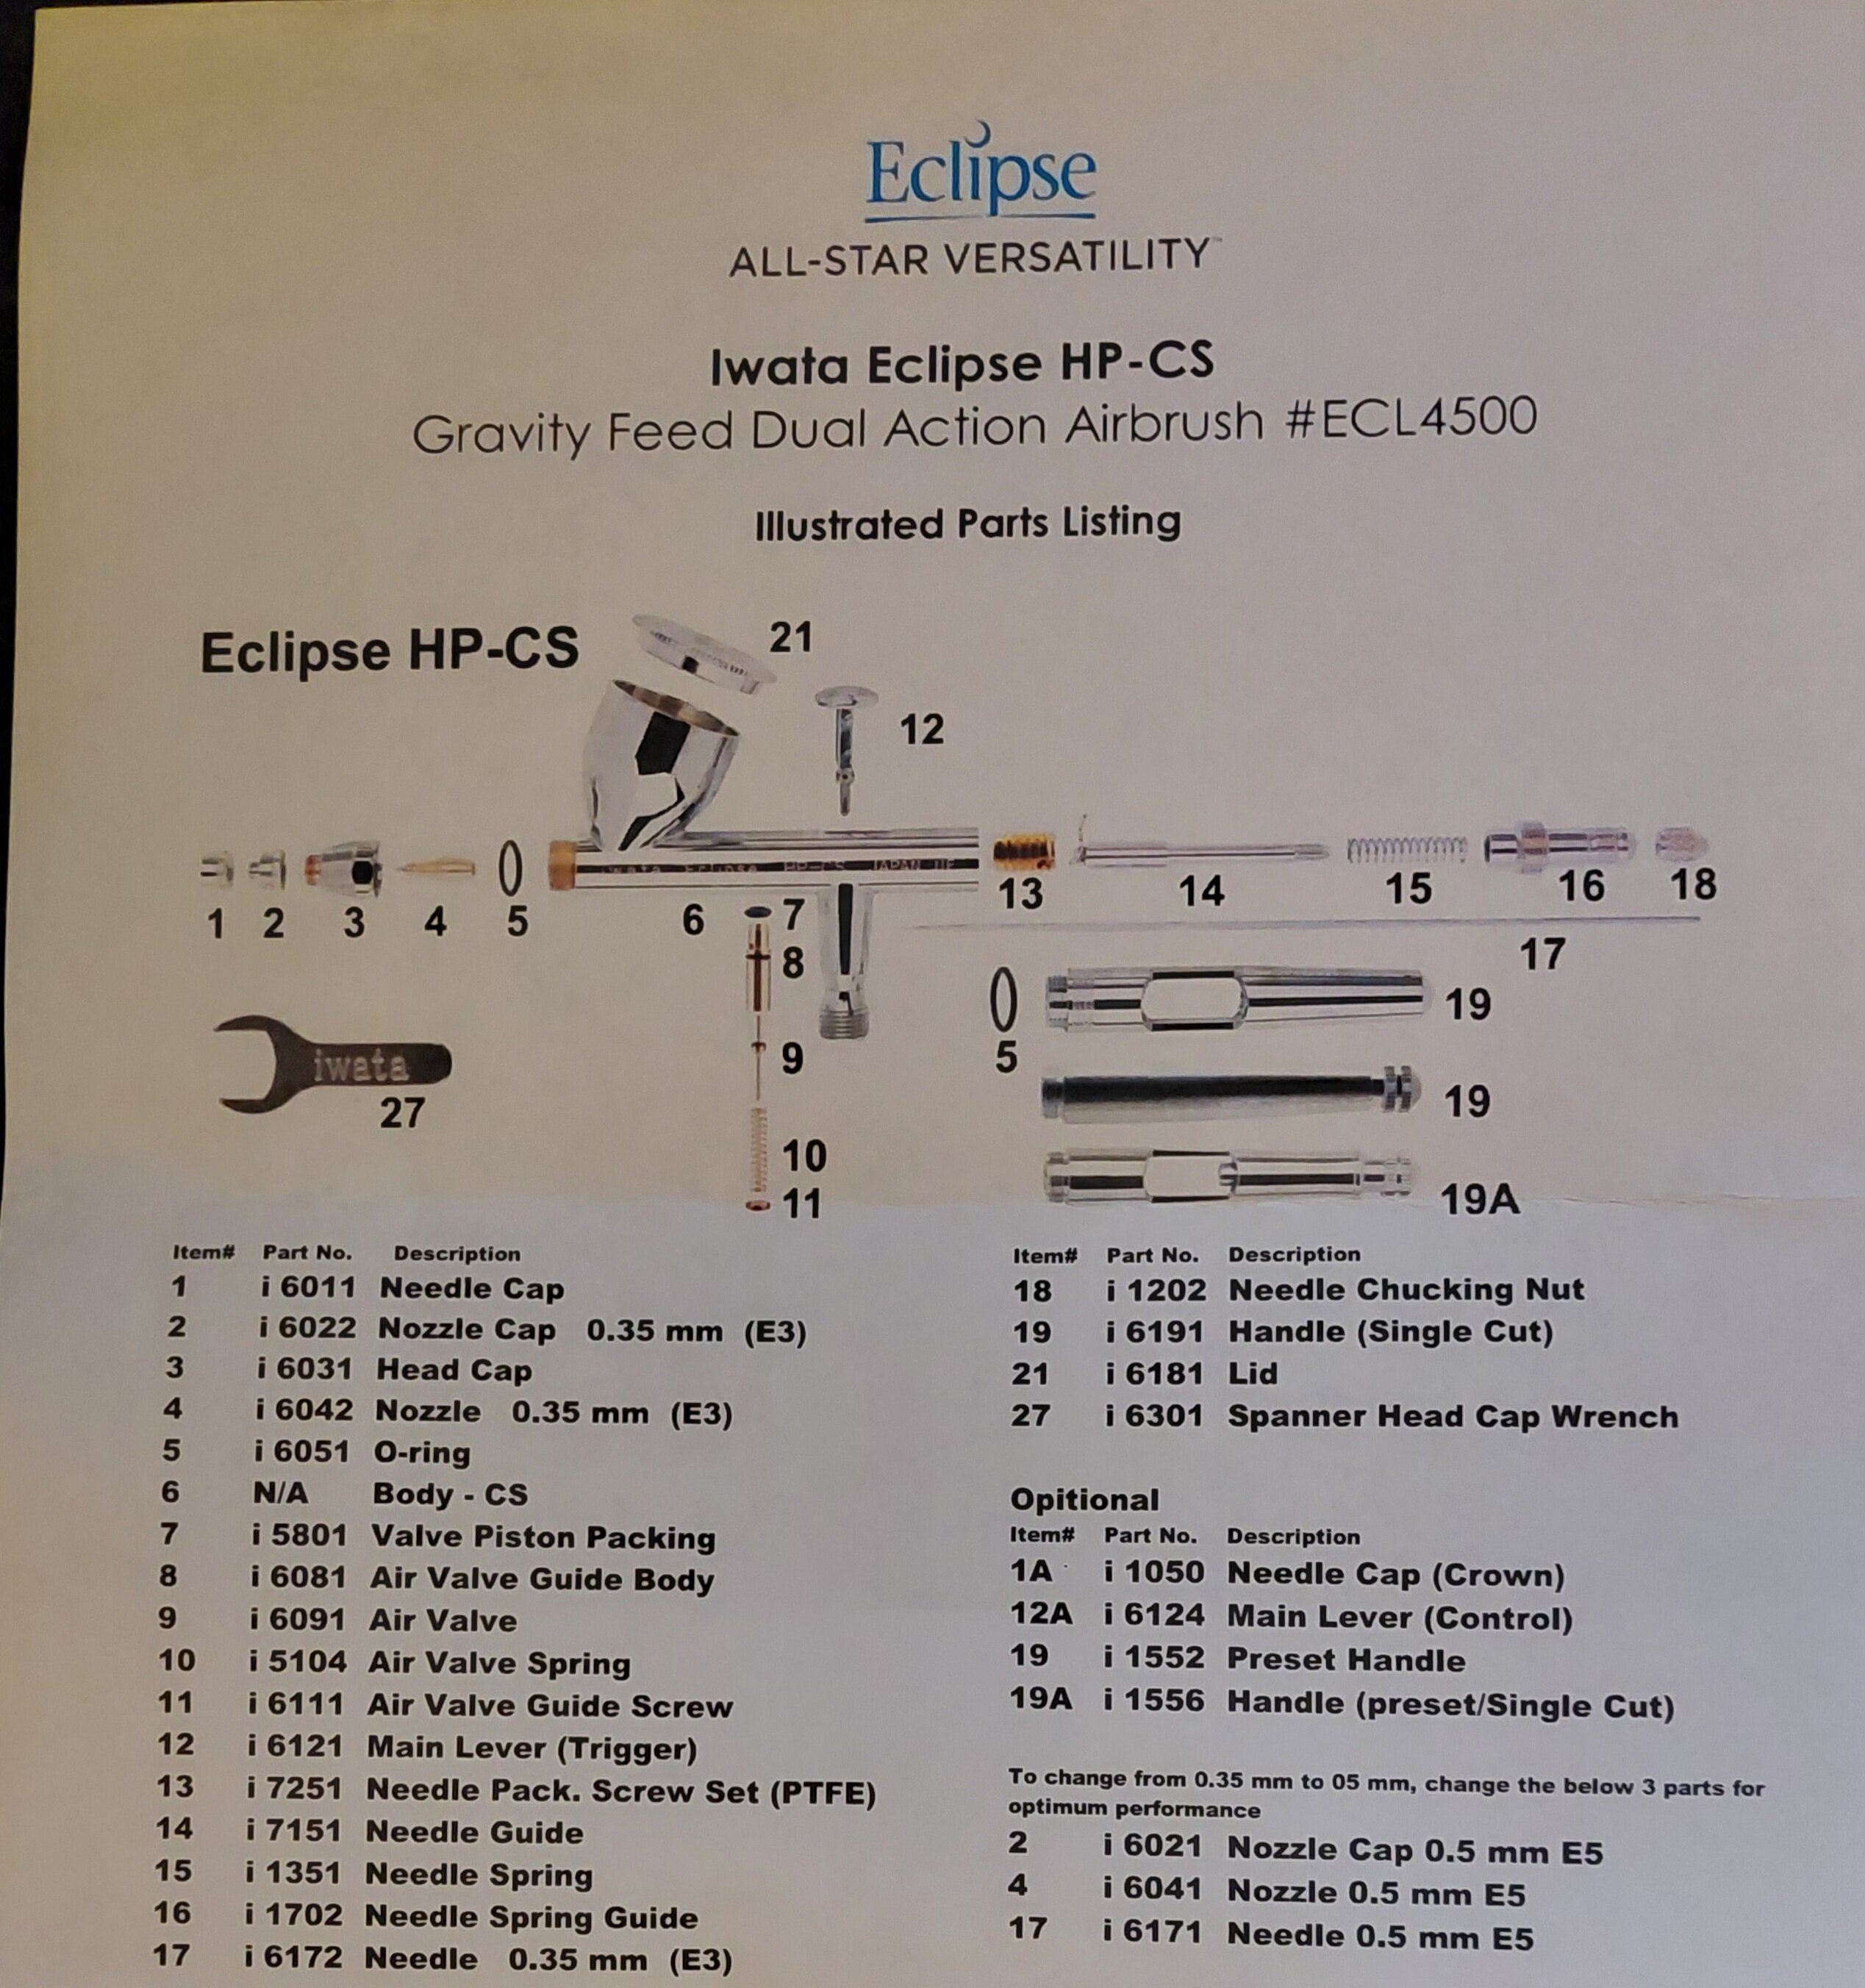
@Gabe QIt's my belief that you need to take the valve assembly out and give it a thorough cleaning. Watch out for the little tiny washer (part 7) in the top though. Very easily lost. This SHOULD cure sticky triggers. You might not need to take part 8 out, just run a cleaner brush and Q-tip up through it, depending on the situation. Also, maybe something other than the Iwata "SuperLube" might be better to lube the trigger plunger. I find that stuff over times gets gummy and you're back to square one.
-
Probably around 8 years ago now, (jeez time flies) I purchased my first high end airbrush. The Iwata Eclipse HP-CS. Coming from a good old double action Paasche, this was quiet the upgrade and it painted a LOT of kits over the years. Well, as the years went on, the trigger kept getting sticky and that was annoying, no matter how many times I cleaned it and lubricated the trigger, the problem would always return. About 2 months ago, I went to use it and the trigger didn't push down anymore. Uhh--Ohh! So I decided it was time to try taking apart the air valve assembly and replace it, I ASSUMED that was the issue. So, I ordered ALL the air valve replacement parts along with the two O rings and thought to myself, "This will be SWEET!" It'll be like brand new again! Now I've got my GSI Creos' now and didn't REALLY need the Iwata anymore, but I couldn't let it go out like that! After all, it still is my most expensive airbrush.... Got the new parts in and got the valve parts out with a pair of cheap tweezers, (if you don't ever have to do this...DON'T), and replaced all the old parts with the new ones aaaaand......The trigger now feels like new again, HOWEVER, only like 1/5 of the air was coming out of the brush compared to how it used to spray...HMMMMM.....Long story short, after another online Iwata parts order, I got a new nozzle, because why not at this point, along with the ONLY other part that could be shot, being the Needle Pack Screw. Now I honestly didn't think I could get it out, Lord only knows how much dried paint was in there from 8 years of accidents and whatever else, So I shot WD-40 down there and let it set for a few hours and it actually DID come out. PRO TIP - Jewlers flat head screw driver set that I just happened to have in my tool pouch from years ago was the ONLY reason I got it out. Veeeery small screw and a long reach down there to get to it! So I got that in, then had to watch a YouTube video on how to set it, I didn't realize that was a thing. BUT IT SO IS! Gotta back if off a turn or two and then veeery fine adjustments to make the needle slide in and out smoothly but firmly. OK! CHECK! Here we GO! To the bench! Yeh....not so fast. STILL was losing air but this time I could here it coming out around the trigger and into the body so I deduced I hadn't gotten the valve screw back in tight enough...and I mean TIGHT. So back to find a slightly angled set of cheap tweezers I don't care about and could grip down tight close the bottom of the valve and tightened it up REAL tight. BAAAAMMMM!!!!! WE HAVE A WORKING IWATA AGAIN. Now before you guys say it, yeh, the Iwata is now BY FAR my most expensive airbrush....LOOOL! Basically over $100 in new parts plus two shipping charges, but once I was down the rabbit hole, I was NOT going to be denied. I also upgraded to the newer back handle for the airbrush with the locking screw on the back like you get with most brushes worth a crap today. I am now NOT AFRAID to take any airbrush ALL the way apart. Hilariously, now my GSI Creos .03 trigger is starting to be sticky ALREADY....GRRRRR........I swear once you have a bad day and get paint in the back of these high end tools, they don't really ever seem the same again, no matter how much you clean them. I case anyone needs it, here is a great diagram of the Iwata with all the parts labeled. Spraygunner has all the parts. Hope you guys all have a very Merry Christmas!!!
-
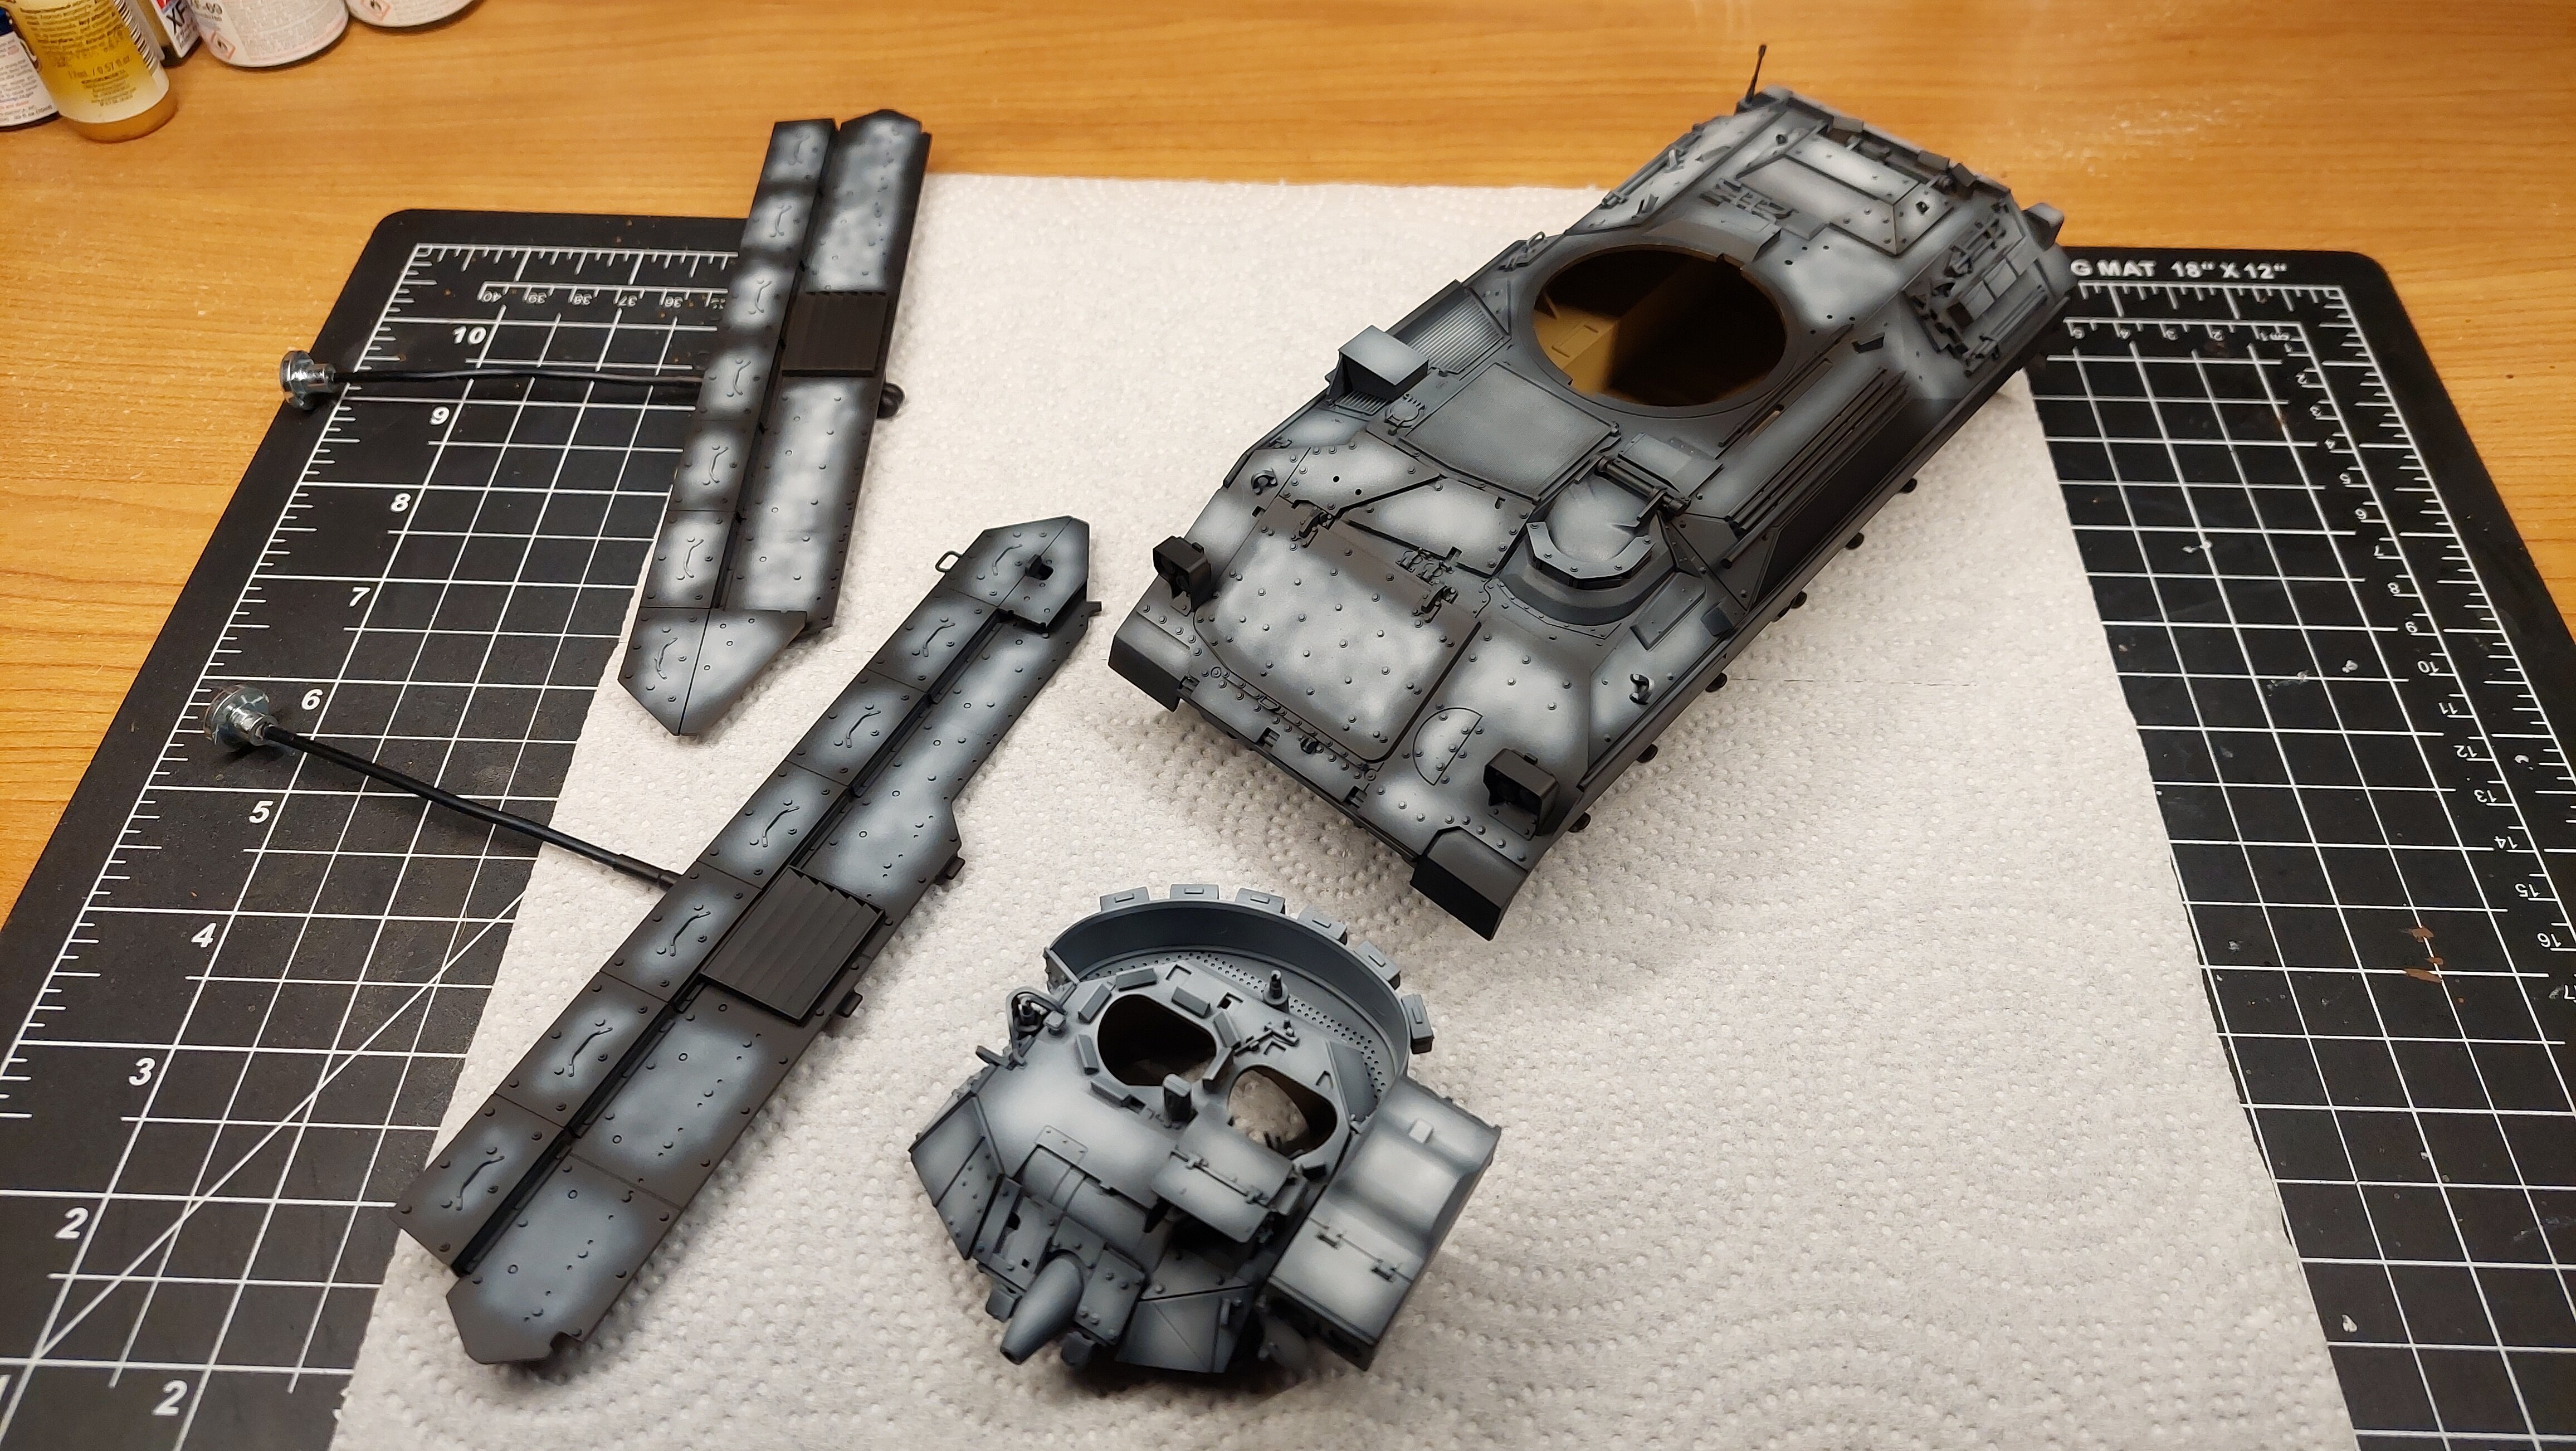
Mr Finishing Surfacer Black and Tamiya Flat White for pre-(I've been baking in the desert 🏜 sun for a few years)- shading have gone down on the Tamiya 1/35 M2A2 Bradley. Got this idea from Andy over at Andy's Hobby Headquarters YouTube channel armor builds...
-
Is this line kinda the HINT HINT that an HM-R version is maaaaybe gonna happen one day or is it a deathnail to the very thought of an HM-R happening? Just wondering???....
-
The Transformers Thread (licensed) Next
derex3592 replied to mikeszekely's topic in Anime or Science Fiction
I watched that clip last night you YT. What a wonderful honor for such a talented kind hearted good man who was the voice of my childhood and WAS and STILL is the ONE AND ONLY OPTIMUS PRIME!- 16131 replies
-
- 1
-

-
- transformers
- toys
- (and 5 more)
-
@505thAirborne - BIG OLDER GUY fingers need little itty bitty helpers bruh...either one of these sets I HIGHLY recommend! YF-23 is looking GREAT! Very smoooooth and seamless! Amazon.com: 6PCS Precision Tweezers Set, Upgraded Anti-Static Stainless Steel Curved of Tweezers, for Electronics, Laboratory Work, Jewelry-Making, Craft, Soldering, etc, by kaverme. : Tools & Home Improvement Amazon.com : Majestic Bombay Fine Point + Slant Tweezers for Women and Men – Splinter Ticks, Facial, Brow and Ingrown Hair Removal–Sharp, Needle Nose, Surgical Tweezers Precision best tweezers for chin hair : Beauty & Personal Care
-
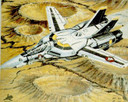
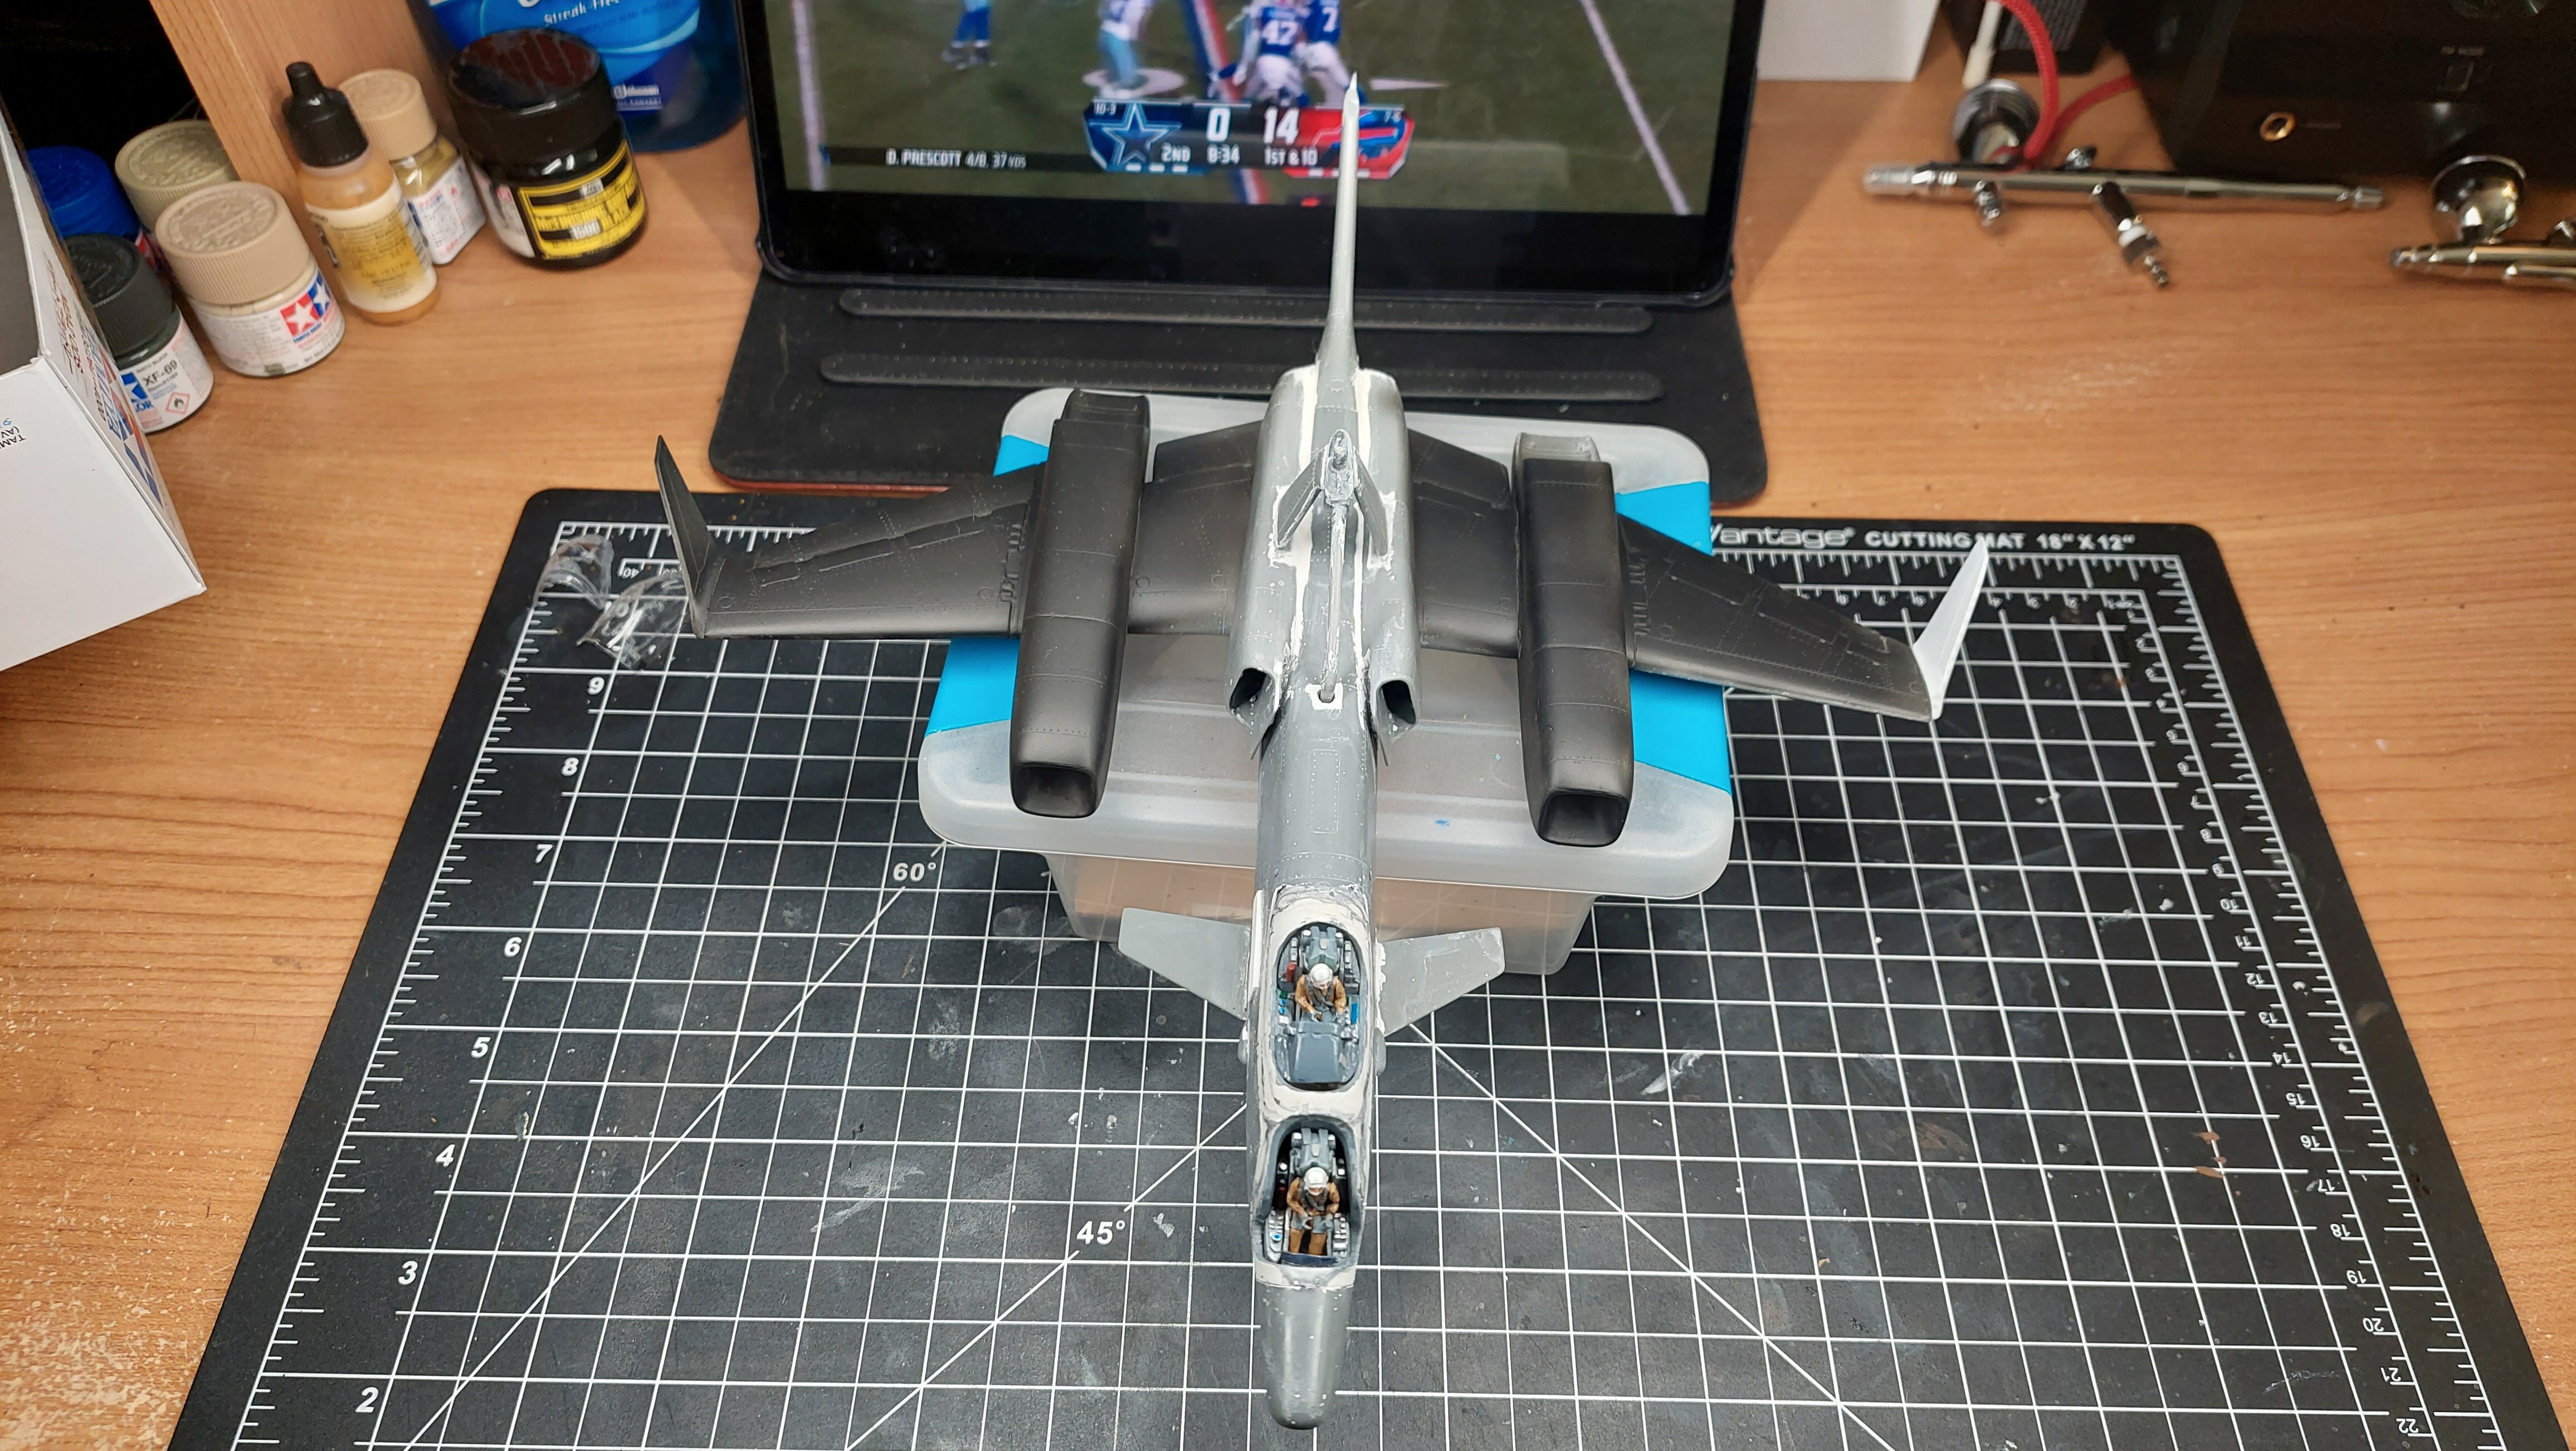
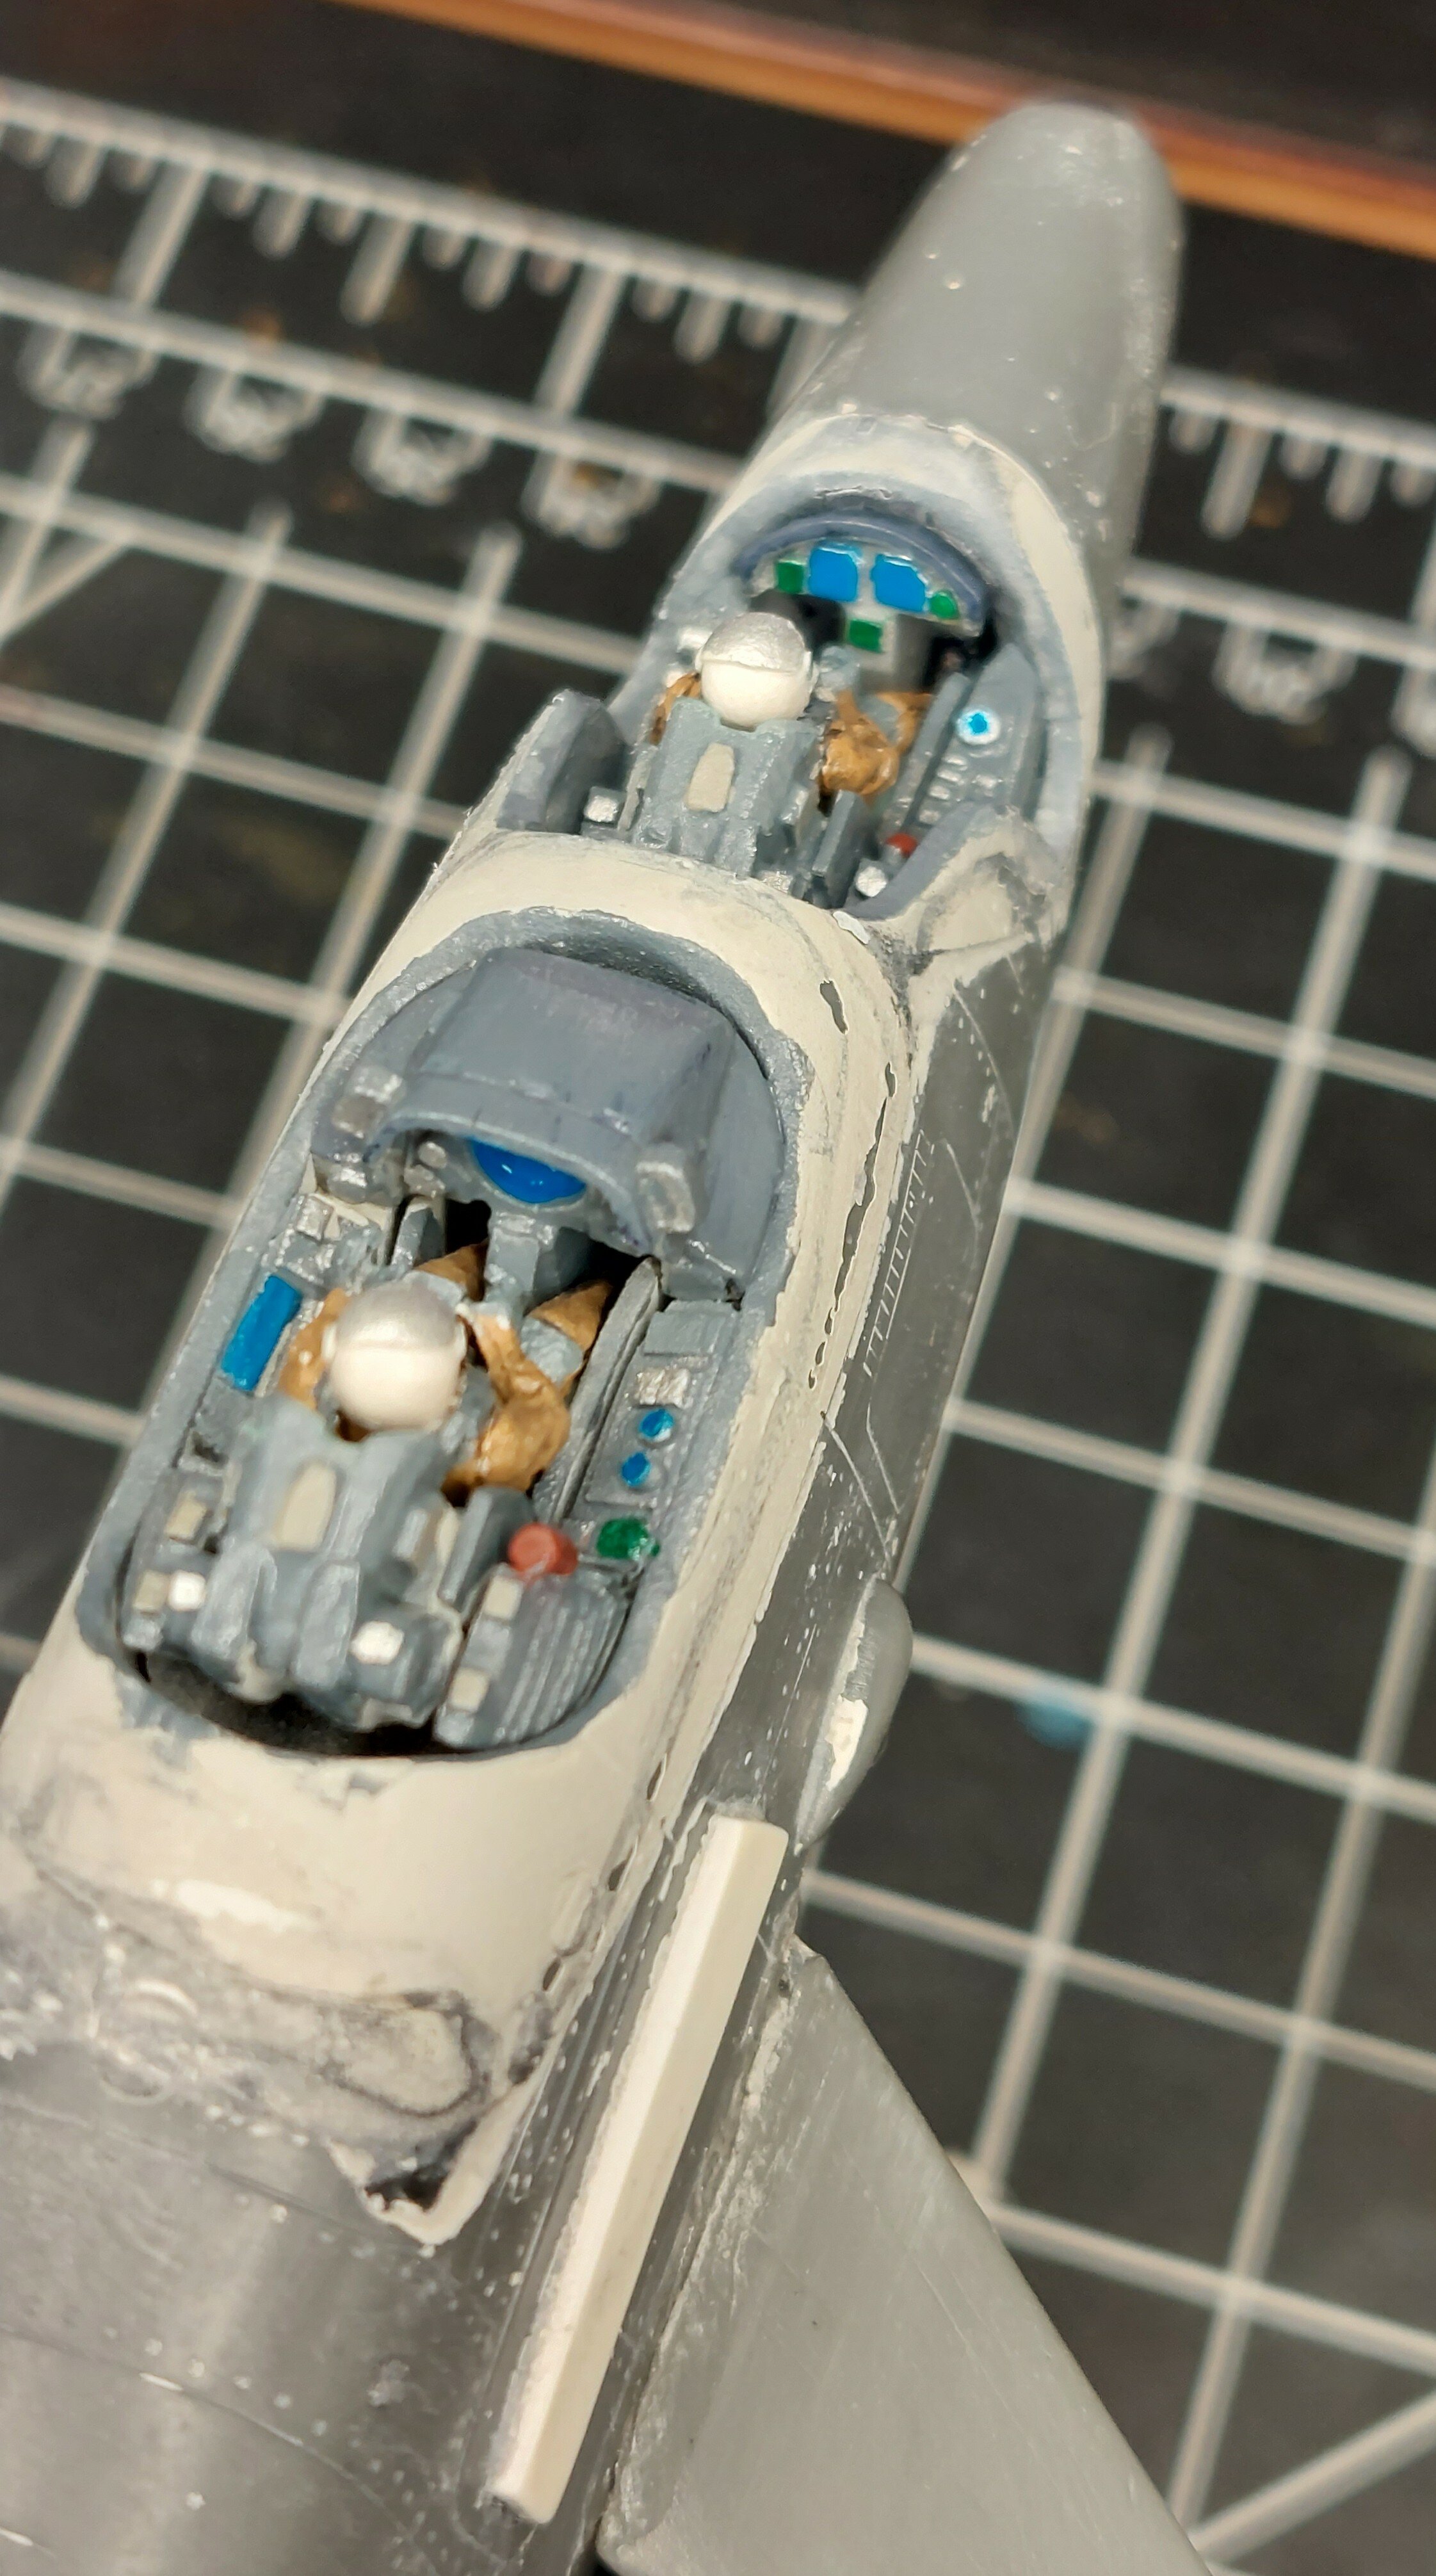
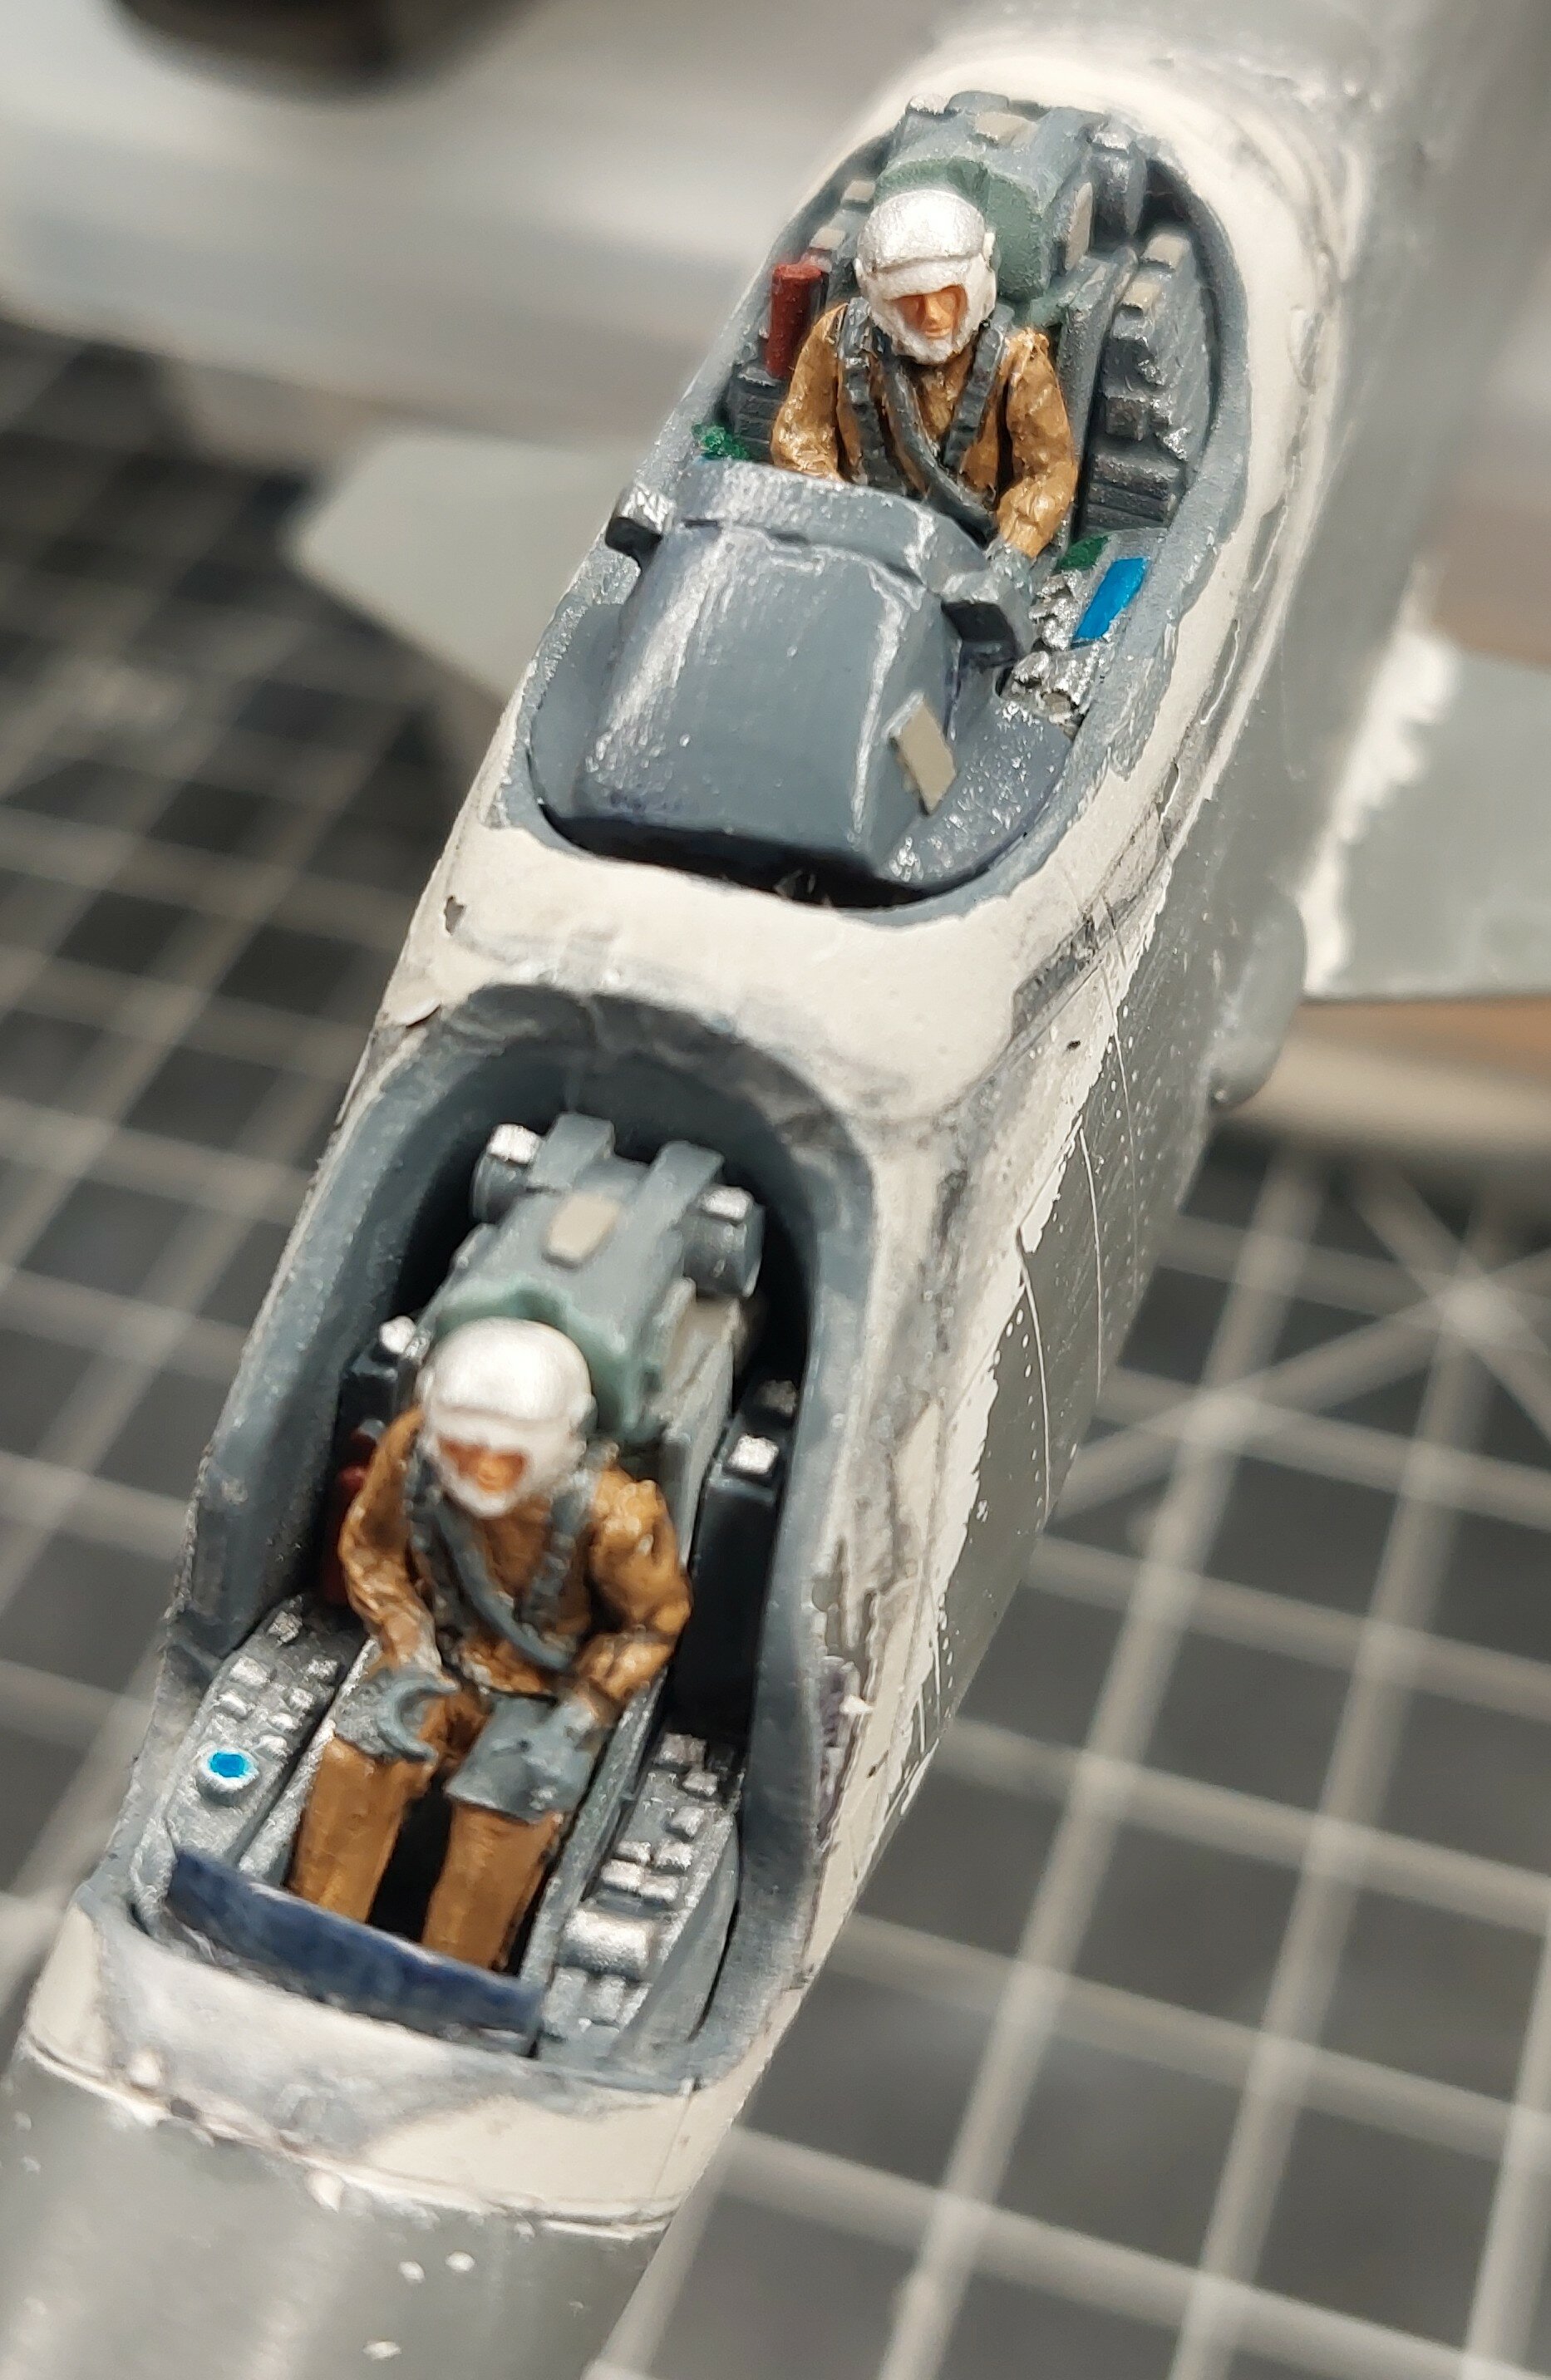
Love the Intruder! Looking forward to seeing yours! For those keeping track, 4 years ago these poor pilots got sealed into the cat's eye. Today they were freed! Got both broken winglet parts glued back on today and now I'm going to cleanup around the cockpit. I still believe I can save this awesome Moscato kit! 😁
-
Thanks @505thAirborne!
-
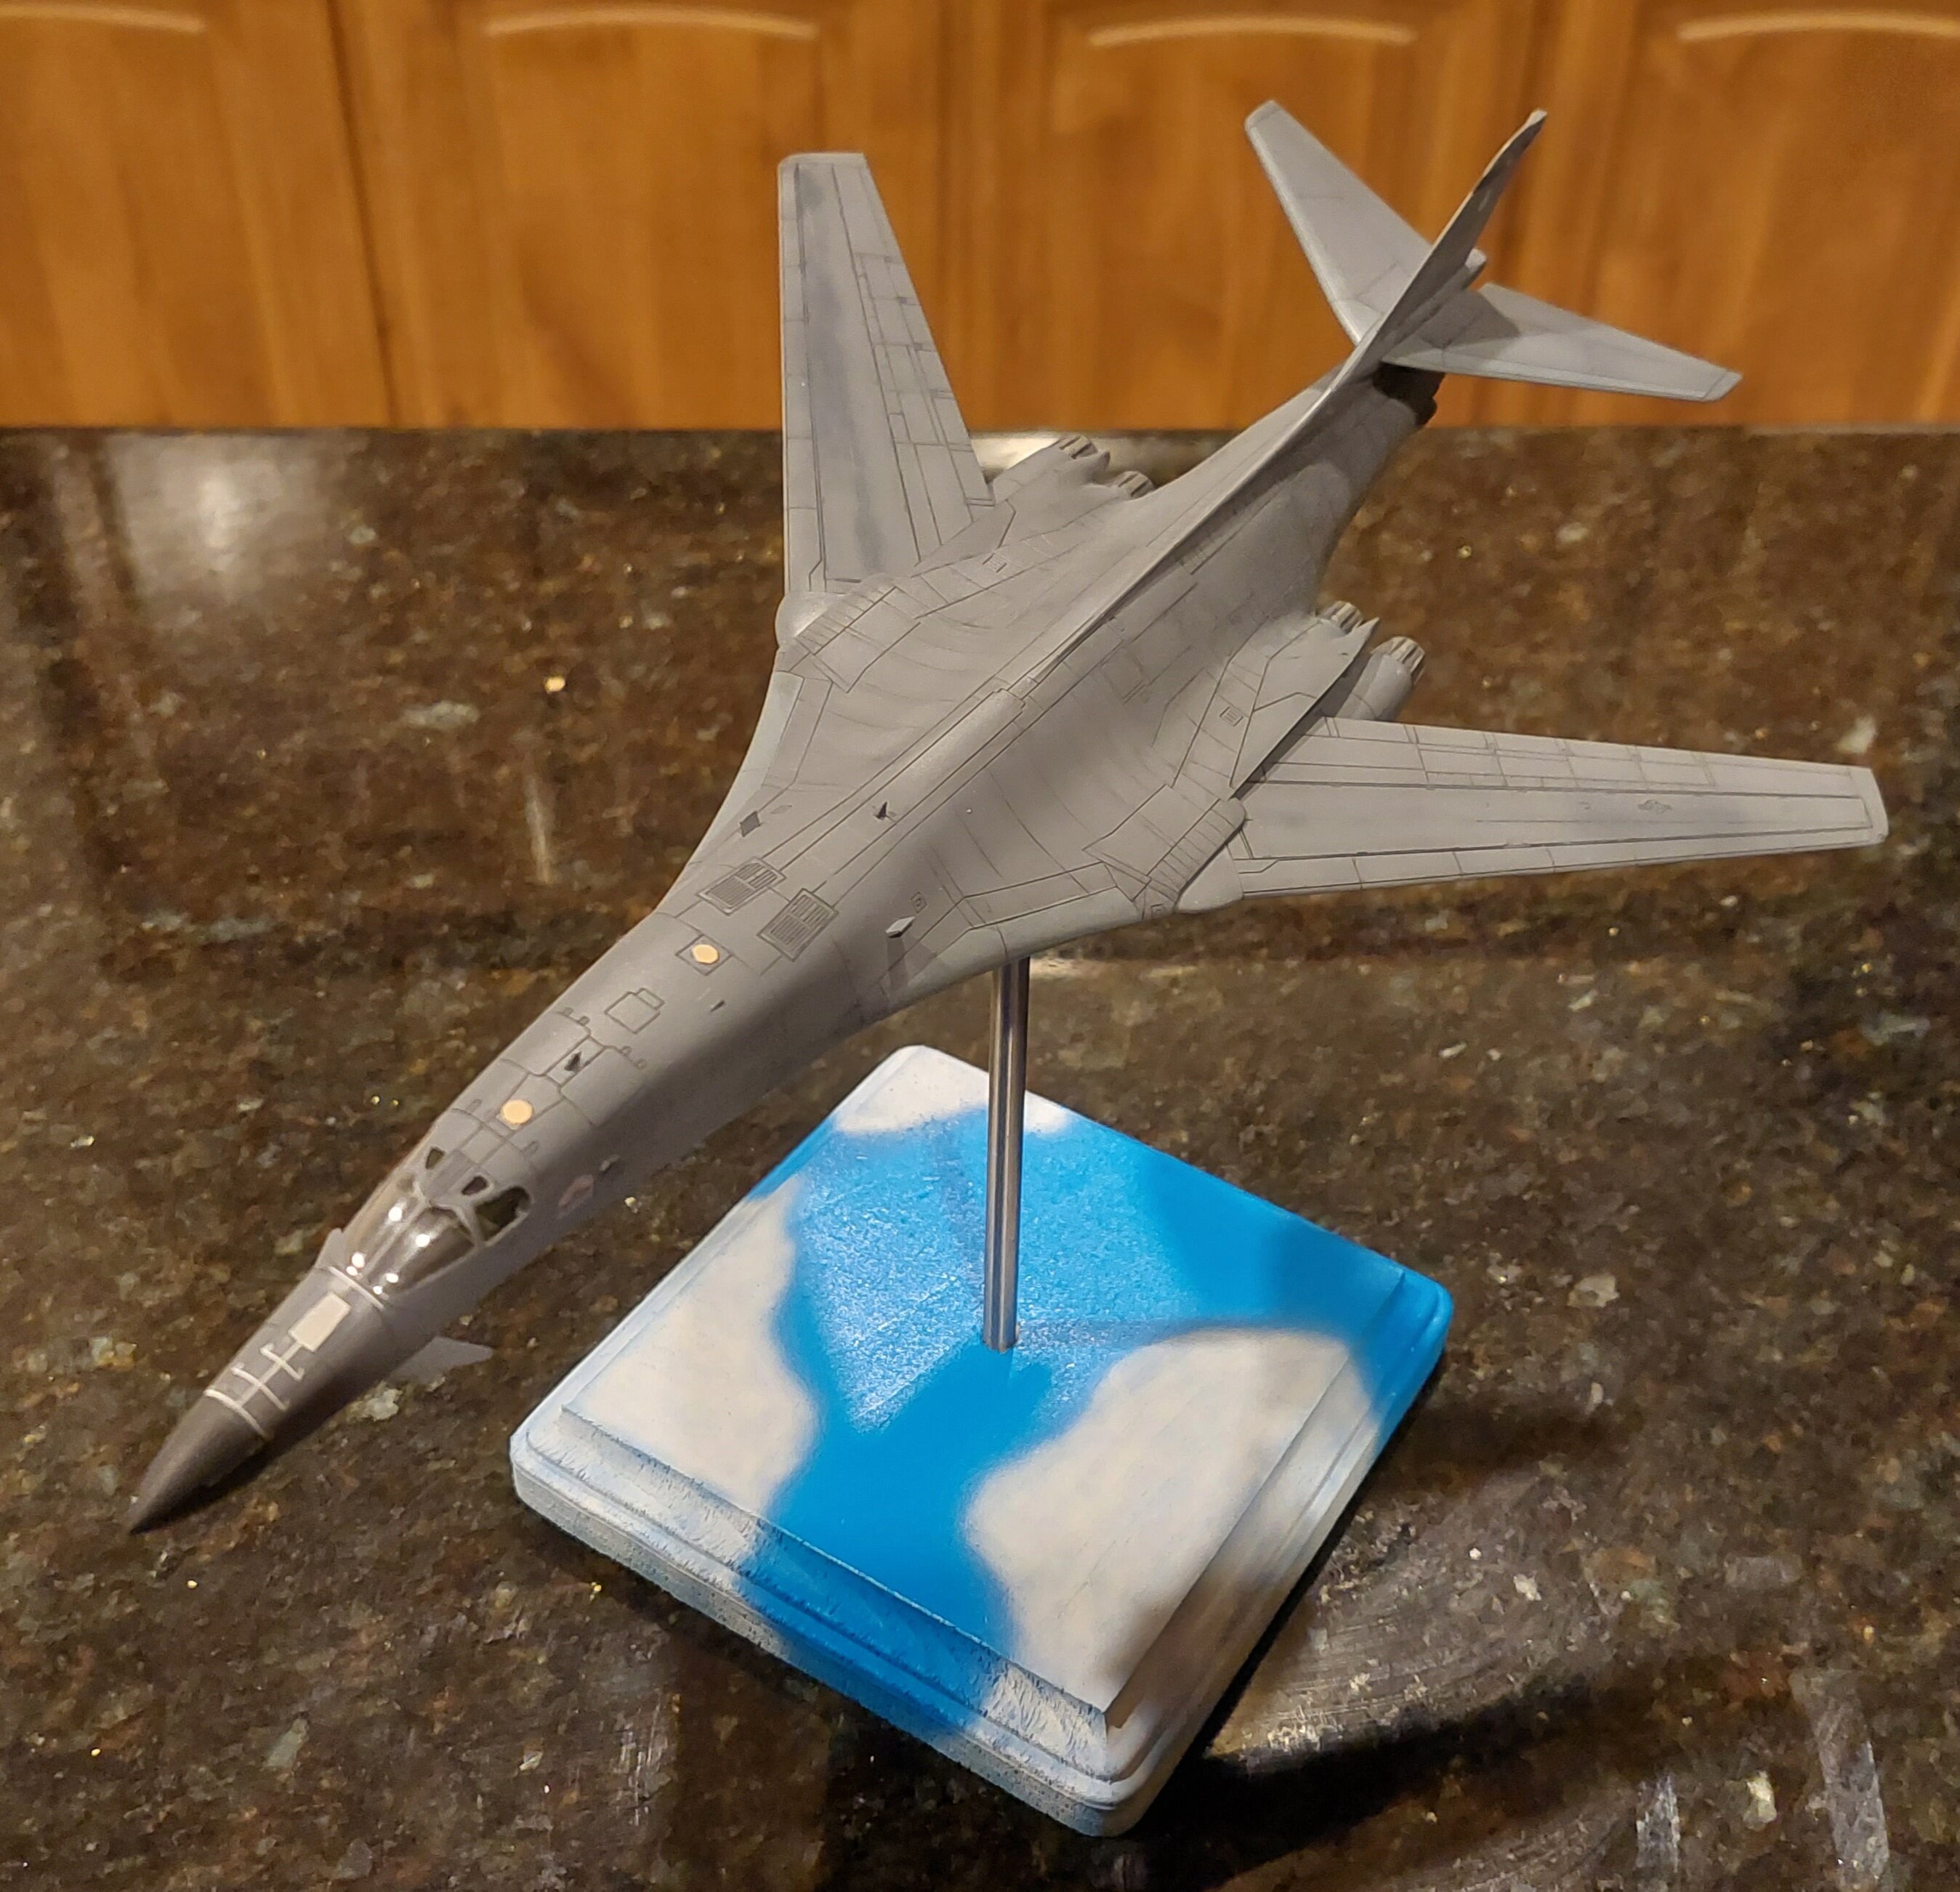
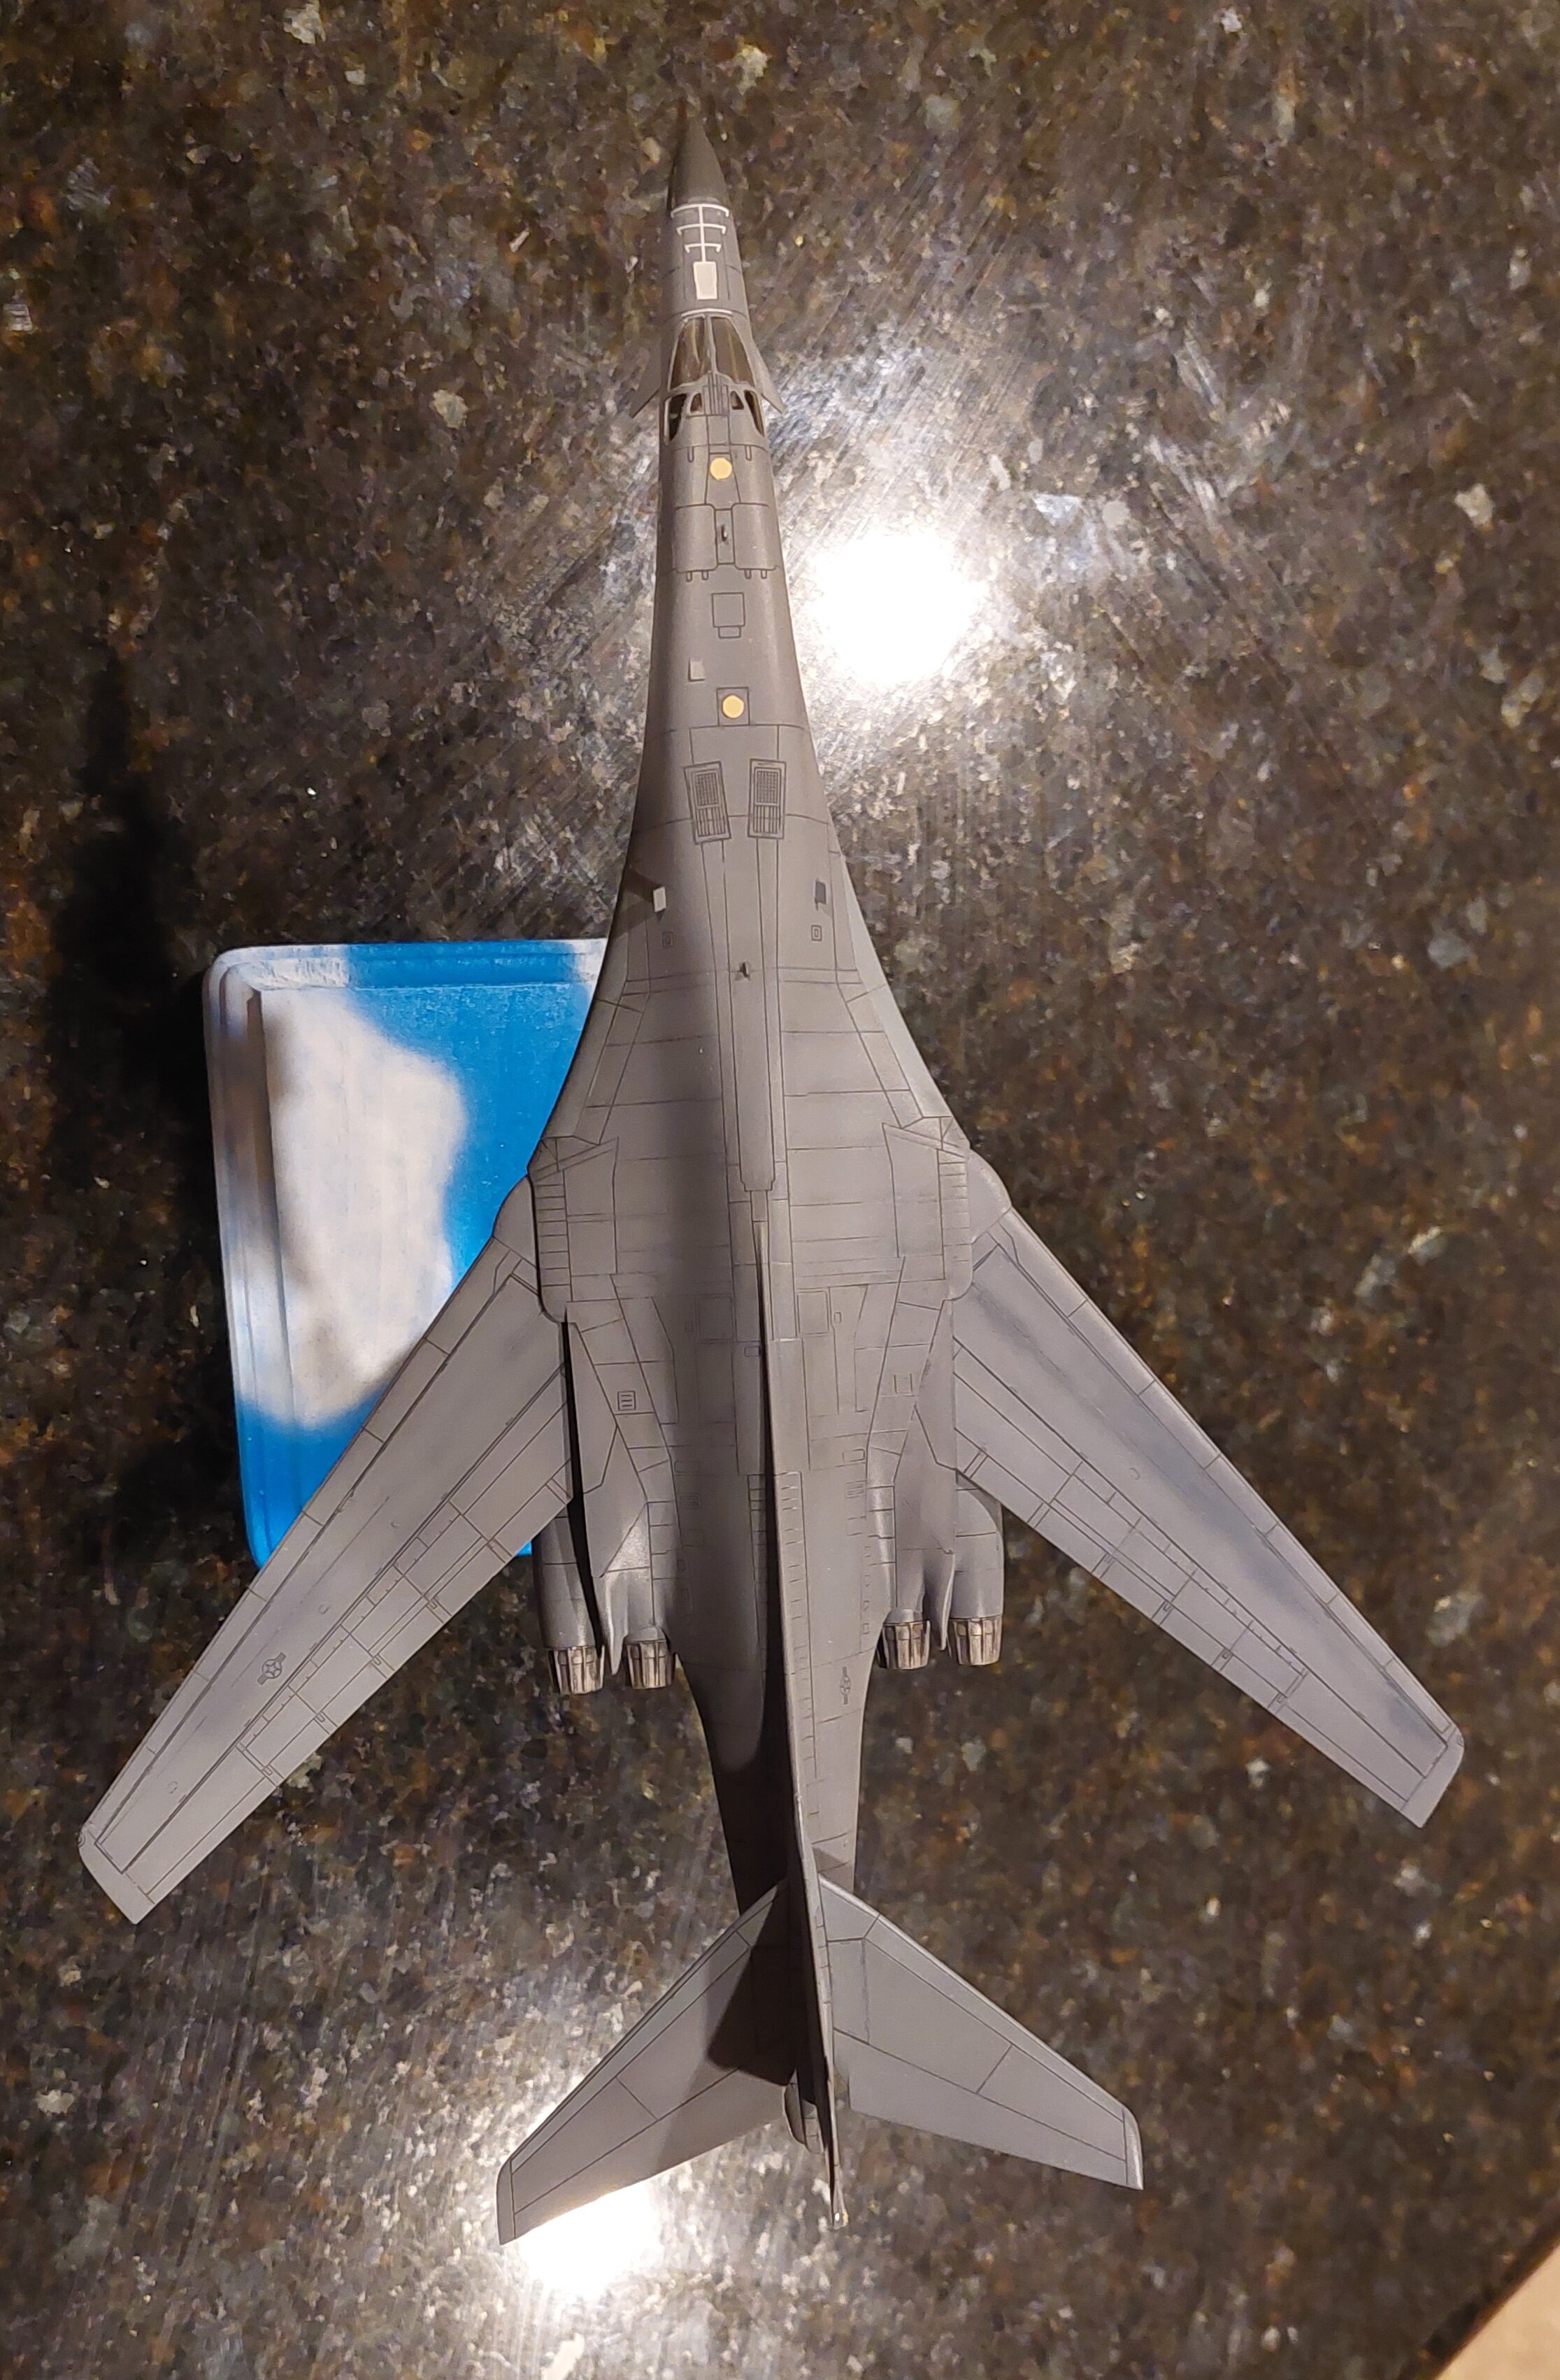
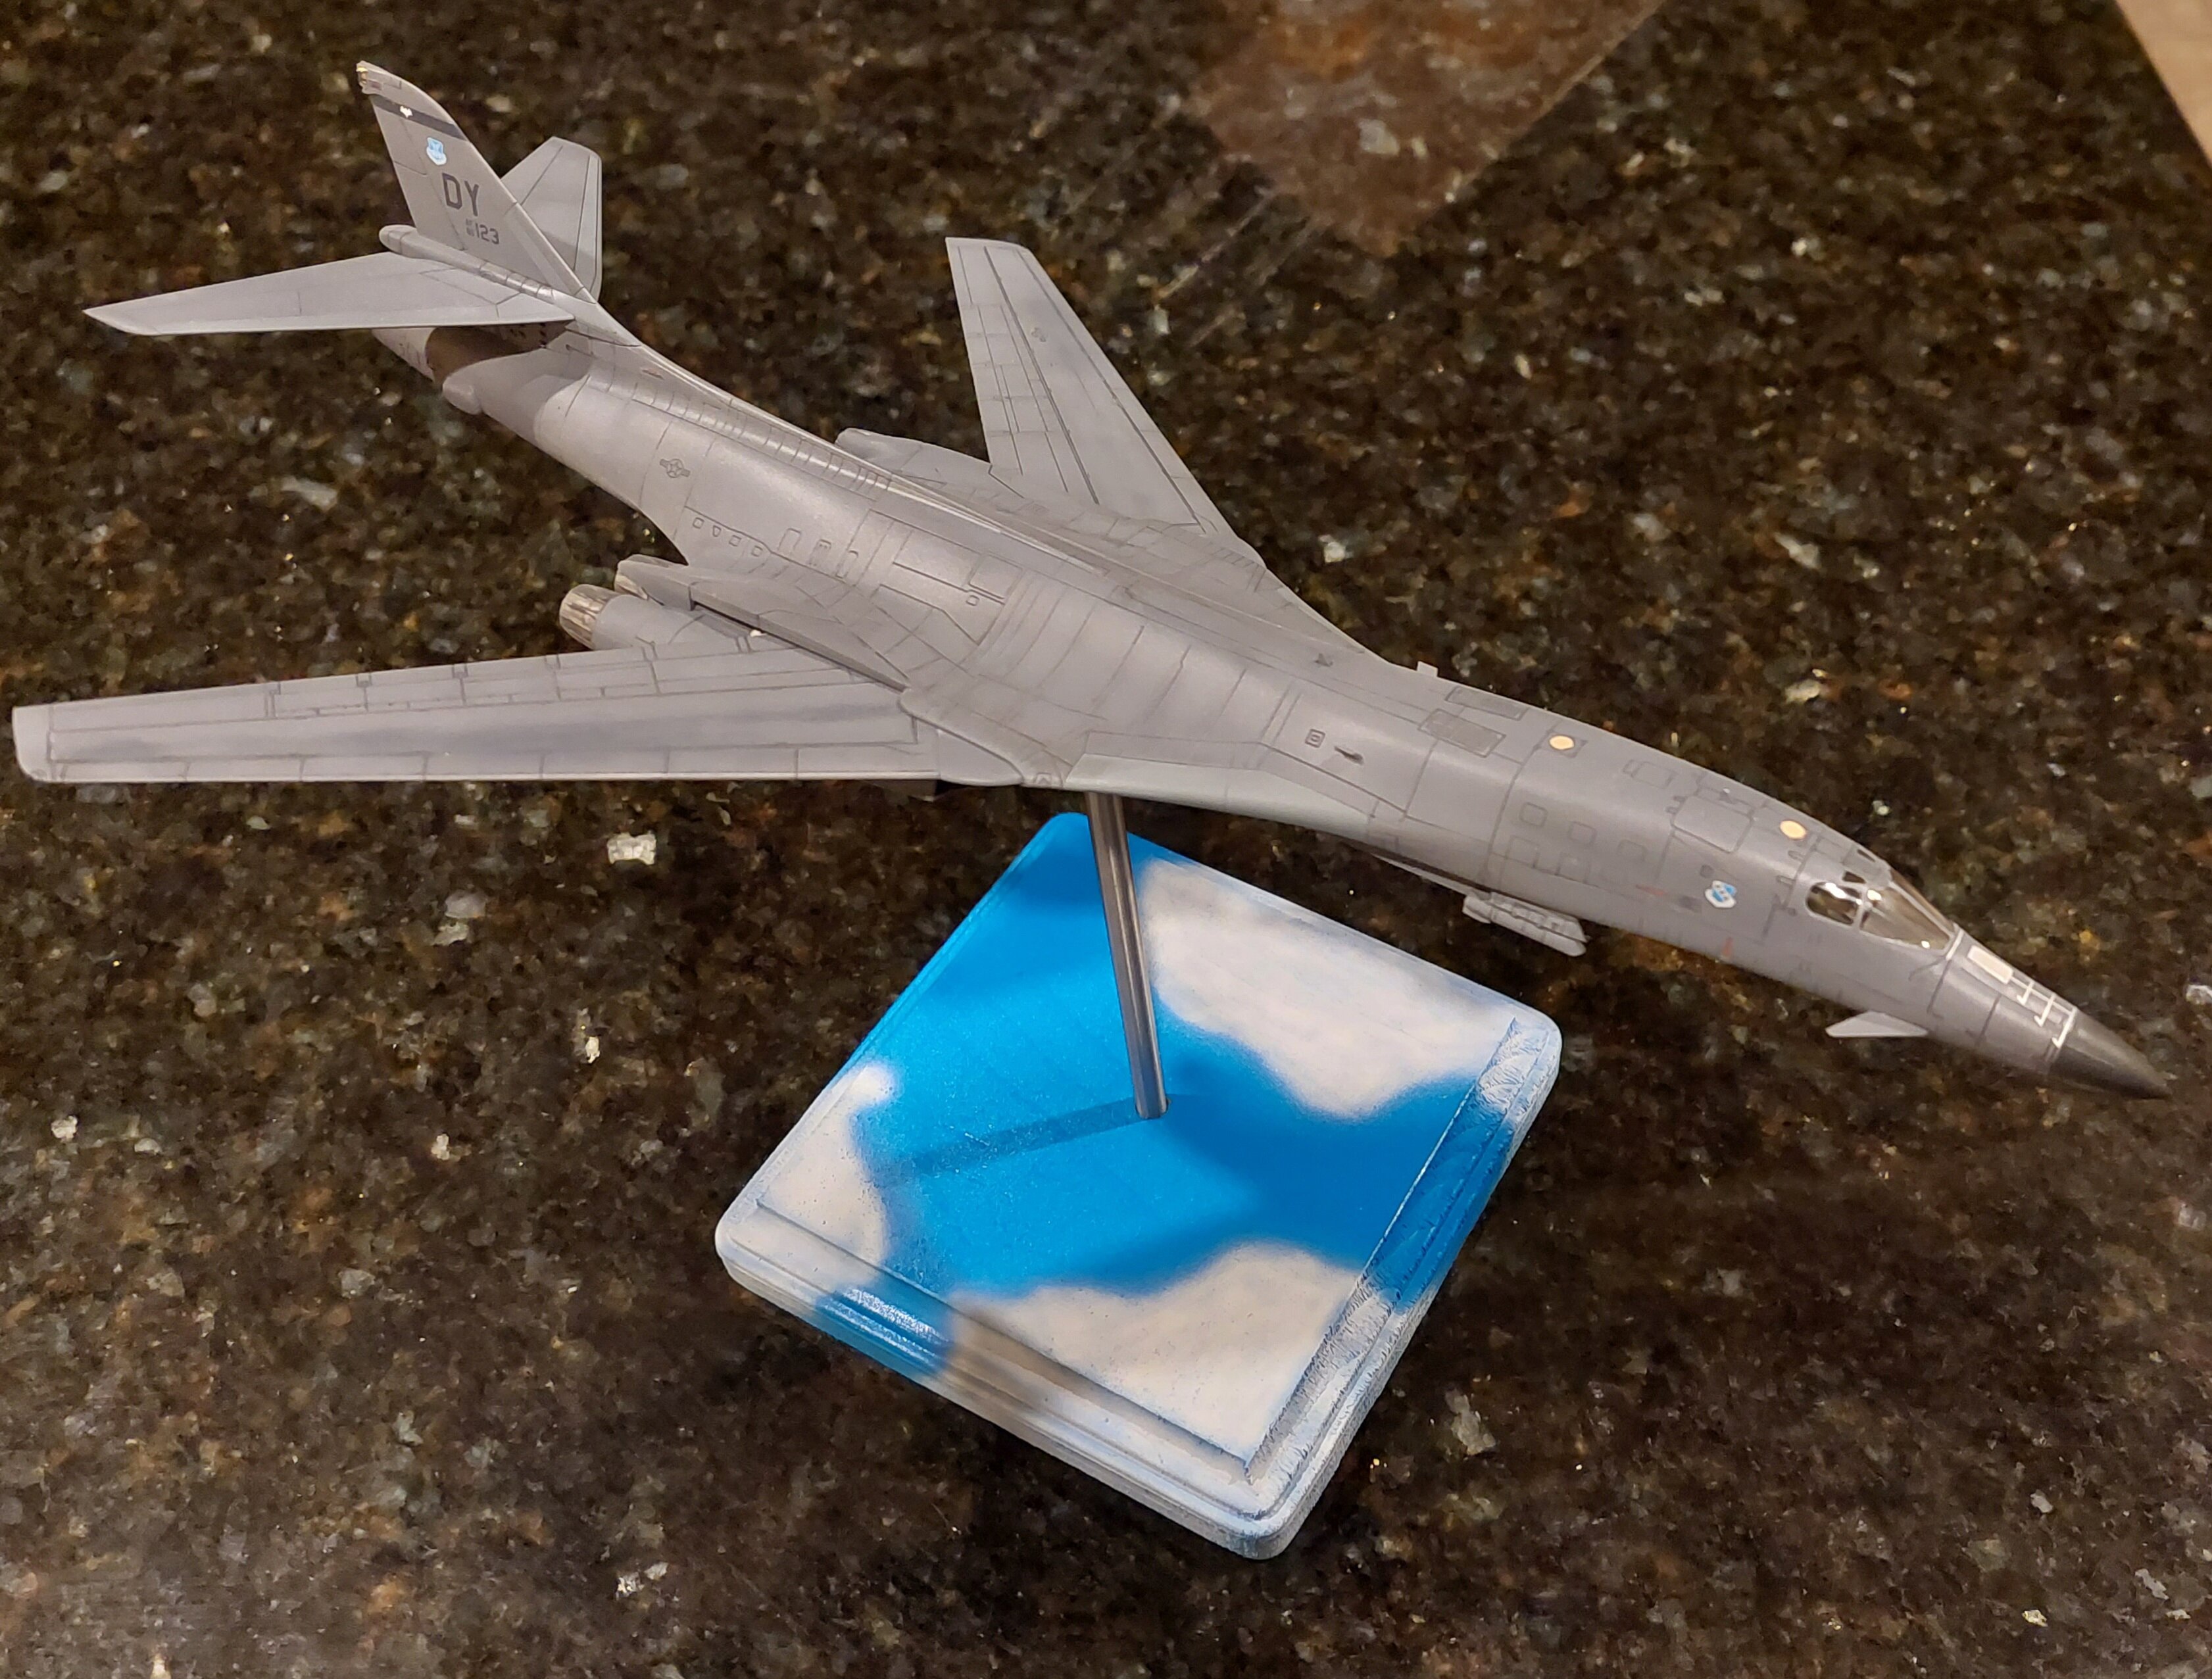
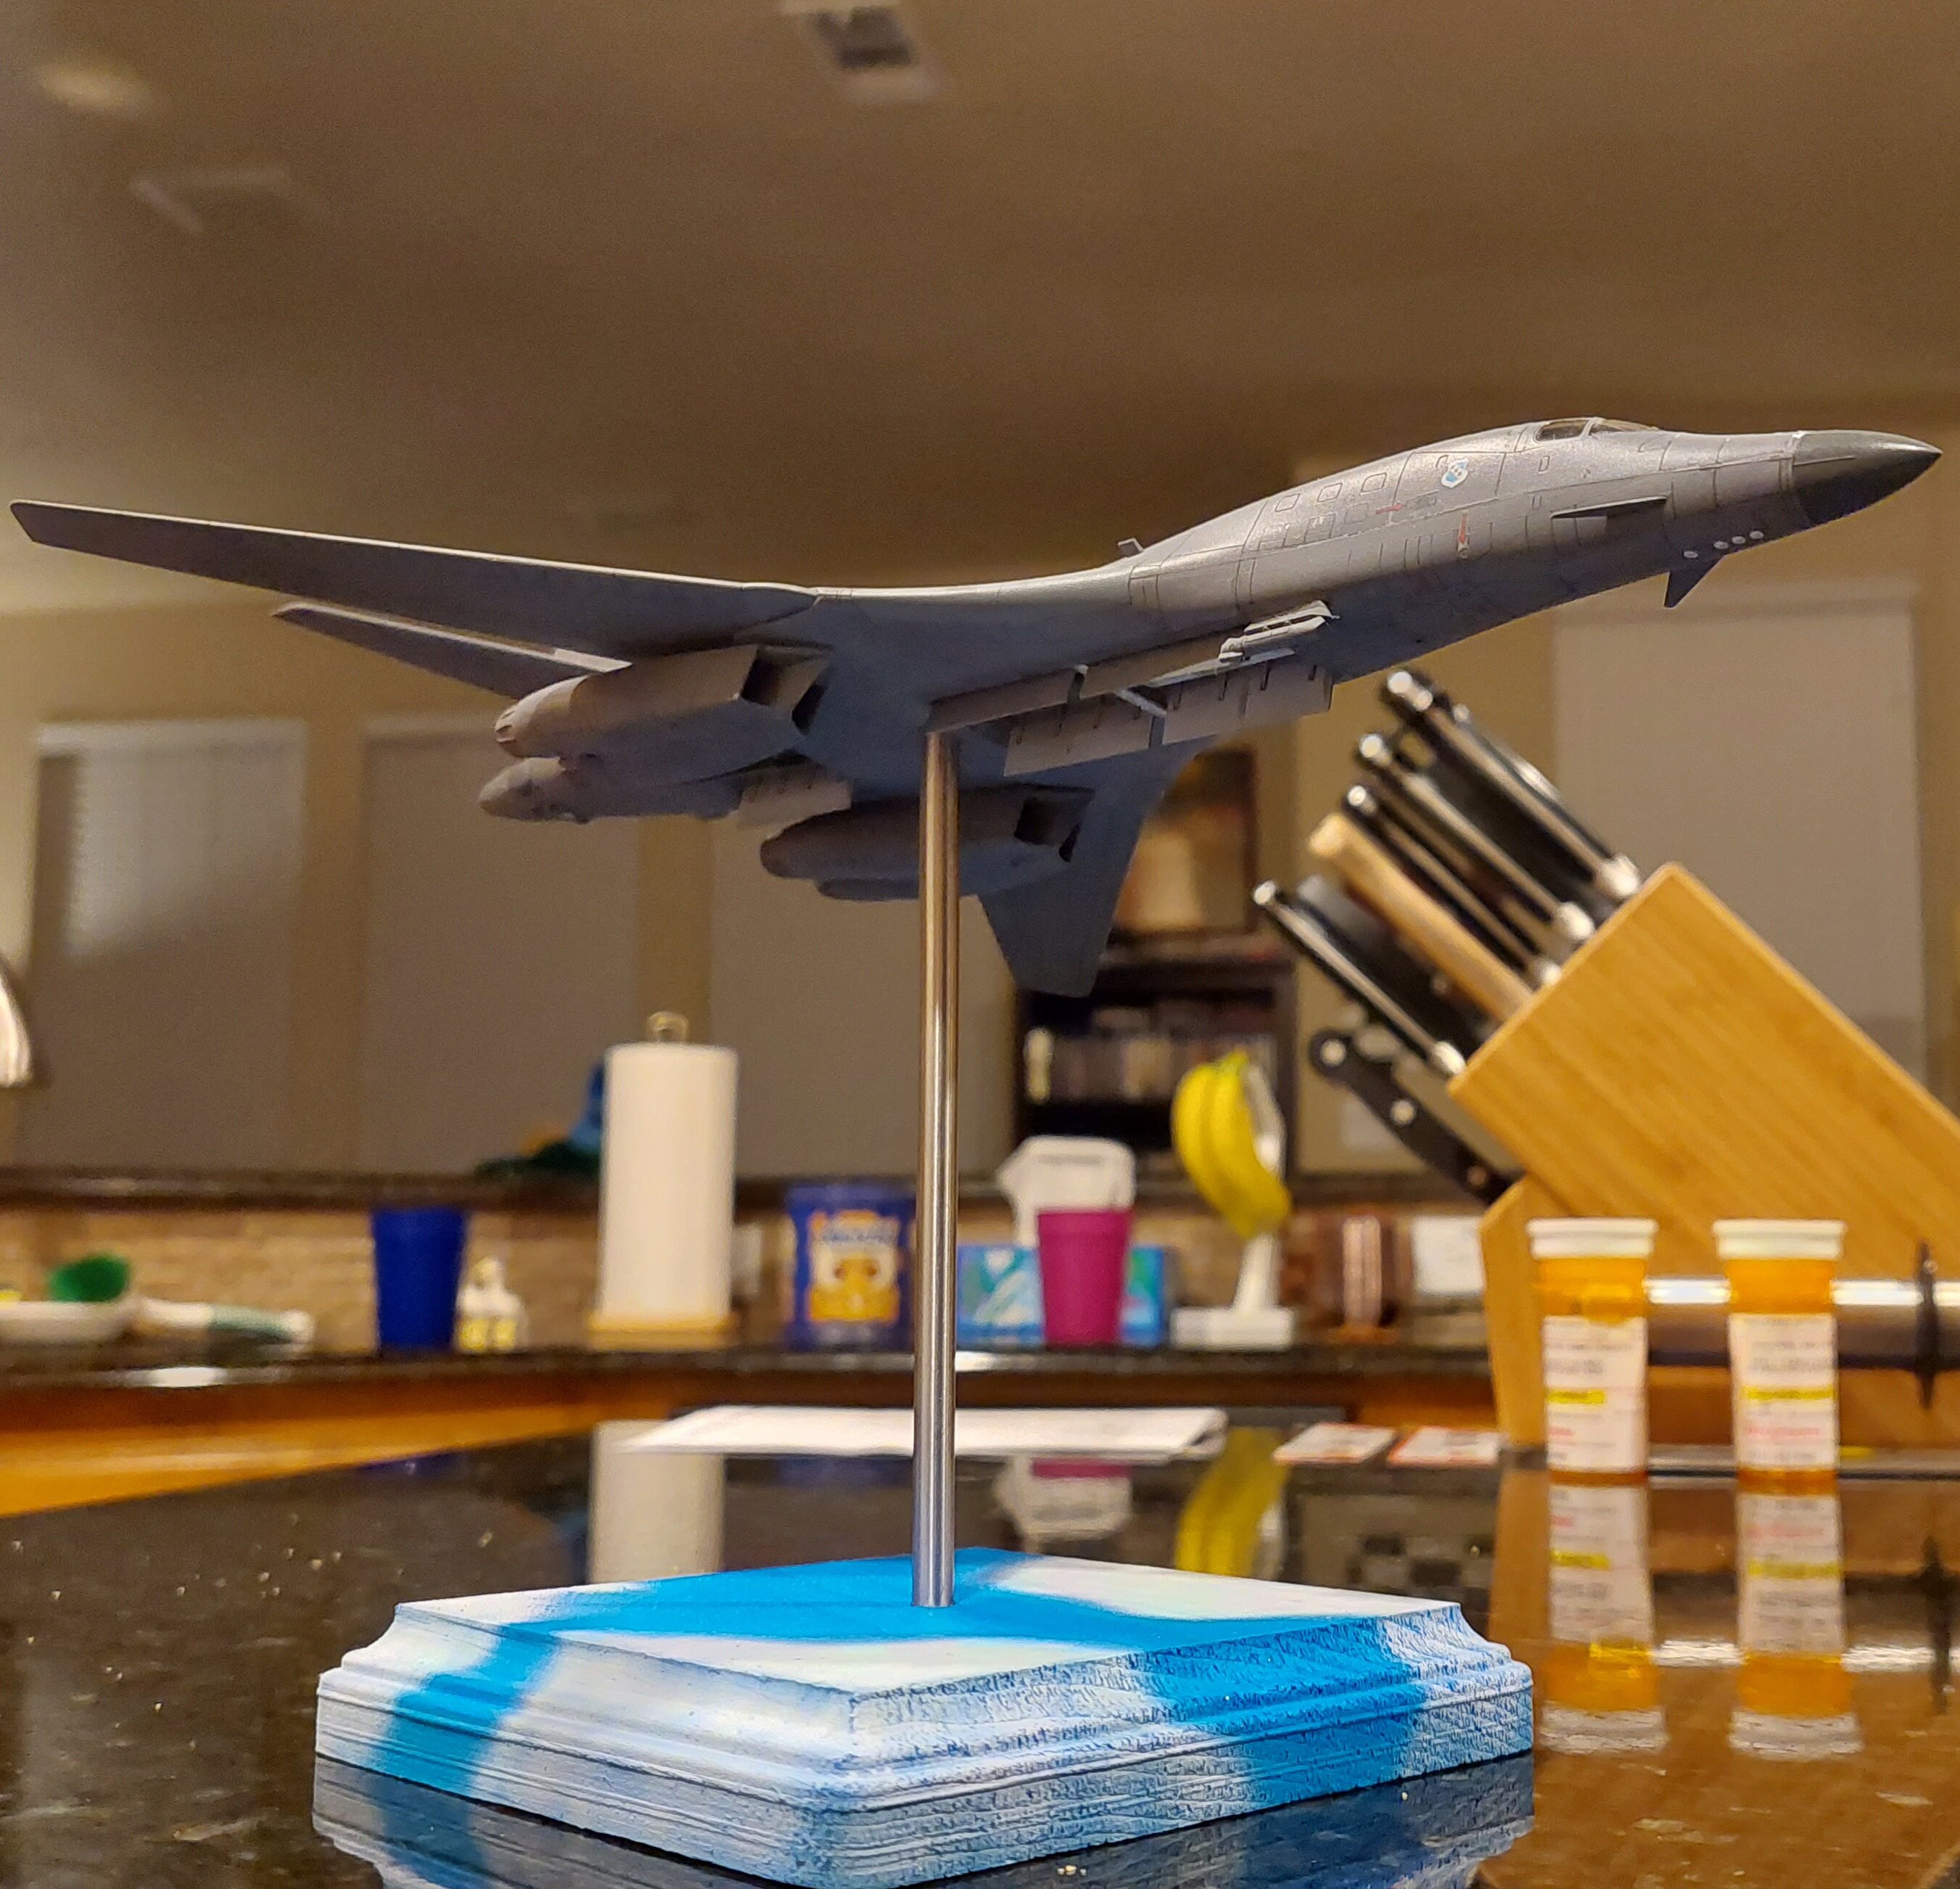
Academy B1-B reporting in. Calling it DONE! 😁
-
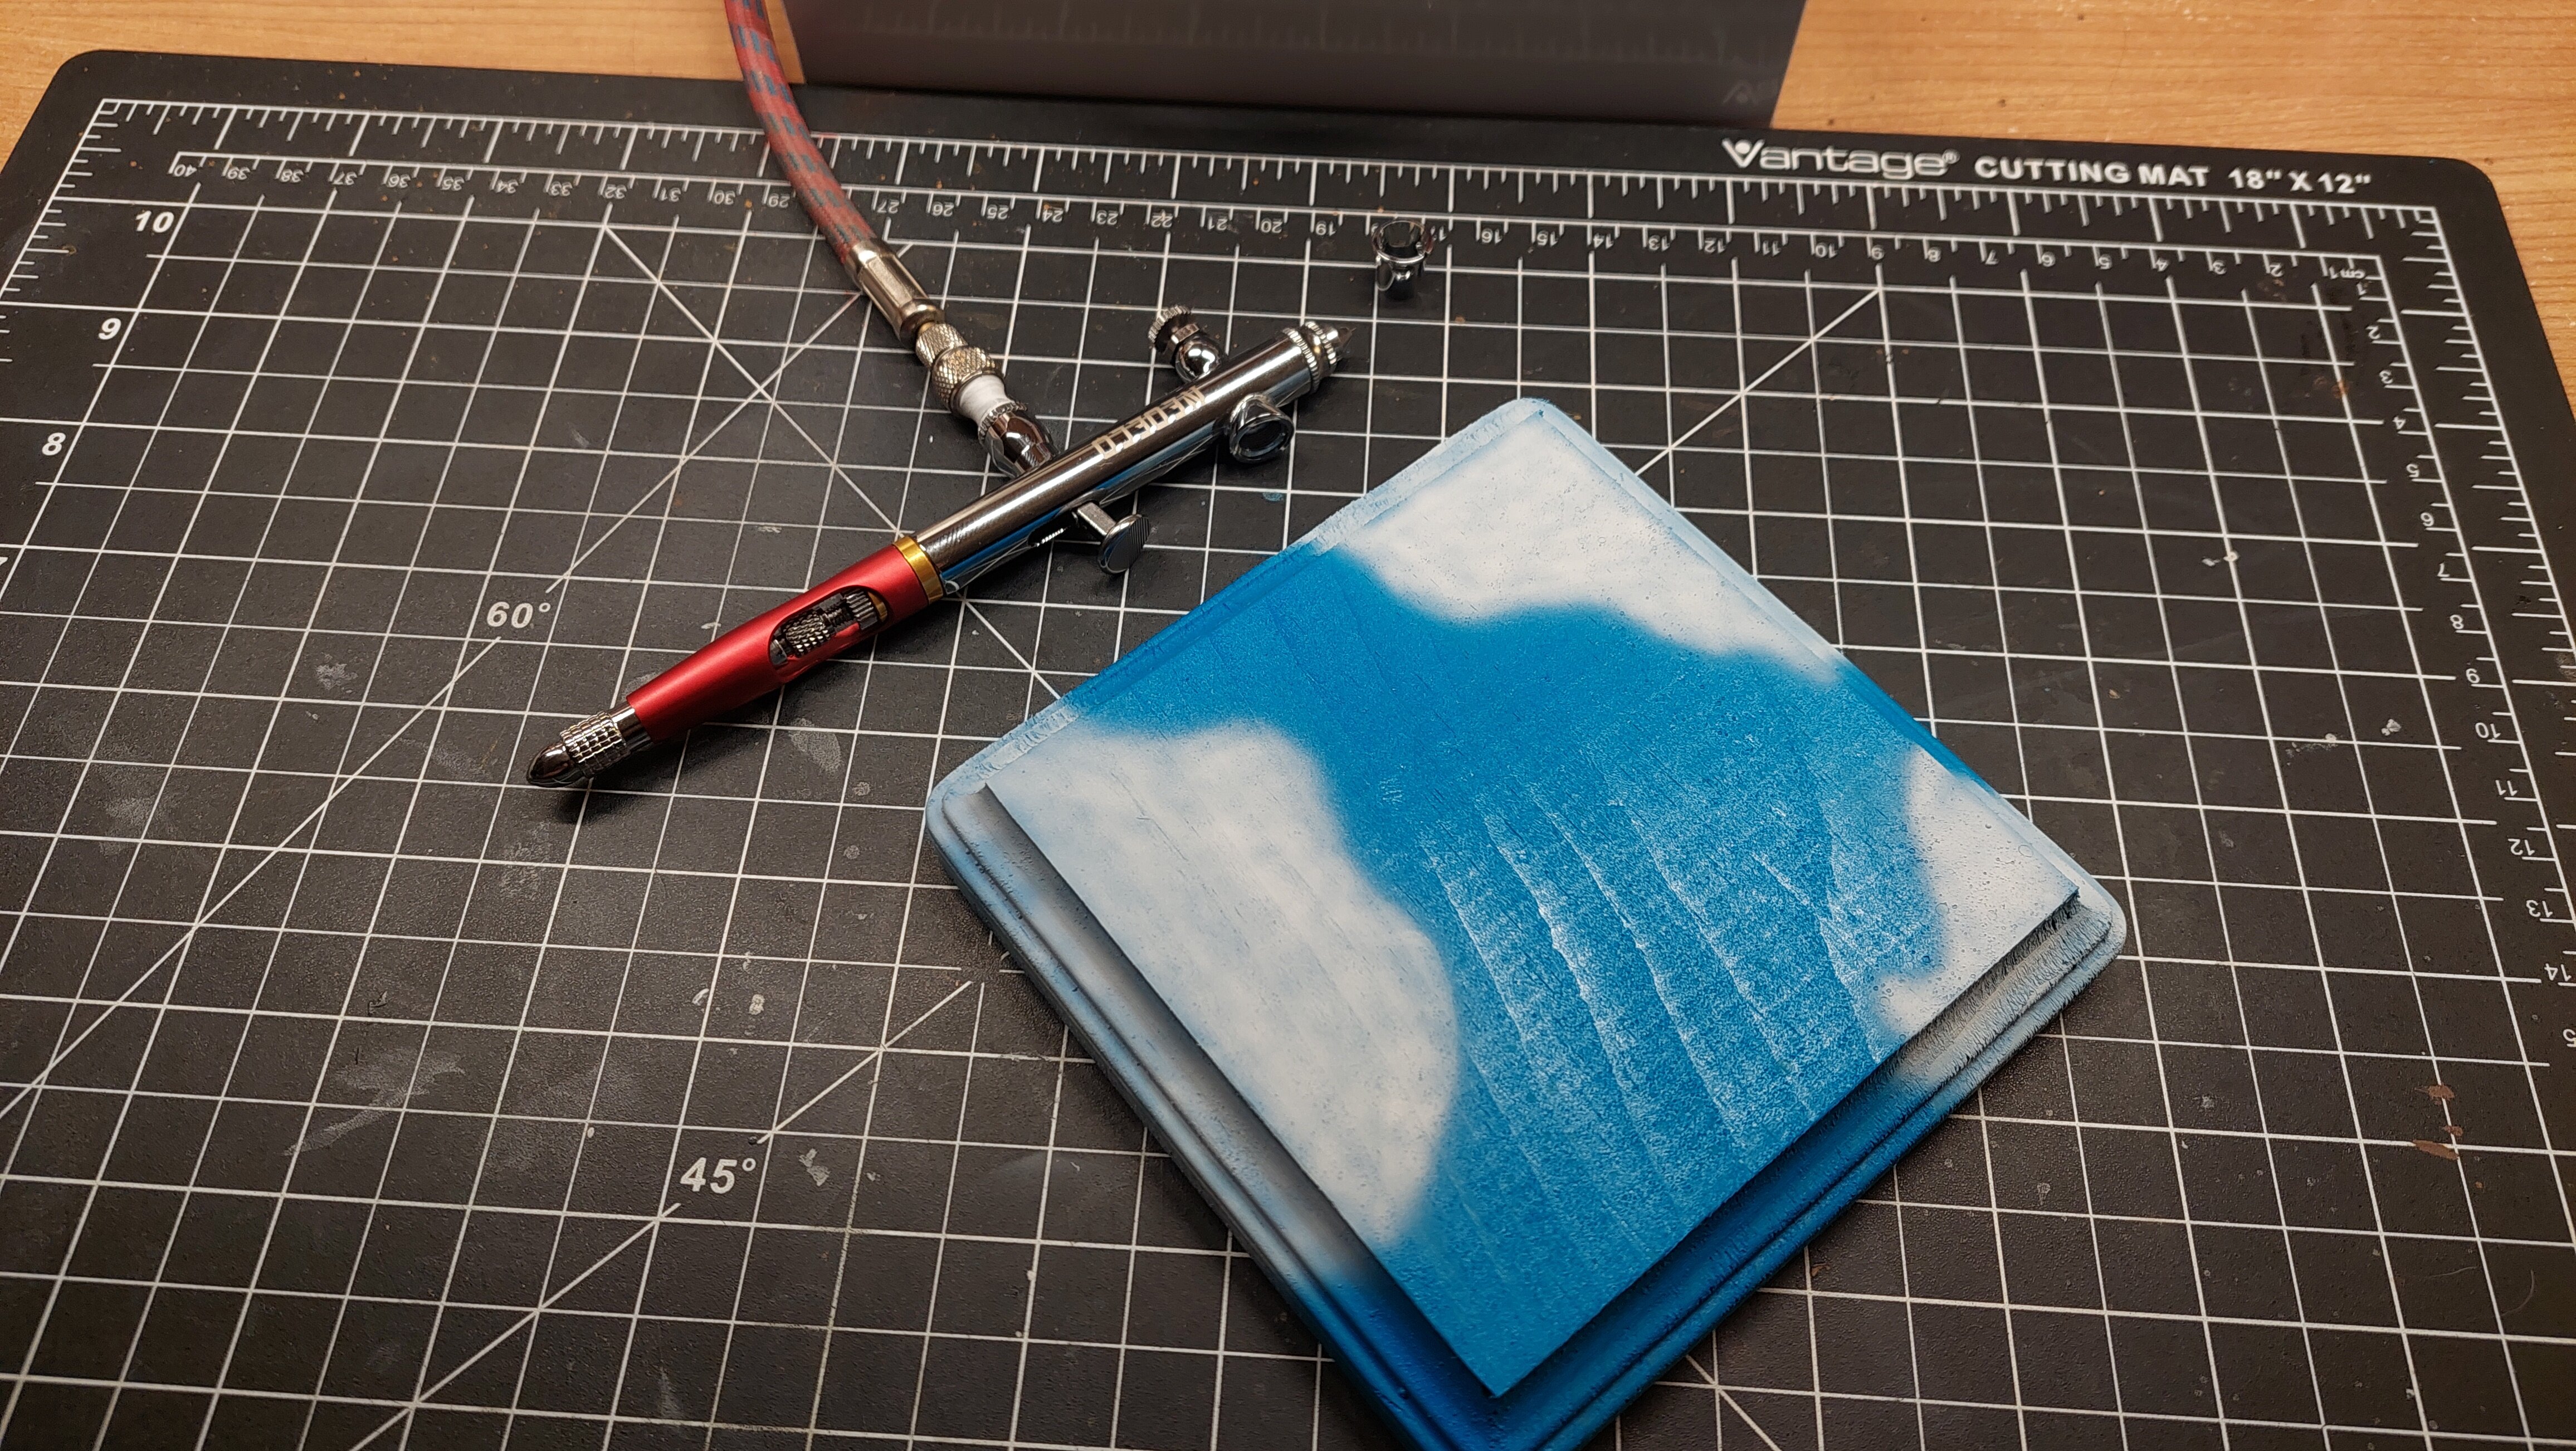
Free marketing plug here for the $40 NEOECO airbrush on Amazon through Barbotos Rex's YouTube channel. I freehanded clouds with it today with the point 02 needle installed. Pop off the front protective needle cap and just put a few drops of thinned out paint straight into the body of the thing for small detail work. No paint container to clean. Impressive to say the least for $40! Great cheap tool to use for whatever. 3 needles and different size containers, a dropper, a quick release part and other stuff as well. Check it out!
-
I'm not sure about after market parts for it @wm cheng. I would imagine there probably are. So the first bay is a giant fuel tank yes. Now I was excited when building it and didn't really think through the fact that those doors wouldn't be open on a bombing run but oh well! 😆 There WERE enough parts to make another bomb rack that could have been put in that spot with only minor modifications, but the instructions didn't event hint at that being an option and I had already glued the fuel tank in and would have had to damage it and or the plane to get it out. If I had it to do over again, I would have ditched the extra fuel tank and loaded out all 3 bomb bays! I had the 1:72 kit of this when I was a teenager and it was HUGE! It hung right over my head in my bed! I remember it had a larger center bomb bay with ICBM's in it cause ya know, 80's = NUKE the Russkies!
-
Thanks guys! I see the flaws to easily, I guess. I'm my own worst critic! @wm cheng - 13 inches long from nose to tail. no stand included OR pilot figs..Boooo. Gonna knock up a cheap basic wood stand this weekend and just stick in on a painted brass rod.
-
I missed the first one in IMAX, I won't miss THIS one!
-
Trailer of that and Axel F. look pretty good! I'll prob watch both at some point without the wife in the house!
-
@Sildani - The times, they are a changin....