
Rock
-
Posts
351 -
Joined
-
Last visited
Recent Profile Visitors
3420 profile views


Rock's Achievements
")
Skull Leader's Lackey (5/15)
351
Reputation
-
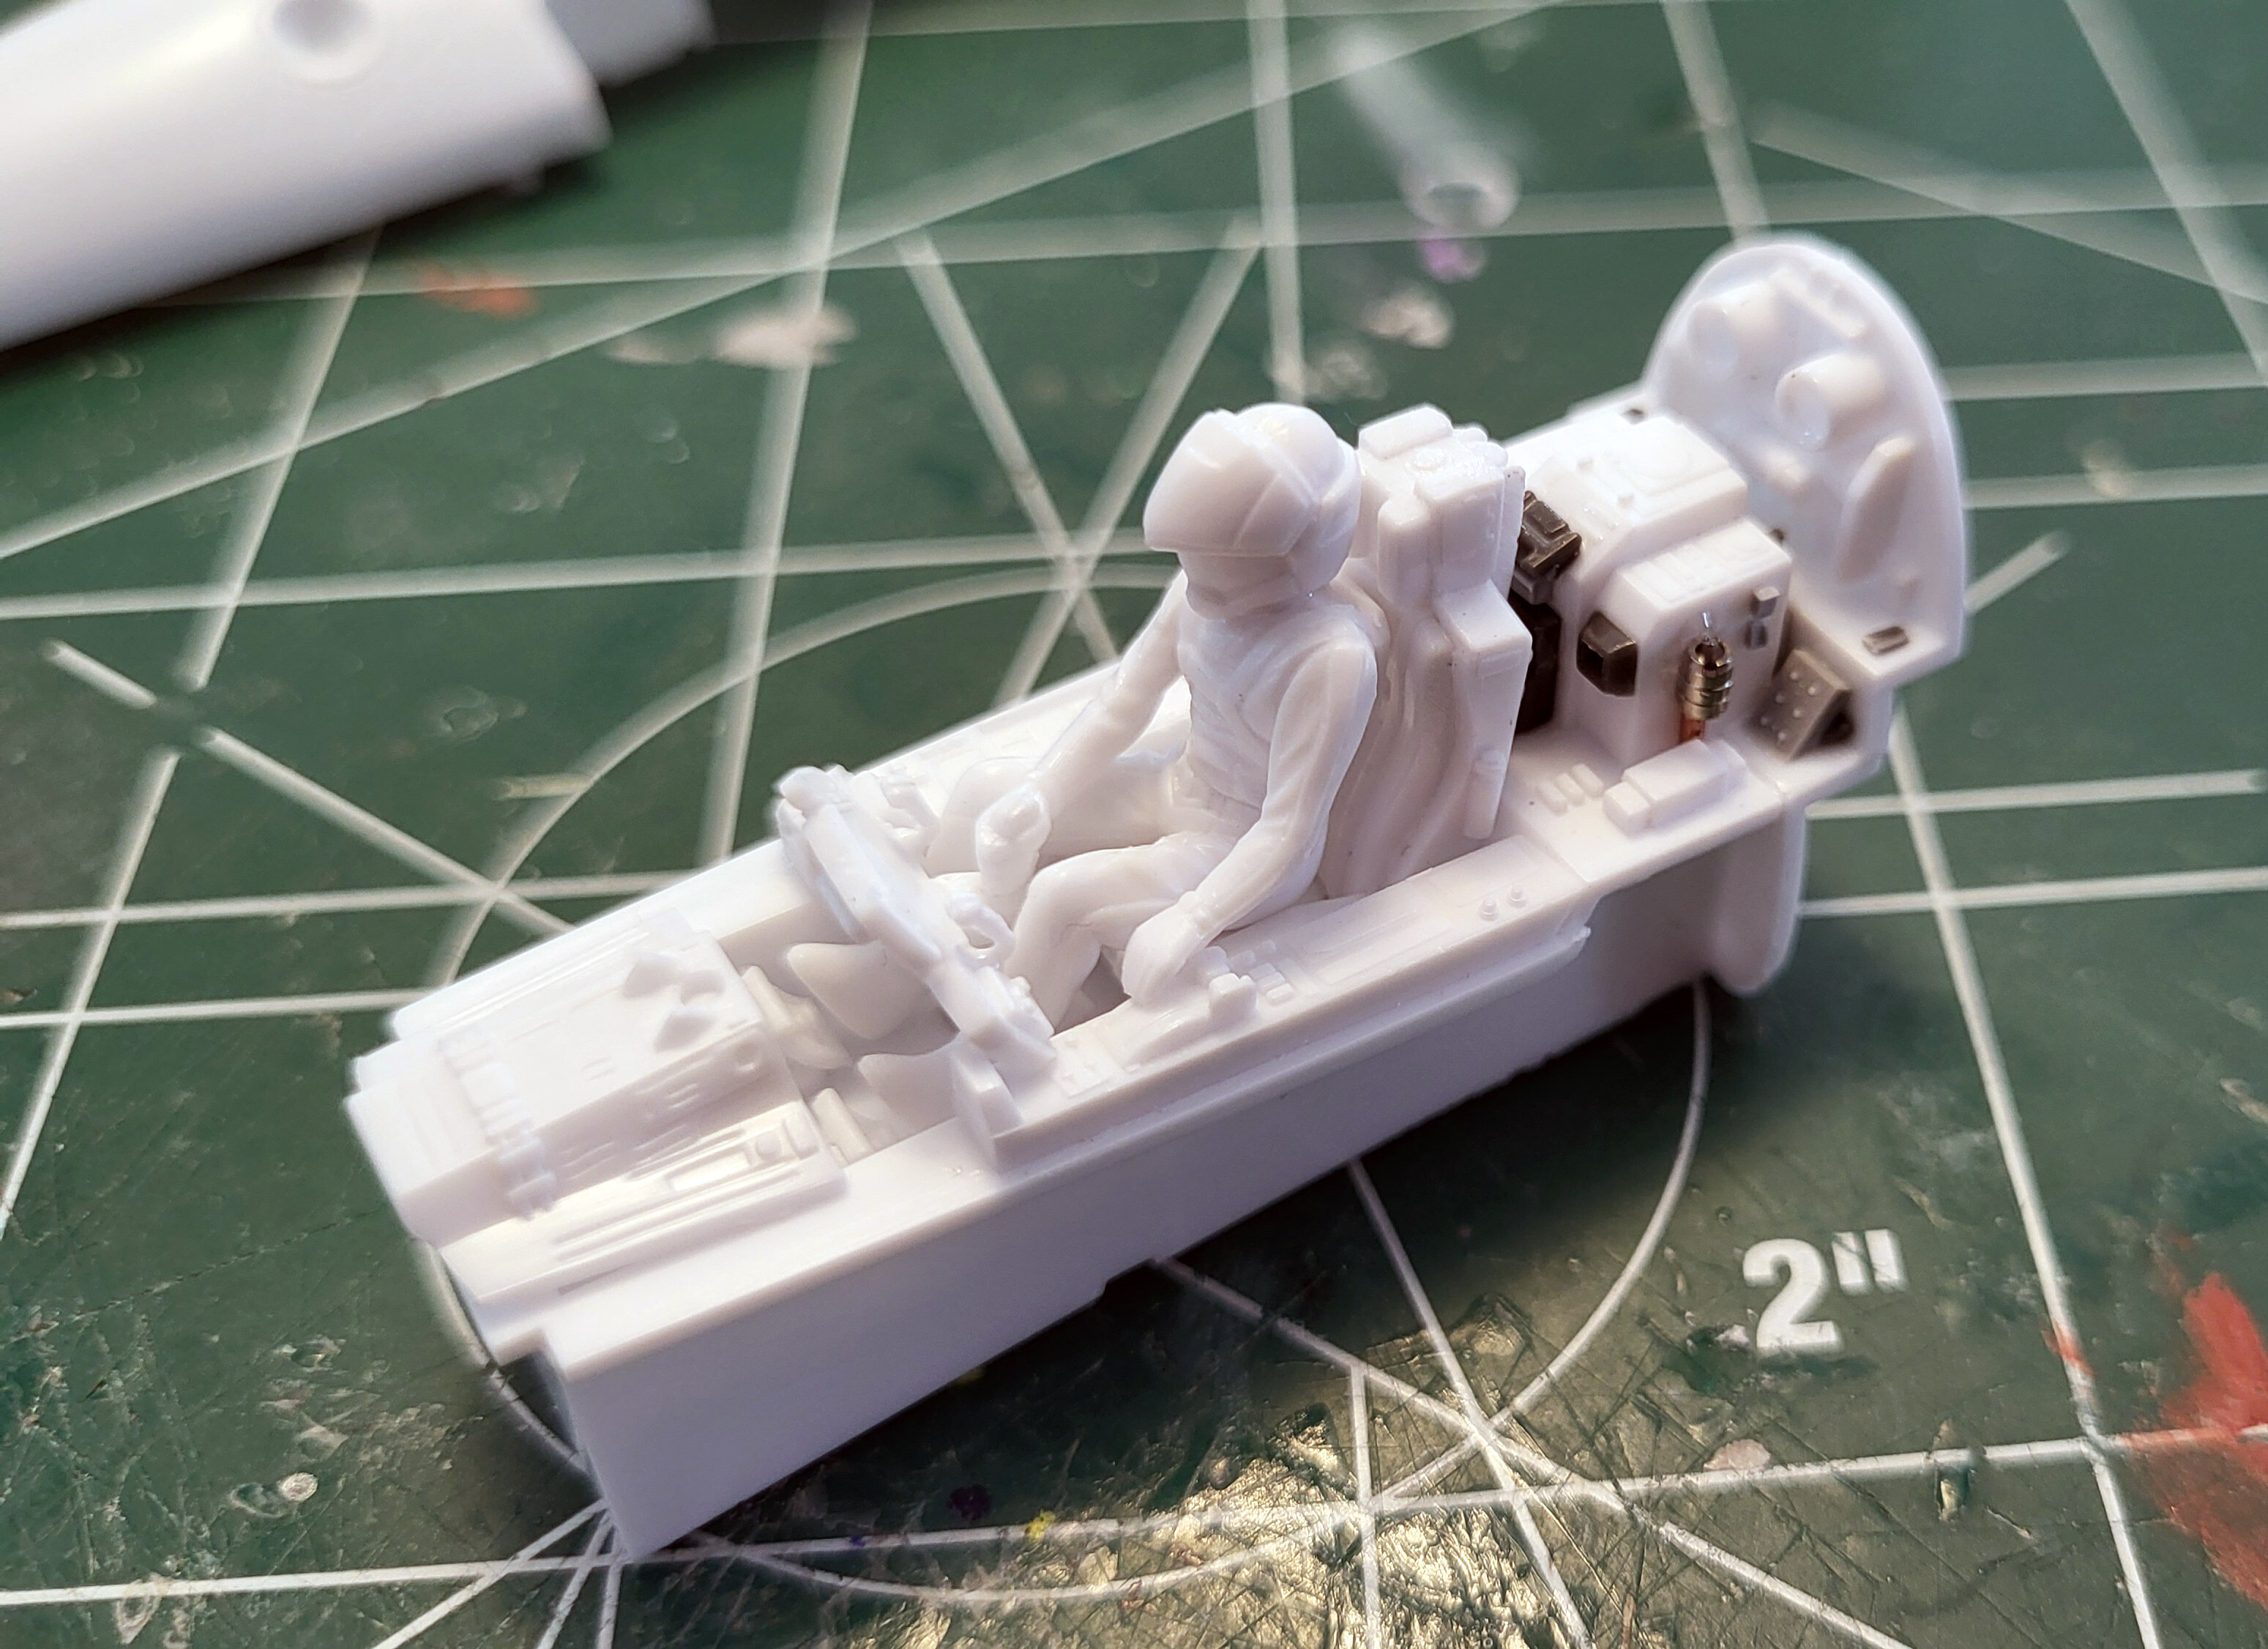
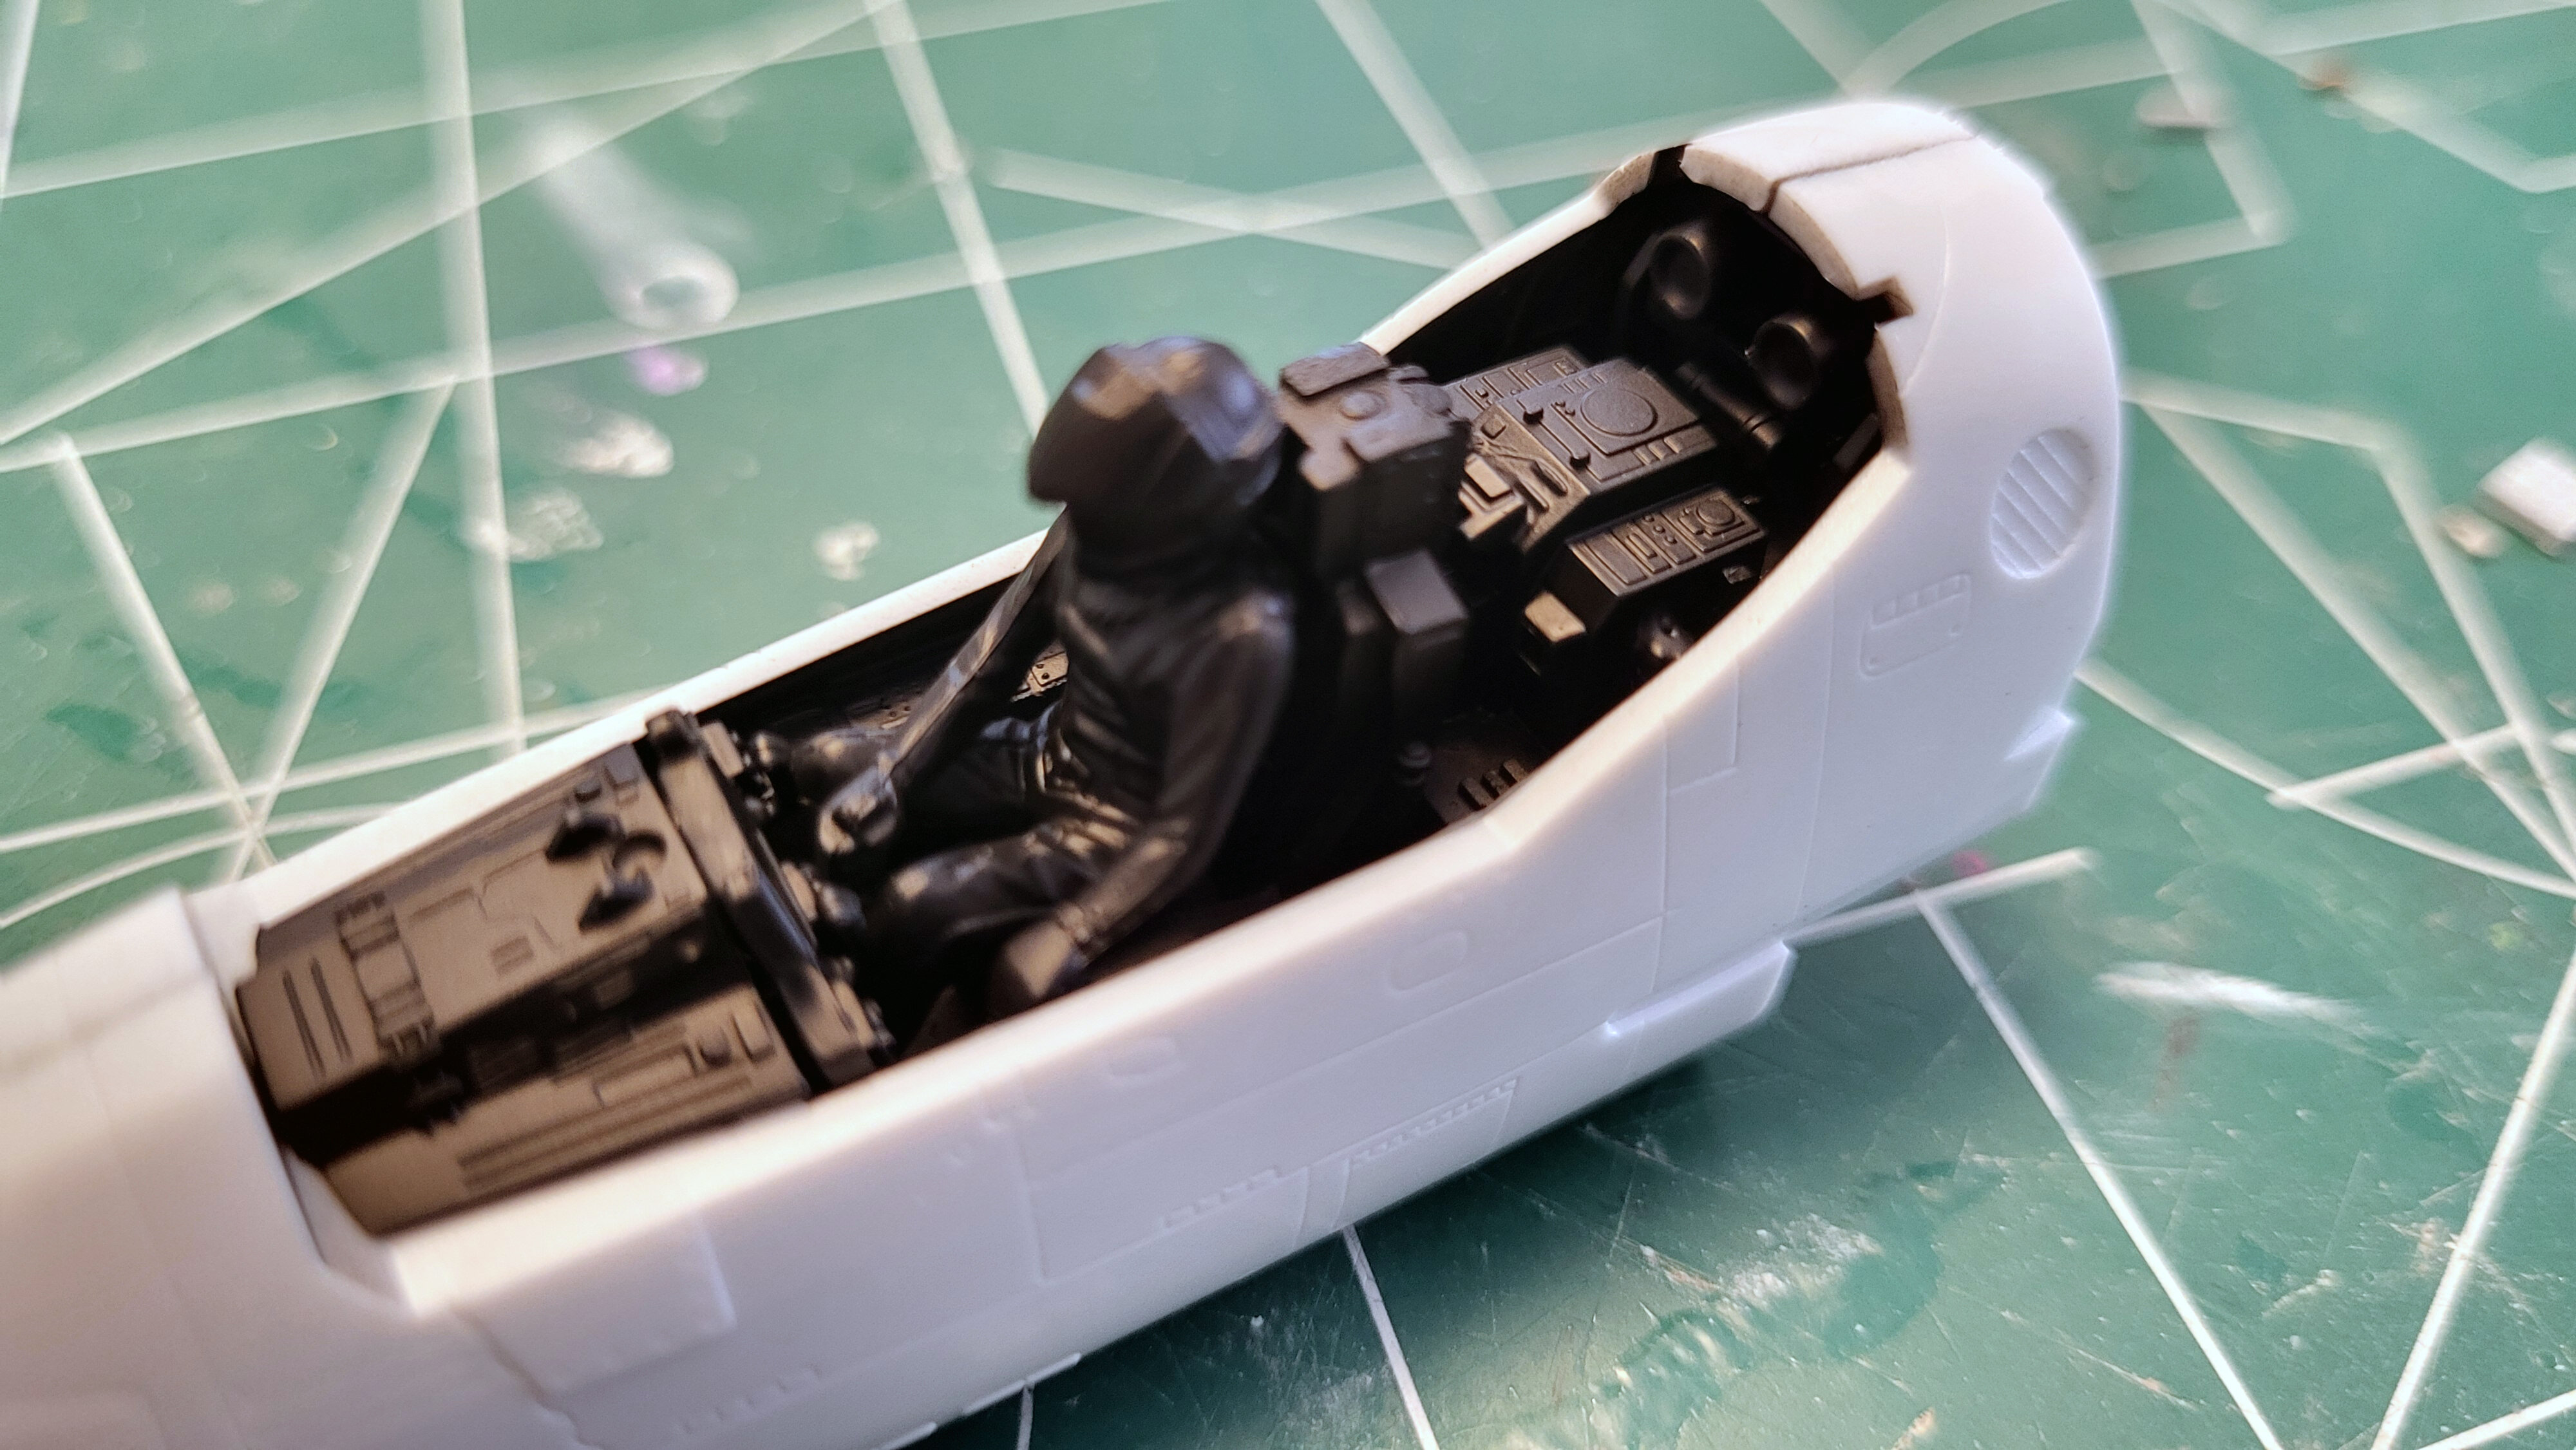
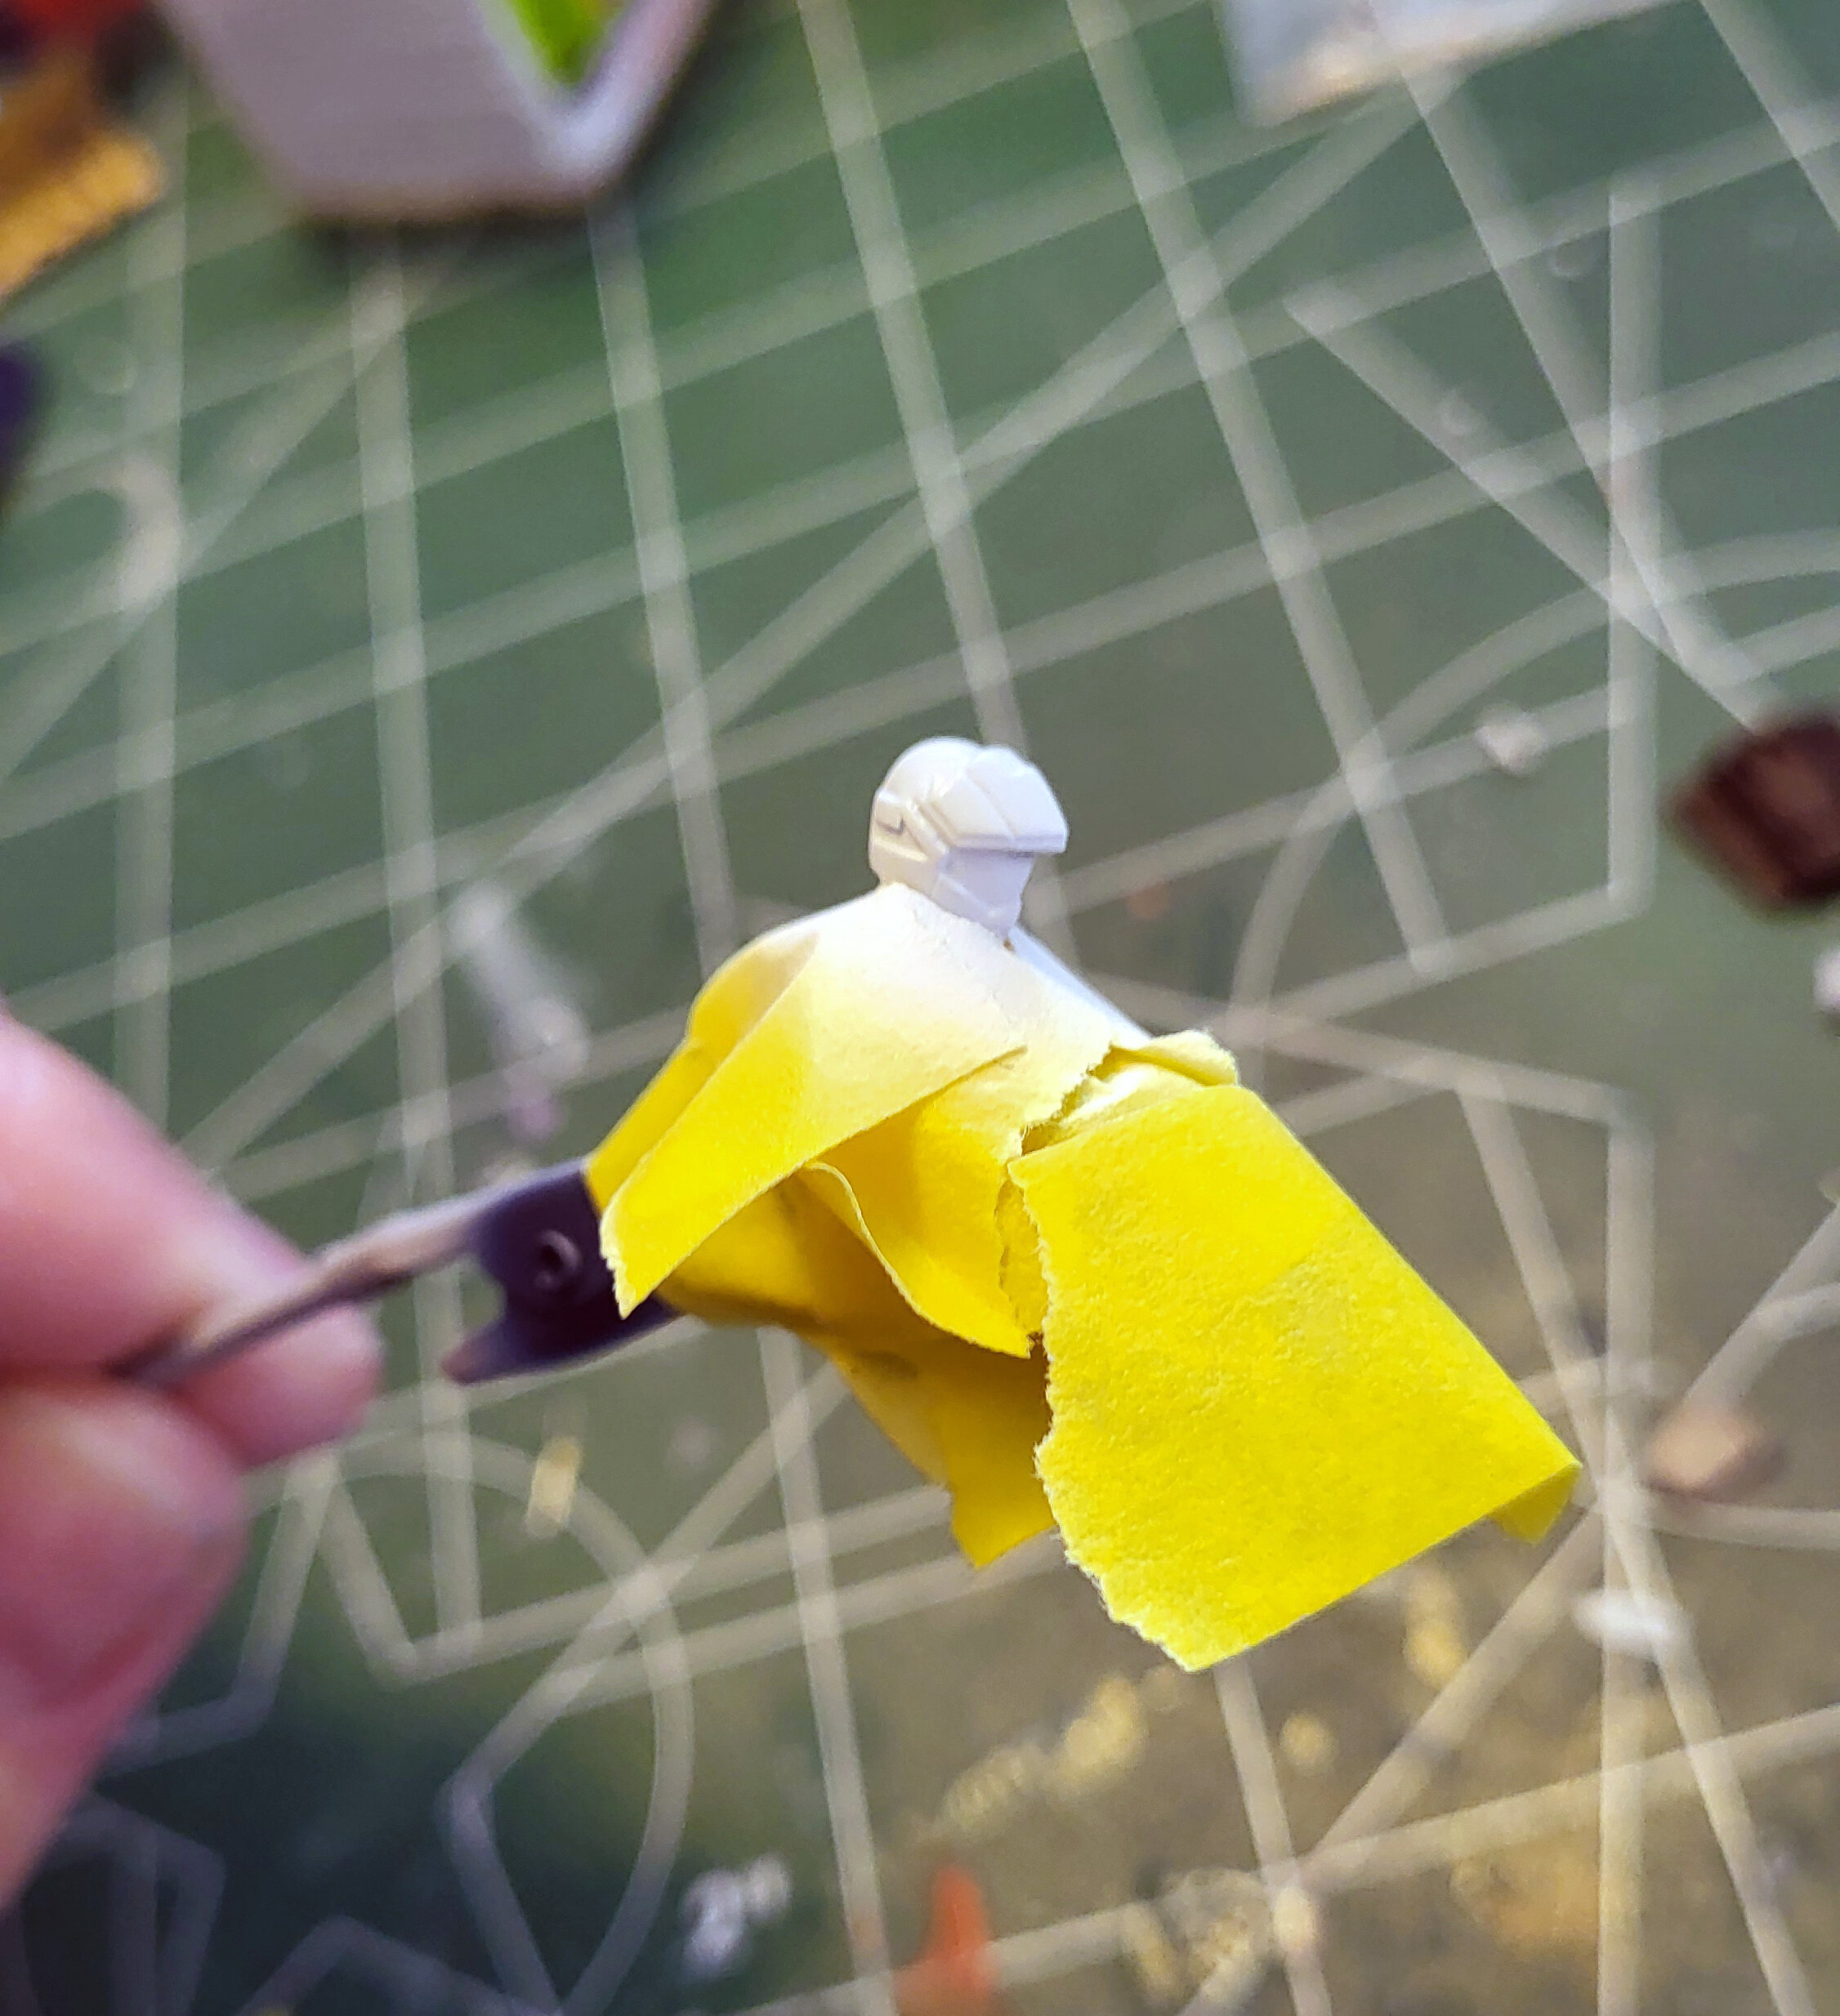
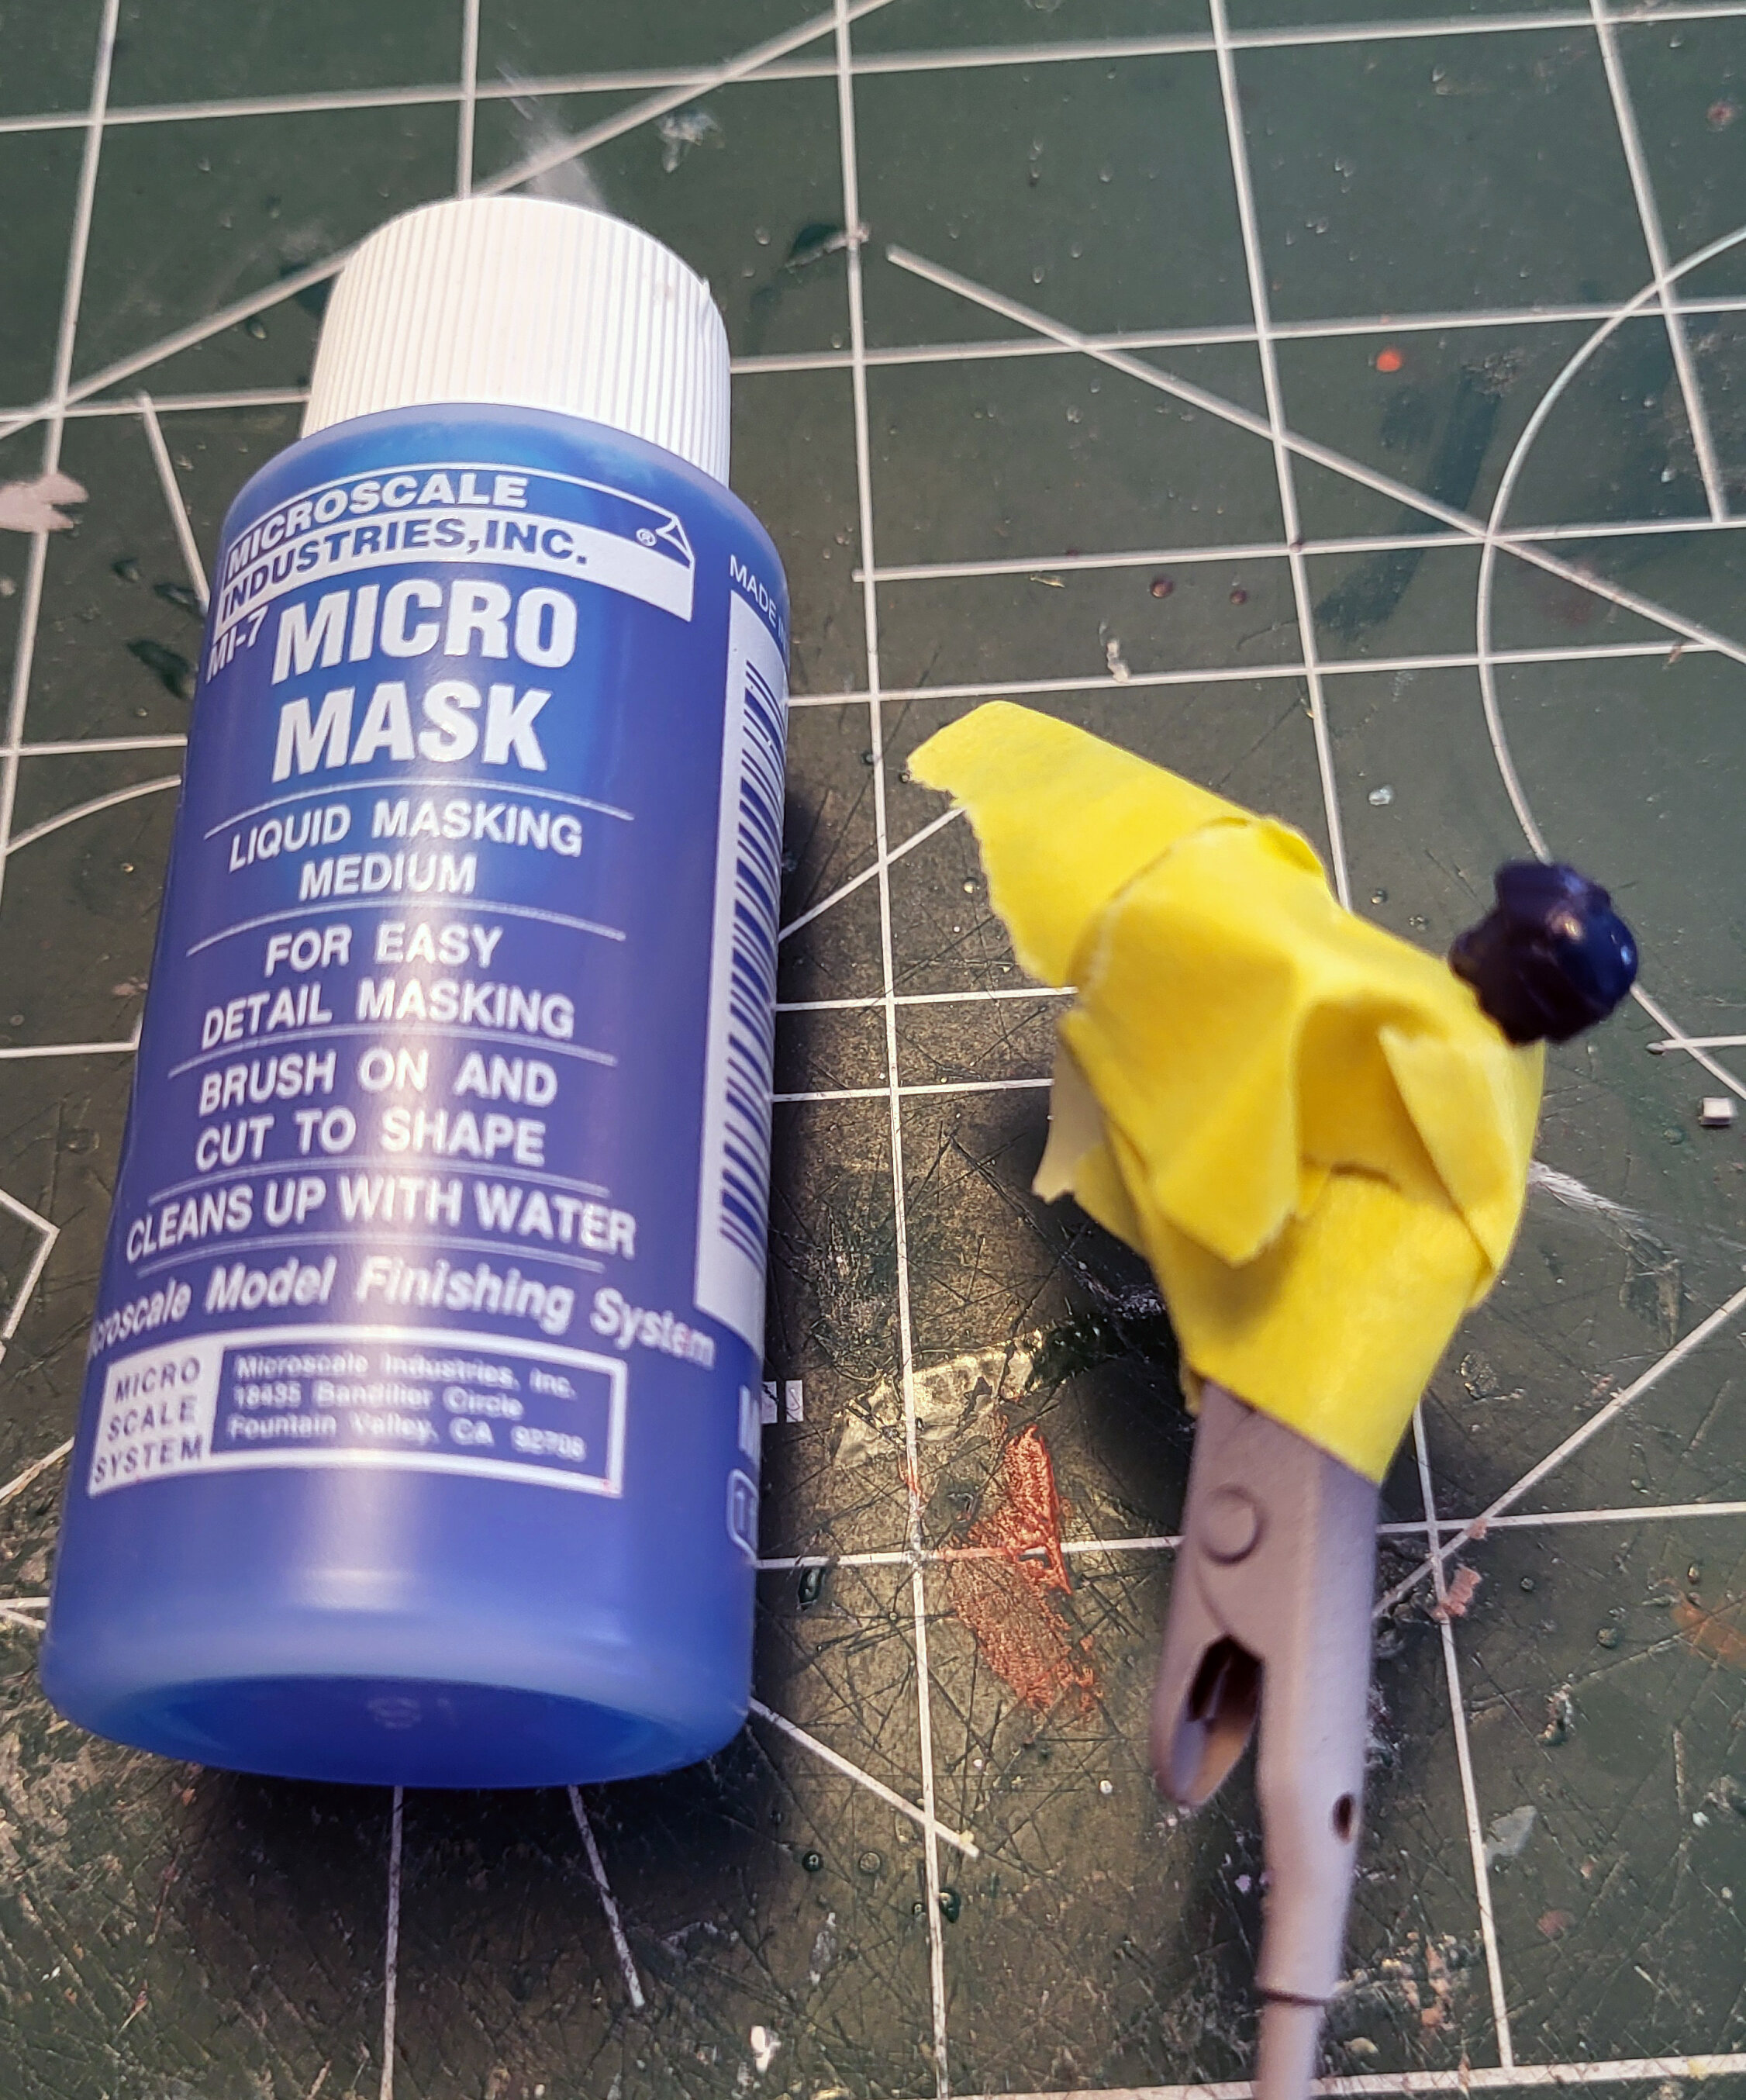
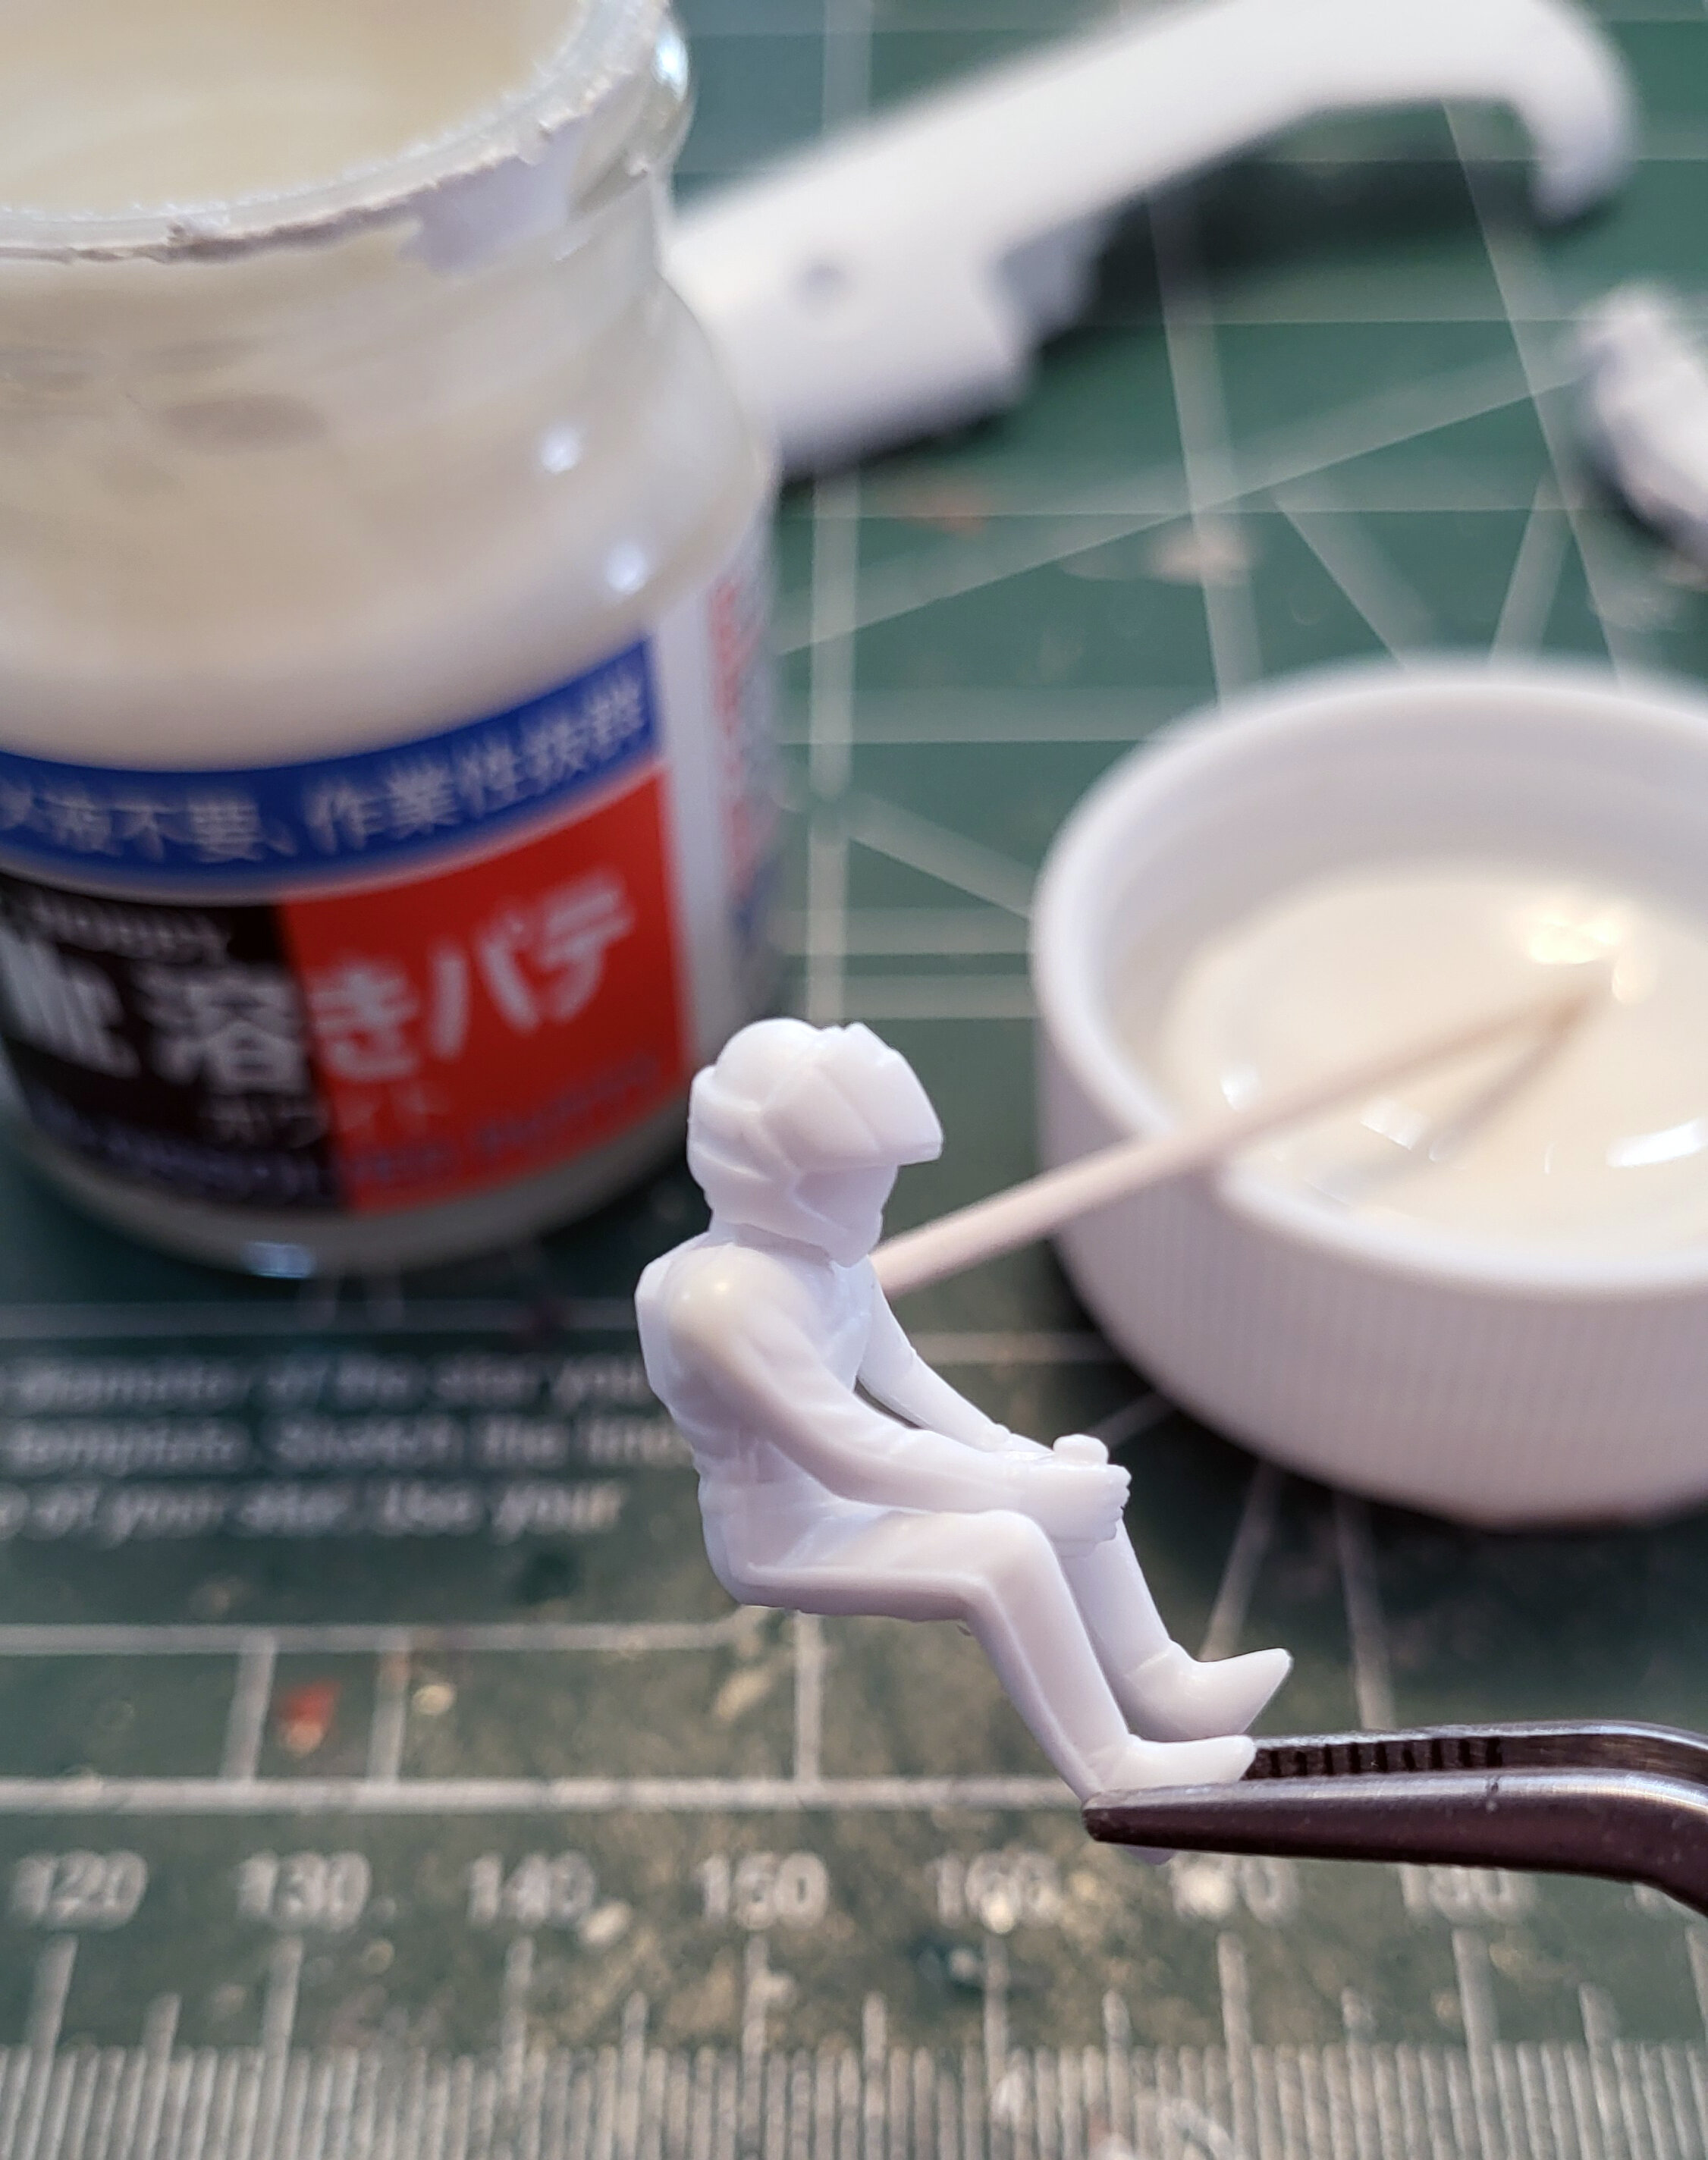
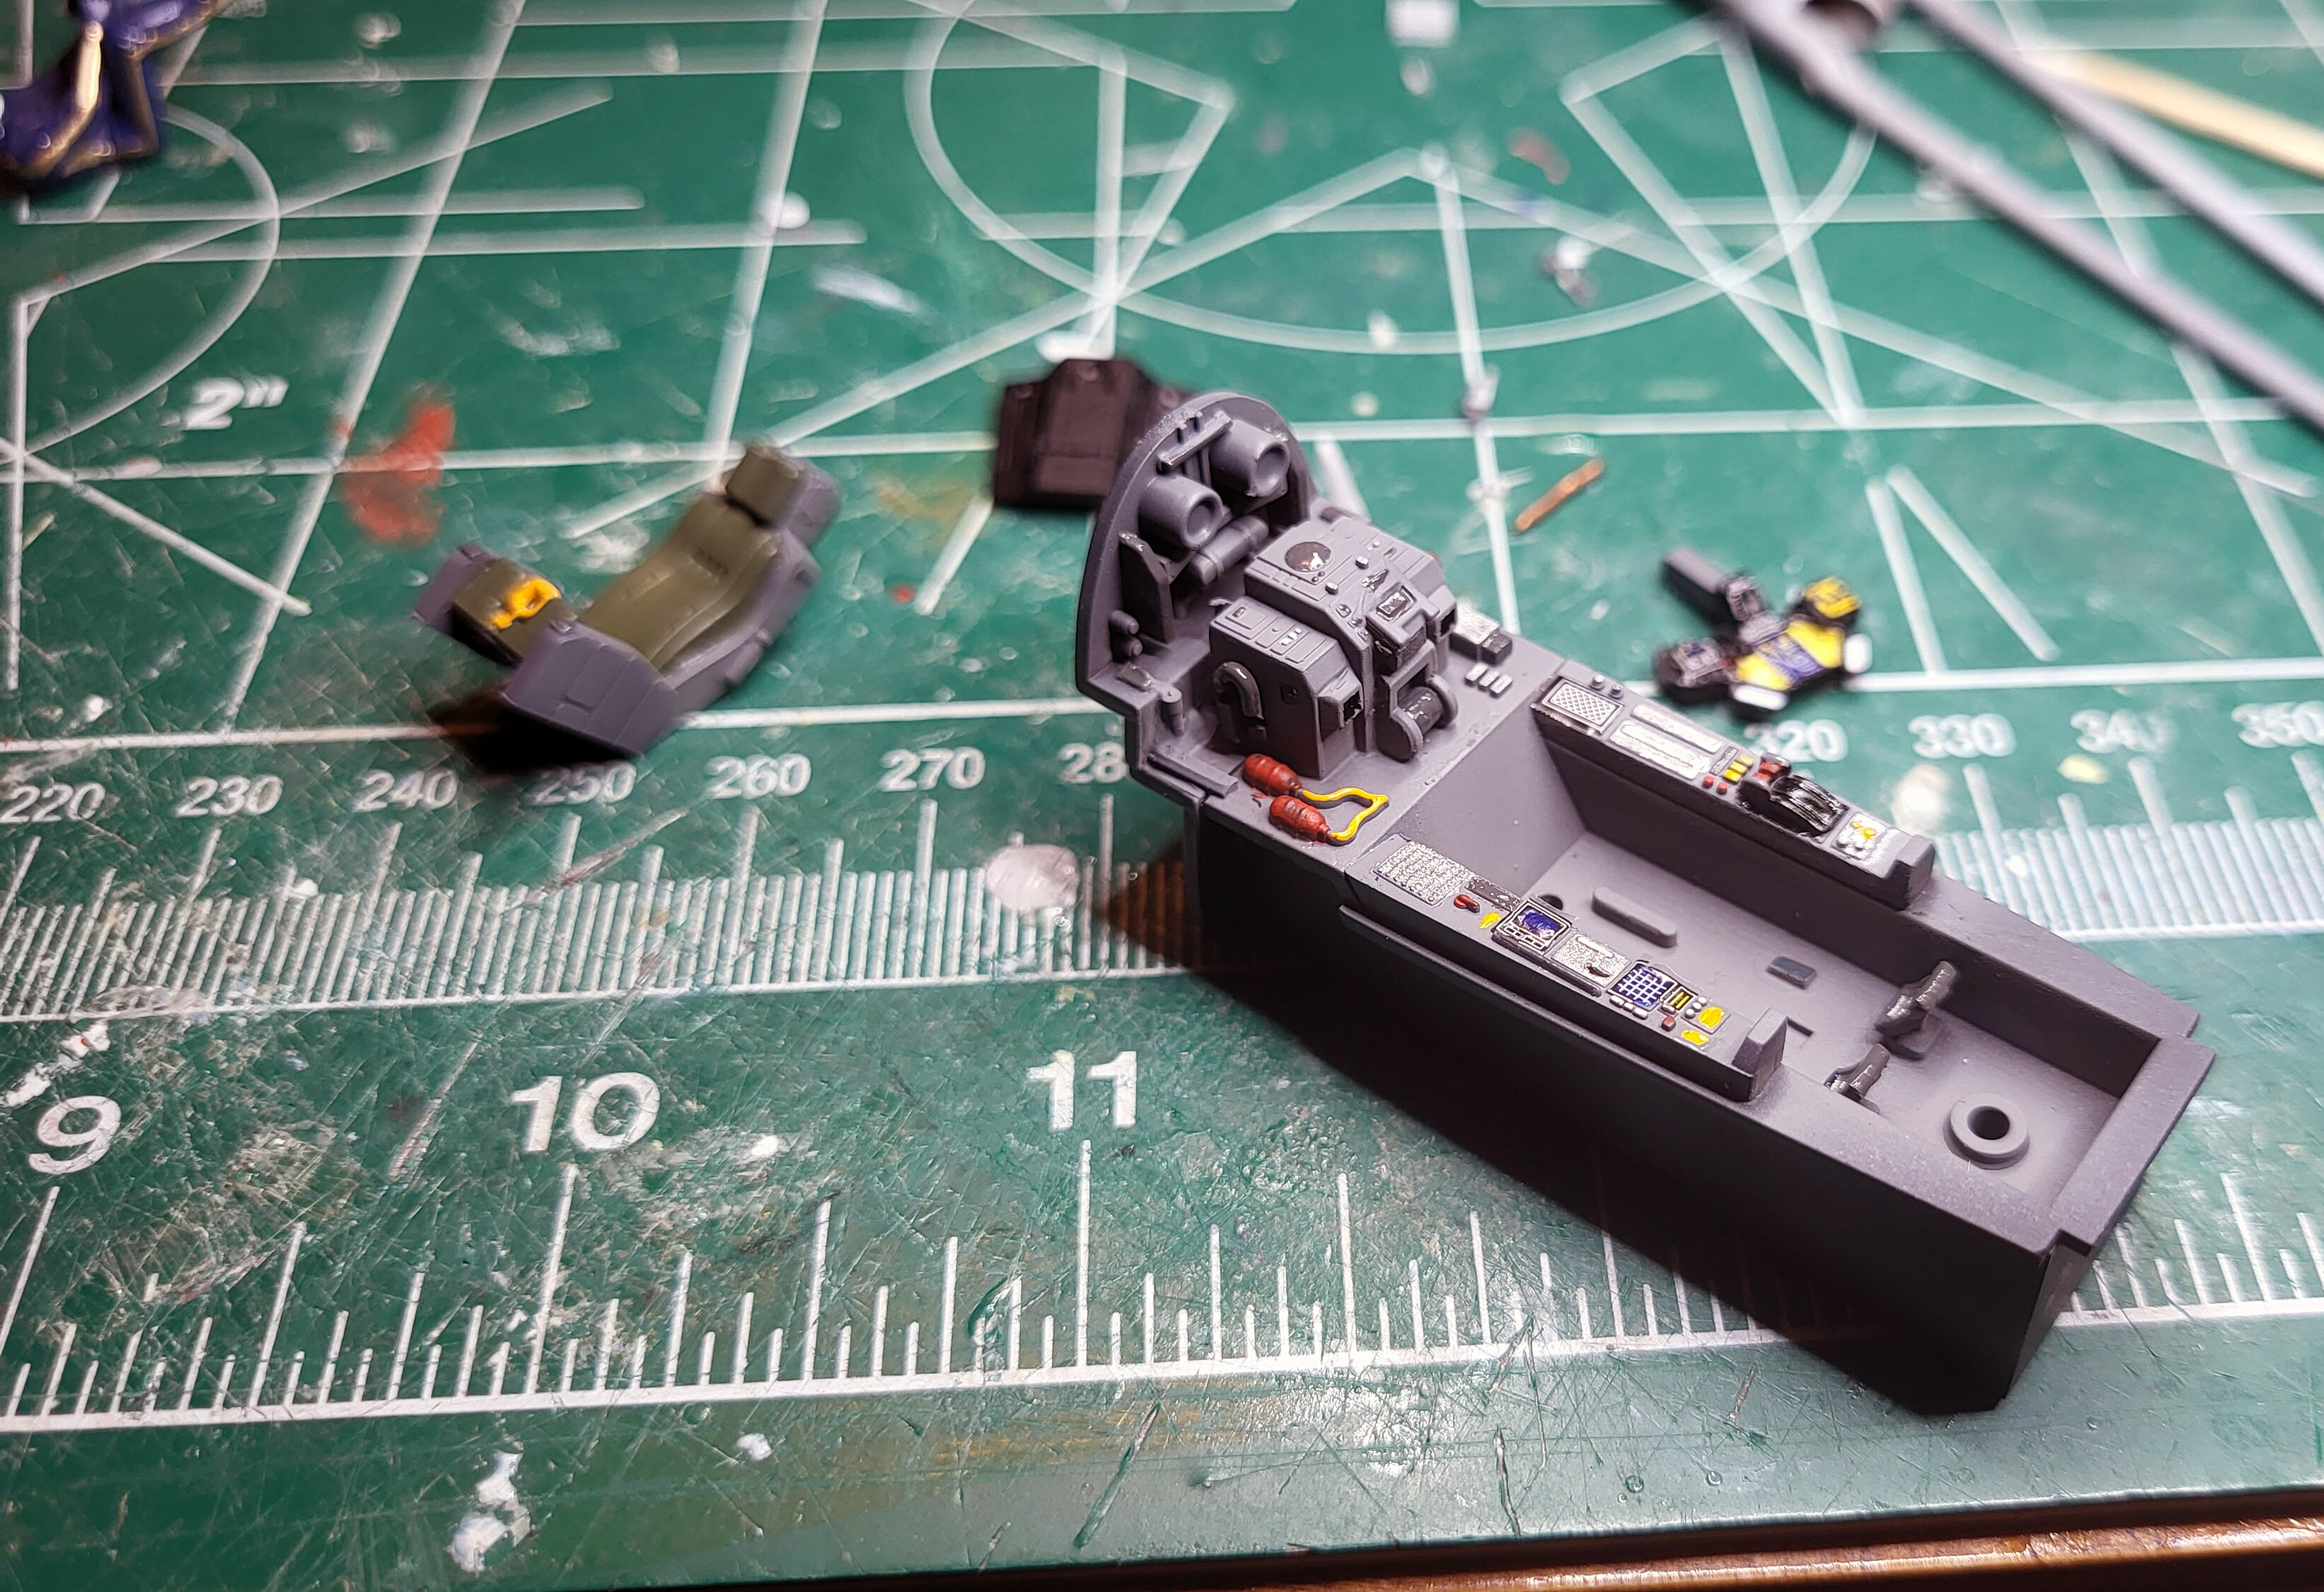
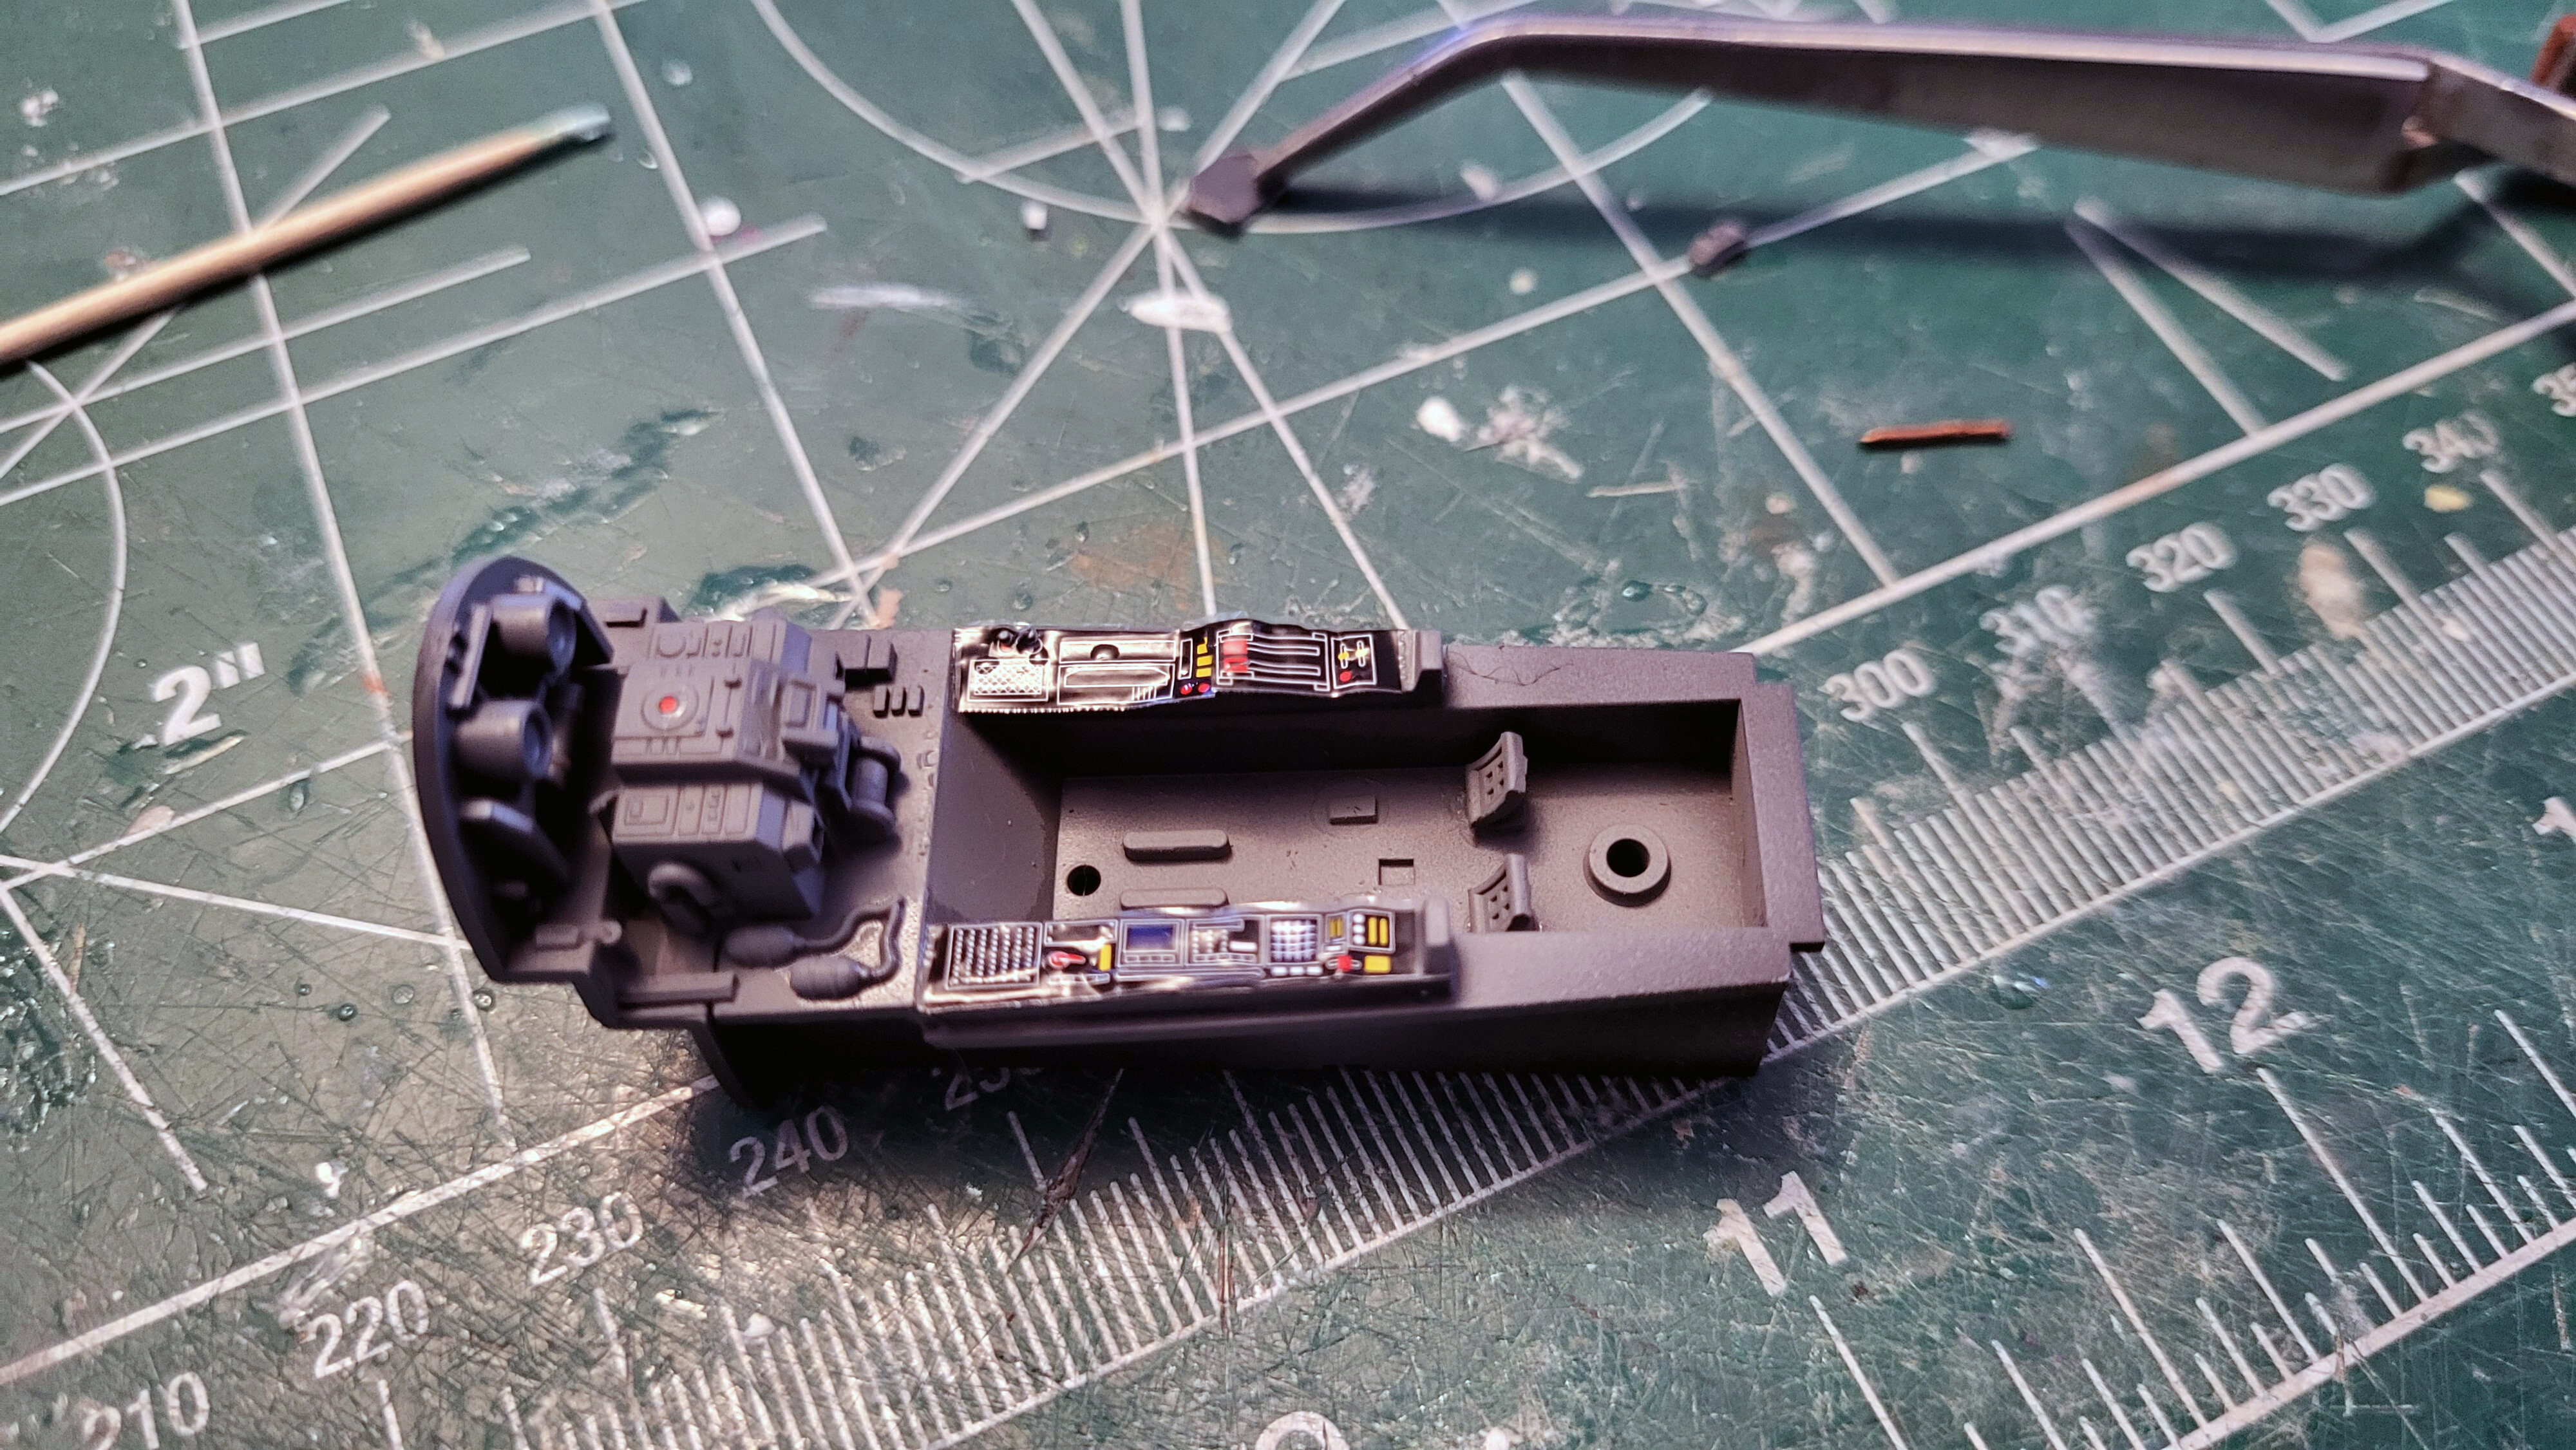
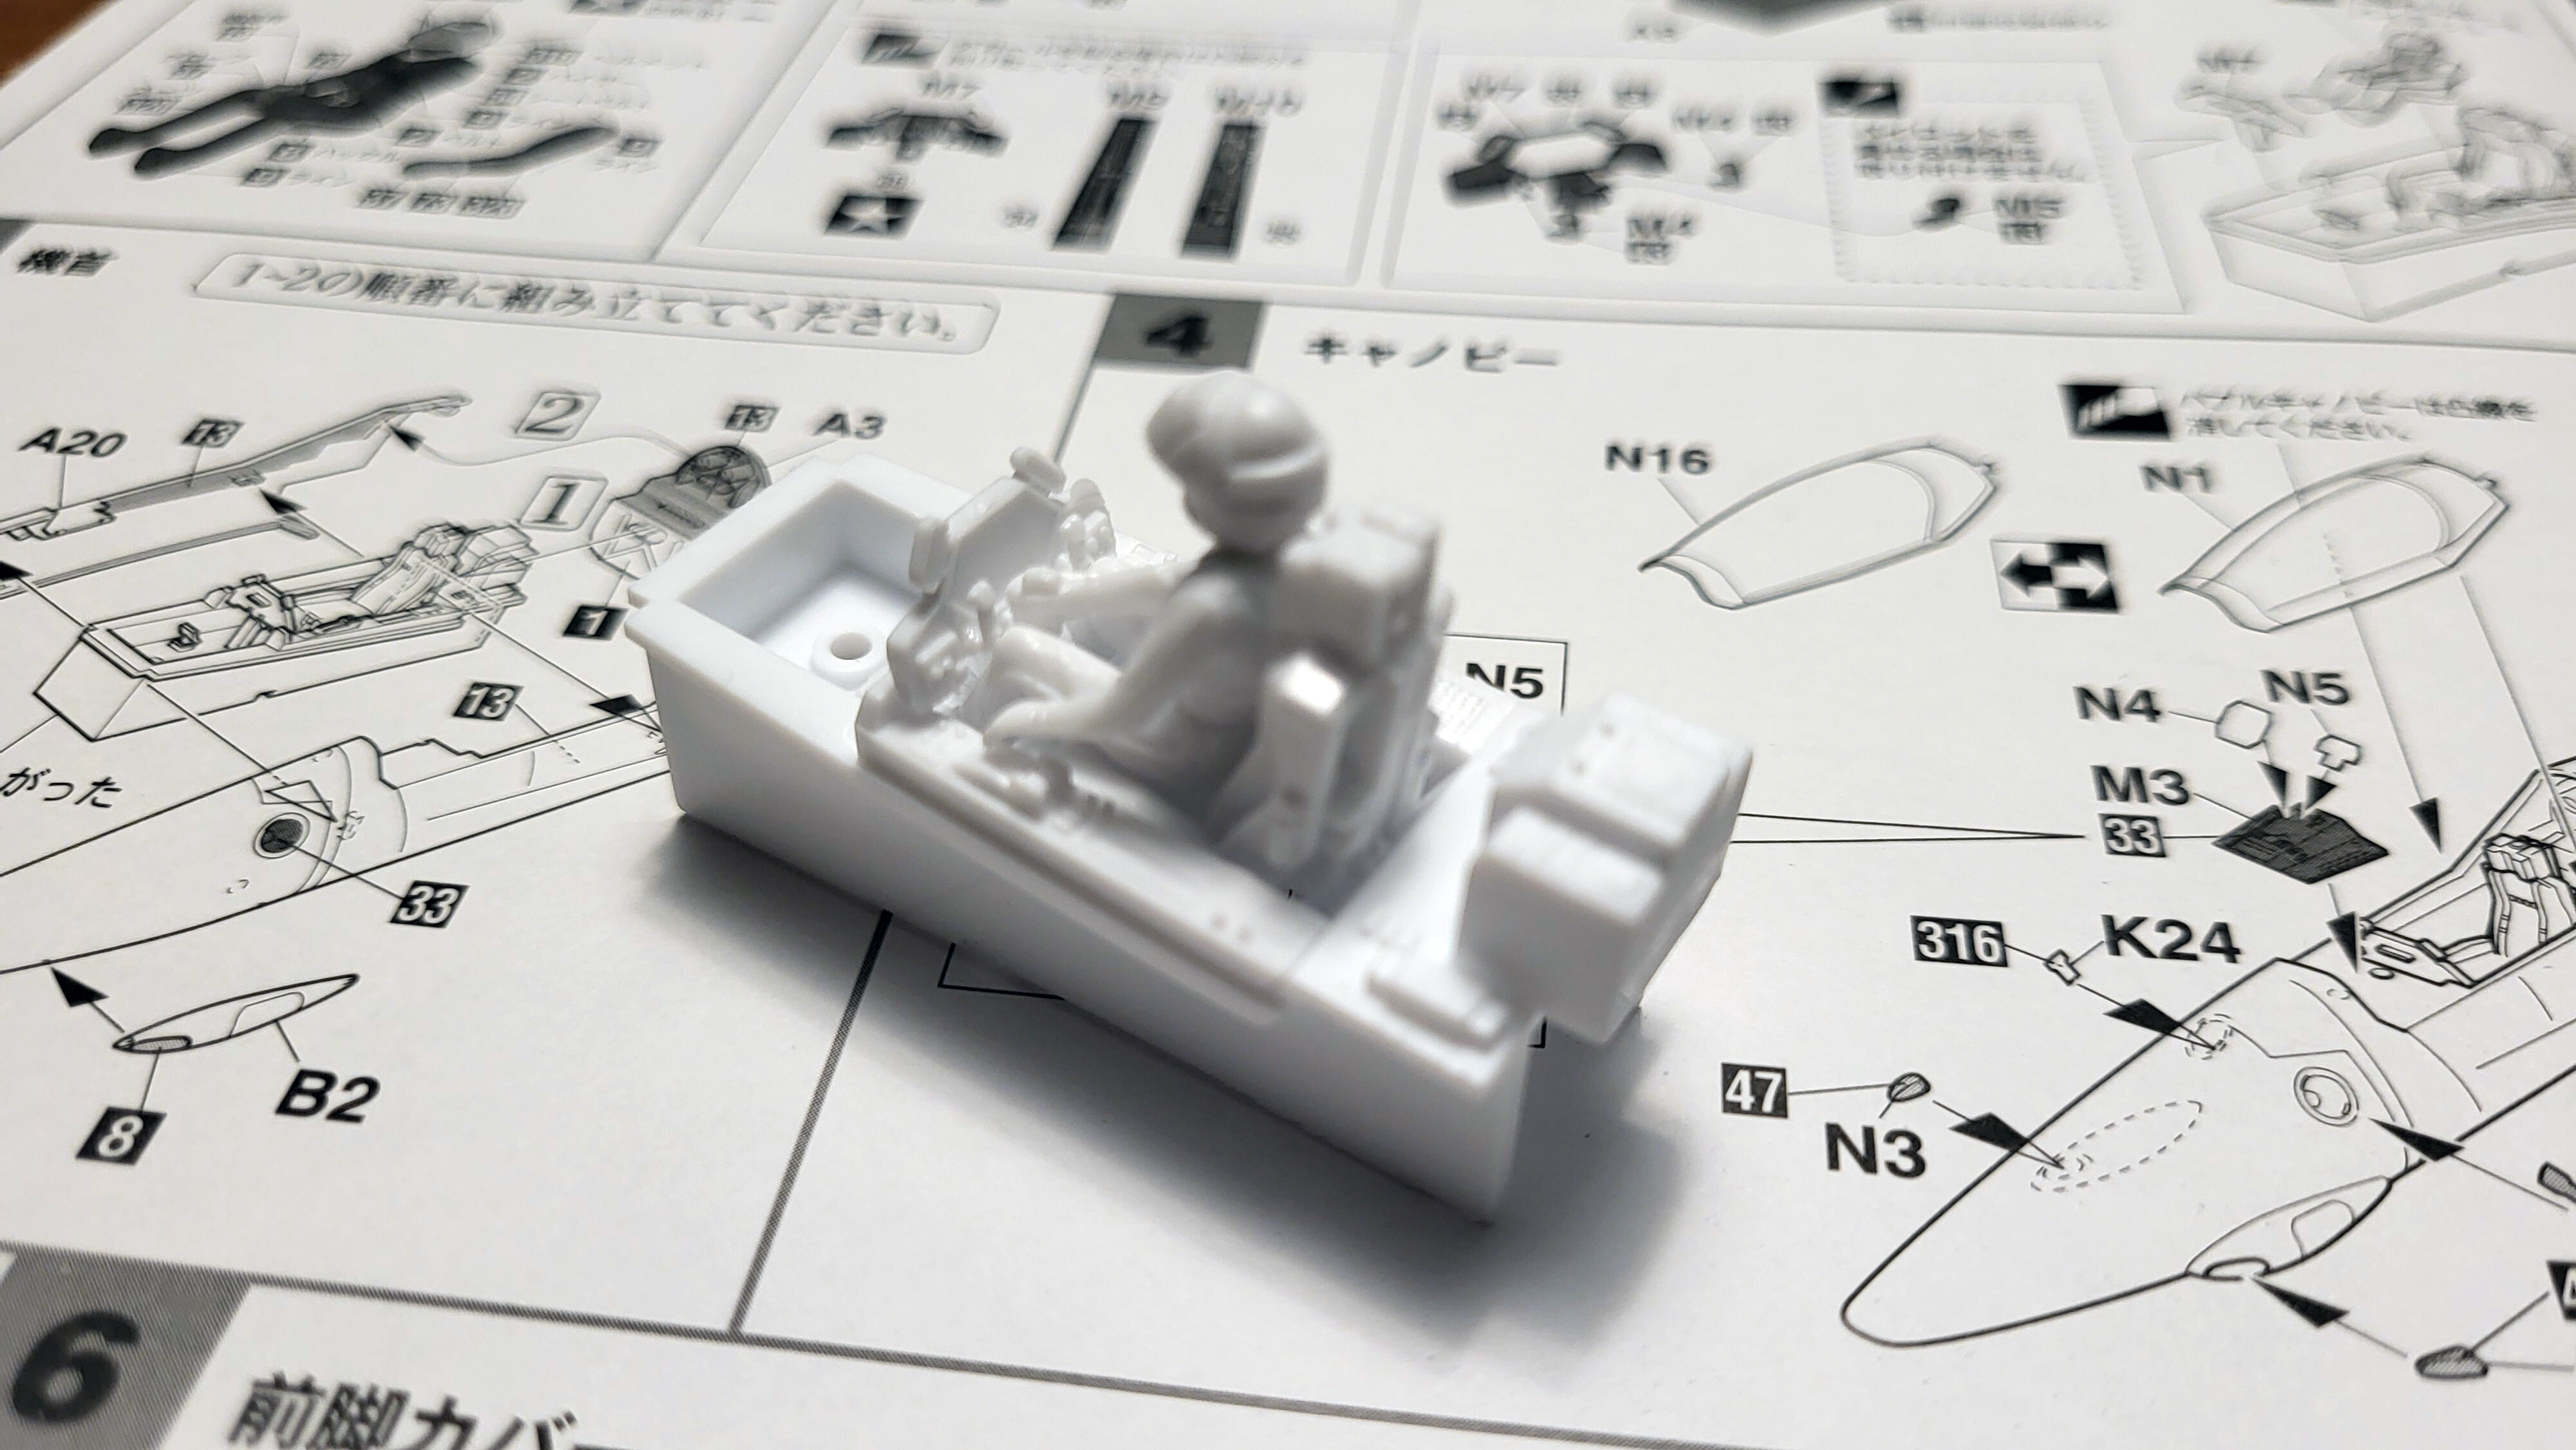
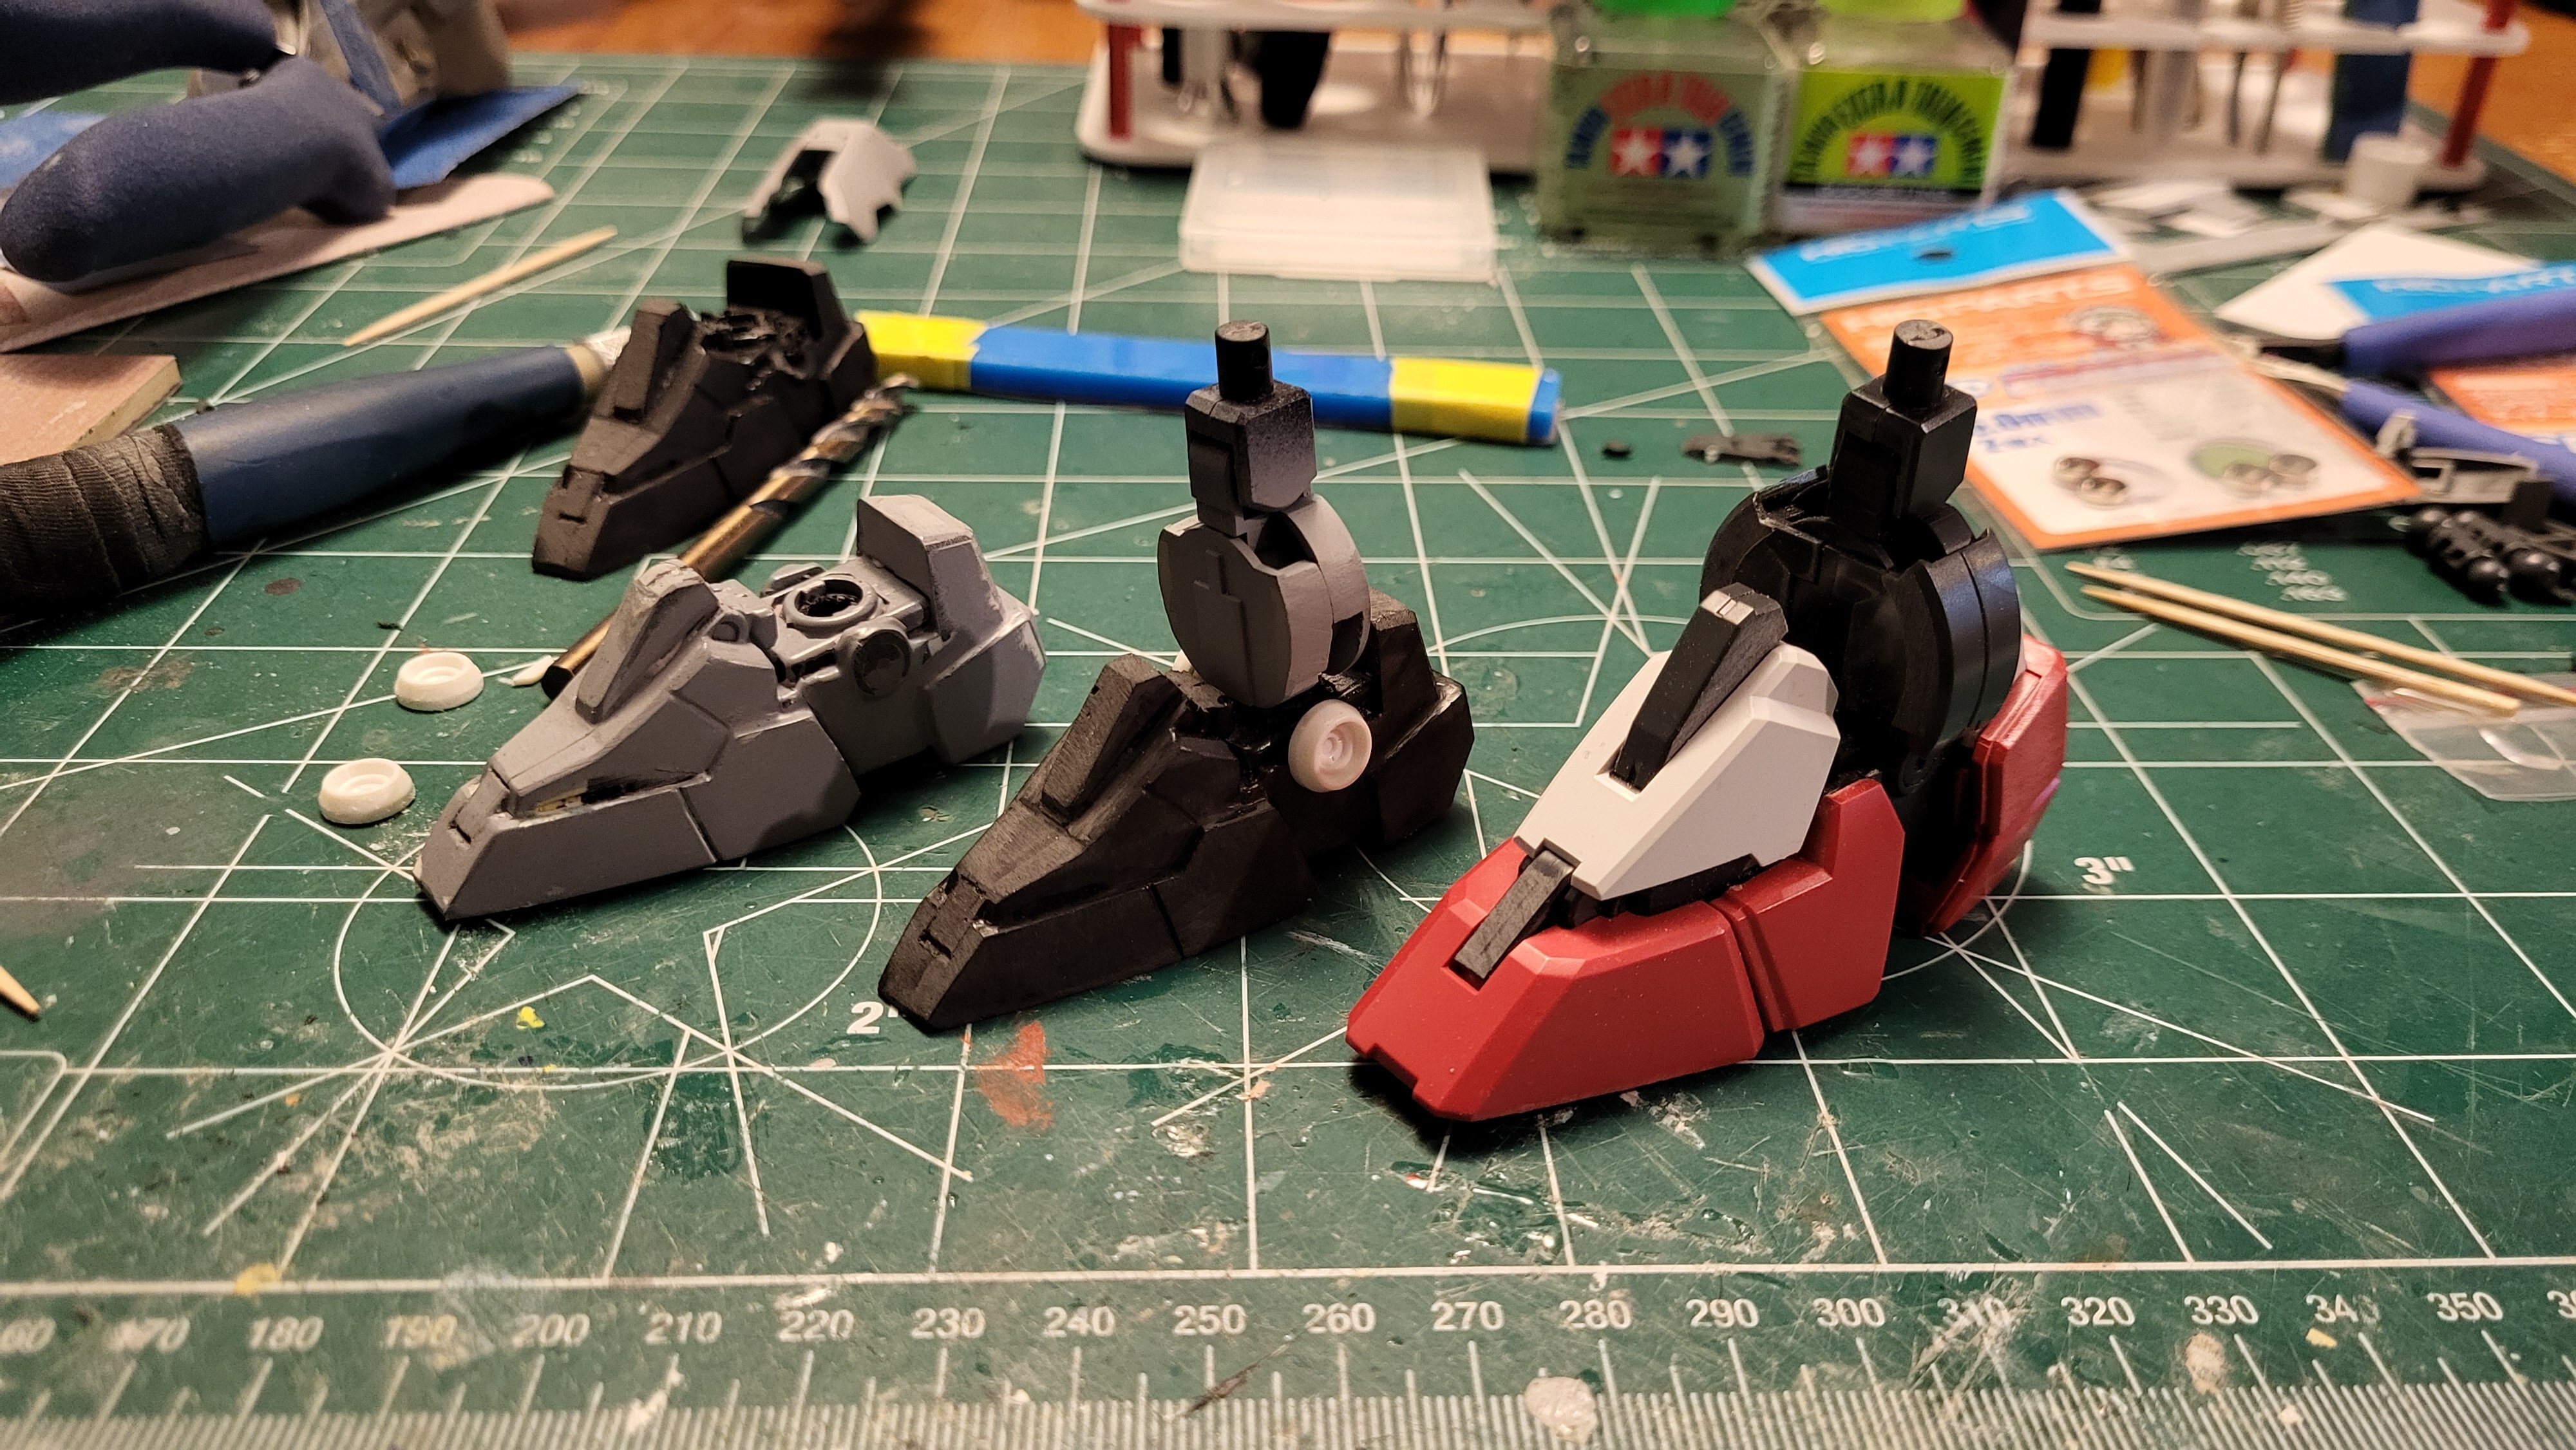
 DYRL VS TV. TV also has a 3-piece console screen and a physical HUD instead of everything being projected on the canopy/helmet directly. -- Let the game begin. I couldn't find many good references for the cockpit. In SDFM it varied greatly from scene to scene. I just cherry picked a few key details from the line art to give the eye something interesting. Leftover gunpla, kotobukiya bits, copper wire, and metal HiQ parts proved useful. I was really concerned about filling the dead space around the rear of the seat. The pilot got a little trimming to define the legs and upper arms a bit more, and a little Mr. Disolved Putty was brushed onto the joints to hide the seams. I've been relying on this product a bit more than Mr. Surfacer 500 brushed out of the bottle. For small pinpoint applications it goes down smoother and sands quicker. The shoulder seam received a little bit more of a liberal application because this pilot has been hitting the gym! Afterwards off to a coat of Mr. Surfacer 1500 and a quick check to make sure nothing would get in the way of the nose halves sealing. All good... though the panel lines on the 2 halves conveniently don't meet. For later. Now onto colors.l! I decided to go with the OOB pilot colors. I used Mr. Color 328 for the blue. This is the same blue that is to be used on the valkyrie's markings. For the pilot, I really like the color. I'm trying out a new (to me) product. Micromark's Micro Mask! I tend to use Mr. Masking Sol Neo but, have never been too fond of using it for small areas as it tends to have elasticity. That same latex-like elasticity fights you during toothpick and brush applications. Micro Mask is easier to apply with a thinner consistency closer to dish soap. Anyways, the top of the helmet was masked up and a quick spray of of Mr. Color's 311 white was applied. It's an off-white (yellow/tan + white) that is recommended to use on the body of the valkyrie too. This is my first time seeing the 2 colors together in person. The cockpit was painted with Mr. Color 13, letting some of the black primer show through for the shadows towards the bottom. I wanted to see if the decals were even worth attempting... even with Solveset, they were not. However, they did give me a taste of the direction I would end up heading. Having the bold colored decals on the gray really helped sell the direction I wanted to take with the cockpit's colors. A very early SDFM inspired scheme focusing on bold contrasting primary colors. A nice break from the metallic paints I've been using for everything lately. So, I grabbed the brush, toothpick, and began basing in my color selections. Some trained bridge bunnies may notice that some areas not fully painted in. This is because I am only concerned with getting the basic down before seeing what will end up hidden when I get around to panel lining and washes. I'm debating whether to try a blue or green filter over the aircraft gray to make it look more like the animation's coloring. Not sure if that will clash with what's to come. Top left!
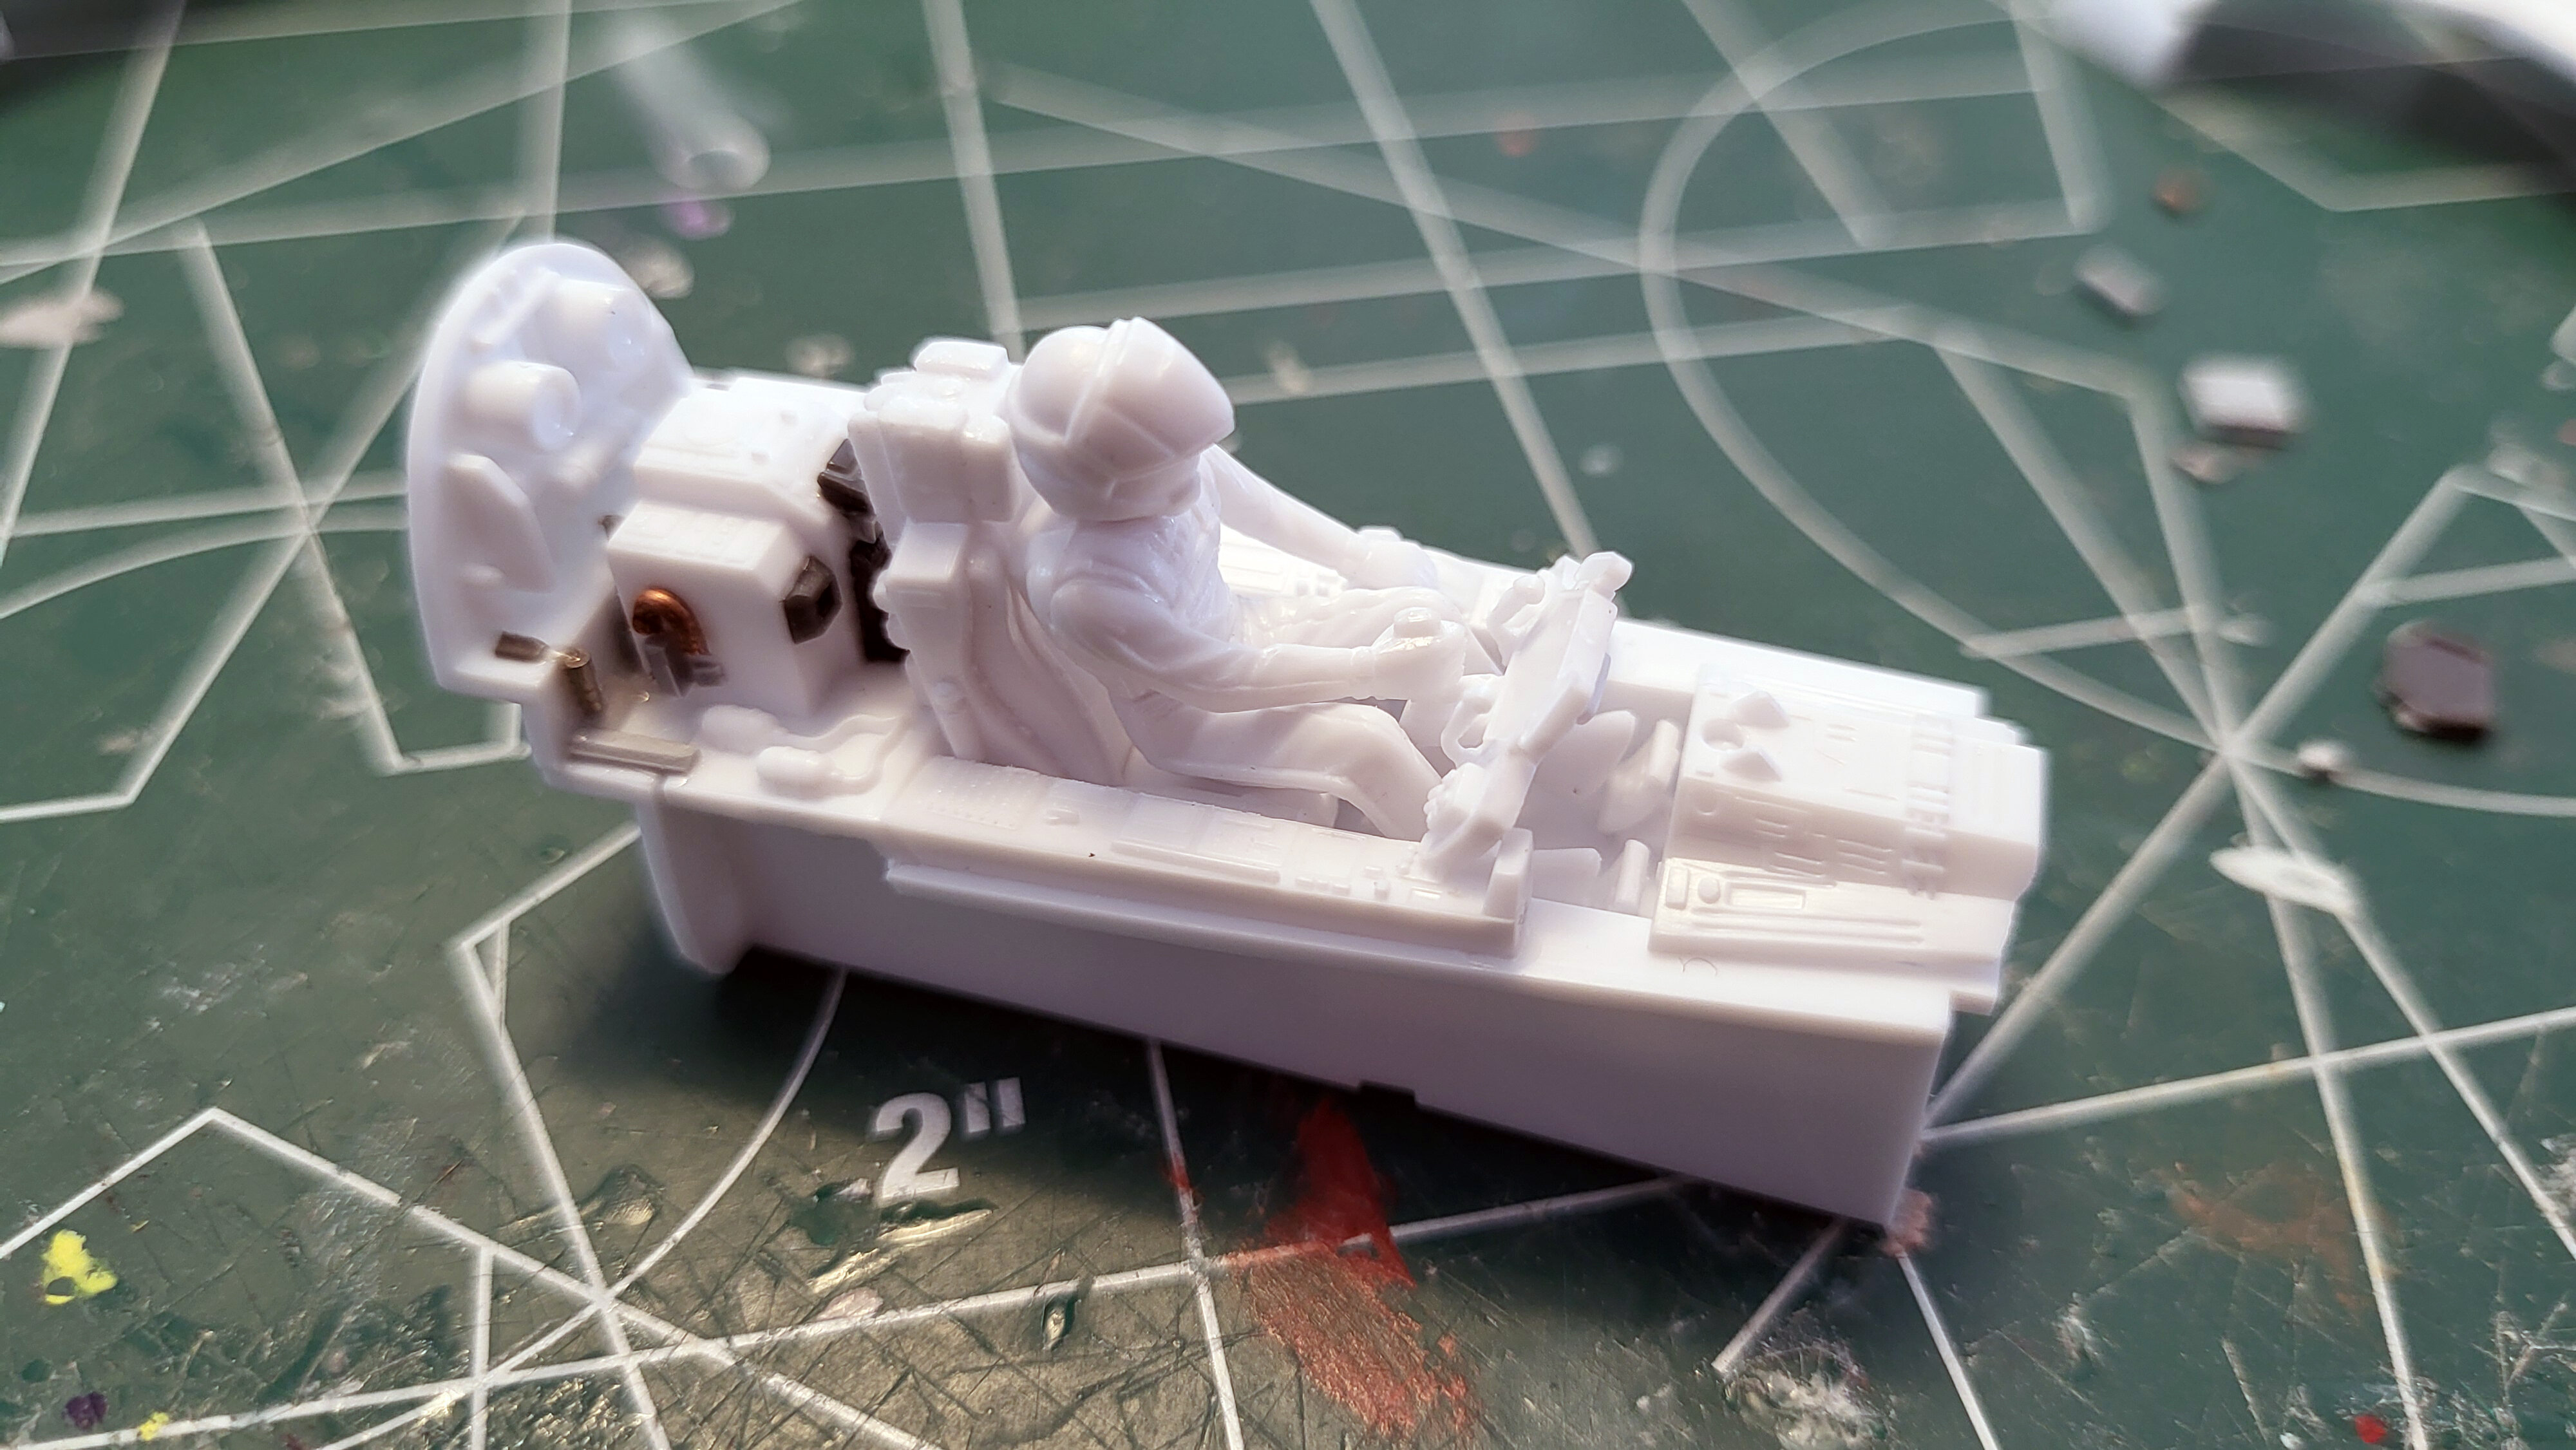

-
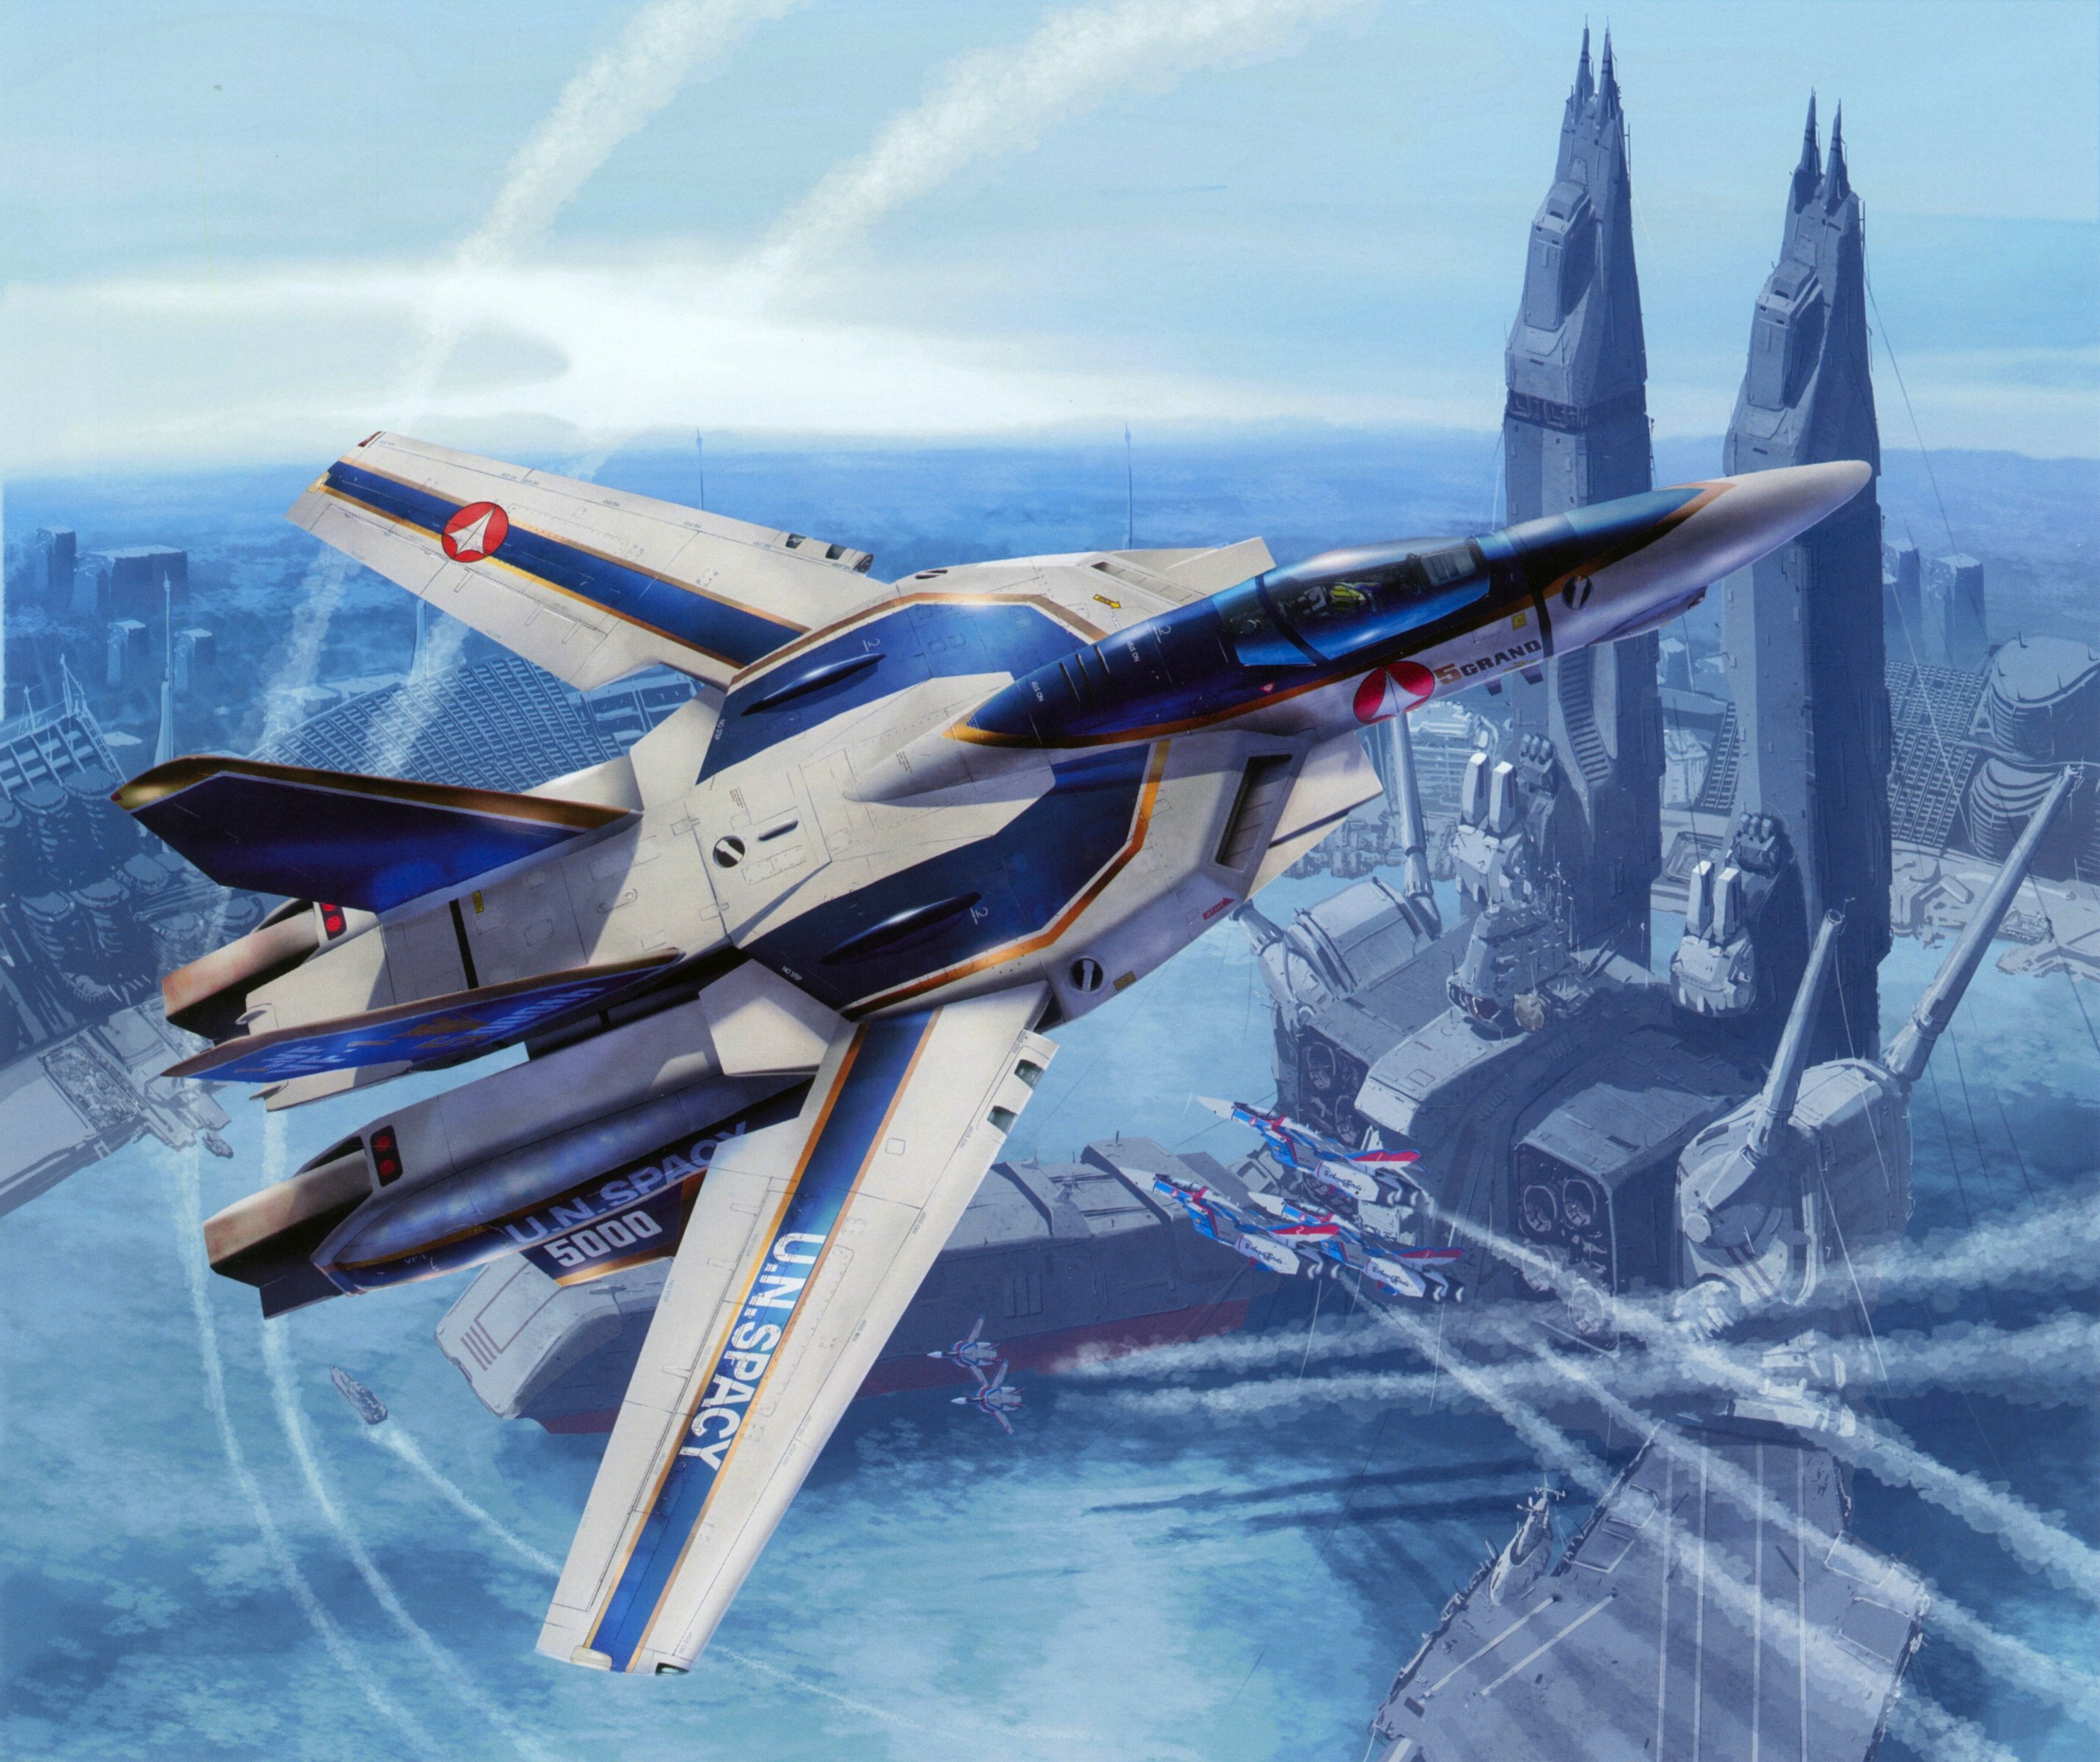
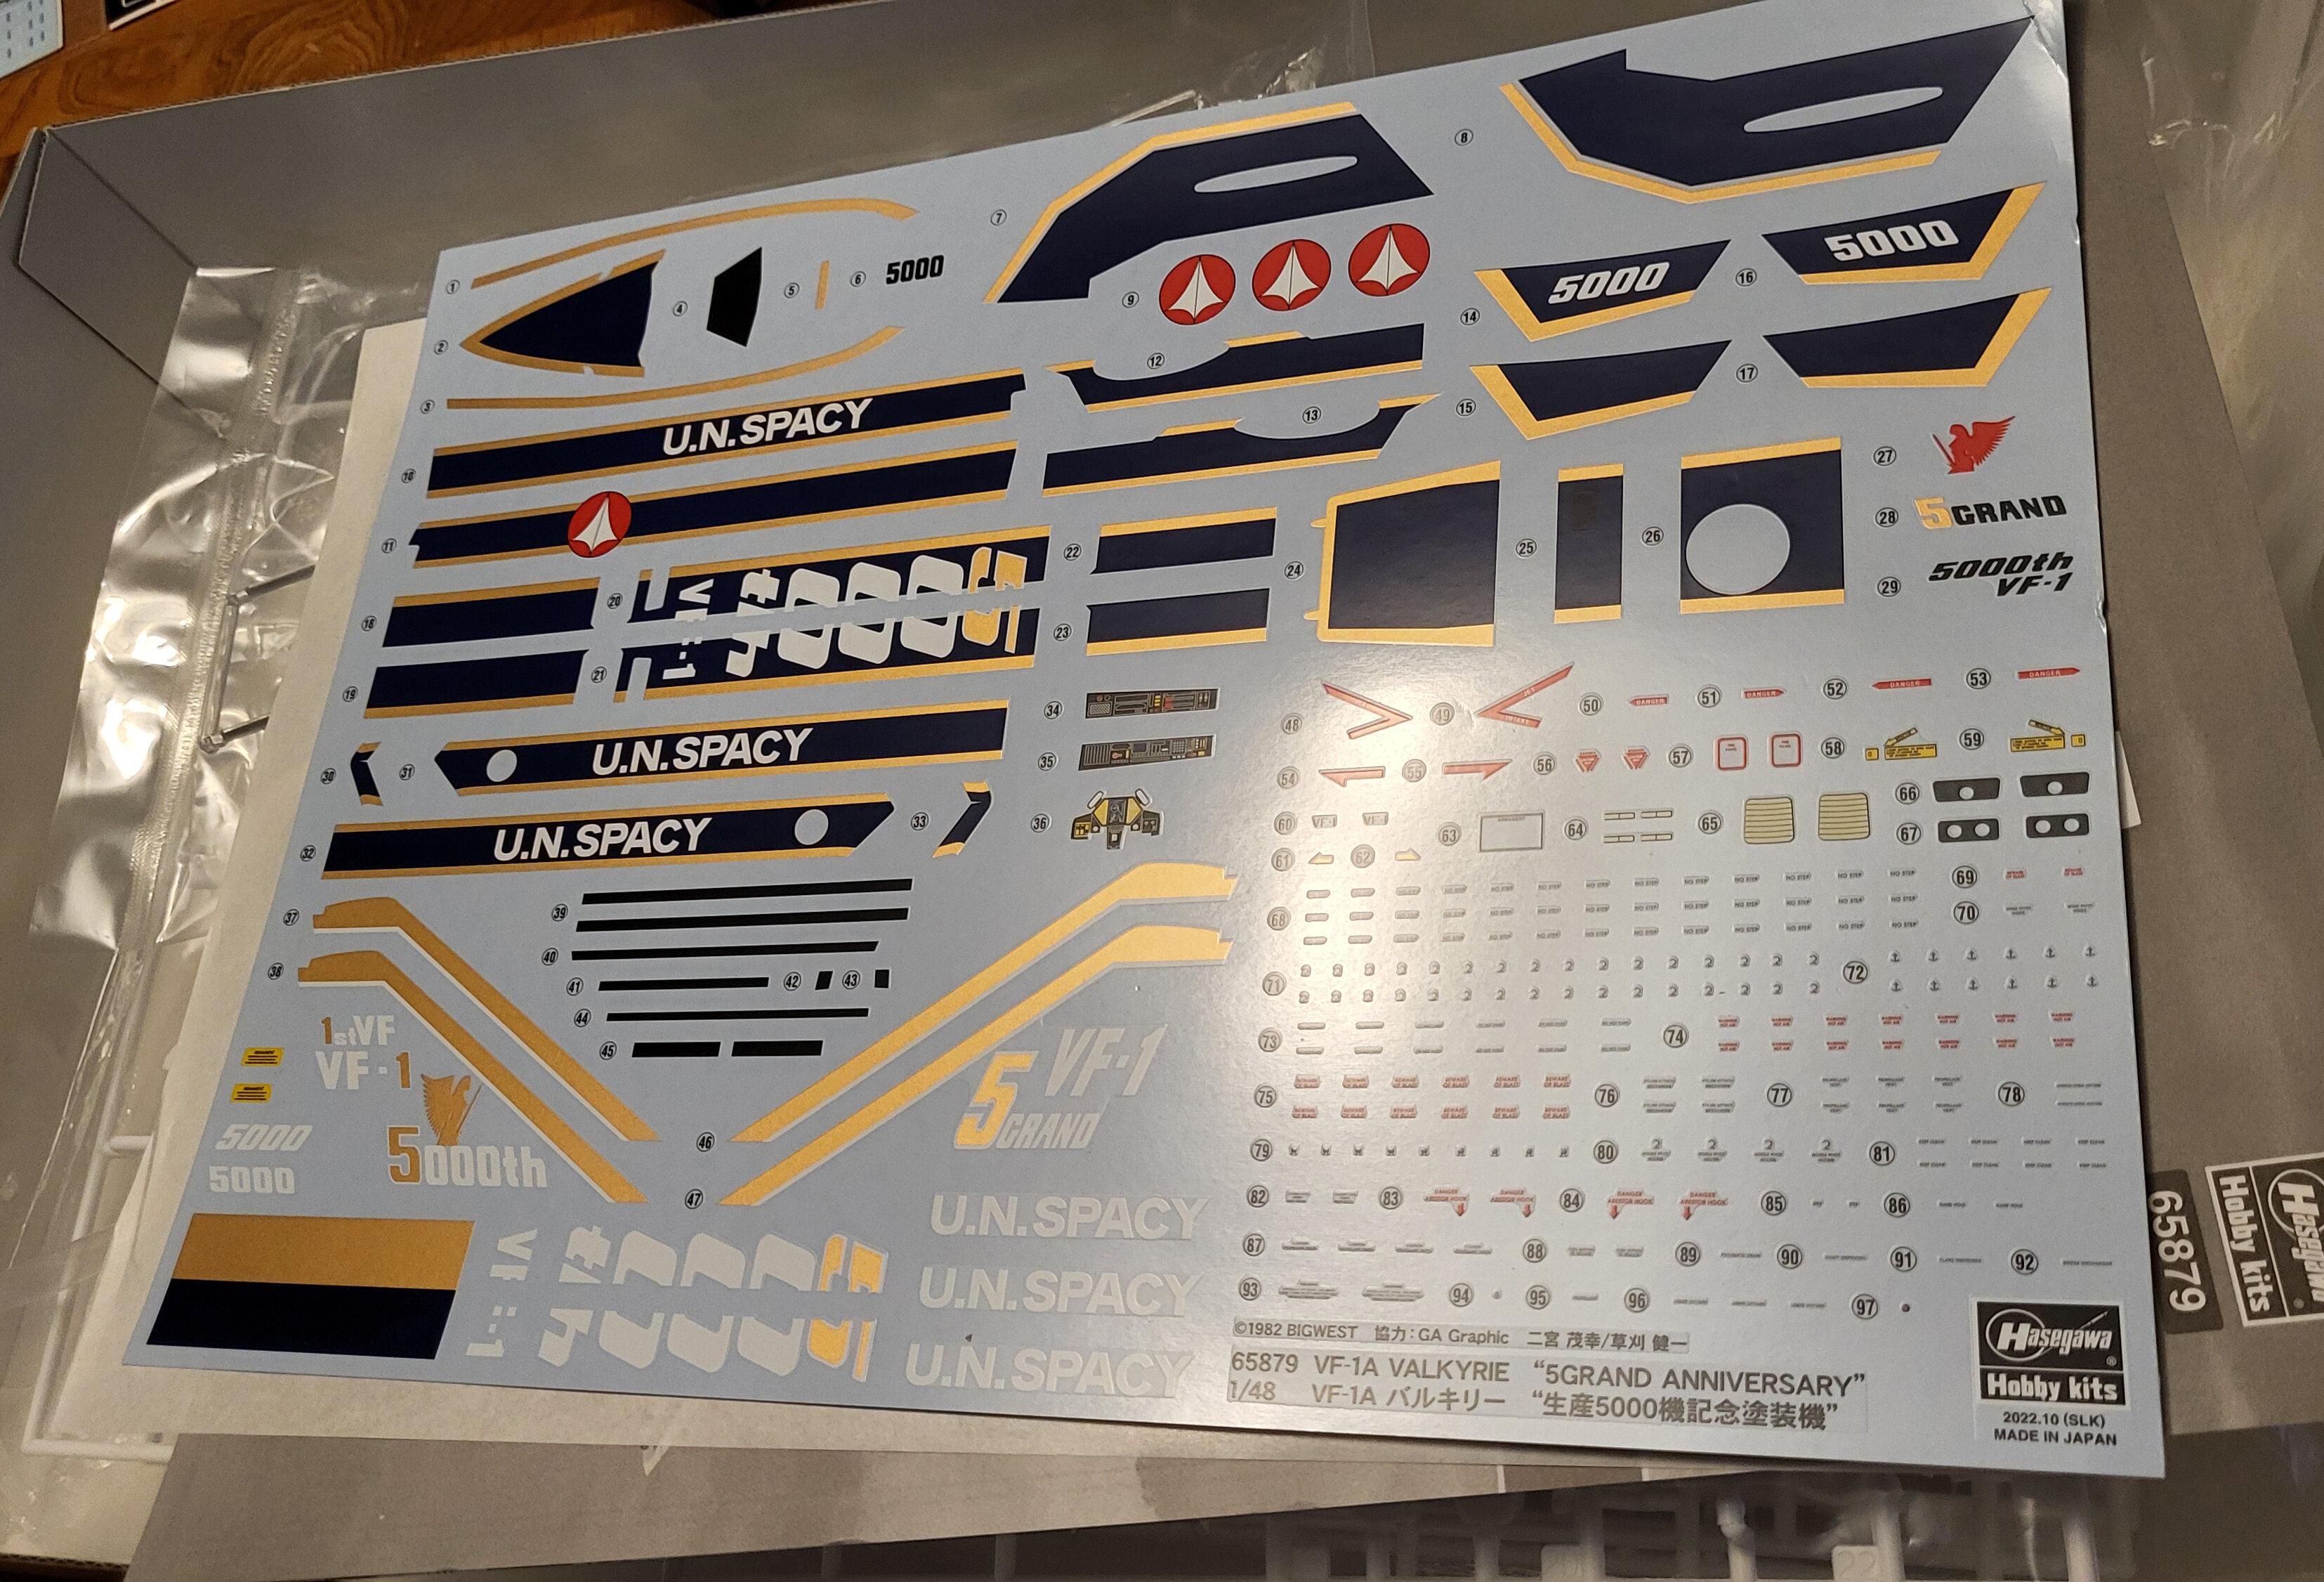
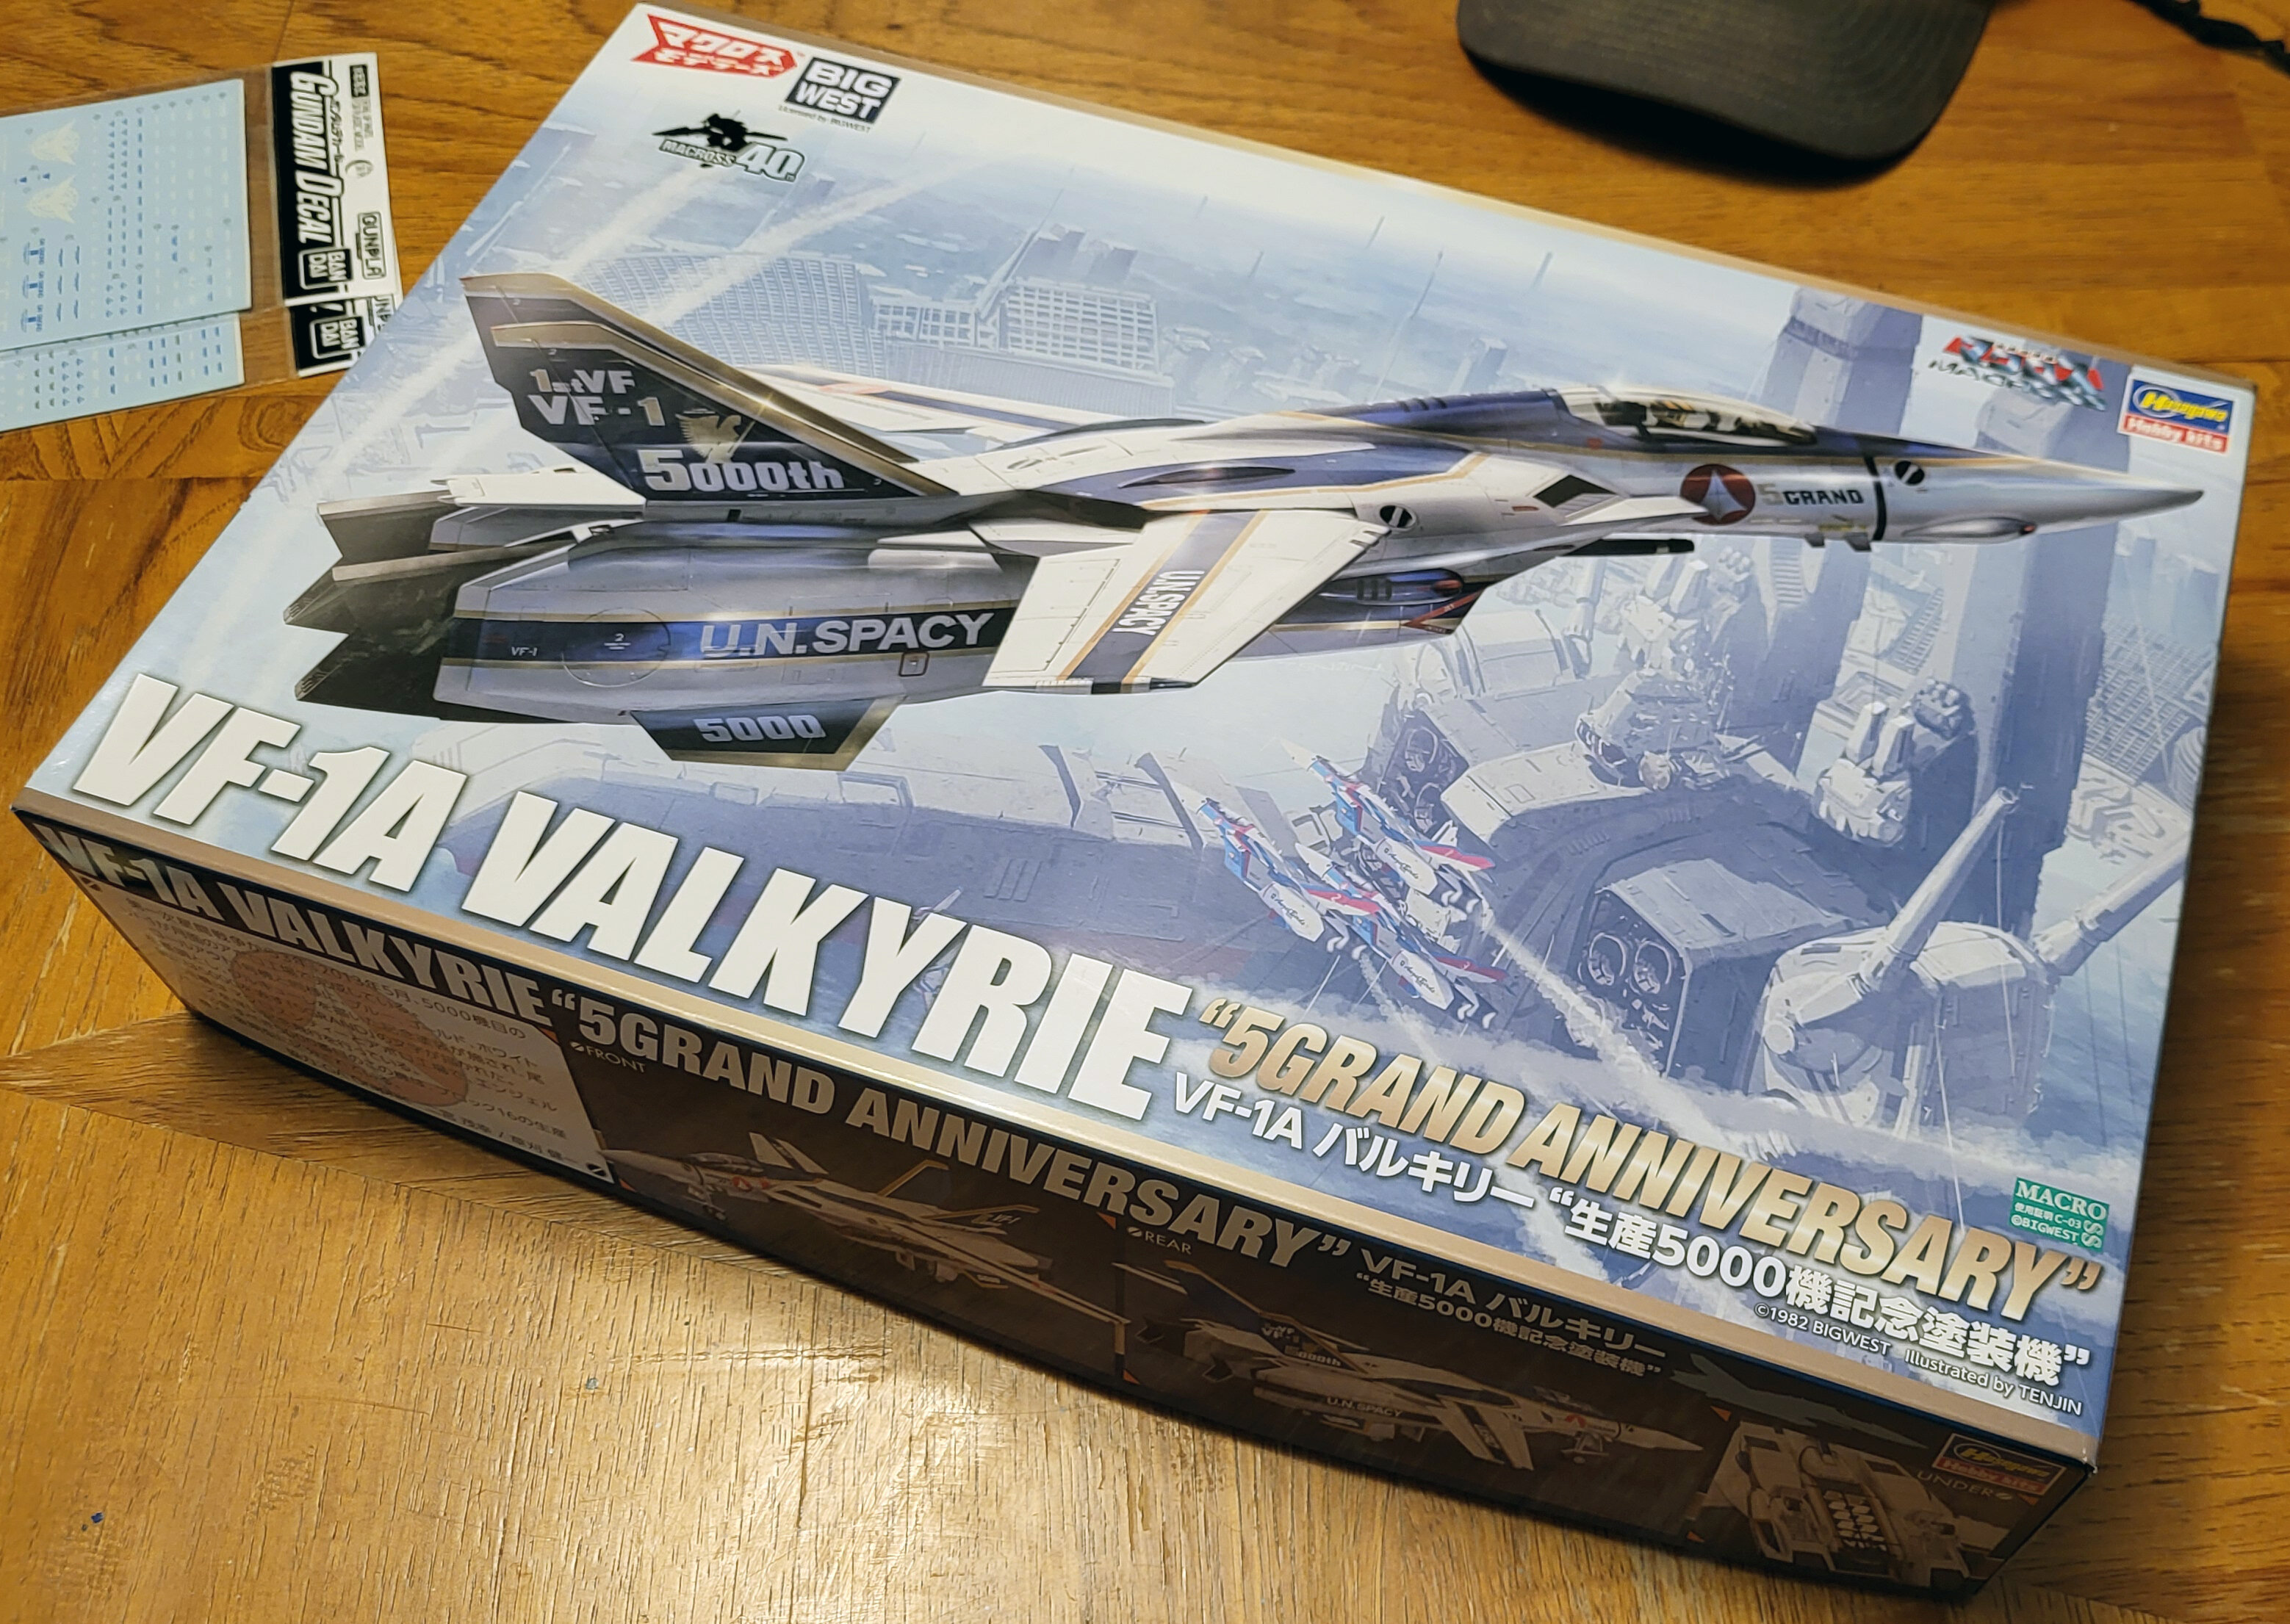
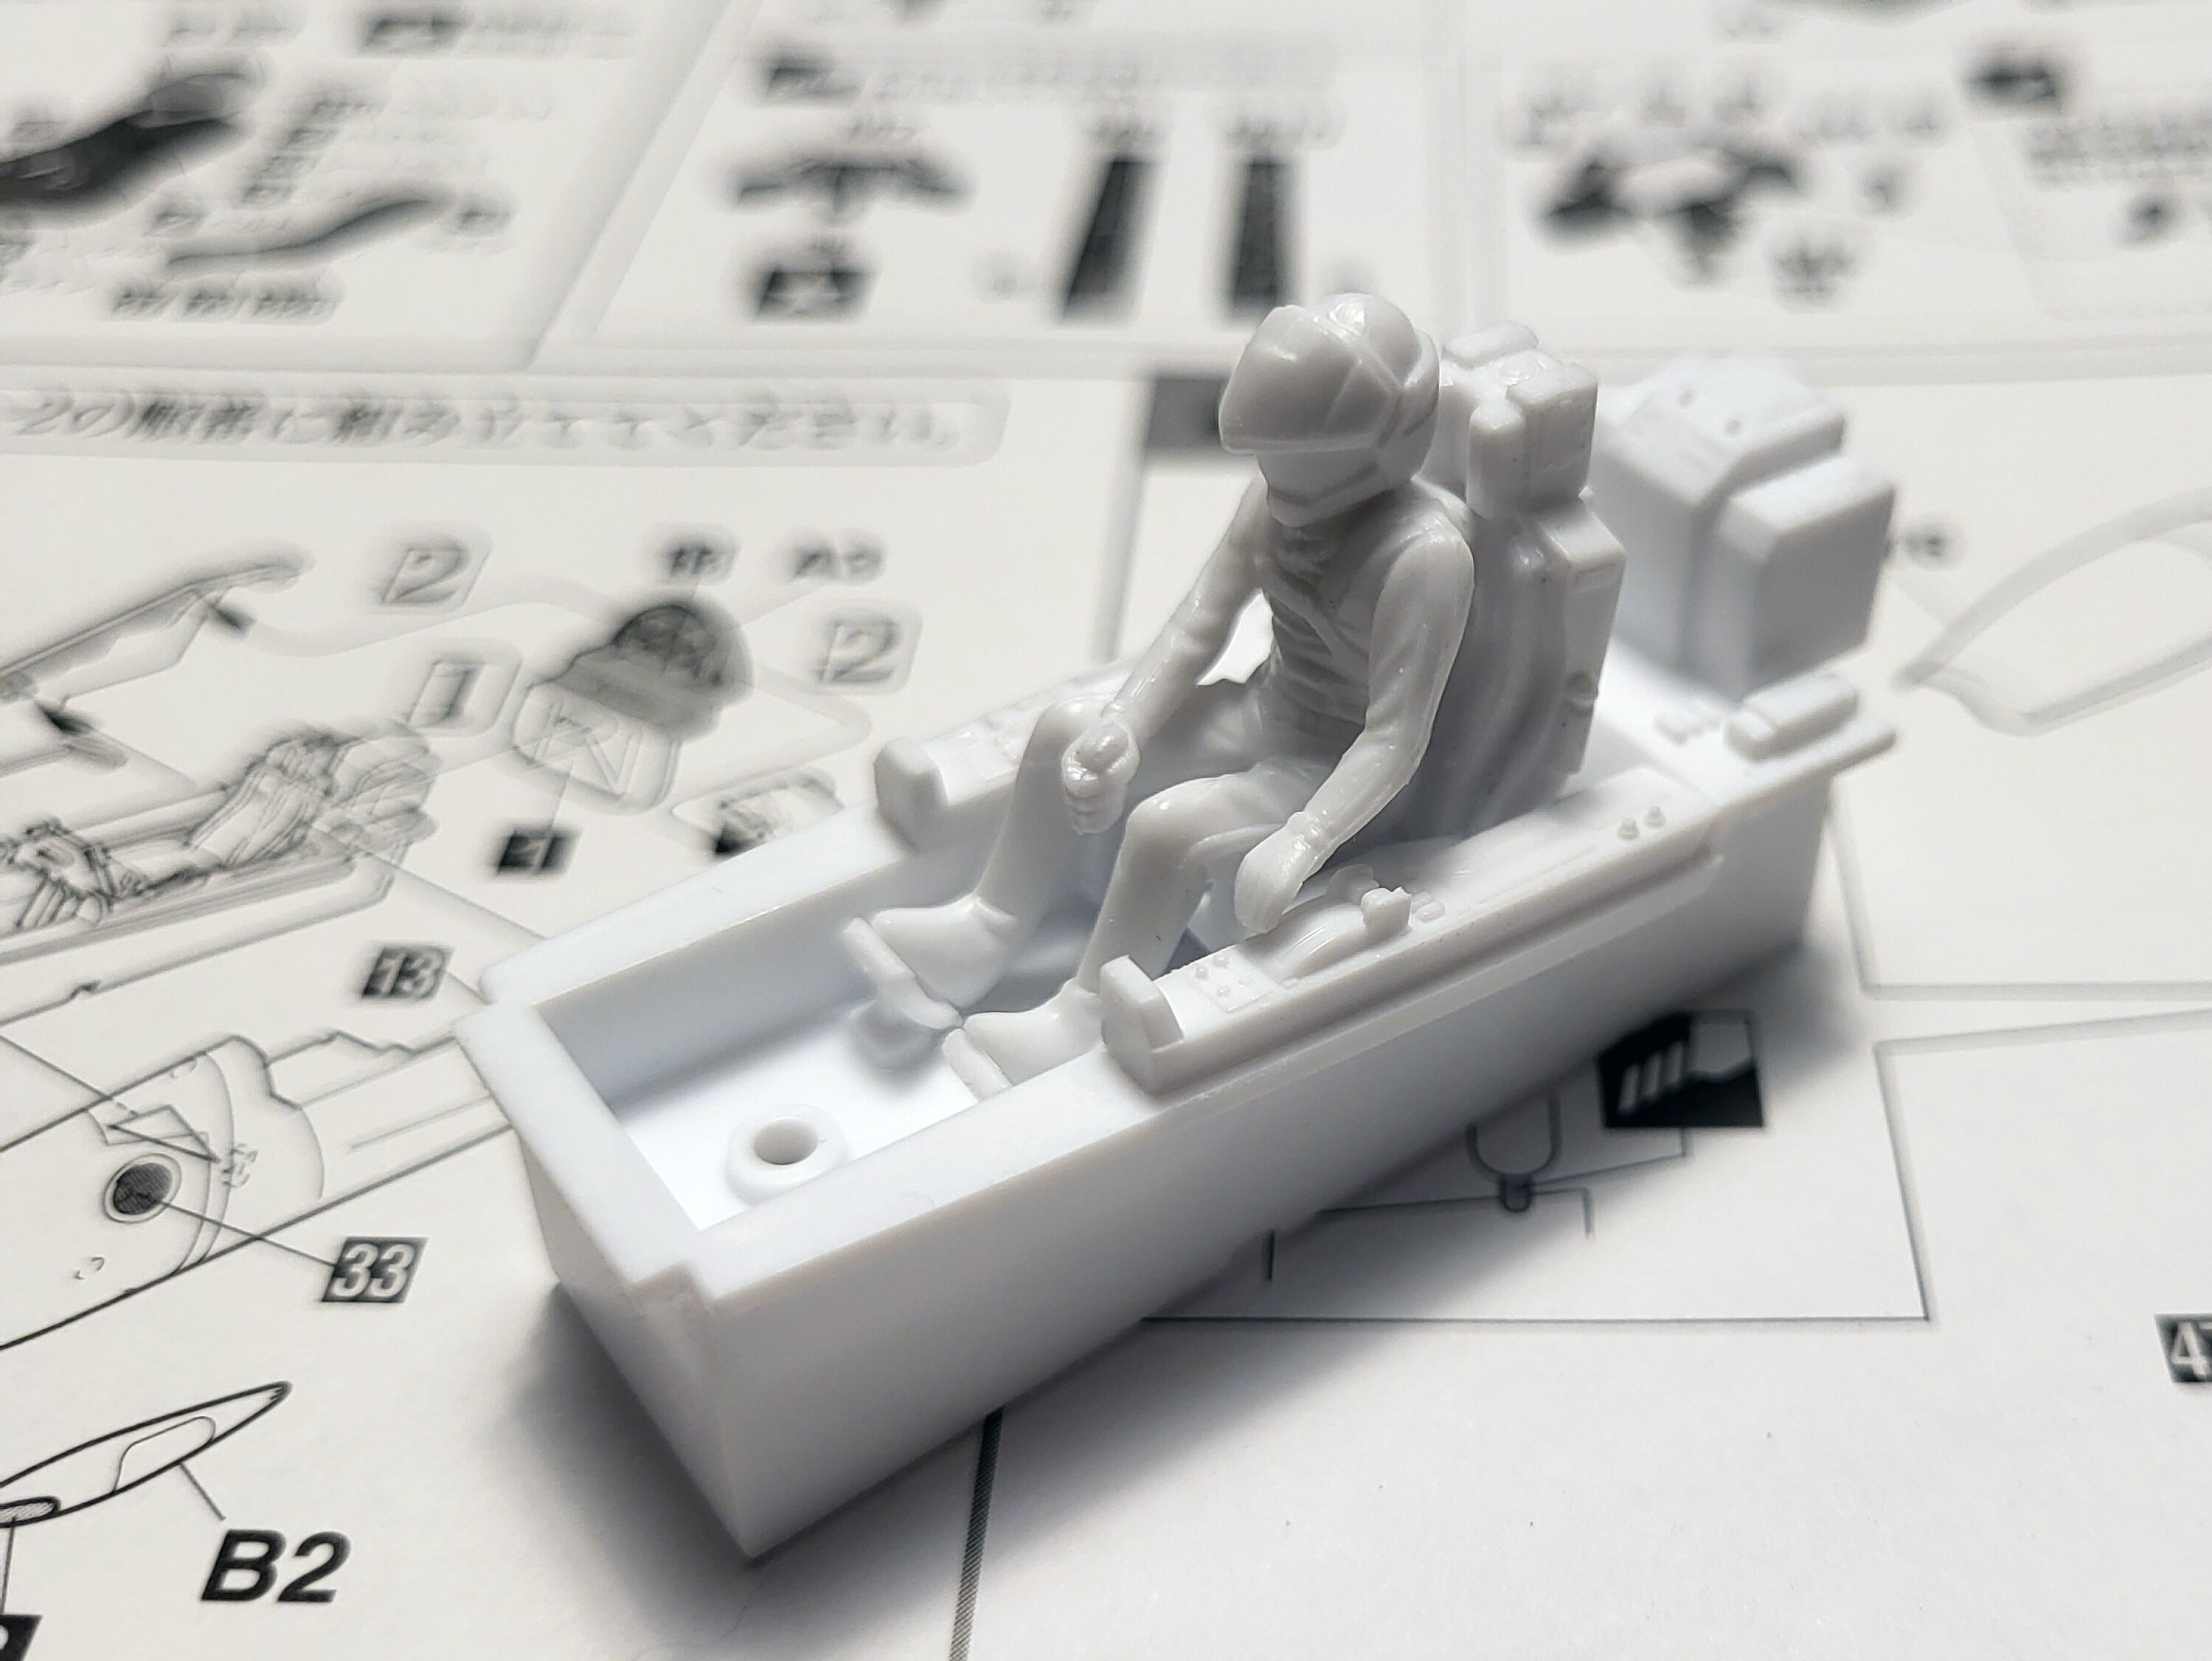
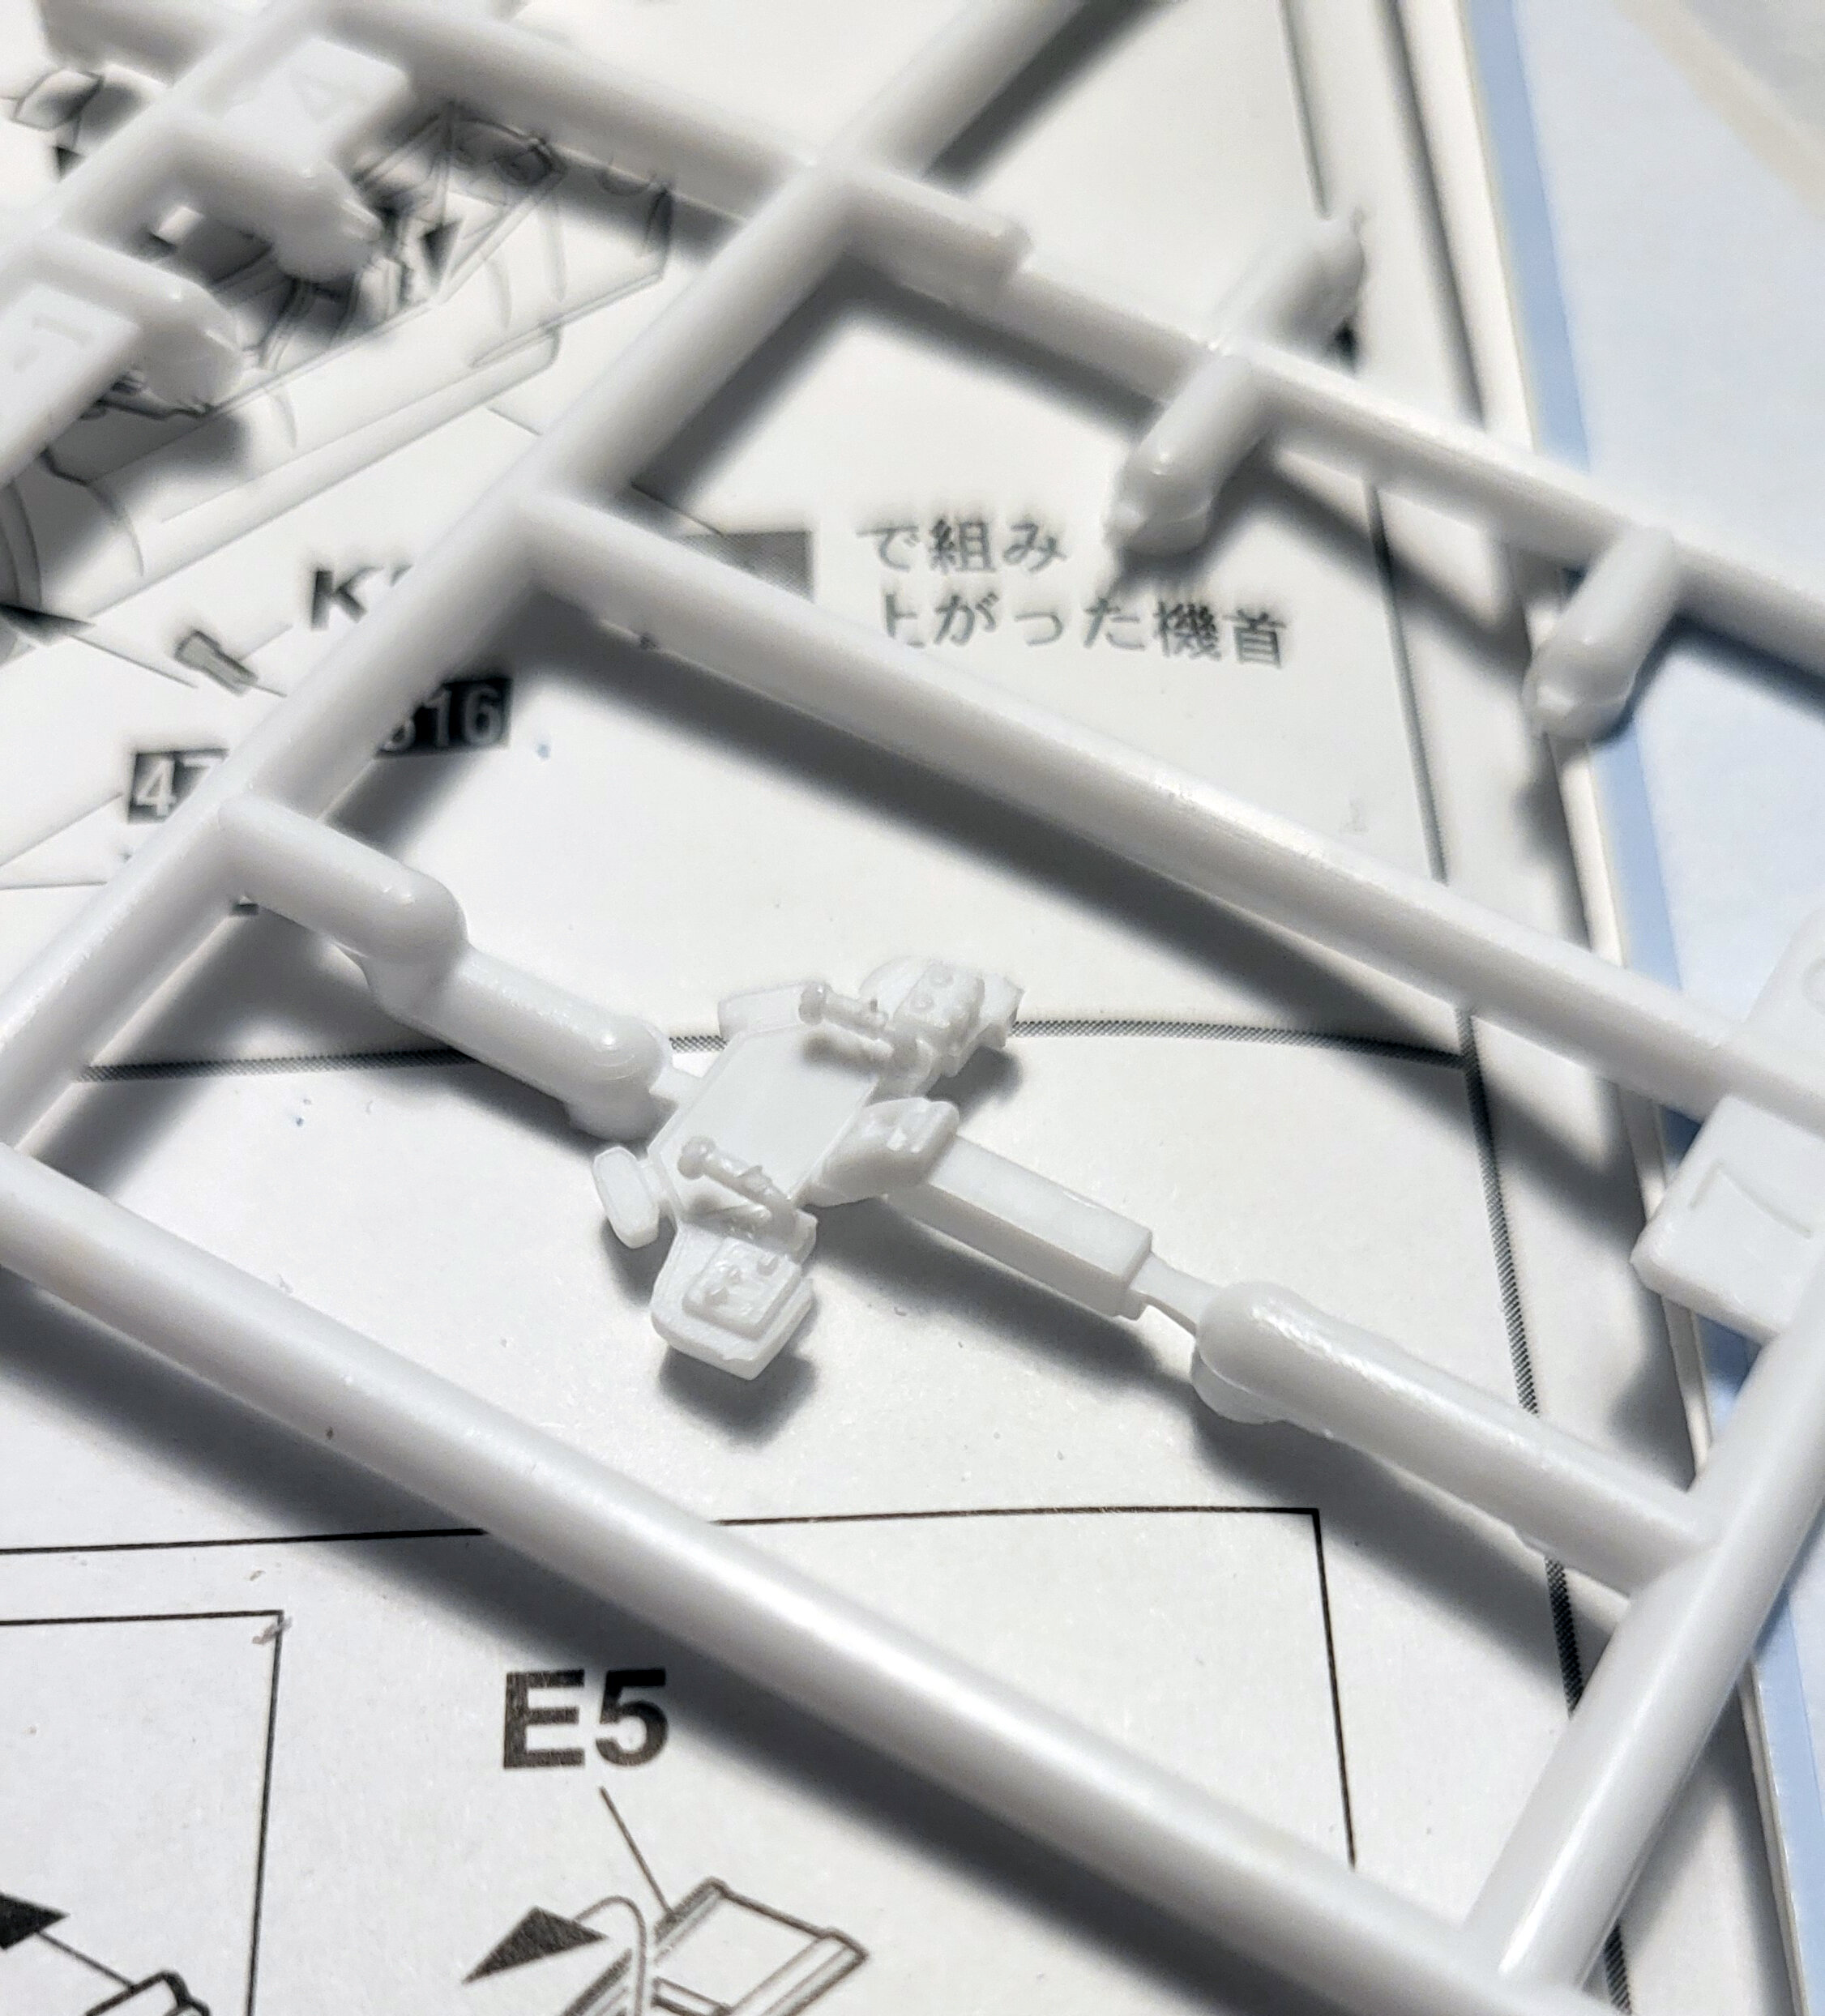
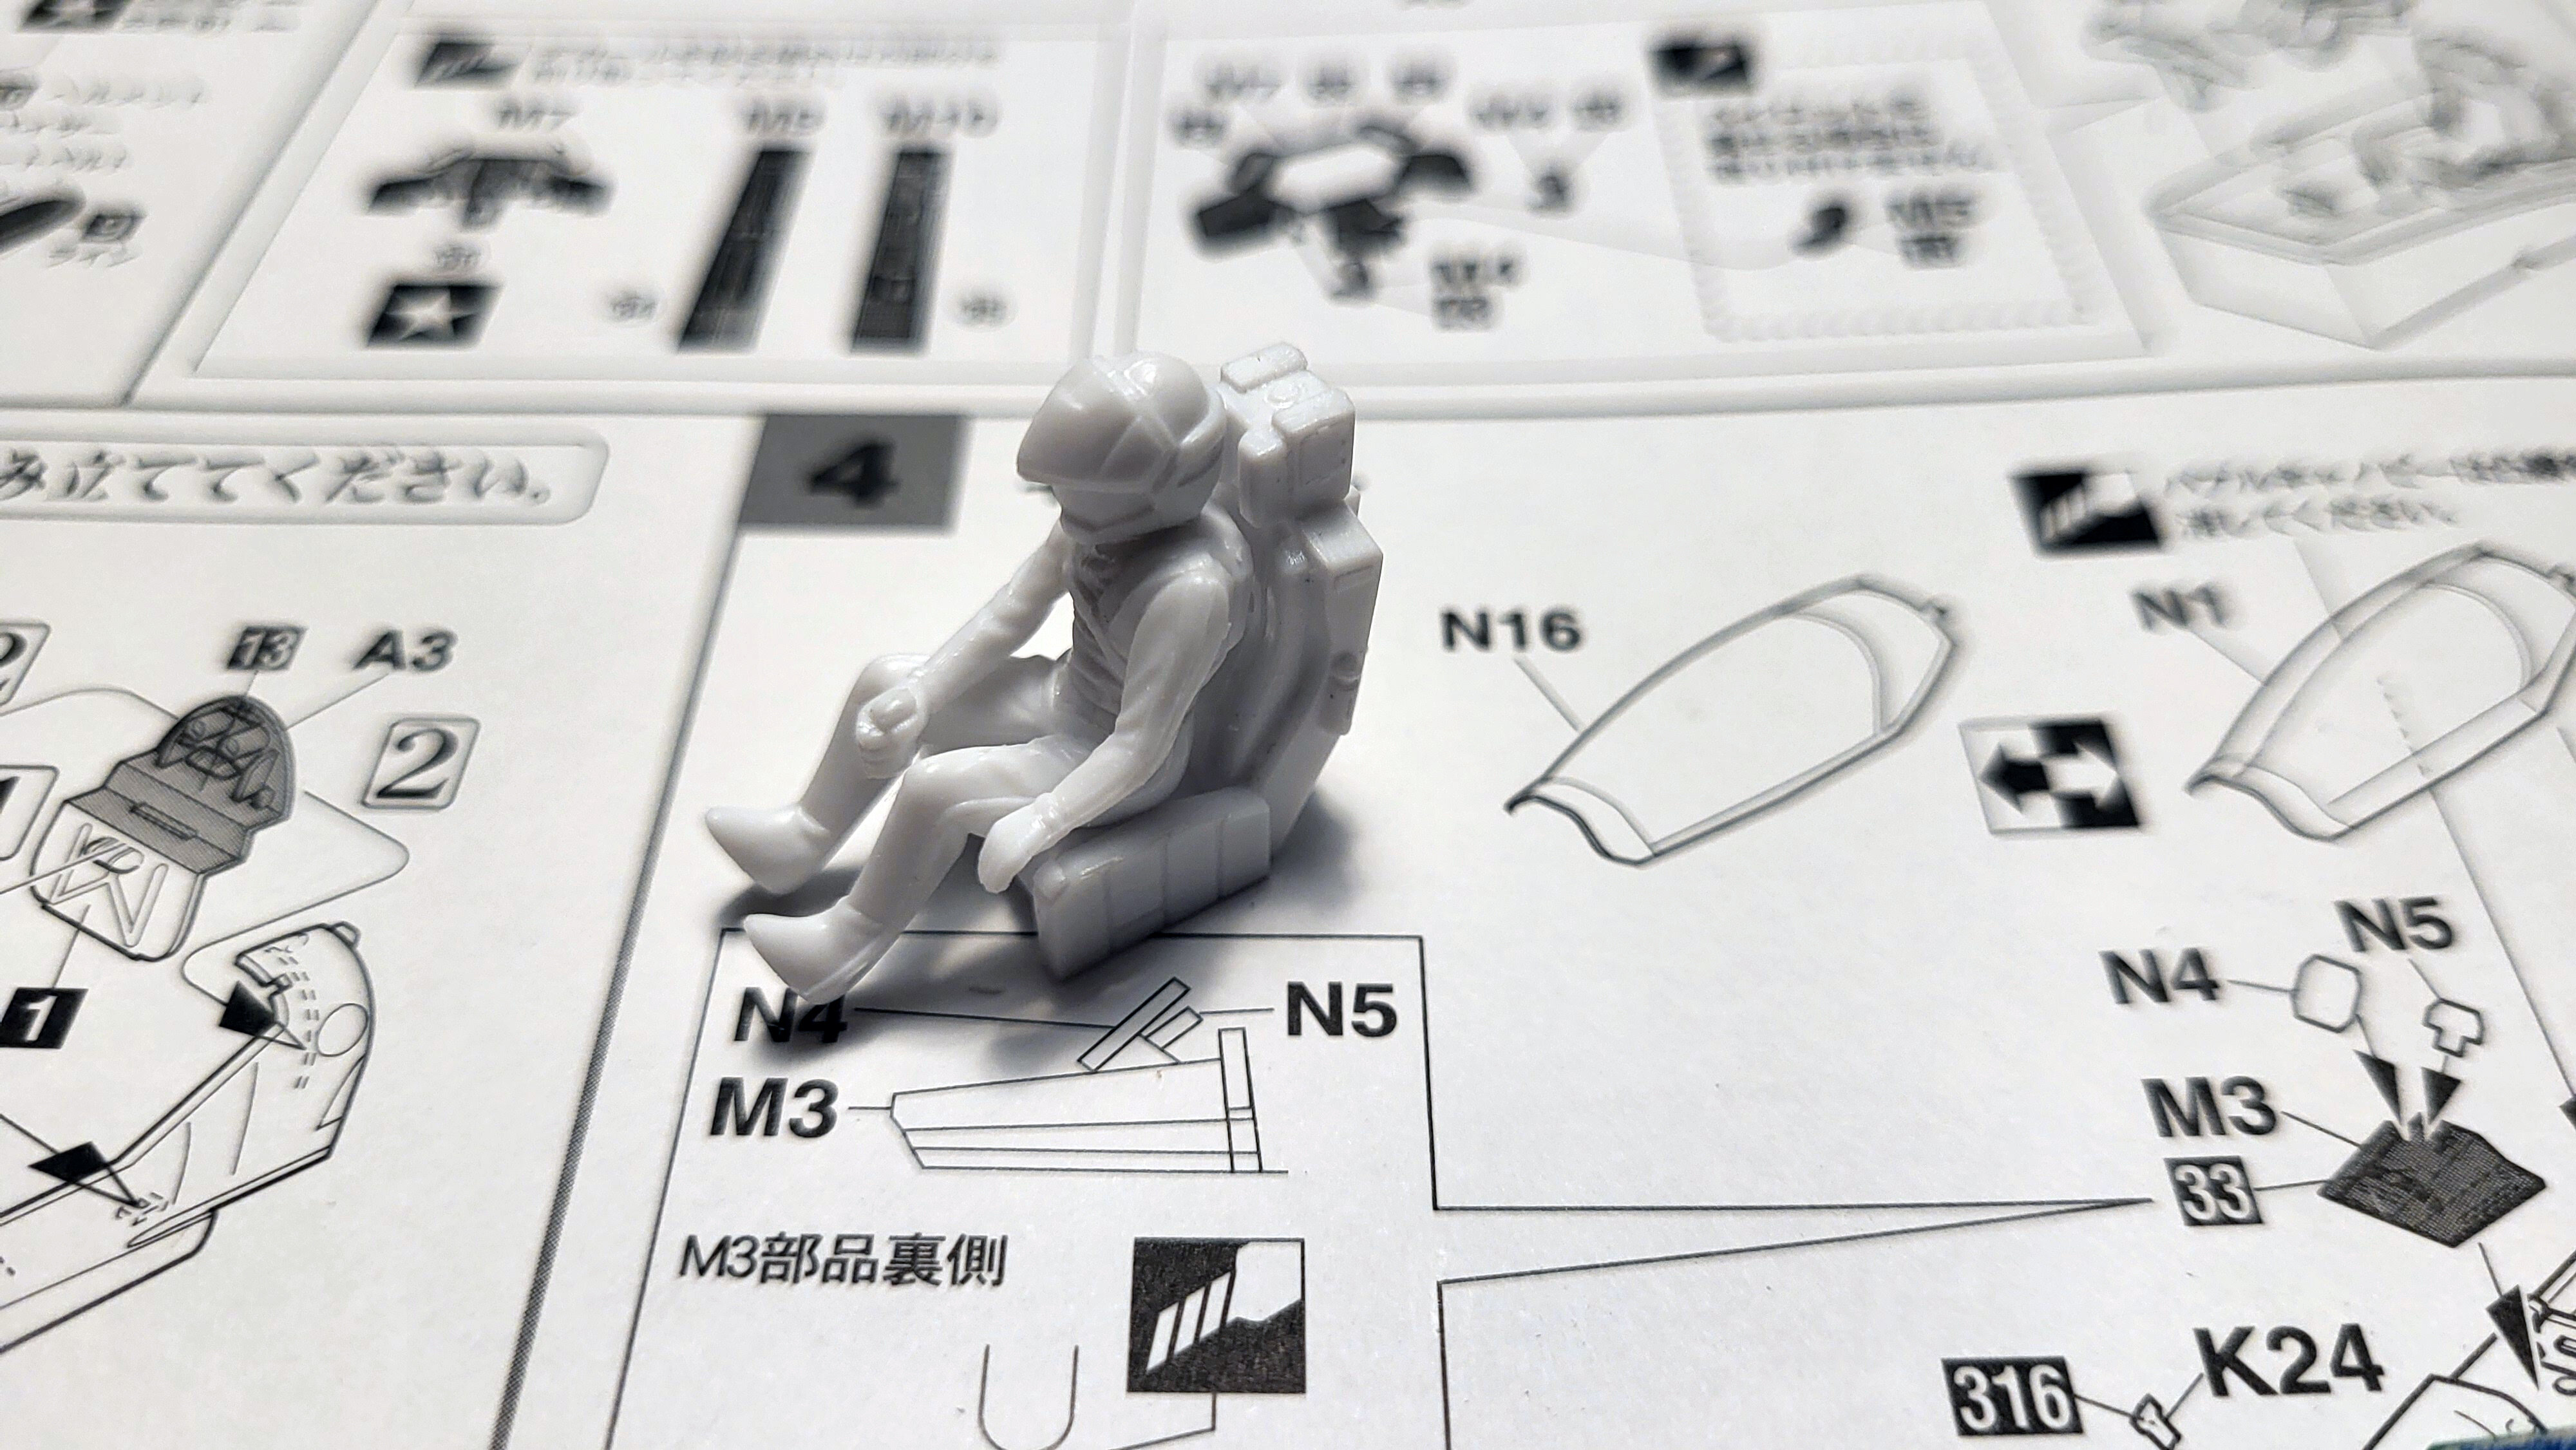
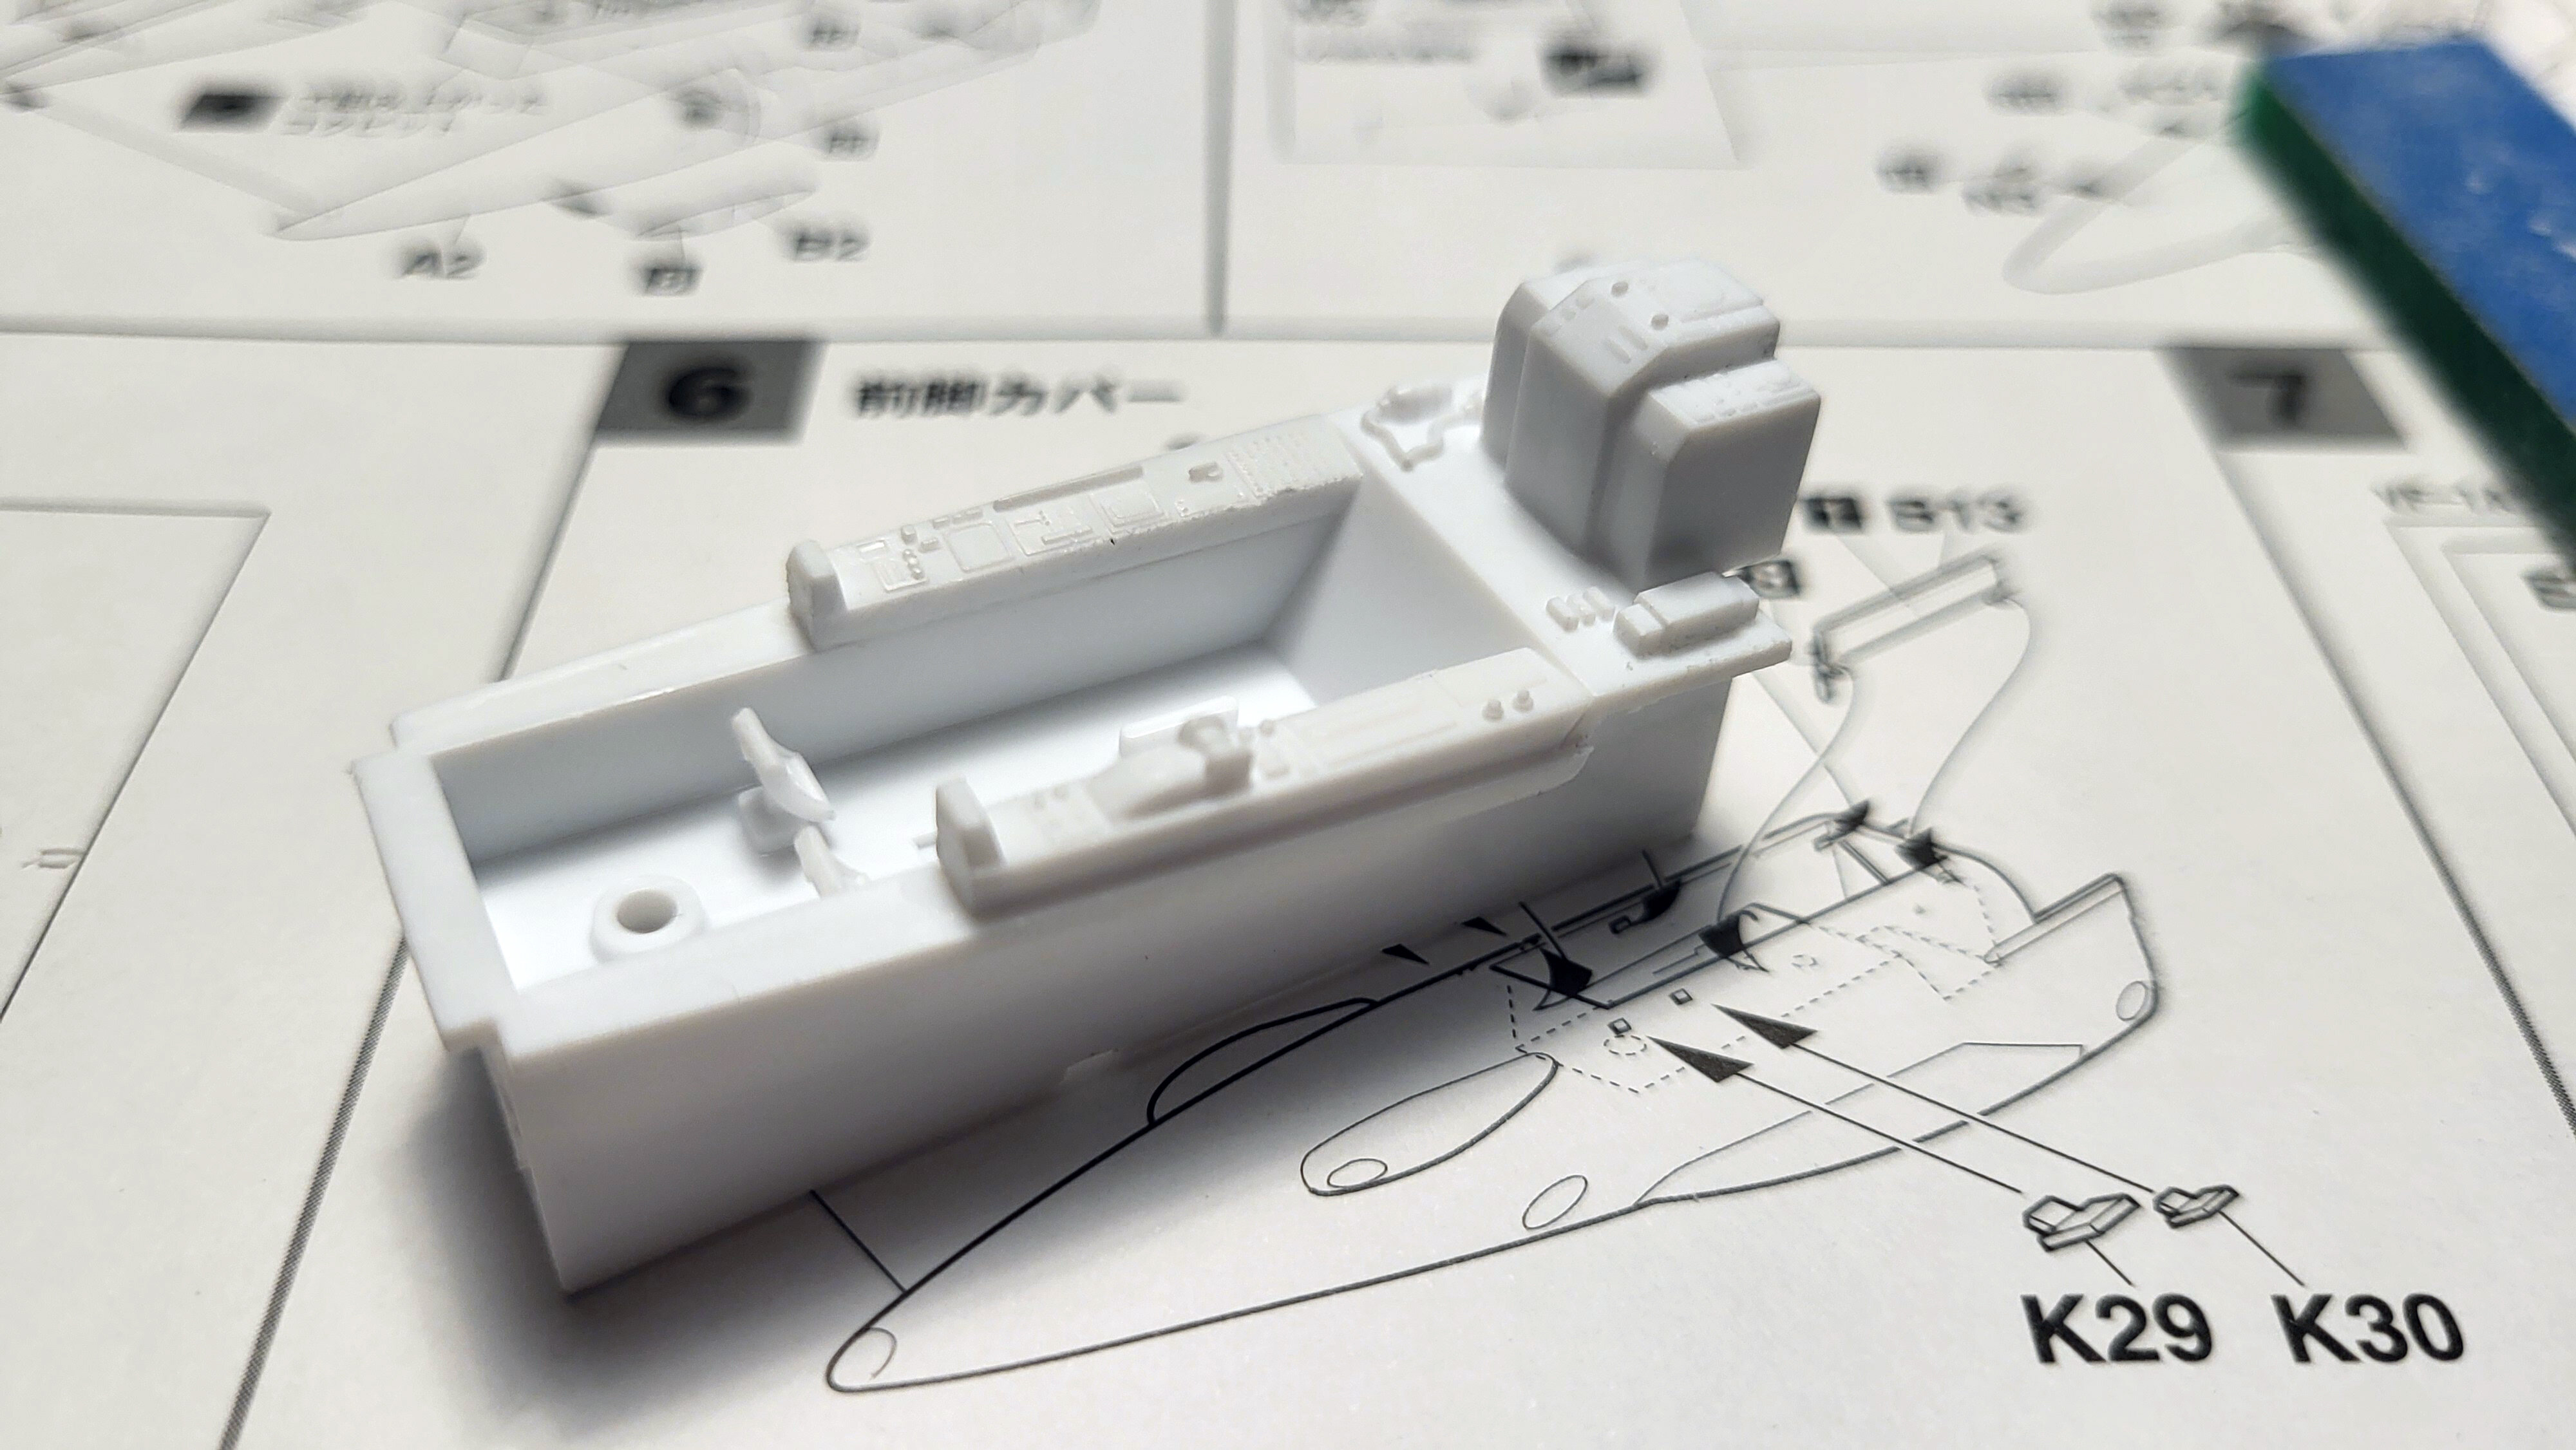
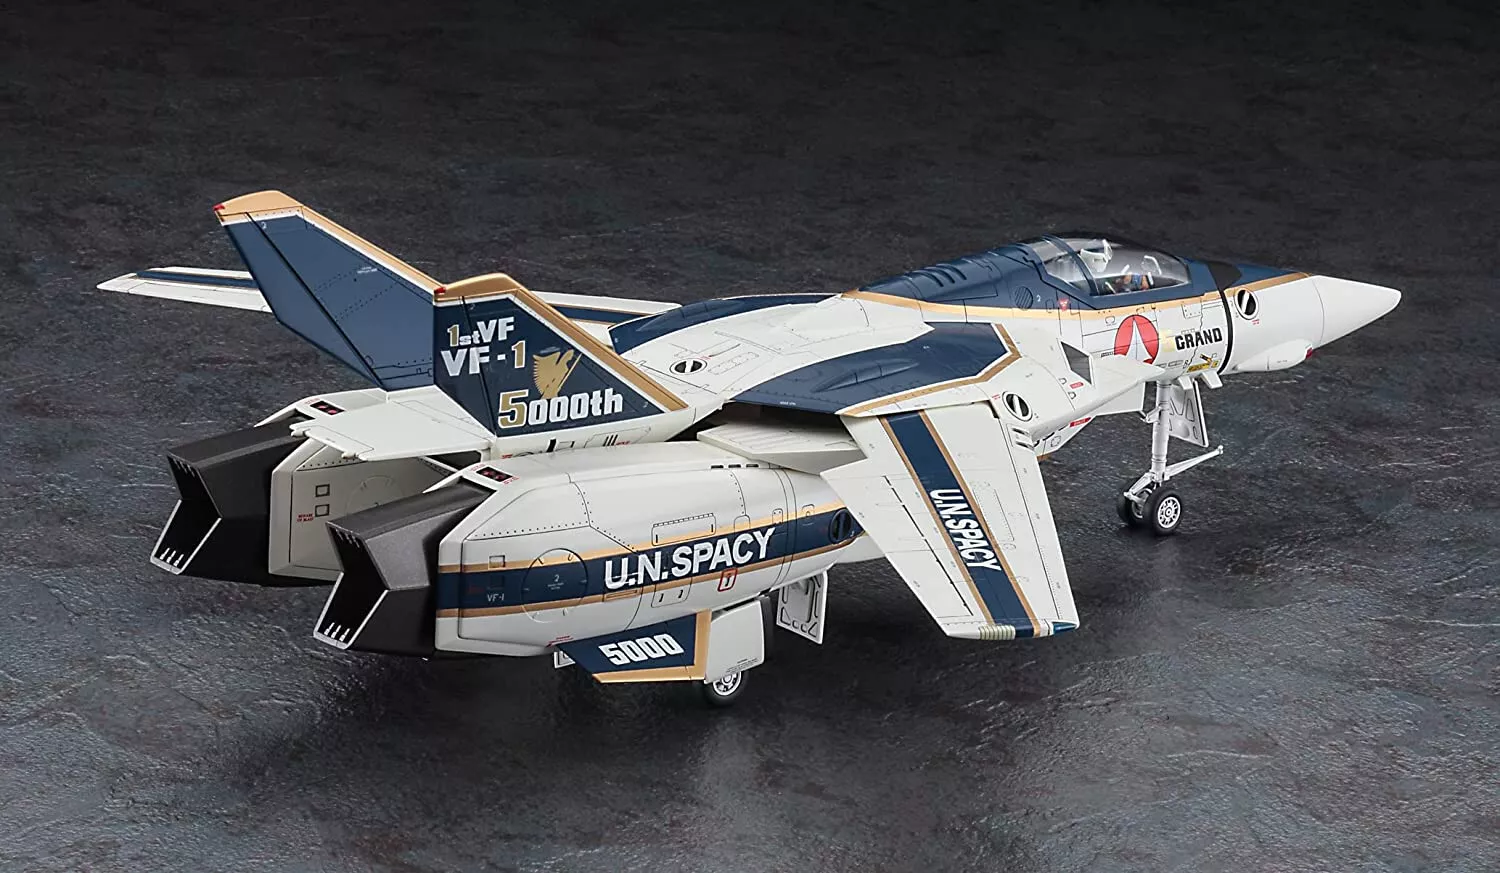
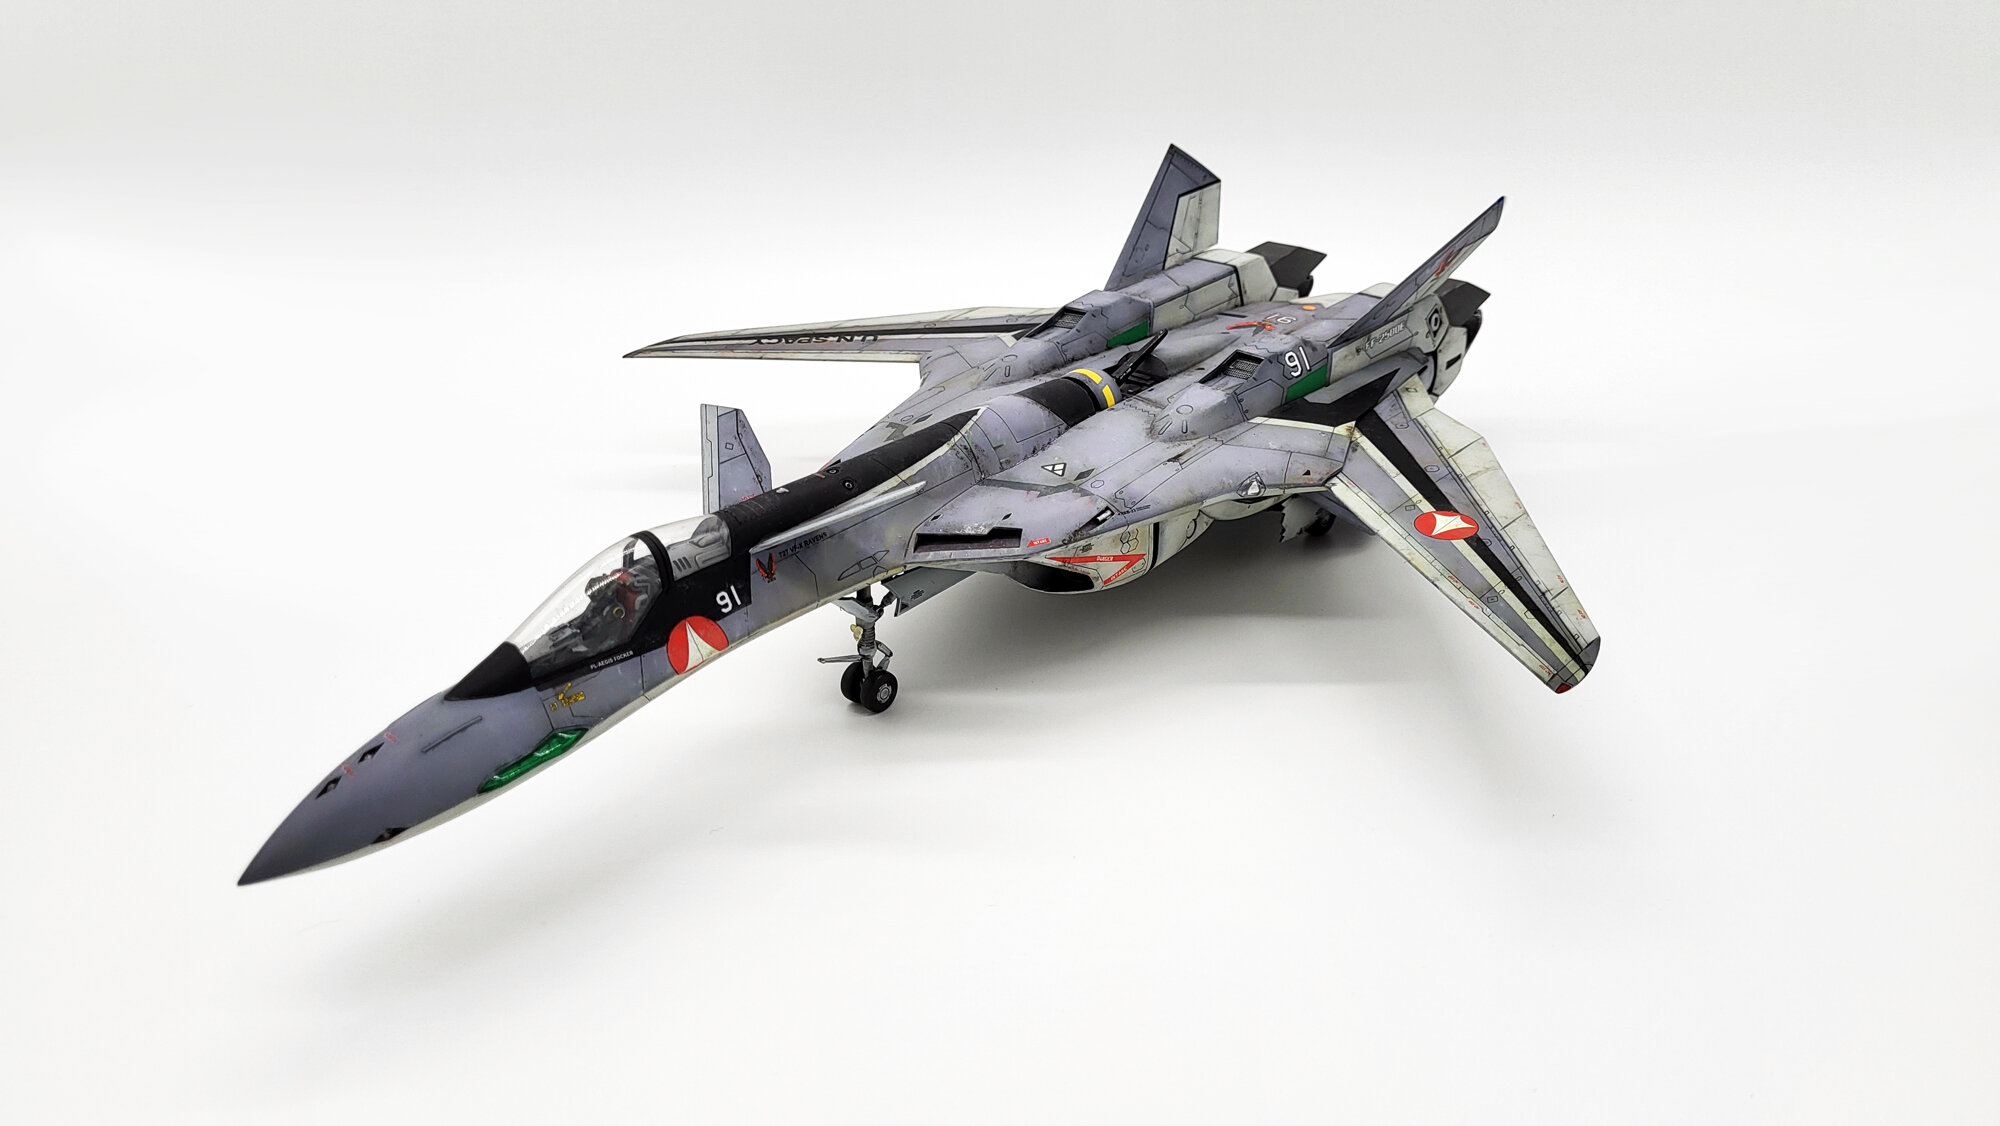
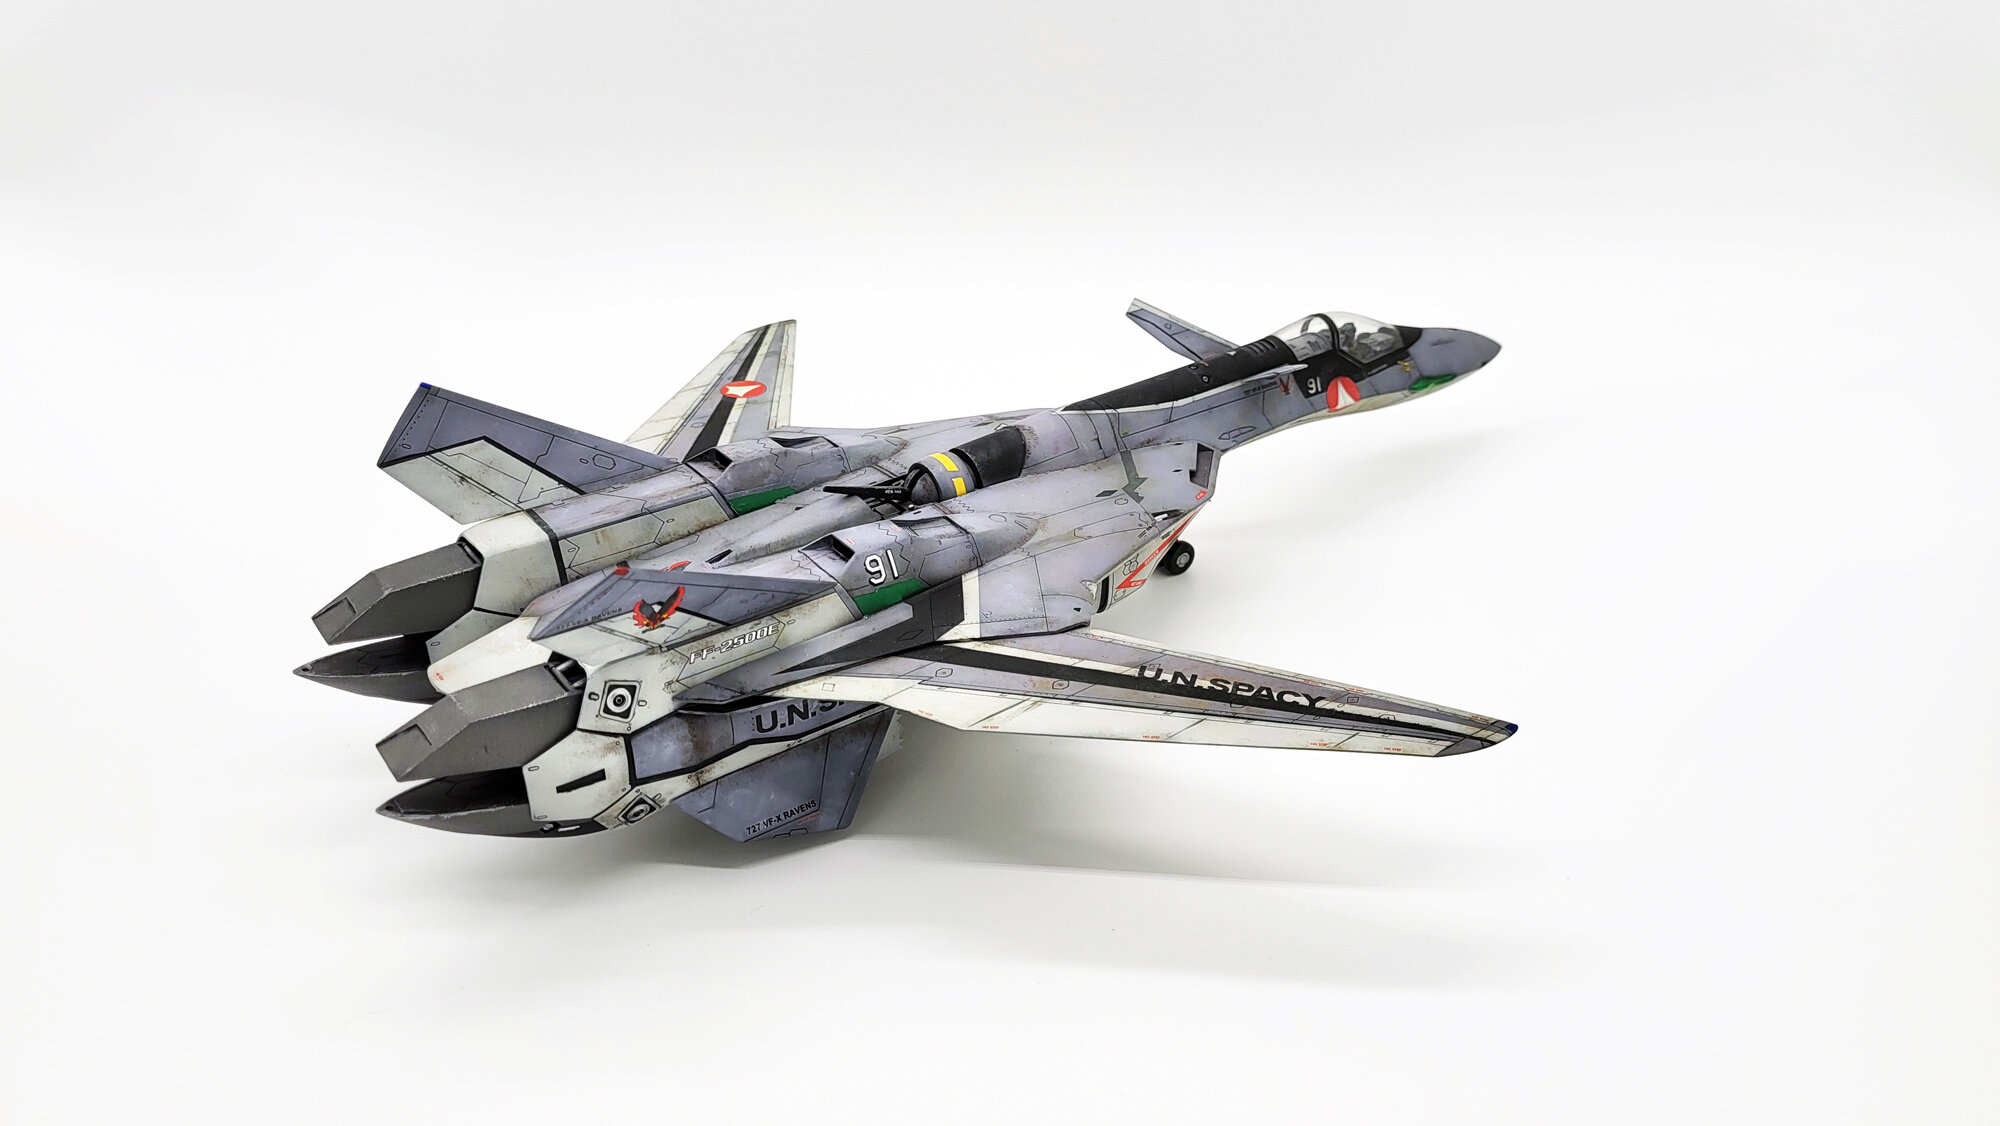
Hello, today I am starting on my VF-1A "5Grand" A special livery used to celebrate the 5000th Valkyrie to cross the production line. The livery is a 1-off and ultimately painted over before the unit was sent into combat. This 'should be' a quick mental health build in between workings of a much larger project I'm focusing on. It will also serve a a test bed for trying out a few new finish techniques in the paint department, and a few little other things along the way! Lets start with what makes run of the mill VF-1a kit special... the decals! Beautifully printed white, navy blue and gold! A very clean and striking color combo that would make even commander Golg Boddole Zer blush! It's a very modern color way than what is traditionally seen on the VF-1 Valkyrie. The larger sections of color breaking up more of the white really modernize the VF-1 and helped me appreciate it more without the fancy packs. The large color splash around the cockpit calling to a more IRL NAVY aircraft such as VF-123 Black Lions' F-14D! I adore this color combo, it's a shame the decals (mostly) won't be used! Masking hell it is, Yack! Quick look a Hidetaka Tenjin's lovely artwork for the kit. I really want to mimic the textures used in his artwork here, so a weathered... yet clean build it is! Semigloss sheen metallic weathering, a new one for me. The main reason I don't want to use the decals is the navy blue. The decals are just not the look I'm going for. In Tenjin's artwork, the blue gives off a almost candy finish with depth projecting a similar refraction as the gold does. The decals just look dead or flat, even when painted on Hasegawa's sample build. It looks okay in 1/72, but at 1/48 we can do better! That however, is still a ways away, not to get ahead of ourselves. --- Starting with the cockpit. Everything fit smoothly with minimal issues. My main focus was getting the assemblies together cleanly and glued. I really want to be able to go minimal on the filler, primers and paints as Hasegawa's nearly 10 year old kit is already not a sharply molded as I hoped. The original 1/48 VF-1a [Vermillion] was released in 2010 after all. I was a bit worried the TV version of Hikaru/Pilot wasn't going to fit well due to it's age. With a bit of trimming and finesse, I was able to get the extremities where they needed to rest in the seat and the flight-stick didn't end up too out of place. The TV version of the pilot. I think this is probably the only time I'll be building a non-DYRL pilot so I feel happy leaving him as-is. I think the only adjustments I'll be making is adding some definition to his arms/legs and fabricating a harness. I'm unsure if I'll go for the traditional pilot colors or try to spice it up to match the 5grand livery! For the front controls console, I found it easiest to build it on the runner. I've pretty much left the cockpit in 3 assemblies. The pilot/seat, the cockpit tub, and the front display. This is enough to allow me to detail it without having too many loose parts. With a closed cockpit build, it doesn't need to be 10/10 anyways. Unsure how I'll approach the cockpit going forward. I do have a set of Hase's photo etch, but do still intend to keep them for the Super/Strike build whenever I get to it. I think I may take a simpler approach and just rely on detail painting and a little bit of freehand scratch-building modification to make it a bit more interesting. I've yet to pull up references from the 1/20 kits or artwork so we'll see. Don't touch that dial!
-
They are back!?!? Everything instock too! https://jasmodel.shop/collections/photo-etched-parts-for-assemble-model
-
Red, blue, or black? Money on red!
-
You gonna have to buy all that detail from 3rd parties via resin, etch or prints! lol But, man would it build like a dream. If your going for detail in 1/48 nobody is topping Minibase their recent Flankers are a step above! The only Fujimi kit I've had the pleasure was the Datsun Z/S30 in the mid 2000's. I don't have any fond memories of it as it was quite a curve ball for a beginner snapfit gunpla builder 19 years ago... even more of a suprise finding out it was just a repackage of their older 90's kit with cartograph decals!
-
An amazon led light set (dimming and color temp selectable.) I glued magnet strips to the top of the light box. And to the lighs to be able to move them in the box. Finnhomy plastic white, grey, warm white, and black backgrounds and their old 20x20 reflective and collapsing light box. Camera is just my phone. 😆 Now to the REAL question. VF-1J 5Grand or VF-1A Strike Valkyrie next?
-
If you did the black primer/base, you may just score the lines with a knife and able to remove paint instead of a wash.
-
Let there be light(box)
-
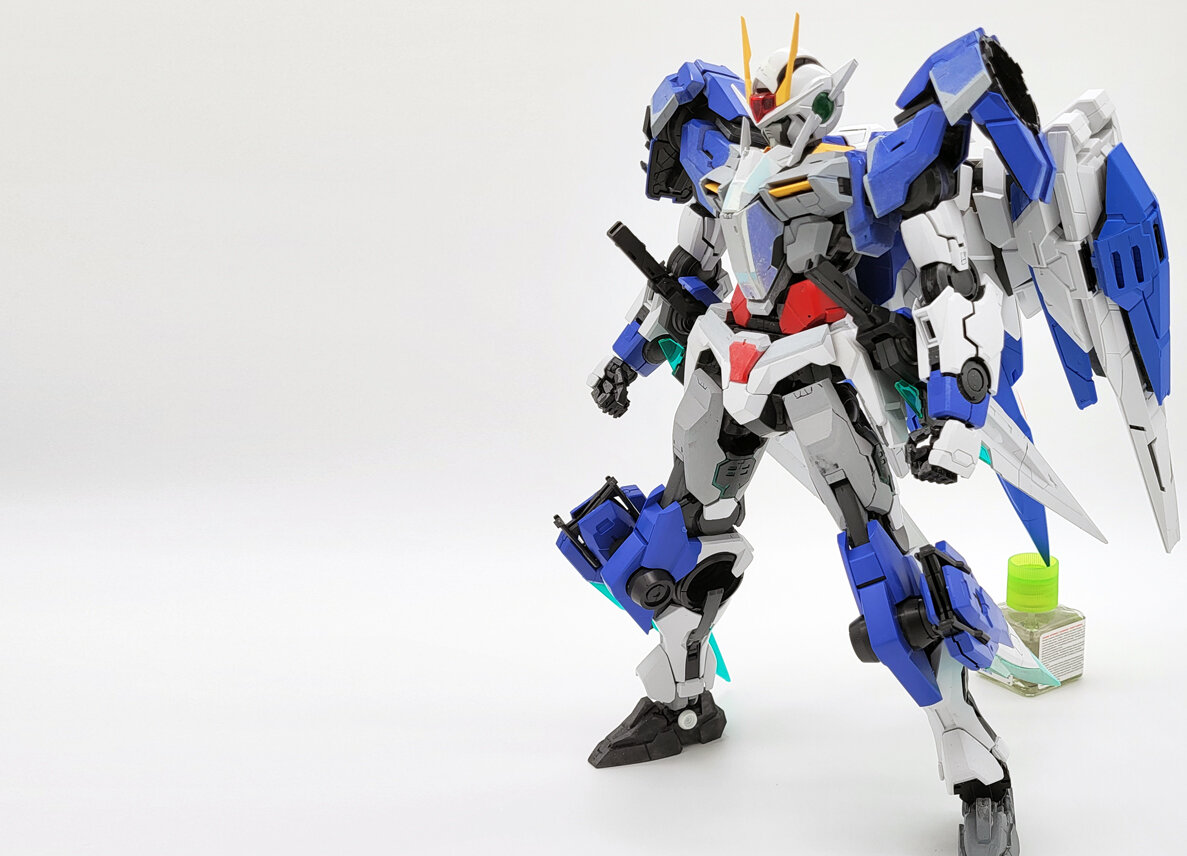
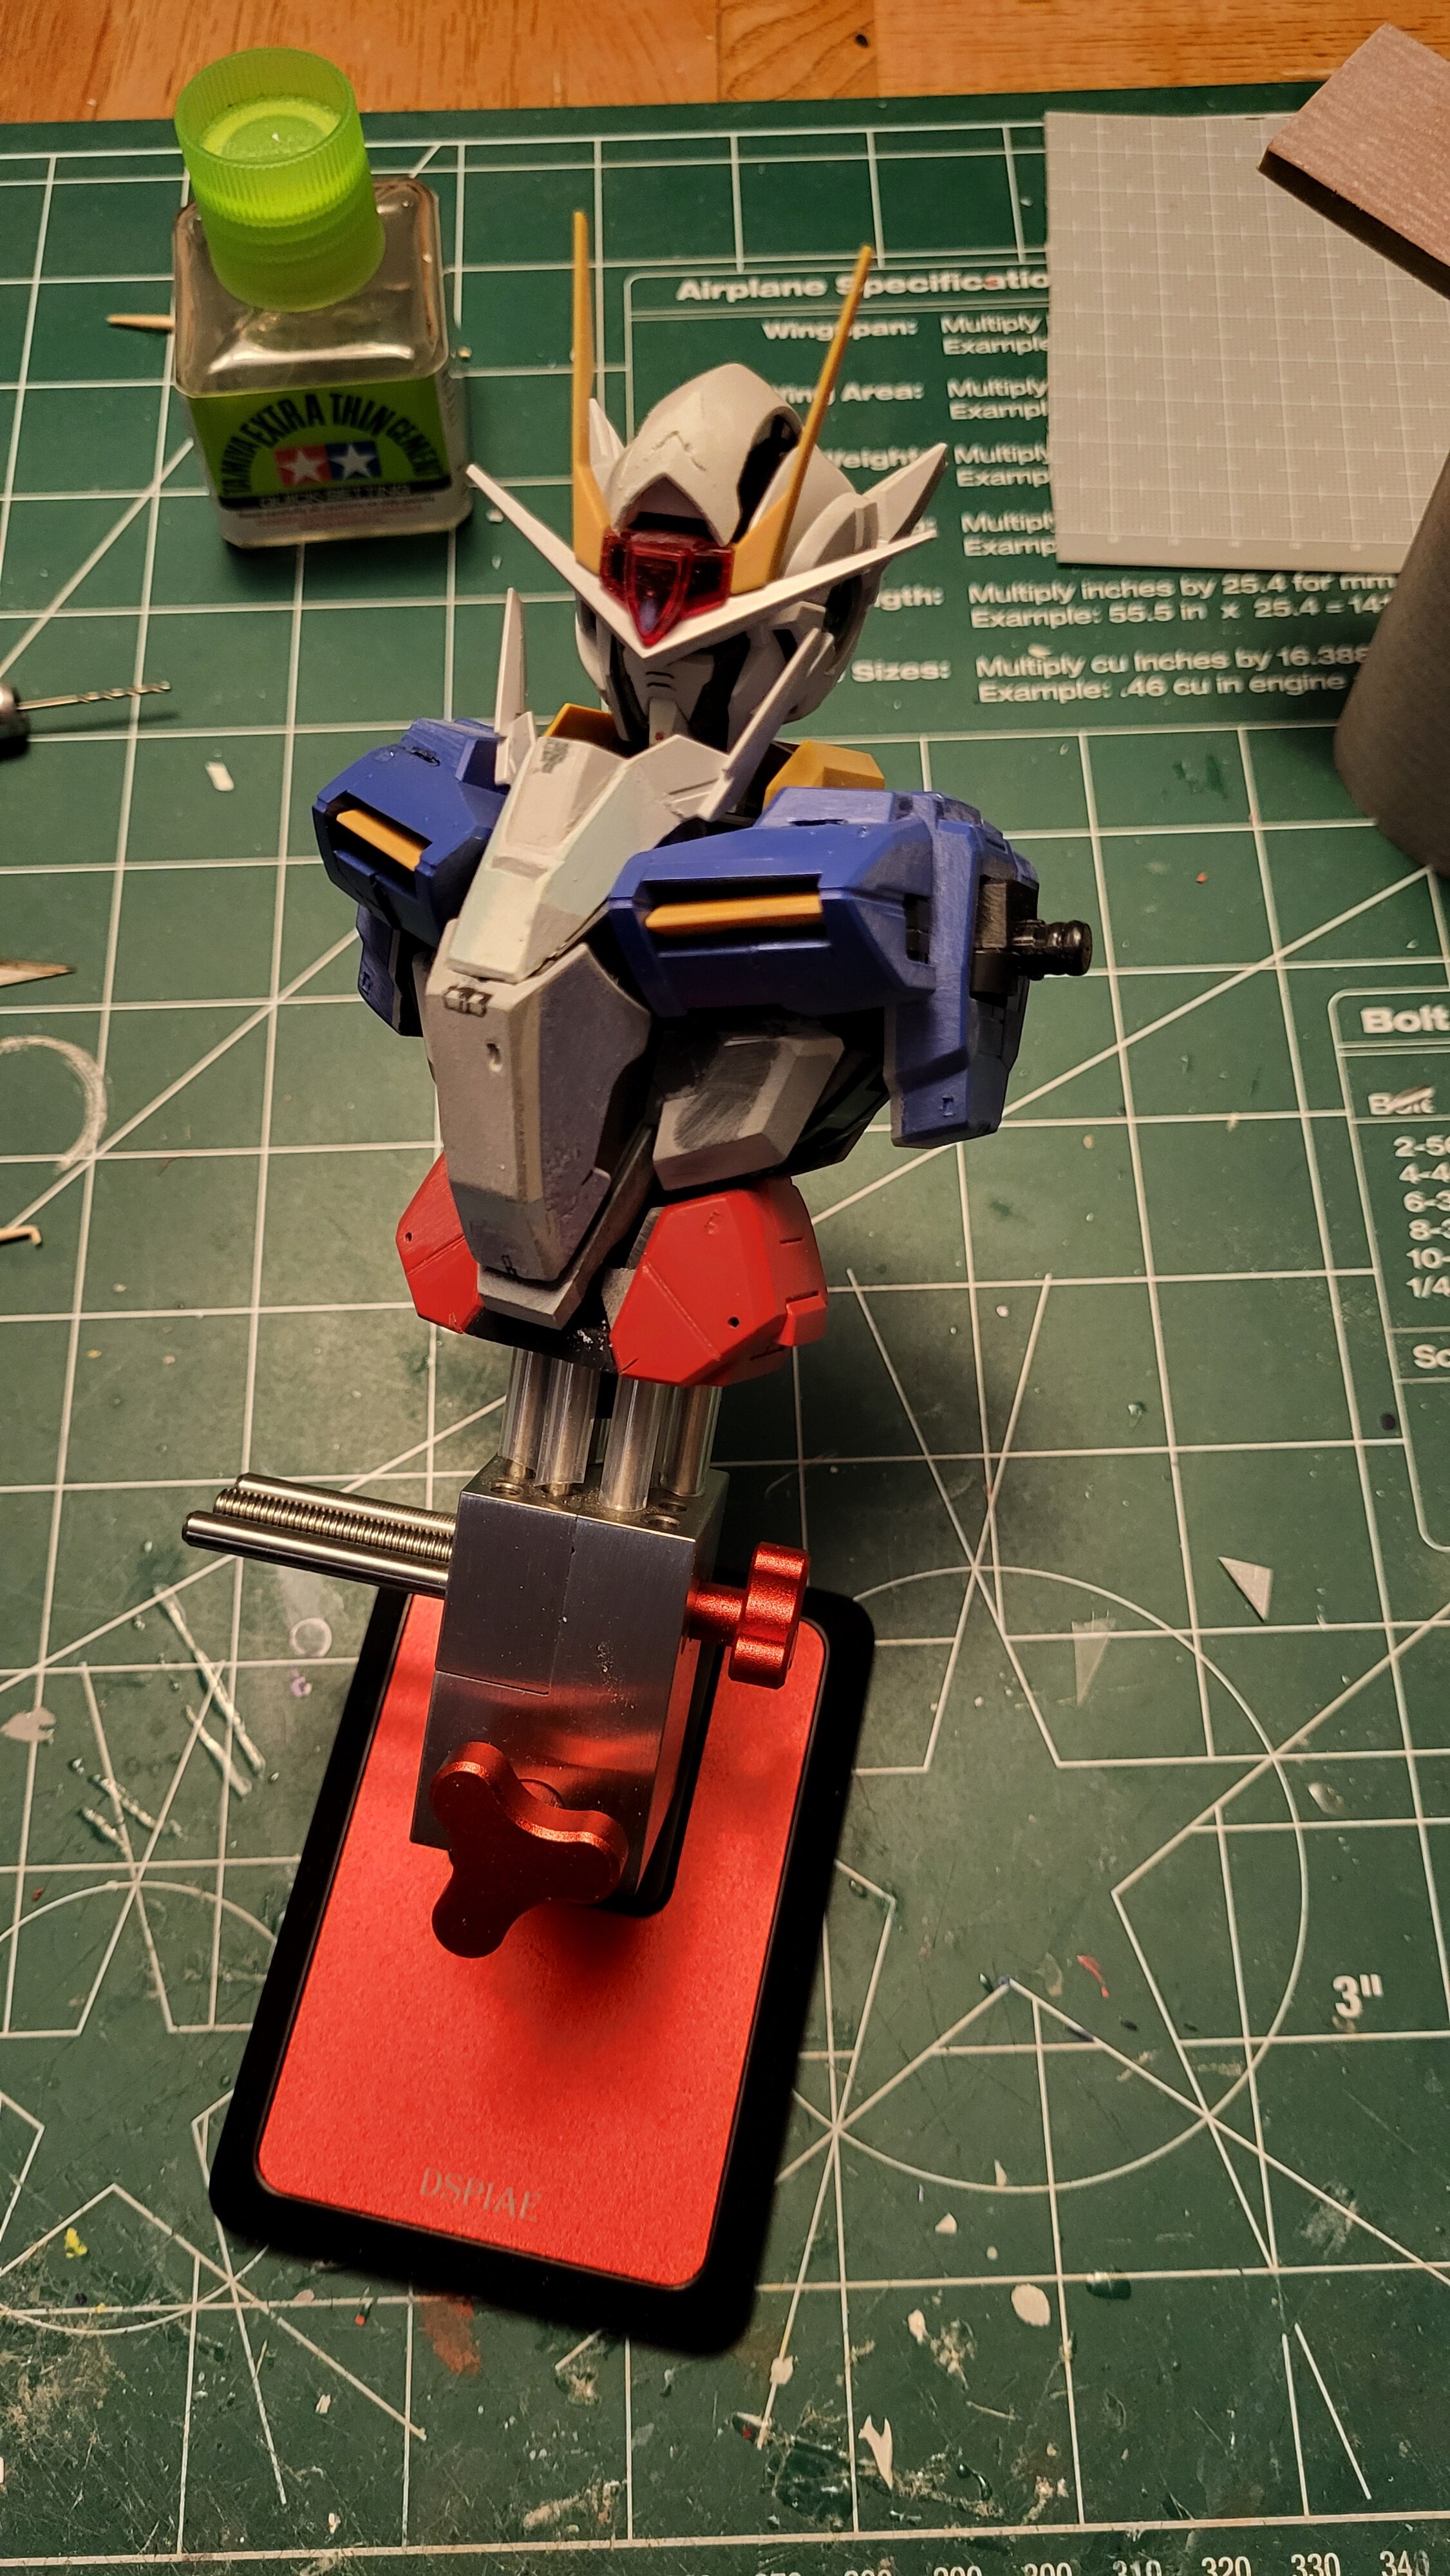
@Thom Use some canopy glue like Ammo Ultra to fill the gap between the halves? Got the light box refreshed for the first time in 12 years. All new lights and backdrops. Tried it out on my PG Double O Gundam. Needs a bit more light balancing and possibly another led strip (down low in the front to kill the shadows,) but pretty happy. Will leave it up this weekend and try to snap a few pics of last years finished builds before it goes back into storage.
-
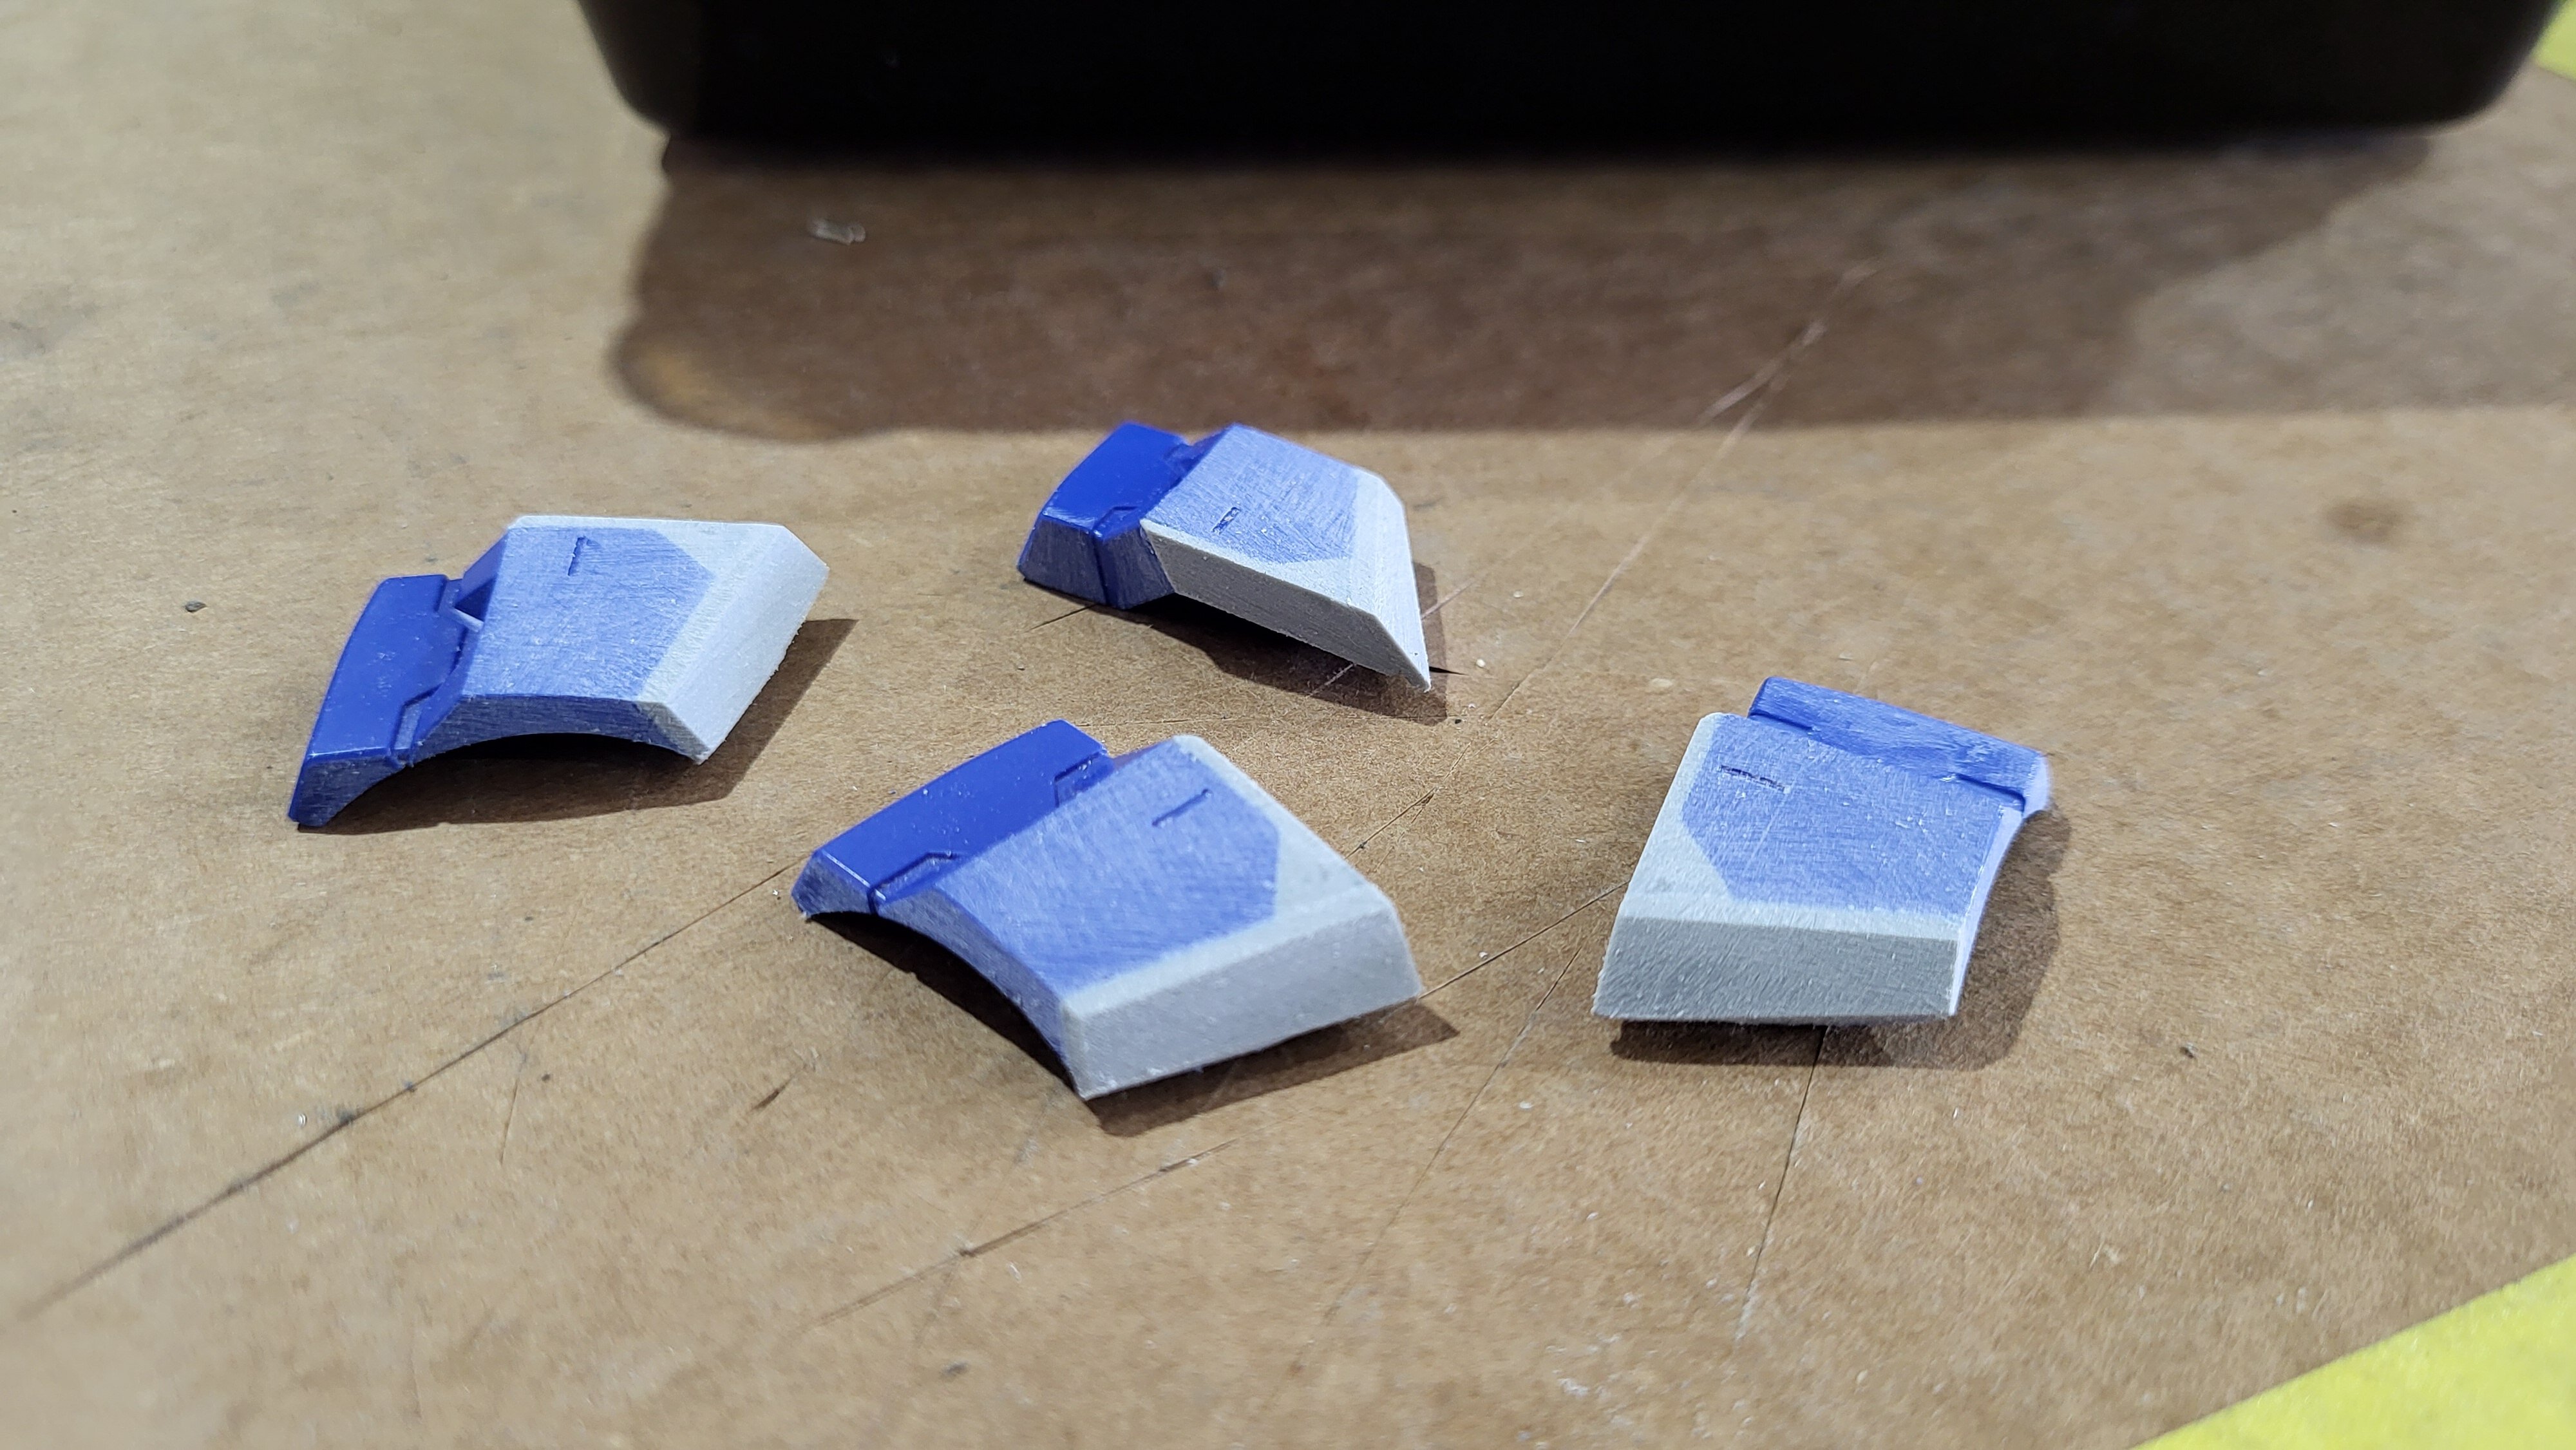
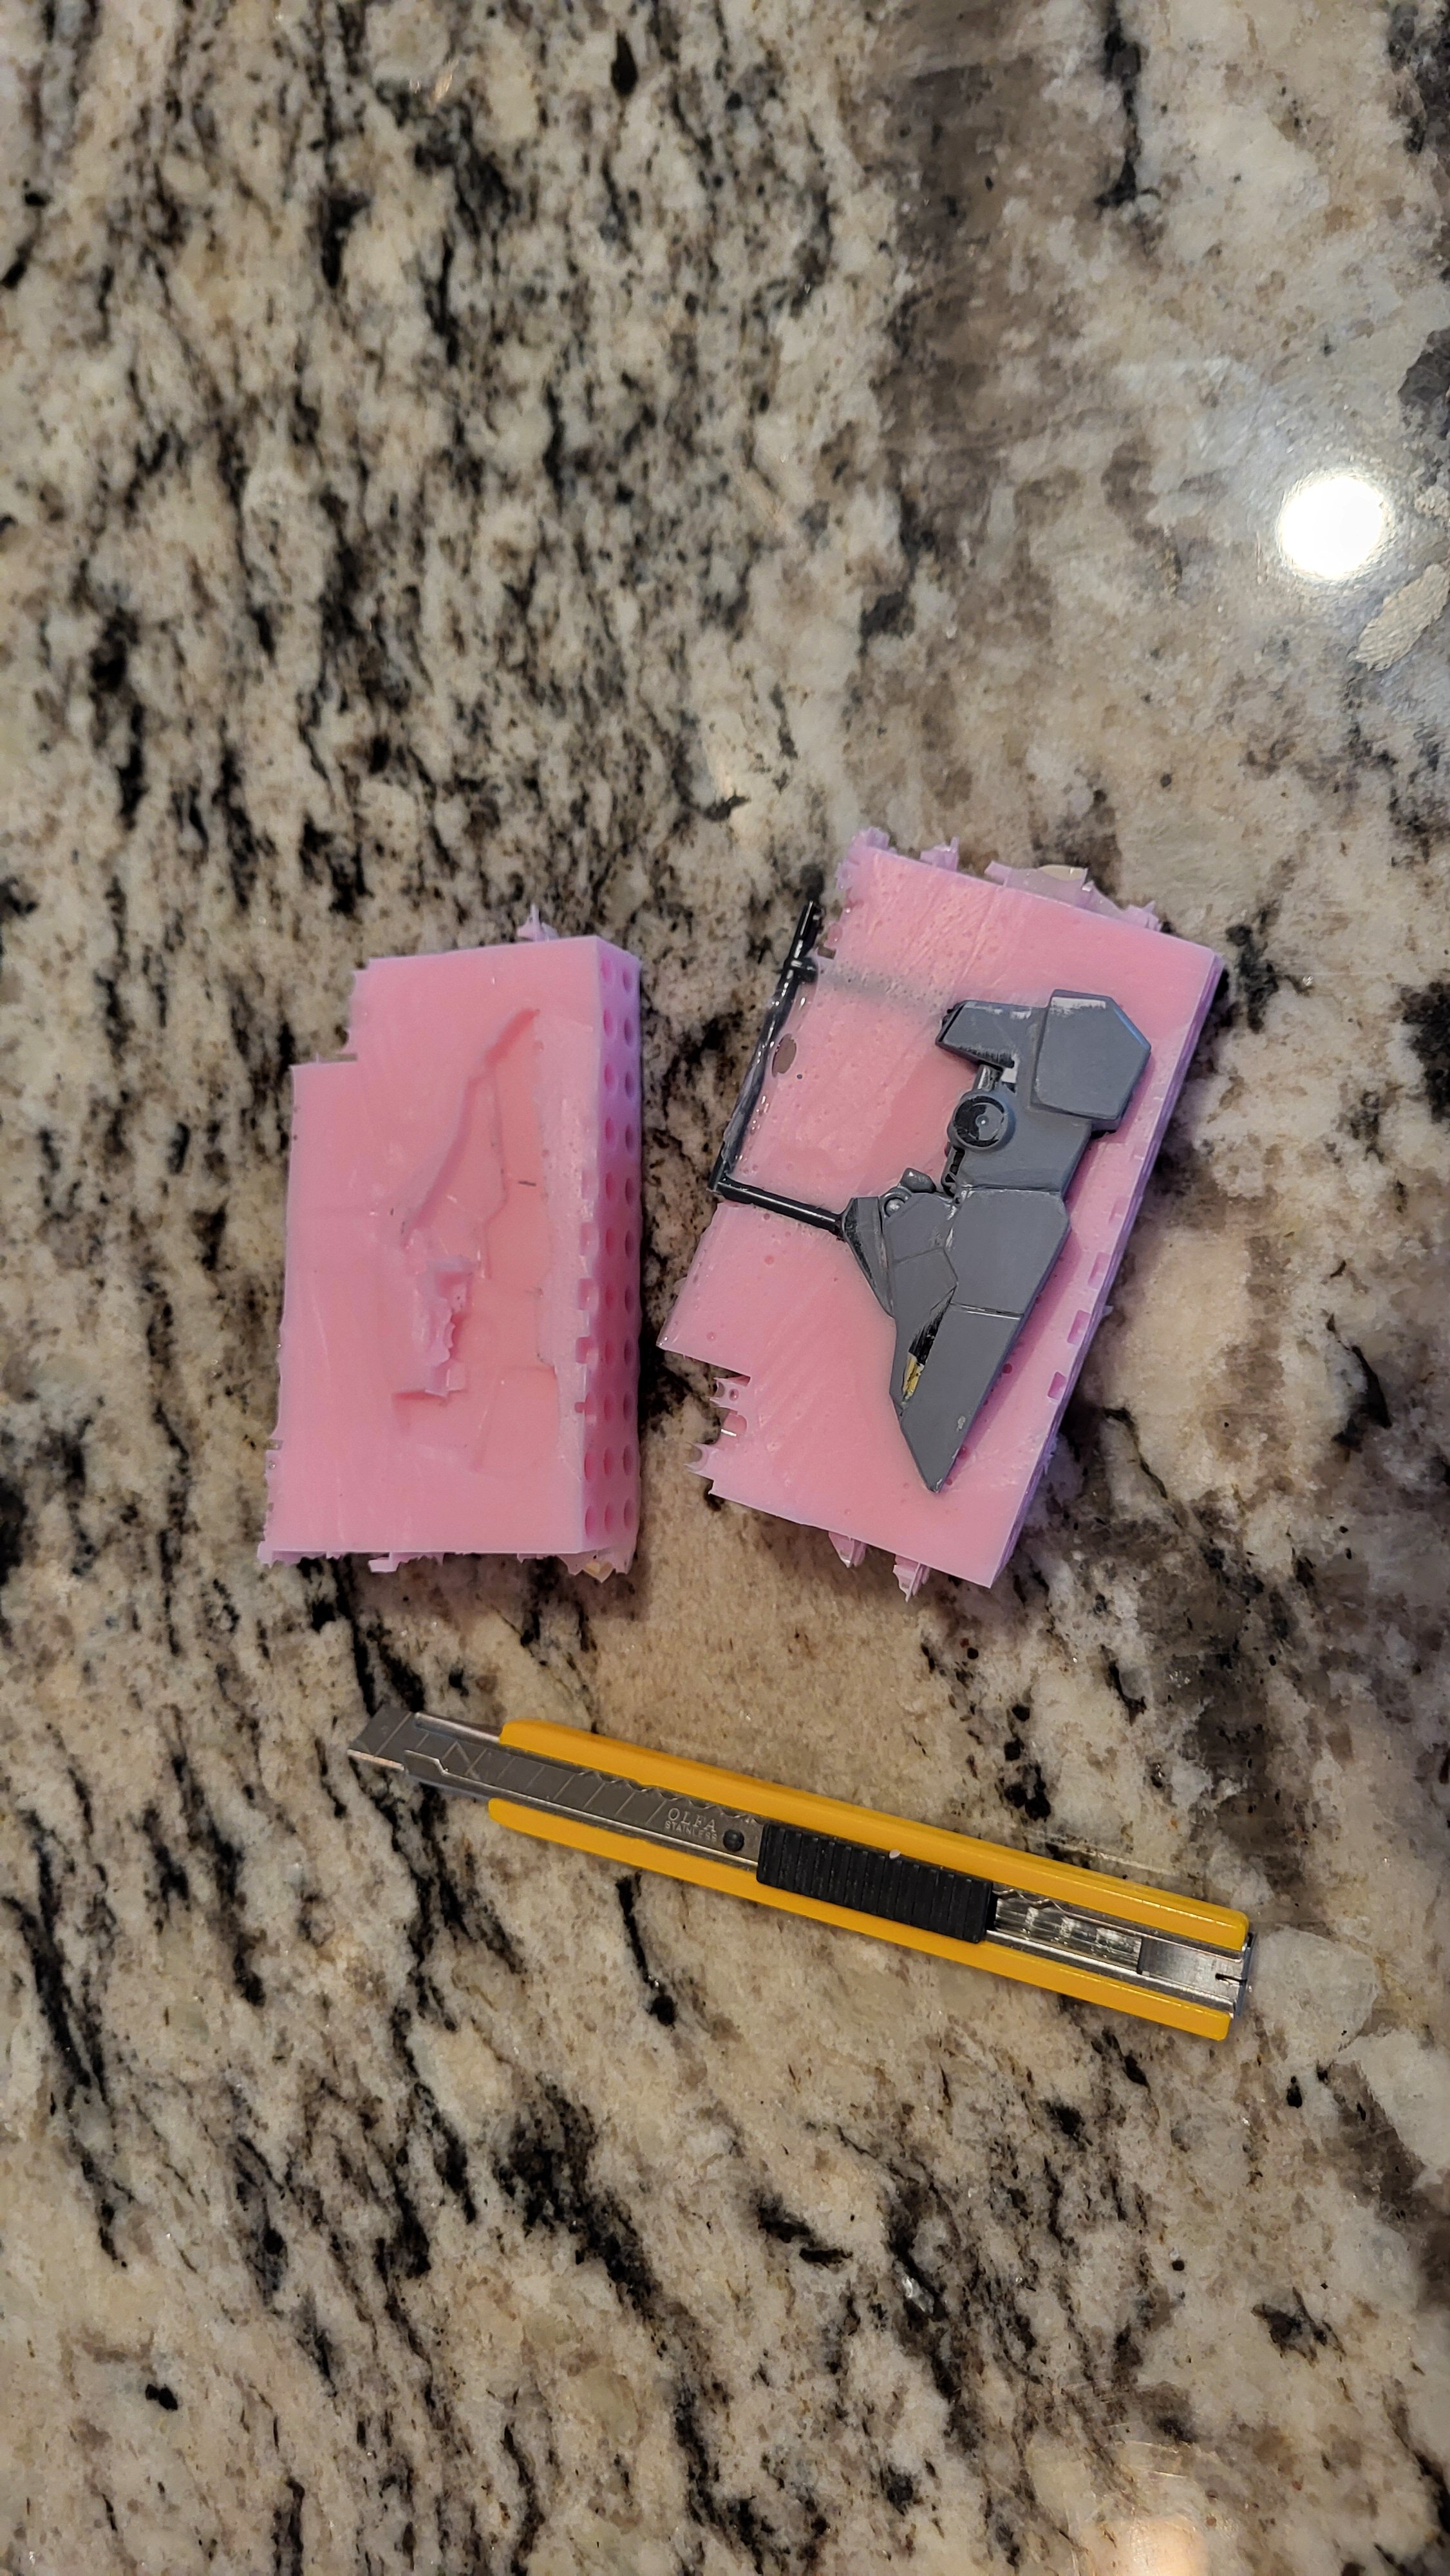
Remodeling, recasting and remodeling again. Ahhhhhhh
-
-
The 'Hey look at this really cool model build I saw' post
Rock replied to Shawn's topic in Model kits
-
We aim to be perfect.
-
-see below- Uschi van der Rosten's "Trinity Splatter 2" is by far the best set I've come across. Their site has plenty of companies to buy them from, or just go to good old eBay. A few others make and sell them as "weathering airbrush stencils." AK is popular alternative. I just really like the brass one for durability/reusability and since you have to soak them in thinner to clean (no scrubbing as they are essentially a big photo etch piece. https://www.uschivdr.com/shopping-categories/shop-photo-etch/
-
If yours came with 3, cut one in half and on the other remove the thick border edge. Or just bend one into a 90° angle. That way you can get in closer. Remember you don't want perfect patterns. Imperfect is more natural as counter intuitive as that sounds. A bit of trial and error, keep going!
