johnybgood18
-
Posts
90 -
Joined
-
Last visited


johnybgood18's Achievements
ARMD Deck Swabber (2/15)
0
Reputation
-
Too bad the link isn't working!!! Anyone has other(s) pic(s) of this baby? Cheers
-
Hi guys, been away a while with other projects but I'm back to modelling with a new workbench (which will give me more room to work!), and the head full of projects! As the title says, I'd like to know if any of you have seen or know if these 2 planes could be fielded without the fastpacks. I'm currently working on a VE-1 (among other things). It appeared to me that they would look very cool in atmospheric flight. As far as the kits are concerned, it should be very easy to build them without the FP. If so, well, I better get my hands on 1 more of each so I may work on that eventually! Cheers, Chris
-
A quick question... where can we download this baby??? I'd love to be able to fly it! Thanks in advance!
-
1/1 Scale Vf (my Greatest Masterpiece Yet...)
johnybgood18 replied to wm cheng's topic in The Workshop!
Haha... I was wondering if you just gone crazy or... Well... congrats Mr Cheng! Chris :-) -
Just thought about something else... painting the inside with a flat clear coat to try and keep the translucent finish I'd like to keep! Comments, suggestions are welcome, as usual... C :-)
-
Thanks guys for all your inputs. I personnally never thought about doing the guts... too small and not that much space inside to do that. As far as the glue in concerned, I think wmchen has good idea there... mixed with a little testor liquid cement, it might do the trick and no putty needed... Now, the only problem would be in trying to keep the paint inside the plastic parts!!! hmmm... Oh well... I guess it'll be a study in trial and error! Thanks all... I'll post pics as soon as I start this project and have any to post! C
-
LOL... yeah, I thought about just building it up and paint over it... but... I think it might be different, why not try to make something interesting out of it? One thing I know about CA is the white film they leave over a surface... kinda annoying! I didn't think about epoxy tho.. I'll give it some thoughts! Or maybe, just pure resin? Well... later... C
-
Hi guys, I just received a VF-1S, clear green version. In all honesty, the reason I bought this kit was for the spedial edition decal sheet! But... Now that I have the kit, I was wondering what to do with it! I know clear plastic is a b*h to work with... I'm not a newbie, as some of you have seen what I can do, but clear plastic... never ever did a full kit! Here is what I thought of doing... I would paint the interior of all part metallic silver (gun metal?). I would also like to find a clear filler... if such a thing exists! I thought about using CA glue as I know it has some gap filling abilities and can be clear too... The sanded joints would be polished and coated with Future, just like a canopy. I would decal the kit with regular markings (no custom here!) and do a black wash for the panle lines. And, of course, the mandatory Future clear coat to top all that beautiful work! Impressions anyone? Ideas? Comments? I'm waiting... :-) Thanks again! C
-
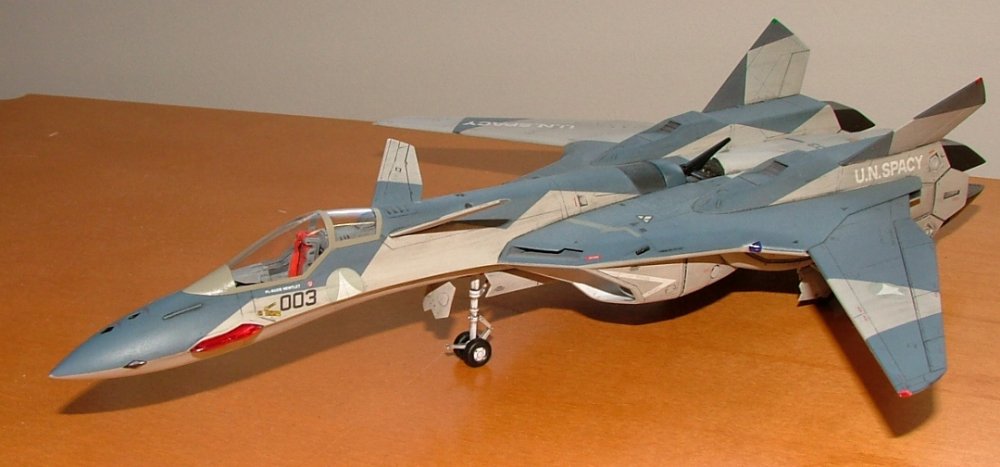
Hehe... forever it seems! A lot of masking on this one though which, with all the curves on it, makes it even longer to prepare for painting. I'm a slow builder too and I work on different projects at the same time, keeps me from being stuck in one step without anything else to do. Also, this is my 3rd airplane kit, so... add the few learning mistakes that one can make here and there... and I would say about 40 hours to build and paint. Weathering is to come... :-)
-
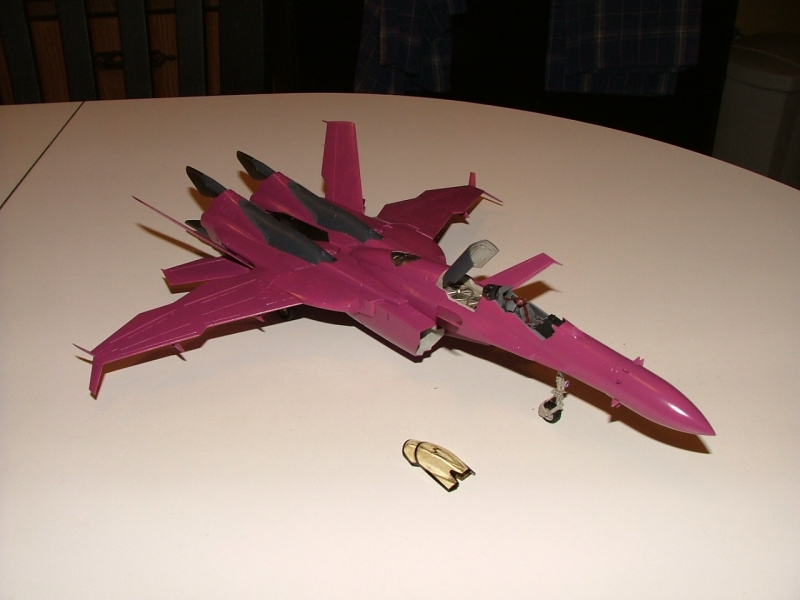
Hehe... you should pick up at least 2! They are great and the building is nice too! Pink??? :-) Definately!
-
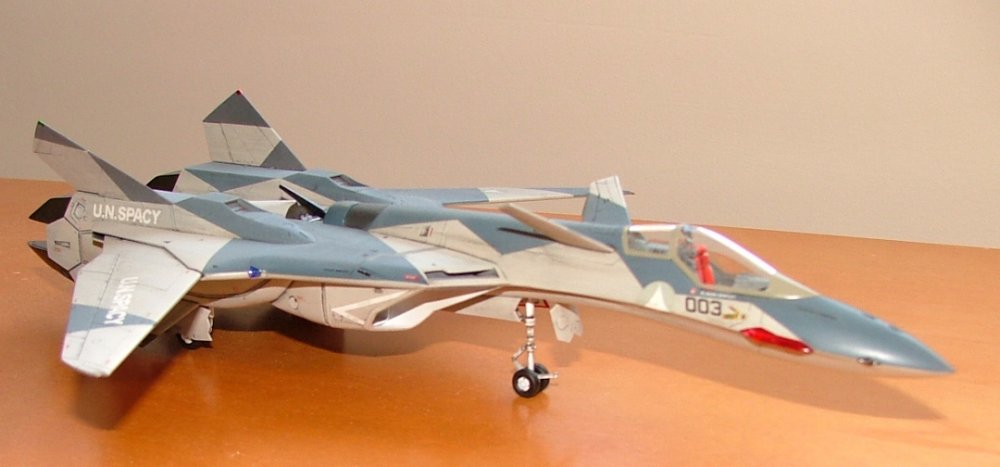
Thanks for your comment Wicked Ace and here are some more!


-
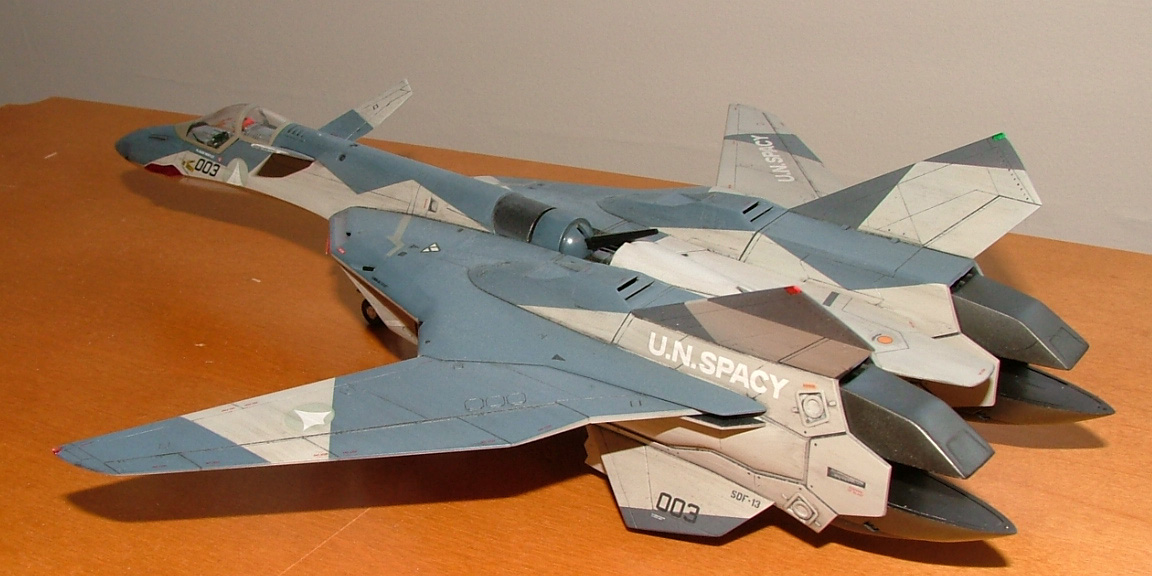
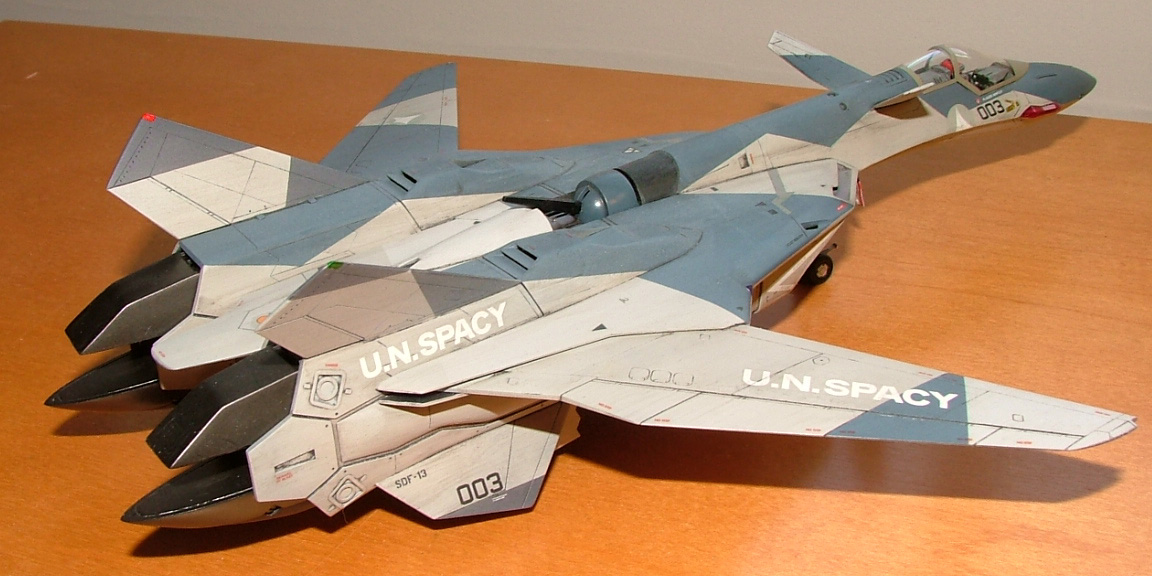
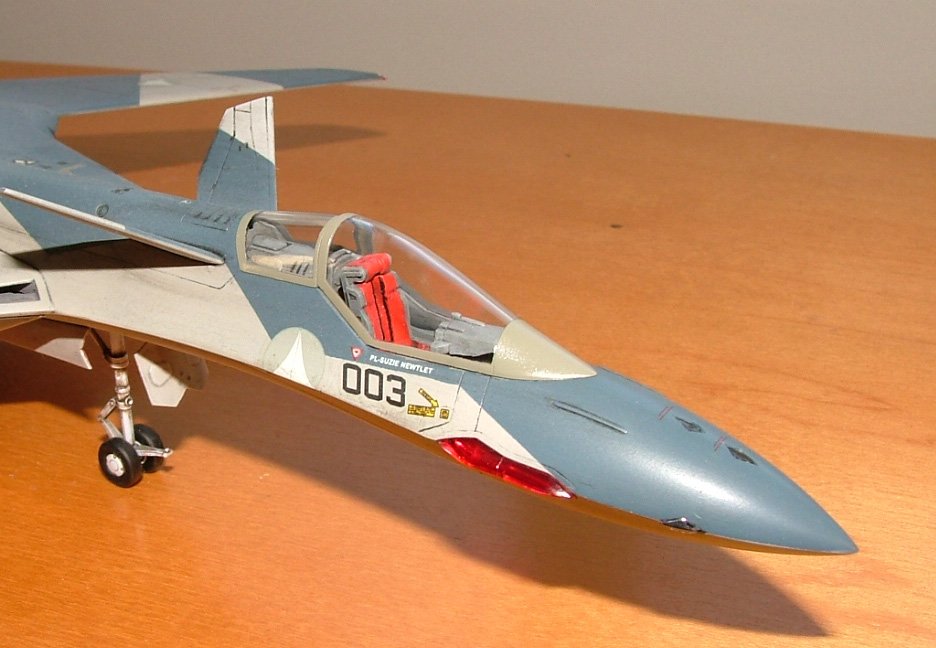
Just to recap! Was a frustrating projects... but I have gathered a lot of useful info, thanks to you all! This will keep me going for the next ones... and yes there will be more, and yes, it was a lot of fun! ;-) I think that these kits are absolutely fabulous compared to what "was"! To Ido: I'm sorry man if I was unable to focus on the weathering of the plane. I saw what you did and well, you don't need any advice! :-) Your VF-1A is amazing! To Fortress_Maximus: 1/72nd scale from Hasegawa. I'd like to thank all of you who have given me some advice, tips and shared their experiences with me, it helped me a lot! As I said, it was my second project and you guys helped me more than I could ever have hoped! A BIG thank you to all of you! :-) Chris P.S.: I will take some more pictures from different angle tomorrow.
-
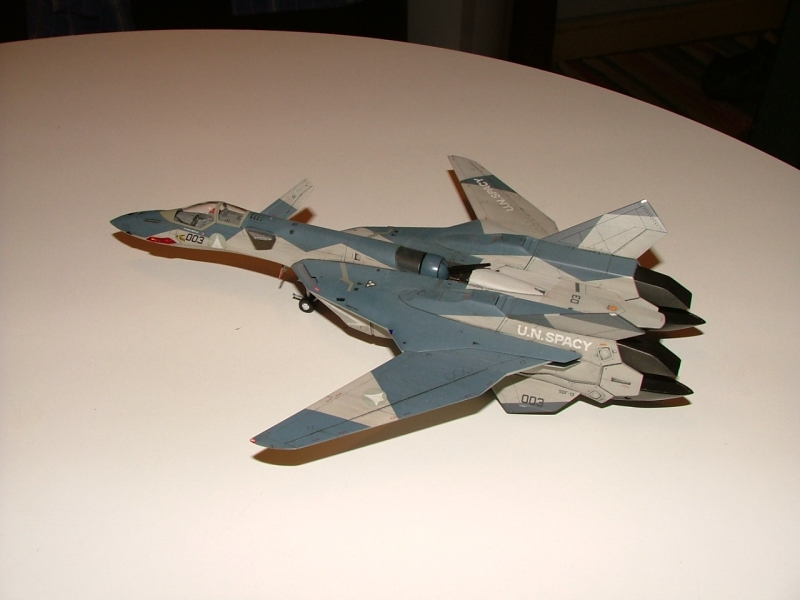
Hi everyone, I started this one a while ago. The paint is now drying to receive its coat of Future for the weathering phase and after that, decalling! I'm trying this for the first time, weathering then decals. I usually do the decals first then the wash as I want my decals to be weathered as well. I'll let it sit for about 2 weeks because some of you will remember the problems I hade with my paint cracking on me VF -19A. I don't want that to happen on this on because it won't be that easy to fix this time! Oh, and one more thing... God is this thing HUGE!!! I never thought it would be that big! Sorry about the bad quality of the pic, was taken at night but I'll fix this soon I hope! See ya and as usual, comments, tips, sarcasms, etc are all welcome! ;-)

-
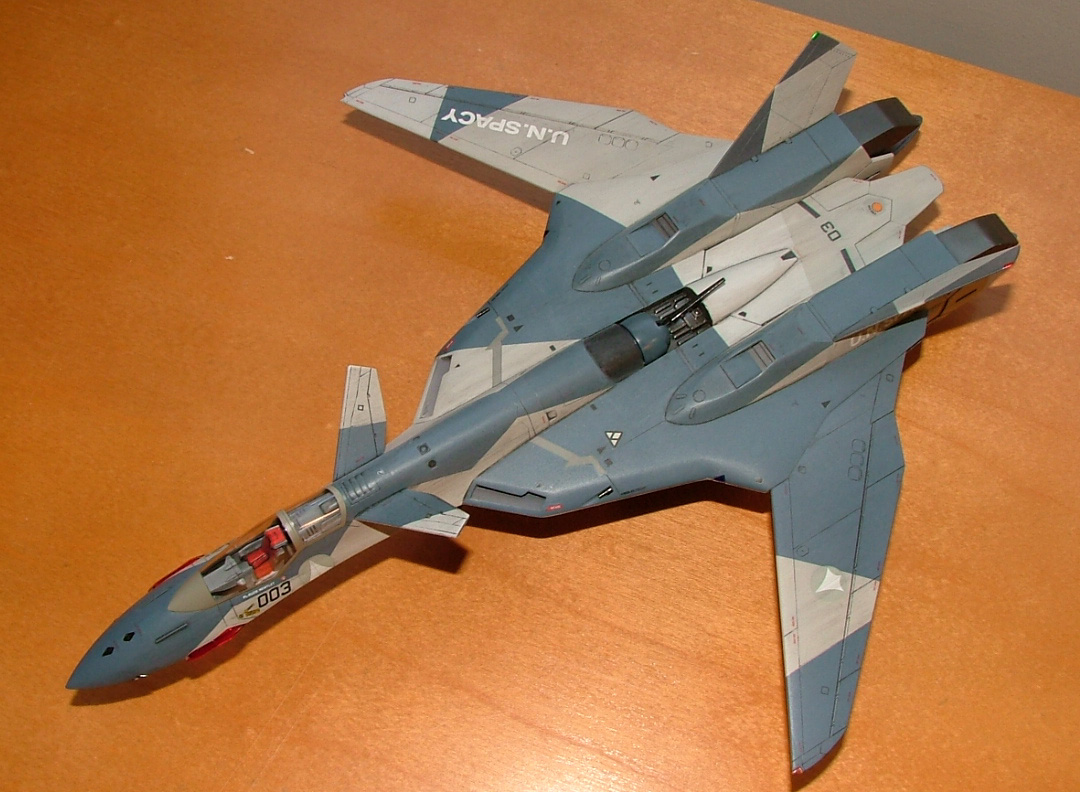
Here it is, finally... my Hasegawa VF-19A with Fenris scheme! I hope you like it and comments are welcomed! :-)

-
Why? Every time I try to post one, I end up with a blank, white screen and my post disappear into nothingness!!!