
![]()
13th March 2006
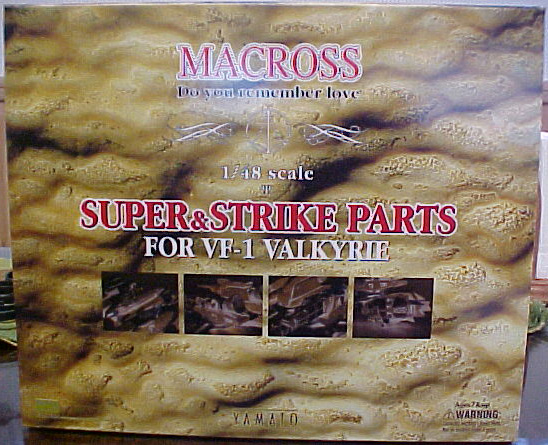
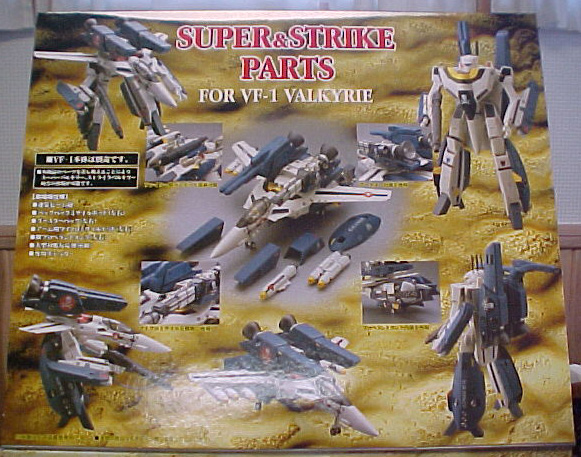
Yamato 1/48 Super & Strike Parts for VF-1 Valkyrie
(Reviewed by Prometheum5)
Click
on thumbnails to enlarge |
||
 |
 |
 |
 |
 |
 |
Focker
VF-1S with FAST Pack Parts |
||
Dimensions:
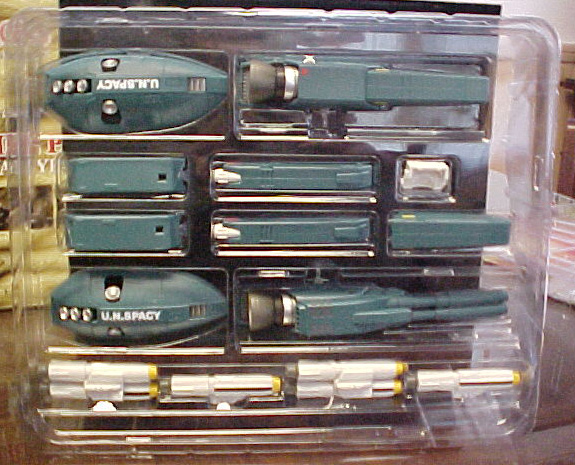
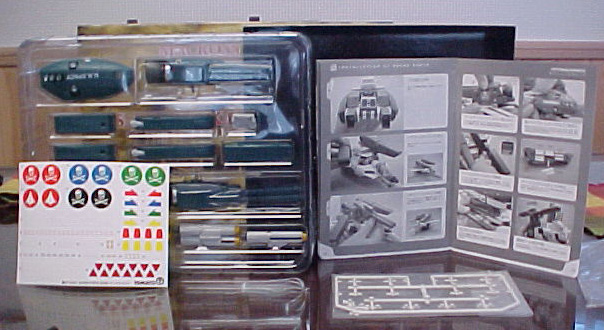
Box Contents:
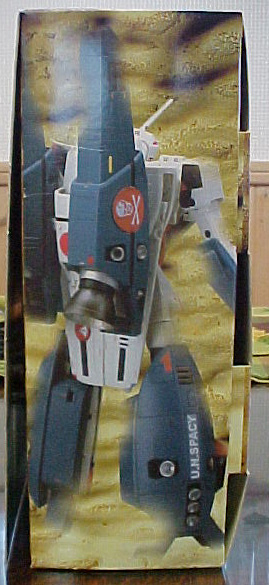
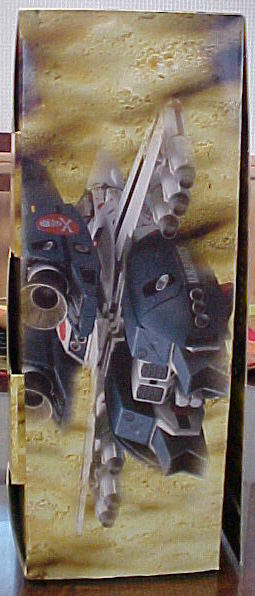
Toy in box:
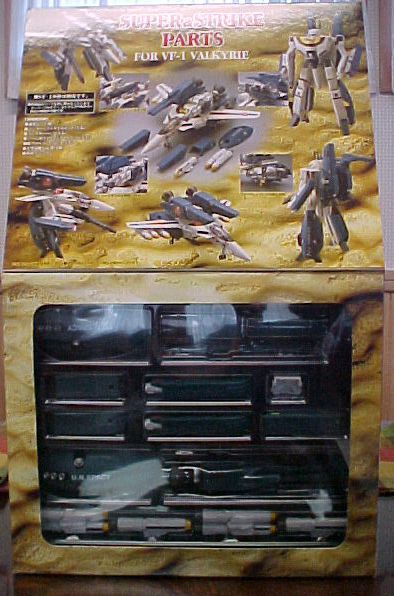
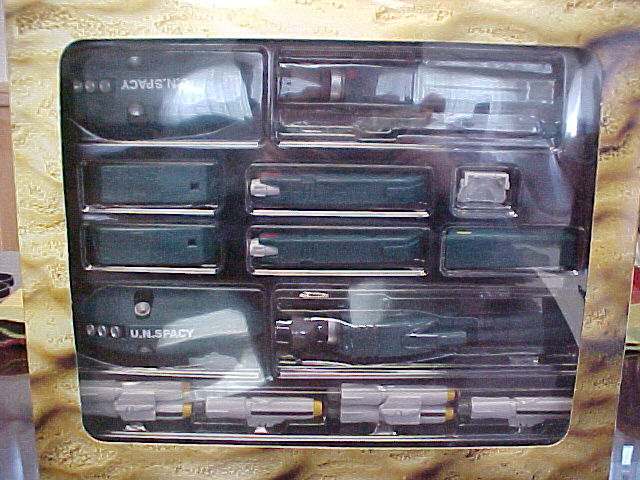
In the box, the Strike Armor displays very nicely. The front panel flips up
to reveal the clear plastic blister with all of the armor parts displayed with
the leg FAST pack armor removed. Getting the parts out of the plastic tray is
not a problem at all.... much better than a lot of other toys, really. Once
the parts are out, all of the parts assemble real easily and fit together snugly
and securely.
The one thing to mind is that the micro missiles come on a plastic sprue, and will have to be removed with some clippers and maybe cleaned up a little with a knife or sandpaper. The only fit problems are that missile pylons could be tighter mounting on the booster and the micro missiles pop off the rack easily. and the large missiles that mount to the double missile rack are very loose. There’s an easy way to fix the micro missiles and large missiles: Elmer’s White Glue. A small dot of Elmer’s Glue in the holes will dry and hold the parts together without actually bonding to the plastic and you can easily remove the parts and the glue if you want to.
Click
on thumbnails to enlarge |
||
 |
 |
 |
 |
 |
 |
 |
 |
 |
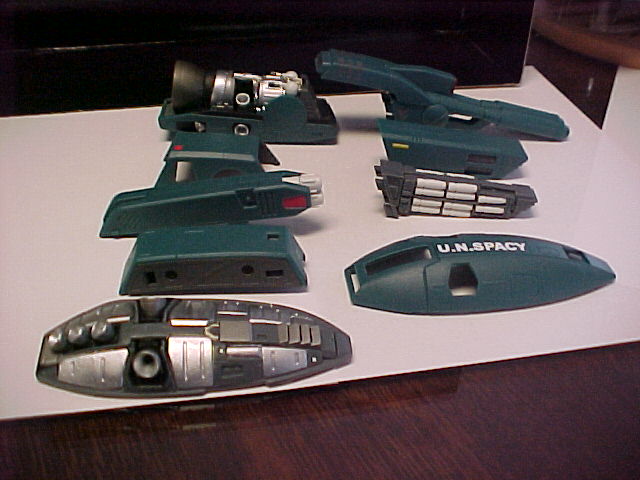
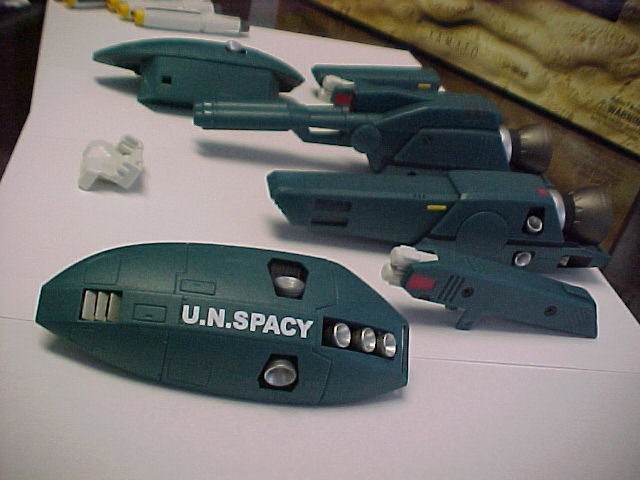
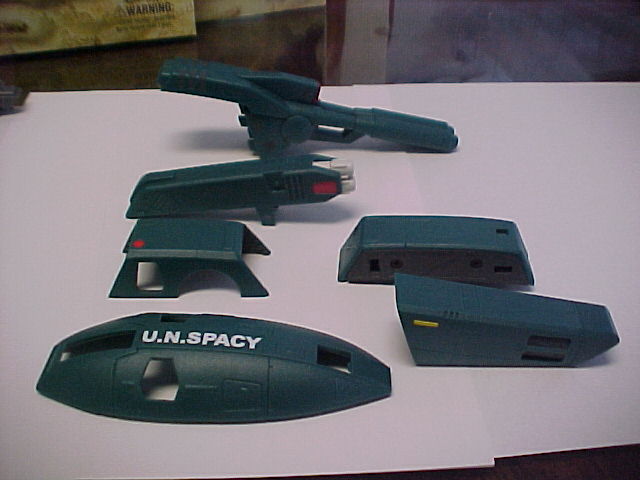
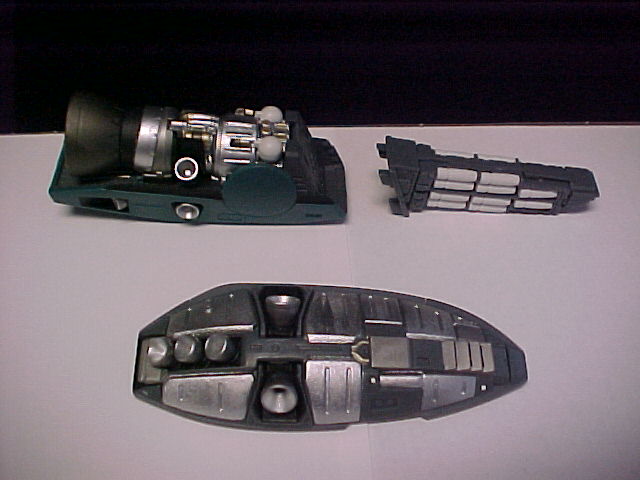
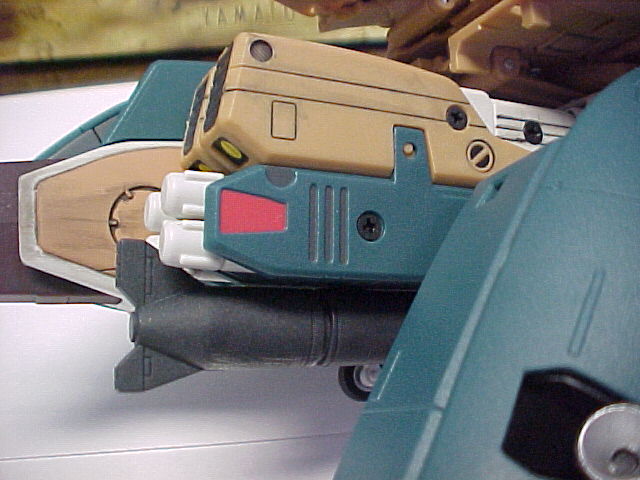
Toy Details:
One of the best parts of the armor is the removable covers with incredibly gorgeous
interior detail. The leg FAST packs have a complete painted interior, the top
cover of the boosters come off to reveal the fully painted engine and such,
and the missile pylons have an interior of grey plastic to mount the missiles
on. The detail on these things is simply incredible. As an added bonus, the
engine bell of the boosters is articulated on a ball joint for a wide range
of motion. The interior of the FAST packs and boosters look like something out
of a NASA cut-away book.
Click
on thumbnails to enlarge |
||
 |
 |
 |
 |
 |
 |
|
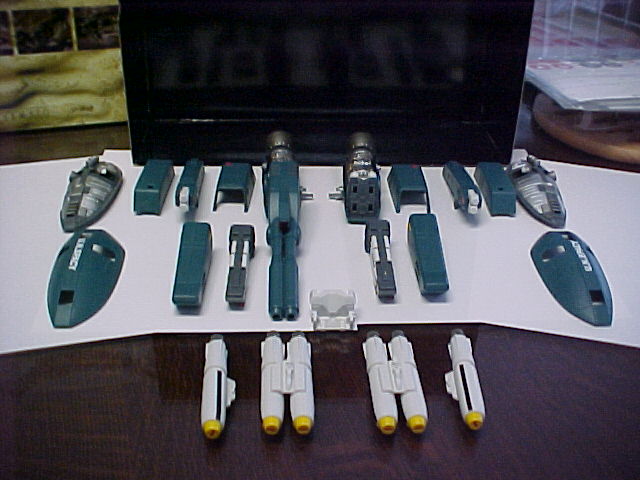
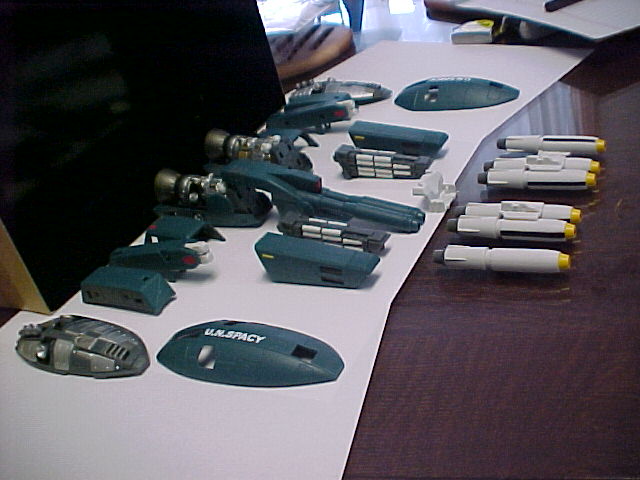
Parts |
||
Click
on thumbnails to enlarge |
|||||
 |
 |
 |
 |
 |
|
 |
 |
 |
 |
 |
 |
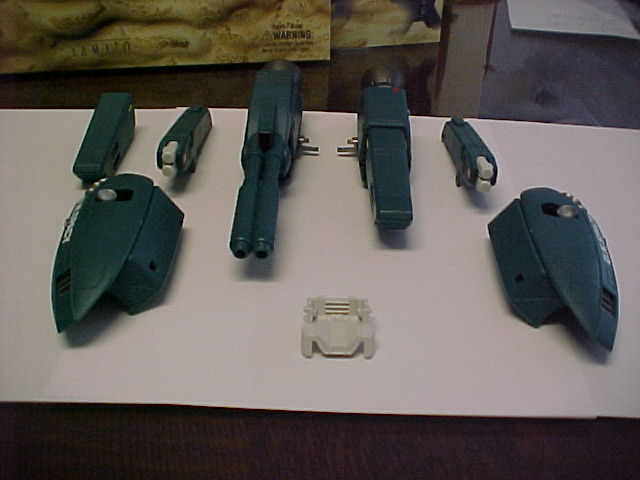
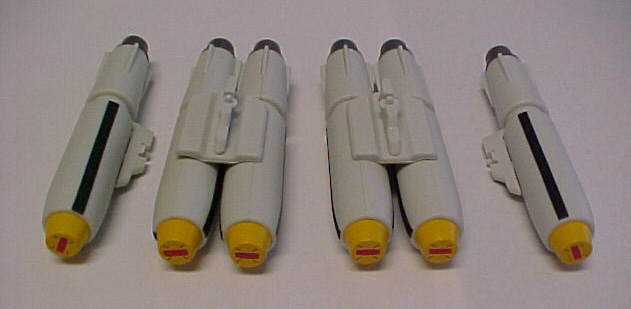
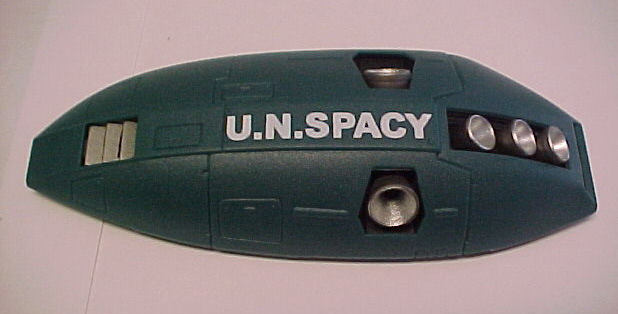
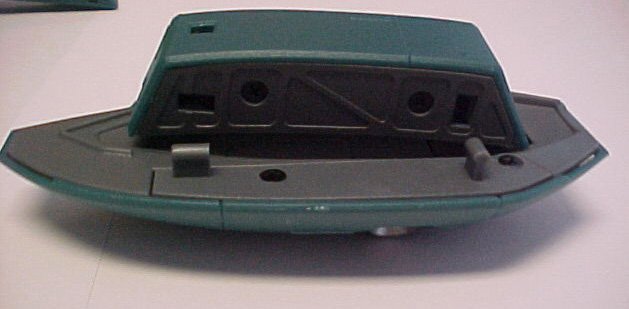
FAST
PACK close-ups |
|||||
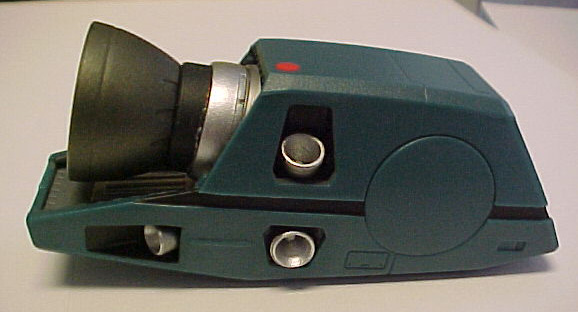
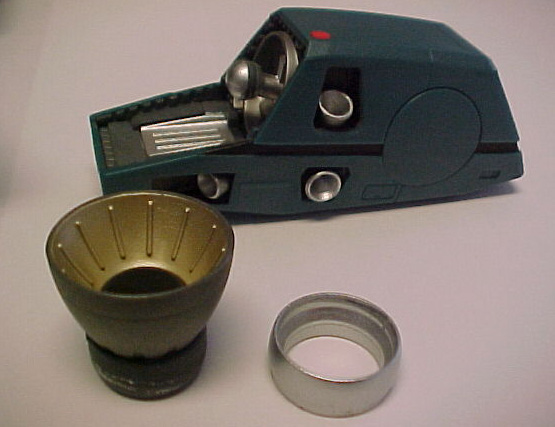
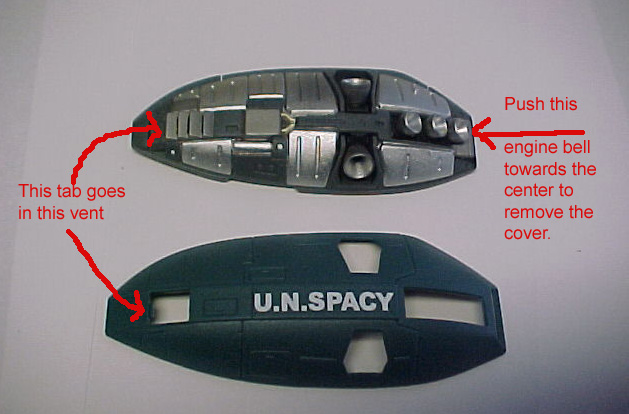
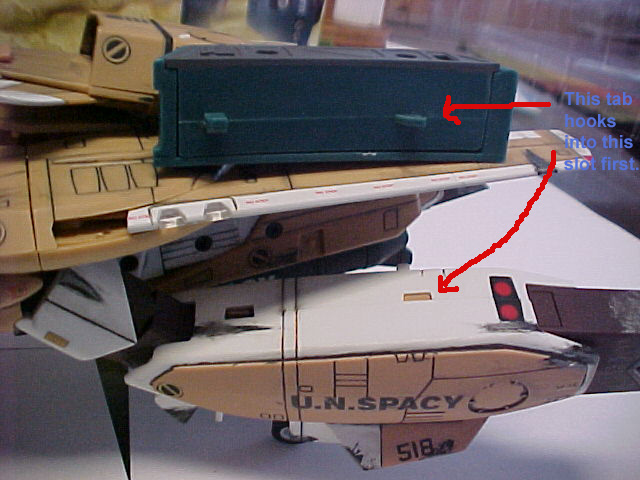
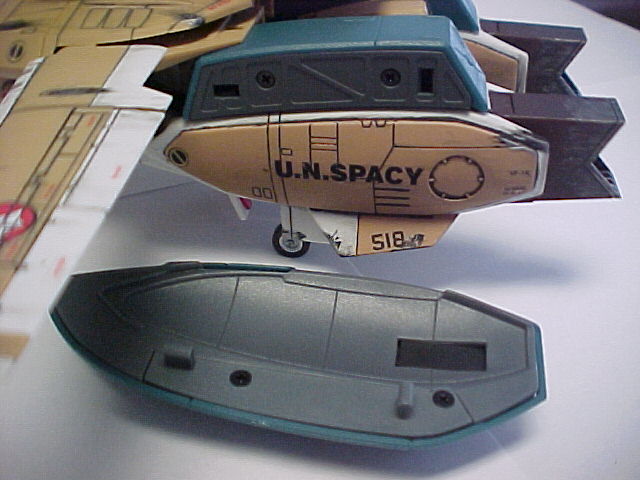
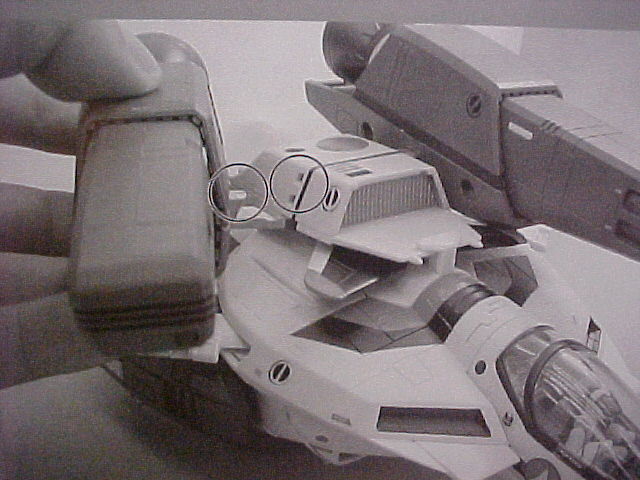
To remove
the covers:
FAST packs: Push the last vernier bell in towards the middle,
and the cover will come off. Take note of the small tab that hooks into the
first grill of the front intake.
Click
on thumbnail to enlarge |
 |
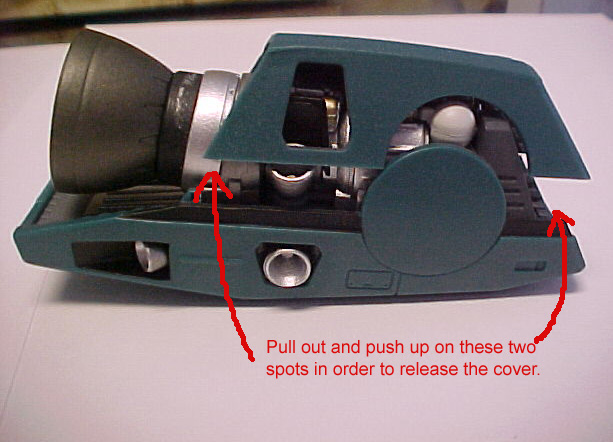
Boosters: Pull the front corner out by the circle, and sort of “unwrap” the cover from the booster. It’s tricky to get the hang of, but once you figure it out, it’s not too bad.
Click
on thumbnail to enlarge |
 |
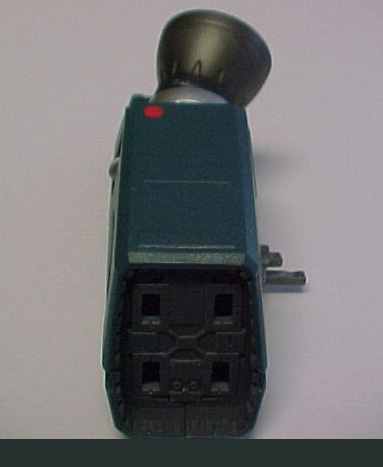
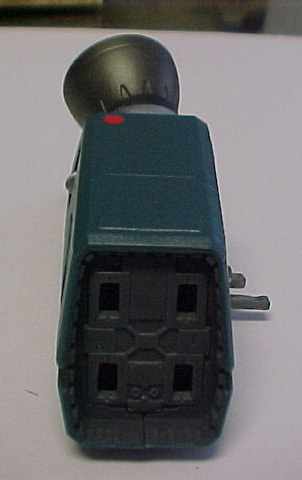
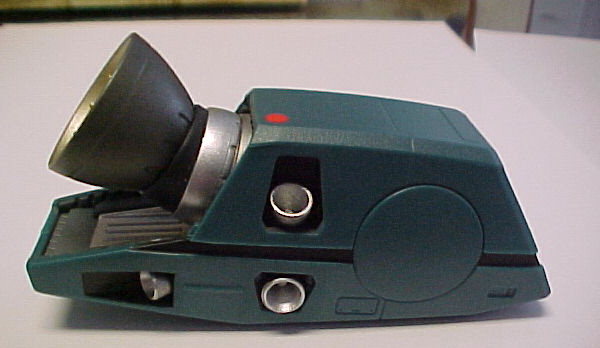
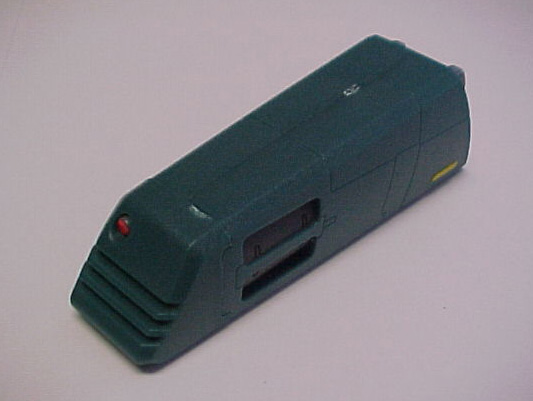
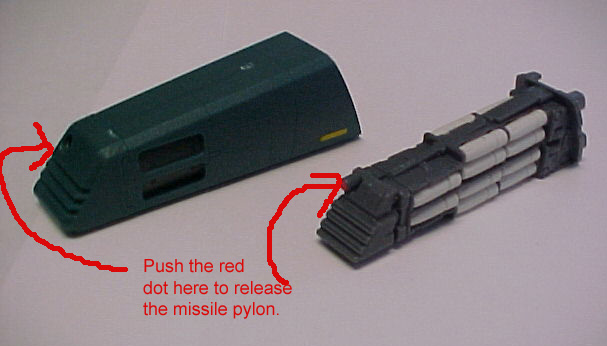
HMMP-02
micro-missile launcher pods:
Simply push in with something on the red sensor on the tip of the pylon. The
whole internal missile rack will come out no problem.
Click
on thumbnail to enlarge |
 |
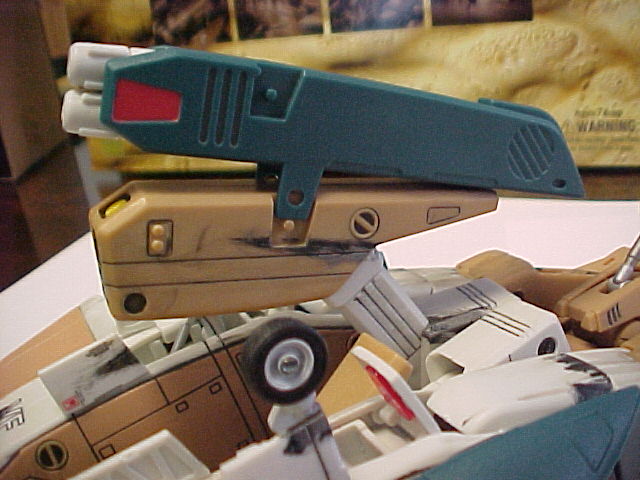
And now the part you’ve been waiting for:
Mounting the armor to the valk. First, we have to prepare the valk for the armor. It doesn’t really matter which mode you attach the armor, so I’ll just do it in fighter mode, which is the most involved. First, you have to fold up the backpack and tail fins like if you were going into GERWALK mode. Next, unclip the lower legs from the fuselage, and bend them at the hip and knee.
Next, we’ll mount the leg FAST packs. The back of leg fuel tanks hooks into those two square notches on the back of the lower leg that you’ve always wondered about. They go in a certain way, so take care. The lower tab on the tank is hook shaped, and the top one is simply square. The hook obviously has to go in first, and then the tab will fit in. After that, you can mount the FAST pack on the two tabs that stick out of the side. You can reattach the leg to the fuselage now the same way you do normally with the slot in the top of the tank.
The arm armor mounts incredibly easily. There are two clips that lock into the slots on the arms where the gunpod mounts. After that, the gunpod mounts into similar clips on the armor. Just remember, the missiles point towards the back of the fighter!
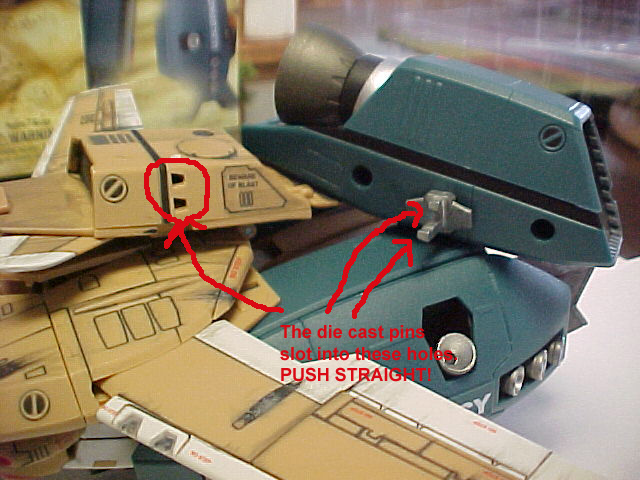
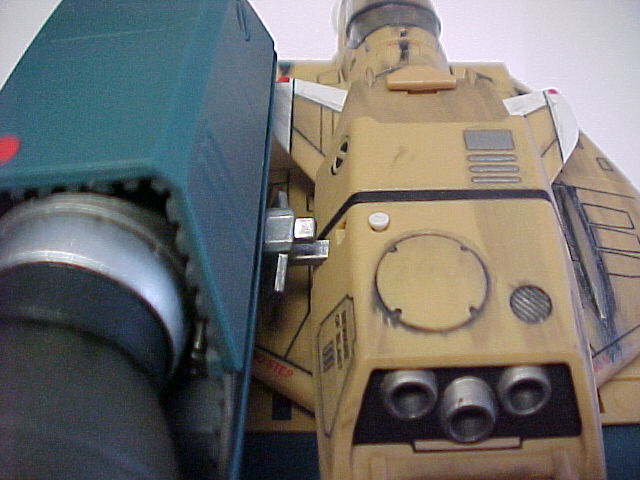
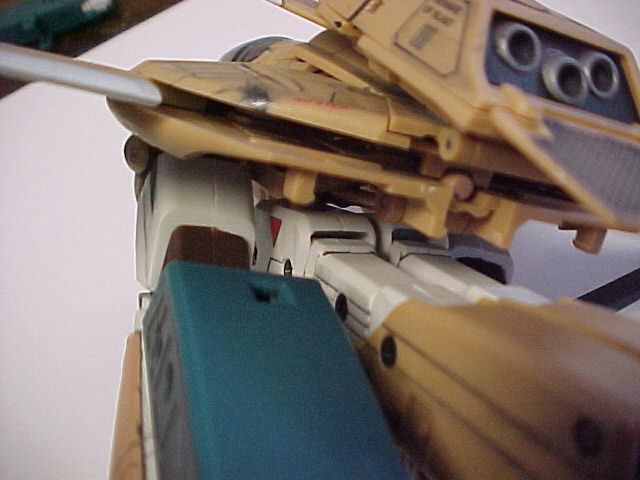
Last but certainly not least is the back boosters. These are the most difficult part to mount, and the most care must be taken because it can be tricky and the area you’re working with is the most fragile part of the valk. There are large die-cast pegs on the boosters, and they slide into the holes on the backpack. The fit is very tight and precise, and you must push the boosters in perfectly straight, or they will not go in and you will end up breaking BP8 on the valk (not good.)
Click
on thumbnails to enlarge |
||||
 |
 |
 |
 |
 |
 |
 |
 |
 |
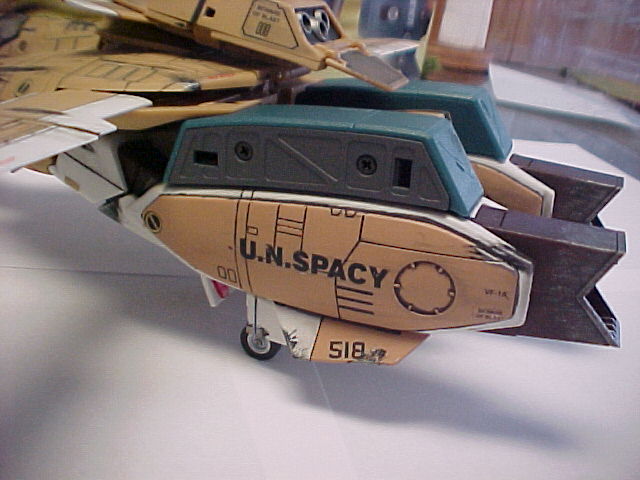 |
Photos showing how the FAST Packs attach |
||||
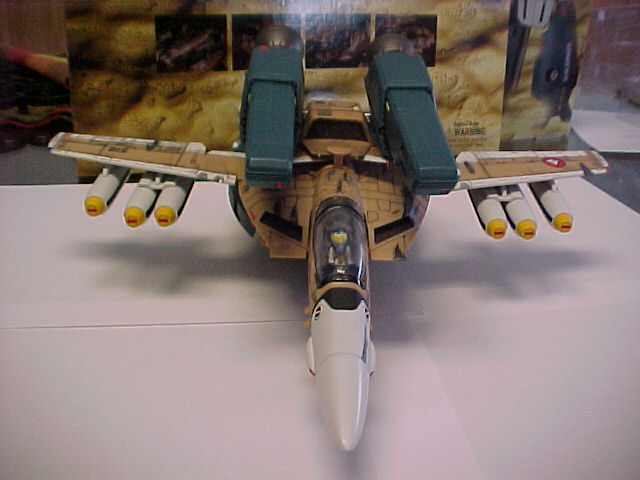
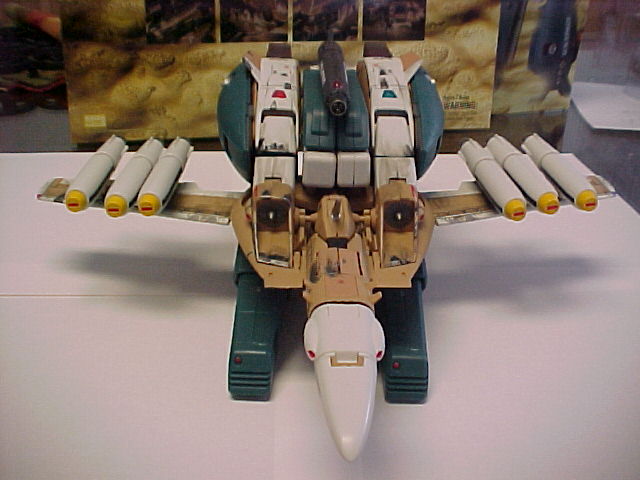
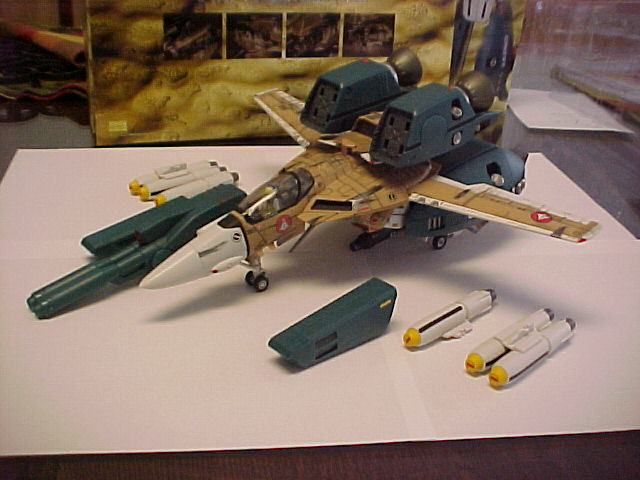
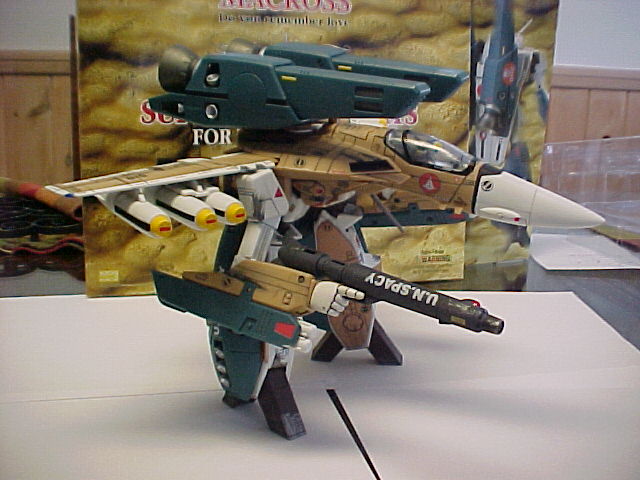
Now that we’re all assembled, let’s see just what we’ve made:
Parts fit:
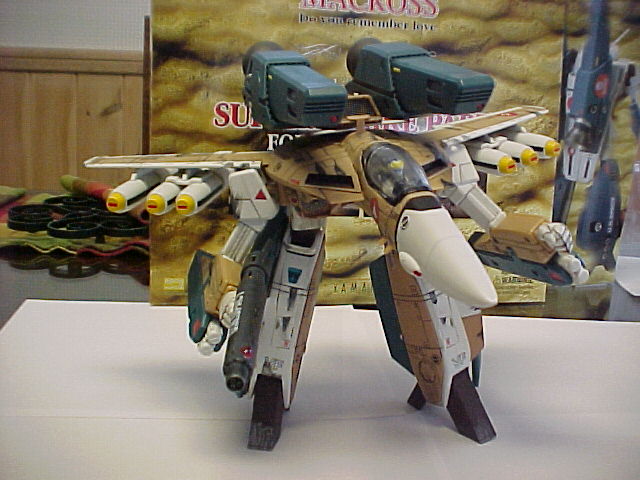
Rock solid! In fighter mode, the toy can be barrel rolled and violently shaken
without any parts flying off except maybe the large underwing missiles. During
transformation, the large missiles and the missile pylons will fall off, so
just take them off right away.
Click
on thumbnails to enlarge |
||||
 |
 |
 |
 |
 |
Fighter Mode Pictures with FAST Packs mounted on a VF-1A Cannon-Fodder |
||||
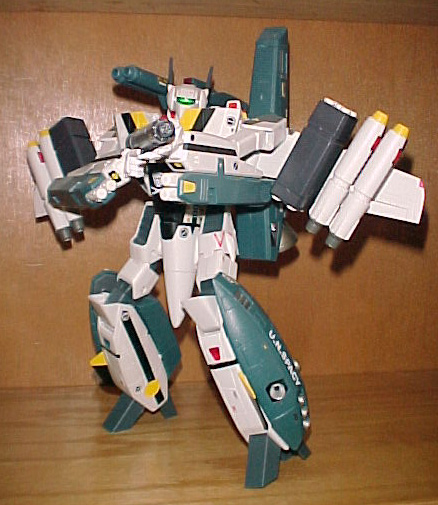
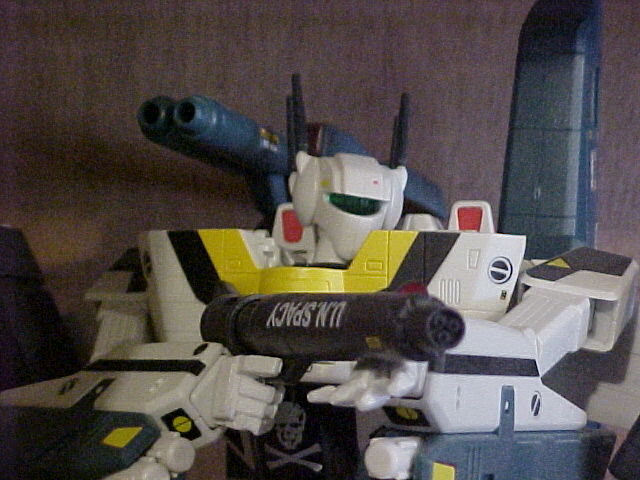
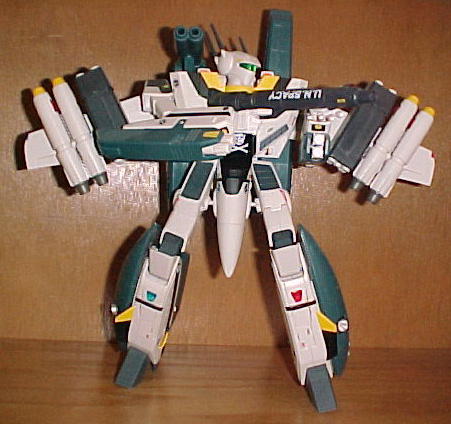
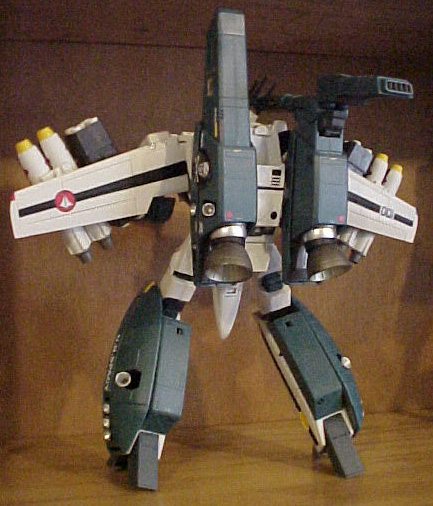
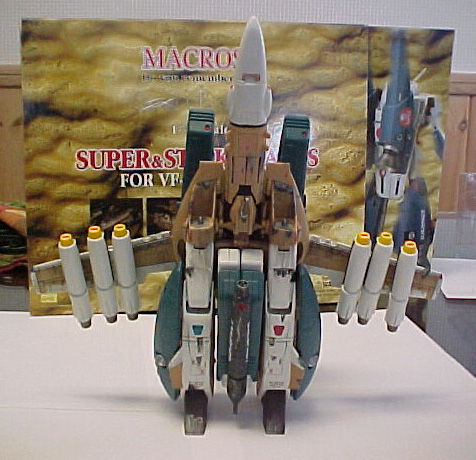
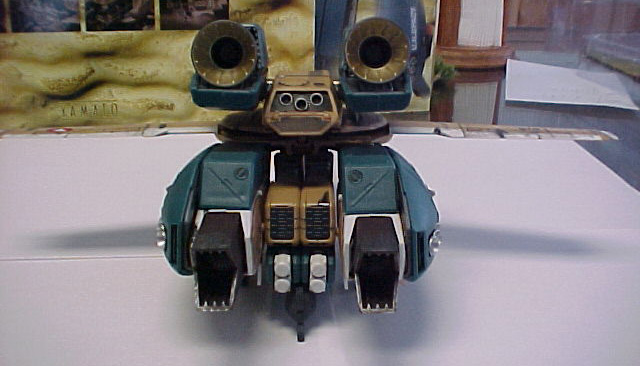
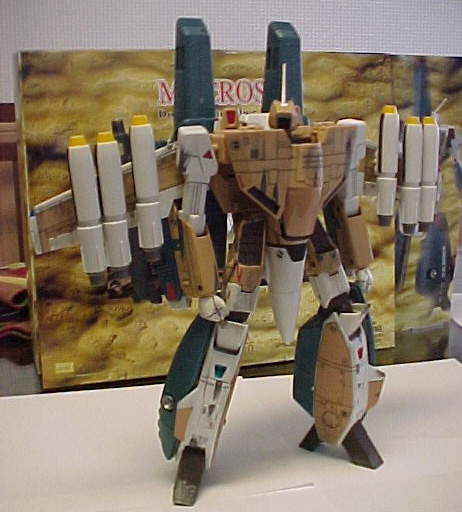
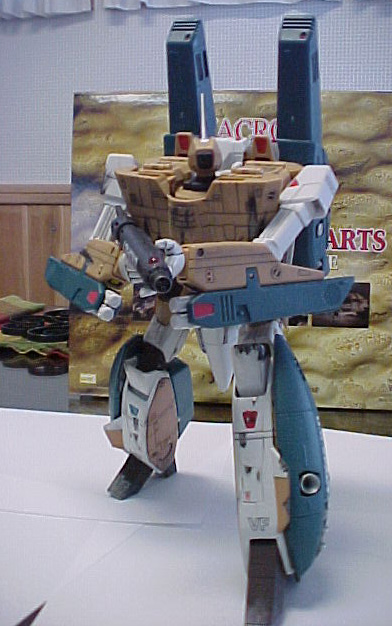
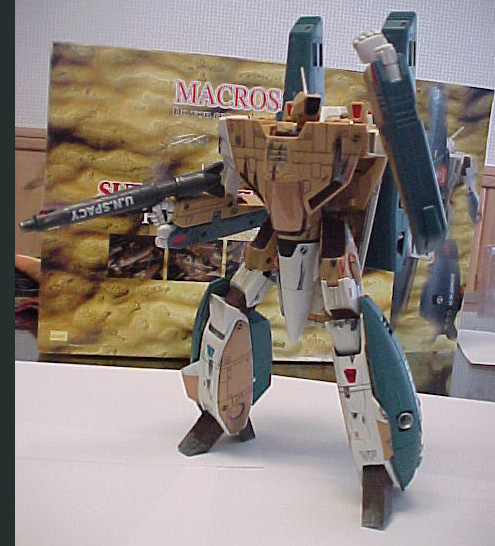
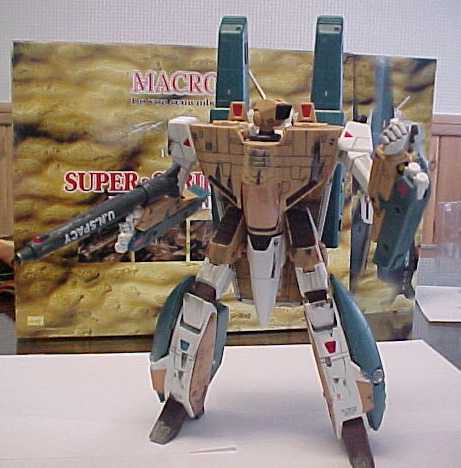
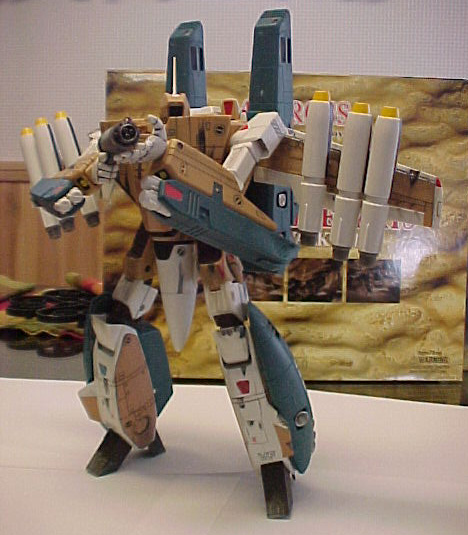
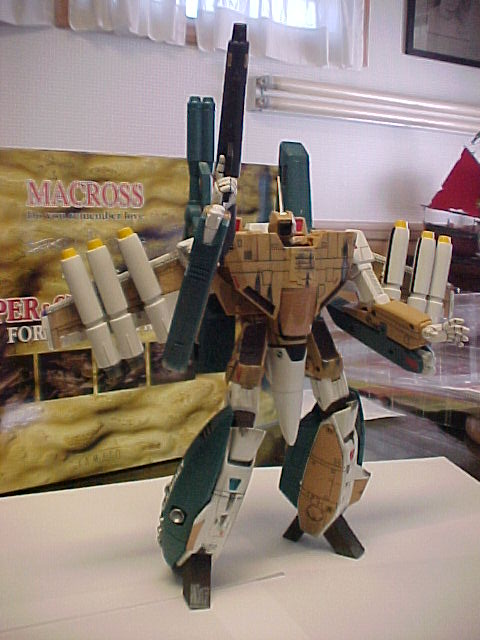
In Battroid and GERWALK mode, the toy does end up being a bit top heavy, so you won’t be able to pull off some of the crazier poses you could before, but it’s nowhere near as bad as the 1/60s, and you can still do a lot with the toy armored up.
Click
on thumbnails to enlarge |
||
 |
 |
 |
 |
 |
 |
 |
 |
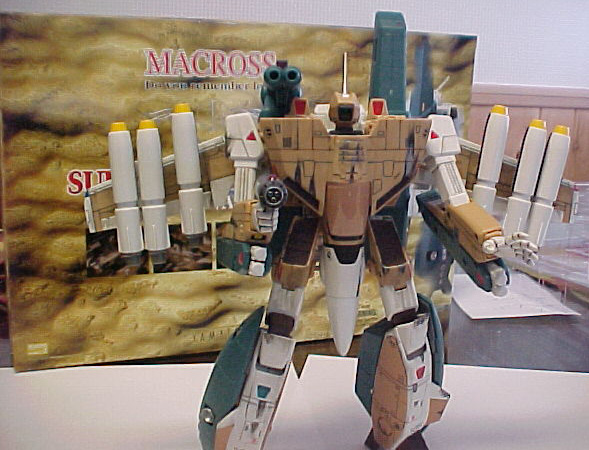 |
Battroid Mode Pictures with FAST Packs mounted on a VF-1A Cannon-Fodder |
||
Click
on thumbnails to enlarge |
||
 |
 |
 |
GERWALK
Mode Pictures with FAST Packs mounted on a VF-1A Cannon-Fodder |
||
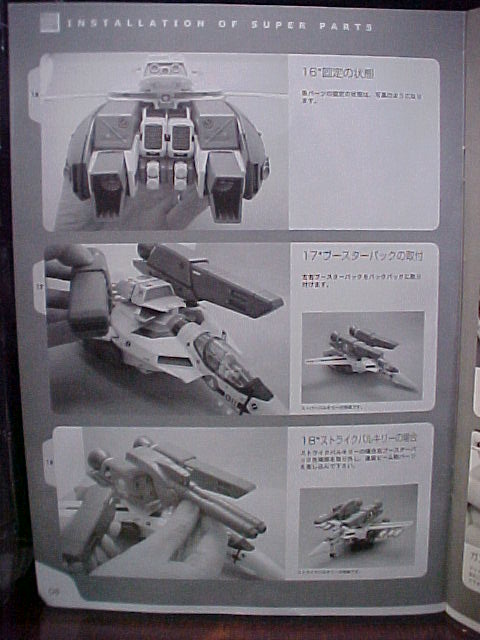
Stickers/Instructions:
The instruction booklet is black and white and really clear. Any non-Japanese
literate people will be able to assemble the armor with the pictures no problem.
The book is great, showing off the details nicely.
Click
on thumbnails to enlarge |
||
 |
 |
 |
Sample
Instruction Pages |
||
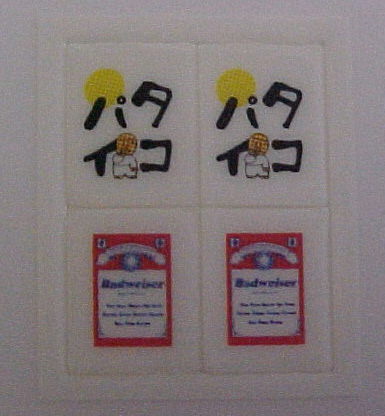
The sticker sheet is pretty poor. The infamous thick Yamato stickers seem to
be especially bad here. They are so thick that the edges have a bit of a frosty
finish to them. The markings are not very crisp, and there really aren’t
all the markings there ought to be for the weapons. The large squadron emblems
for the boosters seem especially bad, with the edges between the skulls and
the background color being pretty fuzzy. I wouldn’t ever use these stickers,
and you probably shouldn’t either. Instead, get yourself a set of Takatoys
stickers or Anasazi’s stickers or decals and use those. I do give bonus
points for the Yamato sheet including Bud Beer labels for the micro missiles
like the Easter egg in Do You Remember Love.
Click
on thumbnails to enlarge |
|
 |
 |
Sticker
Sheet |
|
Conclusion:
The pictures really speak for themselves. This is a gorgeous add-on to an already
gorgeous toy. It is perfectly accurate, incredibly detailed, and flaw free (except
for the stickers.) The Strike armor gets a 9/10 from me, only because the stickers
are so wretched. The armored valk is still playable and awesome, if a bit heavy.
Clear FAST Pack Covers:
Lastly, here's a look at Yamato's clear FAST pack covers, which were offered only as part of a Dengeki Hobby magazine mail-in campaign.
Click
on thumbnails to enlarge |
||||
Clear FAST Pack Covers |
||||
![]()